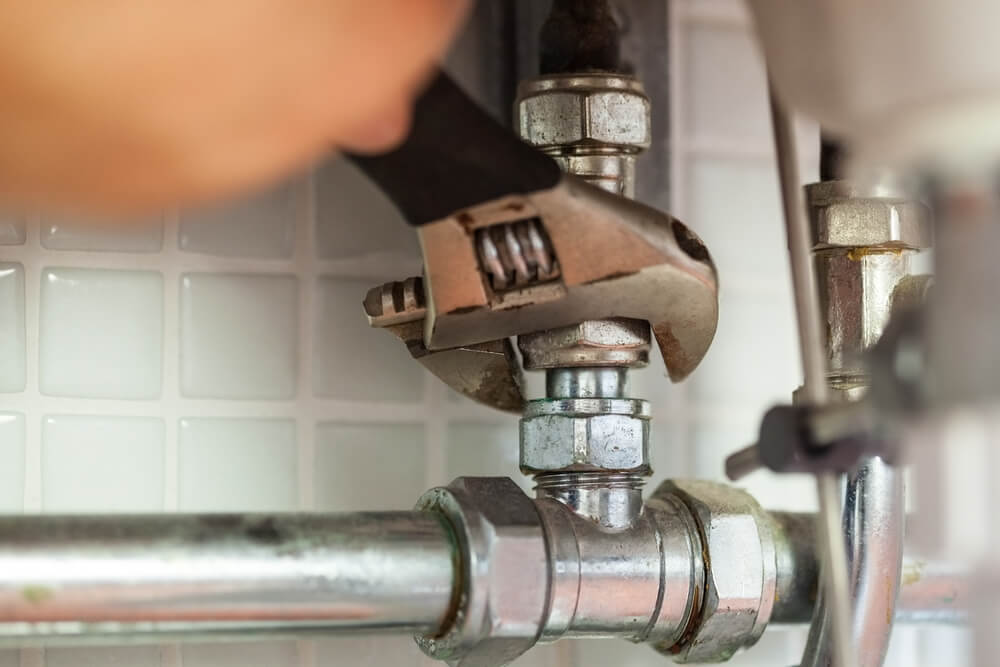
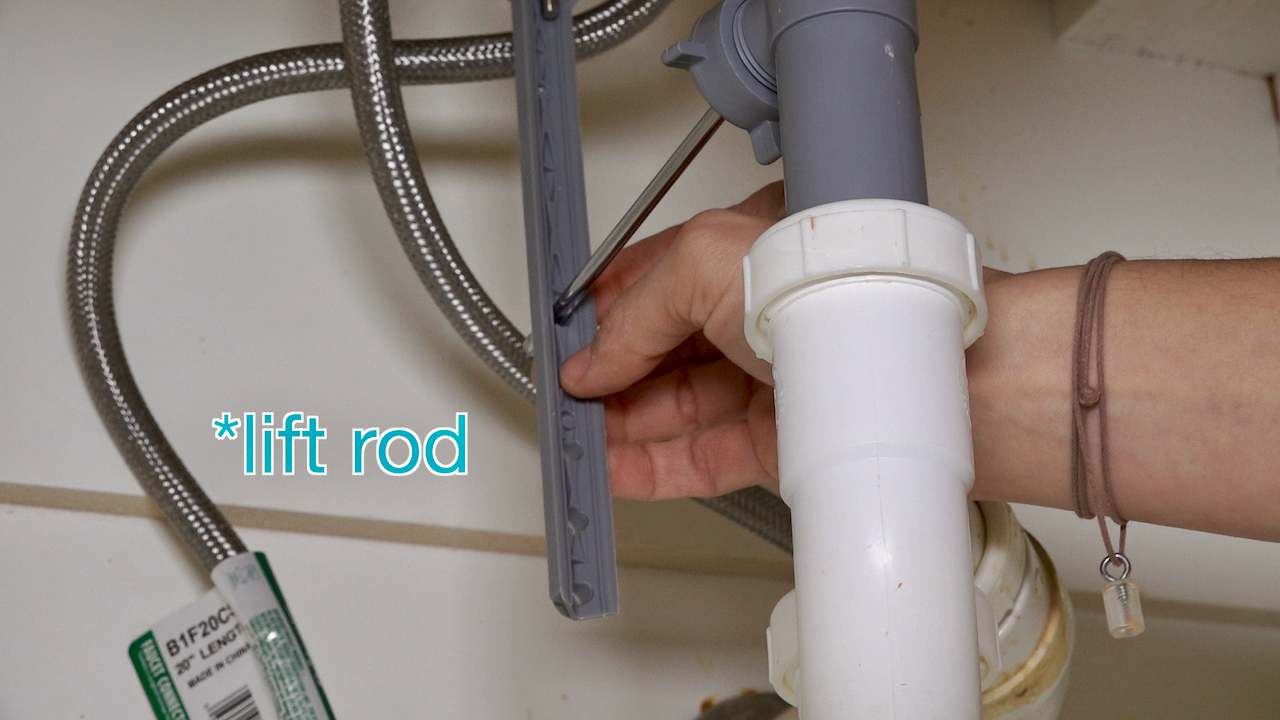
When it comes to your bathroom sink, there are many components that work together to ensure everything runs smoothly. One of these essential parts is the lock nut, which helps secure the sink in place. However, just like any other plumbing fixture, the lock nut may need to be replaced, removed, or tightened over time. In this article, we'll cover everything you need to know about bathroom sink lock nuts, from their purpose to how to properly install and maintain them.Bathroom Sink Lock Nut: A Comprehensive Guide to Replacement, Removal, and More
Over time, the lock nut on your bathroom sink may wear out or become damaged. When this happens, it's important to replace it to keep your sink securely in place. The good news is that replacing a bathroom sink lock nut is a relatively simple process that can be done with just a few tools and some basic plumbing knowledge. To replace the lock nut, you'll need to start by turning off the water supply to the sink. Then, you can use pliers or a wrench to loosen and remove the old lock nut. Once the old nut is removed, you can install the new one by placing it over the sink tailpiece and tightening it with your pliers or wrench. Remember to turn the water supply back on and test the sink to ensure everything is working properly.Bathroom Sink Lock Nut Replacement: When and How to Do It
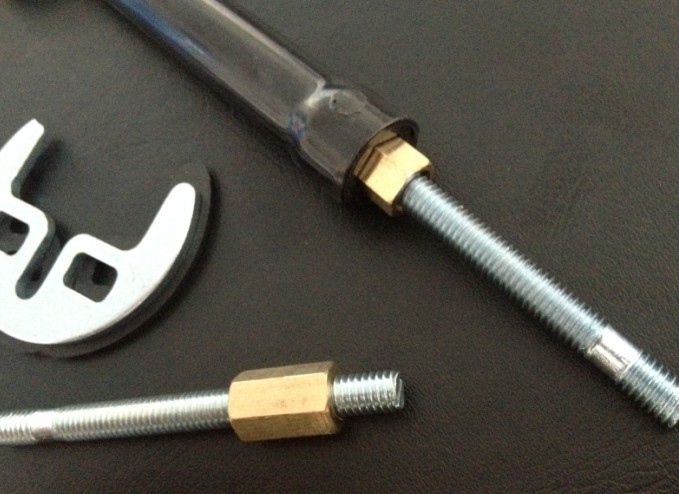
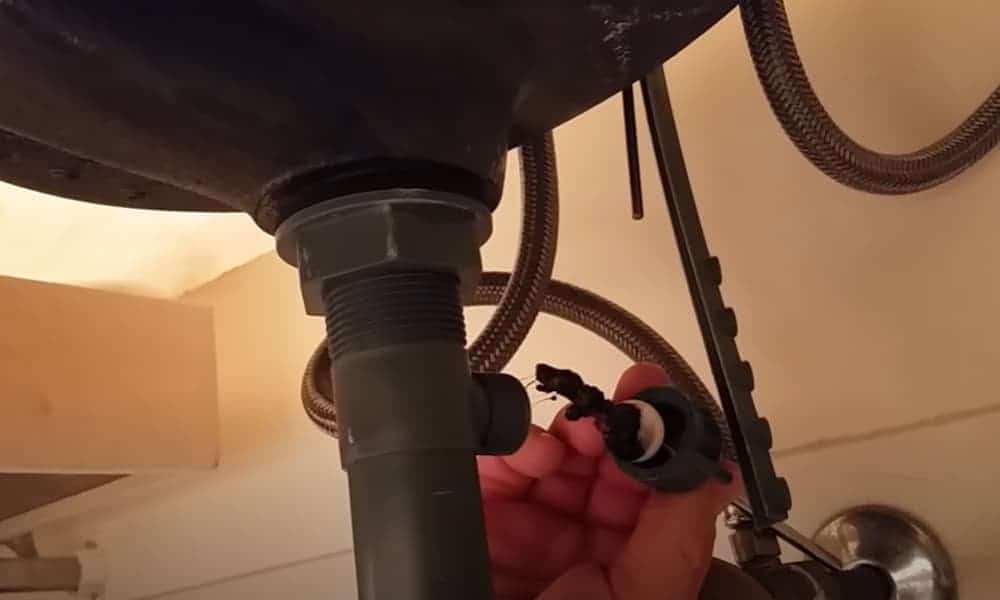
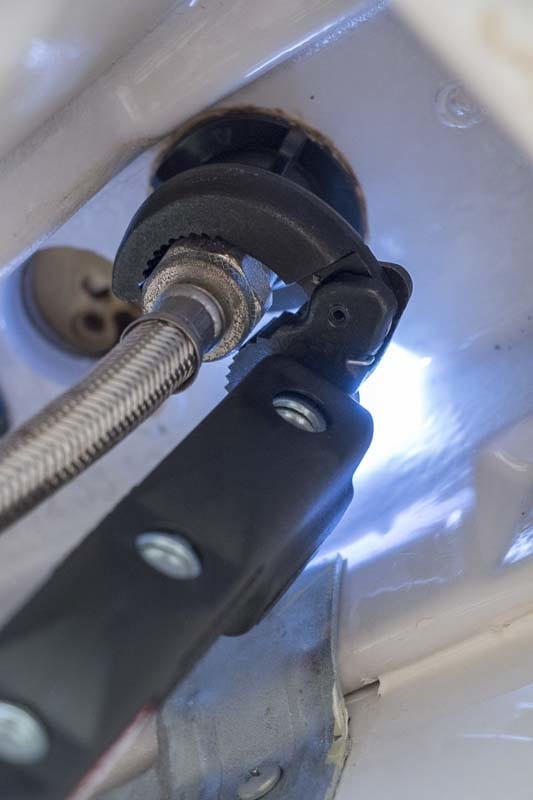
Sometimes, you may need to remove the lock nut from your bathroom sink without replacing it. This may be necessary if you're doing renovations or replacing other parts of the sink. To remove the lock nut, you'll need to follow a similar process as replacing it, but without installing a new nut. Be sure to turn off the water supply and loosen the nut with pliers or a wrench before removing it completely. If the lock nut is stuck, you can try using a lock nut wrench to help loosen it. These specialized tools are designed to grip onto the nut and provide more leverage for easier removal. If you don't have a lock nut wrench, you can also try using a pair of pliers or a pipe wrench. Just be careful not to damage the sink or other plumbing components while attempting to remove the nut.Bathroom Sink Lock Nut Removal: A Step-by-Step Guide
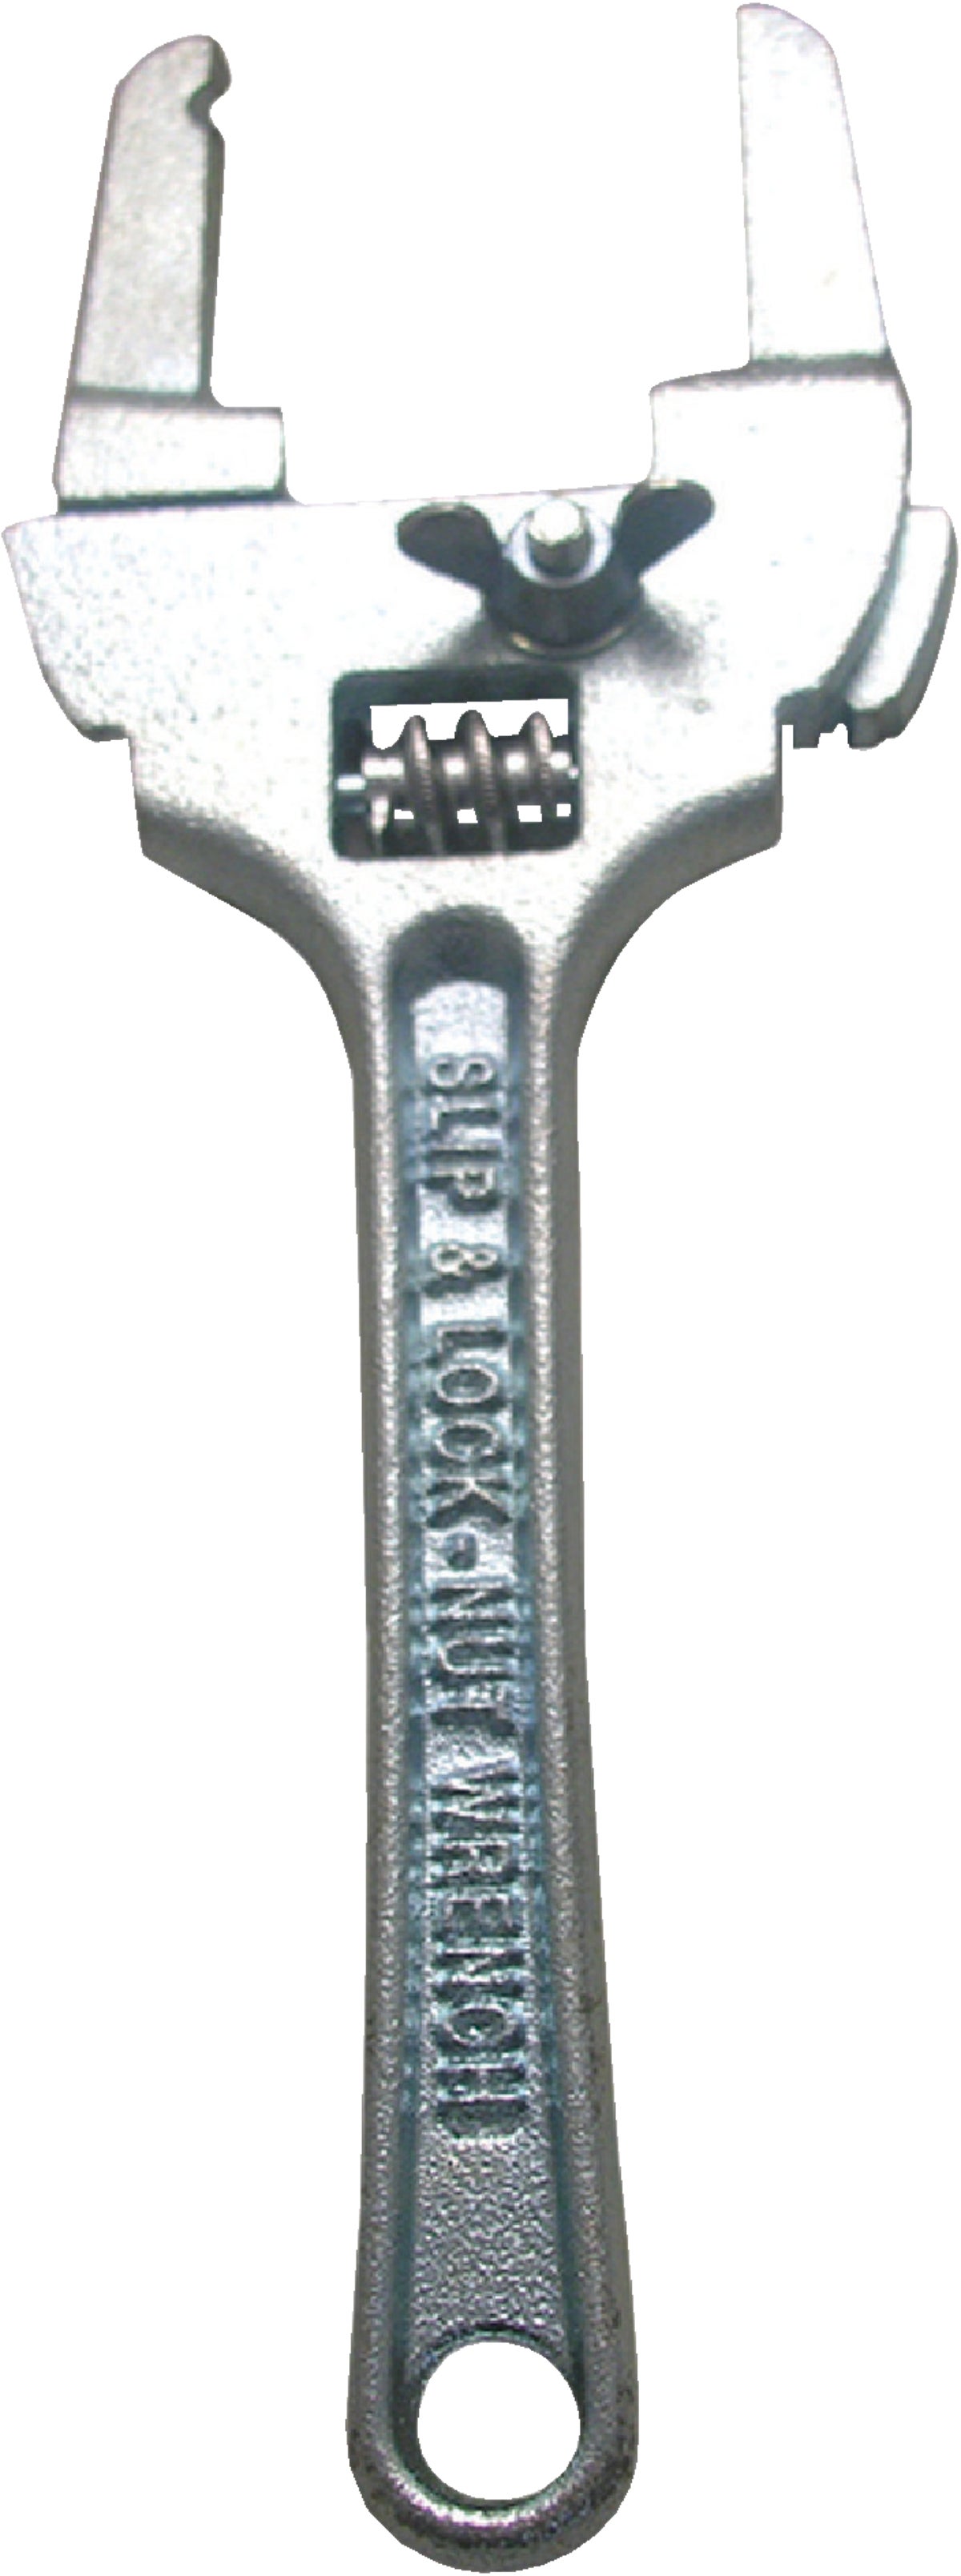
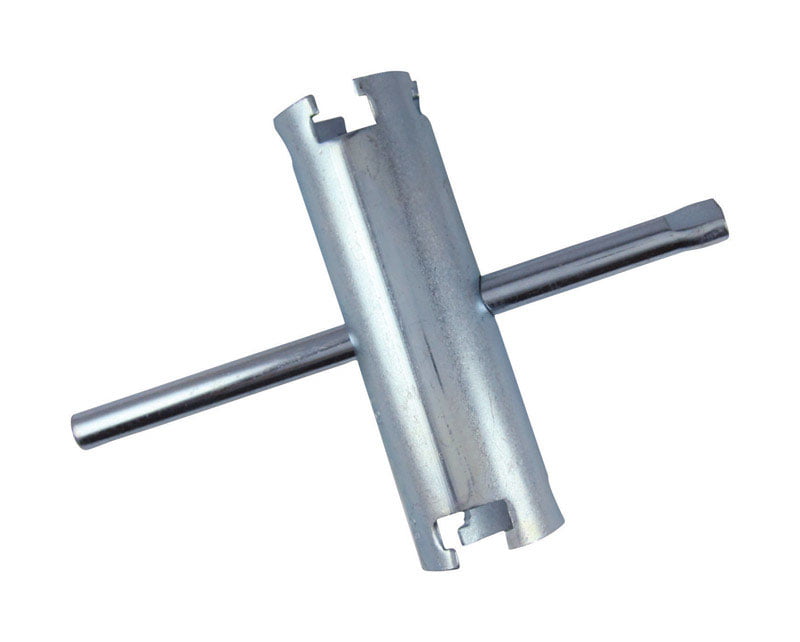
If you're planning on removing or replacing your bathroom sink lock nut, investing in a lock nut wrench can make the job much easier. These tools are specifically designed for removing lock nuts and provide better grip and leverage, making the job less challenging. Lock nut wrenches come in various sizes, so be sure to choose one that fits your specific lock nut for the best results.Bathroom Sink Lock Nut Wrench: The Ultimate Tool for Lock Nut Removal
Aside from a lock nut wrench, there are a few other tools that may come in handy when working with bathroom sink lock nuts. These include pliers, a pipe wrench, and an adjustable wrench. Depending on the specific situation, you may also need a screwdriver or utility knife to help remove or install the lock nut. It's always a good idea to have these tools on hand when working with plumbing fixtures.Bathroom Sink Lock Nut Tool: Other Tools You May Need
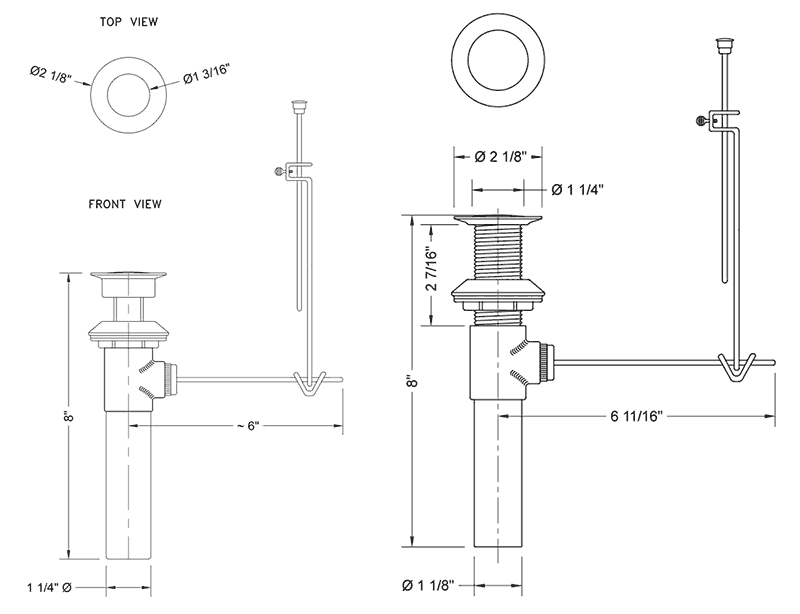
When it comes to replacing or removing your bathroom sink lock nut, it's essential to choose the right size. The size of the lock nut will vary depending on the size of your sink tailpiece, and there are a few different sizes available. The best way to determine the right size is to measure the diameter of your sink tailpiece and choose a lock nut with a slightly larger diameter for a secure fit.Bathroom Sink Lock Nut Size: How to Determine the Right Fit
If you're attempting to remove your bathroom sink lock nut and find that it's stuck, don't panic. There are a few things you can try to help loosen it. First, you can try using a lock nut wrench or pliers for a better grip. If that doesn't work, you can also try using a penetrating oil or lubricant to help loosen the nut. If all else fails, you may need to call a professional plumber for assistance.Bathroom Sink Lock Nut Stuck: What to Do When You Can't Remove It
If your bathroom sink lock nut is loose or damaged, you may be able to repair it rather than replacing it completely. To repair a loose nut, you can use a pair of pliers to tighten it. If the nut is damaged, you may be able to use a lock nut wrench to grip onto the undamaged parts and tighten it that way. However, if the nut is too damaged, it's best to replace it to ensure a secure fit.Bathroom Sink Lock Nut Repair: Fixing a Loose or Damaged Nut
When it comes to installing a new bathroom sink lock nut, there are a few things you can do to ensure a successful job. First, make sure you have the right size lock nut for your sink tailpiece. Next, be sure to turn off the water supply before starting the installation. It's also a good idea to have all your tools and supplies ready before beginning. Finally, take your time and be gentle to avoid damaging the sink or other components.Bathroom Sink Lock Nut Installation: Tips for a Successful Job
To prevent your bathroom sink lock nut from becoming loose or damaged, it's important to properly maintain it. This includes routinely checking the tightness of the lock nut and tightening it if necessary. It's also essential to be gentle when using the sink and avoid placing excessive weight or pressure on the nut. With proper maintenance, your bathroom sink lock nut can last for many years to come. In conclusion, the lock nut may be a small component of your bathroom sink, but it plays a crucial role in keeping everything secure and functioning correctly. Knowing how to replace, remove, and maintain your lock nut can save you time and money in the long run. With the information provided in this article, you'll be well-equipped to handle any issues that may arise with your bathroom sink lock nut.Bathroom Sink Lock Nut Tightening: Maintaining a Secure Fit
The Importance of a Secure Bathroom Sink Lock Nut in House Design
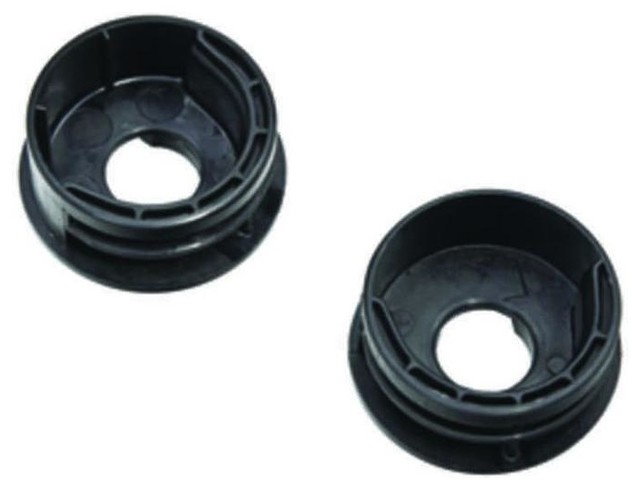
Ensuring Proper Functioning of the Sink
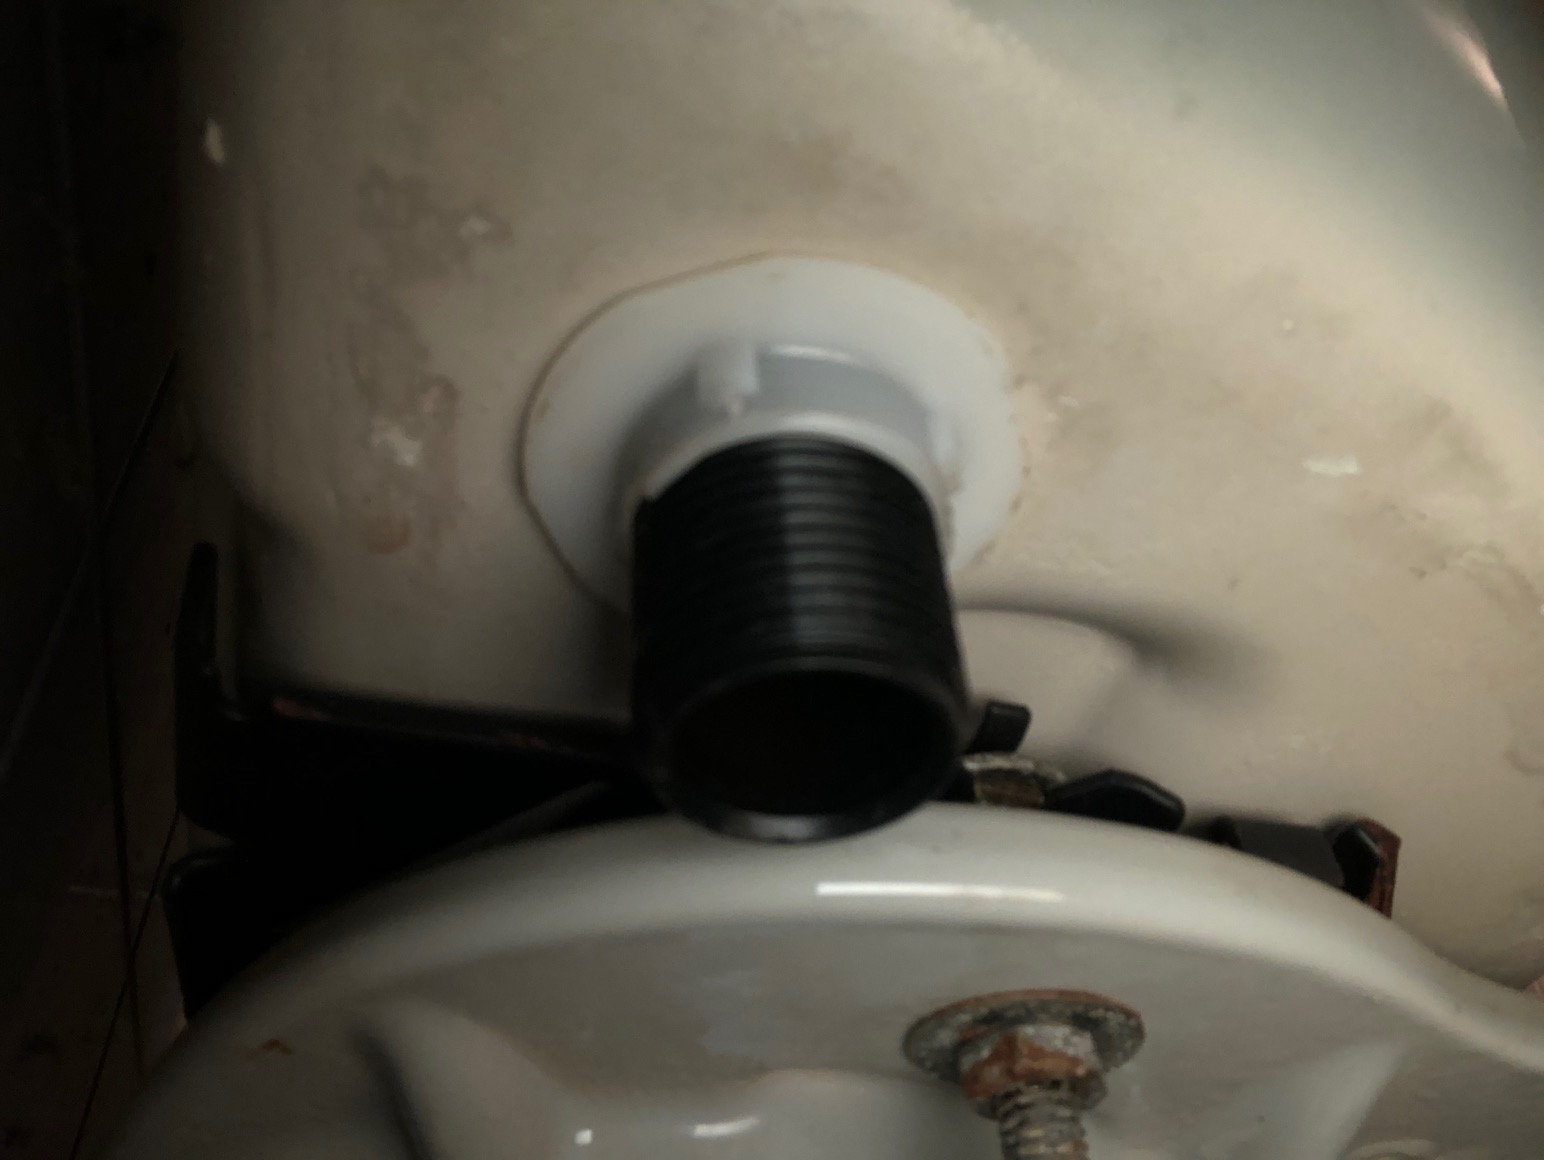 When designing a house, every little detail matters. This includes the bathroom sink and its components, such as the lock nut. The lock nut is a small but crucial part of the sink that holds the faucet in place and prevents any leaks or wobbling. If not properly secured, it can cause the sink to malfunction and lead to water damage and costly repairs. Therefore, having a secure bathroom sink lock nut is essential for the overall functioning of the sink.
Preventing Water Damage
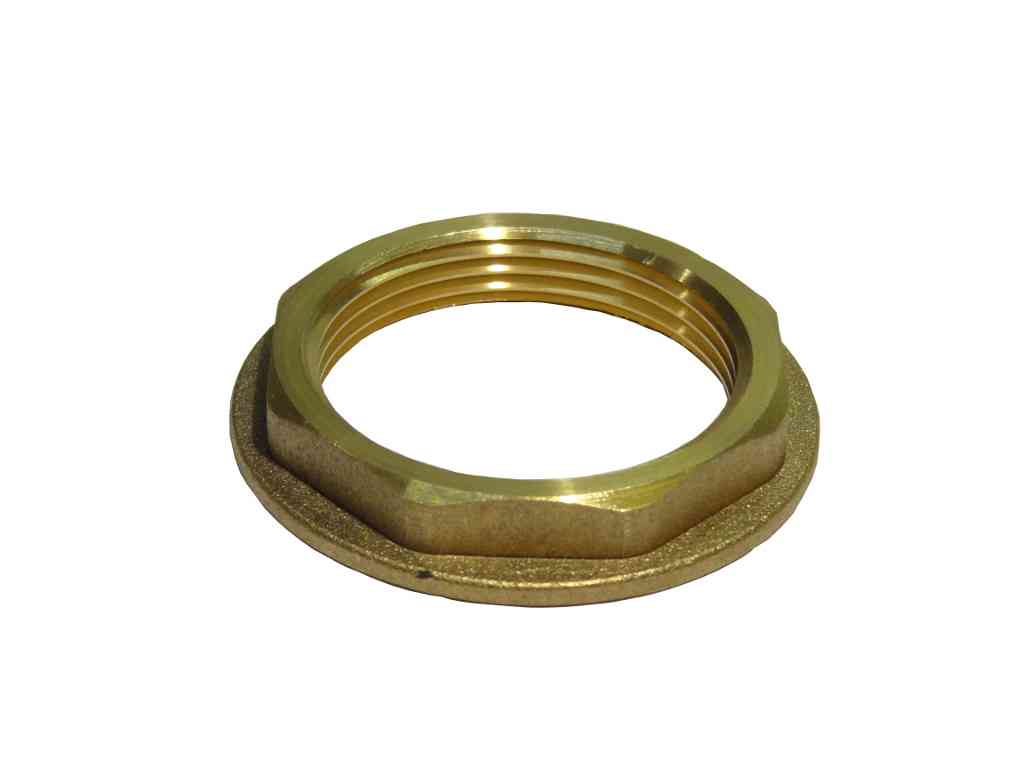 One of the main reasons for having a secure bathroom sink lock nut is to prevent water damage. A loose lock nut can cause the faucet to move around, creating gaps between the sink and the countertop. This can result in water seeping through and causing damage to the surrounding area. Water damage can be costly and time-consuming to fix, making it important to ensure that the lock nut is tightened properly to avoid any potential leaks.
Enhancing Aesthetic Appeal
 Aside from its functional purposes, a secure bathroom sink lock nut also plays a role in the overall aesthetic appeal of the bathroom. A loose or damaged lock nut can cause the sink to appear lopsided or wobbly, taking away from the clean and polished look of the space. By ensuring the lock nut is securely in place, not only will the sink function properly, but it will also contribute to the overall design and appearance of the bathroom.
Peace of Mind for Homeowners
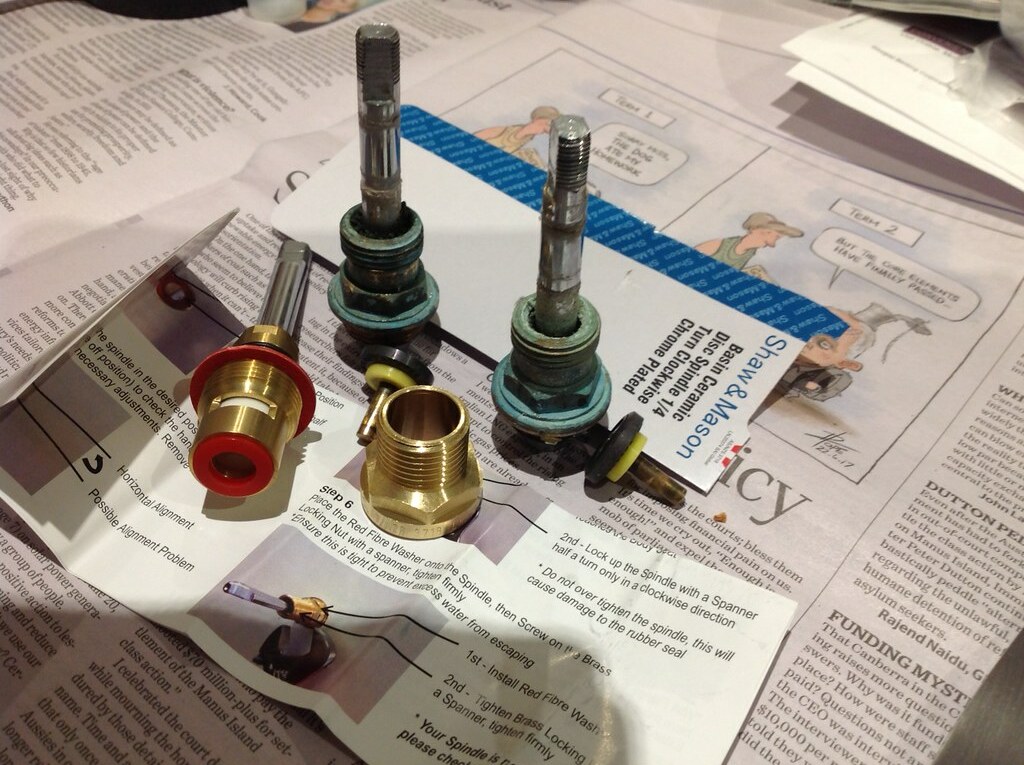 Lastly, having a secure bathroom sink lock nut can provide homeowners with peace of mind. Knowing that all components of their house are functioning properly and securely can alleviate any unnecessary stress or worry. By taking the time to properly install and tighten the lock nut, homeowners can rest assured that their sink will function as it should without any potential issues or damages.
In conclusion, a secure bathroom sink lock nut is a crucial aspect of house design. It not only ensures the proper functioning of the sink but also prevents water damage, enhances the aesthetic appeal, and provides peace of mind for homeowners. When designing a house, it is important to pay attention to even the smallest details, such as the lock nut, to ensure a functional and visually appealing space.










/basin-wrench-58fa35c55f9b581d59cb6d7b.jpg)




:max_bytes(150000):strip_icc()/basin-wrench-58fa35c55f9b581d59cb6d7b.jpg)

