If you have noticed a constant drip or puddle of water under your bathroom sink, chances are your shut off valve gasket is leaking. This small but essential component is responsible for controlling the flow of water from your sink, and when it becomes damaged or worn out, it can lead to a frustrating and messy situation. Fortunately, fixing a leaky bathroom sink shut off valve gasket is a relatively simple task that can be done without the need for a plumber. With a few tools and some basic knowledge, you can easily repair or replace the faulty gasket and have your sink running smoothly again.Fixing a Leaky Bathroom Sink Shut Off Valve Gasket
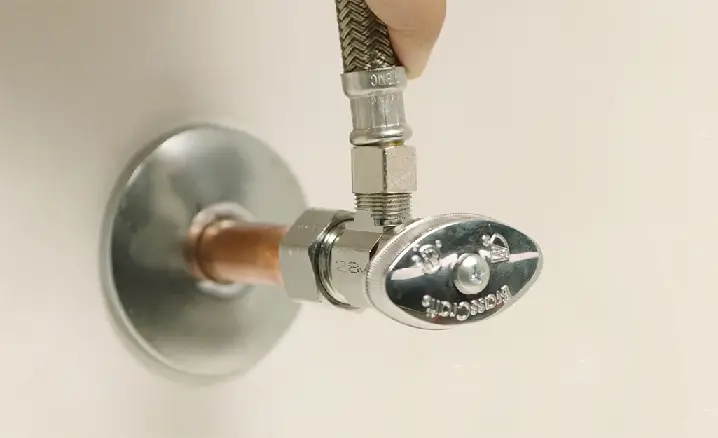
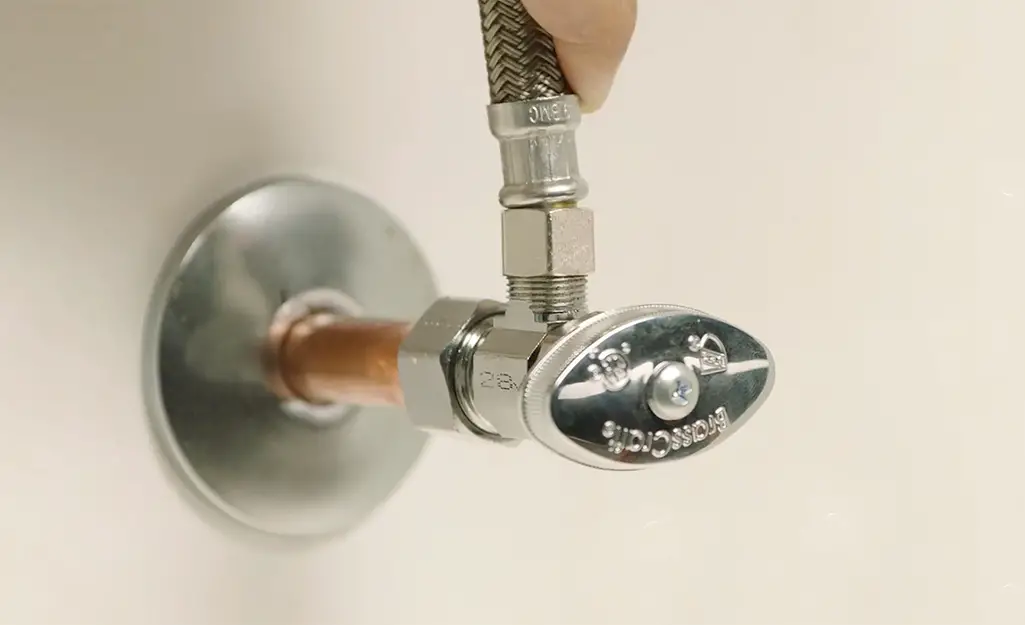
If your bathroom sink shut off valve gasket is leaking, the first step is to turn off the water supply to your sink. Locate the shut off valve, usually found under the sink or in the nearby cabinet. Turn the valve clockwise to shut off the water flow, and then turn on the sink faucet to release any remaining water in the pipes. Next, remove the handle of the shut off valve by unscrewing it counterclockwise. This will expose the valve stem and the packing nut. Use an adjustable wrench to loosen and remove the packing nut, being careful not to damage the valve stem. Once the packing nut is removed, you will see the old gasket. Use a screwdriver to gently pry it out, making sure not to scratch or damage the valve body. Clean the valve body and the valve stem thoroughly with a cloth to remove any debris or buildup. After cleaning, install the new gasket onto the valve stem and replace the packing nut. Tighten the nut with the wrench to create a secure seal. Finally, reattach the handle and turn the water supply back on to test for any leaks. If the leak persists, you may need to replace the entire shut off valve.How to Repair a Leaking Bathroom Sink Shut Off Valve Gasket
If the gasket is severely damaged or if the leak continues after replacing it, you may need to replace the entire shut off valve. This process is slightly more involved but can also be done without professional help. Start by turning off the water supply and removing the handle and packing nut, as described in the previous section. Then, use a pipe wrench to loosen and remove the old shut off valve from the pipe leading to the sink. Clean the pipe threads and apply plumber's tape to create a watertight seal. Next, install the new shut off valve onto the pipe and tighten it with the pipe wrench. Finally, reattach the handle and turn the water supply back on to test for any leaks.Replacing a Faulty Bathroom Sink Shut Off Valve Gasket
Fixing a leaky bathroom sink shut off valve gasket is a relatively simple task that can save you time and money. Here is a step-by-step guide for repairing or replacing the gasket yourself: 1. Turn off the water supply and release any remaining water from the pipes. 2. Remove the handle and packing nut from the shut off valve. 3. Gently pry out the old gasket and clean the valve stem and body. 4. Install the new gasket and tighten the packing nut. 5. Reattach the handle and turn the water supply back on to test for leaks. If the leak persists, you may need to replace the entire shut off valve following a similar process.DIY Guide for Fixing a Bathroom Sink Shut Off Valve Gasket Leak
There are several reasons why your bathroom sink shut off valve gasket may start leaking. Some of the most common causes include: Old age: Like any other component, gaskets can wear out over time, leading to leaks. Loose packing nut: If the packing nut is not tightened properly, it can cause the gasket to become loose and lead to leaks. Damage or debris: If the valve body or stem is damaged or has debris buildup, it can affect the seal of the gasket and cause leaks.Common Causes of a Bathroom Sink Shut Off Valve Gasket Leak
If you need to replace your entire shut off valve, here is a step-by-step guide to help you through the process: 1. Turn off the water supply and remove the handle and packing nut from the valve. 2. Use a pipe wrench to loosen and remove the old shut off valve from the pipe. 3. Clean the pipe threads and apply plumber's tape for a watertight seal. 4. Install the new shut off valve and tighten it with the pipe wrench. 5. Reattach the handle and turn the water supply back on to test for leaks.Step-by-Step Instructions for Replacing a Bathroom Sink Shut Off Valve Gasket
If you have followed the steps above and are still experiencing a leaky shut off valve gasket, here are a few troubleshooting tips that may help: Check the packing nut: Make sure the packing nut is tightened securely, but not too tight. Inspect the valve stem: If the stem is damaged or has buildup, it may need to be replaced. Replace the entire shut off valve: If the leak persists, you may need to replace the entire valve.Troubleshooting a Leaky Bathroom Sink Shut Off Valve Gasket
To prevent future leaks, it is essential to maintain your bathroom sink shut off valve and gasket properly. Here are a few tips to help you keep your sink running smoothly: Regularly check for leaks: Take the time to inspect your shut off valve and gasket for any signs of leaks, and address them promptly. Replace the gasket every few years: As with any other component, gaskets can wear out over time and may need to be replaced every few years to prevent leaks. Use caution when handling the valve: Be careful not to damage the valve body or stem when removing or installing the gasket.Preventing a Bathroom Sink Shut Off Valve Gasket Leak
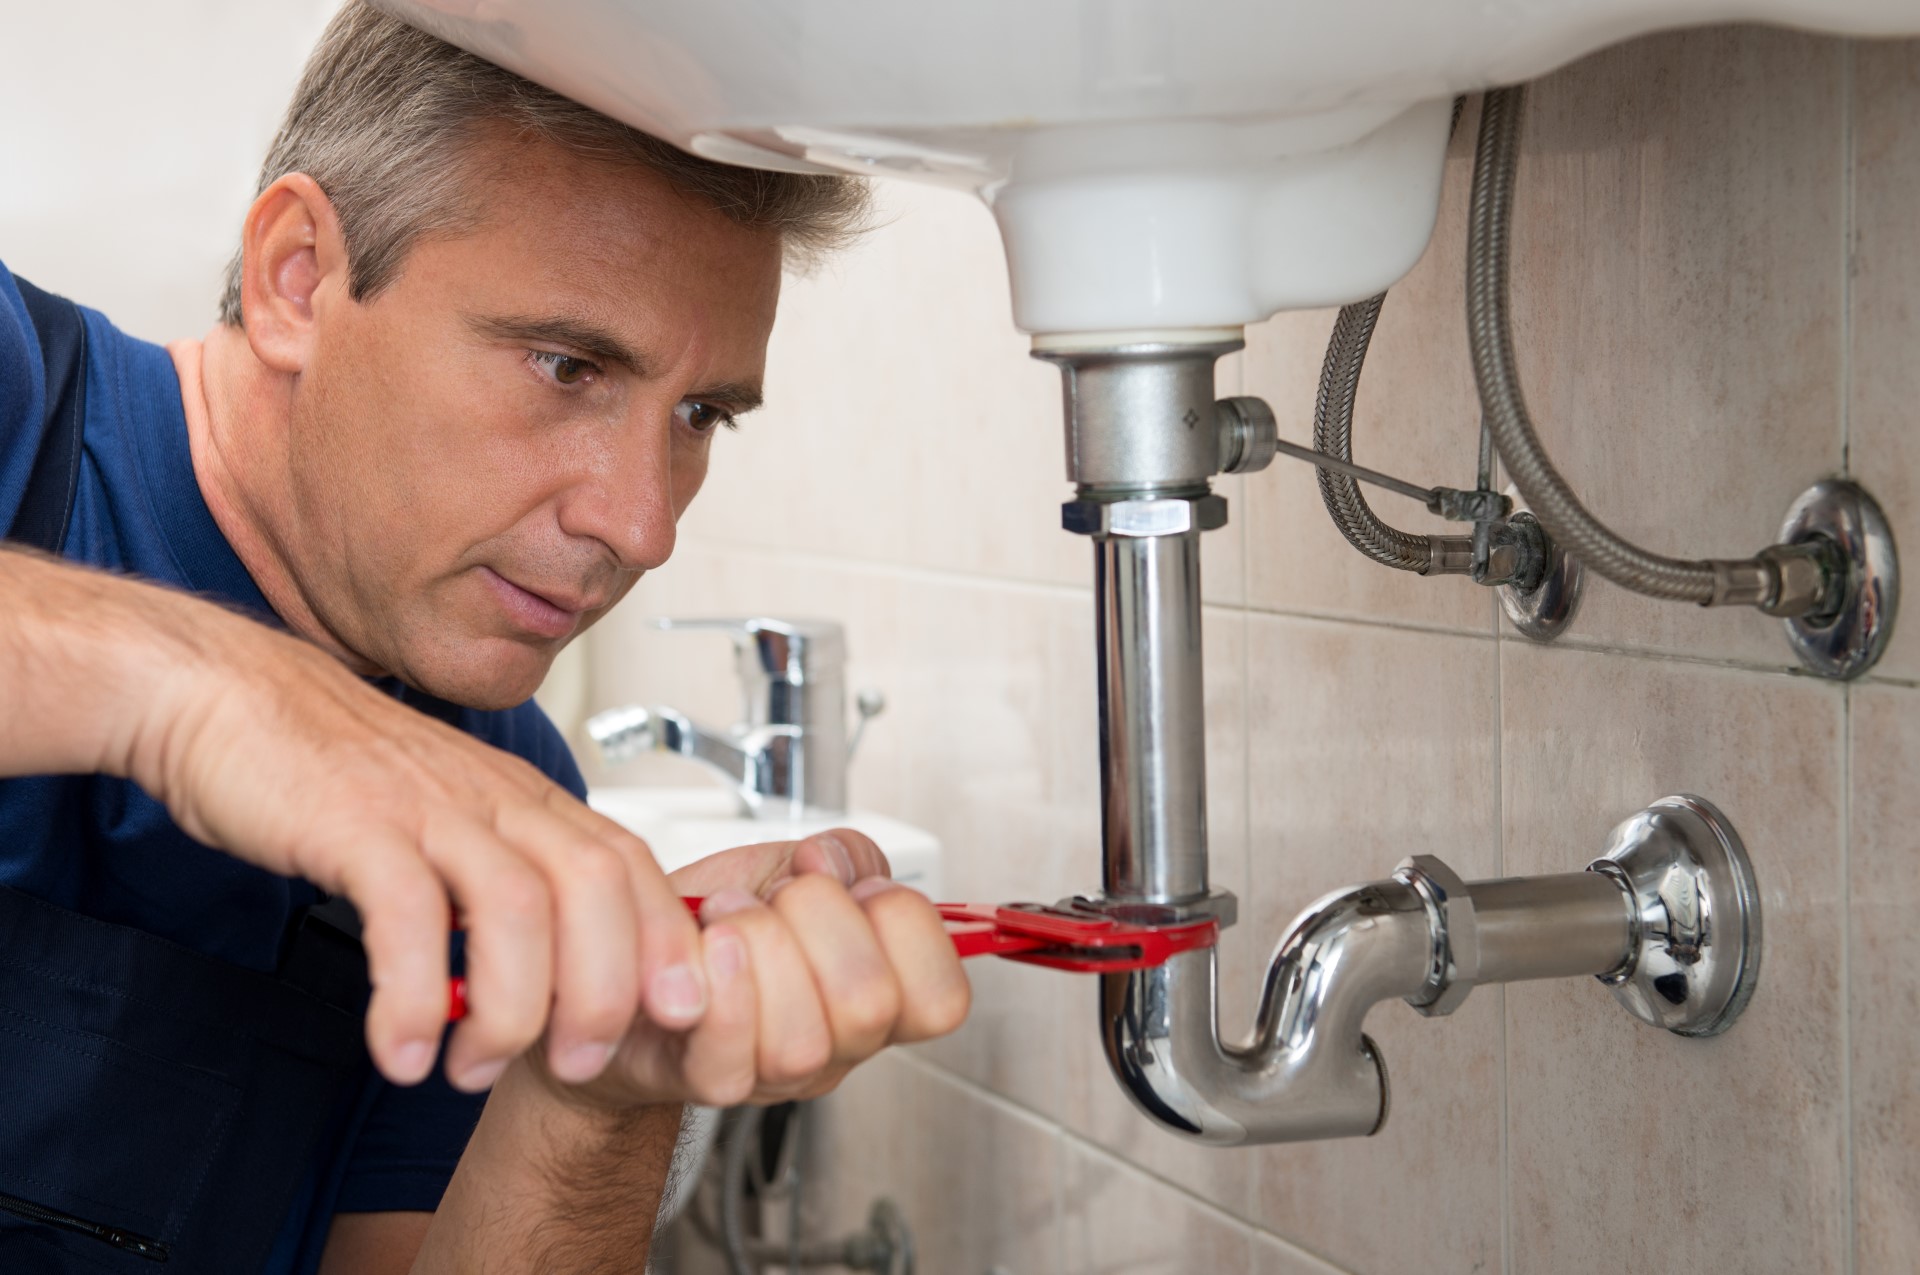
To fix a leaky bathroom sink shut off valve gasket, you will need the following tools and materials: Adjustable wrench - for removing the packing nut and attaching the new gasket Screwdriver - for prying out the old gasket Pipe wrench - for replacing the entire shut off valve Plumber's tape - for creating a watertight seal New gasket - to replace the old, leaky oneTools and Materials Needed for Fixing a Bathroom Sink Shut Off Valve Gasket Leak
If you are not comfortable or knowledgeable enough to fix a leaky bathroom sink shut off valve gasket yourself, do not hesitate to seek professional help. A licensed plumber can quickly and efficiently repair or replace the faulty gasket, saving you time and hassle. Don't let a leaky bathroom sink shut off valve gasket cause headaches and water damage in your home. With these tips and instructions, you can easily fix the problem and have your sink running smoothly again in no time.Professional Plumbing Services for Repairing a Bathroom Sink Shut Off Valve Gasket Leak
Why a Leaking Bathroom Sink Shut Off Valve Gasket Should Not Be Ignored

When it comes to house design, every detail matters. From the paint color on the walls to the type of flooring you choose, every decision can impact the overall look and feel of your home. However, one aspect of house design that often gets overlooked is the plumbing. Specifically, the bathroom sink shut off valve gasket may not seem like a crucial element, but ignoring a leak in this area can lead to bigger problems down the road.
The Role of the Shut Off Valve Gasket

Before we dive into why a leaking bathroom sink shut off valve gasket is a cause for concern, let's first understand its role in the plumbing system. The shut off valve gasket is a small rubber or plastic ring that helps to seal the connection between the shut off valve and the water supply line. This gasket prevents any water from leaking out and also allows you to turn off the water supply to your sink when needed.
The Consequences of a Leaking Gasket
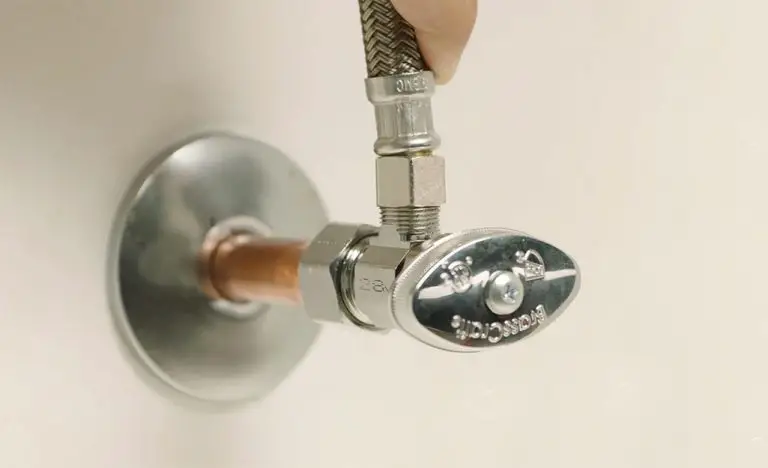
Now that we know the purpose of the shut off valve gasket, it's easy to see why a leak in this area can cause problems. A leaky gasket can result in water dripping or spraying out from the valve, leading to potential water damage and higher water bills. Additionally, a damaged gasket can also affect the water pressure in your sink, making it difficult to properly wash your hands or dishes.
In some cases, a leaking gasket can also be a sign of a larger issue with your plumbing system. It's possible that the gasket has worn out due to age or wear and tear, but it could also be a sign of a more significant problem, such as a cracked pipe or a loose connection. Ignoring the issue can result in more extensive and expensive repairs in the future.
Fixing a Leaky Gasket

If you notice a leak in your bathroom sink shut off valve gasket, it's essential to address it as soon as possible. The good news is that fixing a leaky gasket is a relatively simple task. You can start by turning off the water supply to your sink and then unscrewing the valve from the supply line. From there, you can remove the old gasket and replace it with a new one. It's always a good idea to have a few extra gaskets on hand for future replacements.
If you're not comfortable tackling this task on your own, it's best to call a professional plumber. They can quickly diagnose the issue and make any necessary repairs or replacements to ensure your plumbing system is functioning correctly.
Don't Ignore a Leaking Gasket

While a leaking bathroom sink shut off valve gasket may seem like a minor problem, it's essential to address it promptly. Ignoring the issue can lead to more significant and costlier repairs down the road. So, when it comes to house design, don't overlook the importance of maintaining your plumbing system, including the small but crucial shut off valve gasket.





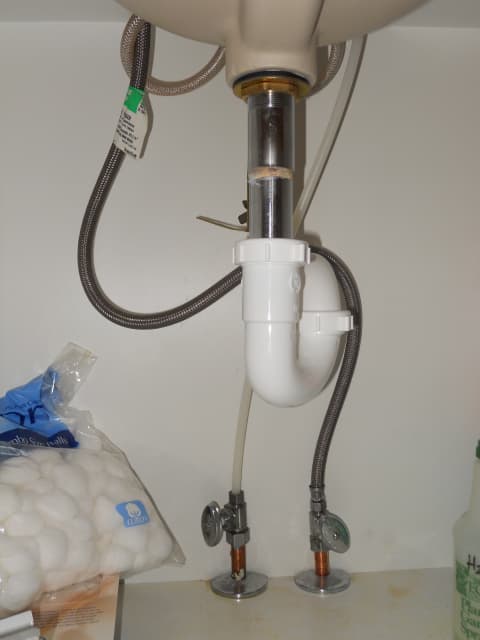
:max_bytes(150000):strip_icc()/sink-pipe-under-wash-basin-119001607-6f28aec4c66944efb7a9a38cb622ab8b.jpg)












:max_bytes(150000):strip_icc()/mistana-milton-vegan-leather-square-arm-sofa-2467454b3375405b9a3718c713617461.jpg)


