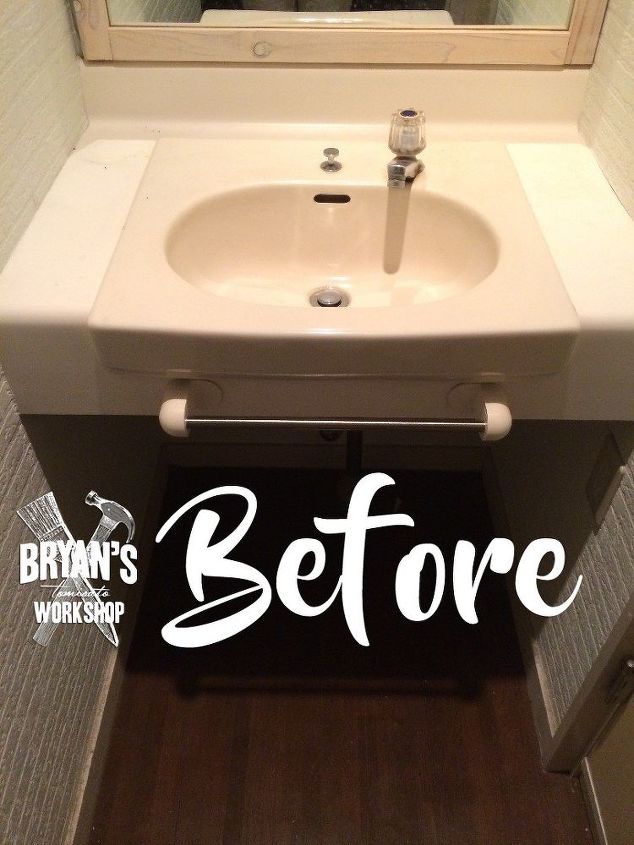
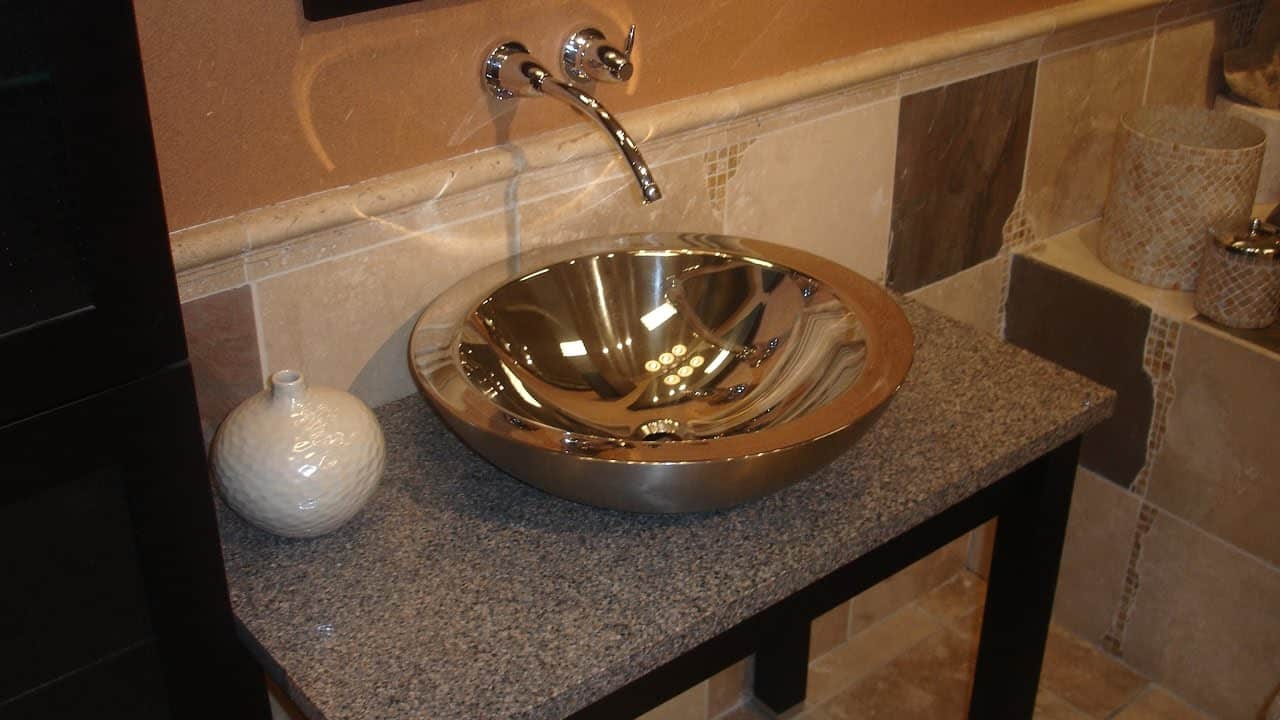
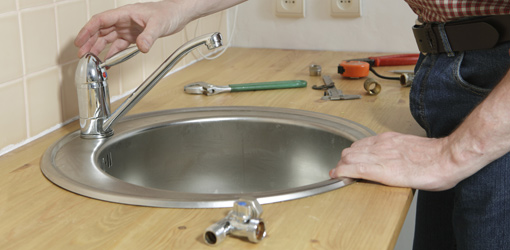
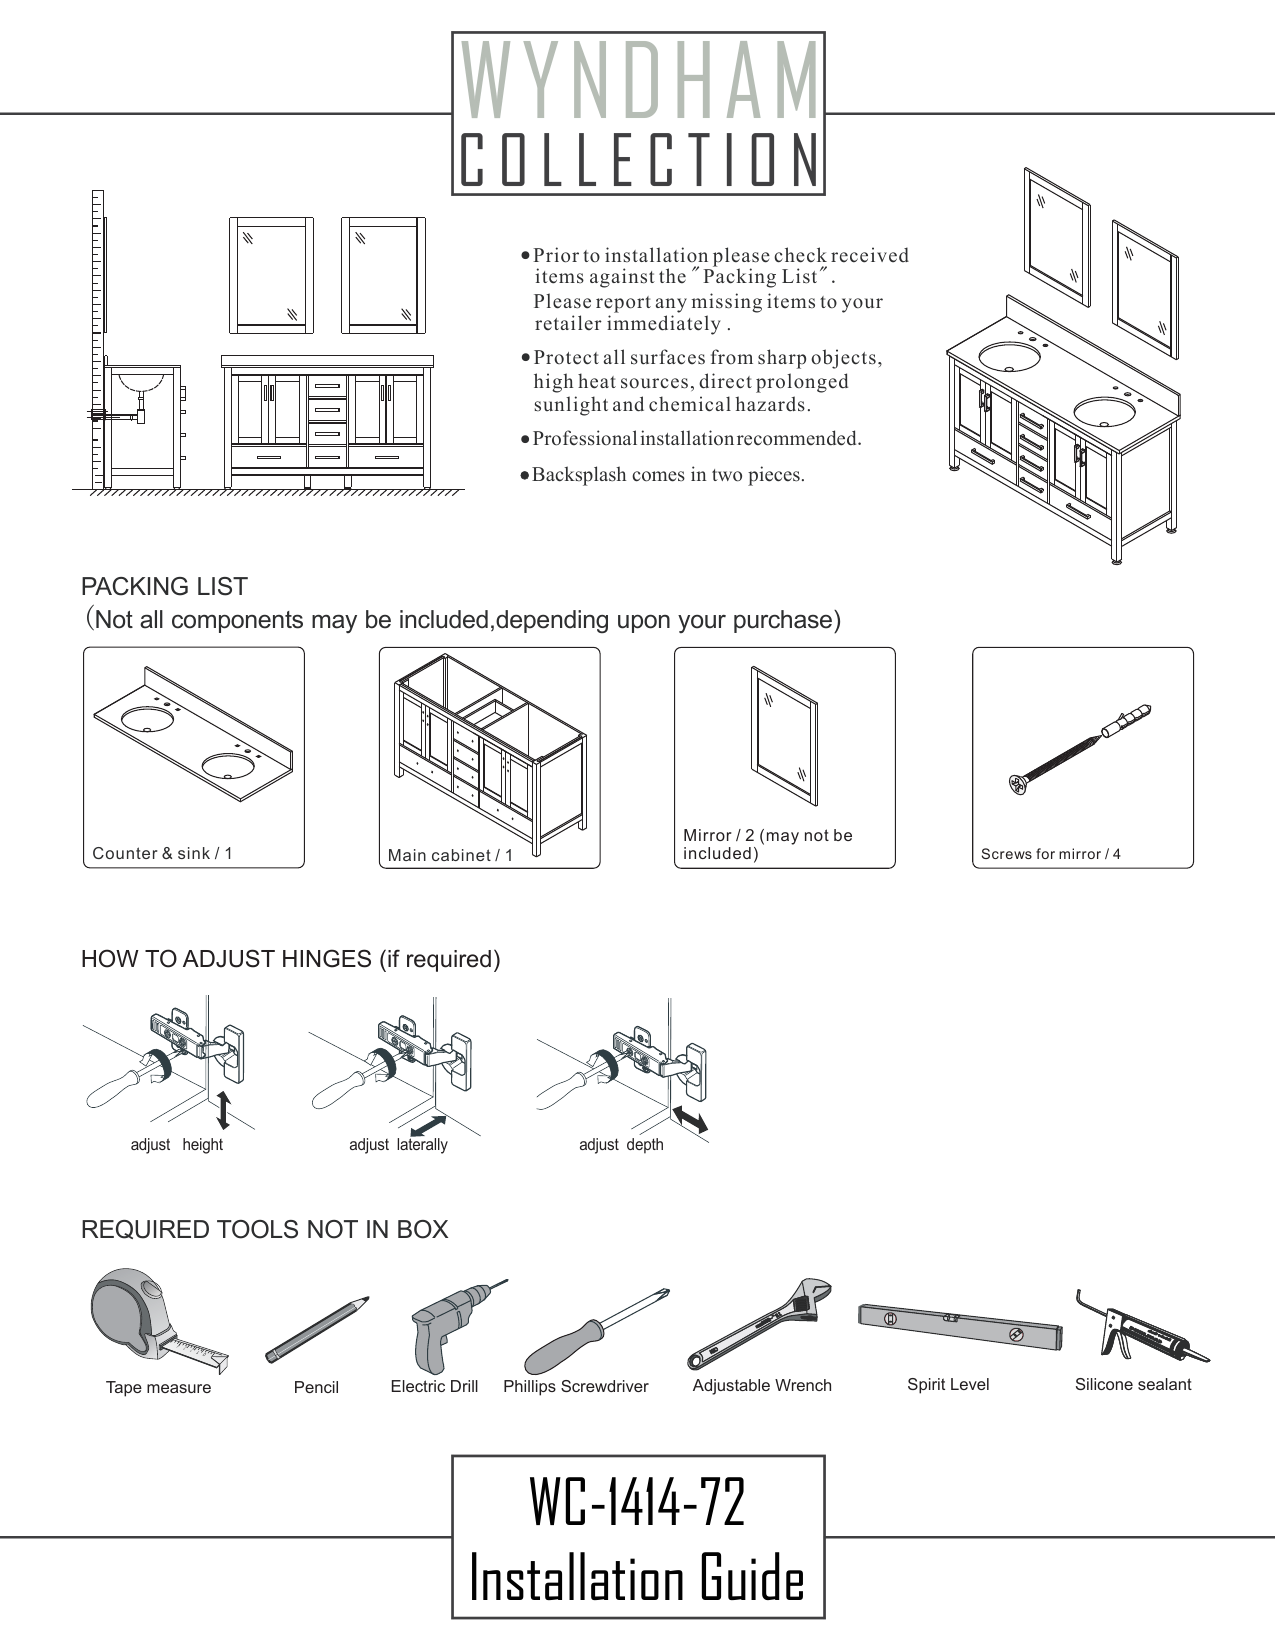
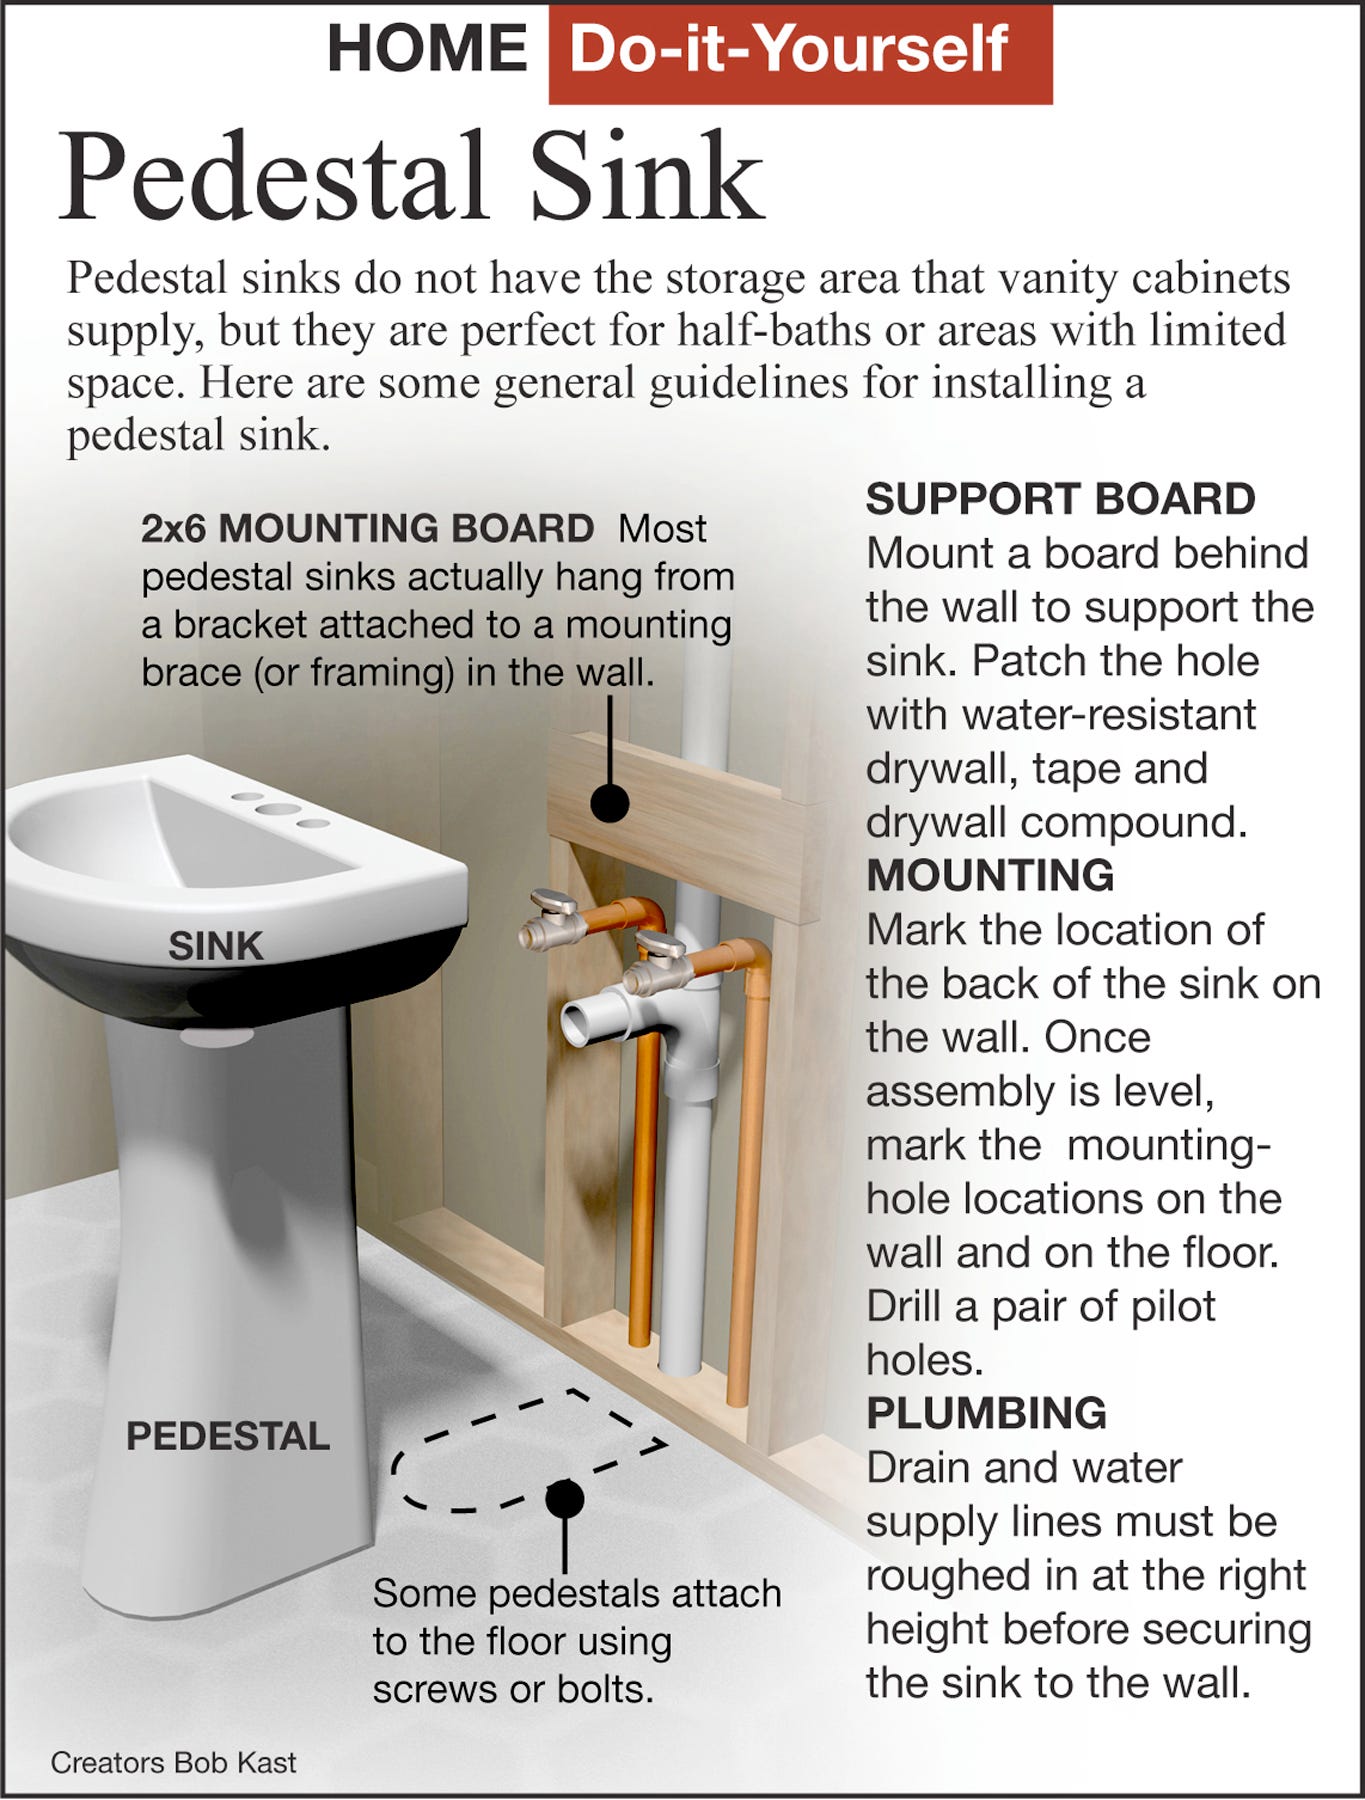
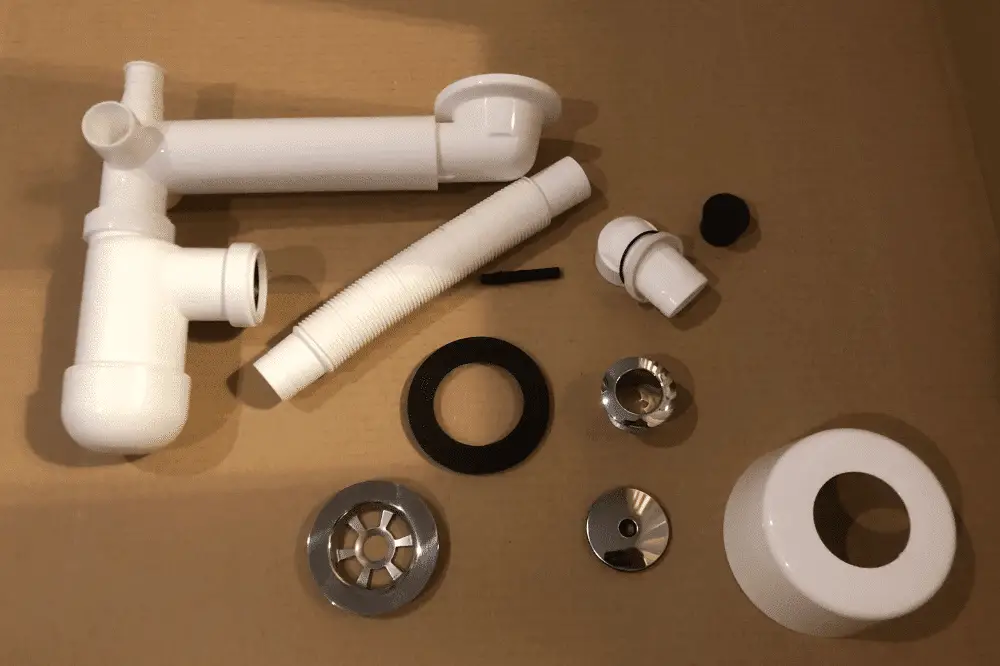
Installing a bathroom sink may seem like a daunting task, but with the right tools and knowledge, it can be a simple and straightforward process. Whether you're renovating your bathroom or just replacing an old sink, follow these step-by-step instructions to ensure a successful bathroom sink installation.How to Install a Bathroom Sink
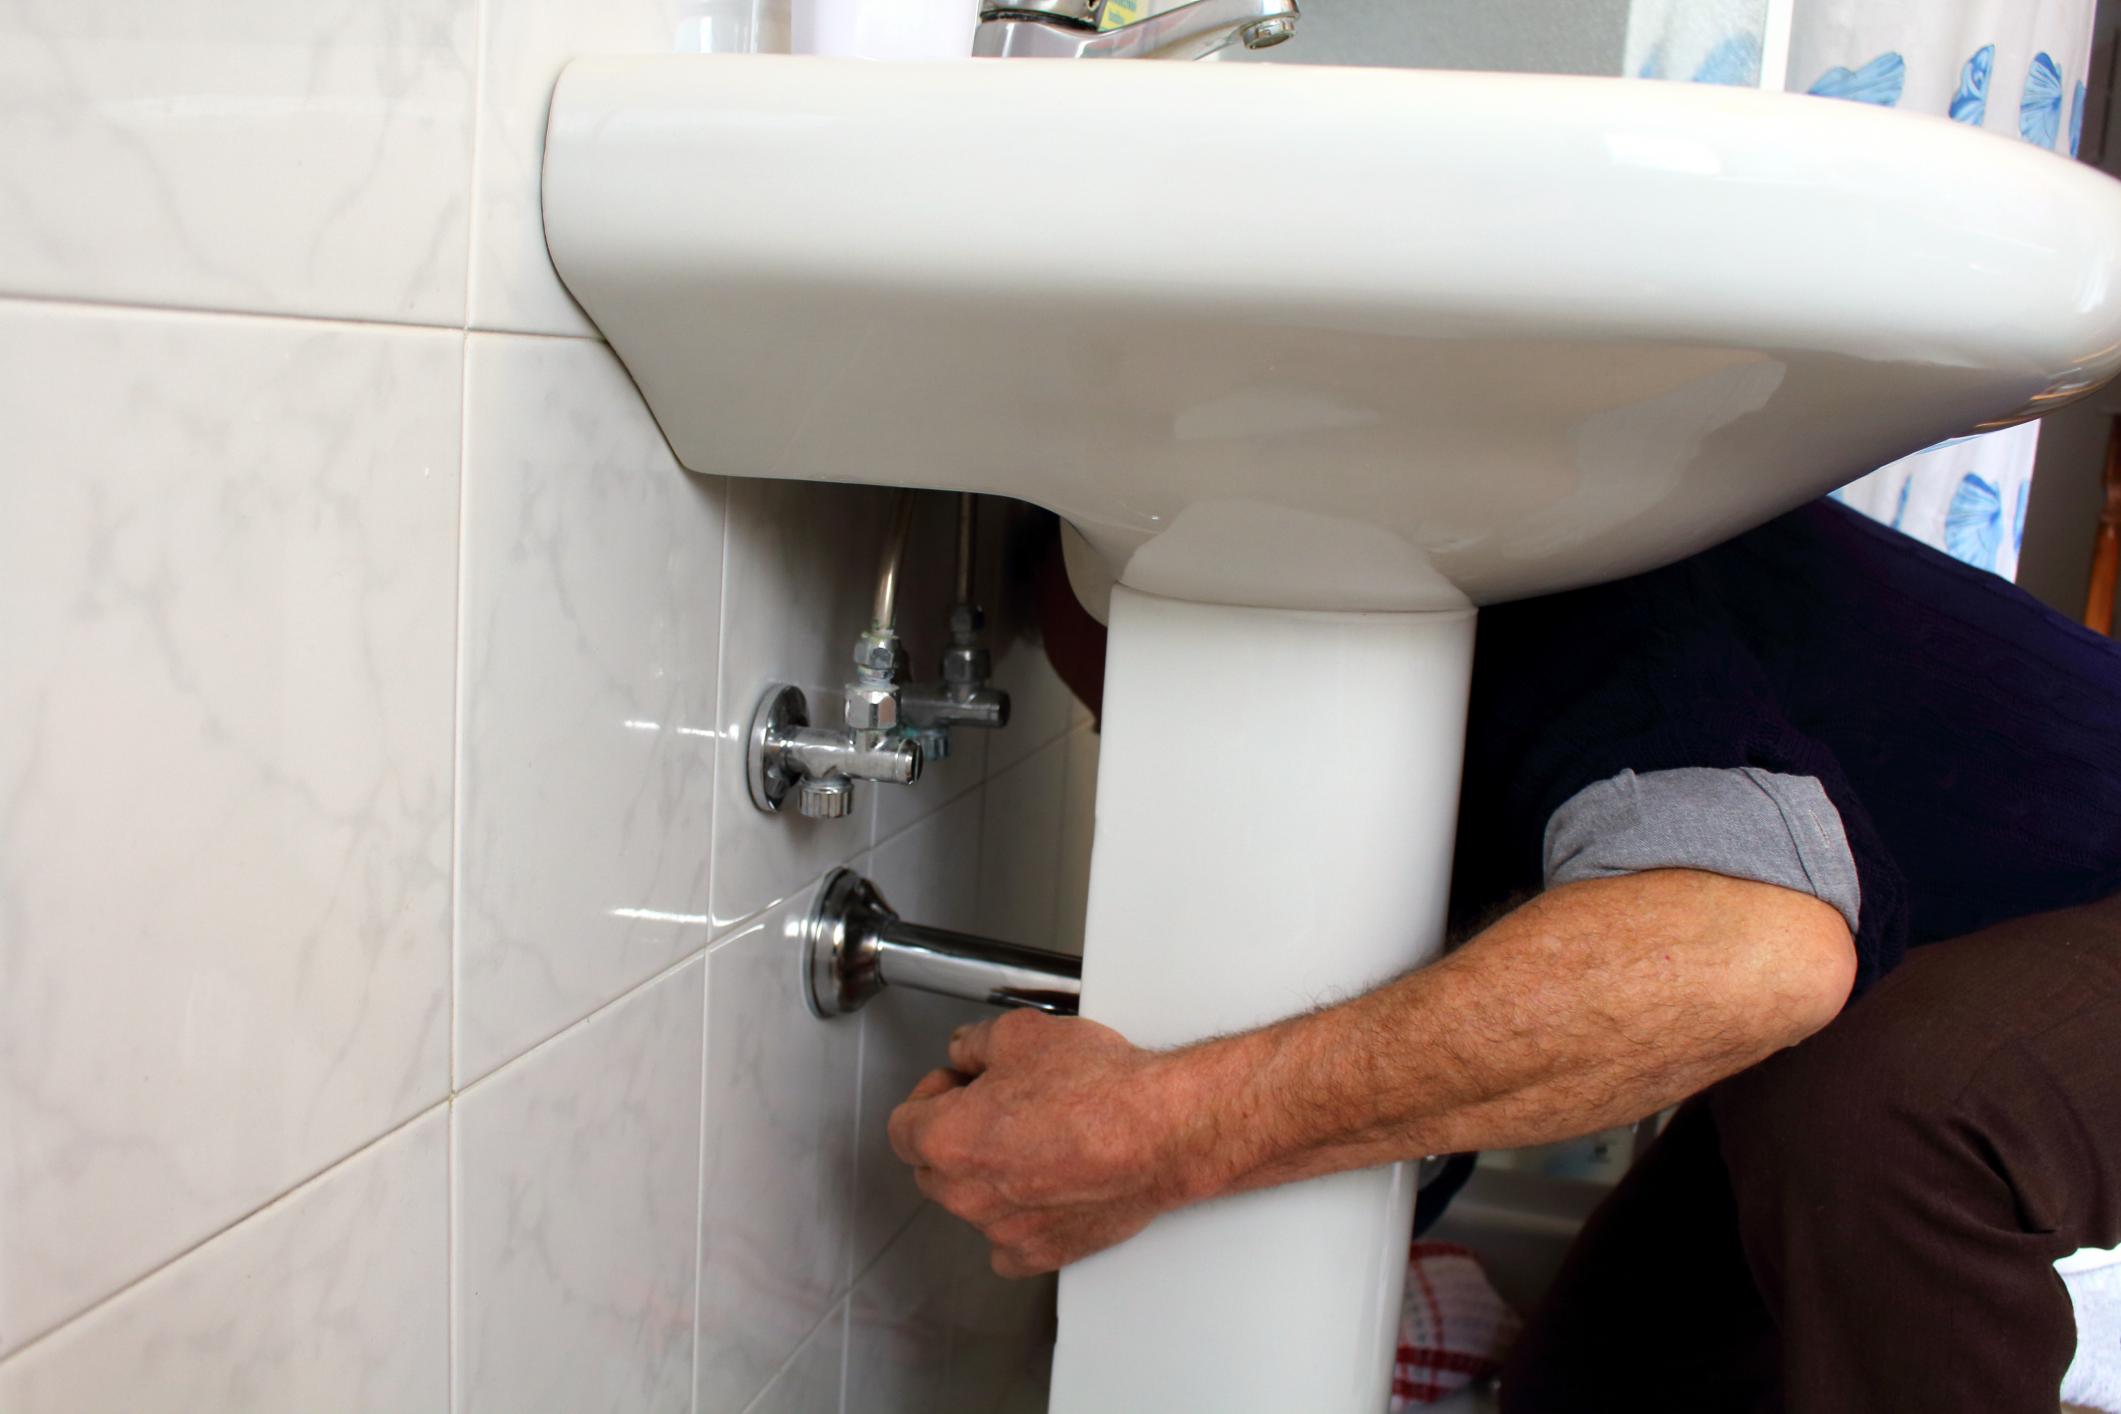
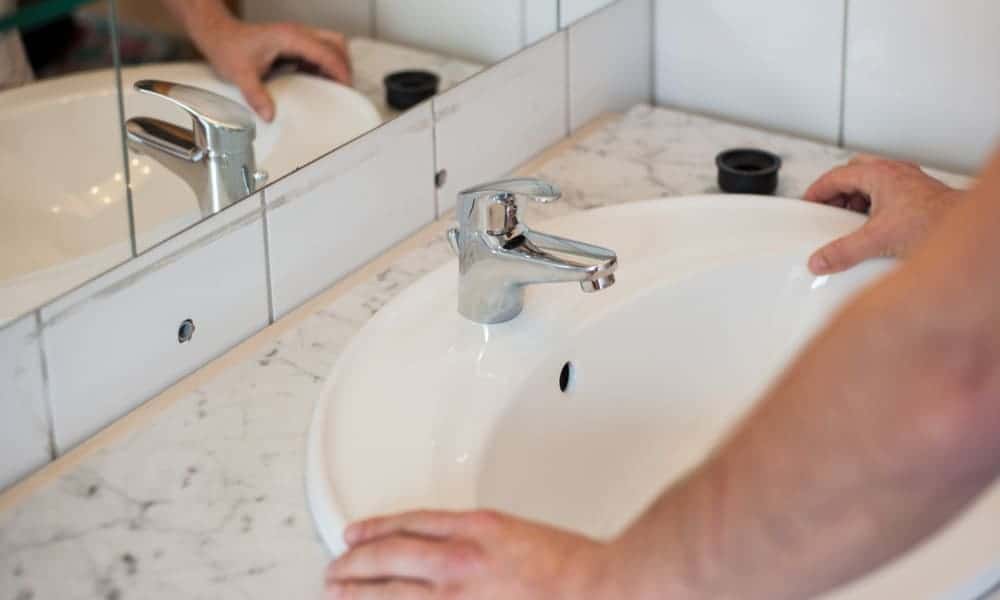
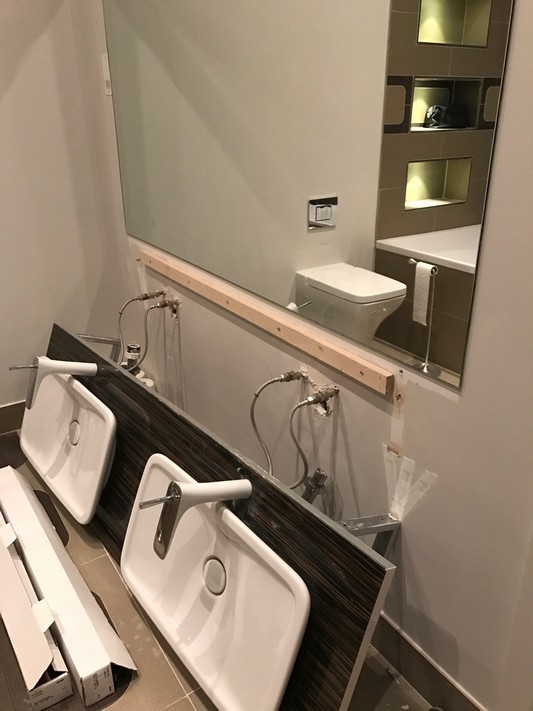
Step 1: Gather Your Tools and Materials Before you begin, make sure you have all the necessary tools and materials. These may include a wrench, screwdriver, plumber's putty, silicone caulk, and the new sink and faucet. Make sure to read the manufacturer's instructions for any specific tools or materials needed for your particular sink. Step 2: Shut off the Water Supply Before starting any plumbing work, always shut off the water supply. This can usually be done by turning off the main water valve in your home. Then, turn on the faucet to release any remaining water pressure. Step 3: Remove the Old Sink If you're replacing an old sink, start by disconnecting the water supply lines and drain pipes. Use a wrench to loosen and remove any nuts or bolts holding the sink in place. Carefully lift the sink and remove it from the vanity or countertop. Step 4: Prep the Vanity or Countertop If you're installing a new sink, make sure the vanity or countertop is clean and free of any debris. Measure and mark the location of the new sink, making sure it's centered and level. Step 5: Install the Faucet Follow the manufacturer's instructions to install the faucet onto the sink. Use plumber's putty or silicone caulk to create a watertight seal around the faucet base. Step 6: Attach the Sink to the Vanity or Countertop Place the sink onto the vanity or countertop, making sure it's properly aligned. Use clips or brackets to secure the sink in place. Check for any gaps between the sink and the vanity or countertop and adjust as needed. Step 7: Connect the Water Supply Lines and Drain Pipe Connect the water supply lines to the faucet and the drain pipe to the sink drain. Use plumber's tape to ensure a tight seal on any threaded connections. Step 8: Test for Leaks Once everything is connected, turn on the water supply and check for any leaks. If you notice any, tighten the connections as needed. Step 9: Apply Caulk and Finish Up Once everything is secure and leak-free, apply a thin bead of silicone caulk around the edges of the sink to create a watertight seal. Smooth out the caulk with your finger or a caulk tool for a clean finish.Step-by-Step Bathroom Sink Installation Guide
Installing a bathroom sink doesn't have to be a complicated process. By following these simple steps, you can have a new sink installed in no time. Remember to always read the manufacturer's instructions and take your time to ensure a successful installation.Bathroom Sink Installation Made Easy
If you're a DIY enthusiast, installing a bathroom sink can be a fun and rewarding project. Here are a few tips to keep in mind: Tip 1: Make sure to shut off the water supply before starting any plumbing work. Tip 2: Always read the manufacturer's instructions for your specific sink and faucet. Tip 3: Use plumber's tape to ensure a tight seal on any threaded connections. Tip 4: Take your time and double-check all connections to avoid any leaks.DIY Bathroom Sink Installation Tips
Before starting a bathroom sink installation, there are a few things you should know: Fact 1: Different sinks may require different tools and materials, so make sure to read the manufacturer's instructions. Fact 2: Installing a new sink may require some plumbing knowledge and experience. Fact 3: Always shut off the water supply before starting any plumbing work.Bathroom Sink Installation: What You Need to Know
If you're short on time, here are a few tips to make your bathroom sink installation quicker and easier: Tip 1: Choose a sink and faucet with similar dimensions to your old one to avoid any major changes to the plumbing. Tip 2: Use a silicone caulk with built-in adhesive for a quicker and more secure seal. Tip 3: Have all the necessary tools and materials ready before starting the installation.Quick and Easy Bathroom Sink Installation
If you're new to DIY and plumbing, don't worry. Installing a bathroom sink is a great project for beginners. Just make sure to follow the manufacturer's instructions and take your time to ensure a successful installation.Bathroom Sink Installation: A Beginner's Guide
For a successful bathroom sink installation, follow these step-by-step instructions: Step 1: Gather your tools and materials. Step 2: Shut off the water supply. Step 3: Remove the old sink. Step 4: Prep the vanity or countertop. Step 5: Install the faucet. Step 6: Attach the sink to the vanity or countertop. Step 7: Connect the water supply lines and drain pipe. Step 8: Test for leaks. Step 9: Apply caulk and finish up.Installing a Bathroom Sink: Step-by-Step Instructions
To ensure a successful bathroom sink installation, avoid these common mistakes: Mistake 1: Not shutting off the water supply before starting any plumbing work. Mistake 2: Not reading the manufacturer's instructions for your specific sink and faucet. Mistake 3: Rushing the installation and not checking for leaks.Bathroom Sink Installation: Common Mistakes to Avoid
If you're still feeling unsure about installing a bathroom sink, here are a few expert tips to help you out: Tip 1: Take your time and read the instructions carefully. Tip 2: Use high-quality tools and materials for a more durable and long-lasting installation. Tip 3: Don't be afraid to seek professional help if you're not confident in your plumbing skills.Expert Tips for Installing a Bathroom Sink
Why Proper Bathroom Sink Installation is Essential for Your House Design

Investing in Quality and Functionality
 When designing or renovating a house, every little detail matters. This includes the installation of a bathroom sink. While it may seem like a small and insignificant aspect, a well-installed sink can add both quality and functionality to your overall house design. It is important to pay attention to the installation instructions to ensure that your sink not only looks great, but also functions properly for years to come.
Proper Placement for Optimal Use
One of the key benefits of following proper bathroom sink installation instructions is the placement of the sink. A sink that is too high or too low can cause discomfort and inconvenience in your daily use. By following the instructions, you can ensure that your sink is installed at the optimal height for you and your family, making it easier and more comfortable to use.
Preventing Leaks and Damage
Another crucial reason to follow installation instructions is to prevent leaks and potential damage to your house. A poorly installed sink can lead to water leaks, which can cause mold, mildew, and even structural damage. Not only can this be a major inconvenience, but it can also be costly to repair. By properly installing your sink, you can avoid these issues and maintain the integrity of your house design.
Enhancing Aesthetic Appeal
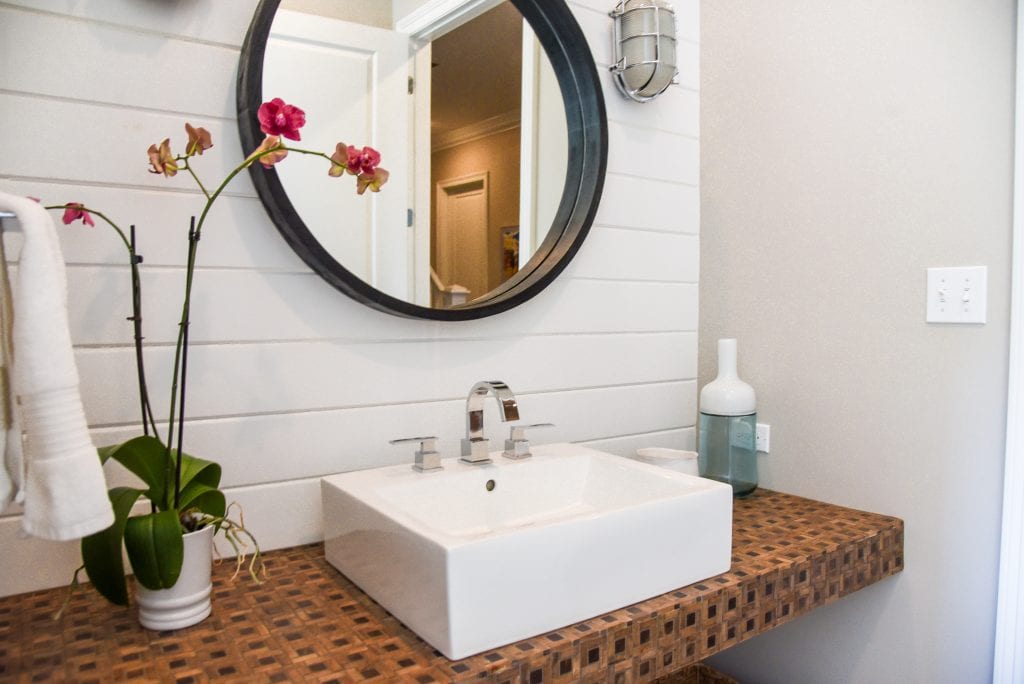
 A bathroom sink is not only functional, but it also adds to the overall aesthetic appeal of your house. A well-installed sink can tie the design elements of your bathroom together and create a cohesive look. By following the installation instructions, you can ensure that your sink is properly aligned and centered, creating a visually appealing and balanced look.
Ensuring Longevity
Investing in a high-quality sink is important, but it is equally important to install it correctly. A sink that is not installed properly can become loose and wobbly over time, shortening its lifespan. By following the instructions, you can secure your sink in place and ensure its longevity, saving you from having to replace it in the future.
The Importance of Professional Installation
 While it may be tempting to save money and install the sink yourself, it is highly recommended to seek professional help. Professional installers have the knowledge and experience to properly install your sink, ensuring that it functions and looks its best. They also have the proper tools and equipment to complete the job efficiently and effectively.
In Conclusion
A bathroom sink may seem like a small detail in house design, but it plays a significant role in both aesthetics and functionality. By following proper installation instructions and seeking professional help, you can ensure that your sink not only looks great, but also functions properly and lasts for years to come. So don't overlook the importance of bathroom sink installation and give your house the attention to detail it deserves.


