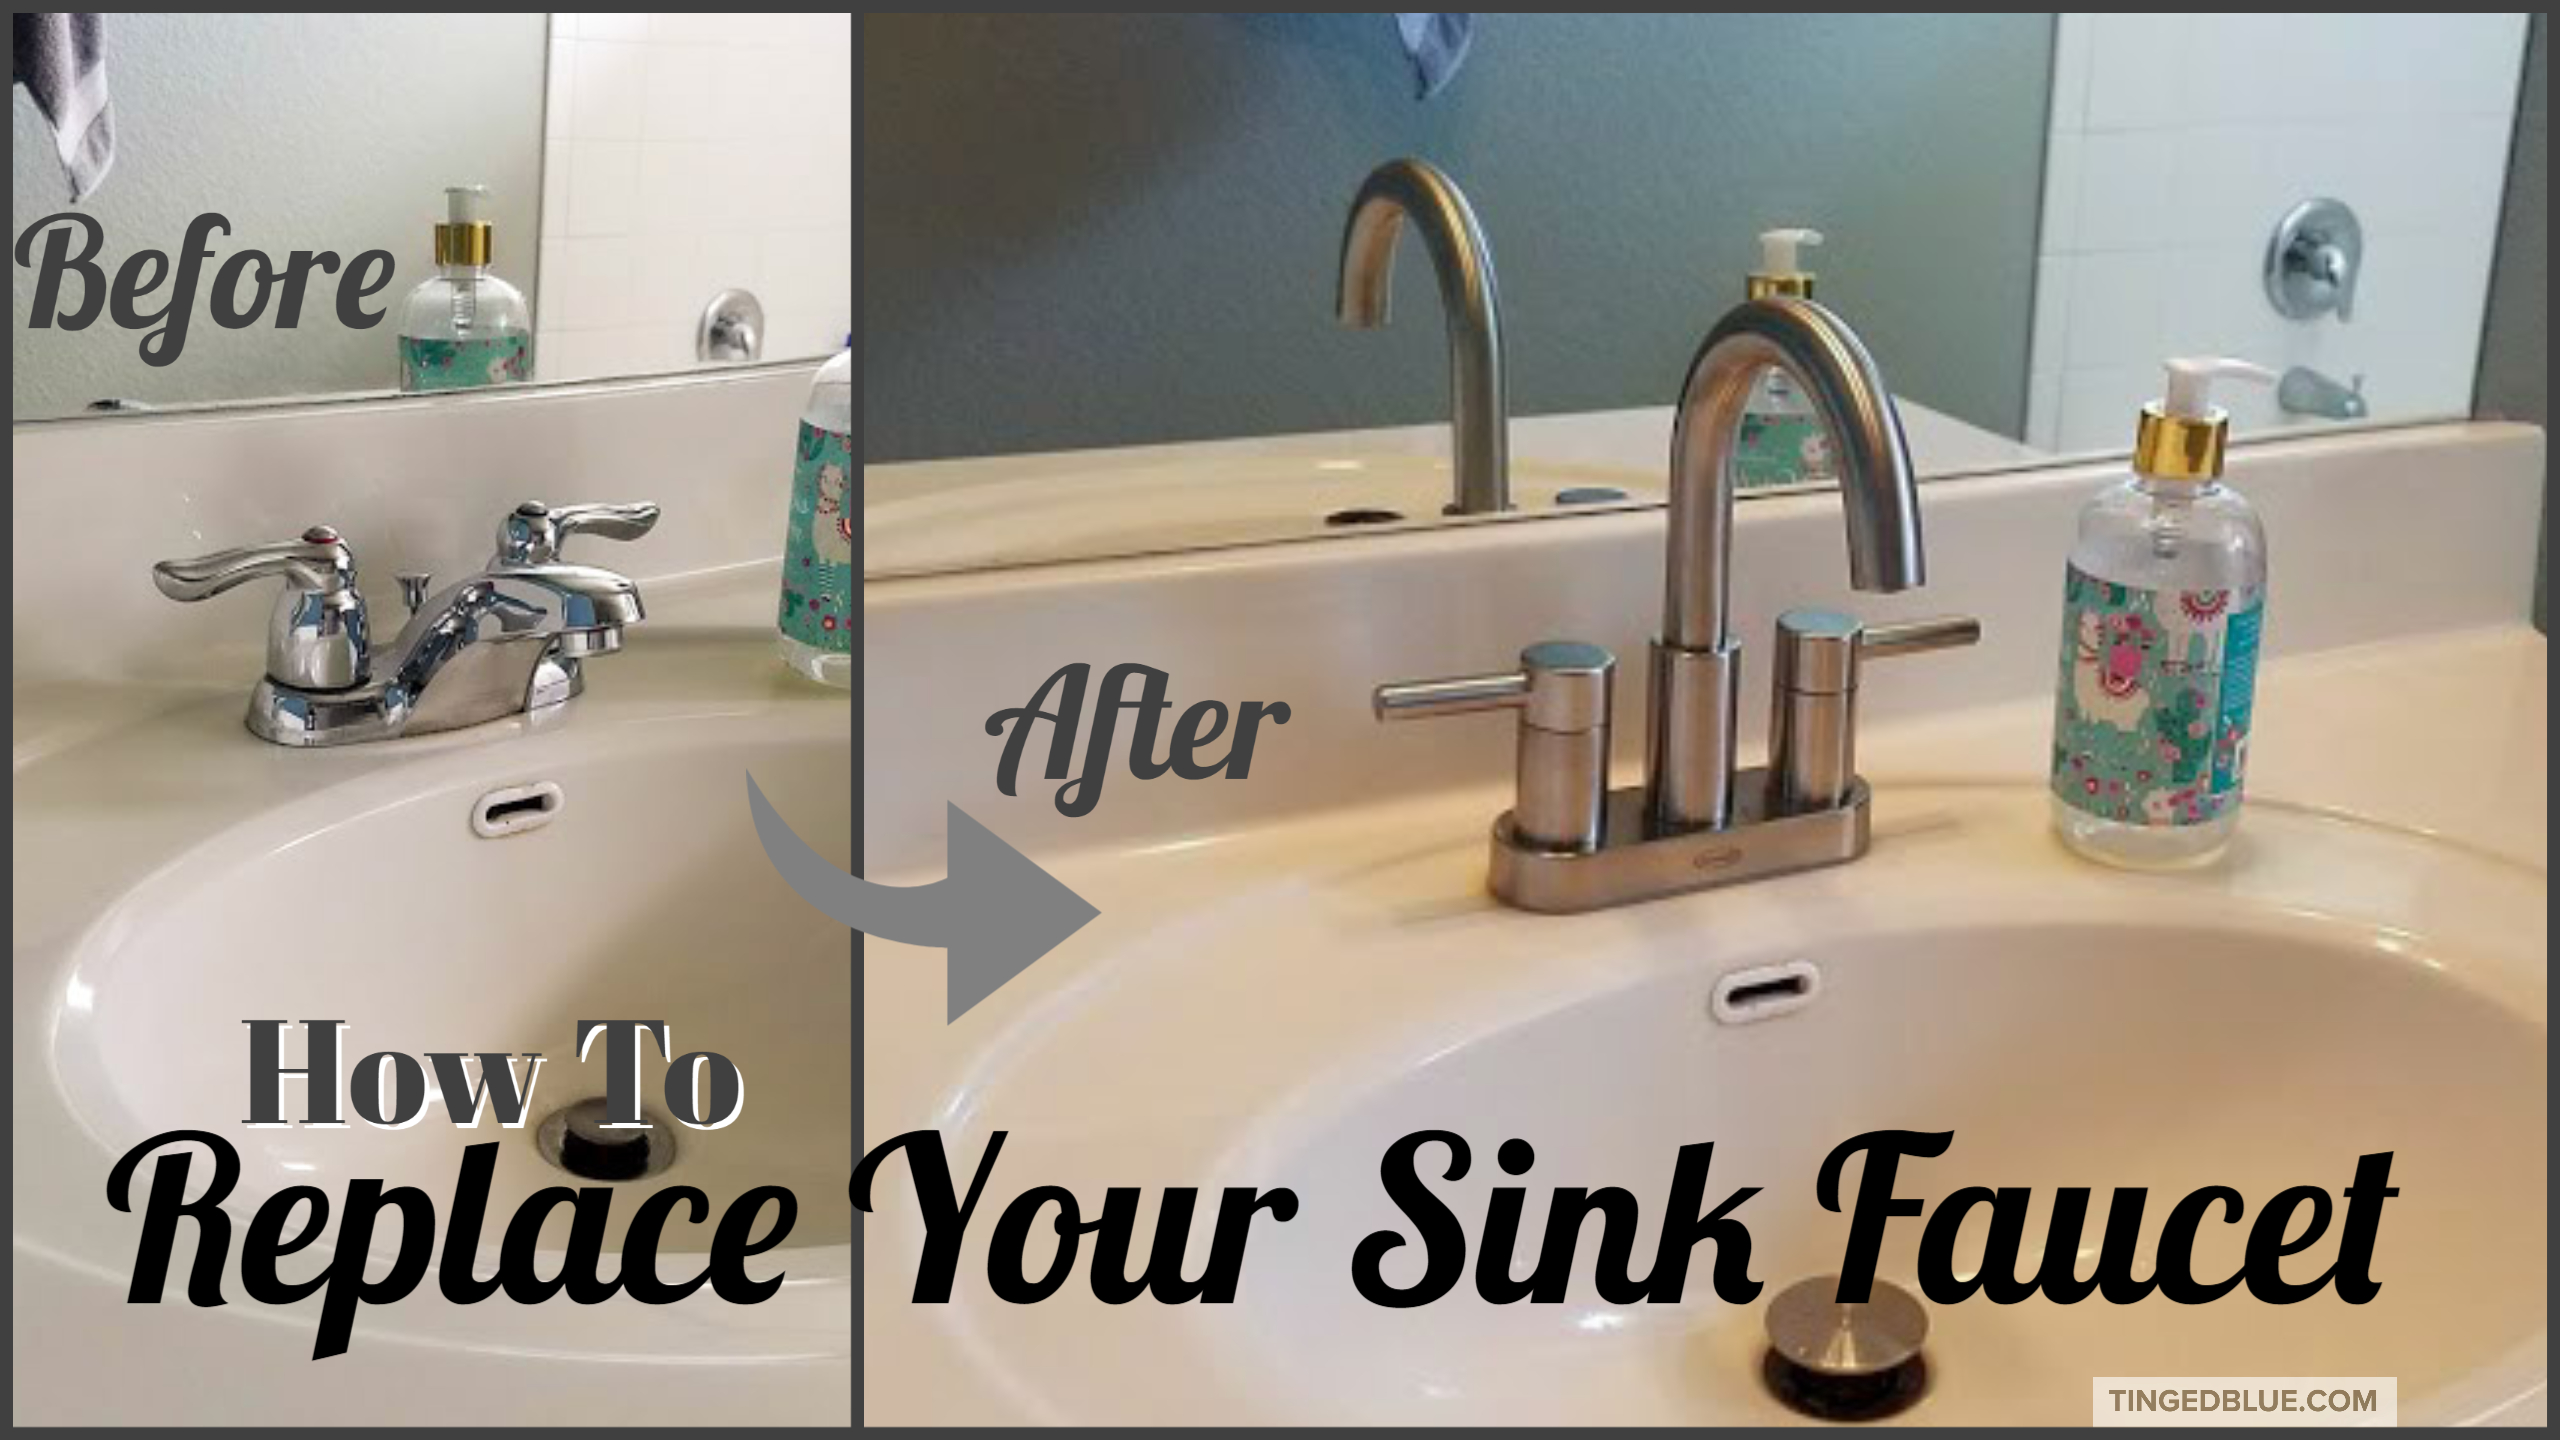
How to Replace a Bathroom Sink Faucet
If you're tired of your old, leaky bathroom sink faucet, it may be time for a replacement. This may seem like a daunting task, but with the right tools and instructions, you can easily replace your bathroom sink faucet on your own. In this guide, we'll walk you through the process step-by-step and provide you with some helpful tips and tricks along the way. So let's get started and transform your bathroom with a brand new faucet!


How to Replace a Bathroom Sink Faucet


Step-by-Step Bathroom Sink Faucet Replacement Instructions
Before you begin, make sure to turn off the water supply to your sink. You can usually find the shut-off valves under the sink. Once the water is off, follow these instructions:
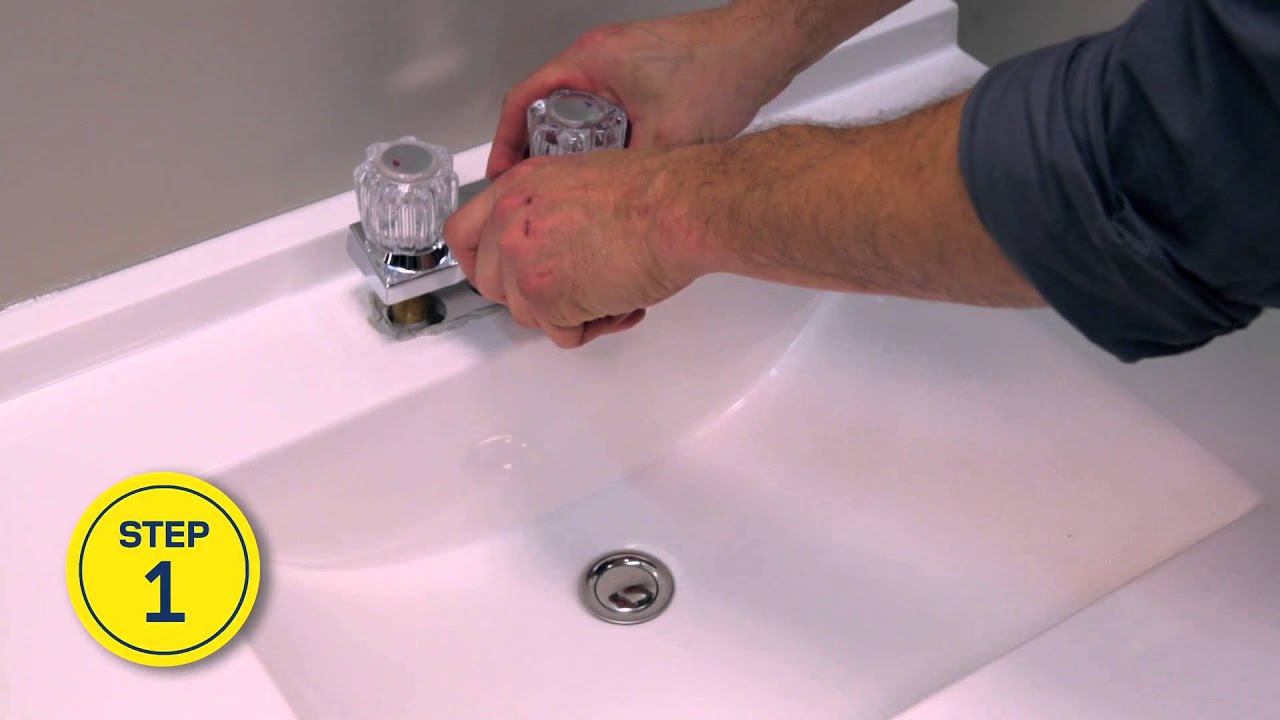
Step 1: Remove the old faucet by unscrewing the nuts that hold it in place. You may need a basin wrench for this step.
Step 2: Clean the area where the old faucet was attached to the sink.
Step 3: Take your new faucet and place the base on top of the sink. Make sure it's centered and then tighten the mounting nuts from underneath.
Step 4: Connect the hot and cold water supply lines to the corresponding valves under the sink. Use a wrench to tighten the connections.
Step 5: Turn the water supply back on and check for any leaks. If there are no leaks, you're good to go!


Step-by-Step Bathroom Sink Faucet Replacement Instructions


DIY Bathroom Sink Faucet Replacement Guide
If you're a fan of DIY projects, then replacing your bathroom sink faucet is the perfect task for you. Not only will you save money by not hiring a professional, but you'll also feel a sense of accomplishment after completing this project. Just make sure to follow the instructions carefully and take your time.


DIY Bathroom Sink Faucet Replacement Guide


Bathroom Sink Faucet Replacement Tips and Tricks
Replacing a bathroom sink faucet may seem like a straightforward task, but there are some tips and tricks that can make the process smoother and more efficient. Here are a few to keep in mind:
Tip 1: Before you start, take a picture of your old faucet and its connections. This will serve as a reference when you're installing the new one.
Tip 2: Use plumber's tape on the connections to prevent leaks.
Tip 3: Make sure to turn off the water supply before beginning the replacement process.
Tip 4: Don't tighten the connections too much or you may damage them.
Bathroom Sink Faucet Replacement Tips and Tricks

Replacing a Bathroom Sink Faucet: A Comprehensive Guide
If you've never replaced a bathroom sink faucet before, it may seem like a daunting task. But with this comprehensive guide, you'll have all the information you need to successfully complete the project. From turning off the water supply to checking for leaks, we've got you covered every step of the way.


Replacing a Bathroom Sink Faucet: A Comprehensive Guide


Quick and Easy Bathroom Sink Faucet Replacement Instructions
If you're short on time or just want a quick and easy faucet replacement, follow these simple instructions:
Step 1: Turn off the water supply to your sink.
Step 2: Remove the old faucet and clean the area.
Step 3: Install the new faucet and tighten the connections.
Step 4: Turn the water supply back on and check for leaks.


Quick and Easy Bathroom Sink Faucet Replacement Instructions

Essential Tools for Bathroom Sink Faucet Replacement
Before you begin your bathroom sink faucet replacement, make sure you have all the necessary tools. Here are some essential ones you'll need:
Tool 1: Basin wrench
Tool 2: Adjustable wrench
Tool 3: Plumber's tape
Tool 4: Screwdriver

Essential Tools for Bathroom Sink Faucet Replacement


Common Mistakes to Avoid When Replacing a Bathroom Sink Faucet
While replacing a bathroom sink faucet is a relatively simple process, there are some common mistakes that can happen. Here are a few to avoid:
Mistake 1: Not turning off the water supply before beginning the replacement.
Mistake 2: Forgetting to clean the area where the old faucet was attached.
Mistake 3: Overtightening the connections and causing damage.
Mistake 4: Not using plumber's tape on the connections, resulting in leaks.


Common Mistakes to Avoid When Replacing a Bathroom Sink Faucet


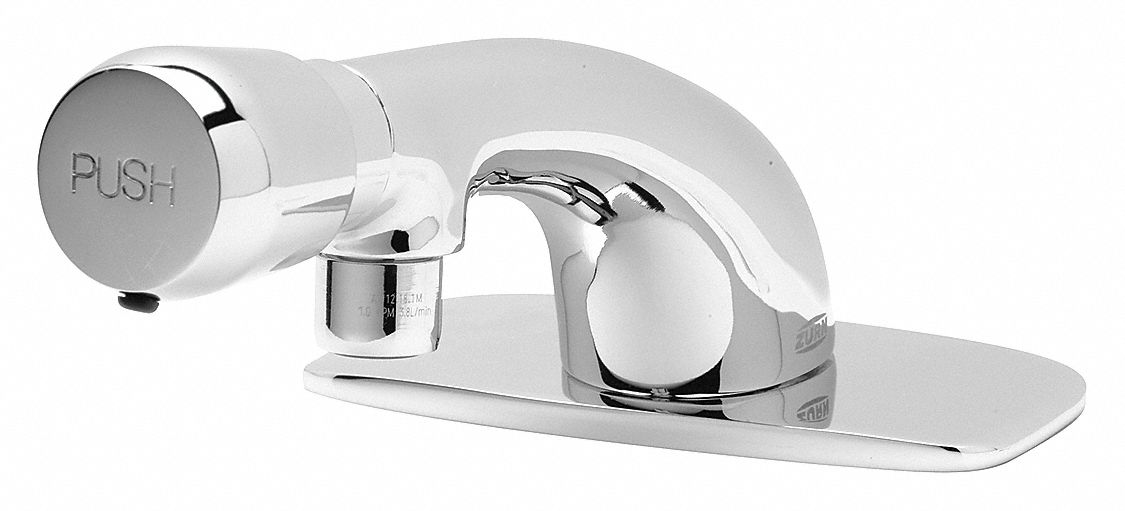
How to Choose the Right Bathroom Sink Faucet for Replacement
When it comes to choosing a new bathroom sink faucet, there are a few factors to consider. These include the style, finish, and features. Make sure to choose a faucet that matches your bathroom's aesthetic and meets your functional needs.
Style: Do you want a traditional, contemporary, or modern style?
Finish: Popular finishes include chrome, brushed nickel, and oil-rubbed bronze.
Features: Do you want a single or double handle faucet? Do you want a sprayer or a pull-out feature?


How to Choose the Right Bathroom Sink Faucet for Replacement


Budget-Friendly Bathroom Sink Faucet Replacement Options
If you're on a tight budget, don't worry, there are plenty of affordable bathroom sink faucet replacement options available. Look for sales, discounts, and clearance items to find a great deal. You can also opt for a basic faucet without any additional features to save money.
Now that you have all the information and instructions you need, it's time to replace your bathroom sink faucet. With a little bit of effort and the right tools, you can easily transform your bathroom and give it a fresh new look. Happy faucet replacing!


Budget-Friendly Bathroom Sink Faucet Replacement Options


Additional Tips for Bathroom Sink Faucet Replacement

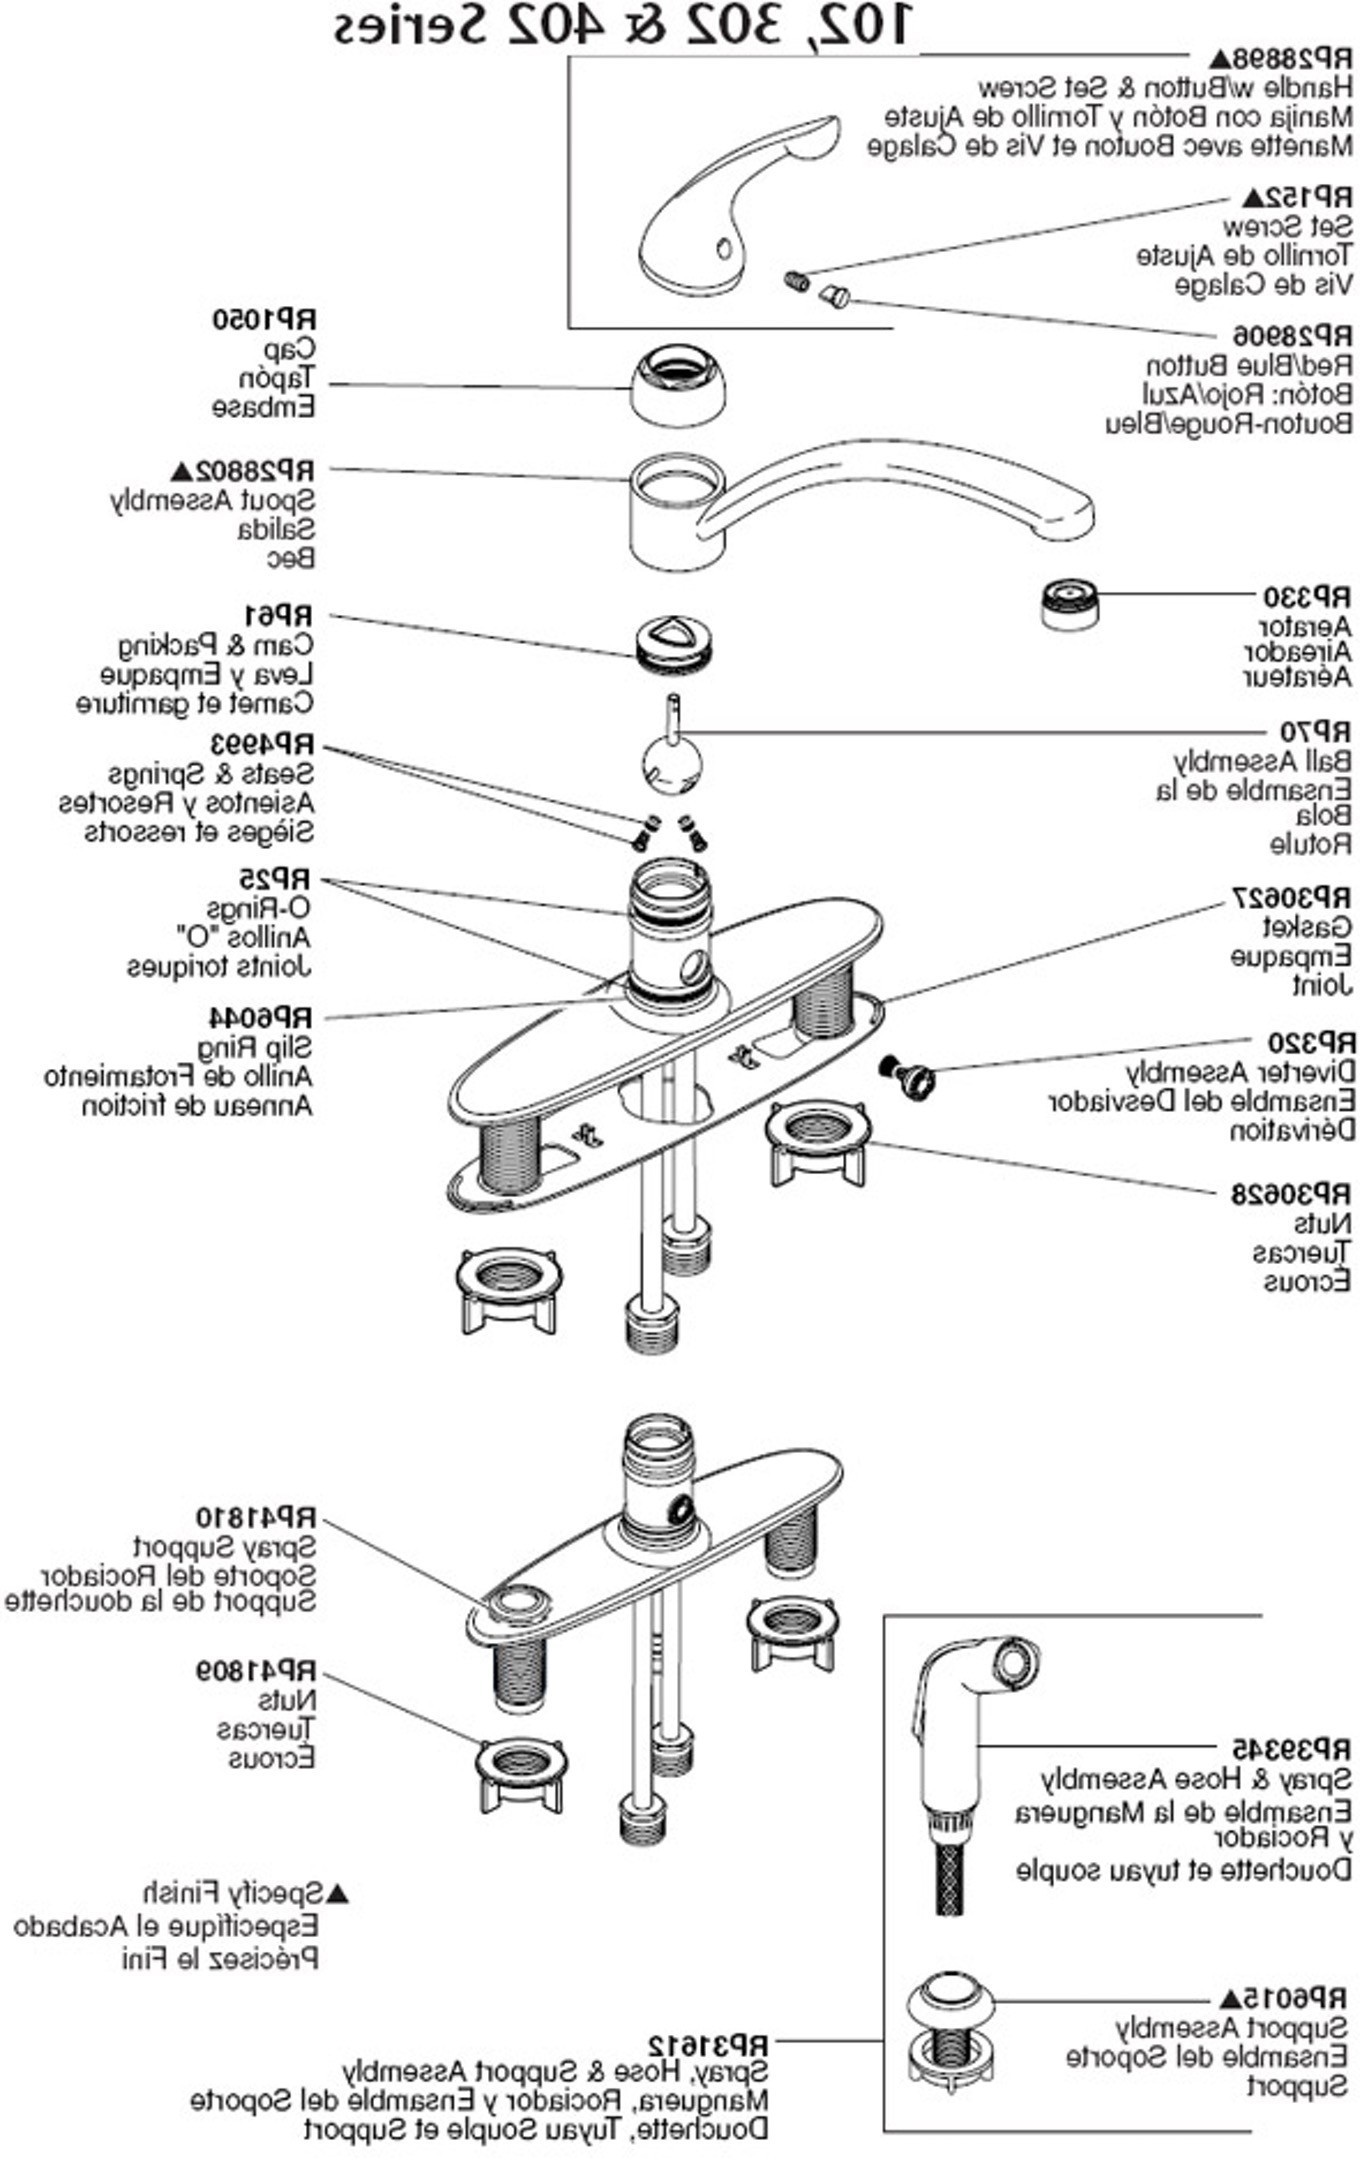
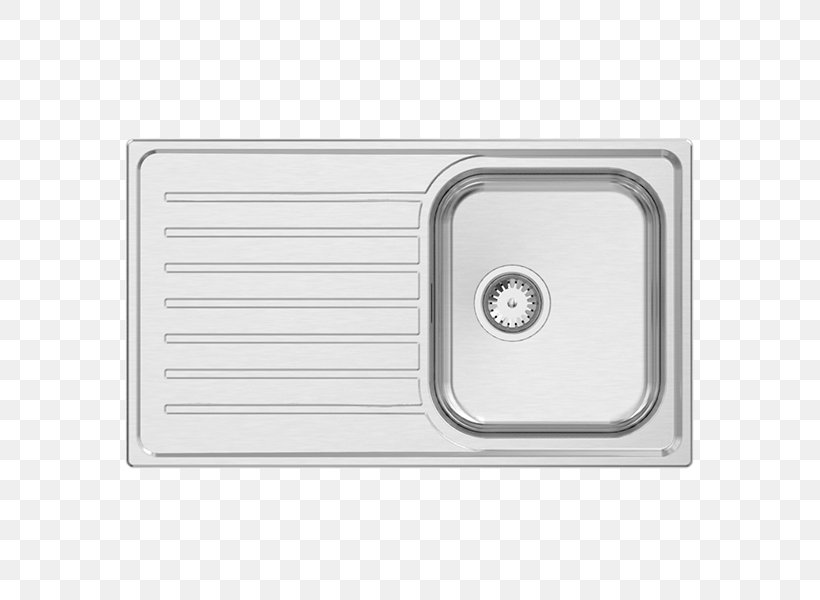
Choose the Right Type of Faucet
 When it comes to replacing your bathroom sink faucet, it's important to choose the right type for your needs. There are four main types of faucets: single-hole, widespread, center-set, and wall-mount.
Single-hole faucets
are ideal for smaller sinks and are easily installed with one hole.
Widespread faucets
have separate hot and cold handles and require three holes for installation.
Center-set faucets
have a single handle and require three holes but are typically more compact.
Wall-mount faucets
are installed directly into the wall above the sink and require a separate valve and drain assembly. Consider the size of your sink, the style of your bathroom, and your own personal preferences when choosing the right type of faucet.
When it comes to replacing your bathroom sink faucet, it's important to choose the right type for your needs. There are four main types of faucets: single-hole, widespread, center-set, and wall-mount.
Single-hole faucets
are ideal for smaller sinks and are easily installed with one hole.
Widespread faucets
have separate hot and cold handles and require three holes for installation.
Center-set faucets
have a single handle and require three holes but are typically more compact.
Wall-mount faucets
are installed directly into the wall above the sink and require a separate valve and drain assembly. Consider the size of your sink, the style of your bathroom, and your own personal preferences when choosing the right type of faucet.
Gather the Necessary Tools and Materials
 Before beginning the replacement process, make sure you have all the necessary tools and materials. This includes a new
sink faucet
, pliers, an adjustable wrench, a basin wrench, plumber's tape, silicone caulk, and a bucket or towel to catch any water. It's important to have all these items on hand to make the process smoother and more efficient.
Before beginning the replacement process, make sure you have all the necessary tools and materials. This includes a new
sink faucet
, pliers, an adjustable wrench, a basin wrench, plumber's tape, silicone caulk, and a bucket or towel to catch any water. It's important to have all these items on hand to make the process smoother and more efficient.
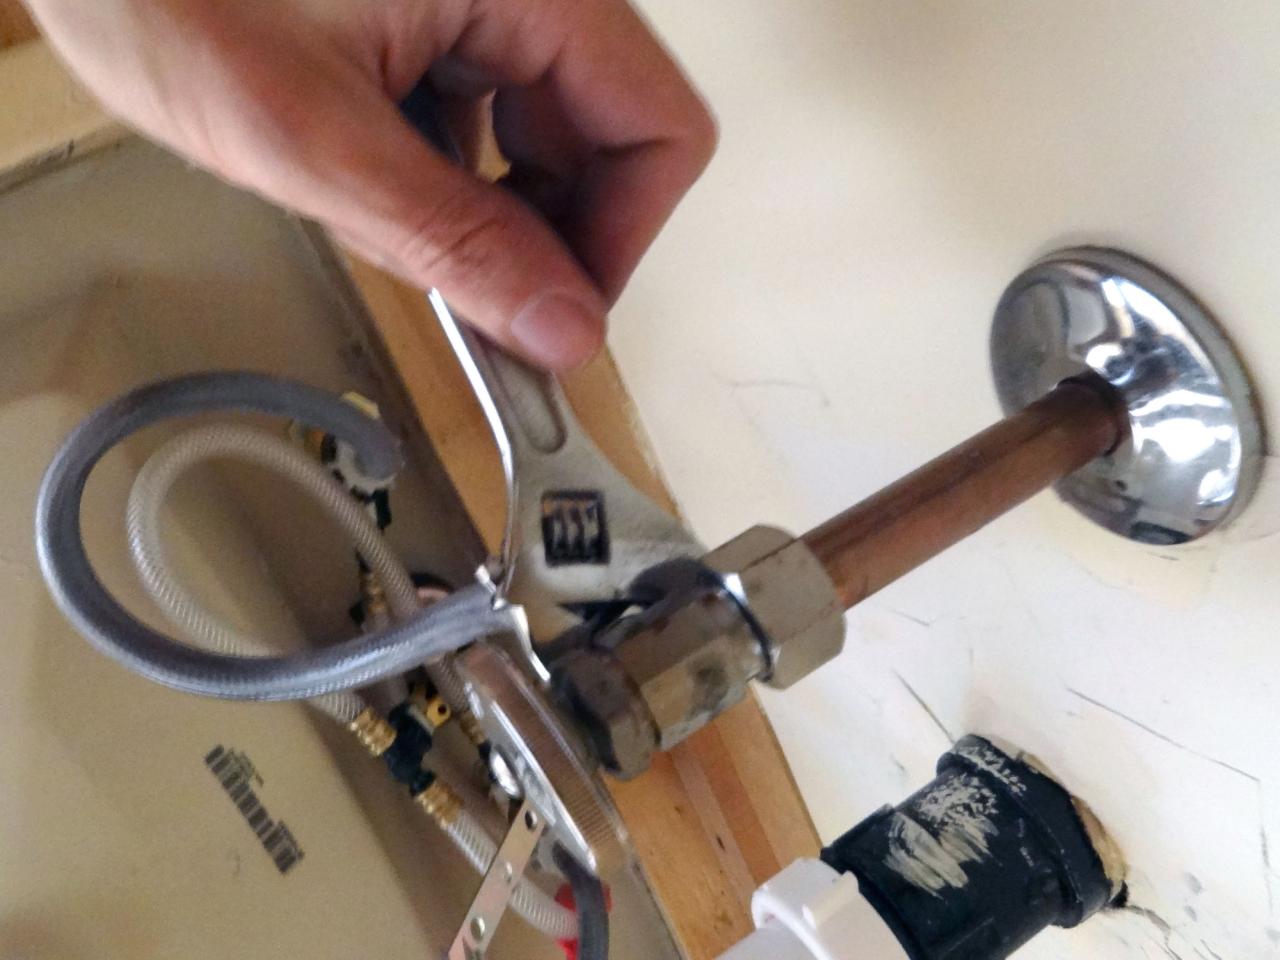
Turn Off the Water Supply
 Before removing the old faucet, make sure to turn off the water supply to the sink. This can usually be done by turning off the shut-off valves located under the sink. If you cannot locate these valves, you may need to turn off the main water supply to your house. Once the water supply is turned off, turn on the faucet to release any remaining water and relieve any pressure in the lines.
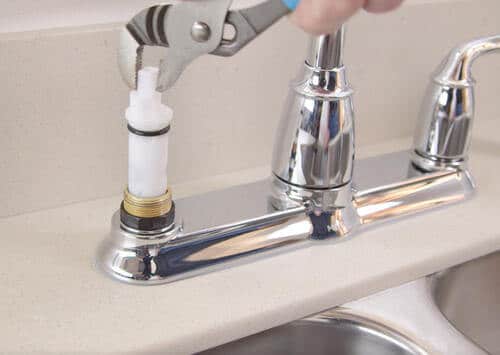
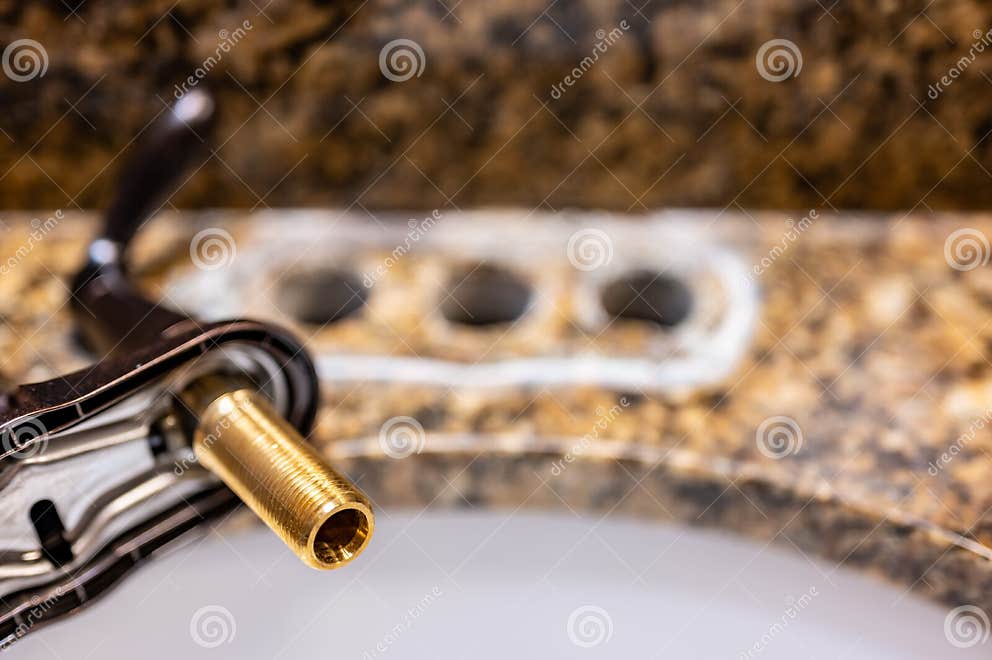
Remove the Old Faucet
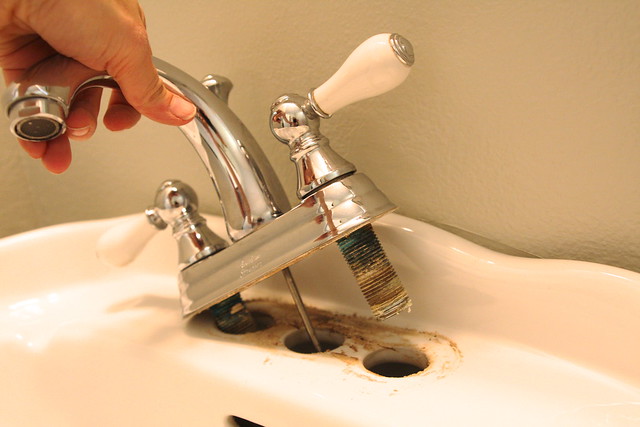
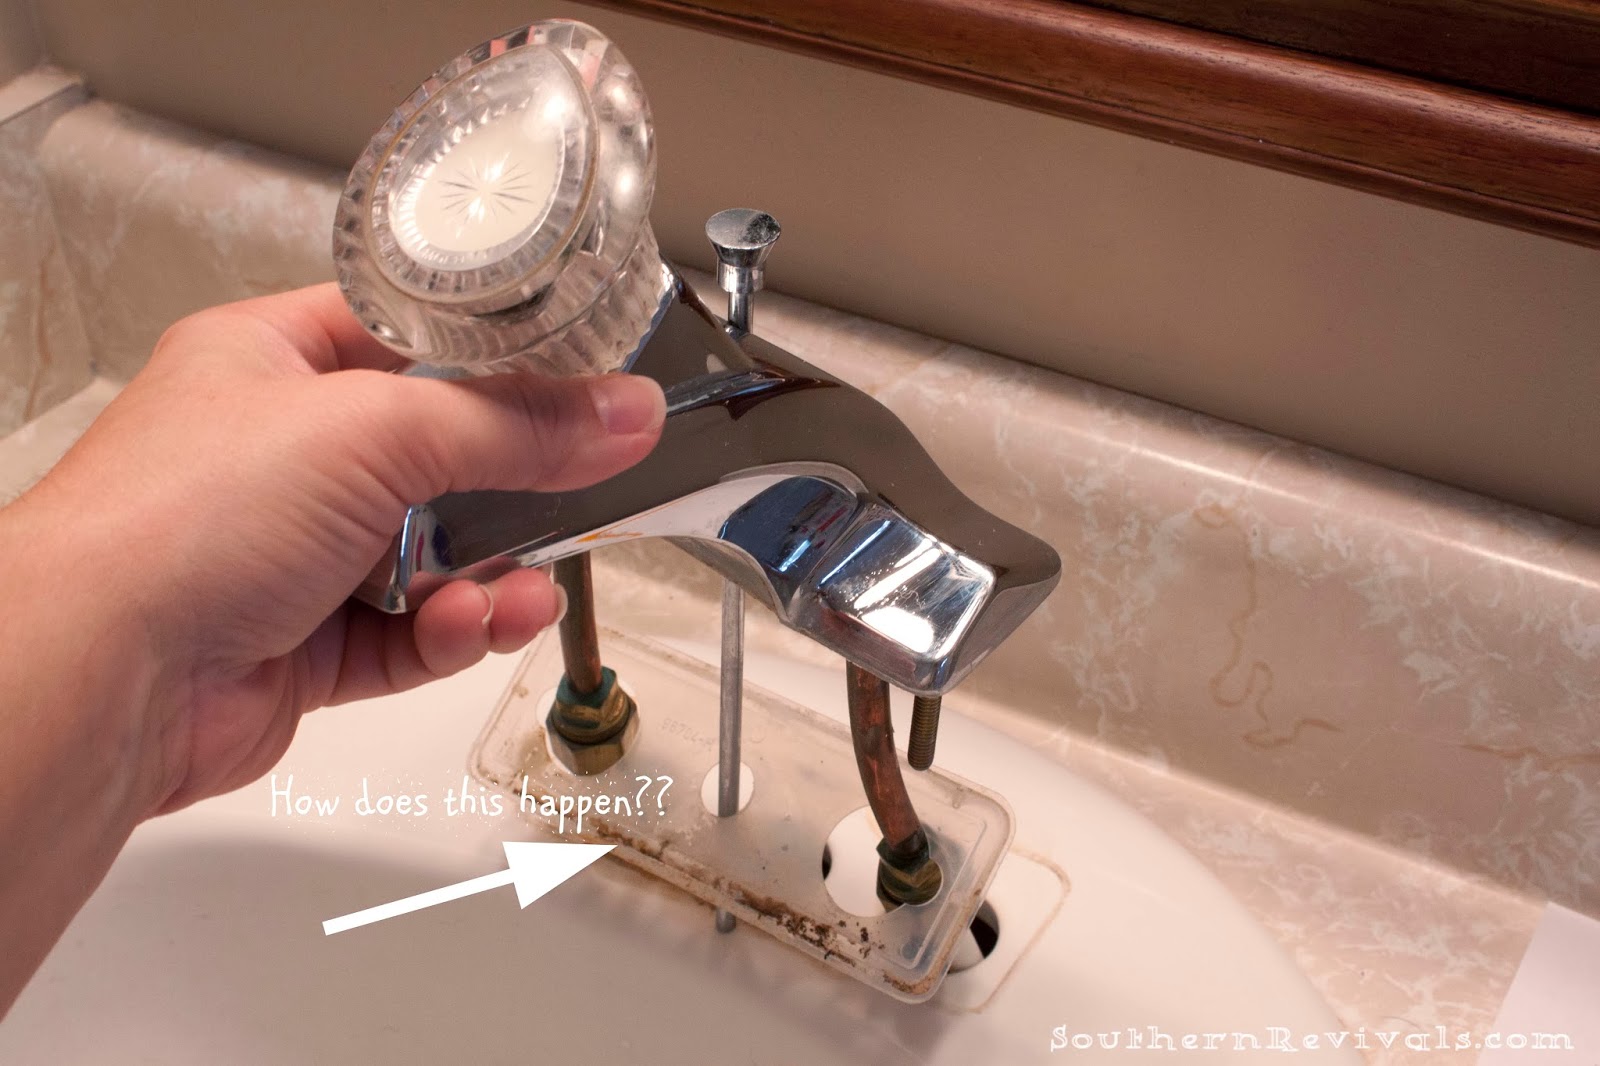
 Using the pliers or an adjustable wrench, loosen and remove the nuts and washers that hold the old faucet in place. Then, using a basin wrench, remove the mounting nuts that secure the faucet to the sink. Once the old faucet is completely disconnected, lift it out of the sink and clean the area thoroughly.
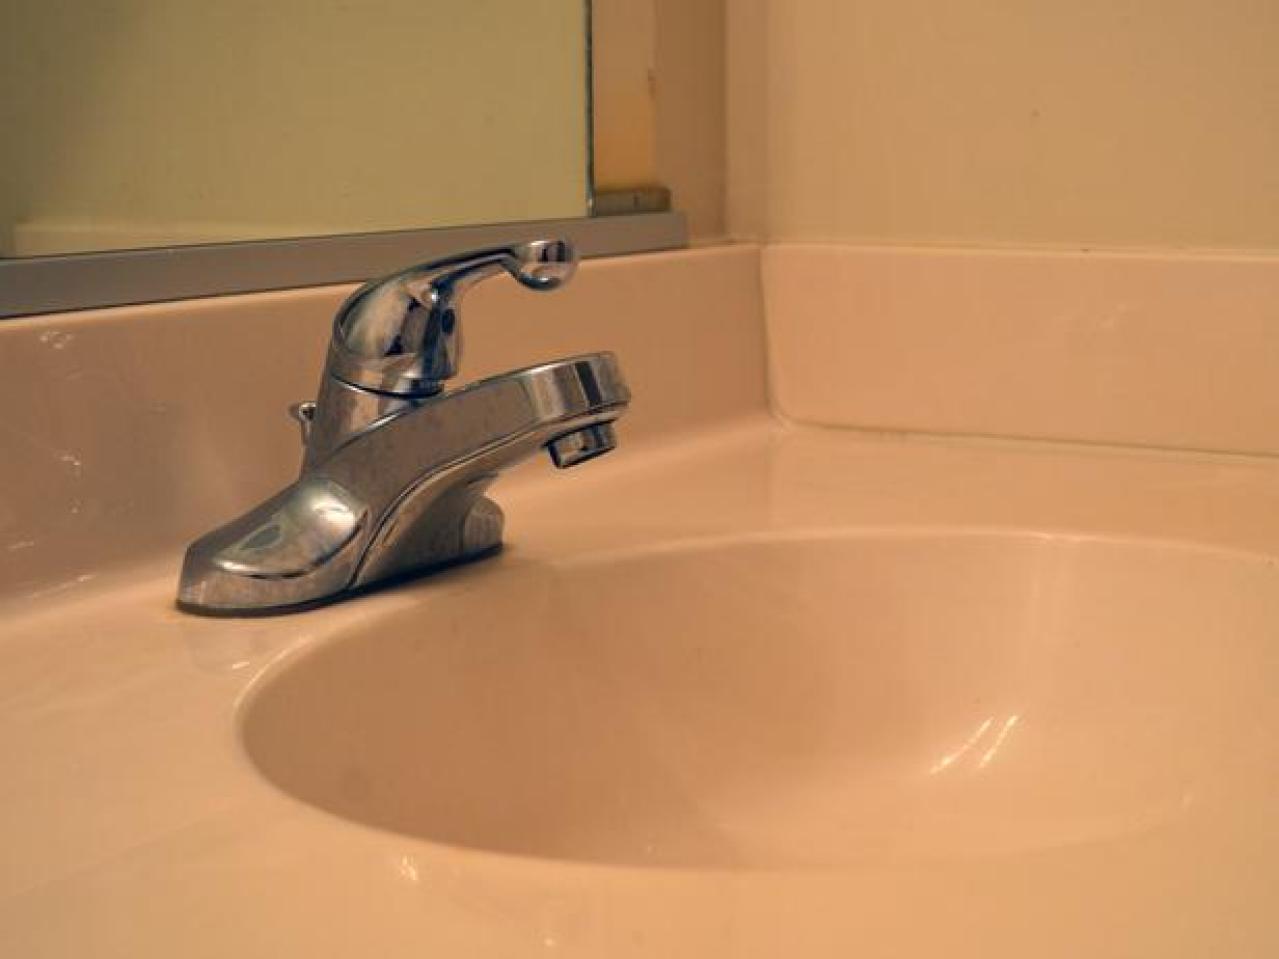
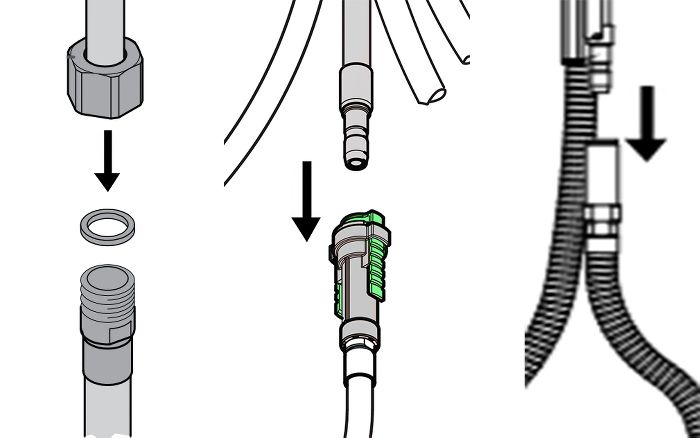
Install the New Faucet
 Follow the manufacturer's instructions for installing the new faucet. This may include placing a rubber or plastic gasket over the mounting holes, applying plumber's tape to the threads of the faucet, and securing it to the sink with mounting nuts. Make sure to tighten all nuts and connections to prevent any leaks.
Connect the Water Supply
 Once the new faucet is securely in place, connect the water supply lines and turn the water supply back on. Check for any leaks and make any necessary adjustments. Once everything is in working order, use silicone caulk to seal around the base of the faucet and allow it to dry before using the sink.
Enjoy Your New Faucet
 Congratulations, you have successfully replaced your bathroom sink faucet! With the right tools and some basic knowledge, this DIY project can be completed in just a few hours. Now you can enjoy your new faucet and the refreshed look it brings to your bathroom.