Bathroom Sink Drain Flange Replacement
Is your bathroom sink drain flange cracked, corroded, or simply not functioning properly? It may be time for a replacement. The drain flange is an essential part of your sink, responsible for keeping water flowing smoothly down the drain. In this article, we will discuss the top 10 things you need to know about bathroom sink drain flange replacement.


Bathroom Sink Drain Flange Replacement

How to Replace a Bathroom Sink Drain Flange
If you're a handy DIYer, you may be wondering how to replace a bathroom sink drain flange yourself. The process is relatively straightforward, but it does require some tools and a bit of know-how. First, you'll need to remove the old drain flange by unscrewing it from the bottom of the sink. Then, you'll need to clean the area and apply plumber's putty before installing the new flange. Finally, you'll need to secure the flange with the mounting bracket and screw it back into place. Voila! Your new drain flange is now installed.


How to Replace a Bathroom Sink Drain Flange


DIY Bathroom Sink Drain Flange Replacement
As mentioned, replacing a bathroom sink drain flange is a task that can be done by a DIYer. However, it's important to note that this job does require some level of plumbing knowledge and skill. If you're not comfortable working with pipes and plumbing fixtures, it may be best to leave this task to a professional. But if you're up for the challenge, replacing your sink drain flange yourself can save you some money and give you a sense of accomplishment.


DIY Bathroom Sink Drain Flange Replacement


Step-by-Step Bathroom Sink Drain Flange Replacement
Now, let's dive into the step-by-step process for replacing a bathroom sink drain flange. First, gather your tools, including a wrench, pliers, putty knife, and plumber's putty. Next, turn off the water supply to your sink and remove any items from the cabinet below. Then, remove the old drain flange by unscrewing it from the bottom of the sink. After cleaning the area and applying plumber's putty, you can install the new drain flange and secure it with the mounting bracket. Finally, screw the flange back into place and turn the water supply back on. That's it - you've successfully replaced your bathroom sink drain flange!


Step-by-Step Bathroom Sink Drain Flange Replacement
Best Tools for Bathroom Sink Drain Flange Replacement
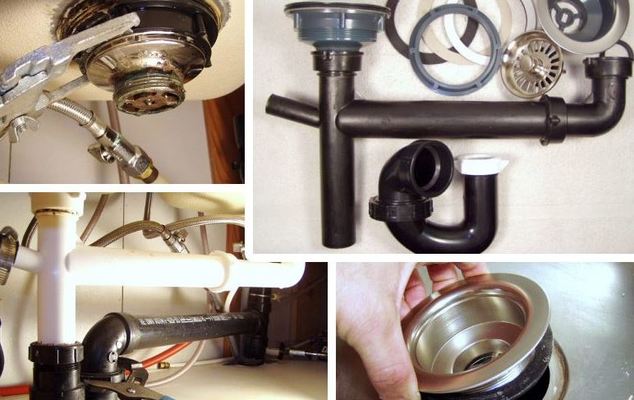
As with any DIY project, having the right tools is crucial for a successful outcome. For bathroom sink drain flange replacement, you'll need a wrench, pliers, putty knife, and plumber's putty. A wrench will come in handy for unscrewing the old flange, while pliers will help with removing any old putty. The putty knife is necessary for cleaning the area, and plumber's putty is used to create a watertight seal when installing the new flange.

Best Tools for Bathroom Sink Drain Flange Replacement
Common Problems with Bathroom Sink Drain Flange Replacement
While replacing a bathroom sink drain flange may seem straightforward, there are a few common issues that can arise. One of the most common problems is a leaky seal, which can occur if the plumber's putty isn't applied correctly or if the flange isn't secured tightly enough. Another issue is improper alignment, which can cause the flange to not sit flush with the sink. If you encounter any problems during the replacement process, don't hesitate to call a professional for assistance.


Common Problems with Bathroom Sink Drain Flange Replacement


Tips for a Successful Bathroom Sink Drain Flange Replacement
If you're planning on replacing your bathroom sink drain flange yourself, there are a few tips that can help ensure a successful outcome. First, make sure you have all the necessary tools before starting. It's also crucial to read the instructions carefully and follow them step-by-step. Additionally, take your time and double-check your work to avoid any mistakes. And finally, don't be afraid to call a professional if you run into any difficulties.

Tips for a Successful Bathroom Sink Drain Flange Replacement
Cost of Bathroom Sink Drain Flange Replacement
The cost of bathroom sink drain flange replacement can vary depending on a few factors, such as the type of sink and the complexity of the job. On average, you can expect to pay between $100 and $200 for a professional to replace your drain flange. However, if you opt to do it yourself, you can save on labor costs and only need to cover the cost of materials, which can range from $20 to $50.

Cost of Bathroom Sink Drain Flange Replacement
:max_bytes(150000):strip_icc()/bathroom-sink-drain-installation-2718843-02-61e5ecbee1e949be8d8f45ac4f5a6797.jpg)
Professional vs. DIY Bathroom Sink Drain Flange Replacement
As mentioned, you can either hire a professional or take on the task of replacing your bathroom sink drain flange yourself. While DIY may be more cost-effective, hiring a professional can ensure the job is done correctly and save you time and hassle. If you're not confident in your plumbing skills, it may be best to leave it to the experts.


Professional vs. DIY Bathroom Sink Drain Flange Replacement
Troubleshooting Bathroom Sink Drain Flange Replacement
If you encounter any issues during or after replacing your bathroom sink drain flange, don't panic. There are a few troubleshooting steps you can take to fix the problem. If the flange is leaking, try tightening the screws or applying more plumber's putty. If the flange is not sitting flush, make sure it's aligned correctly and tighten the mounting bracket. And if all else fails, don't hesitate to call a professional for assistance.
In conclusion, replacing a bathroom sink drain flange is a task that can be done by a DIYer, but it does require some skill and the right tools. If you're not comfortable with plumbing work, it may be best to hire a professional for the job. Remember to take your time, read instructions carefully, and don't be afraid to call for help if needed. With the right approach, you can successfully replace your bathroom sink drain flange and have a fully functioning sink in no time.


Troubleshooting Bathroom Sink Drain Flange Replacement


Replacing Your Bathroom Sink Drain Flange: A Step-by-Step Guide
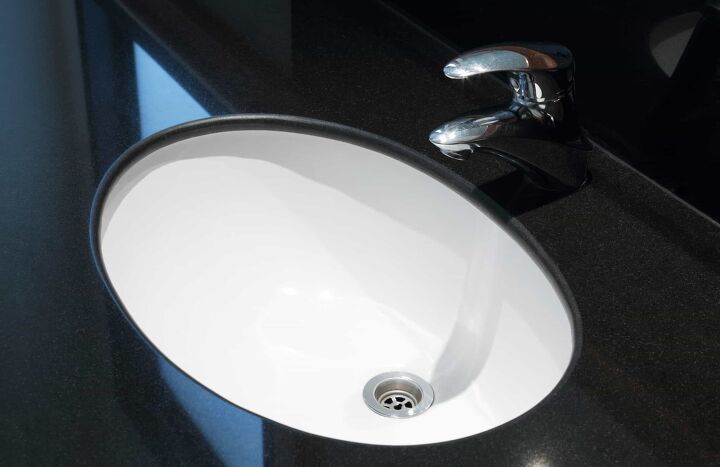
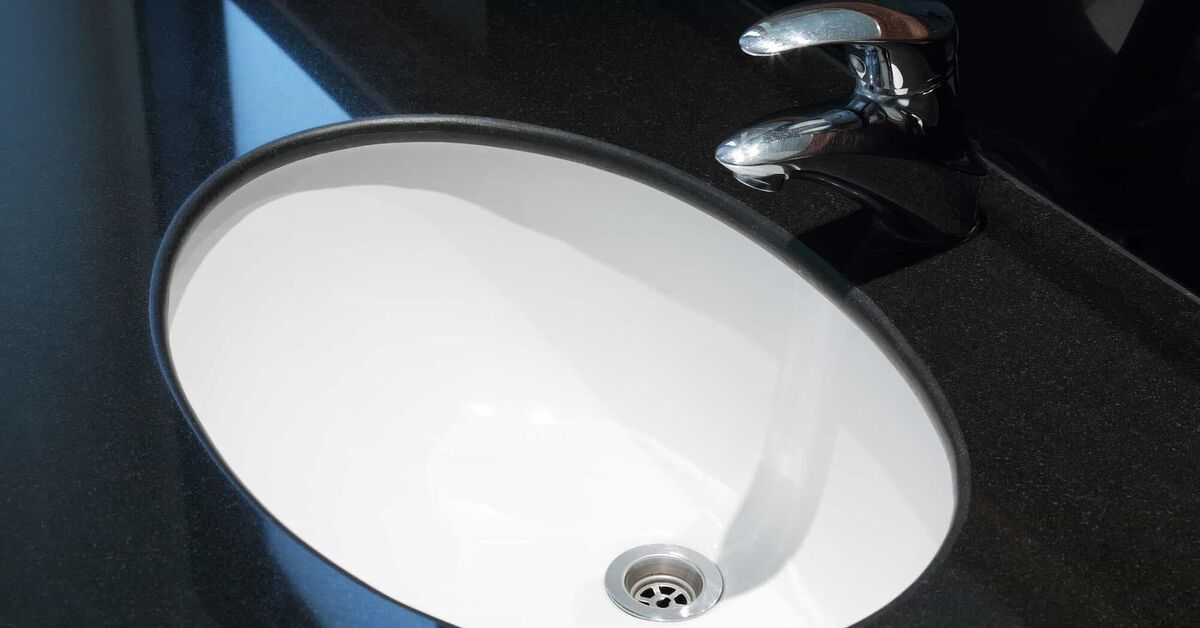
What is a Bathroom Sink Drain Flange?
 Bathroom sink drain flanges
are an essential part of any sink, as they connect the sink to the drain and prevent water from leaking onto your countertop and floor. Over time, however, these flanges can become worn, cracked, or discolored, making them less effective and causing potential damage to your bathroom. In this article, we will guide you through the process of replacing your bathroom sink drain flange, so you can restore your sink's functionality and enhance the overall design of your bathroom.
Bathroom sink drain flanges
are an essential part of any sink, as they connect the sink to the drain and prevent water from leaking onto your countertop and floor. Over time, however, these flanges can become worn, cracked, or discolored, making them less effective and causing potential damage to your bathroom. In this article, we will guide you through the process of replacing your bathroom sink drain flange, so you can restore your sink's functionality and enhance the overall design of your bathroom.
Step 1: Gather Your Materials
 Before you begin, make sure you have all the necessary materials on hand. These include a new
bathroom sink drain flange
, a drain wrench, plumber's putty, a towel, and a bucket or container to catch any water that may come out during the process.
Before you begin, make sure you have all the necessary materials on hand. These include a new
bathroom sink drain flange
, a drain wrench, plumber's putty, a towel, and a bucket or container to catch any water that may come out during the process.
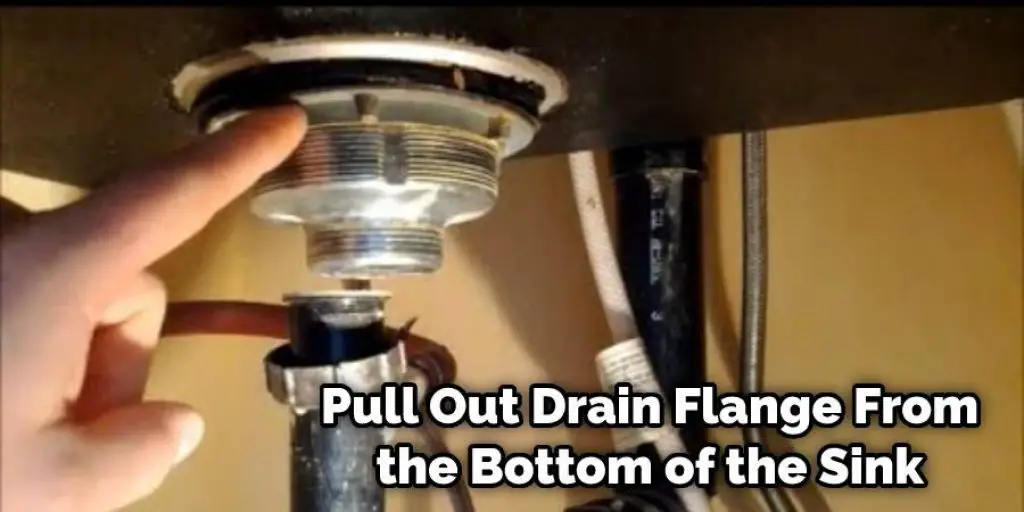
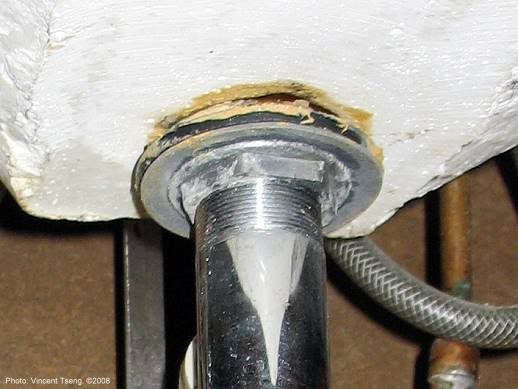
Step 2: Remove the Old Flange
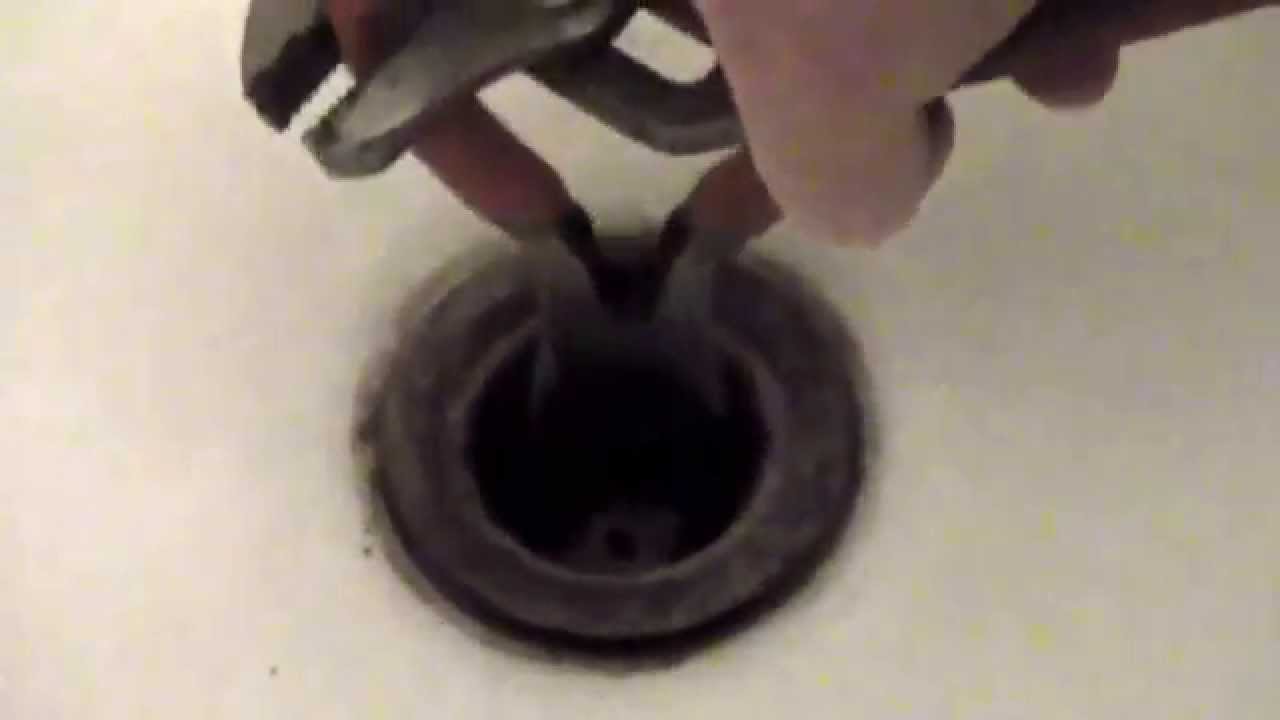
 First, you will need to remove the old flange. Start by locating the locknut underneath the sink, which secures the flange in place. Use your drain wrench to loosen and remove the locknut. Next, place a towel or cloth over the drain to prevent any small parts from falling down. Then, gently twist and pull the old flange out of the drain.
Step 3: Clean the Area
 After removing the old flange, you may notice some buildup or residue around the drain. Use a cloth and some mild cleaner to thoroughly clean the area and remove any debris. This will ensure a secure and watertight fit for your new flange.
Step 4: Apply Plumber's Putty
 Take a small amount of plumber's putty and roll it into a thin rope. Then, place the rope around the underside of the new flange, making sure it covers the entire circumference. This will create a watertight seal between the flange and the sink.
Step 5: Install the New Flange
 Carefully insert the new flange into the drain, making sure the plumber's putty is in contact with the sink. Then, secure the flange in place by tightening the locknut with your drain wrench. Make sure not to overtighten, as this can cause damage to the flange or the sink.
Step 6: Clean up and Test
 Once the flange is securely in place, use a damp cloth to wipe away any excess plumber's putty around the edges. Then, turn on the water and let it run for a few minutes to ensure there are no leaks. If you notice any leaks, tighten the locknut a bit more and test again.
Congratulations!
 You have successfully replaced your bathroom sink drain flange. This relatively simple process can greatly improve the functionality and design of your bathroom sink. Make sure to regularly check your flange for any signs of wear and tear, and replace it as needed to keep your bathroom in top condition.