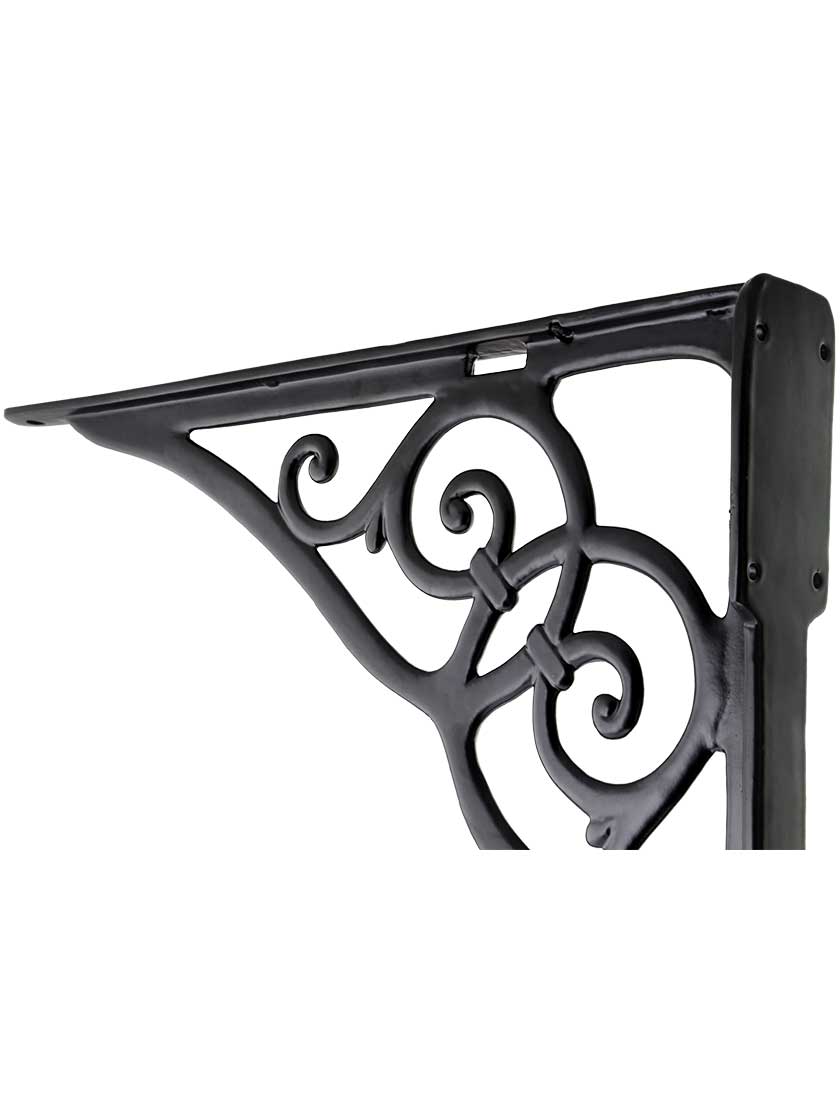
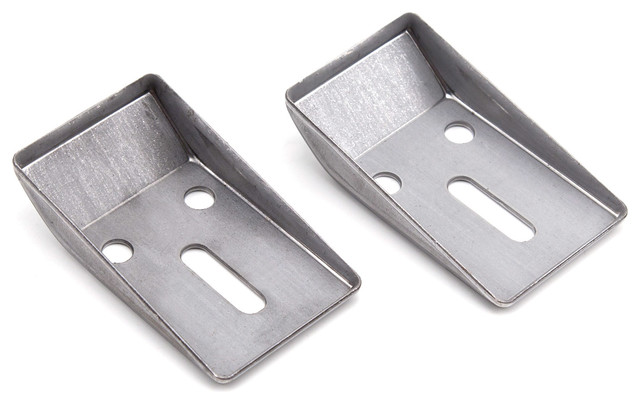
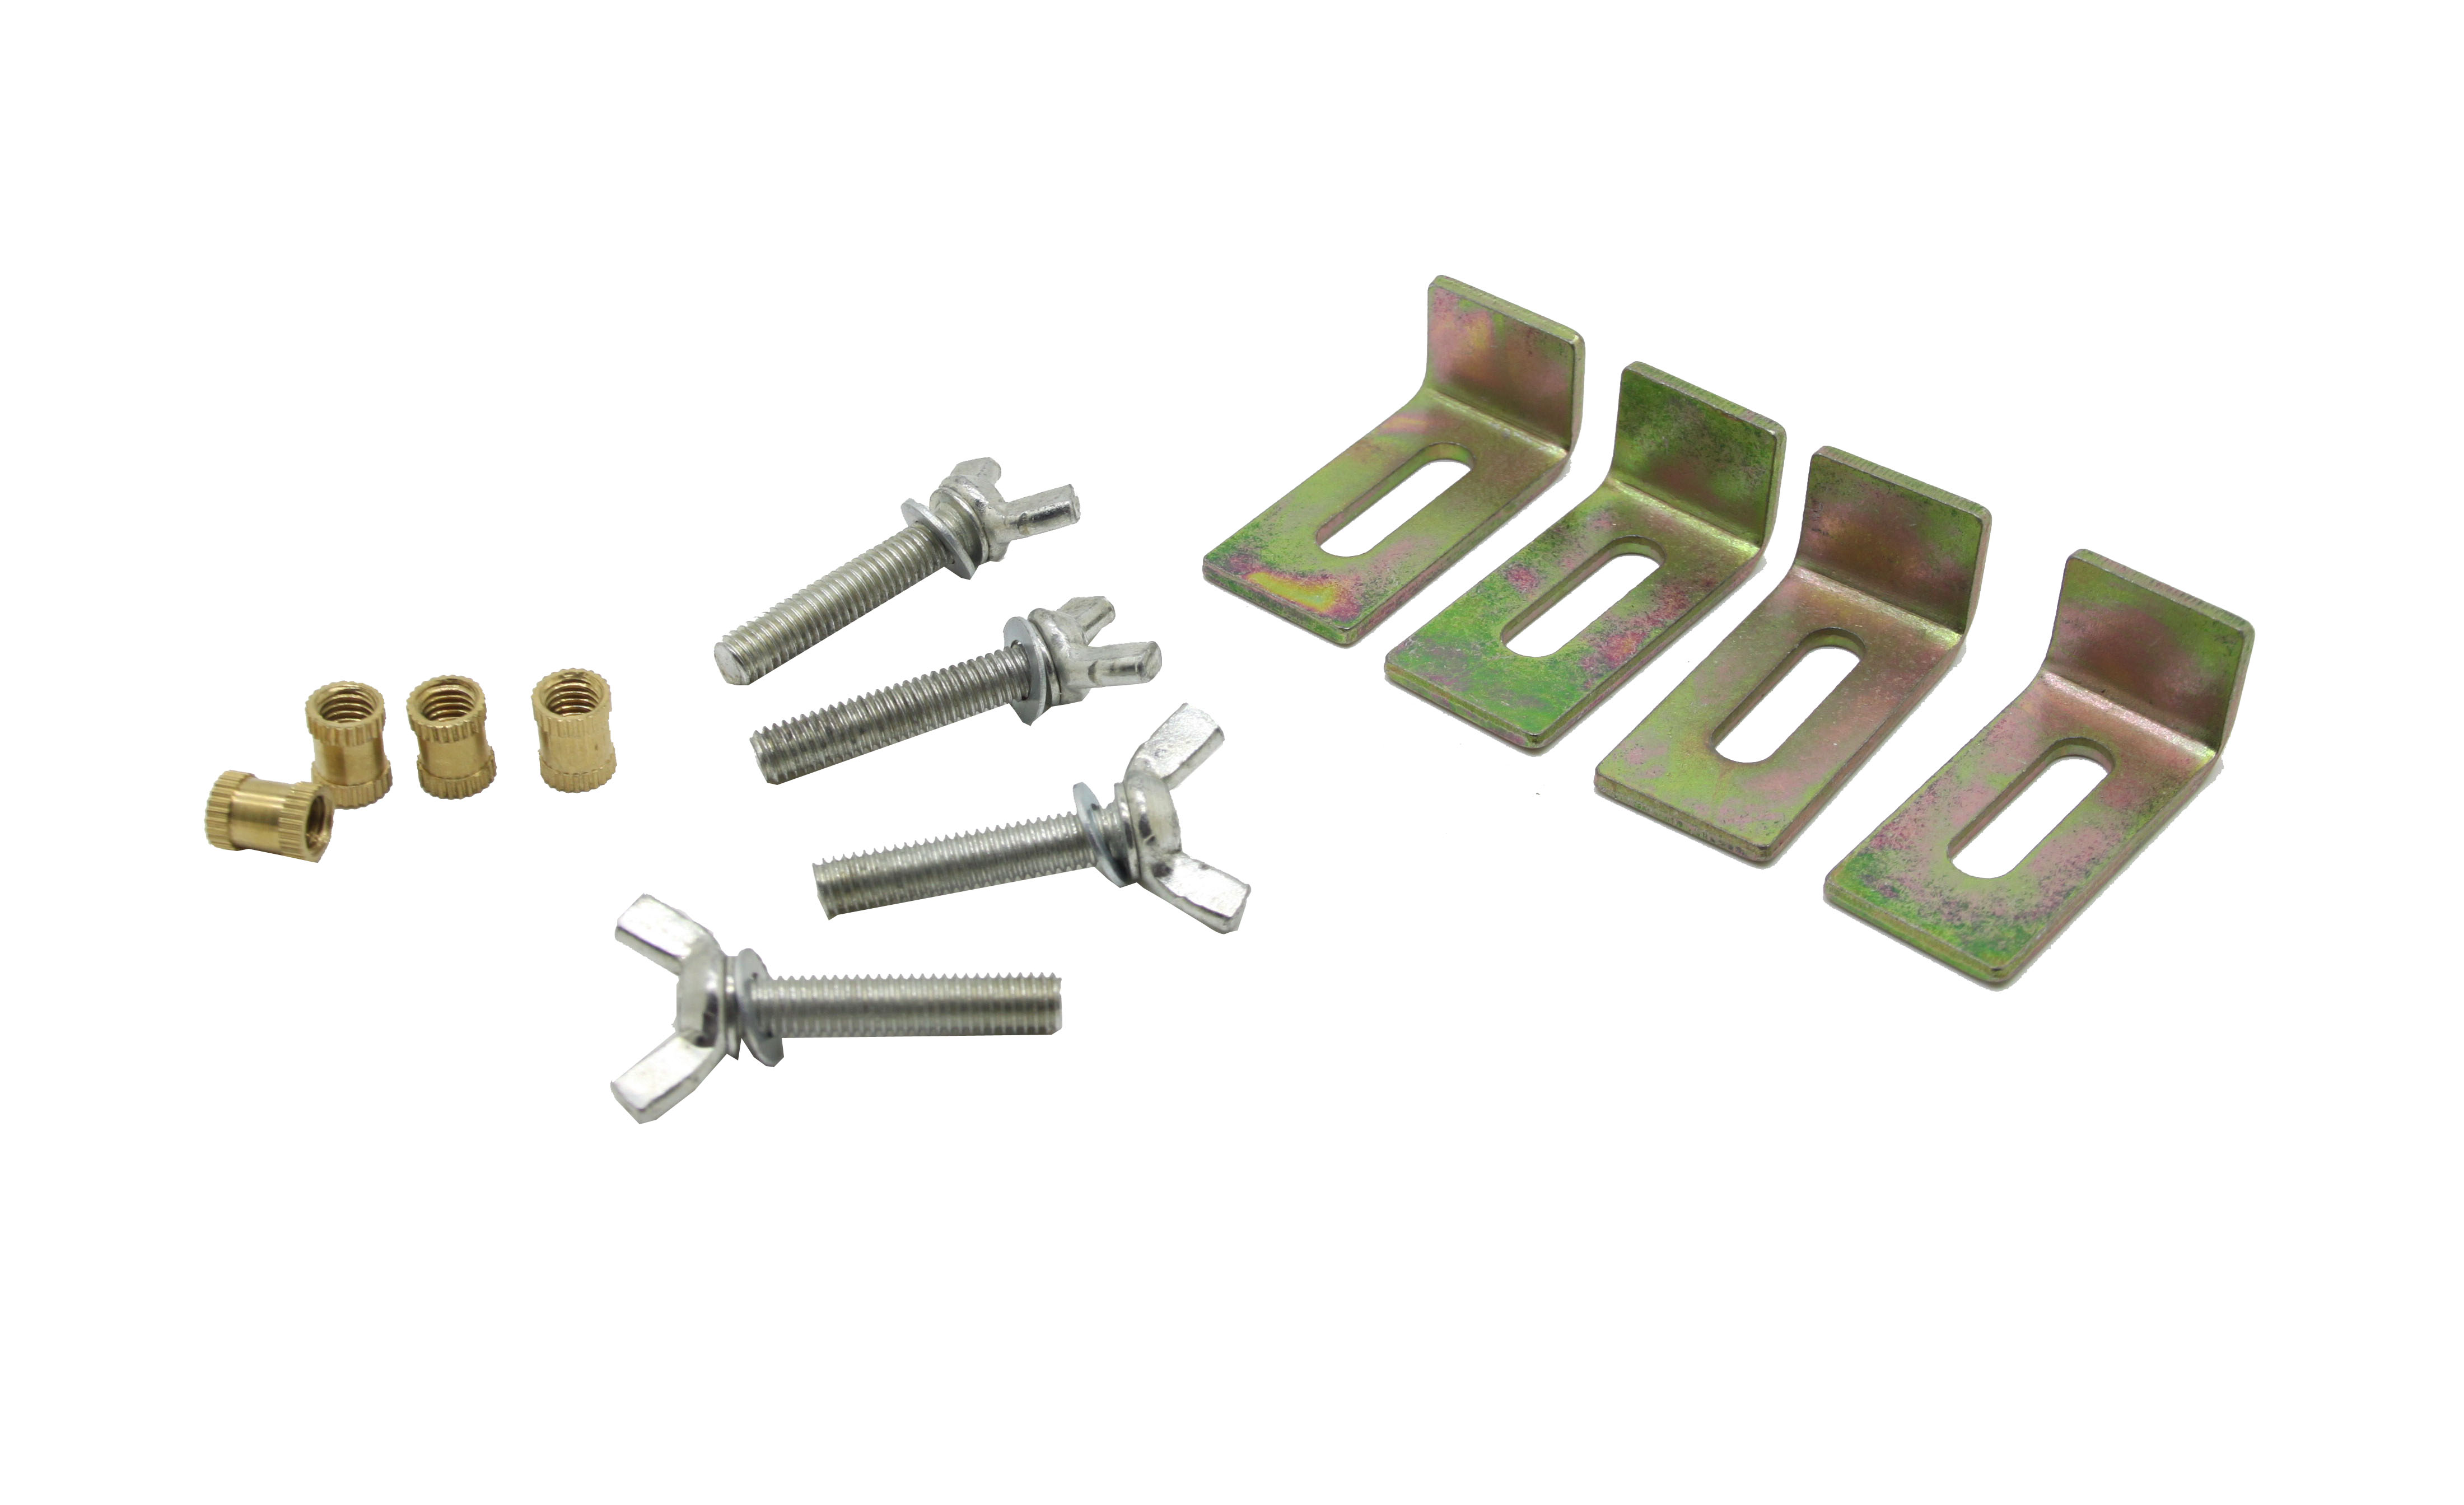
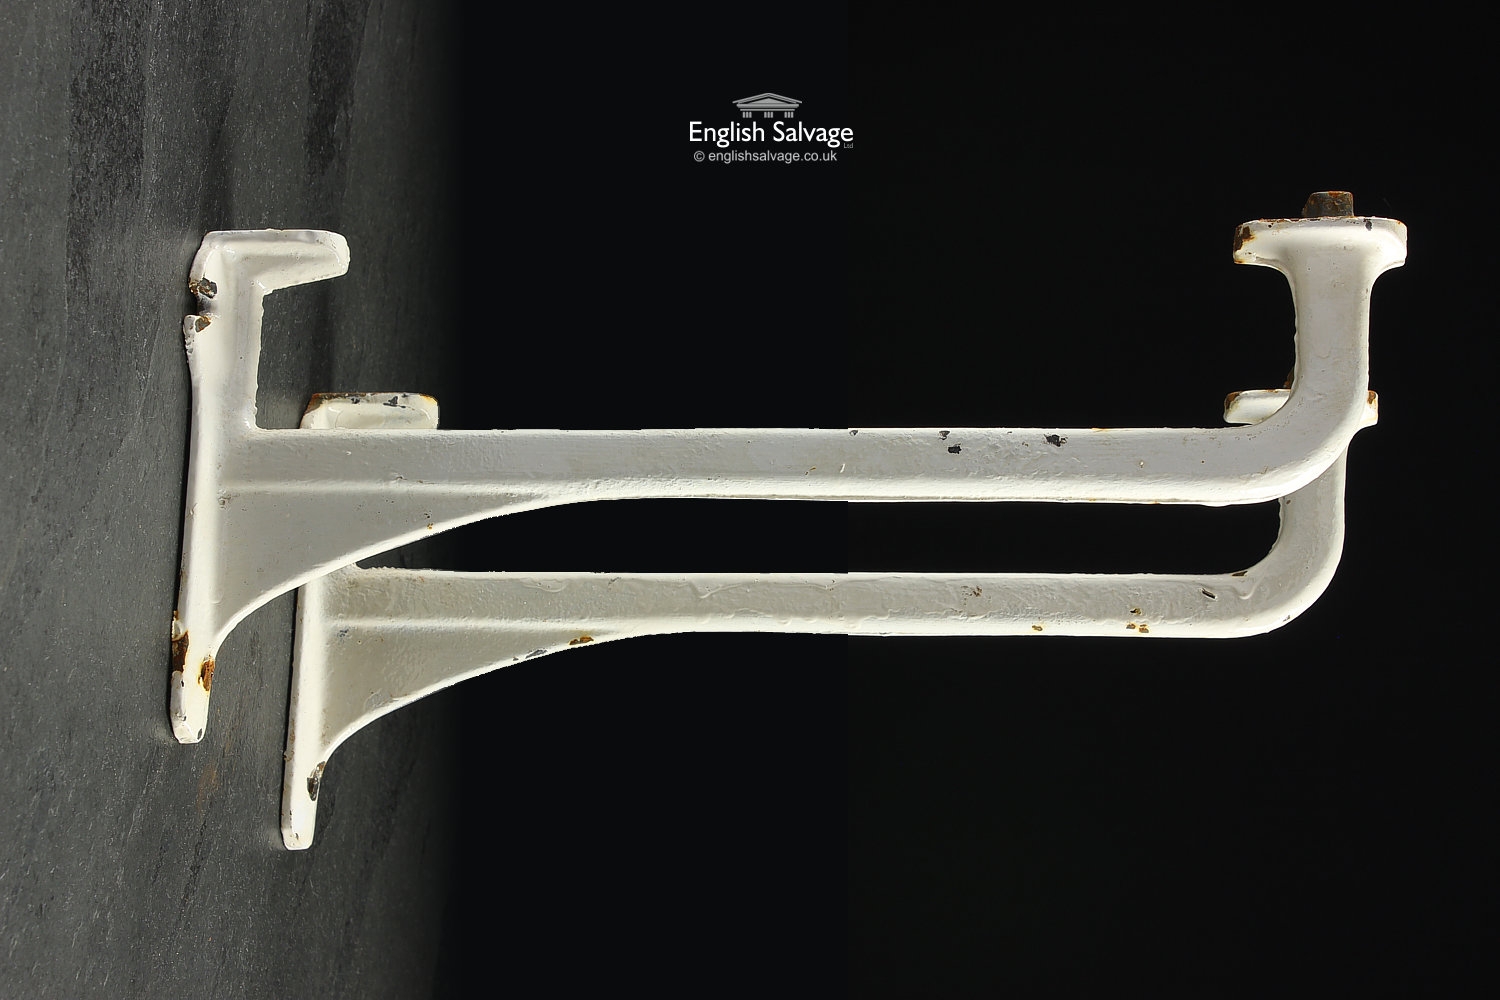
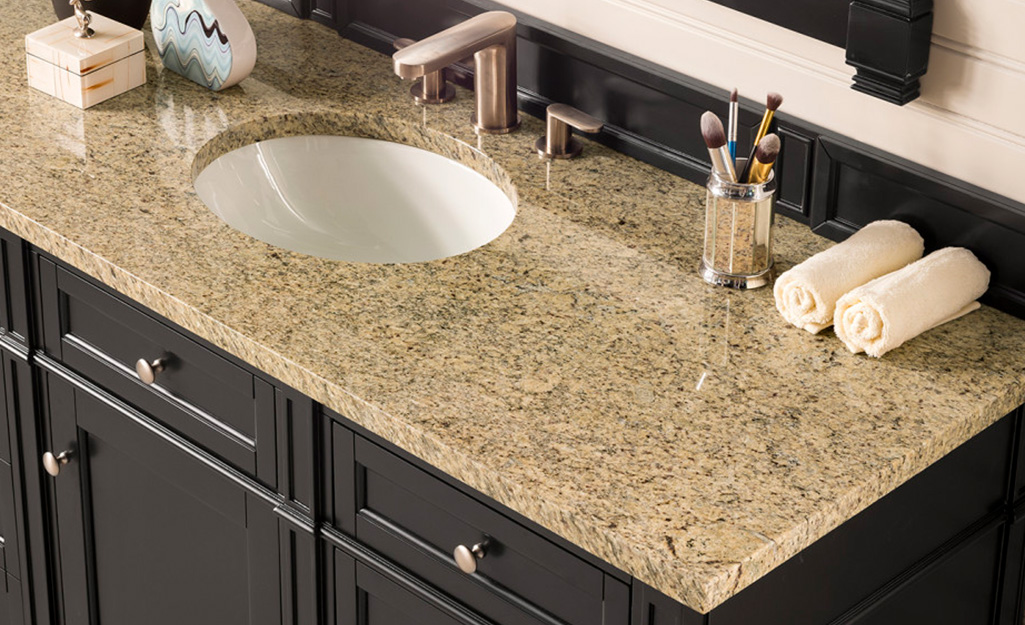
If your bathroom sink is wobbly and unstable, it may be time to replace the bracket. Sink brackets are an essential component in securing your sink to the wall and ensuring it stays in place. Over time, the bracket may become loose or damaged, leading to a wobbly sink that can be both unsightly and dangerous. In this article, we will guide you through the process of replacing your bathroom sink bracket, so you can have a stable and secure sink in no time. Bathroom Sink Bracket Replacement: How to Fix a Wobbly Sink
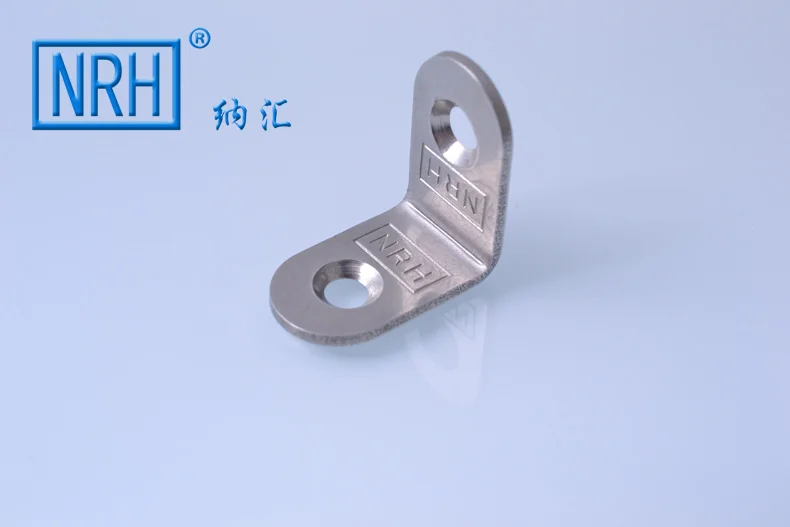
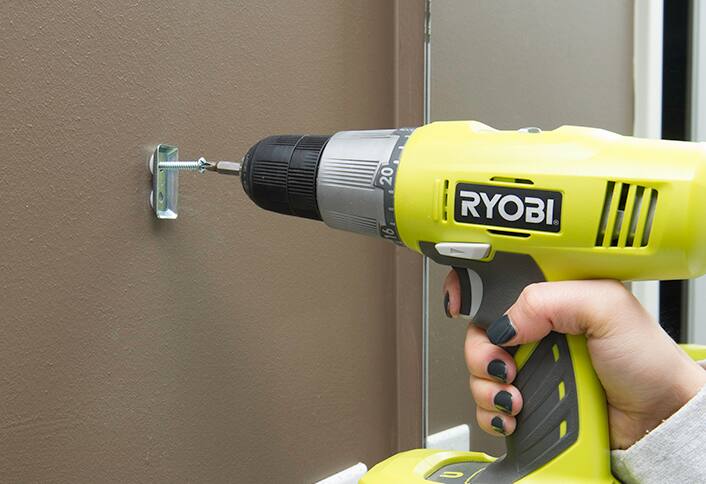
Before you begin, make sure you have all the necessary tools and materials. You will need a new sink bracket, a screwdriver, a drill, screws, and a level. It's also helpful to have a helper to hold the sink in place while you work. Step 1: Turn off the water supply to your sink. This will prevent any leaks or water damage while you work. Step 2: Remove the sink from the wall. Use a screwdriver to loosen and remove the screws that hold the sink in place. Carefully lift the sink off the wall and set it aside. Step 3: Locate the old bracket. It is usually located underneath the sink and attached to the wall. Use a screwdriver to remove the screws and take the old bracket off the wall. Step 4: Install the new bracket. Use a drill to secure the new bracket to the wall with screws. Make sure the bracket is level to ensure a stable sink. Step 5: Reattach the sink. Hold the sink in place while your helper secures it to the new bracket with screws. Make sure the sink is level and secure. Step 6: Turn the water supply back on and check for any leaks. If there are no leaks, your new sink bracket is successfully installed. Sink Bracket Replacement: Step-by-Step Guide
To prevent your sink bracket from becoming loose or damaged in the future, it's essential to keep it clean and well-maintained. Regularly check for any signs of wear and tear and tighten any loose screws. If you notice any issues, it's best to replace the bracket before it causes further damage. Another way to ensure the stability of your sink is to distribute the weight evenly. Avoid placing heavy objects on one side of the sink, as this can put strain on the bracket and cause it to become loose. Bathroom Bracket Replacement: Preventing Future Issues
Replacing a sink bracket is a relatively simple task that can be done by most DIY enthusiasts. However, if you are not confident in your DIY skills or encounter any complications during the process, it's best to hire a professional plumber. They have the expertise and experience to ensure the job is done correctly and safely. Hiring a professional may also be necessary if your sink is a unique or custom design. They will have the knowledge and tools to handle any specialized brackets and ensure a perfect fit. Sink Replacement Bracket: DIY or Hire a Professional?
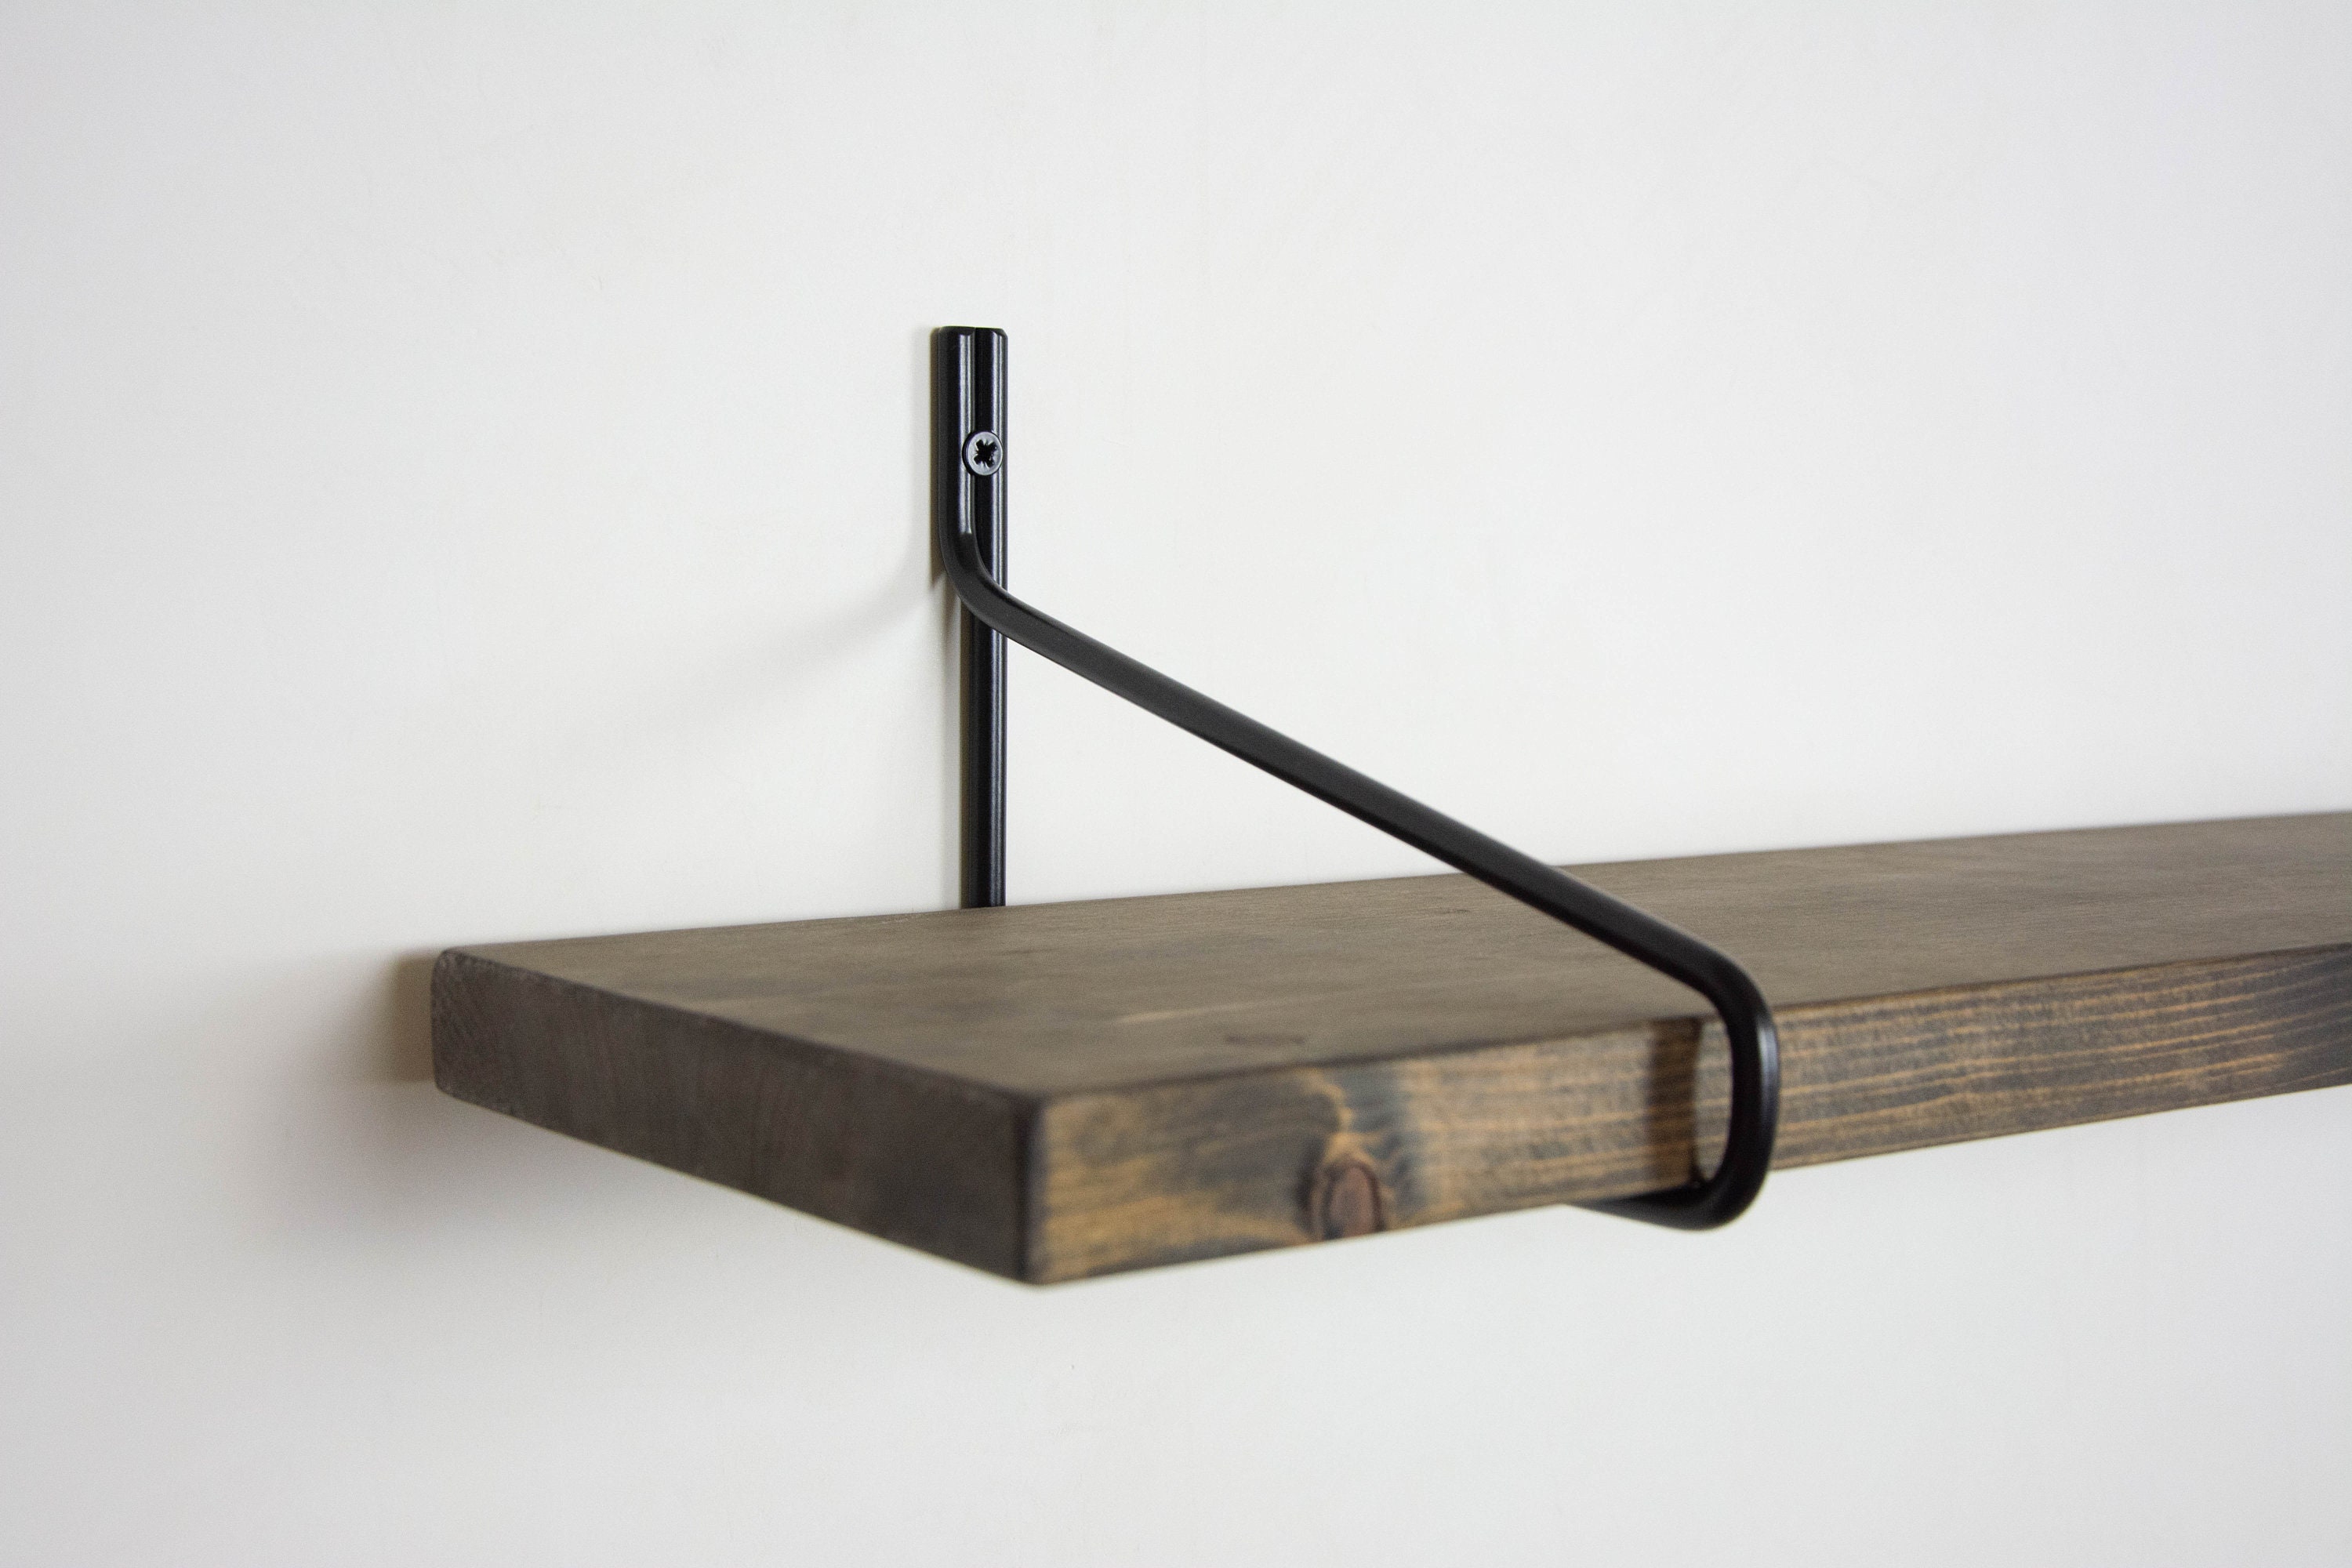
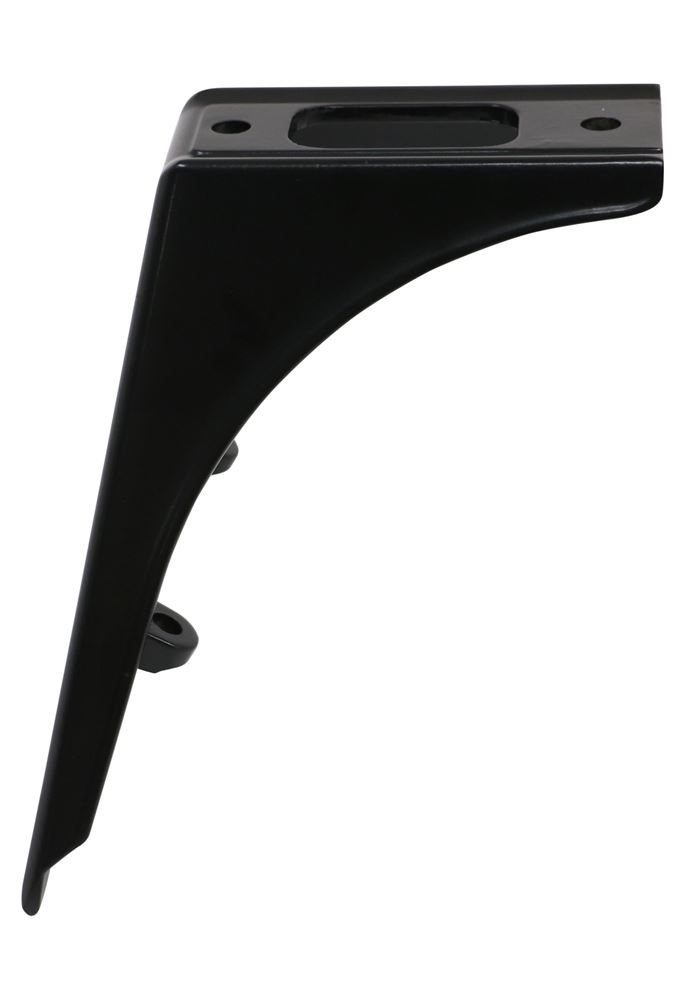
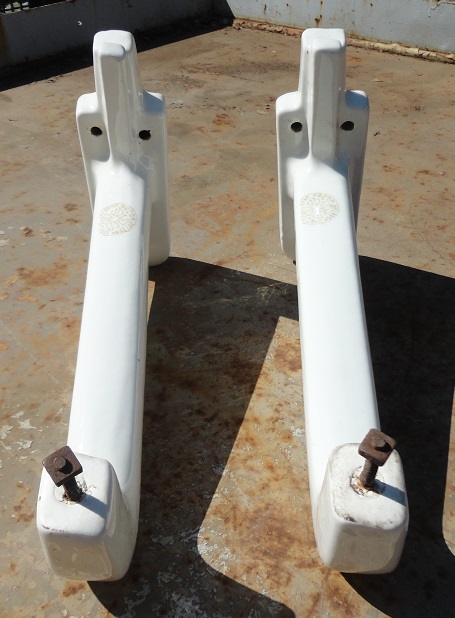
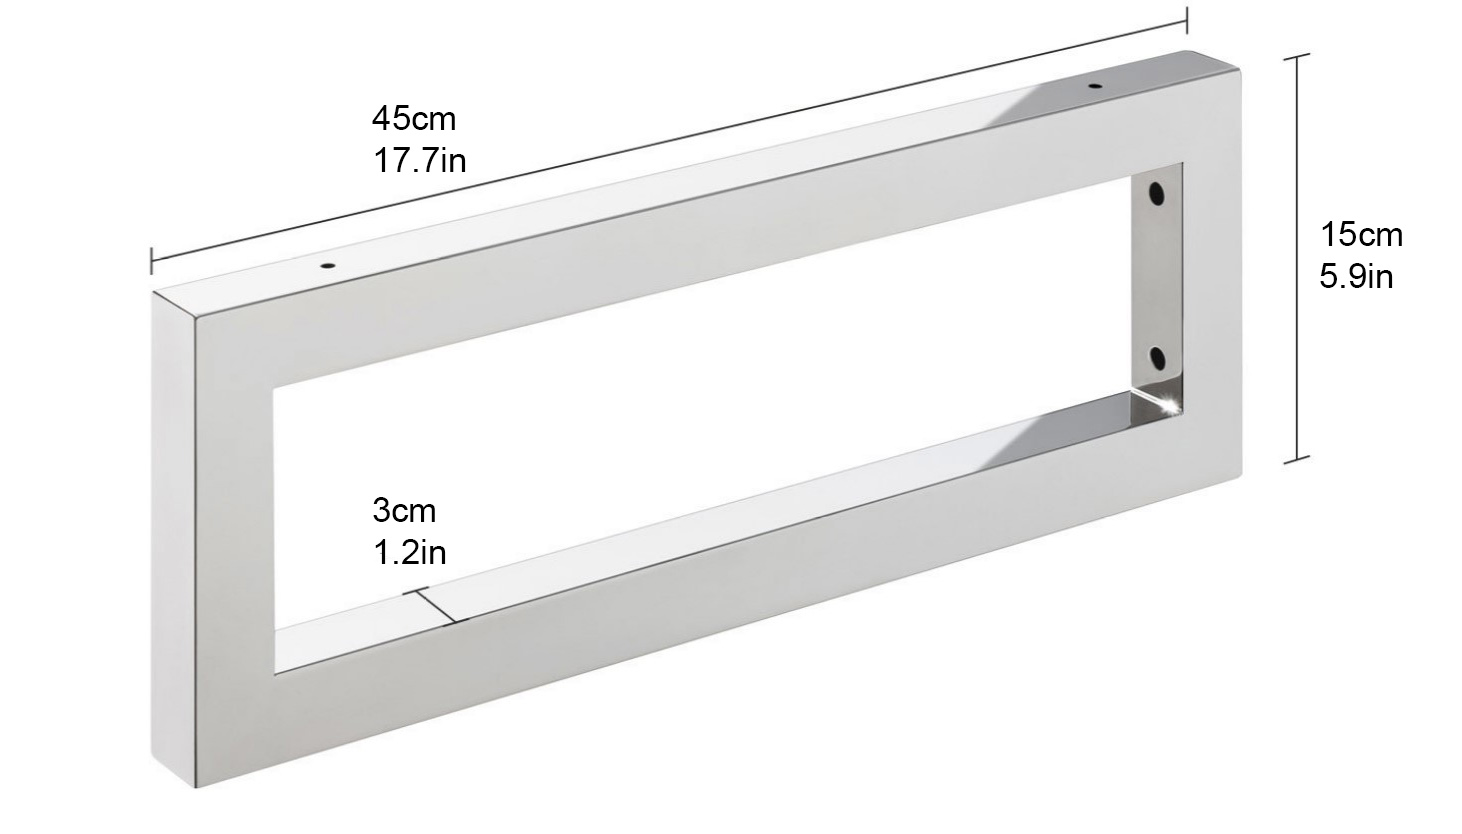
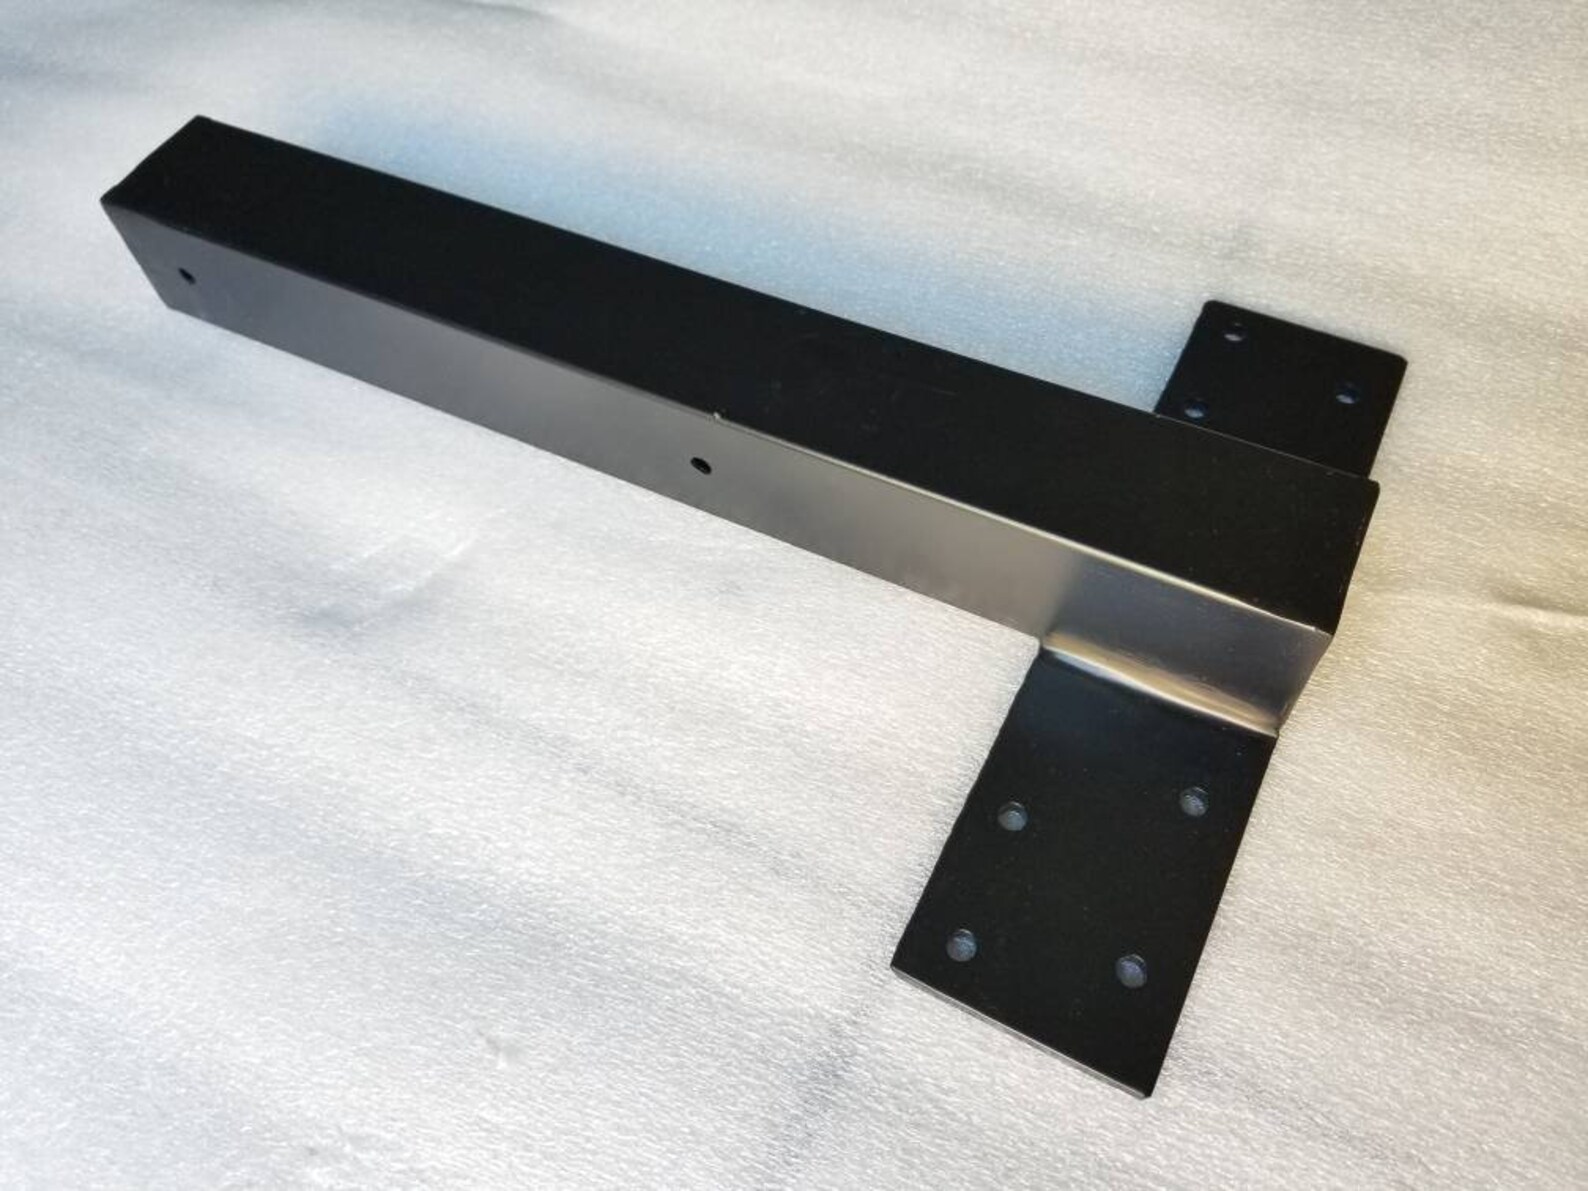
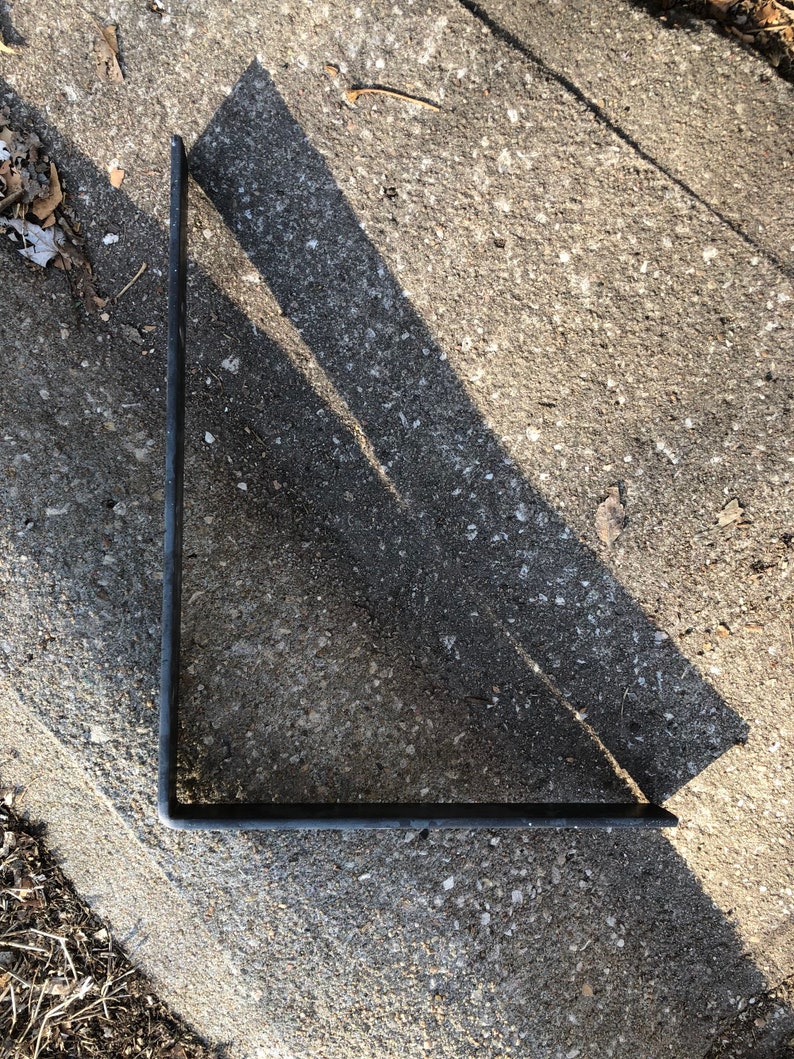
You can find sink brackets at most hardware stores or home improvement centers. Before purchasing, make sure to measure your sink and the space where the bracket will be installed to ensure you get the correct size. You can also purchase brackets online from reputable retailers. It's important to choose a high-quality bracket that is durable and can withstand the weight of your sink. Investing in a good quality bracket can save you from future issues and the cost of replacing it again. Replacement Sink Bracket: Where to Buy
Replacing your bathroom sink bracket may seem like a daunting task, but with the right tools and knowledge, it can be a simple and rewarding DIY project. By following our step-by-step guide, you can have a stable and secure sink in no time. Remember to regularly check and maintain your bracket to prevent any future issues. And if you encounter any complications, don't hesitate to hire a professional for assistance. With a new sink bracket in place, you can enjoy a sturdy and functional bathroom sink for years to come. Bracket Replacement for Bathroom Sink: Final Thoughts
The Importance of Properly Installed Bathroom Sink Brackets for a Functional and Stylish Bathroom
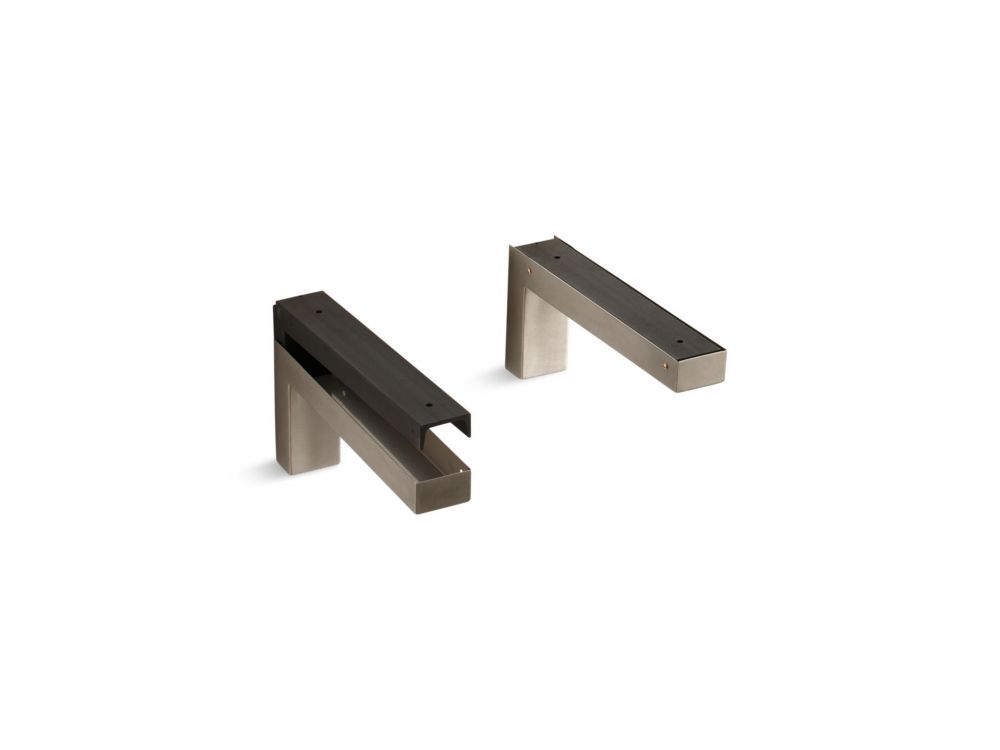
Why Bathroom Sink Brackets Matter
 When it comes to designing and renovating a bathroom, the sink is often one of the most important and used fixtures. It not only serves a functional purpose, but it also adds to the overall aesthetic of the space. However, many homeowners overlook the importance of properly installed
bathroom sink brackets
, leading to potential issues and a less-than-desirable look. In this article, we will delve into the significance of
brackets
in bathroom design and the steps to replace them for a more functional and stylish space.
Ensuring Stability and Durability
 One of the main reasons why
bathroom sink brackets
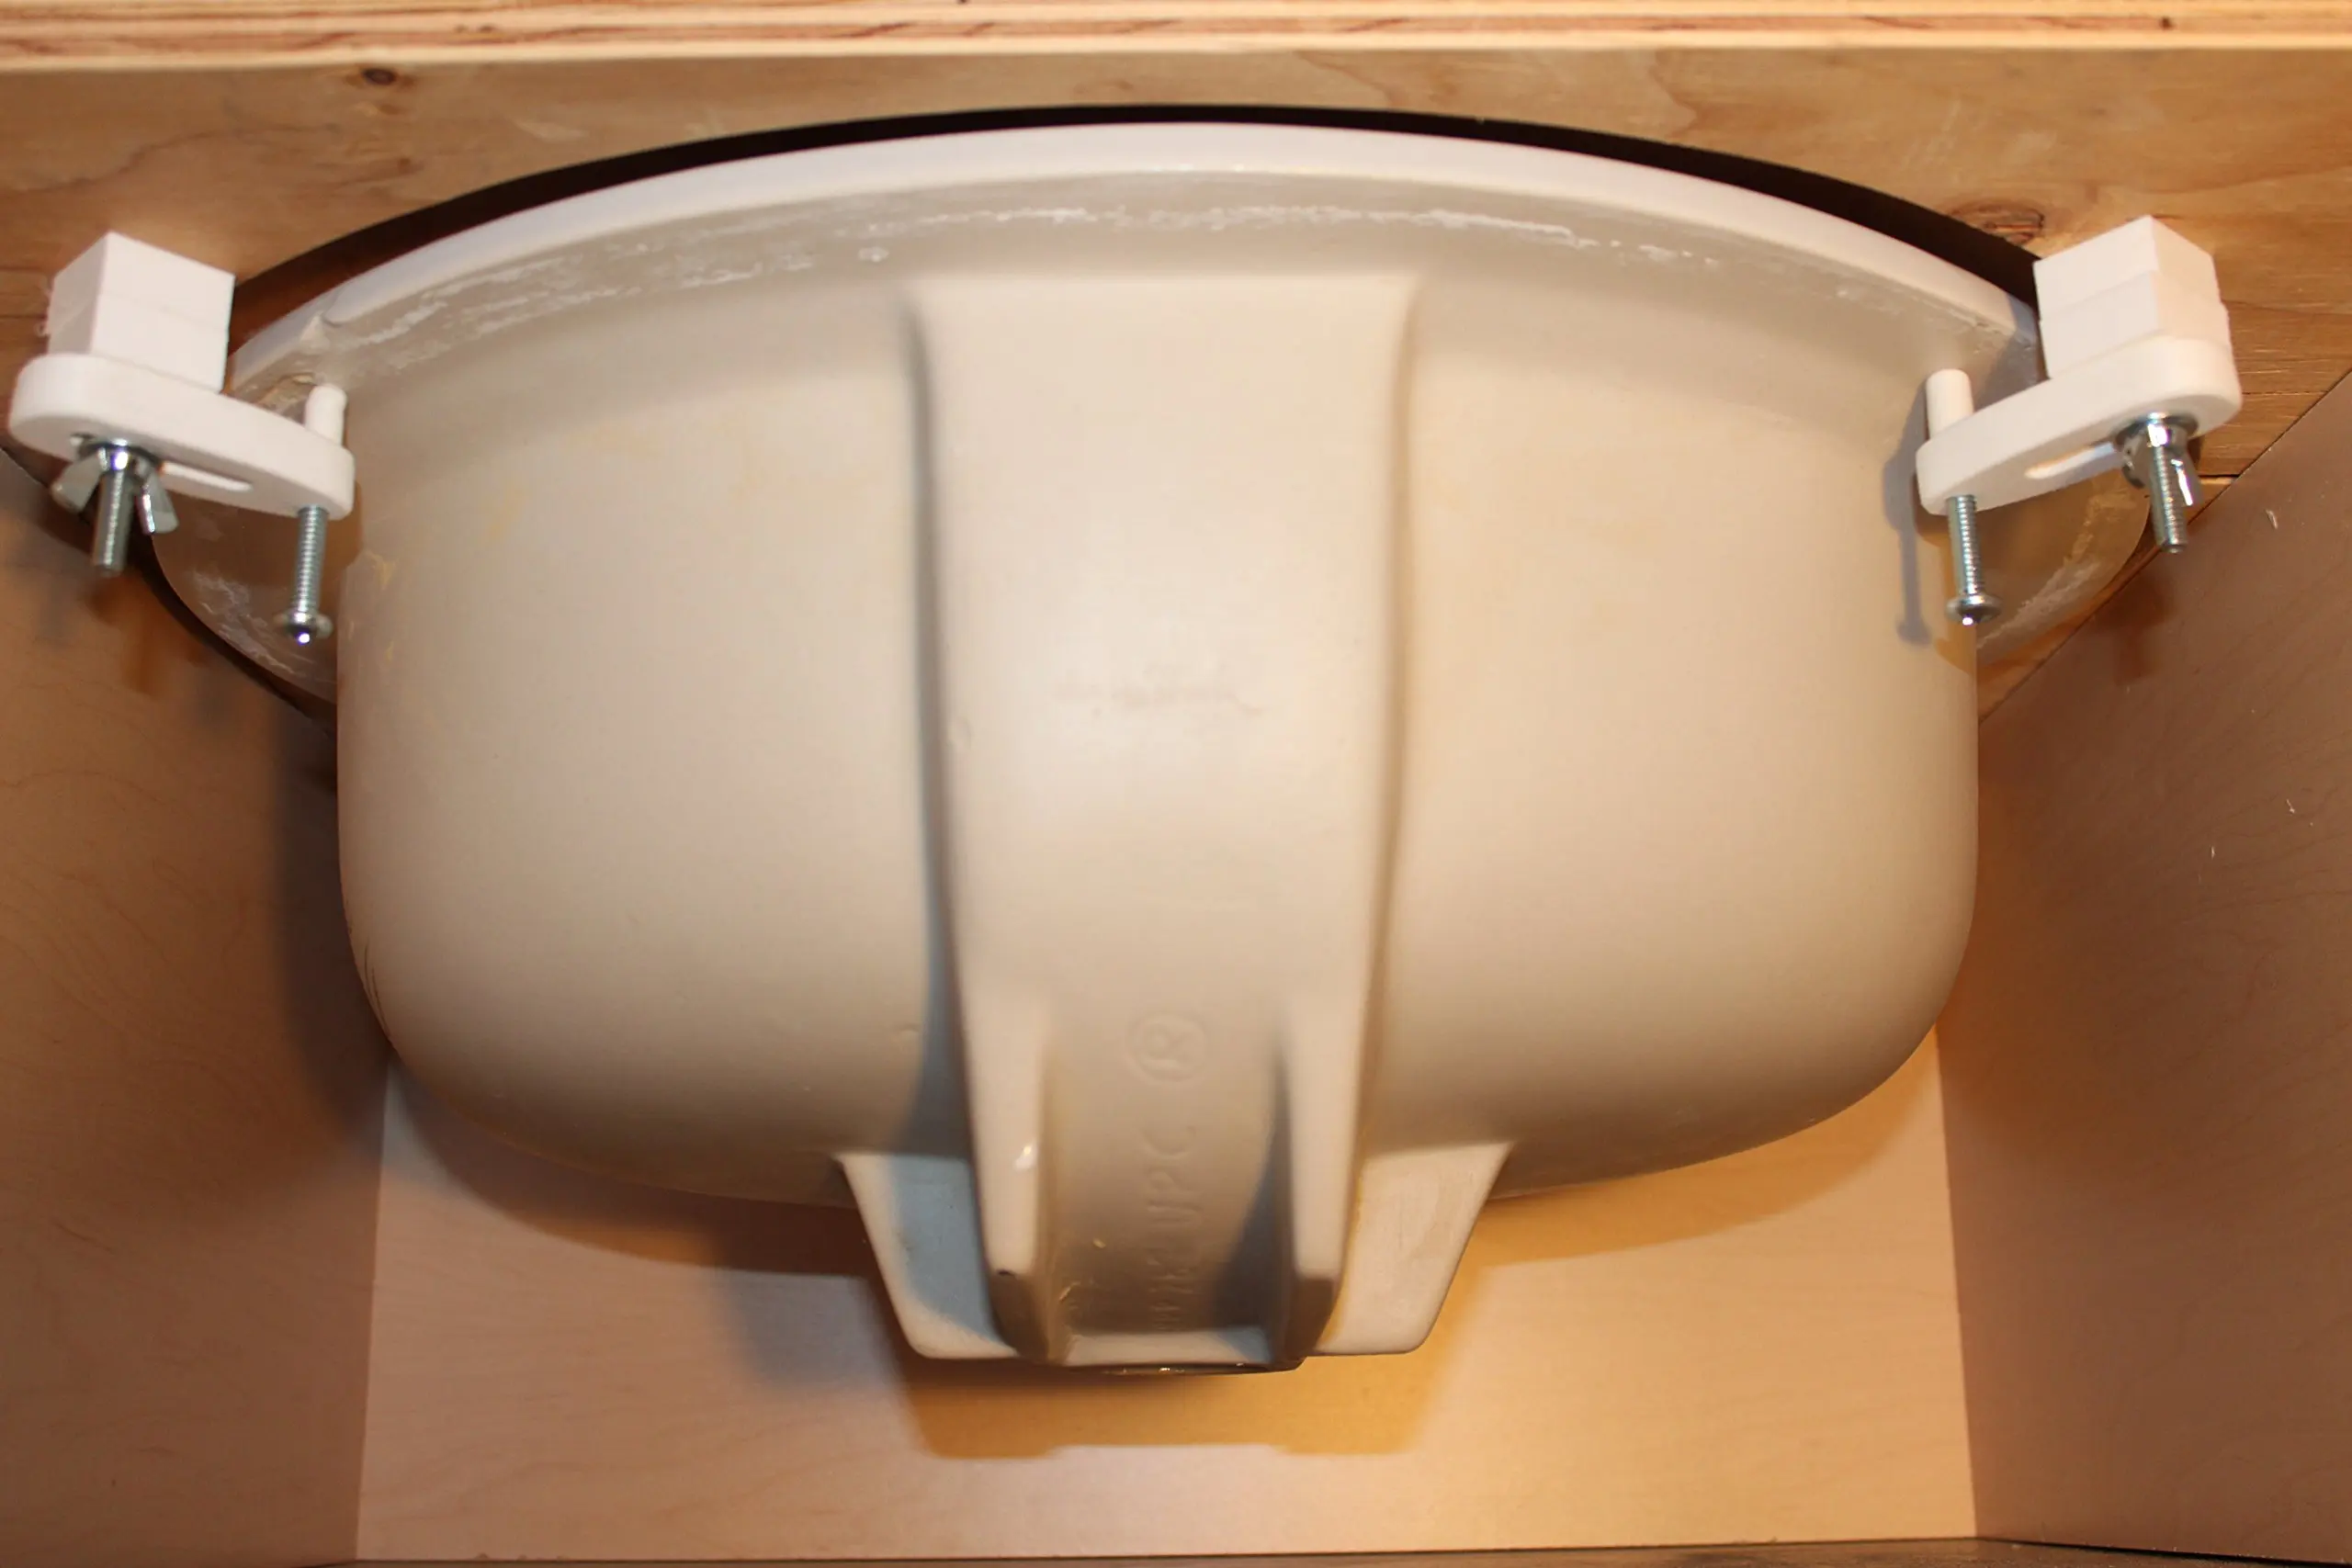
are crucial is that they provide stability and durability to the sink. Without proper support, the sink can become wobbly and unstable, leading to potential accidents and damage. The type of bracket needed will depend on the weight and size of the sink, as well as the material of the countertop. It is important to consult a professional to determine the right type of bracket for your specific sink and countertop to ensure maximum stability and durability.
Enhancing the Overall Design
 Aside from functionality,
bathroom sink brackets
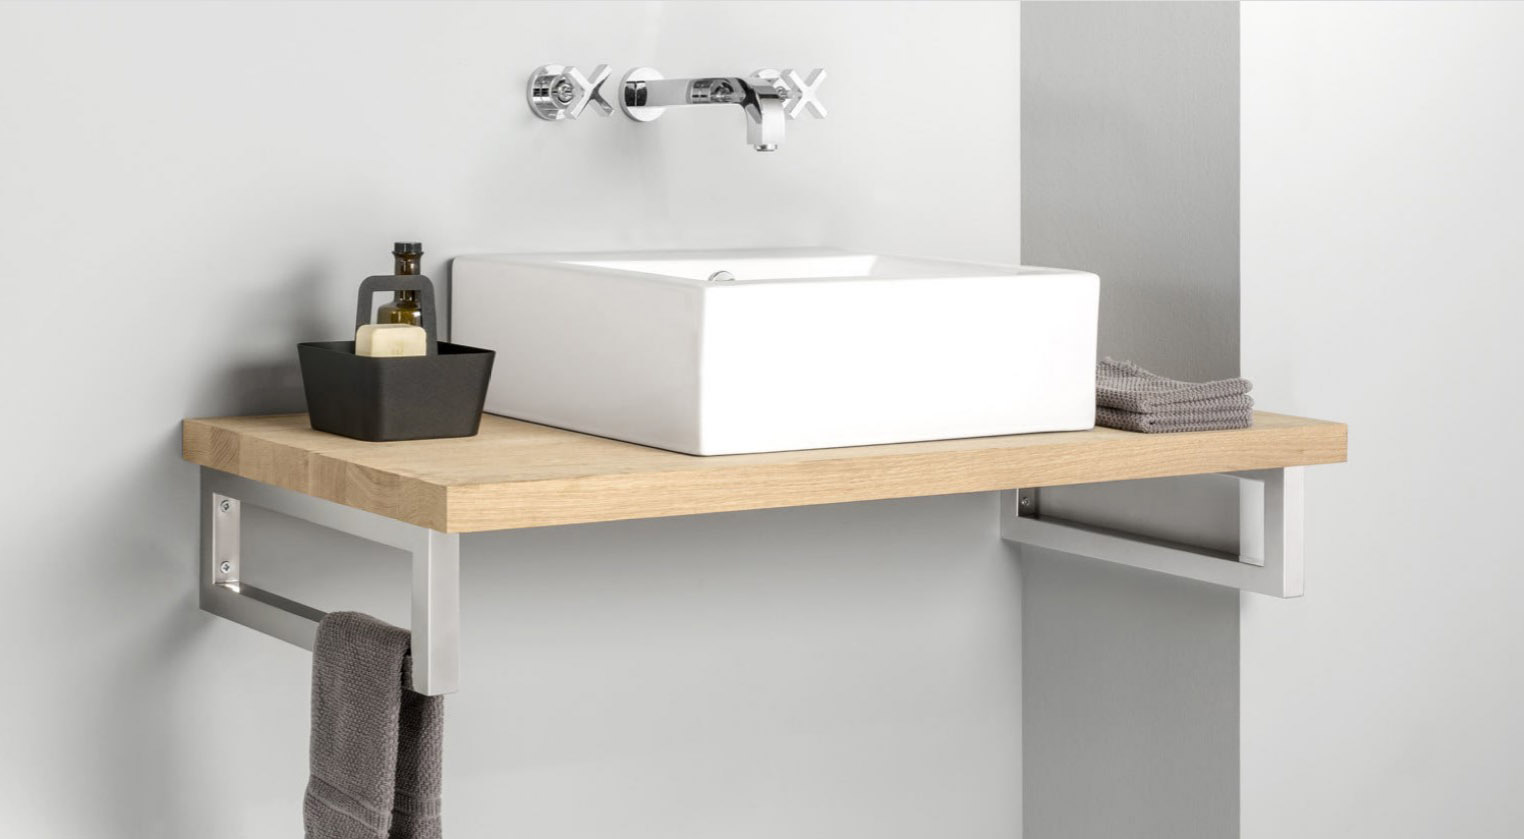
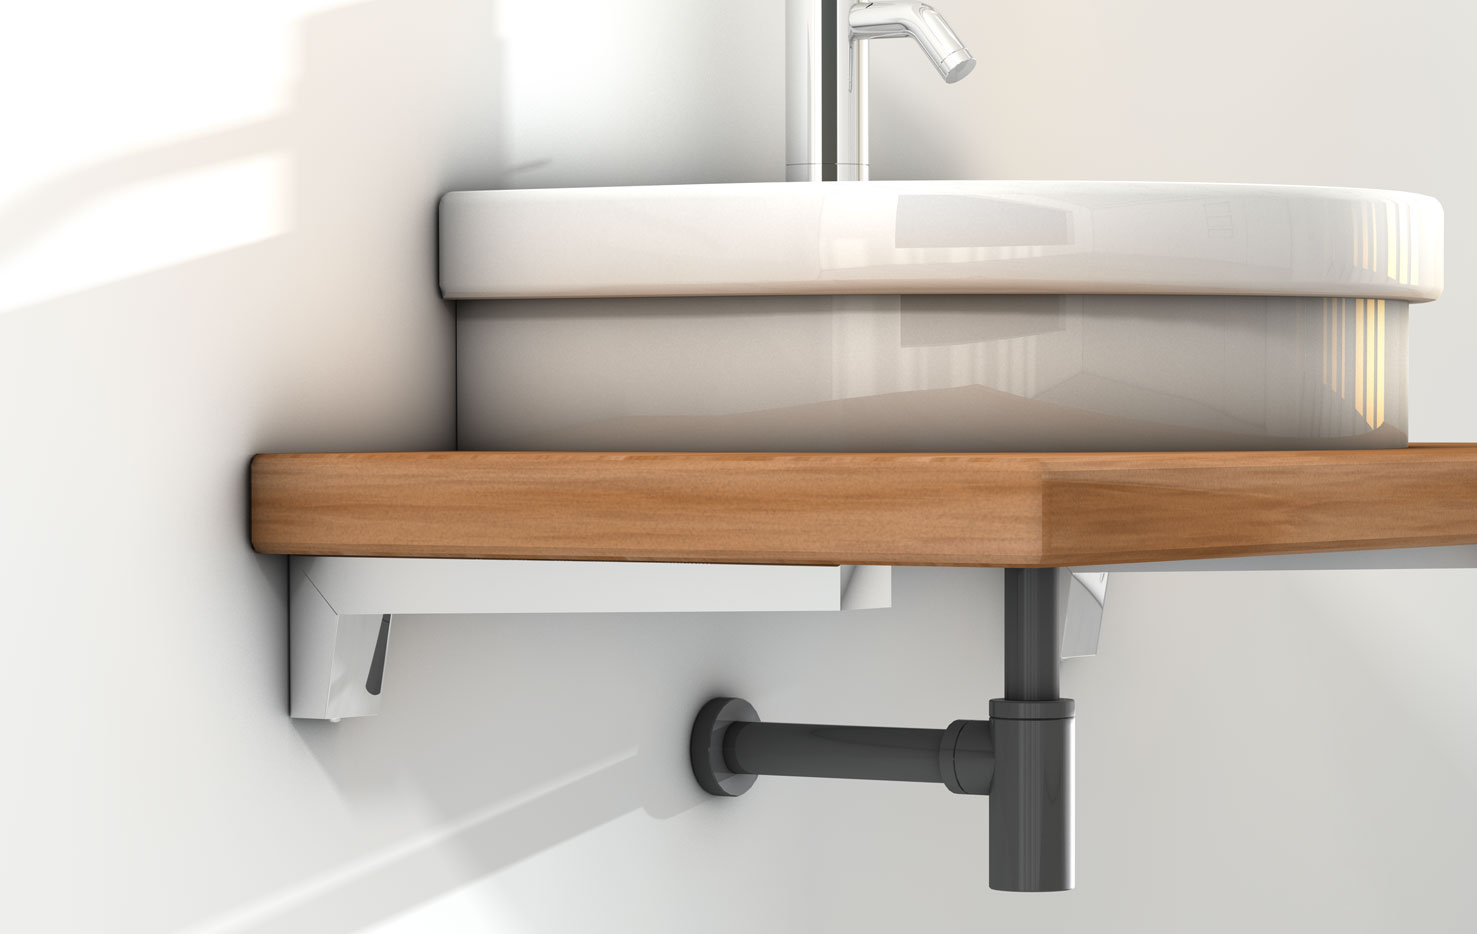
also play a significant role in enhancing the overall design of the bathroom. They can add a touch of style and sophistication, especially when paired with a complementary sink and countertop. There are various styles and finishes available, such as chrome, brushed nickel, and bronze, allowing you to customize the look of your bathroom to your liking. With the right brackets, your sink can become a focal point and elevate the entire design of the space.
Replacing Bathroom Sink Brackets
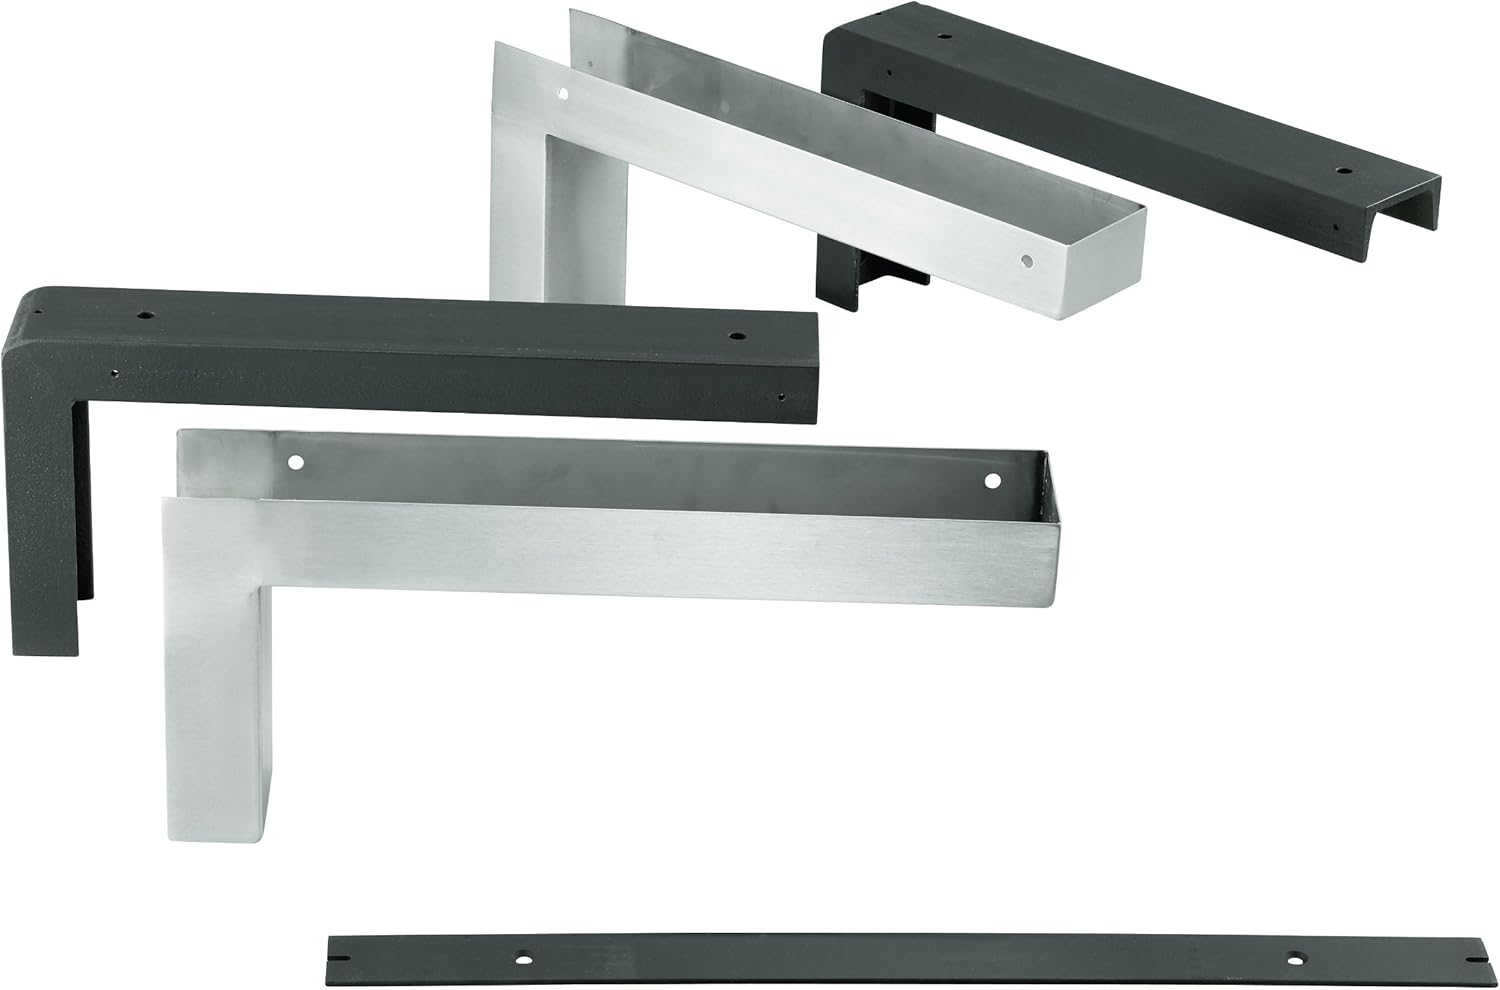 Over time, bathroom sink brackets can become worn out or damaged, and it is important to replace them to maintain the stability and design of your sink. The process may seem daunting, but with the right tools and steps, it can be done easily. Begin by turning off the water supply and disconnecting the plumbing underneath the sink. Remove the old brackets and clean the area before installing the new ones. Make sure to follow the manufacturer's instructions and use appropriate hardware for a secure fit.
In conclusion,
bathroom sink brackets
play a crucial role in both the functionality and design of a bathroom. They provide stability and durability to the sink and can enhance the overall aesthetic of the space. If you are experiencing any issues with your sink, it may be time to consider replacing the brackets. By following the proper steps and consulting a professional if needed, you can ensure a functional and stylish bathroom for years to come.
