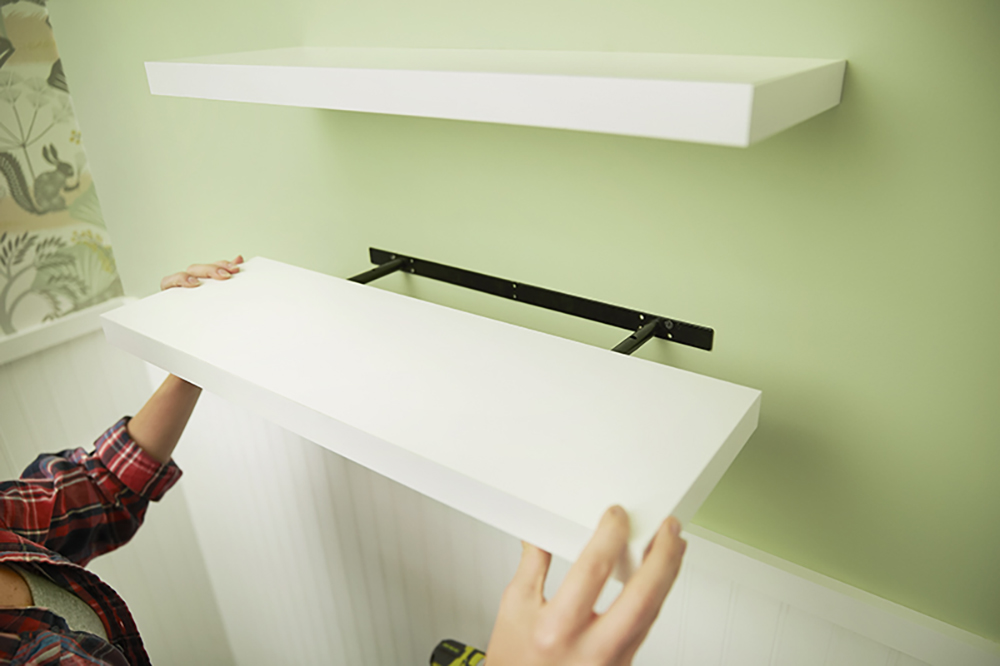
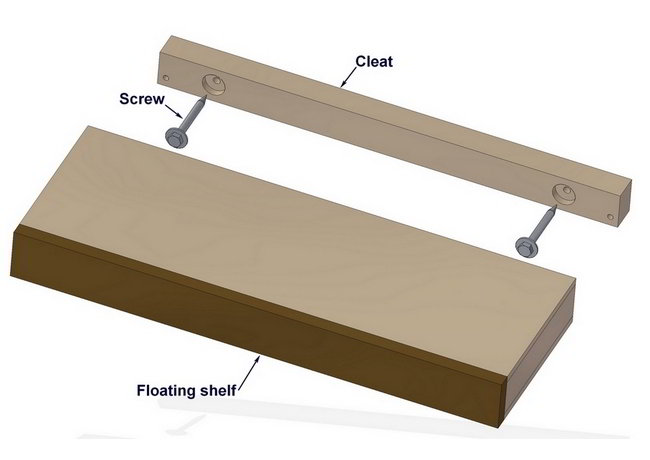
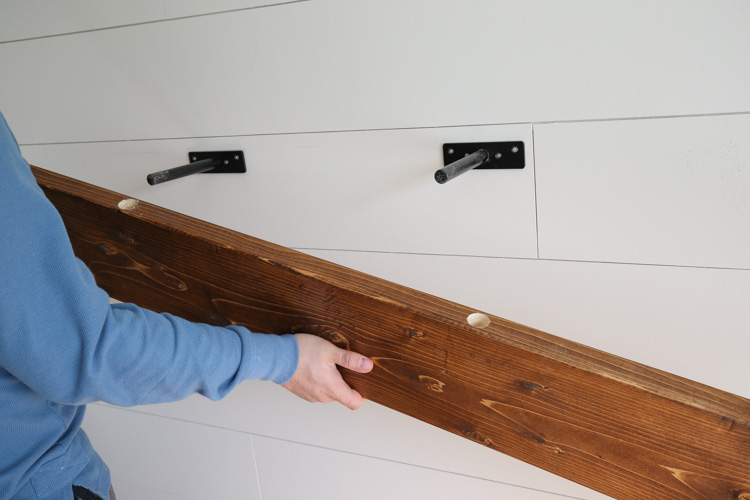
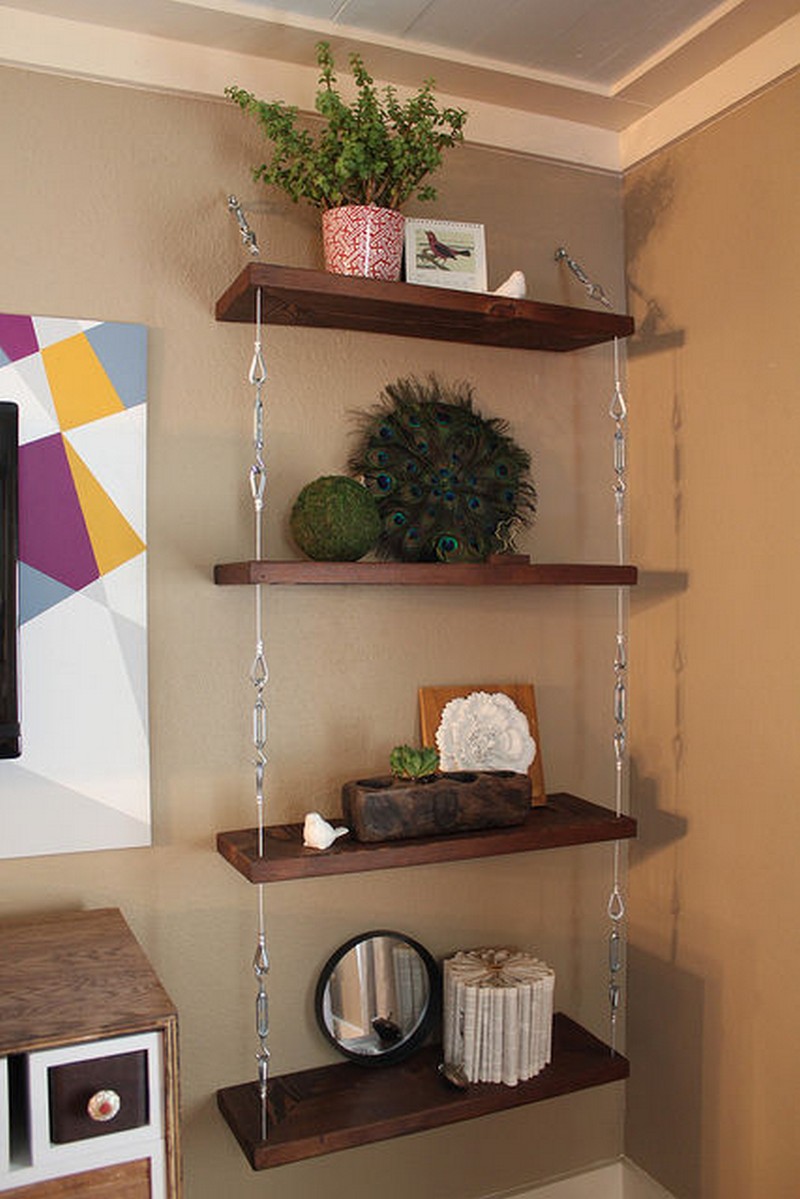
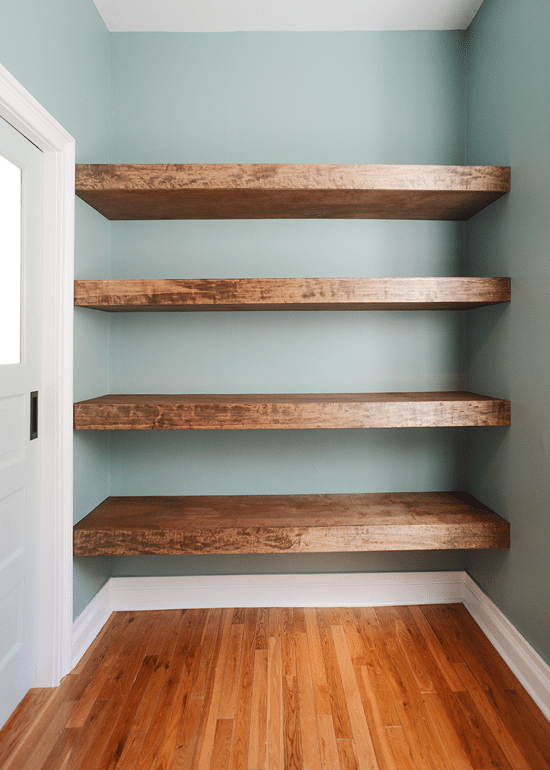
Adding a serving shelf to your kitchen wall can not only provide extra storage space, but also add a touch of style to your kitchen decor. One of the most popular types of shelves for this purpose is a floating shelf, which is attached directly to the wall with no visible brackets. If you're wondering how to install a floating shelf in your kitchen, follow these simple steps for a quick and easy installation process.1. How to Install a Floating Shelf on a Kitchen Wall


1. How to Install a Floating Shelf on a Kitchen Wall


/montgomery..-8a27ac05cf004c54a1f27a62256fee9d.png)


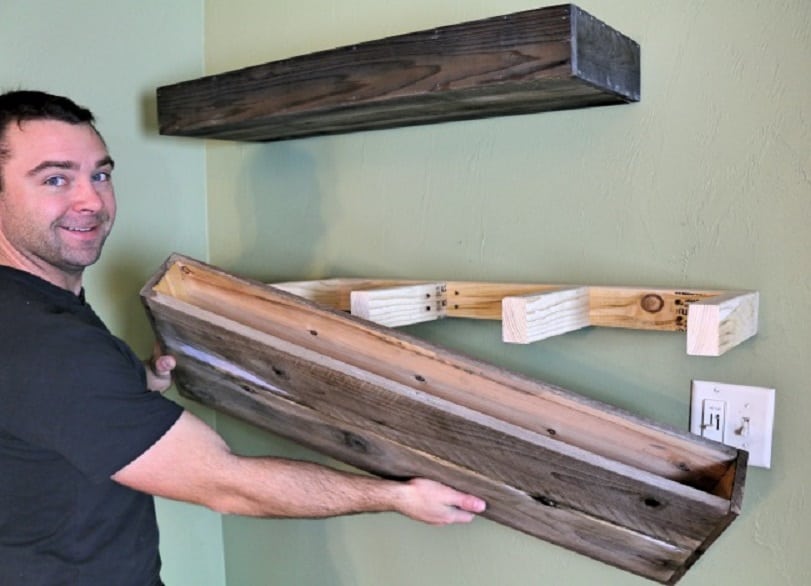


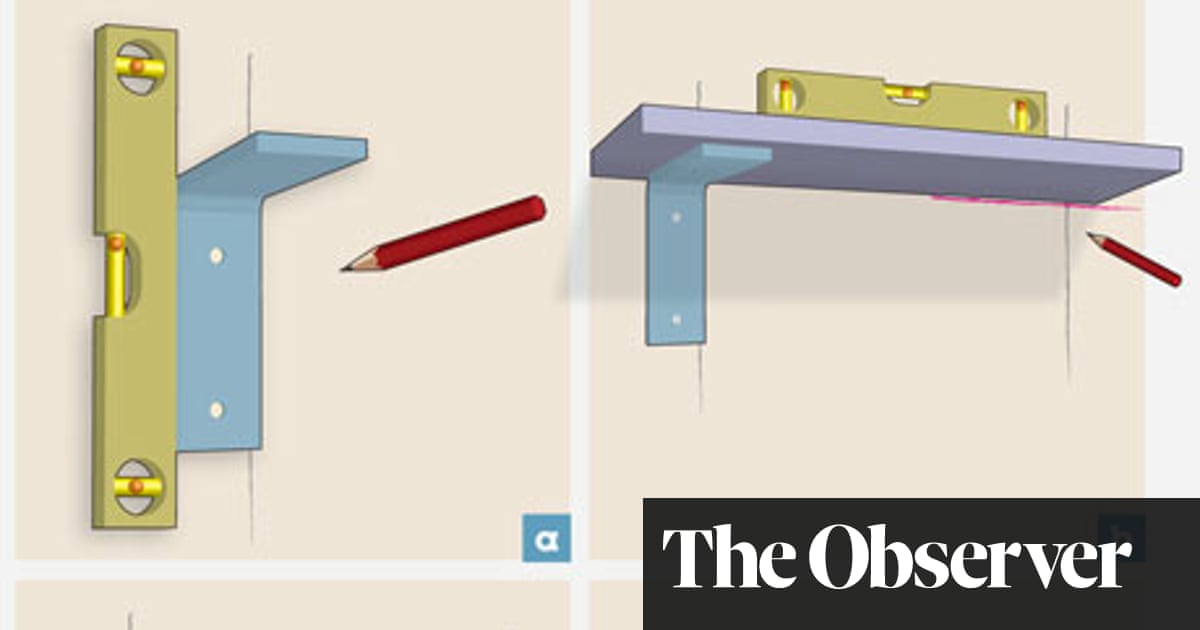
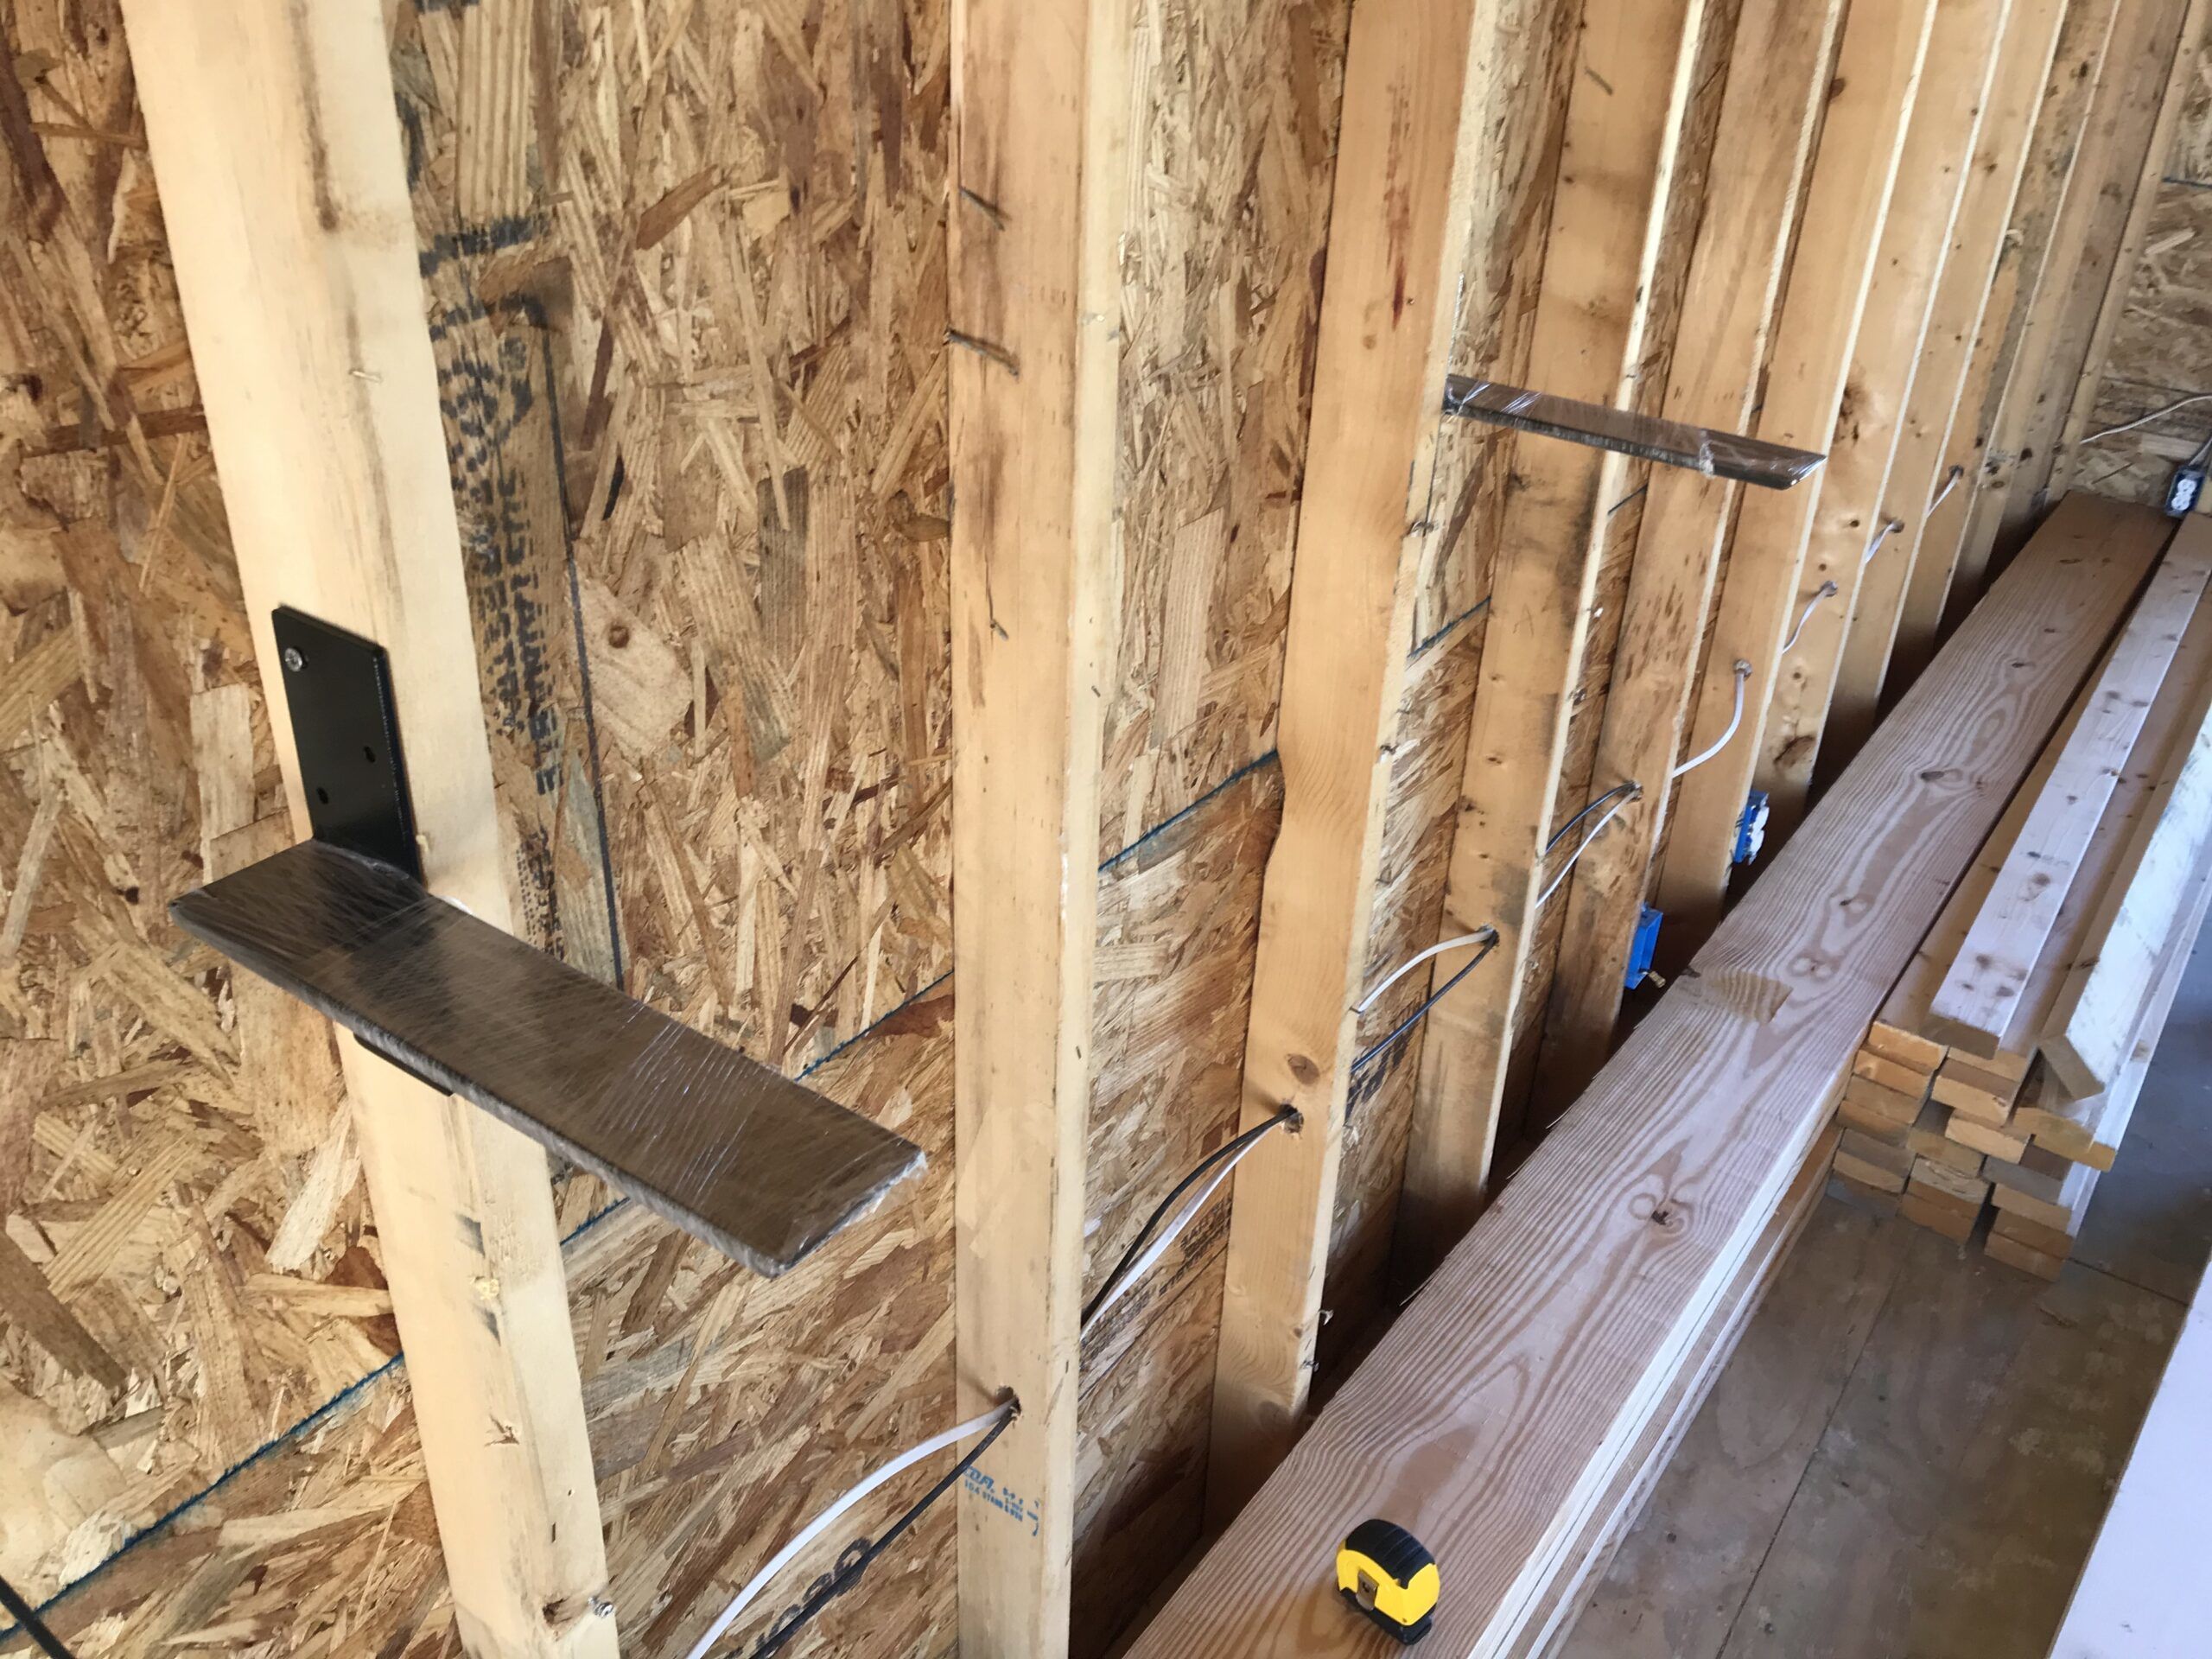
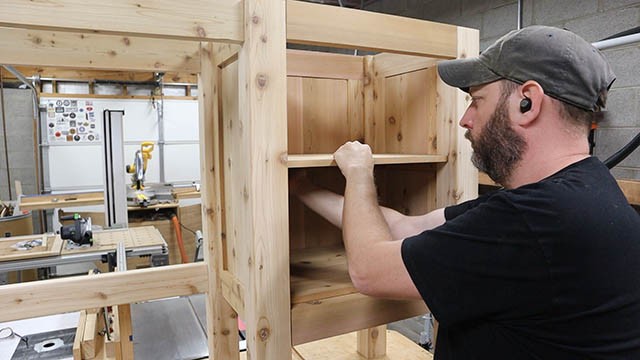
The first step is to decide on the placement of your shelf. Measure and mark the exact spot on the wall where you want to install it. Make sure to use a level to ensure that your shelf will be straight. Next, gather your tools and materials. You will need a drill, screws, wall anchors, a level, a pencil, and a screwdriver. Make sure to choose screws and wall anchors that are appropriate for the weight of your shelf. Now, it's time to mount the shelf. Use your drill to make holes in the wall where you marked the placement of the shelf. Insert the wall anchors into the holes, and then screw in the brackets for the shelf. Make sure the brackets are securely attached to the wall. Finally, place the shelf on top of the brackets and secure it with screws. Use a level to make sure the shelf is straight before tightening the screws completely. And just like that, your serving shelf is now attached to your kitchen wall!2. Step-by-Step Guide for Attaching a Serving Shelf to Your Kitchen Wall


2. Step-by-Step Guide for Attaching a Serving Shelf to Your Kitchen Wall

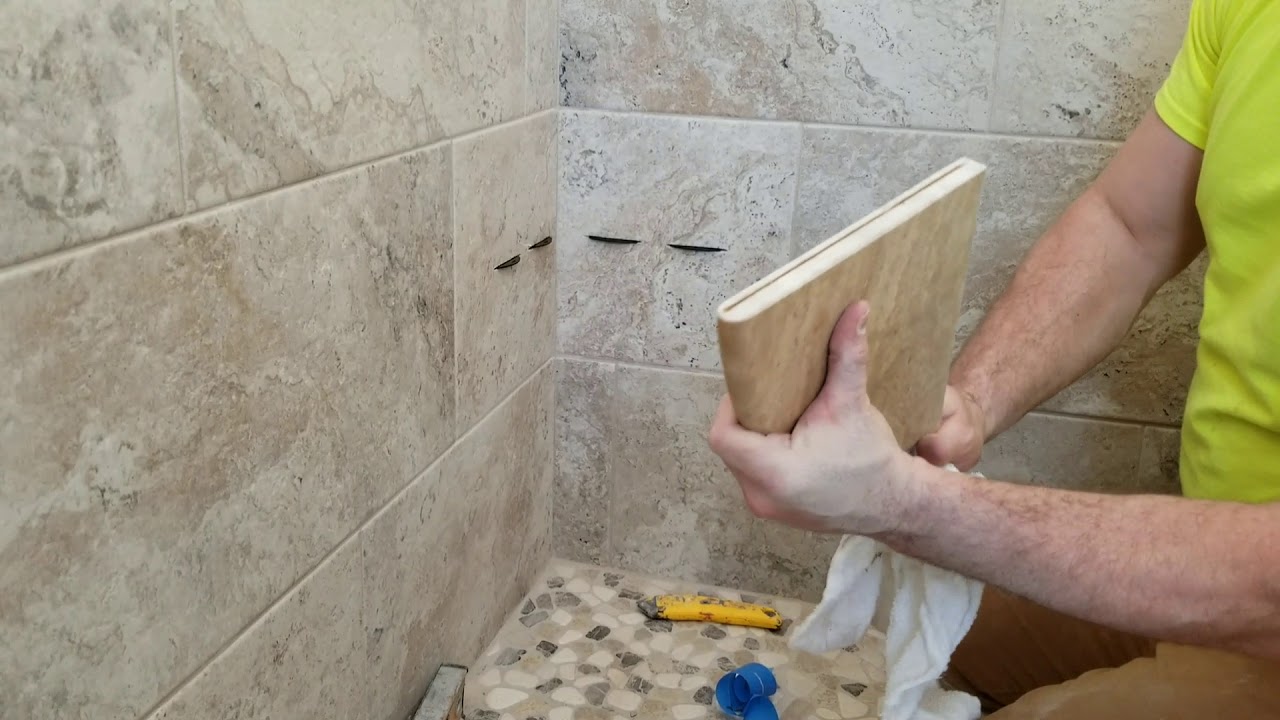
Mounting a shelf on a tile wall may seem like a daunting task, but with the right tools and techniques, it can be done easily. The key is to use a diamond-tip drill bit to drill through the tile without cracking or damaging it. Start by marking the placement of your shelf on the tile wall. Use a level to ensure that the marks are straight. Then, use a diamond-tip drill bit to create pilot holes in the tile where the screws will go. Next, use a regular drill bit to make holes in the wall behind the tile for the wall anchors. Insert the wall anchors into the holes, and then screw in the brackets for the shelf. Finally, place the shelf on top of the brackets and secure it with screws. Take your time and be gentle to avoid cracking the tile. With a little patience and precision, your shelf will be securely attached to your tile wall in no time.3. DIY: How to Mount a Shelf on a Tile Wall


3. DIY: How to Mount a Shelf on a Tile Wall


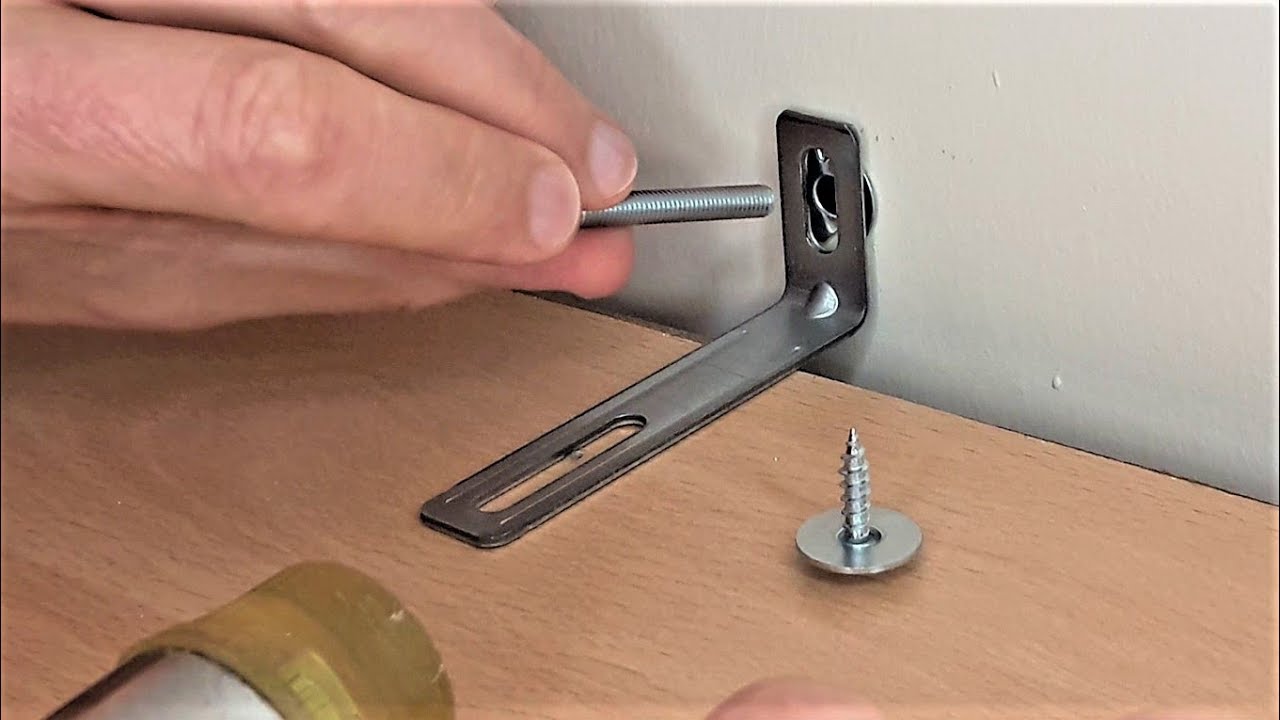
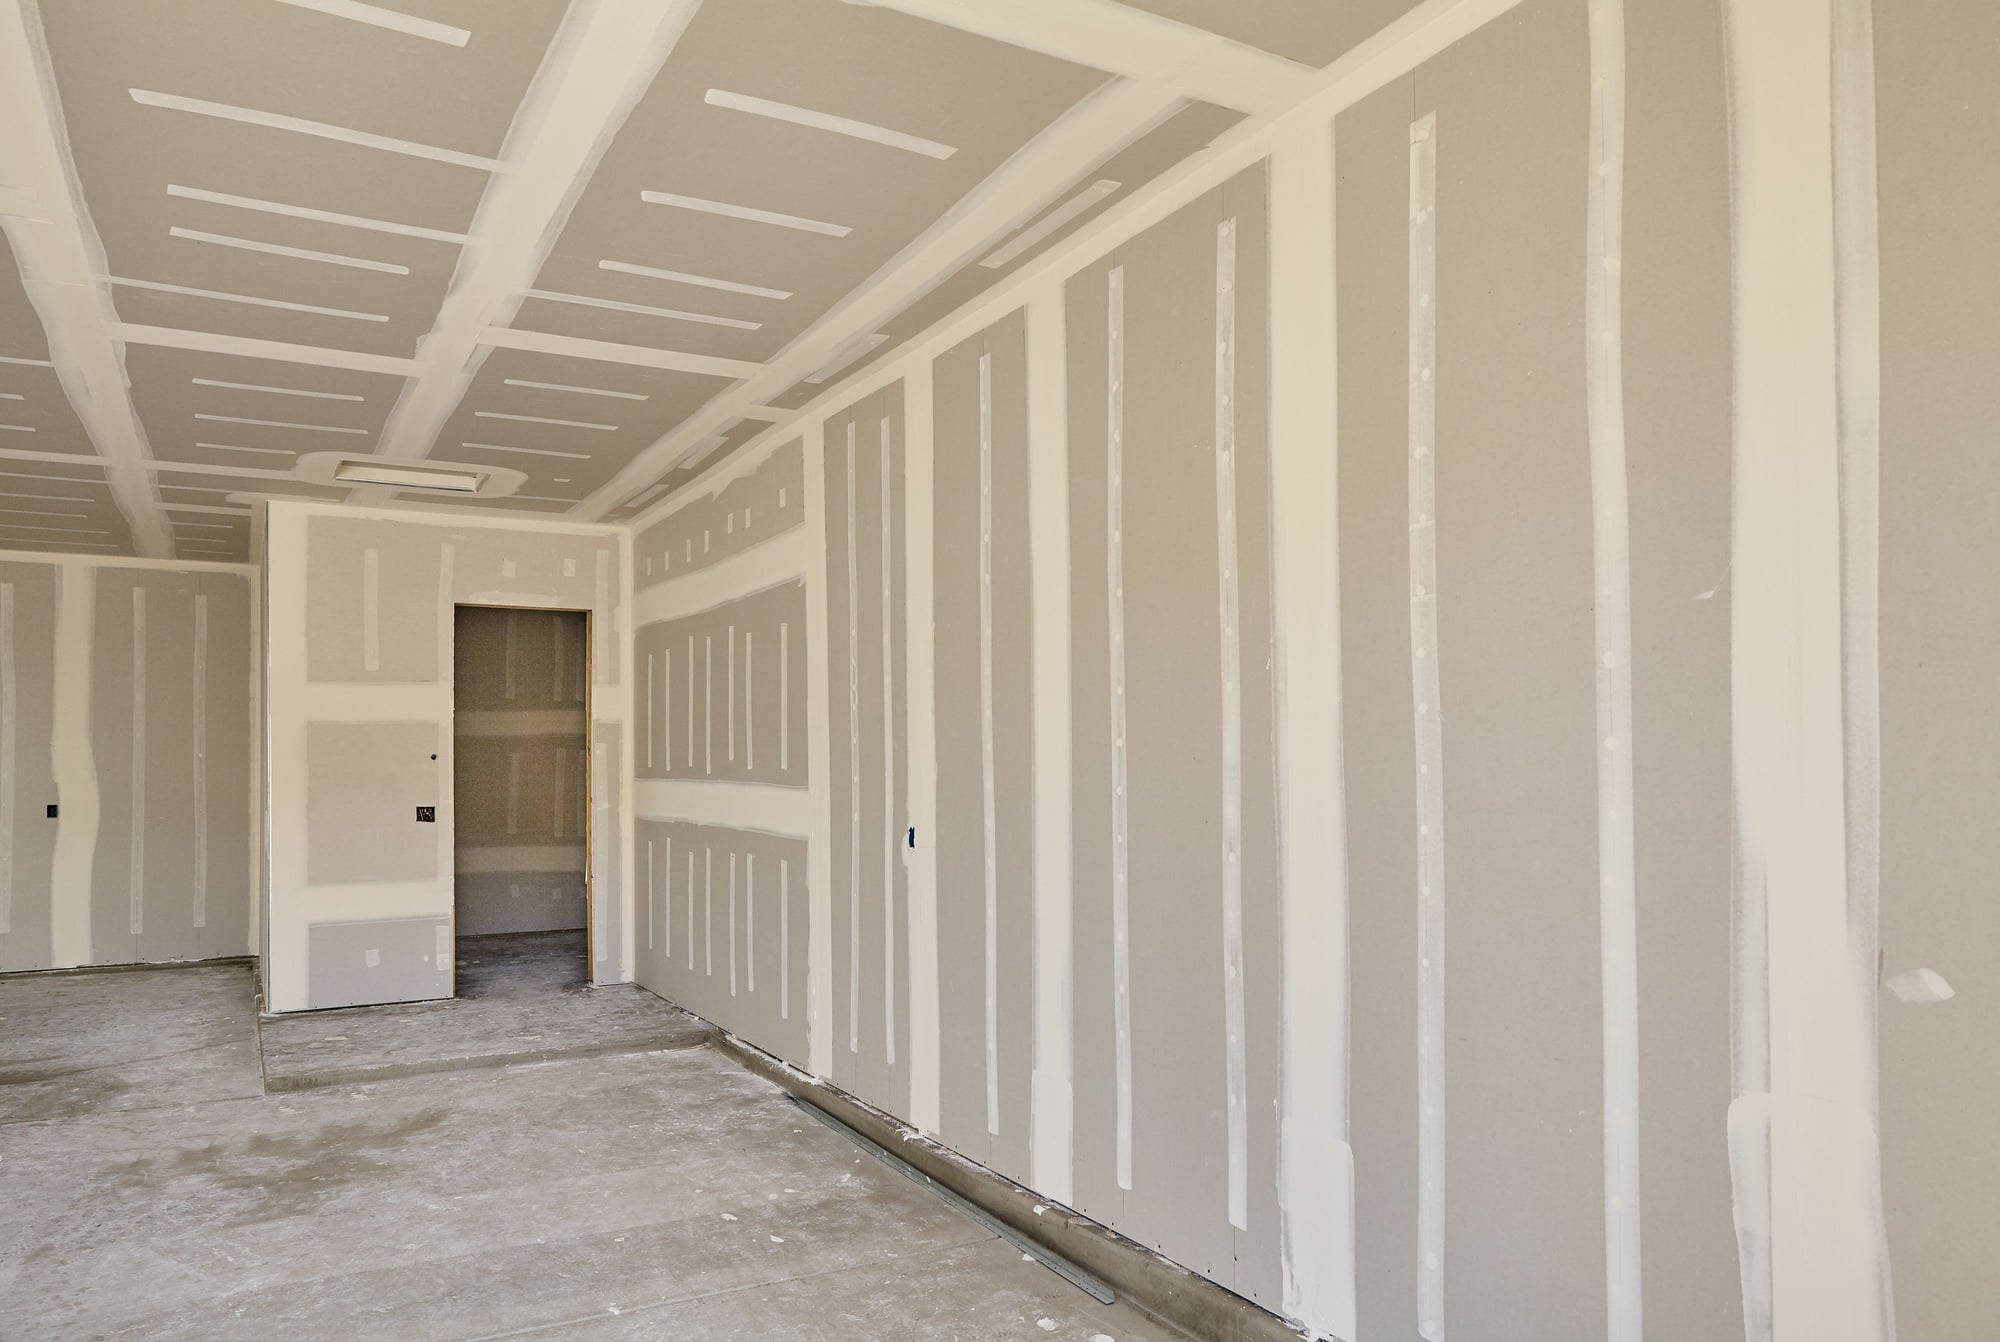
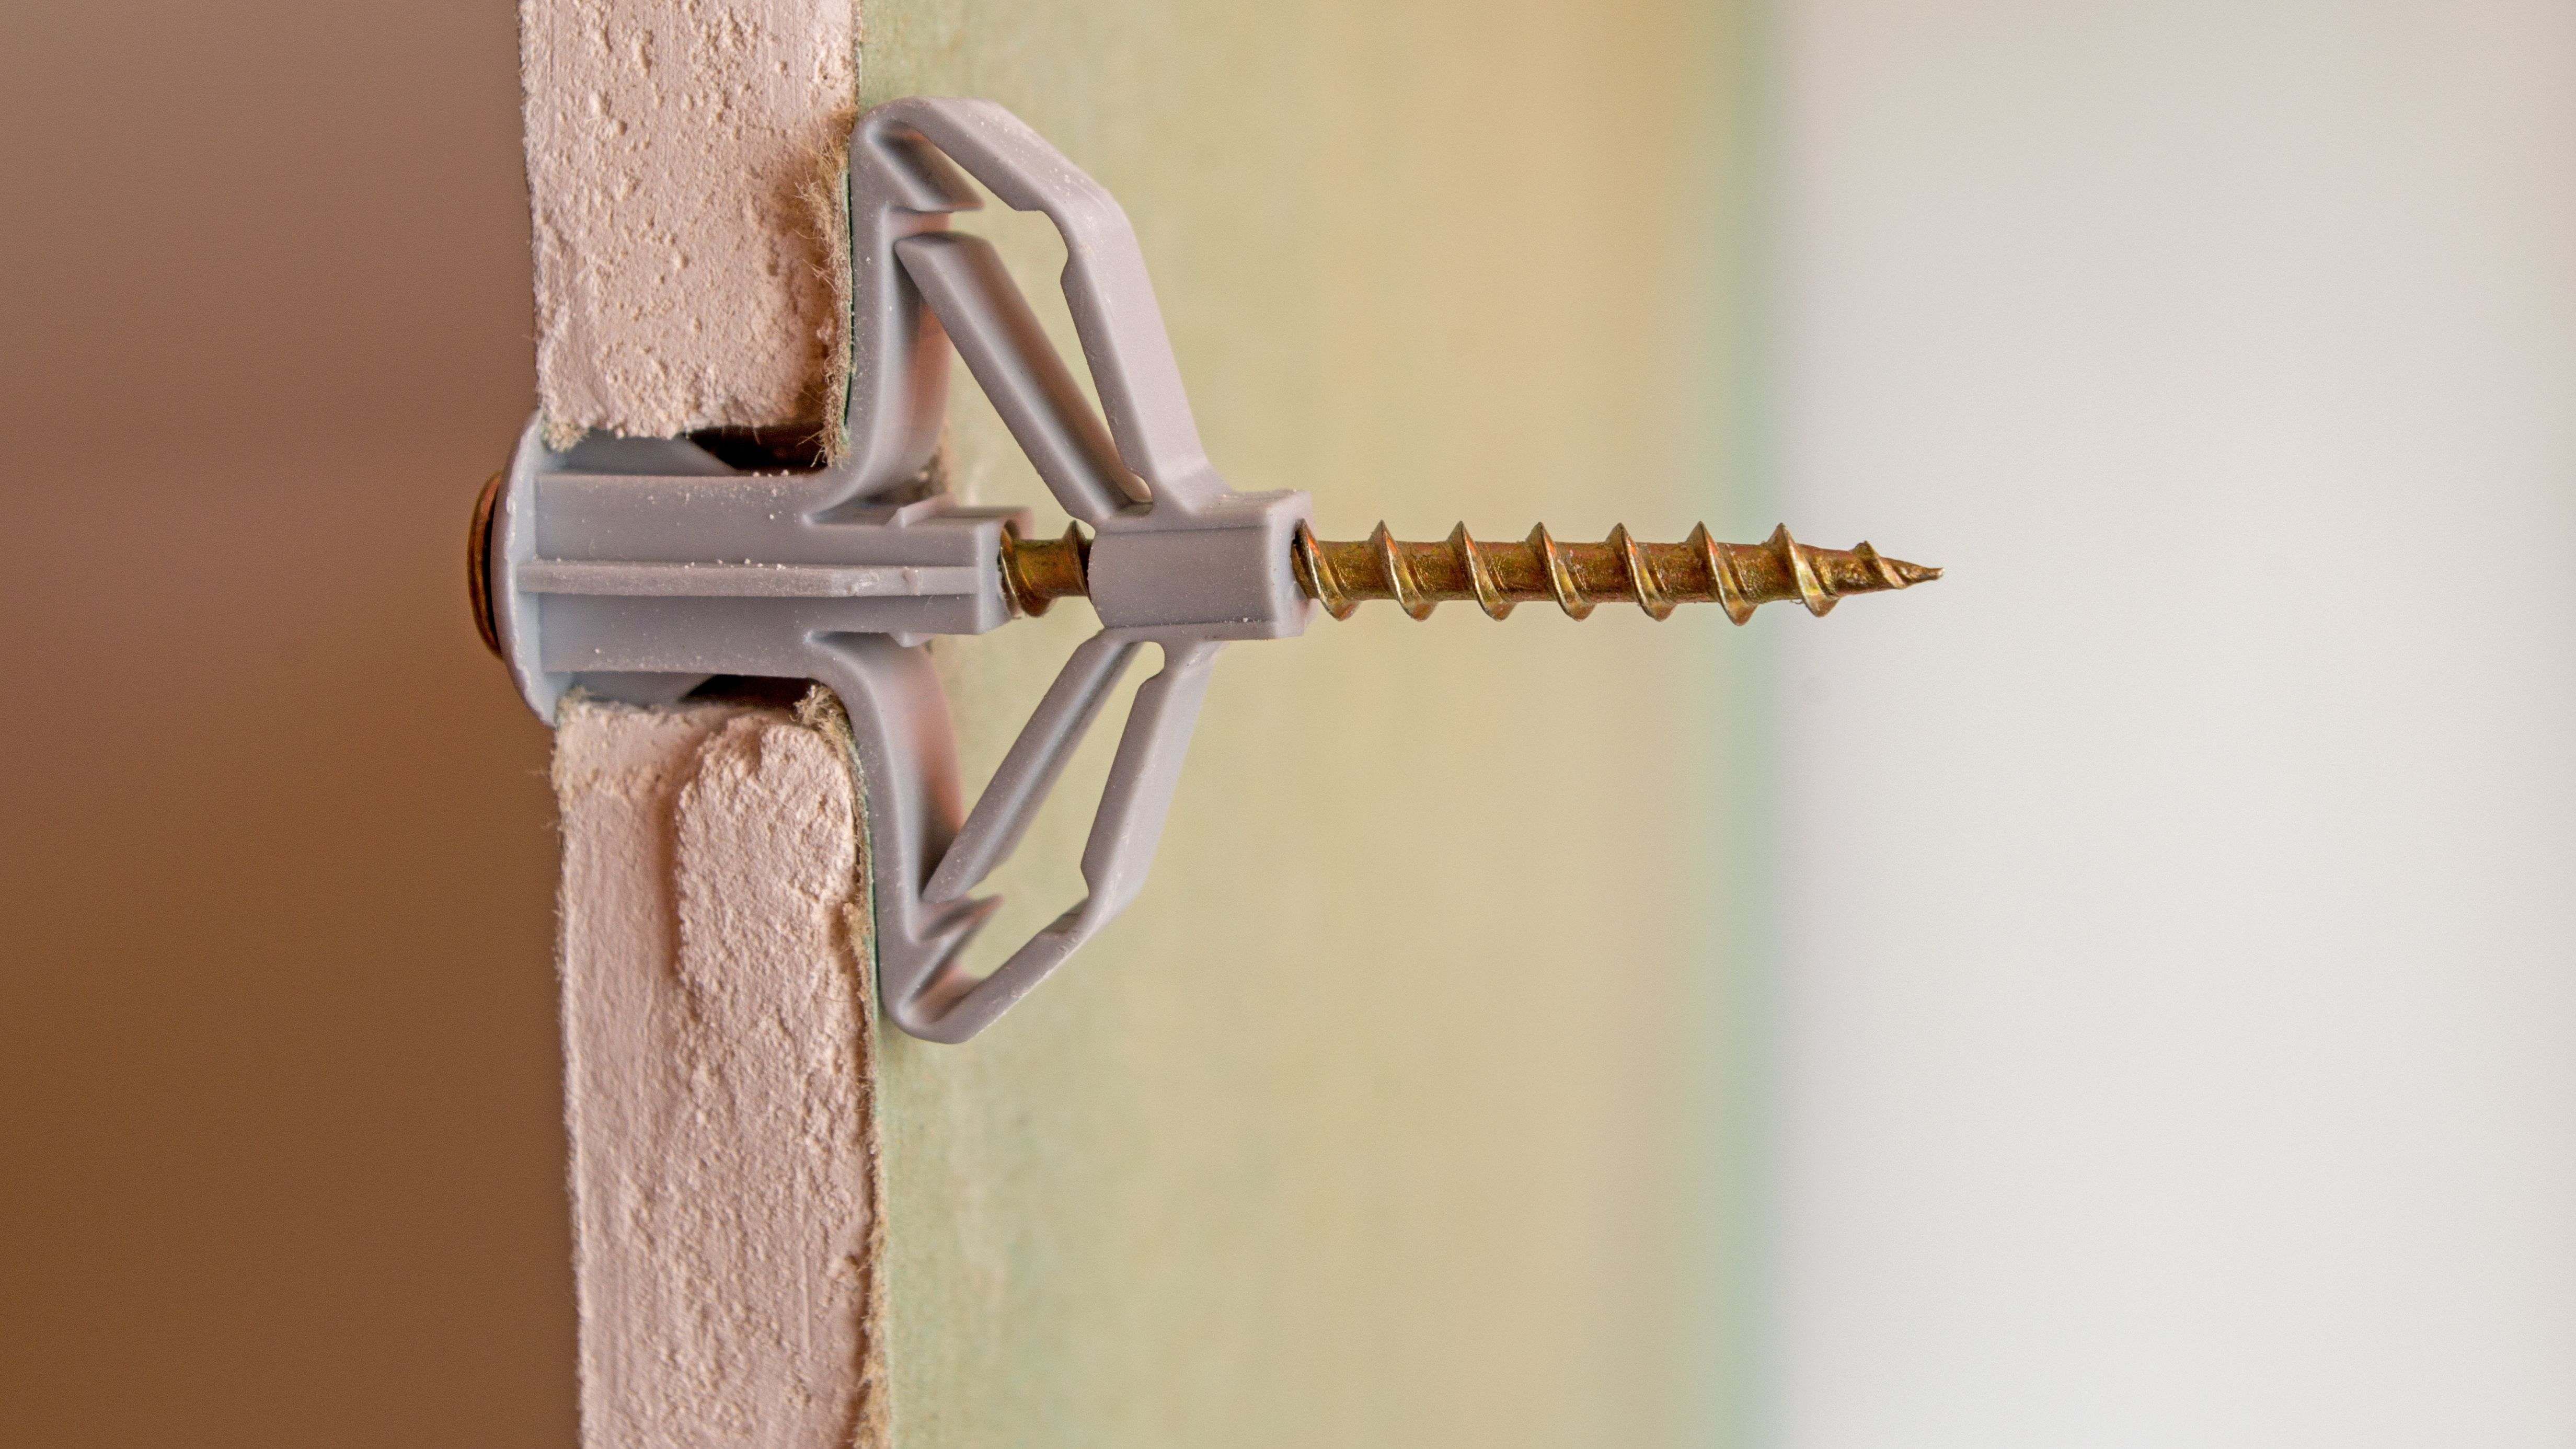
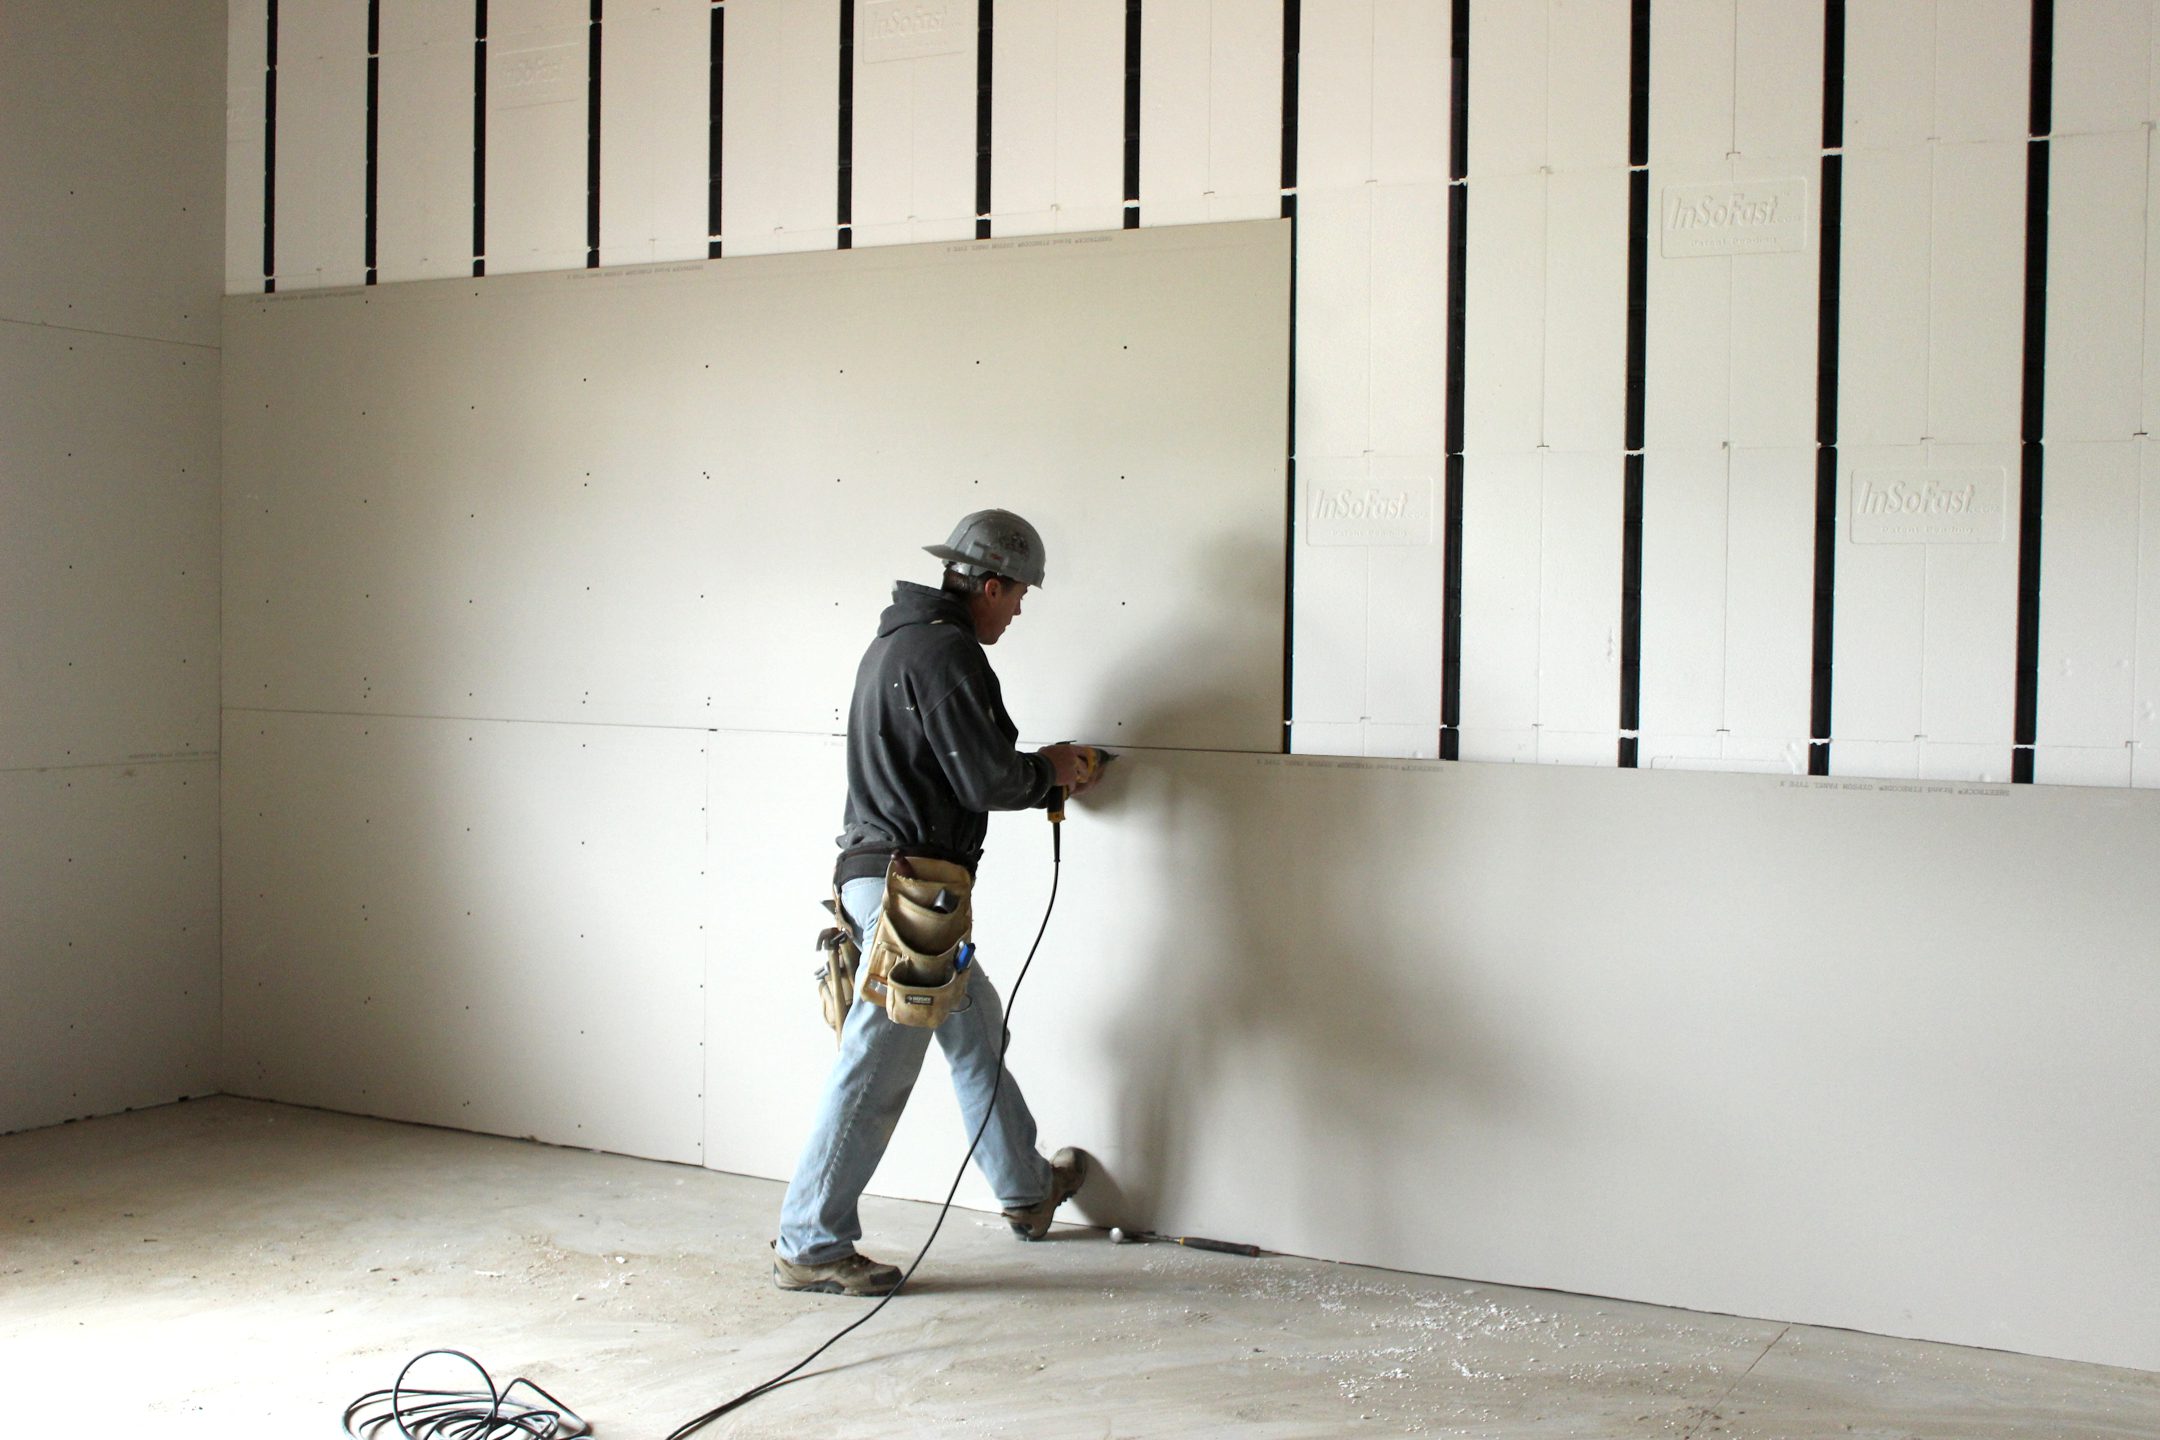
When attaching a shelf to drywall, it's important to use the right tools and techniques to ensure that it is securely mounted. The best way to do this is by using a toggle bolt anchor. These anchors are designed to hold heavy loads and are perfect for attaching shelves to drywall. Start by marking the placement of your shelf on the drywall. Then, use a drill to create holes where the screws will go. Next, insert the toggle bolt anchors into the holes. Use a screwdriver to tighten the screws, and then attach the brackets for the shelf. Finally, place the shelf on top of the brackets and secure it with screws. Your shelf will now be securely attached to your drywall, able to hold all your kitchen essentials.4. The Best Way to Secure a Shelf to Drywall


4. The Best Way to Secure a Shelf to Drywall

/drywall-framing-guide-1821976-hero-4e68b24388d44969ae6c85e5e1bda1f7.jpg)


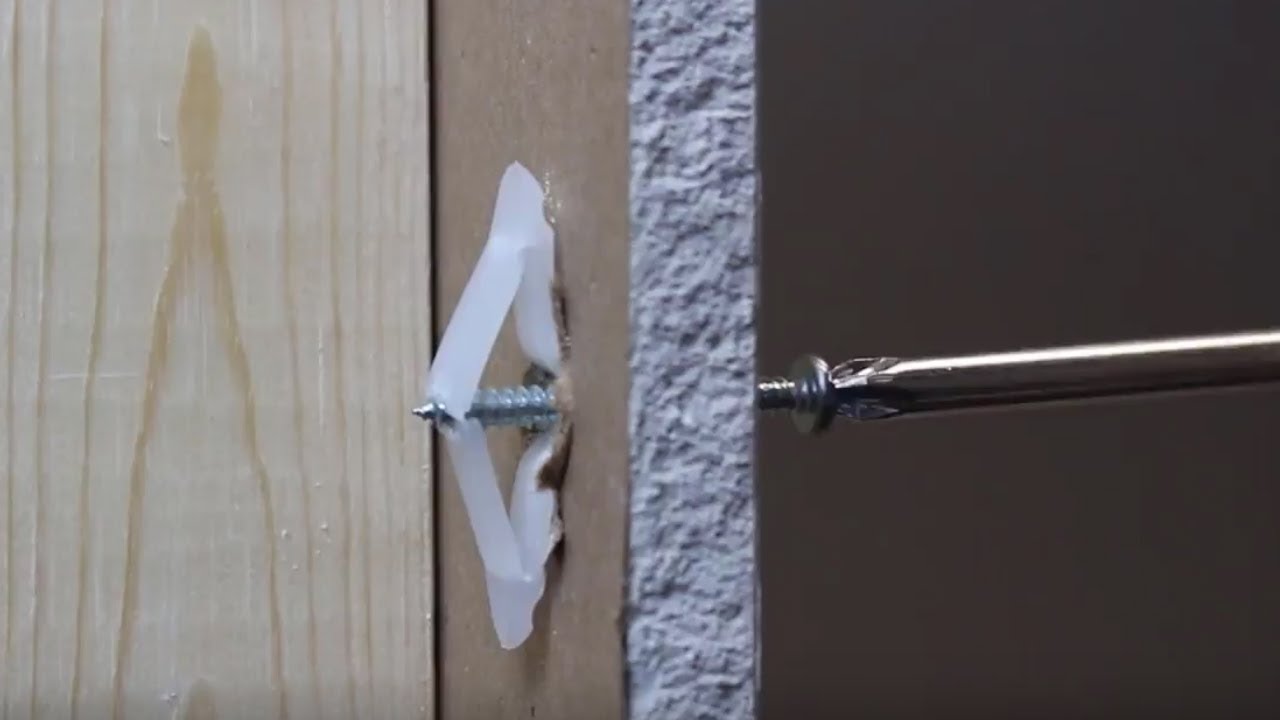


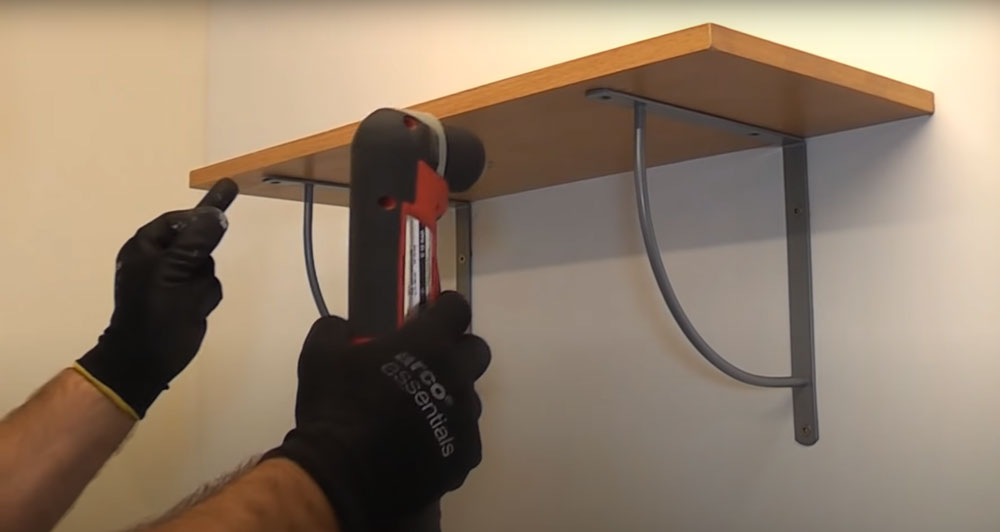
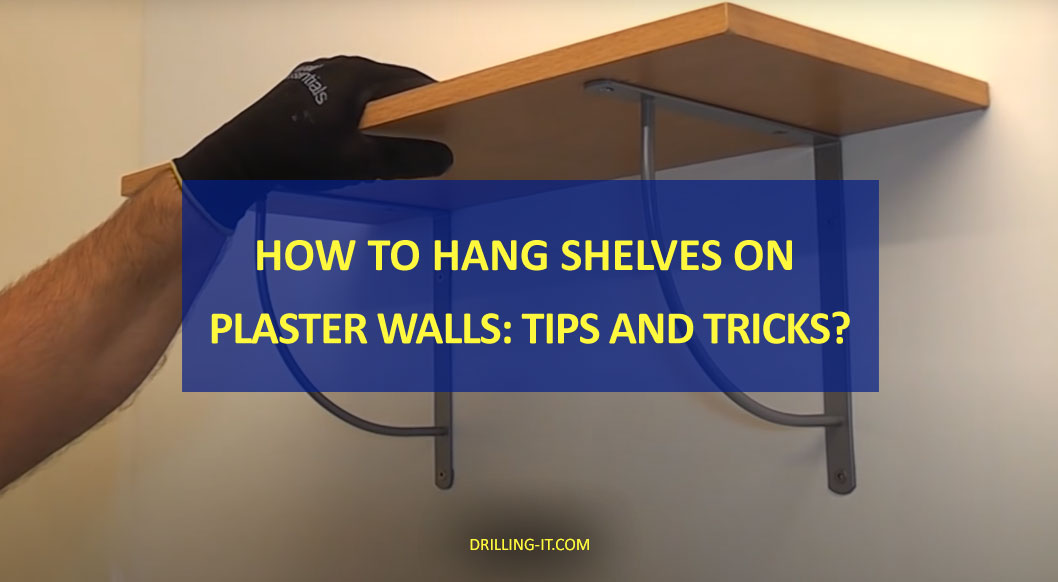
Hanging shelves on a plaster wall can be a bit trickier than on other types of walls. The key is to use screws that are specifically designed for plaster walls, also known as molly bolts. These screws have pointed ends and spread out behind the wall, providing a strong and secure hold. Start by marking the placement of your shelf on the plaster wall. Then, use a drill to make holes where the screws will go. Insert the molly bolts into the holes, and then screw in the brackets for the shelf. Finally, place the shelf on top of the brackets and secure it with screws. Your shelf will now be safely attached to your plaster wall, ready to hold all your kitchen essentials.5. Tips for Hanging Shelves on a Plaster Wall


5. Tips for Hanging Shelves on a Plaster Wall


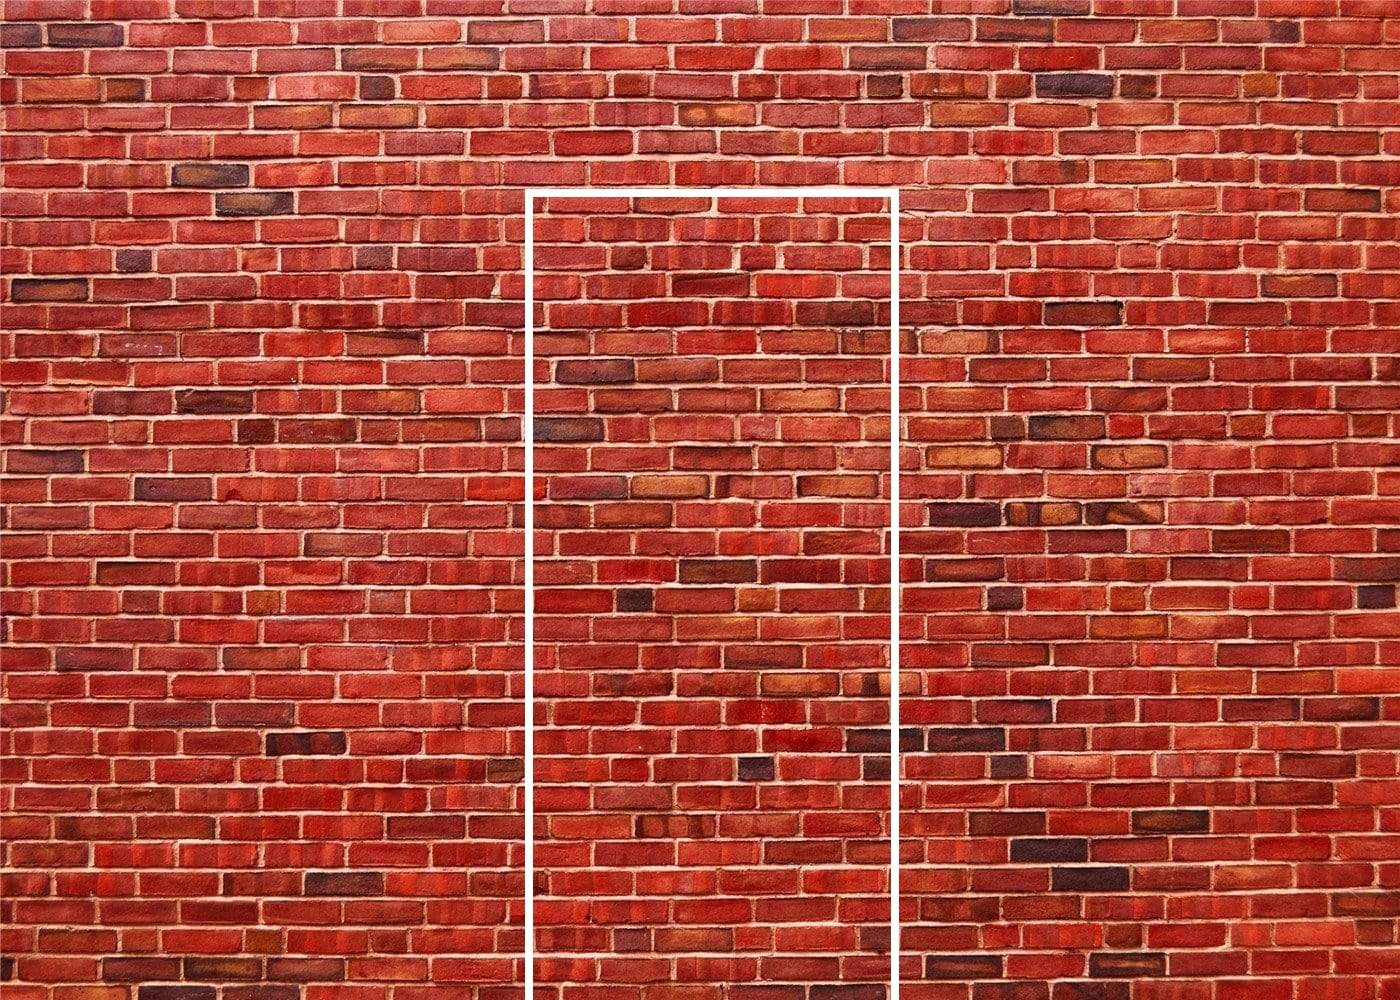
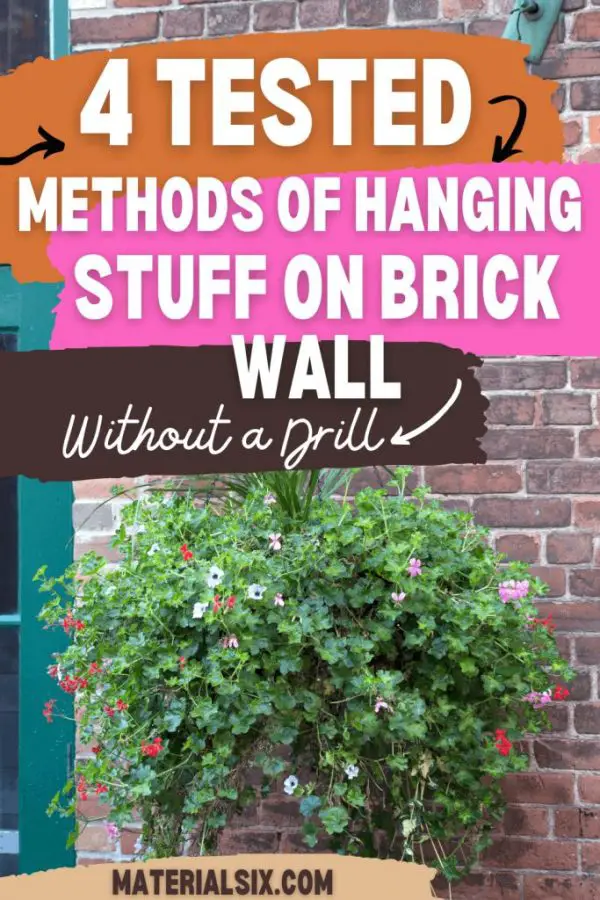
If you're looking to install a heavy duty shelf on your kitchen wall, a brick wall can be a great option. The key is to use sturdy brackets and screws that are specifically designed for brick walls. Start by marking the placement of your shelf on the brick wall. Use a level to ensure that the marks are straight. Then, use a drill to make holes in the brick for the screws. Insert the wall anchors into the holes, and then screw in the brackets for the shelf. Finally, place the shelf on top of the brackets and secure it with screws. Your heavy duty shelf will now be securely attached to your brick wall, able to hold all your kitchen equipment.6. How to Install a Heavy Duty Shelf on a Brick Wall


6. How to Install a Heavy Duty Shelf on a Brick Wall


When it comes to attaching a shelf to your kitchen wall, having the right tools is essential for a successful installation. Make sure to have a drill, screws, wall anchors, a level, and a screwdriver on hand. You may also need a diamond-tip drill bit for tile walls, toggle bolt anchors for drywall, and molly bolts for plaster walls. Having the right tools will make the installation process much smoother and ensure that your shelf is securely attached to the wall.7. The Right Tools for Attaching a Shelf to a Kitchen Wall

7. The Right Tools for Attaching a Shelf to a Kitchen Wall


If you're renting or simply don't want to drill into your kitchen wall, there are still options for attaching a shelf. One option is to use adhesive strips specifically designed for hanging shelves. These strips are strong and can hold a decent amount of weight. To use adhesive strips, clean the wall and shelf with rubbing alcohol, let it dry, and then attach the strips to the back of the shelf and the wall. Press firmly to ensure a strong bond. Your shelf will now be attached to the wall without the need for drilling.8. How to Hang a Shelf Without Drilling into the Wall


8. How to Hang a Shelf Without Drilling into the Wall


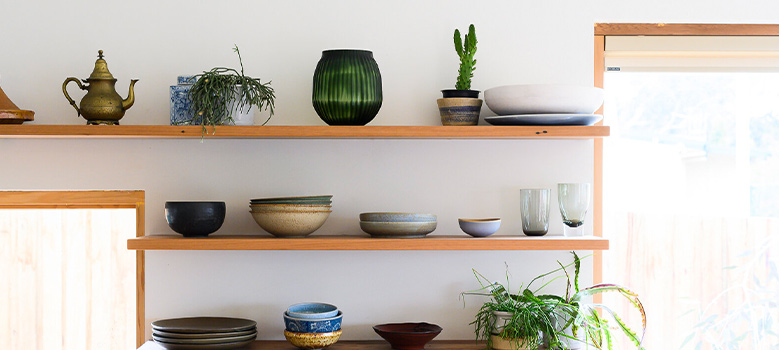


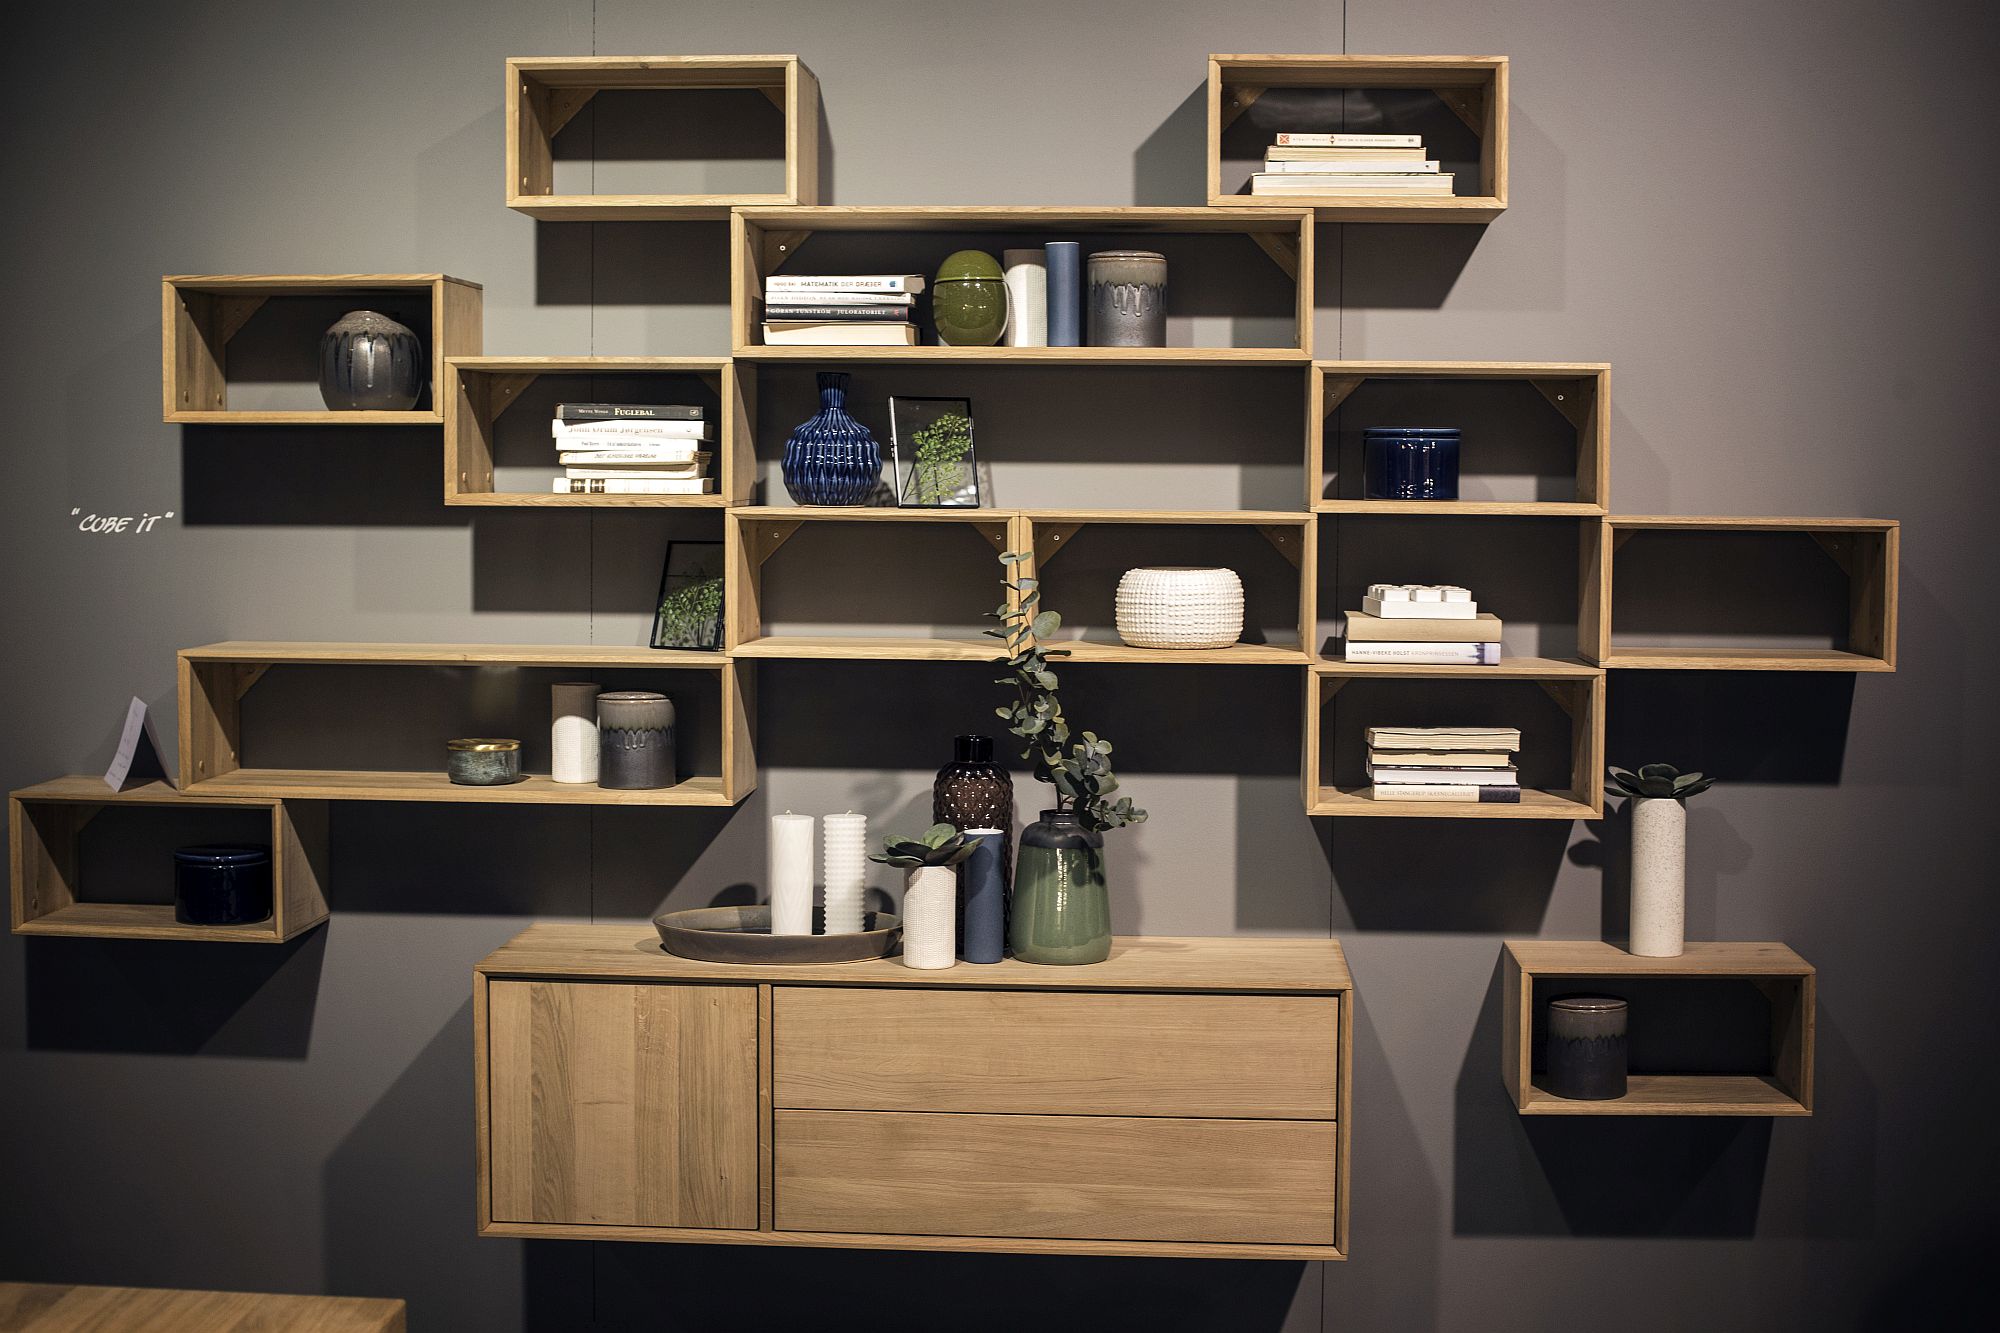
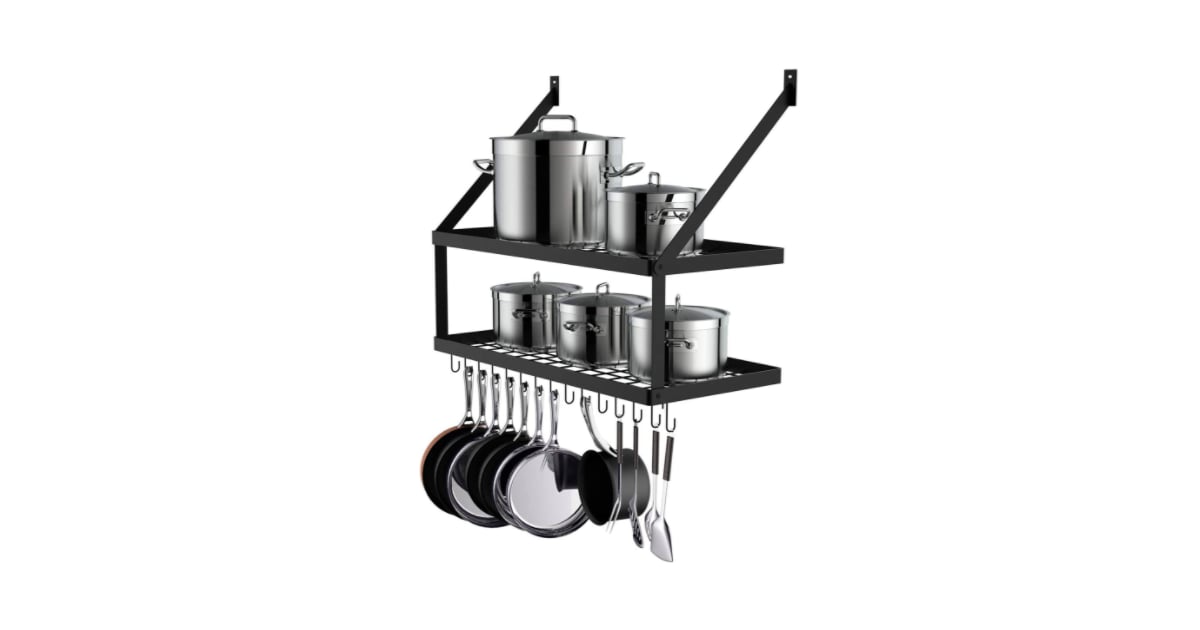
Aside from providing extra storage space, a serving shelf can also be a great way to add some personality and functionality to your kitchen. Here are a few creative ways to use a serving shelf: - Use it as a spice rack by adding small jars or containers to the shelf. - Place cookbooks or recipe cards on the shelf for easy access while cooking. - Hang pots, pans, and utensils from hooks underneath the shelf. - Use it as a coffee station by placing a coffee machine, mugs, and coffee supplies on the shelf. - Display decorative or sentimental kitchen items, such as vintage dishes or family heirlooms, on the shelf.9. Creative Ways to Use a Serving Shelf in Your Kitchen


9. Creative Ways to Use a Serving Shelf in Your Kitchen


When it comes to choosing the perfect shelf for your kitchen wall, there are a few things to consider. First, think about the size and weight of the items you will be placing on the shelf. This will determine the size and strength of the shelf you need. Next, consider the style and materials of the shelf. For a modern look, choose a sleek and simple design with metal or glass materials. For a more rustic or farmhouse feel, opt for a wooden shelf with a distressed finish. Lastly, think about the placement of the shelf in your kitchen. Consider the overall design and functionality of your kitchen and choose a spot that will both add to the decor and be useful for your daily routine. Adding a serving shelf to your kitchen wall can be a great way to add storage and style to your space. With the right tools and techniques, you can easily and securely attach a shelf to any type of wall. Get creative with your shelf placement and use, and enjoy the added functionality and aesthetic appeal it brings to your kitchen.10. How to Choose the Perfect Shelf for Your Kitchen Wall


10. How to Choose the Perfect Shelf for Your Kitchen Wall
/styling-tips-for-kitchen-shelves-1791464-hero-97717ed2f0834da29569051e9b176b8d.jpg)


Why Add a Serving Shelf to Your Kitchen Wall?

Maximize Space and Efficiency
 A serving shelf can be a game-changer in any kitchen, big or small. With the
growing trend of open-concept living,
it's important to make the most out of your kitchen space. By attaching a serving shelf to your kitchen wall, you can
maximize your counter space
and create a designated area for food preparation and serving. This will also free up your kitchen counters, making it easier to organize and keep clutter-free. Plus, having a designated space for serving can make meal times more efficient, especially when entertaining guests.
A serving shelf can be a game-changer in any kitchen, big or small. With the
growing trend of open-concept living,
it's important to make the most out of your kitchen space. By attaching a serving shelf to your kitchen wall, you can
maximize your counter space
and create a designated area for food preparation and serving. This will also free up your kitchen counters, making it easier to organize and keep clutter-free. Plus, having a designated space for serving can make meal times more efficient, especially when entertaining guests.
Functional and Stylish Addition
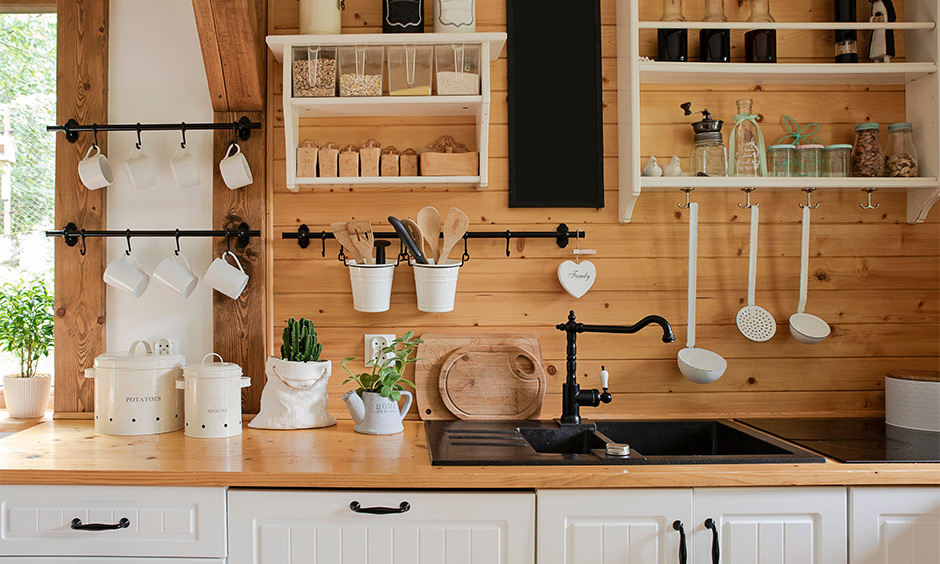
 Not only does a serving shelf add functionality to your kitchen, but it can also add a touch of style.
With the right design and materials,
a serving shelf can become a beautiful focal point in your kitchen. You can choose from a variety of materials such as wood, metal, or even glass to match your kitchen's aesthetic. Additionally, you can add shelves or hooks to the serving shelf for
extra storage and convenience.
This can be a great way to display your favorite kitchenware or keep cooking essentials within easy reach.
Not only does a serving shelf add functionality to your kitchen, but it can also add a touch of style.
With the right design and materials,
a serving shelf can become a beautiful focal point in your kitchen. You can choose from a variety of materials such as wood, metal, or even glass to match your kitchen's aesthetic. Additionally, you can add shelves or hooks to the serving shelf for
extra storage and convenience.
This can be a great way to display your favorite kitchenware or keep cooking essentials within easy reach.
Elevate Your Entertaining Game
 If you love to host dinner parties or have friends and family over for meals, a serving shelf can be your best friend. It allows you to
create a designated area for food and drinks
while keeping the rest of your kitchen organized and clutter-free. You can also use the serving shelf as a bar area, with space to display glasses and bottles. This not only adds a touch of elegance to your gatherings but also makes serving and cleaning up a breeze.
If you love to host dinner parties or have friends and family over for meals, a serving shelf can be your best friend. It allows you to
create a designated area for food and drinks
while keeping the rest of your kitchen organized and clutter-free. You can also use the serving shelf as a bar area, with space to display glasses and bottles. This not only adds a touch of elegance to your gatherings but also makes serving and cleaning up a breeze.
Easy to Install
 Installing a serving shelf on your kitchen wall is a relatively simple and
cost-effective way to upgrade your kitchen.
You can either purchase a pre-made shelf or
DIY one with the help of online tutorials.
All you need are some basic tools and materials, and you can have a serving shelf ready to use in no time.
Make sure to choose a sturdy material and secure the shelf properly
to ensure its durability and safety.
In conclusion, a serving shelf is a
functional and stylish addition
to any kitchen. It can help maximize space and efficiency, elevate your entertaining game, and add a touch of style. With easy installation and endless design options,
adding a serving shelf to your kitchen wall is a no-brainer.
So go ahead and give it a try – your kitchen (and your guests) will thank you.
Installing a serving shelf on your kitchen wall is a relatively simple and
cost-effective way to upgrade your kitchen.
You can either purchase a pre-made shelf or
DIY one with the help of online tutorials.
All you need are some basic tools and materials, and you can have a serving shelf ready to use in no time.
Make sure to choose a sturdy material and secure the shelf properly
to ensure its durability and safety.
In conclusion, a serving shelf is a
functional and stylish addition
to any kitchen. It can help maximize space and efficiency, elevate your entertaining game, and add a touch of style. With easy installation and endless design options,
adding a serving shelf to your kitchen wall is a no-brainer.
So go ahead and give it a try – your kitchen (and your guests) will thank you.