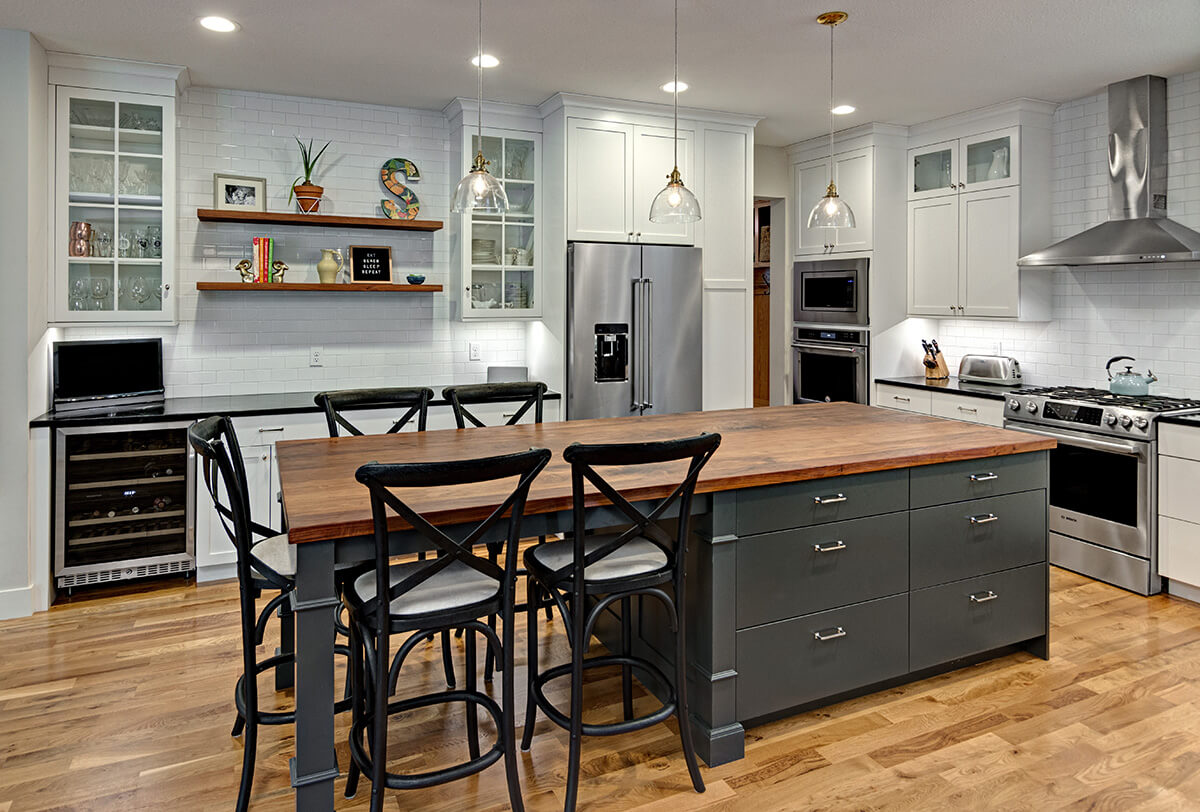
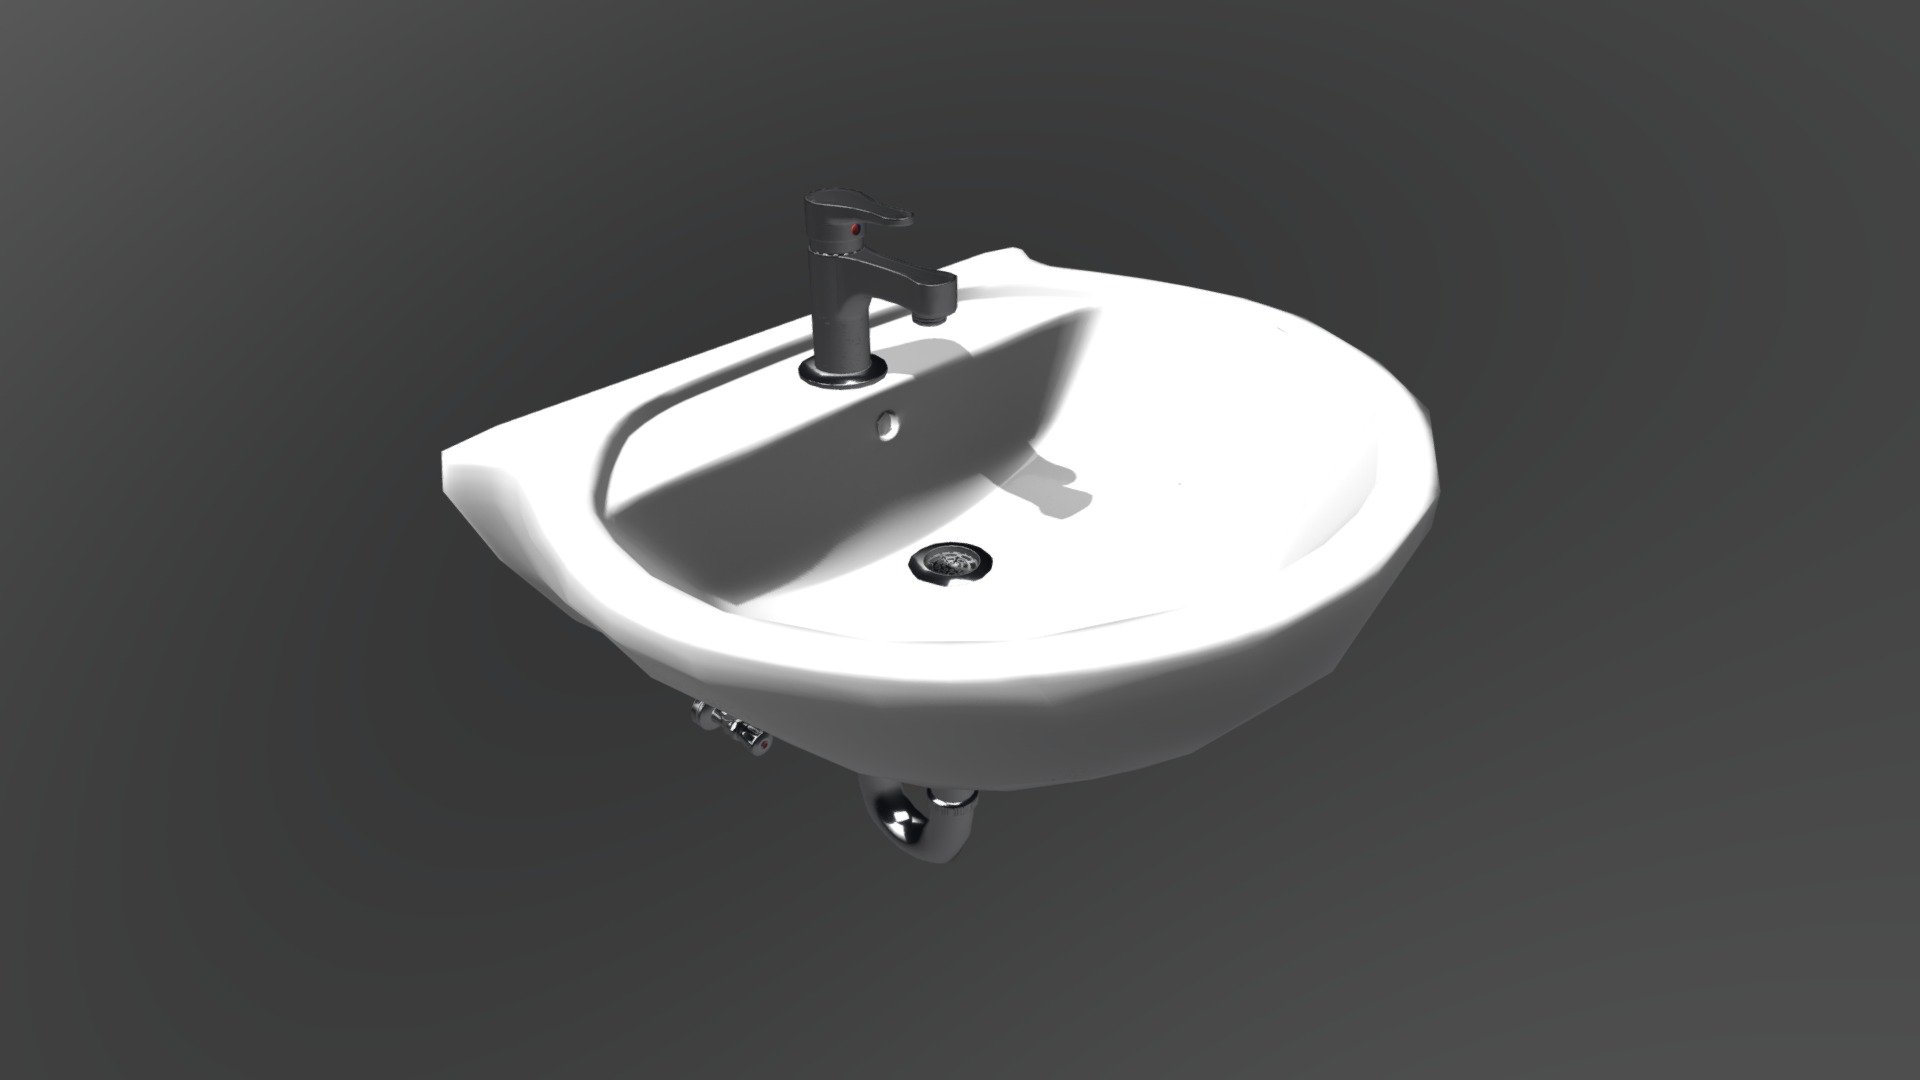
1. Attach Sink to Countertop: A Step-by-Step Guide
Are you ready to give your bathroom a facelift? One of the most important elements of a bathroom is the sink, and attaching it to your countertop is a crucial step in the installation process. In this guide, we will walk you through the steps of attaching a sink to your countertop, ensuring a secure and professional-looking installation. Let's get started!


attach sink to countertop


2. Gathering the Necessary Tools and Materials
Before beginning the installation process, it's important to gather all the tools and materials you will need. These include a wrench, screwdriver, silicone adhesive, mounting clips, and a sink mounting kit. Make sure to read the manufacturer's instructions for your specific sink and countertop to determine the exact tools and materials needed for your installation.


attach bathroom sink

:max_bytes(150000):strip_icc()/8_IMG_3767-56a4a2753df78cf772835b72.JPG)
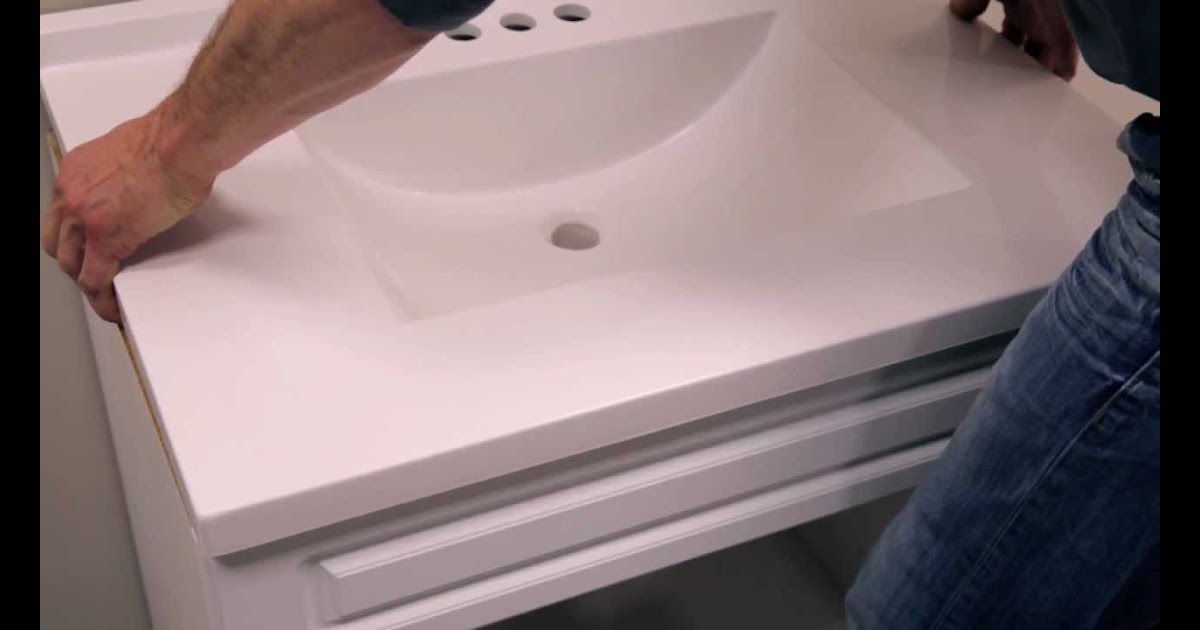
3. Preparing the Countertop and Sink
Before attaching the sink to the countertop, you will need to prepare both surfaces. Begin by cleaning the countertop and sink thoroughly, removing any dirt, debris, or old adhesive. Next, measure and mark the location of the sink on the countertop, ensuring it is centered and level.


bathroom sink installation


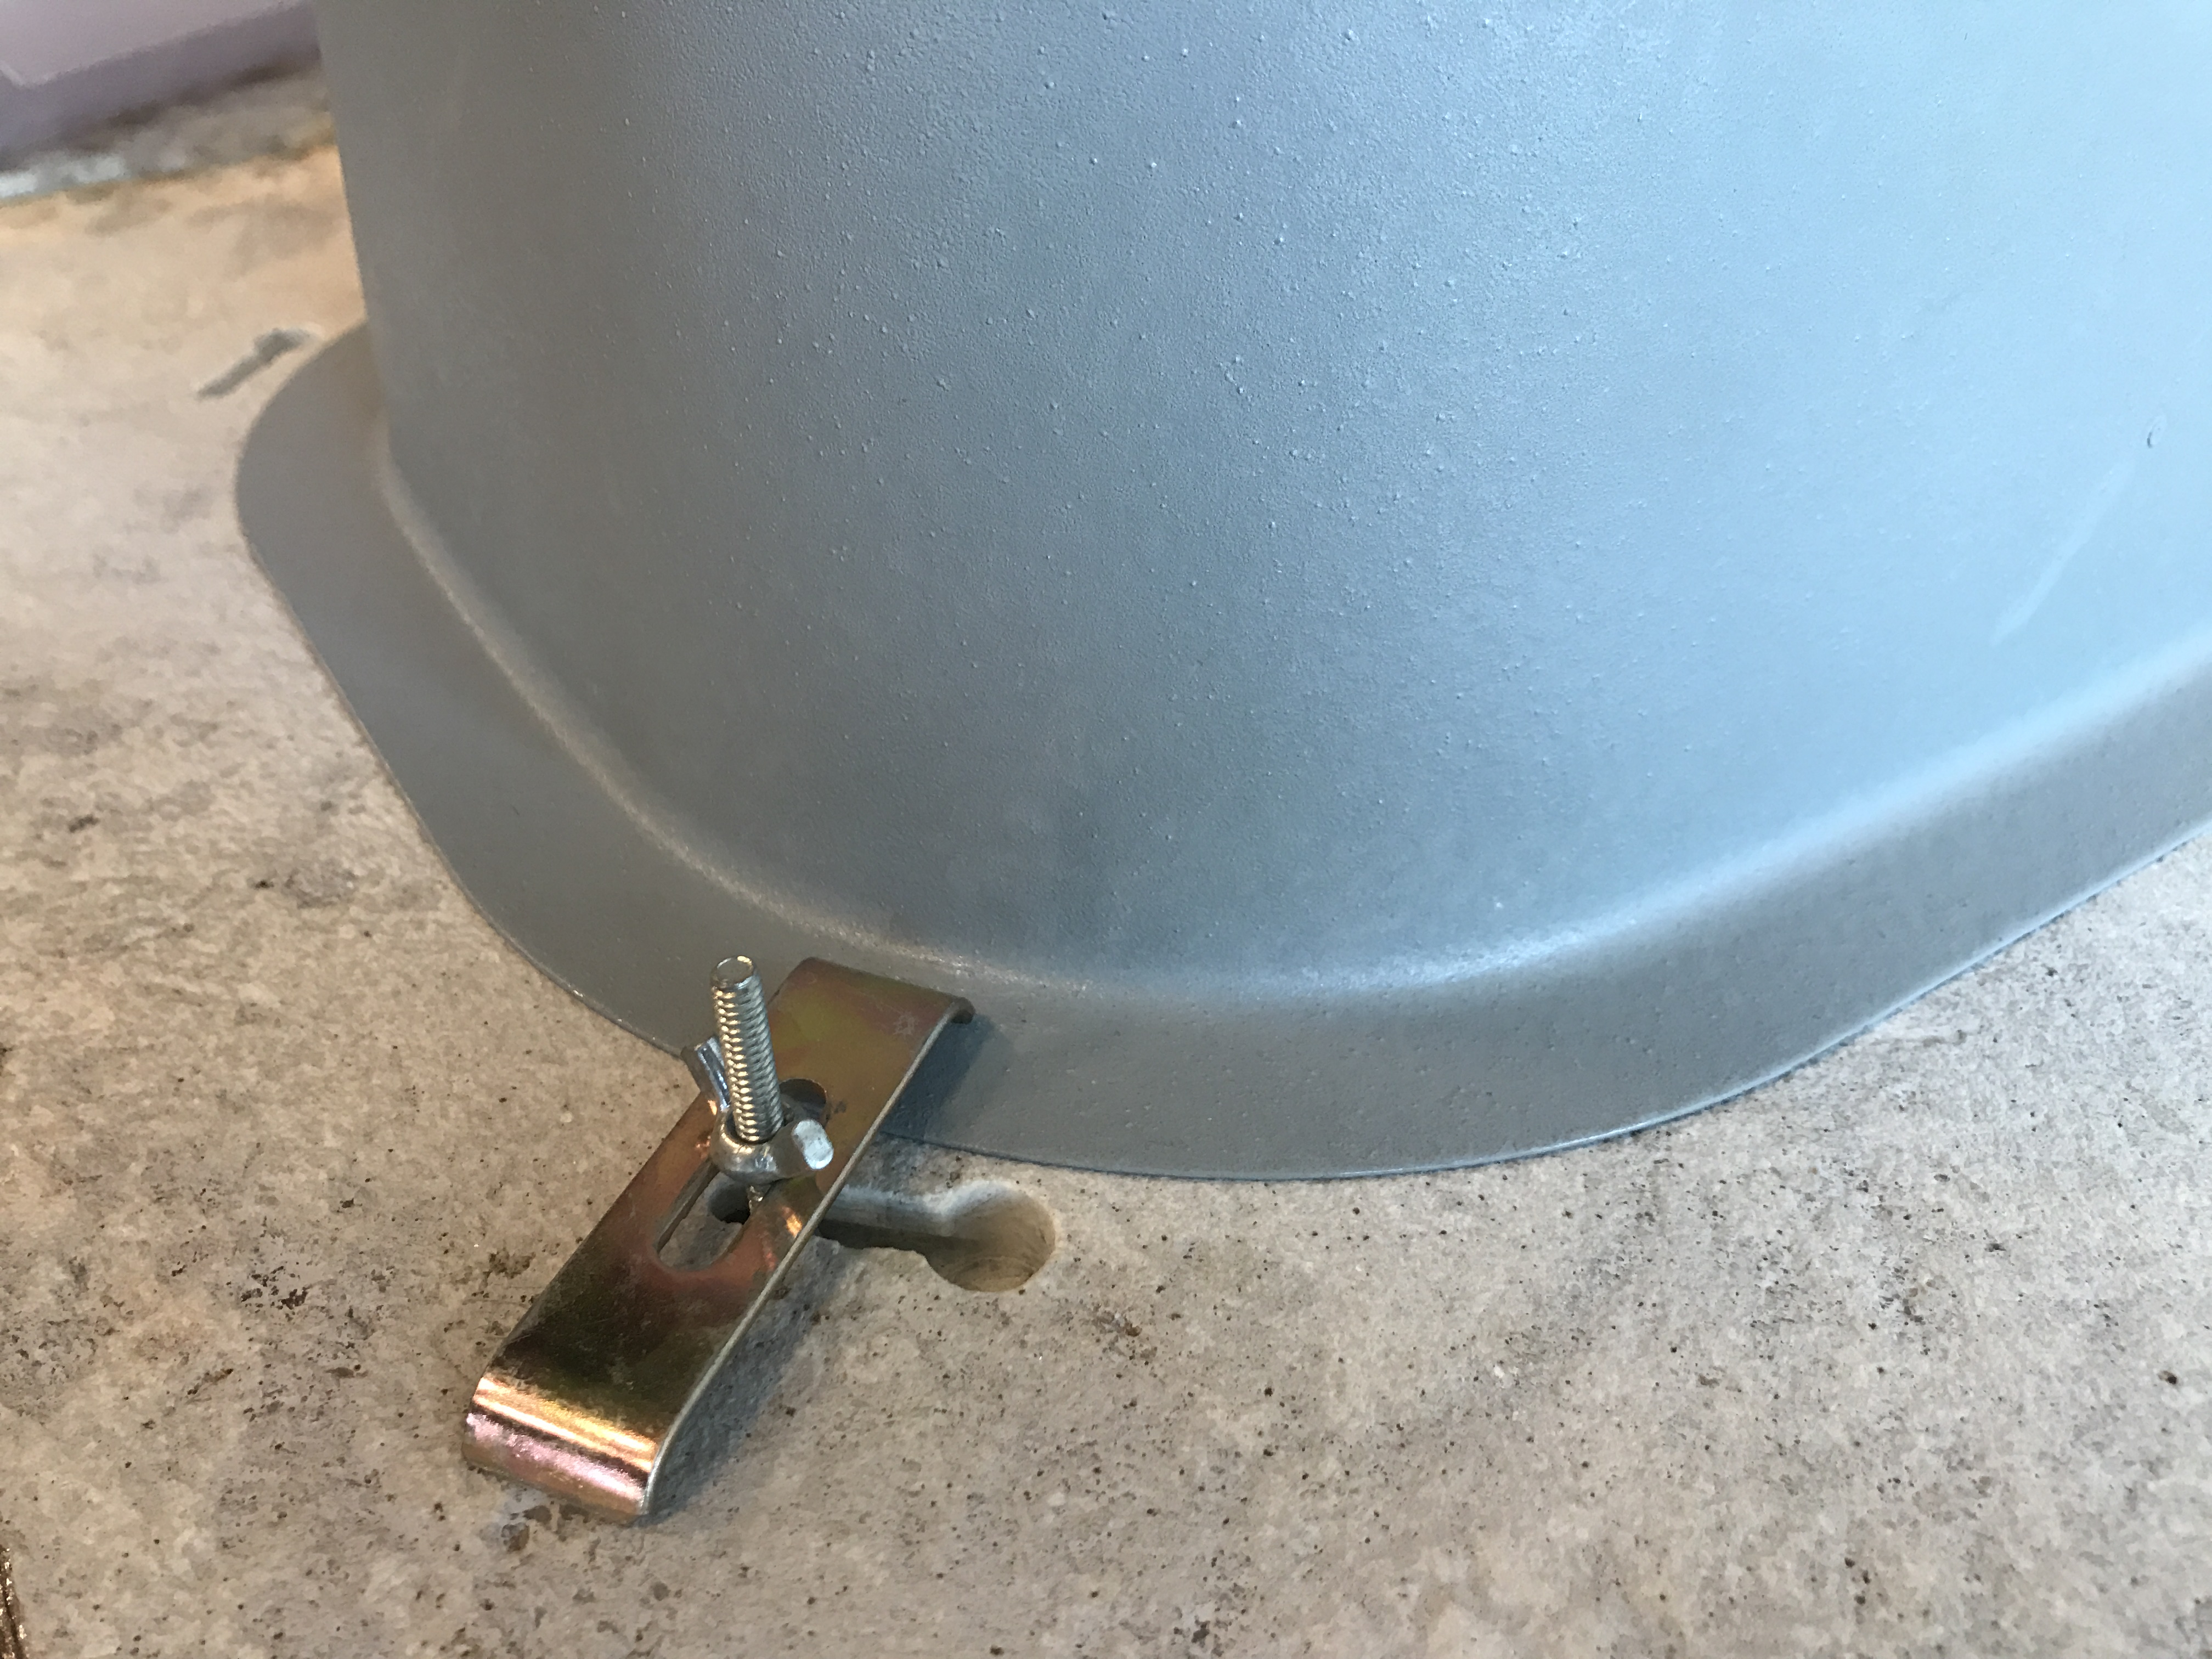
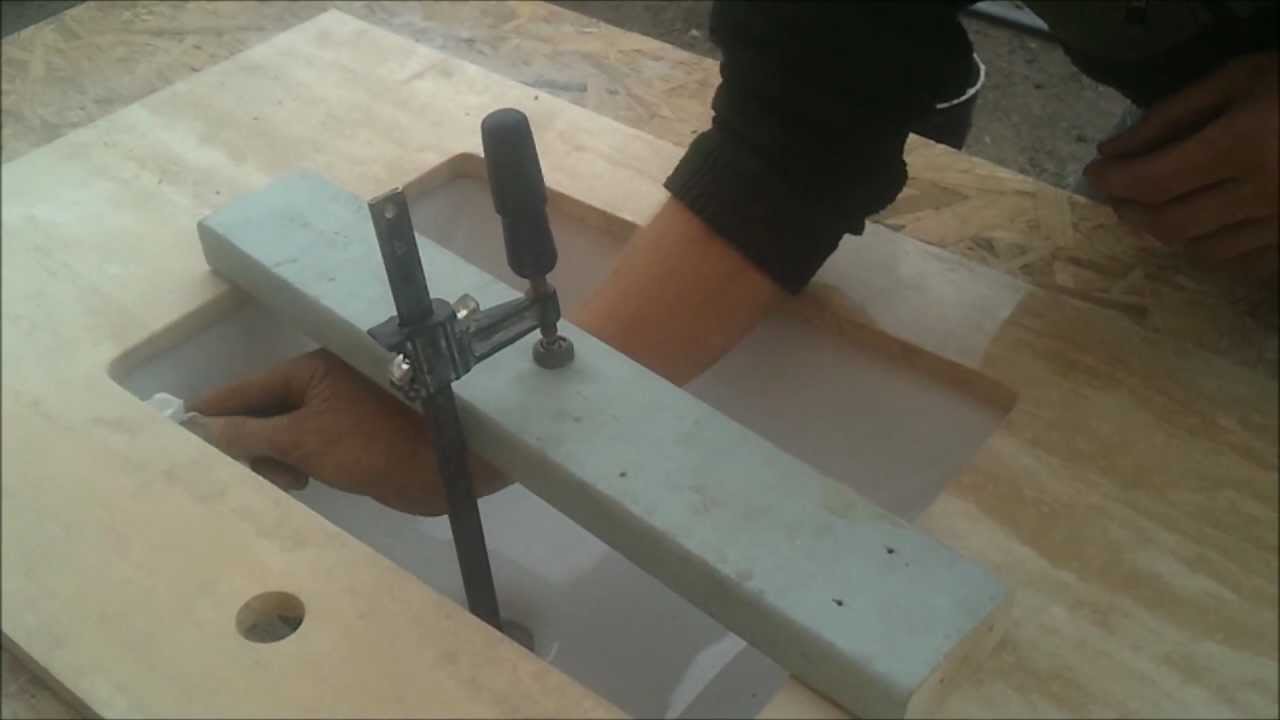
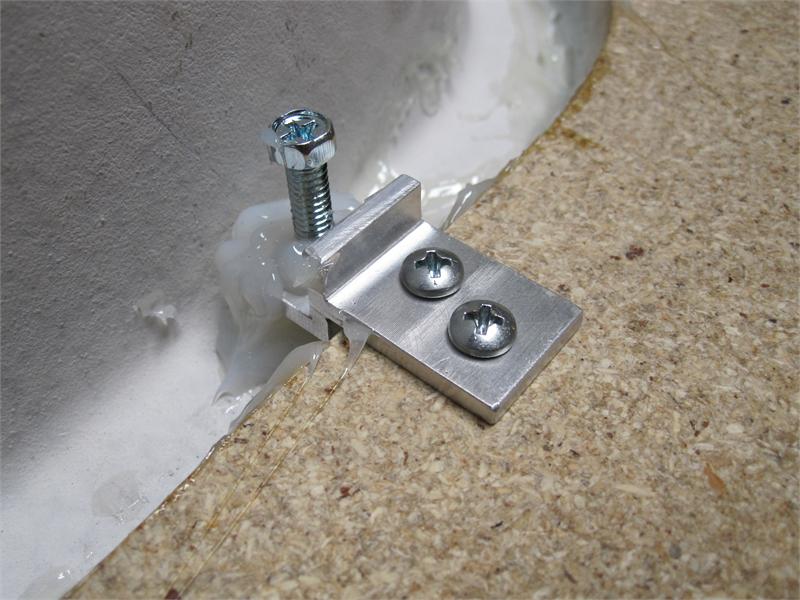
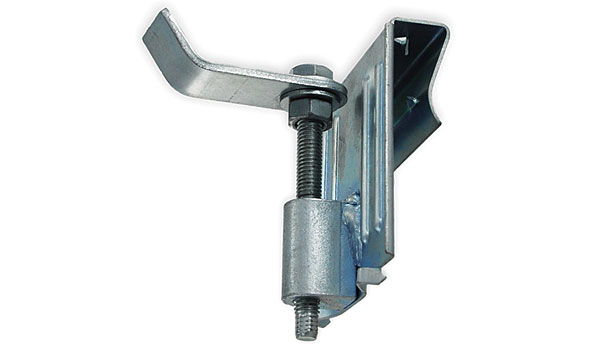
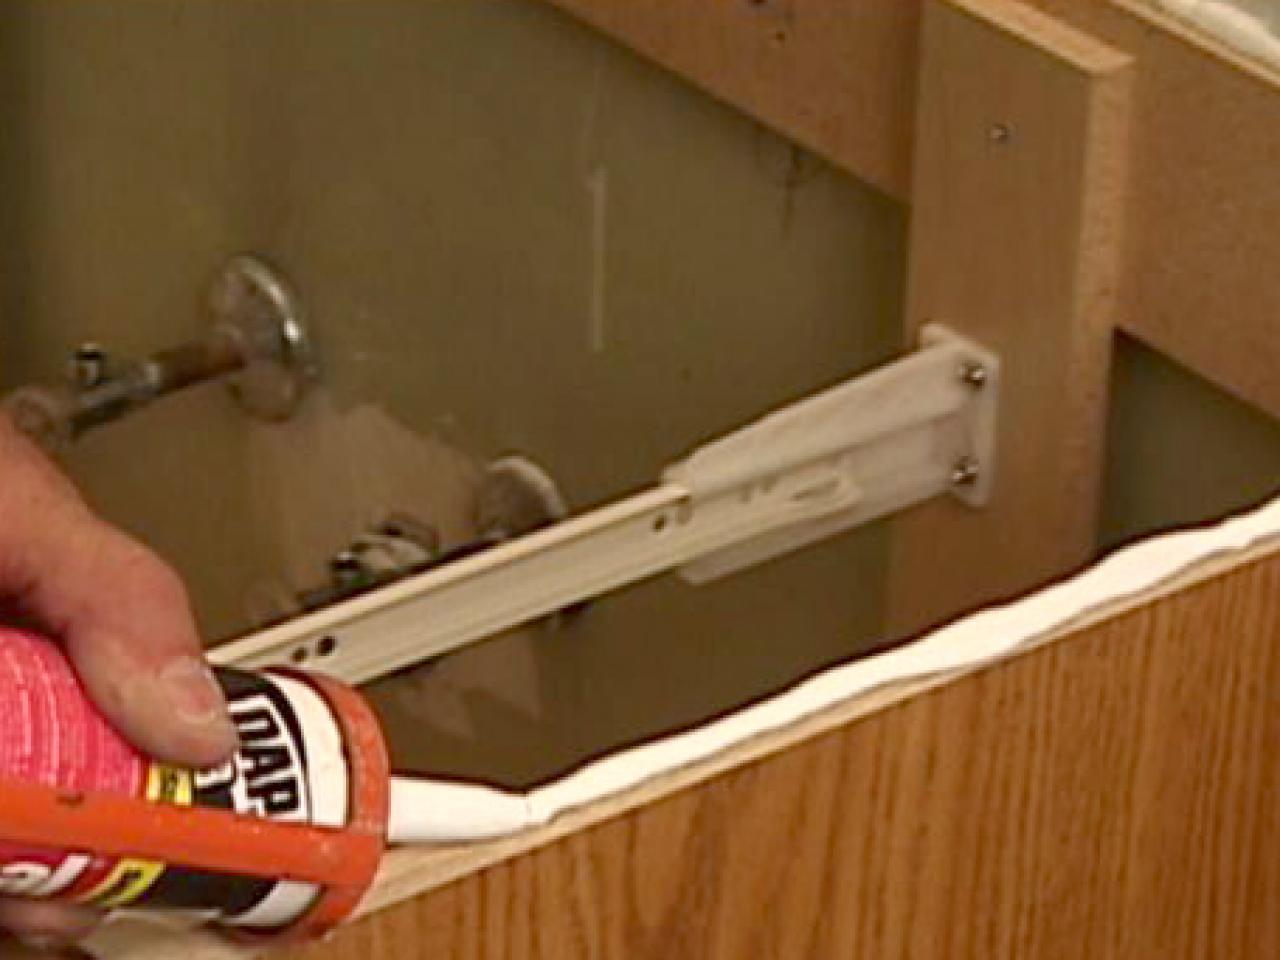
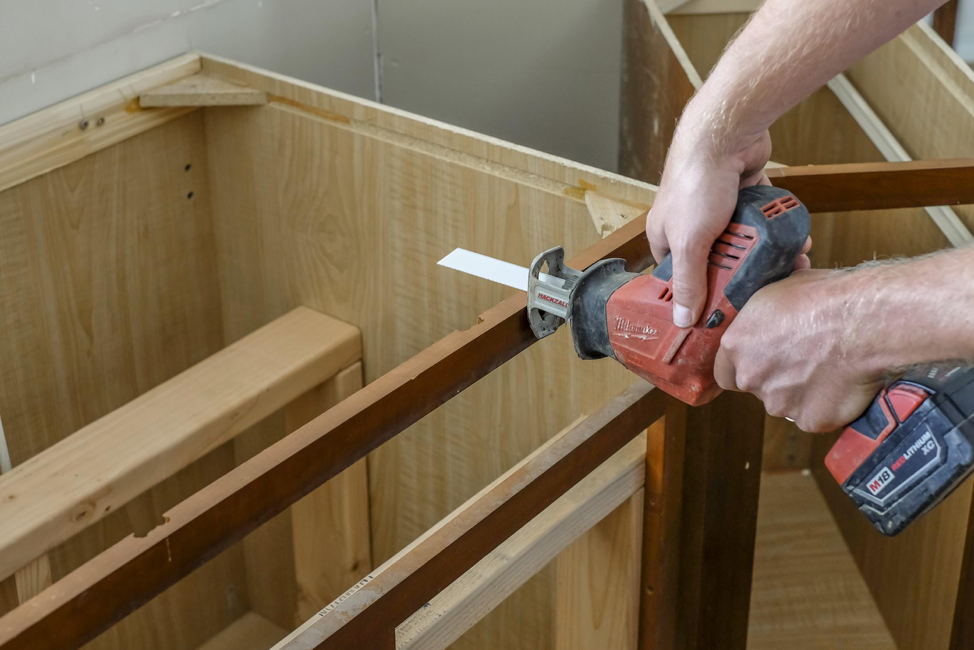
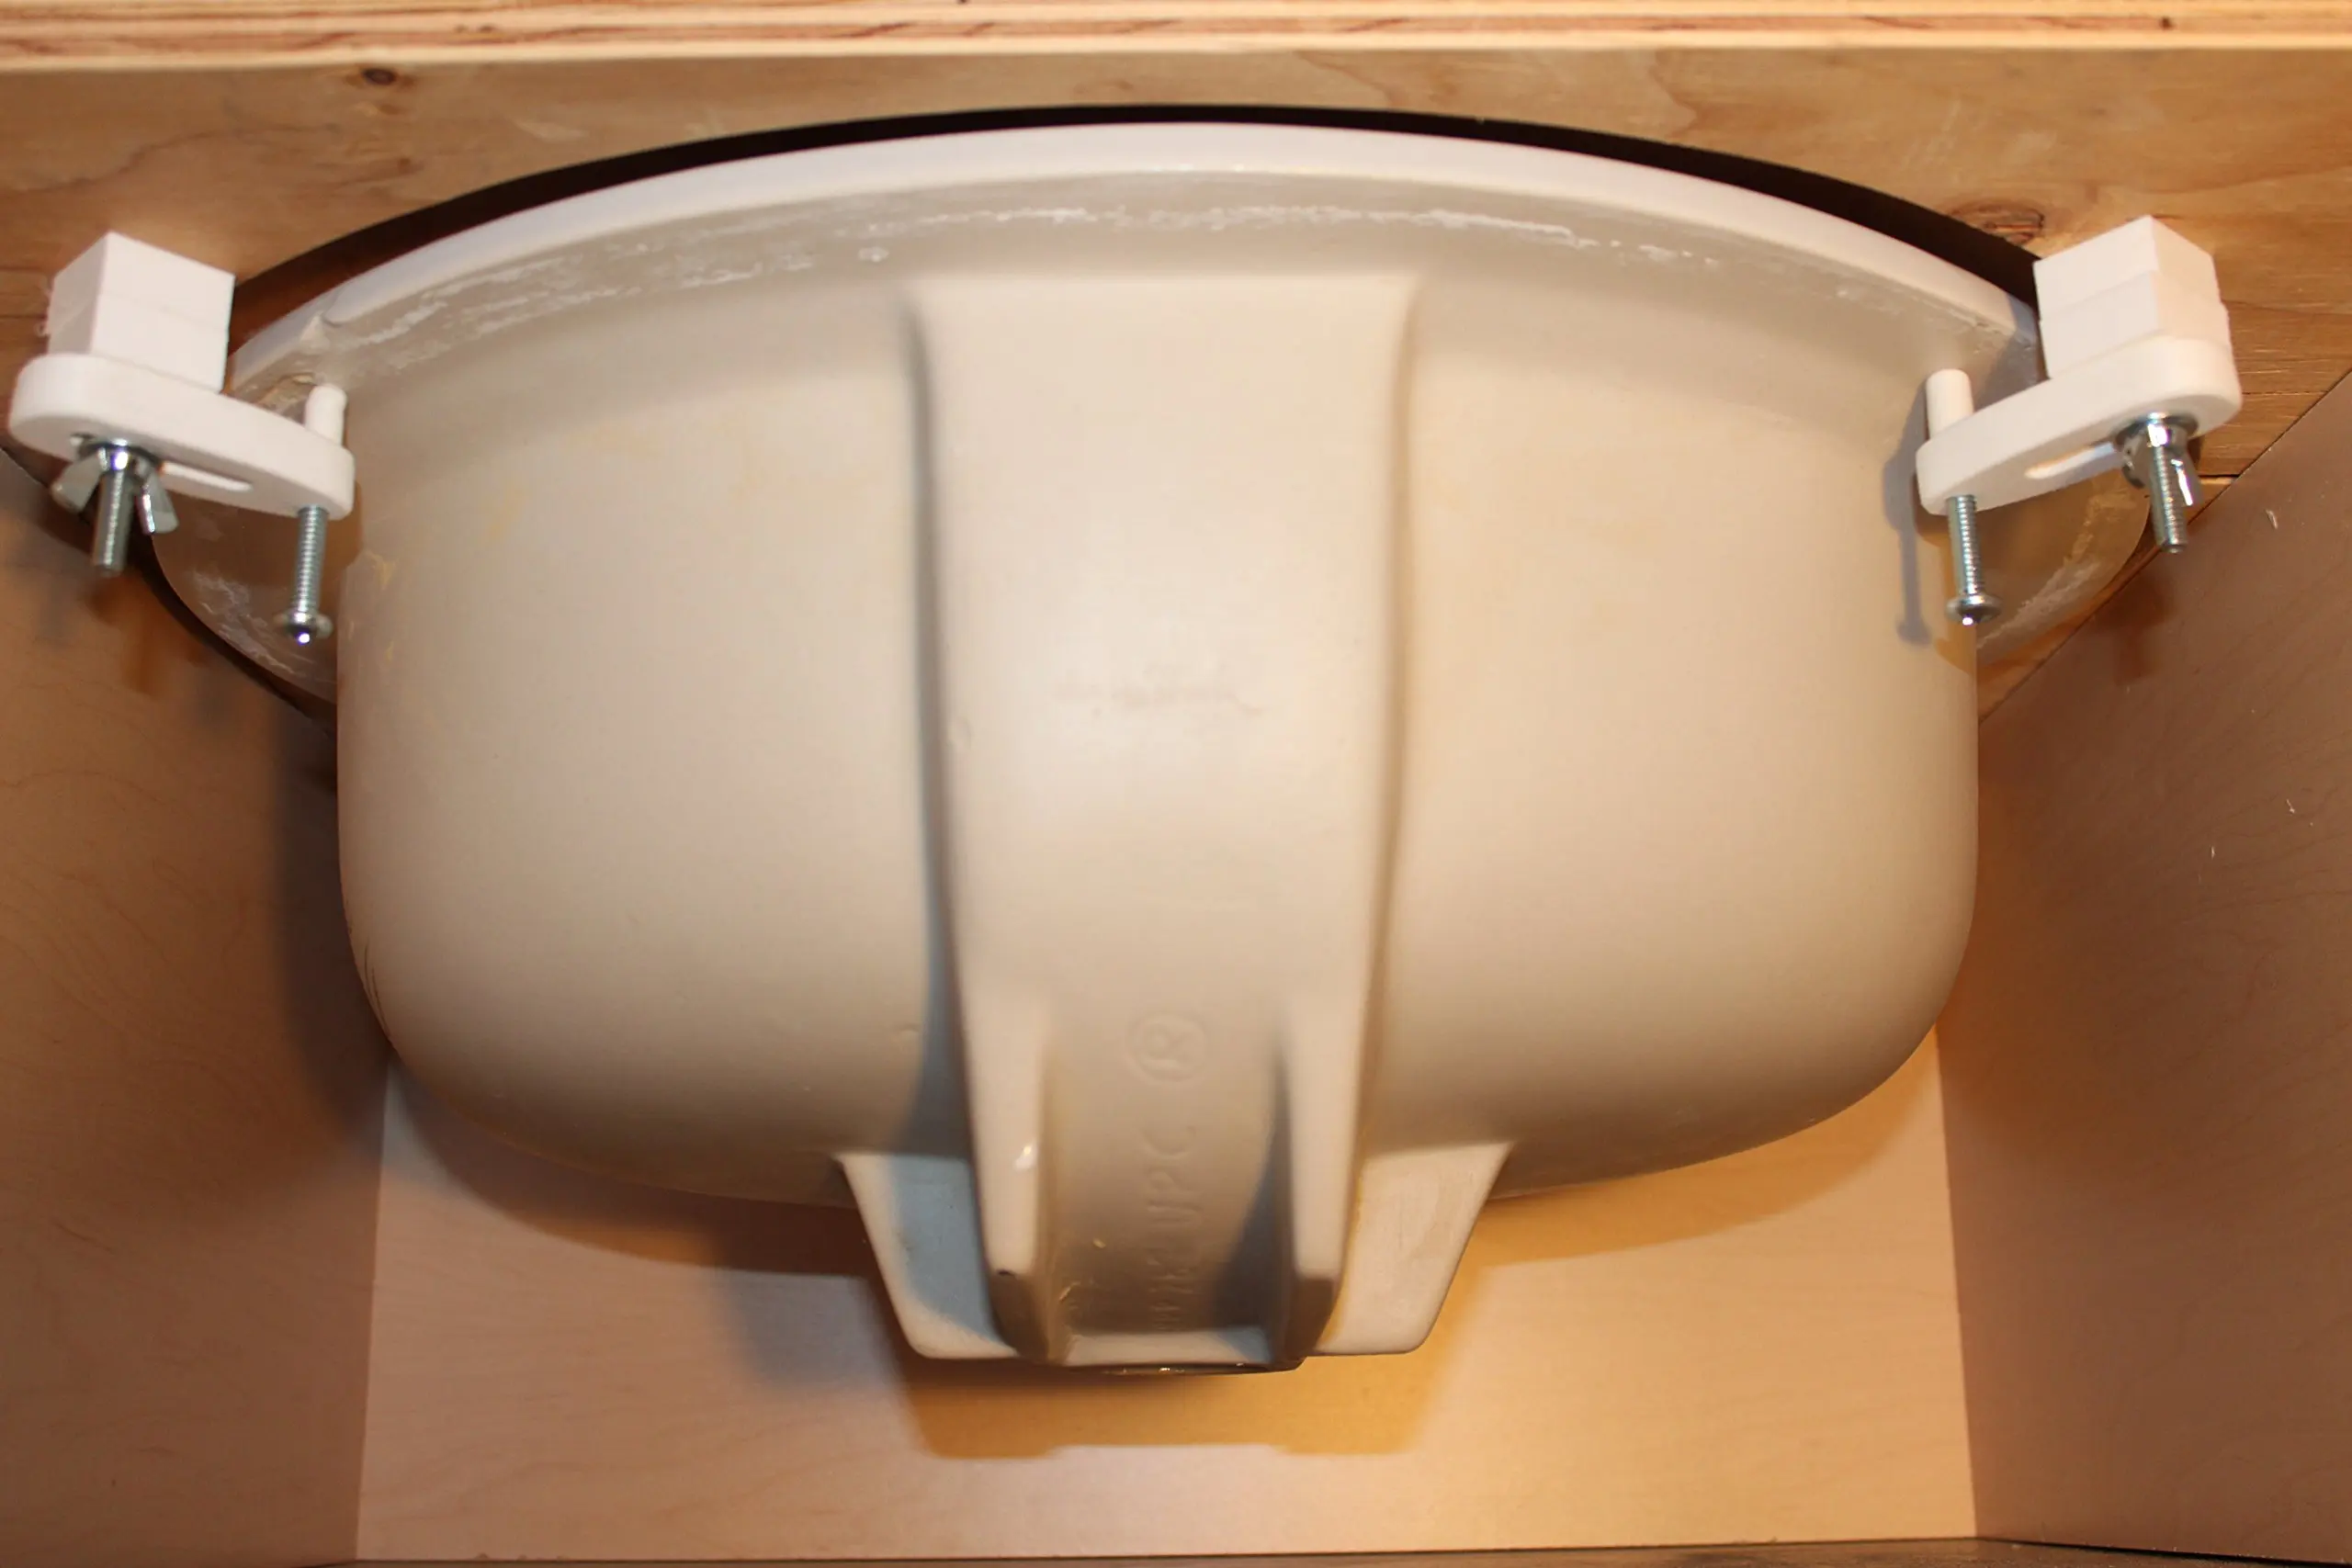
4. Attaching the Mounting Hardware
Most sinks come with mounting hardware, which is used to secure the sink to the countertop. Begin by attaching the mounting clips to the sink, following the manufacturer's instructions. Then, place the sink upside down on a flat surface and apply a bead of silicone adhesive around the underside edge of the sink.


sink mounting hardware


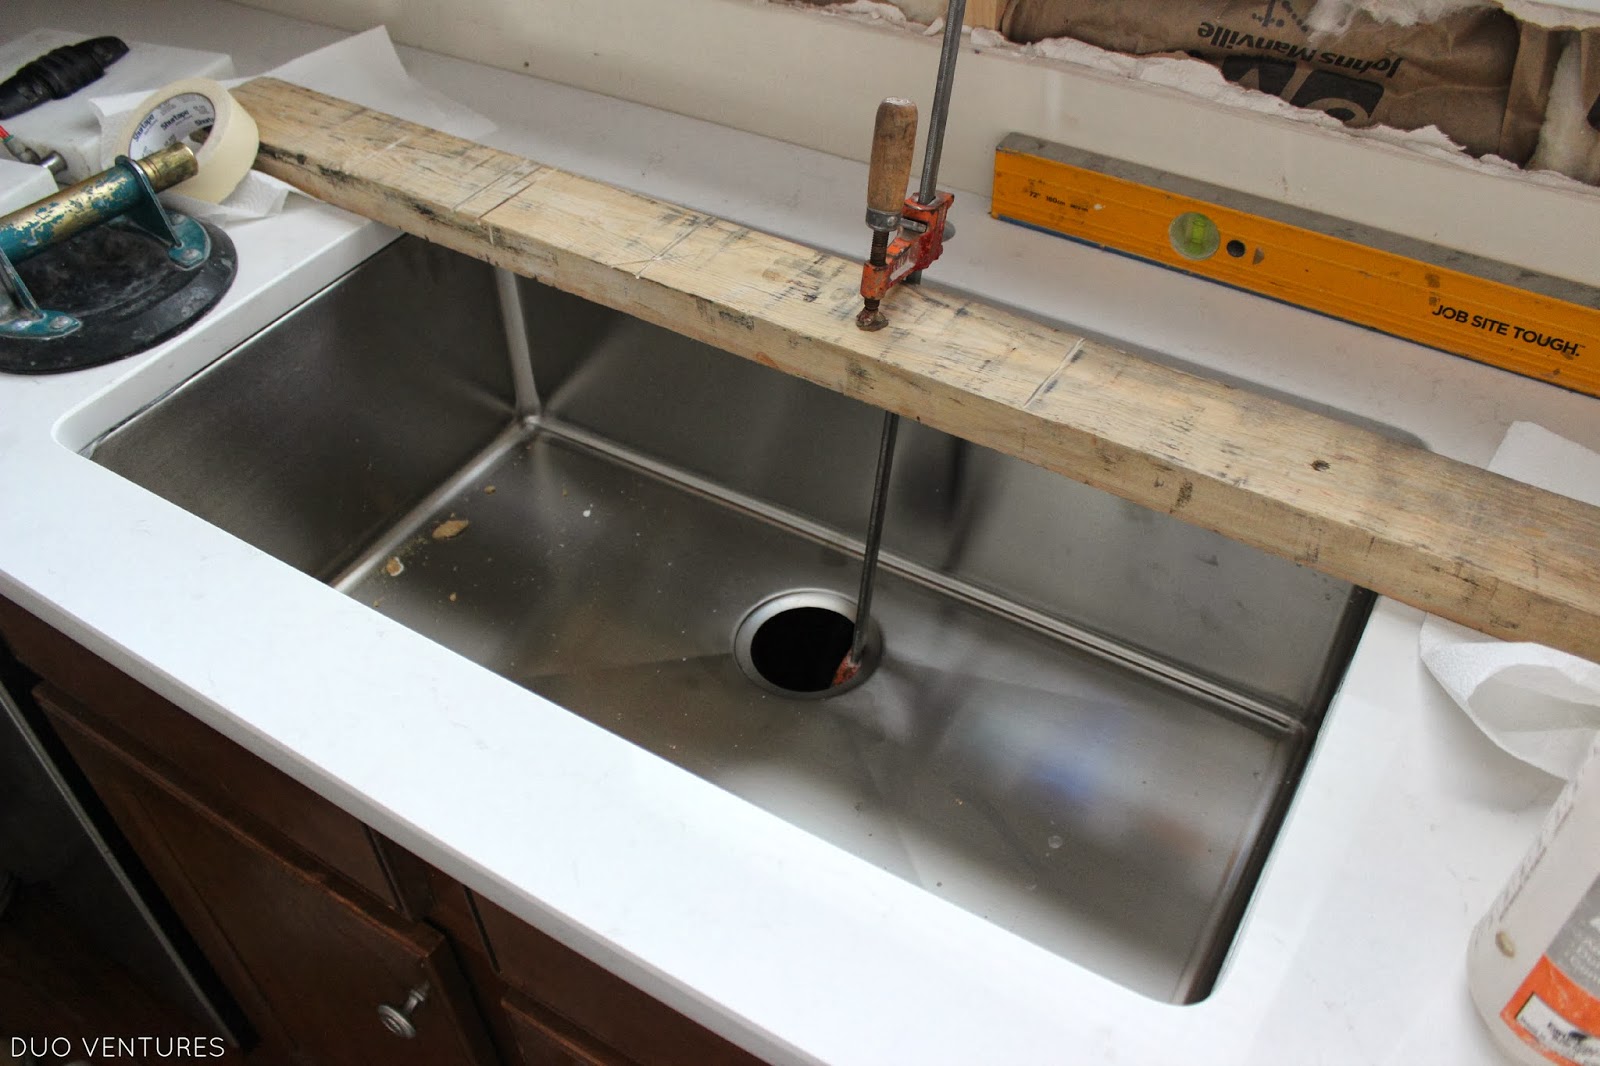
5. Placing the Sink on the Countertop
Once the mounting hardware is attached to the sink, it's time to place it on the countertop. Carefully lift the sink and place it onto the marked location on the countertop. Make sure the sink is level and centered before proceeding.


countertop sink installation

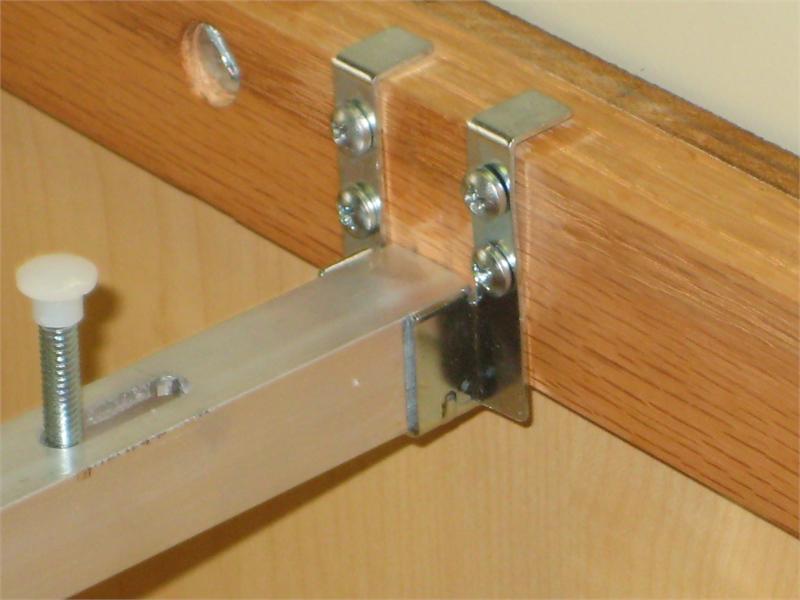
6. Securing the Sink with Mounting Clips
With the sink in place, it's time to secure it to the countertop using the mounting clips. Begin by tightening the clips with a wrench, making sure they are snug but not too tight. This will ensure the sink is secure without damaging the countertop.


attaching sink to vanity
:max_bytes(150000):strip_icc()/8_IMG_3767-56a4a2753df78cf772835b72.JPG)


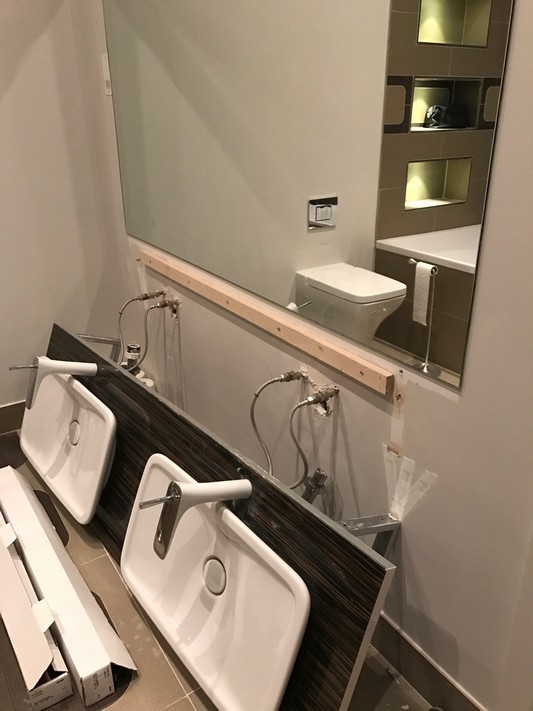
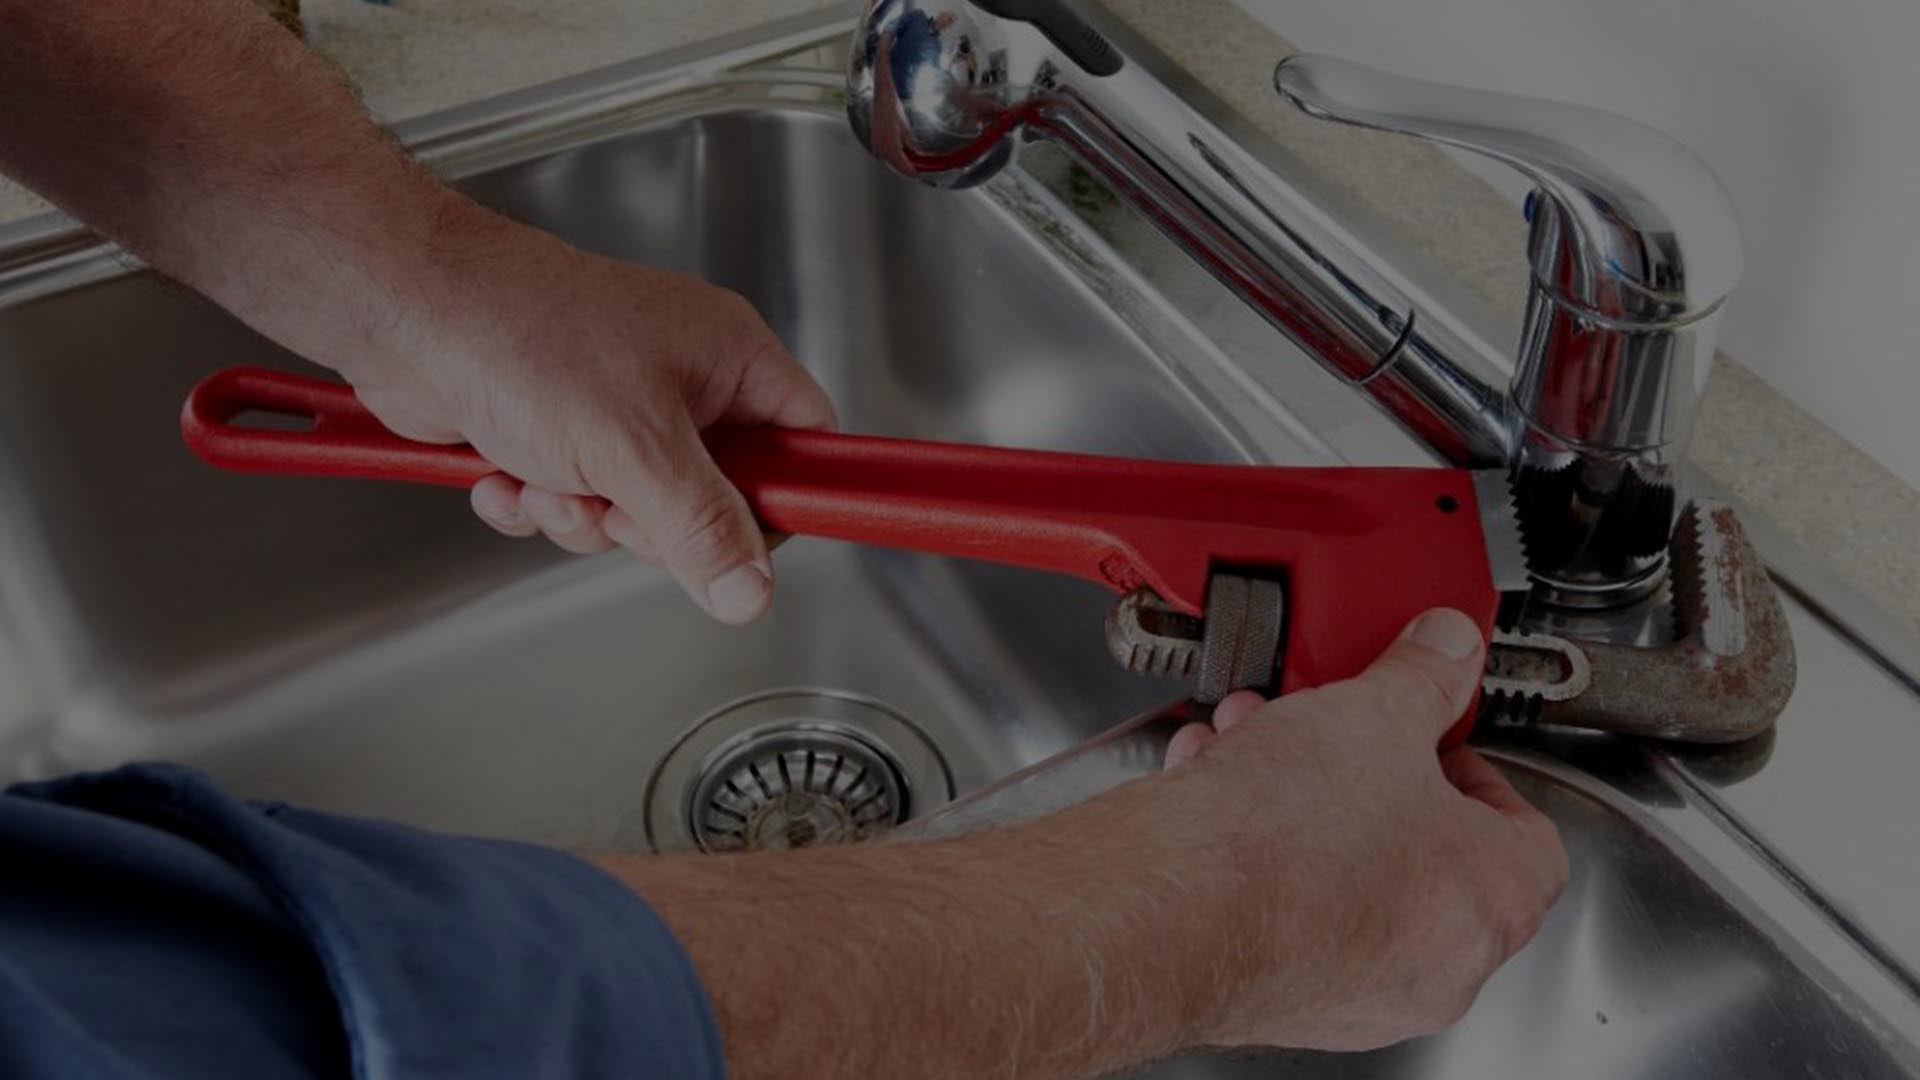
7. Connecting the Plumbing
With the sink now attached to the countertop, it's time to connect the plumbing. This step may vary depending on your specific sink and plumbing setup, so make sure to follow the manufacturer's instructions. Once the plumbing is connected, turn on the water to test for any leaks.

sink installation guide


8. Finishing Touches
With the sink now securely attached to the countertop and the plumbing connected, it's time to add the finishing touches. Use a damp cloth to remove any excess adhesive around the edges of the sink. You can also add a bead of caulk around the edges of the sink for a clean and professional look.


bathroom sink mounting kit


/bathroom-sink-523598998-5797c0dc5f9b58461f3d5c23.jpg)

9. Troubleshooting Common Issues
During the installation process, you may encounter some common issues, such as a sink that is not level or mounting clips that are too tight. If this happens, don't panic! Simply loosen the mounting clips and adjust the sink until it is level. If the sink is not level, it can lead to leaks and other problems down the line.


how to install a bathroom sink

:max_bytes(150000):strip_icc()/8_IMG_3767-56a4a2753df78cf772835b72.JPG)


10. Enjoy Your New Sink!
Congratulations, you have successfully attached your sink to the countertop! With proper installation, your sink should provide years of use and add a beautiful touch to your bathroom. Remember to regularly check for any leaks or issues and address them promptly to keep your sink in top condition. Happy remodeling!


sink installation instructions


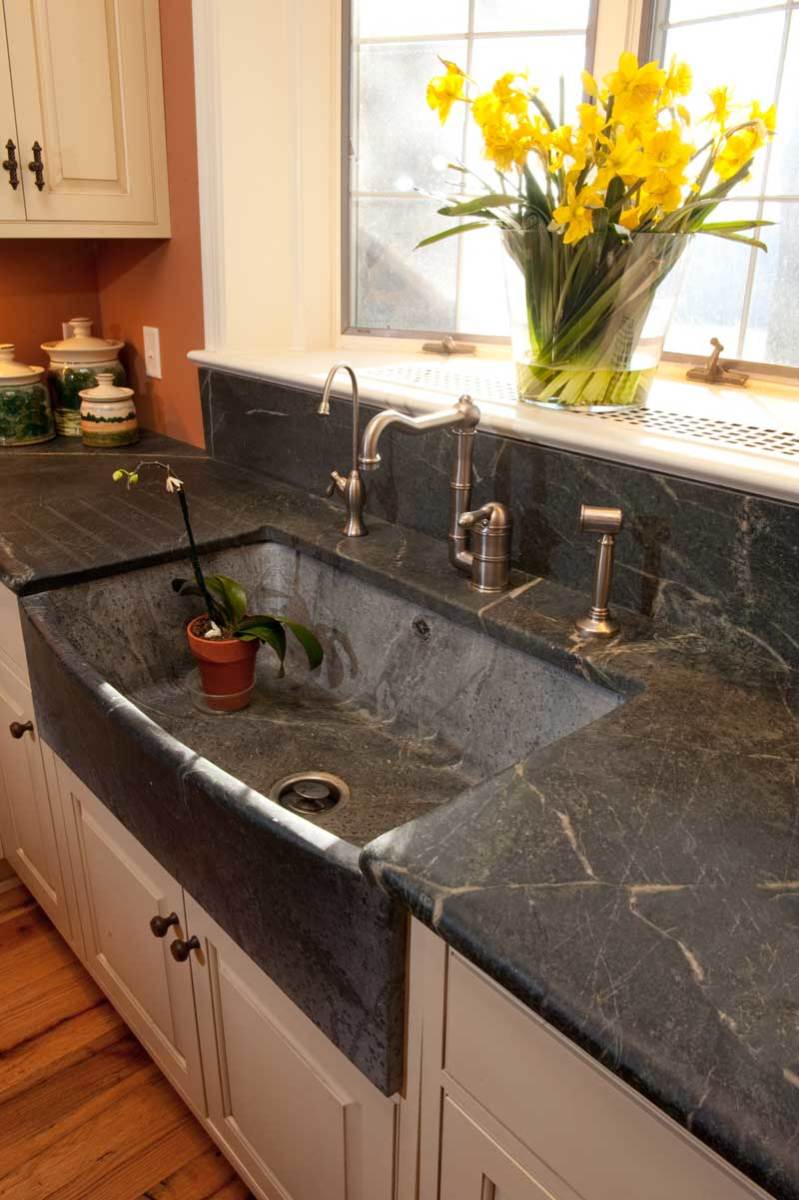
How to Securely Attach a Bathroom Sink to a Countertop for a Sleek and Functional Design

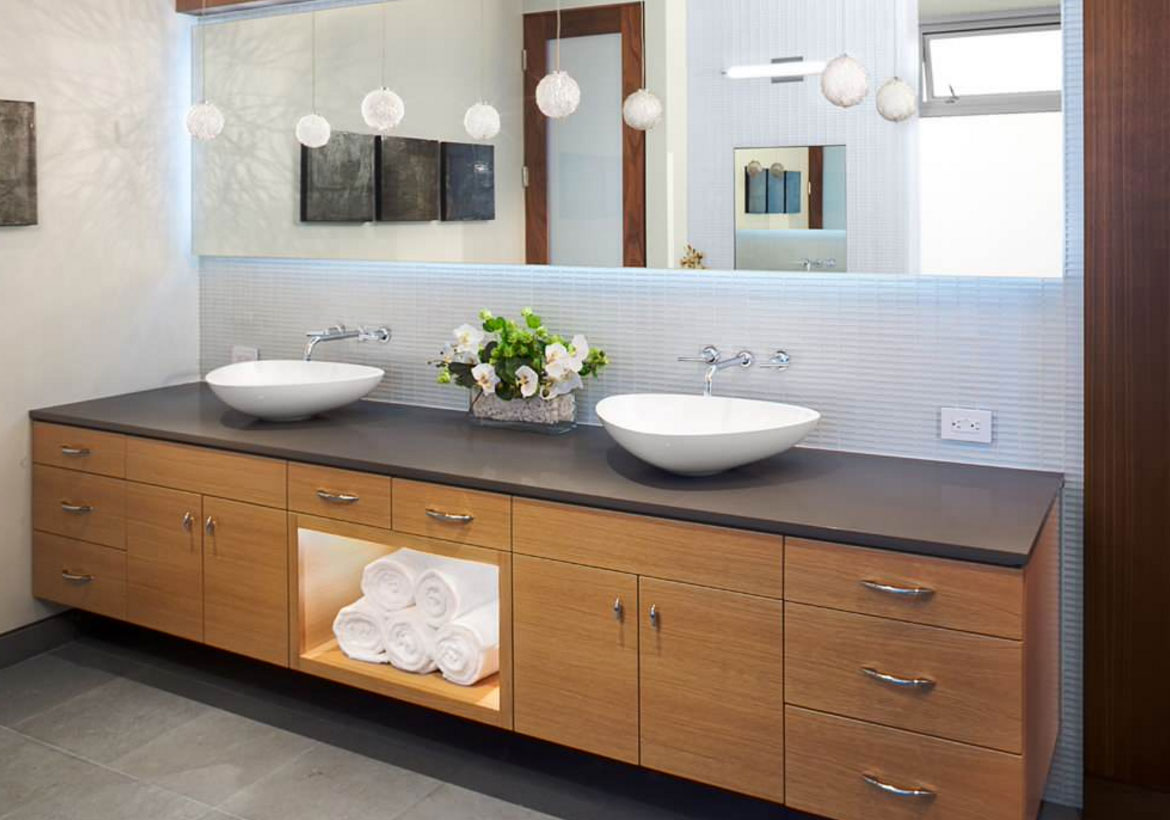
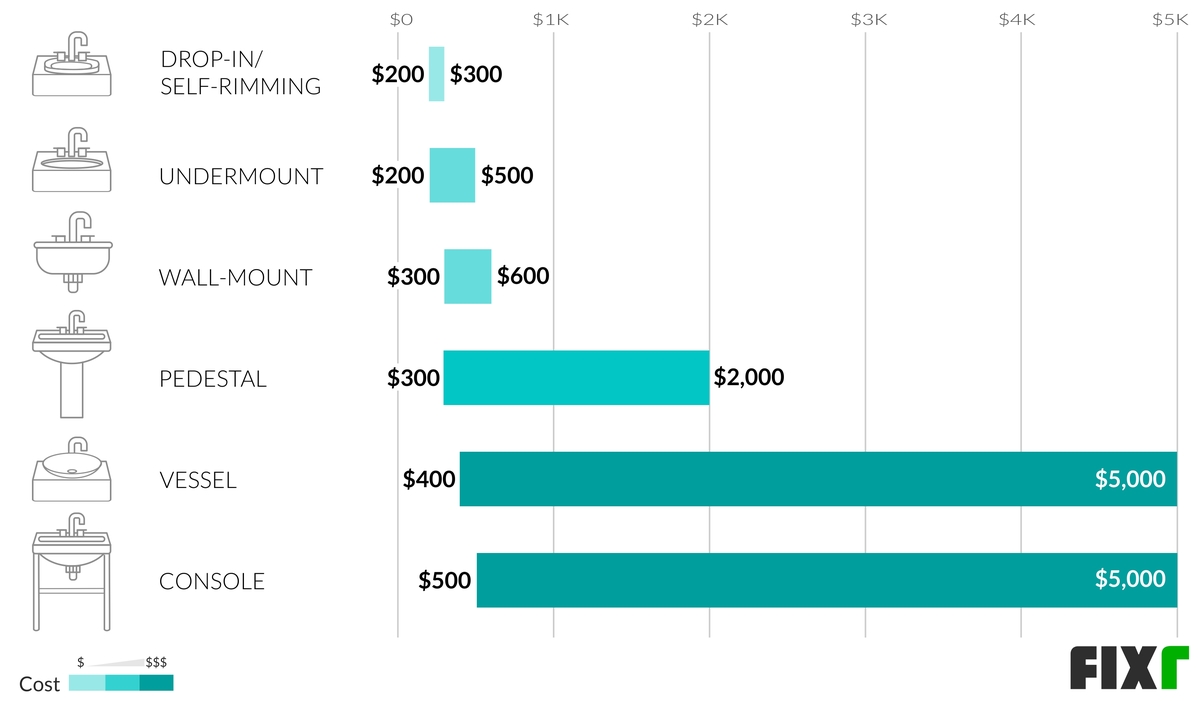
Choosing the Right Bathroom Sink
 When it comes to designing a bathroom, the sink is often an overlooked element. However, the right sink can add both style and functionality to your bathroom. Before attaching the sink to the countertop, it is important to choose the right one.
Consider the style and size of your bathroom, as well as your personal preferences
. There are various types of sinks to choose from, such as pedestal, wall-mounted, and vessel sinks. Each type offers a unique look and can fit different design styles.
Make sure to also consider the material and durability of the sink
, as it will be exposed to water and other bathroom products on a daily basis.
When it comes to designing a bathroom, the sink is often an overlooked element. However, the right sink can add both style and functionality to your bathroom. Before attaching the sink to the countertop, it is important to choose the right one.
Consider the style and size of your bathroom, as well as your personal preferences
. There are various types of sinks to choose from, such as pedestal, wall-mounted, and vessel sinks. Each type offers a unique look and can fit different design styles.
Make sure to also consider the material and durability of the sink
, as it will be exposed to water and other bathroom products on a daily basis.
Preparing the Countertop and Sink
 Before attaching the sink to the countertop, ensure that both surfaces are clean and dry.
Remove any debris or residue from the countertop and sink
to ensure a smooth and secure attachment. If you are using a new countertop, make sure to install the faucet and drain before attaching the sink.
Before attaching the sink to the countertop, ensure that both surfaces are clean and dry.
Remove any debris or residue from the countertop and sink
to ensure a smooth and secure attachment. If you are using a new countertop, make sure to install the faucet and drain before attaching the sink.
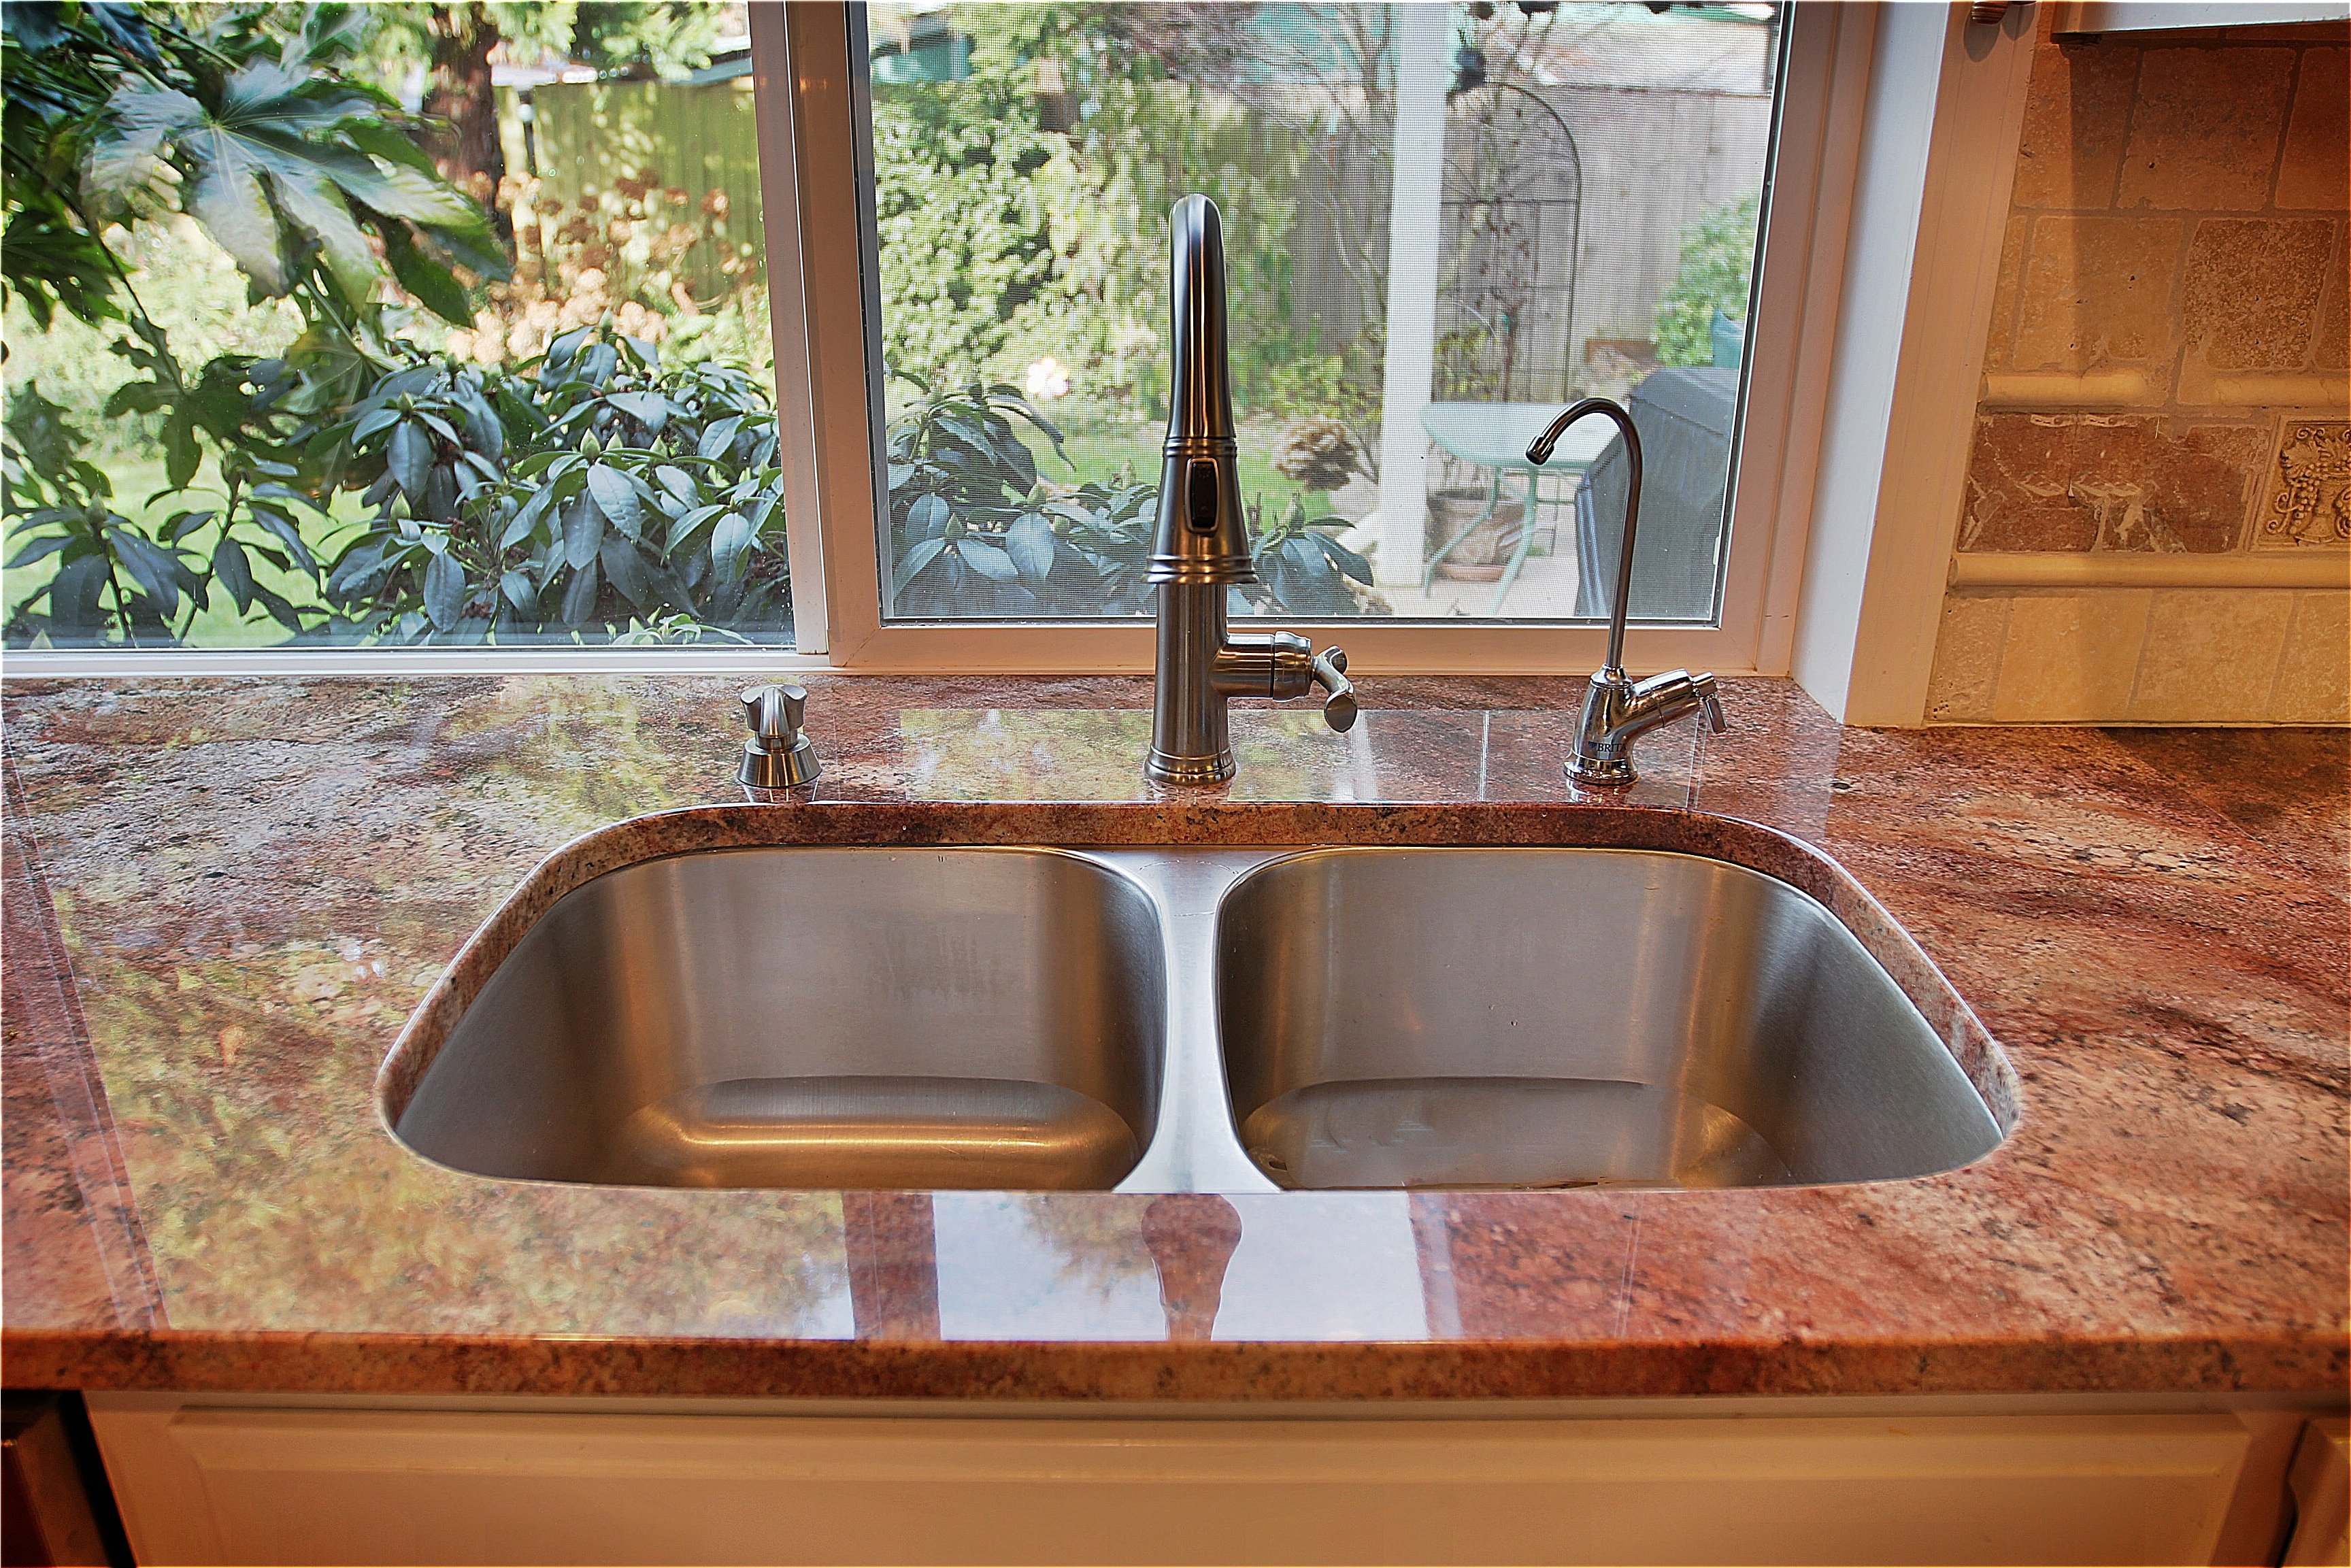
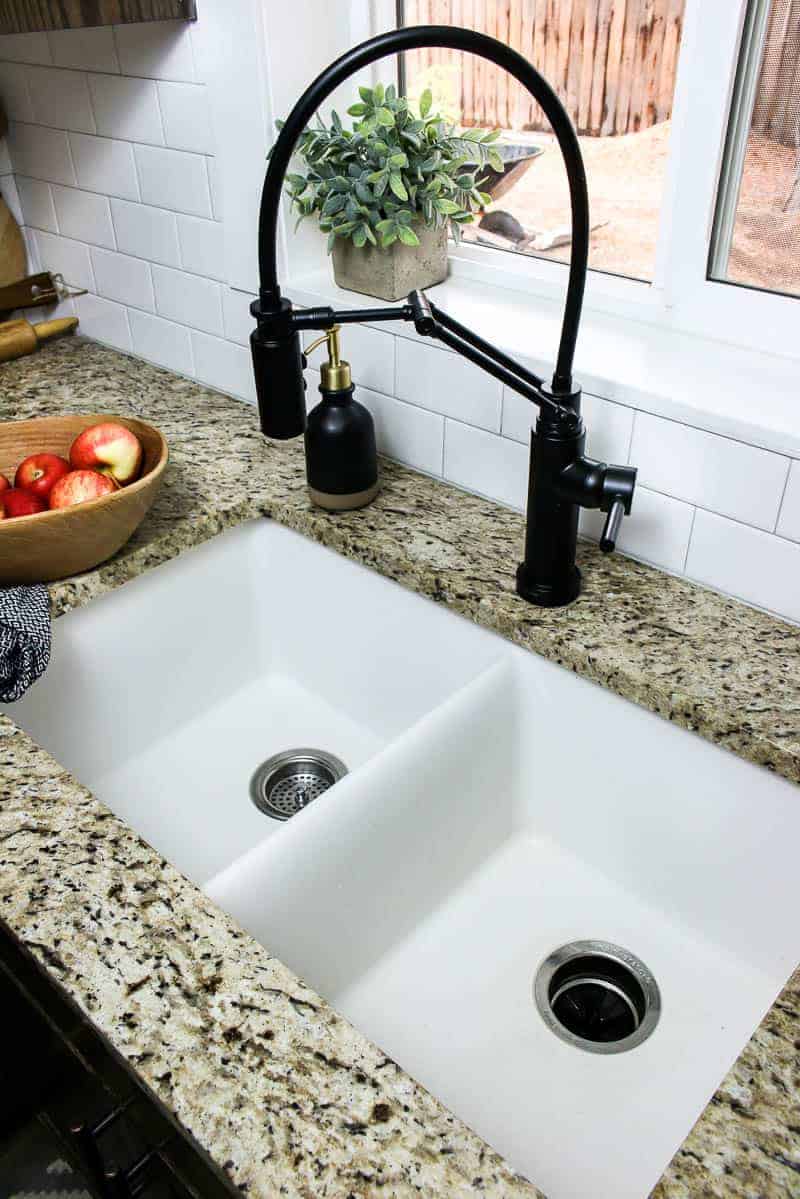
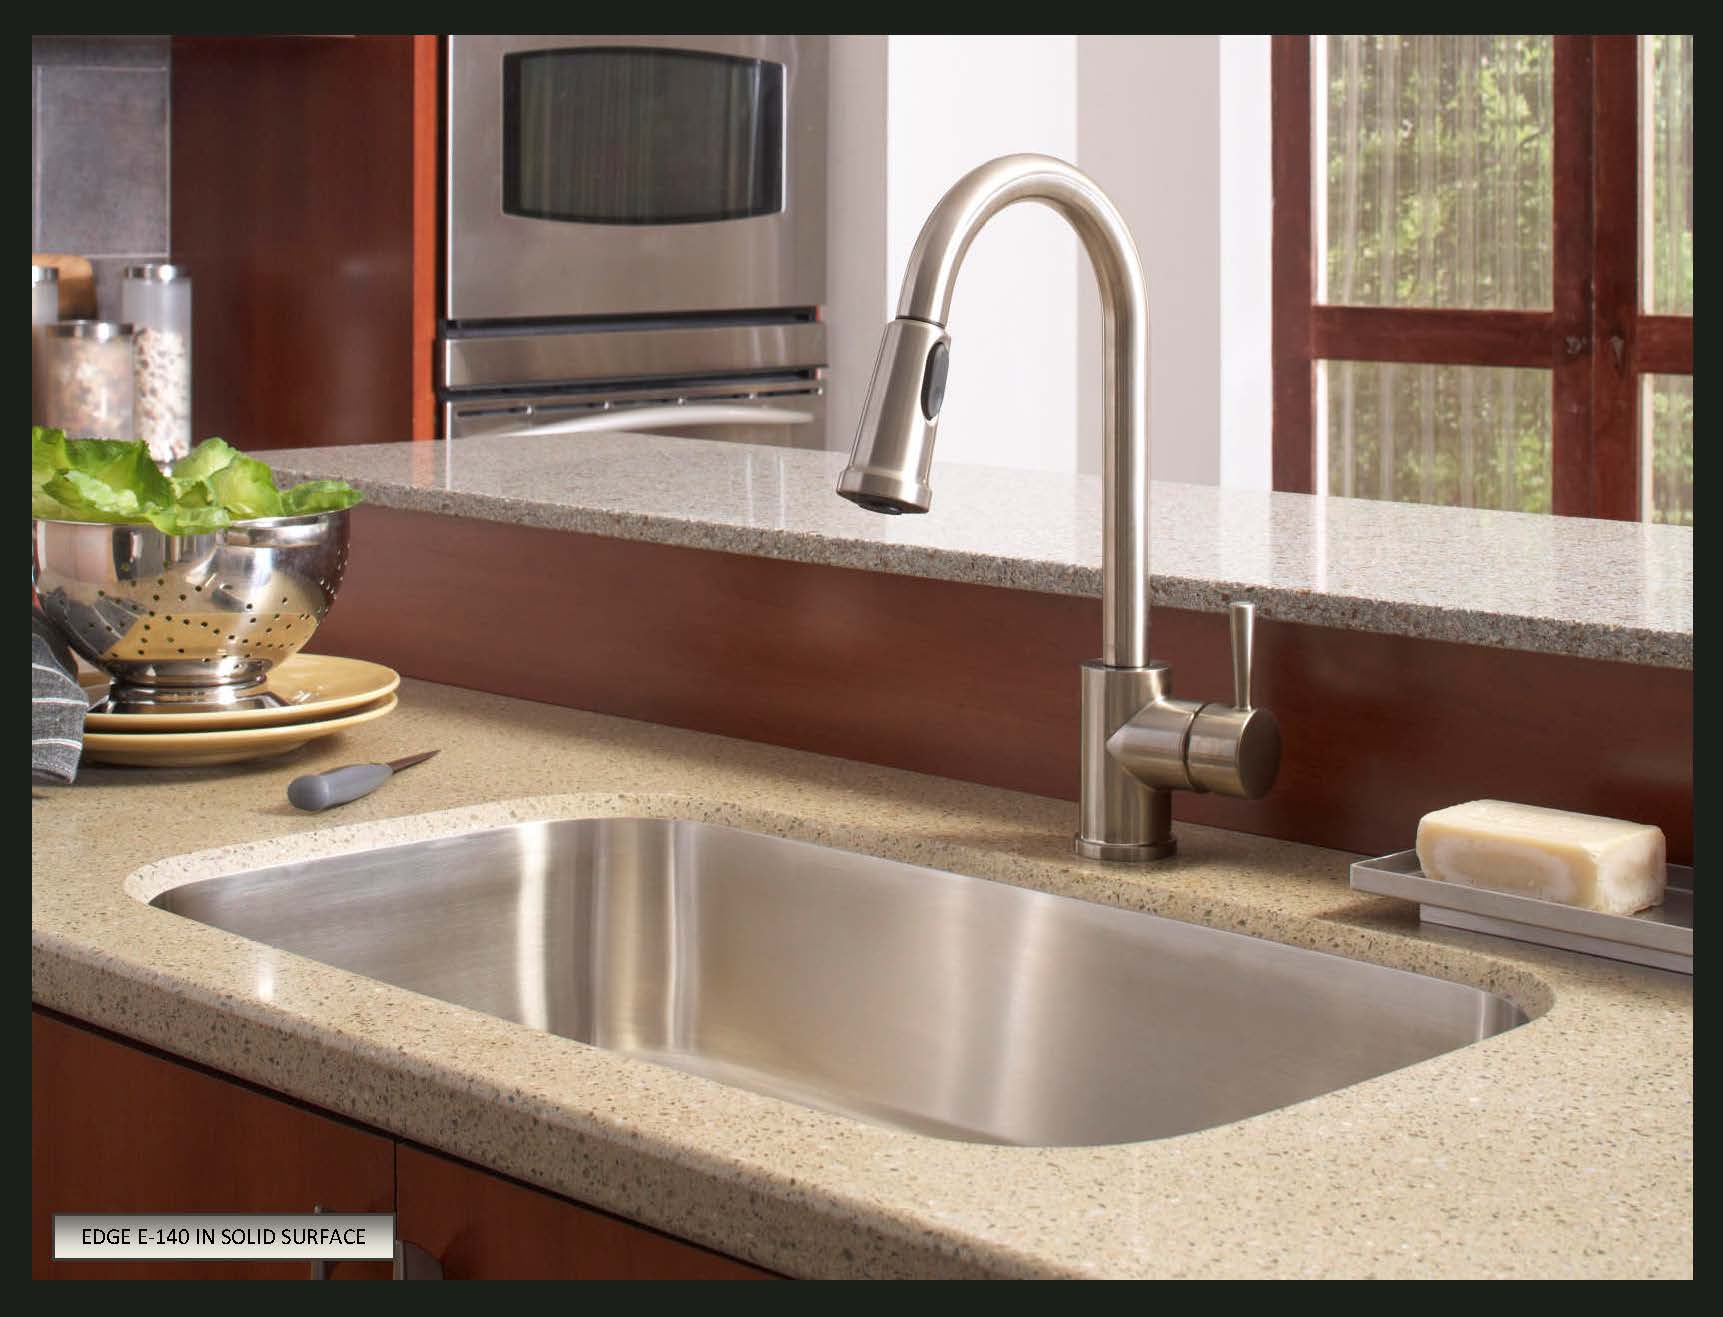
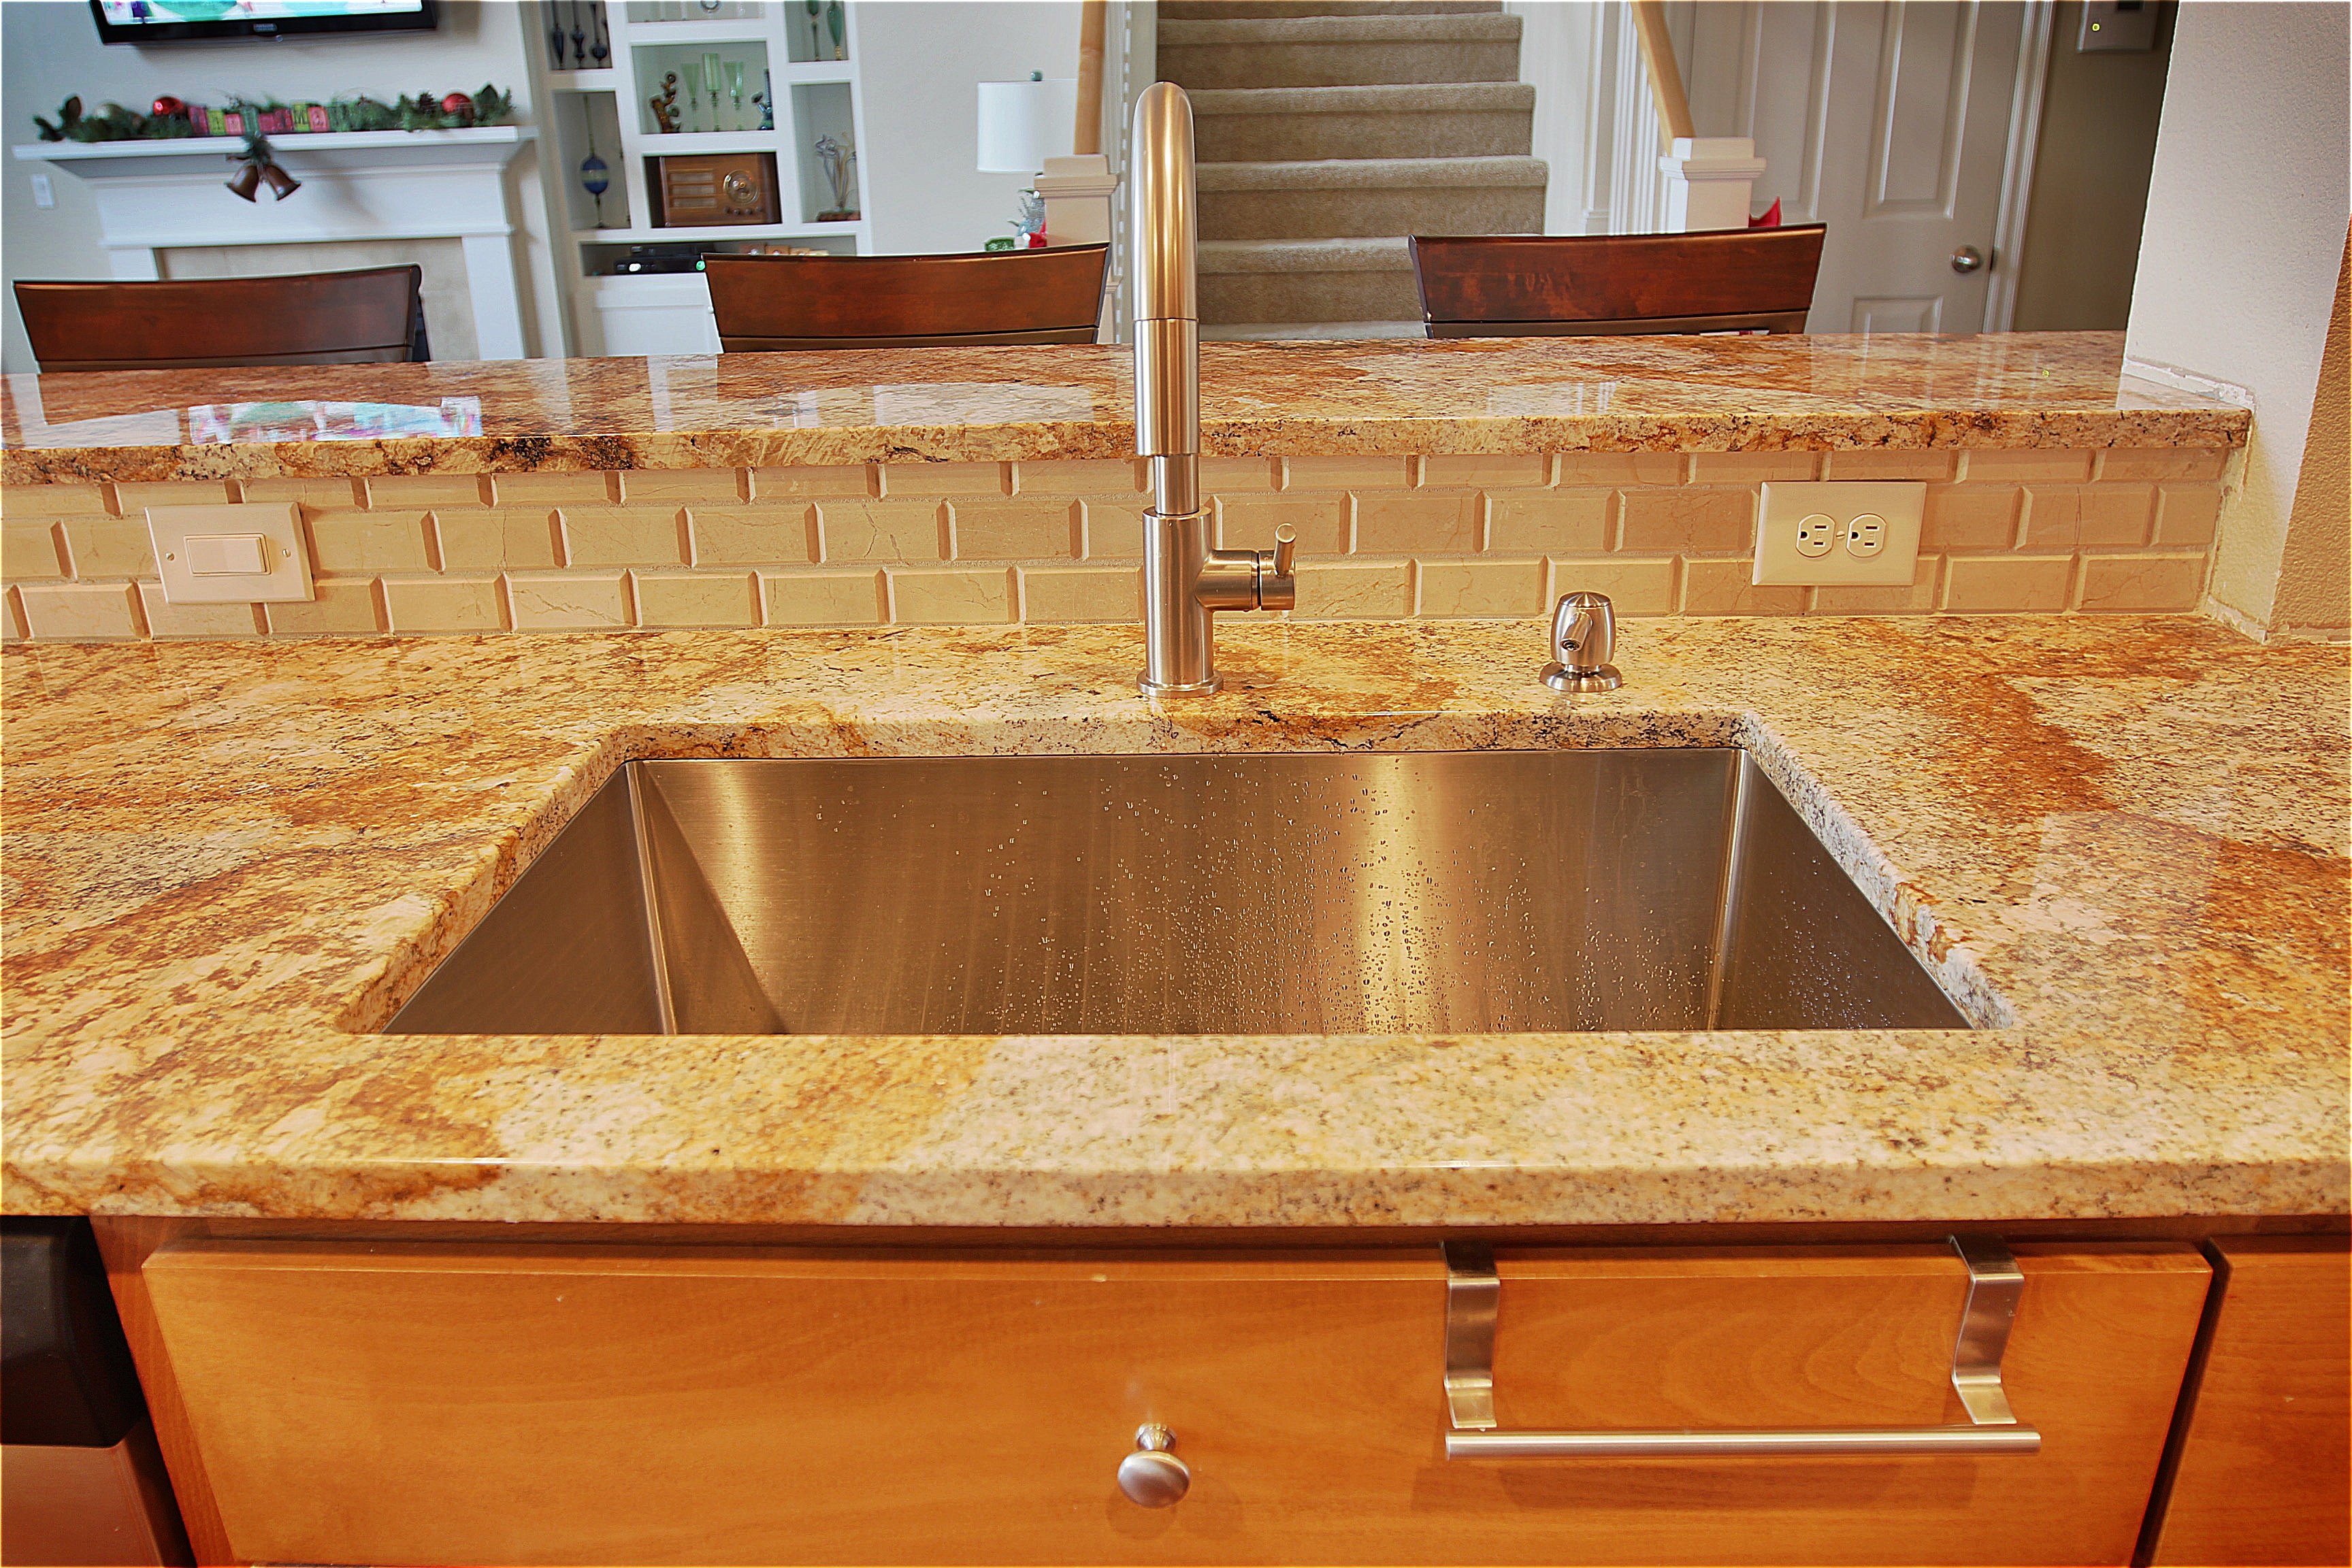
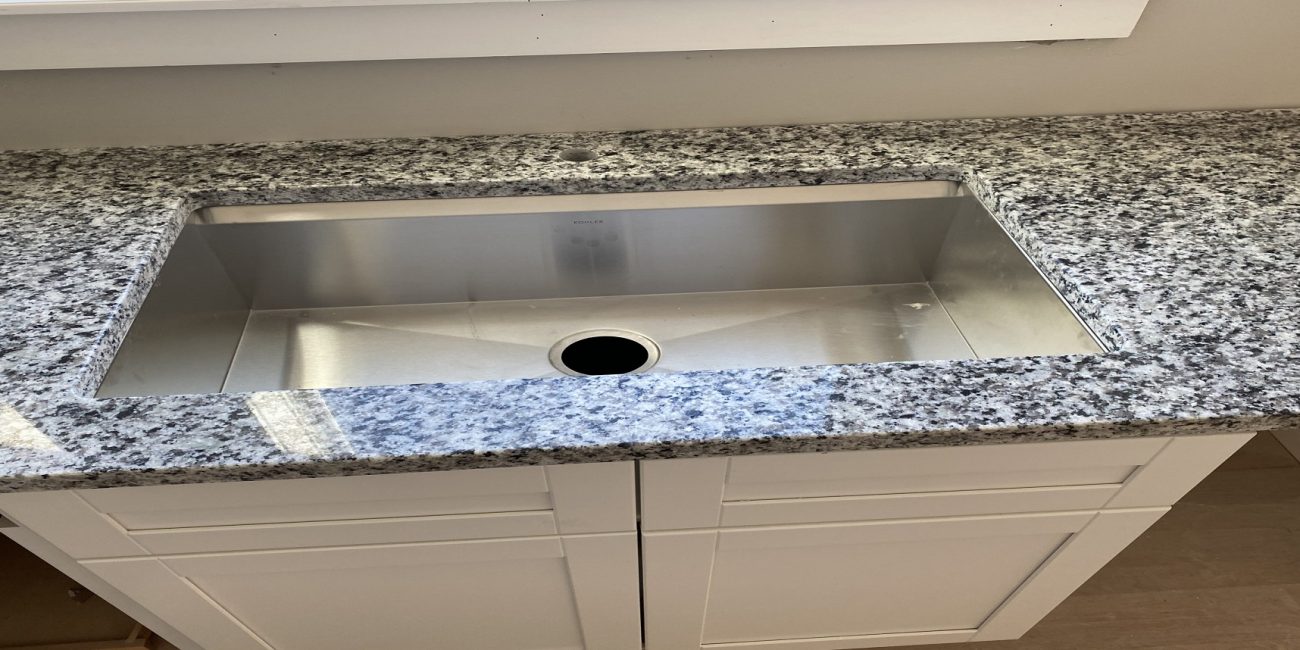
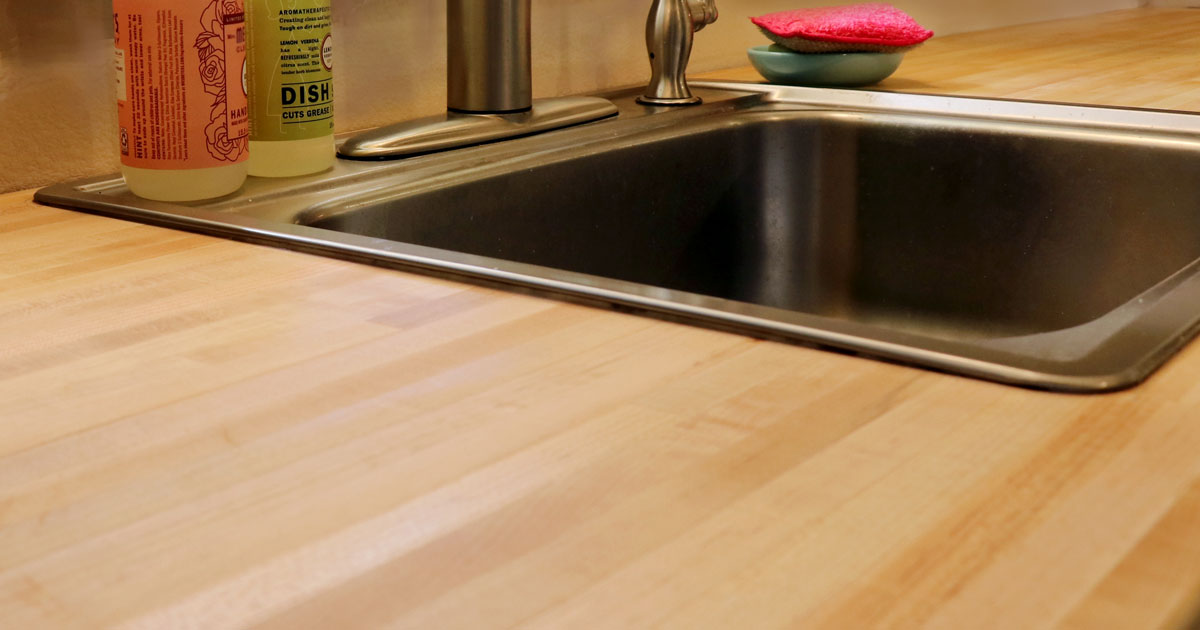
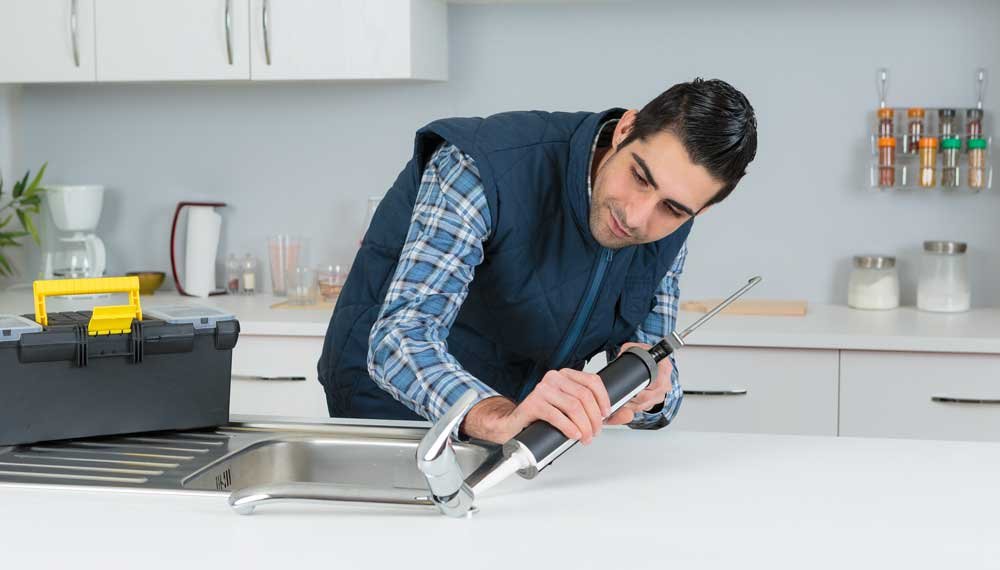
Attaching the Sink to the Countertop
 There are various methods for attaching a sink to a countertop, depending on the type of sink and countertop you have
. For undermount sinks, you will need to use silicone adhesive to secure the sink to the underside of the countertop. For drop-in sinks, you can use clips or brackets to secure the sink to the countertop.
Make sure to follow the manufacturer's instructions and use the appropriate tools for the job
. Once the sink is securely attached,
run a bead of silicone around the edges of the sink between the sink and the countertop
to ensure a watertight seal.
There are various methods for attaching a sink to a countertop, depending on the type of sink and countertop you have
. For undermount sinks, you will need to use silicone adhesive to secure the sink to the underside of the countertop. For drop-in sinks, you can use clips or brackets to secure the sink to the countertop.
Make sure to follow the manufacturer's instructions and use the appropriate tools for the job
. Once the sink is securely attached,
run a bead of silicone around the edges of the sink between the sink and the countertop
to ensure a watertight seal.
Final Touches
 After attaching the sink to the countertop,
reconnect the water supply lines and check for any leaks
.
Make sure to also caulk around the edges of the sink and countertop
to prevent water from seeping in between. Lastly,
clean up any excess adhesive or caulk and give your new sink and countertop a final wipe down
. With your newly attached bathroom sink, your bathroom will not only look sleek and stylish, but it will also be fully functional for your everyday needs.
After attaching the sink to the countertop,
reconnect the water supply lines and check for any leaks
.
Make sure to also caulk around the edges of the sink and countertop
to prevent water from seeping in between. Lastly,
clean up any excess adhesive or caulk and give your new sink and countertop a final wipe down
. With your newly attached bathroom sink, your bathroom will not only look sleek and stylish, but it will also be fully functional for your everyday needs.
Now that you know how to securely attach a bathroom sink to a countertop, you can confidently choose the perfect sink for your bathroom and create a beautiful and functional design.