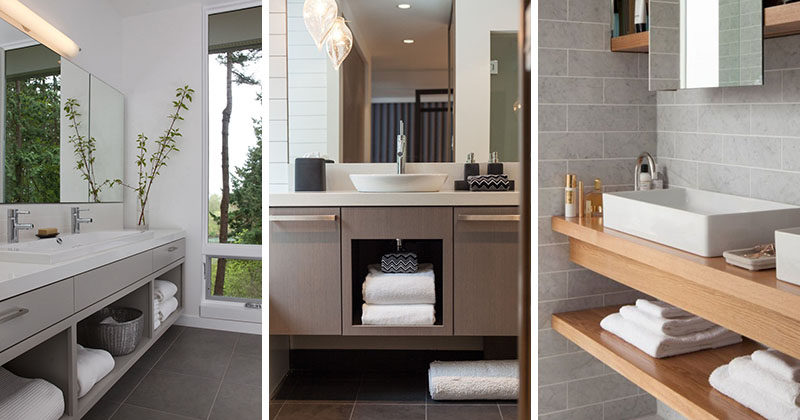
How to Add Trim to a Bathroom Vanity
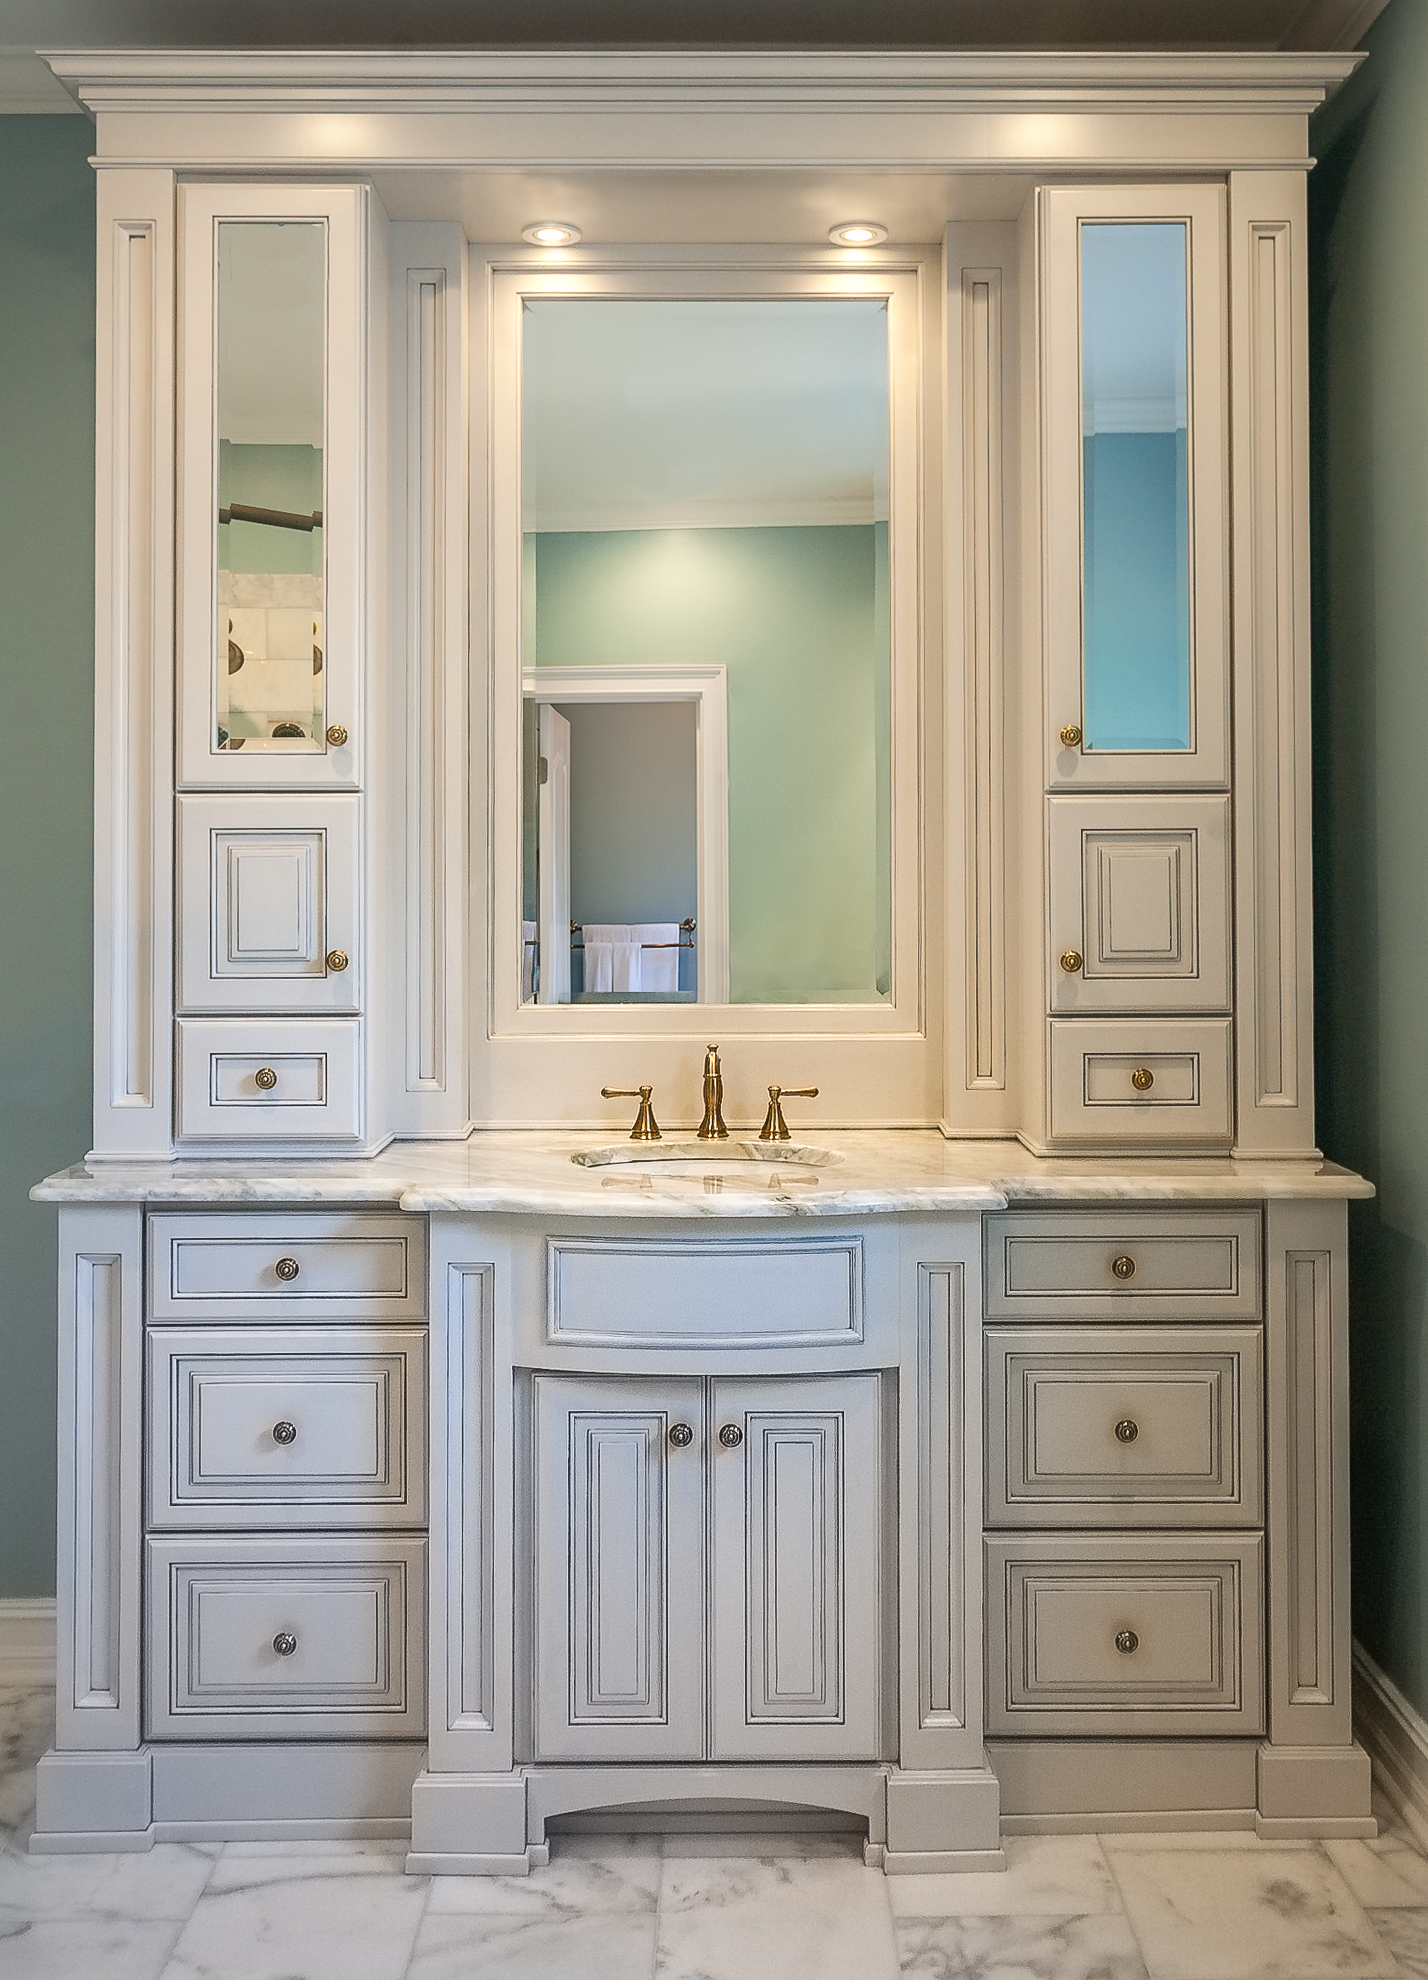
Adding trim to your bathroom vanity is a simple and cost-effective way to elevate the look of your bathroom. Not only does it add a touch of elegance, but it can also cover up any imperfections or scratches on your vanity’s edges. With a few basic tools and some creativity, you can transform your plain bathroom vanity into a stunning focal point. Follow our step-by-step guide for adding trim to your bathroom vanity.
DIY Bathroom Vanity Trim Ideas
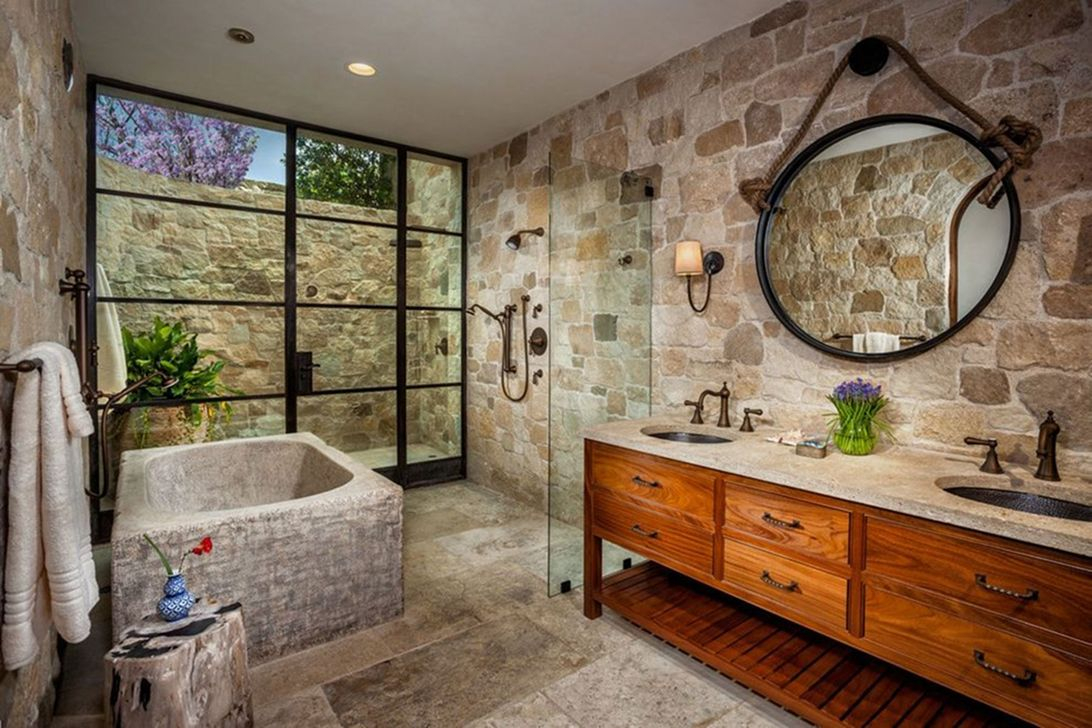
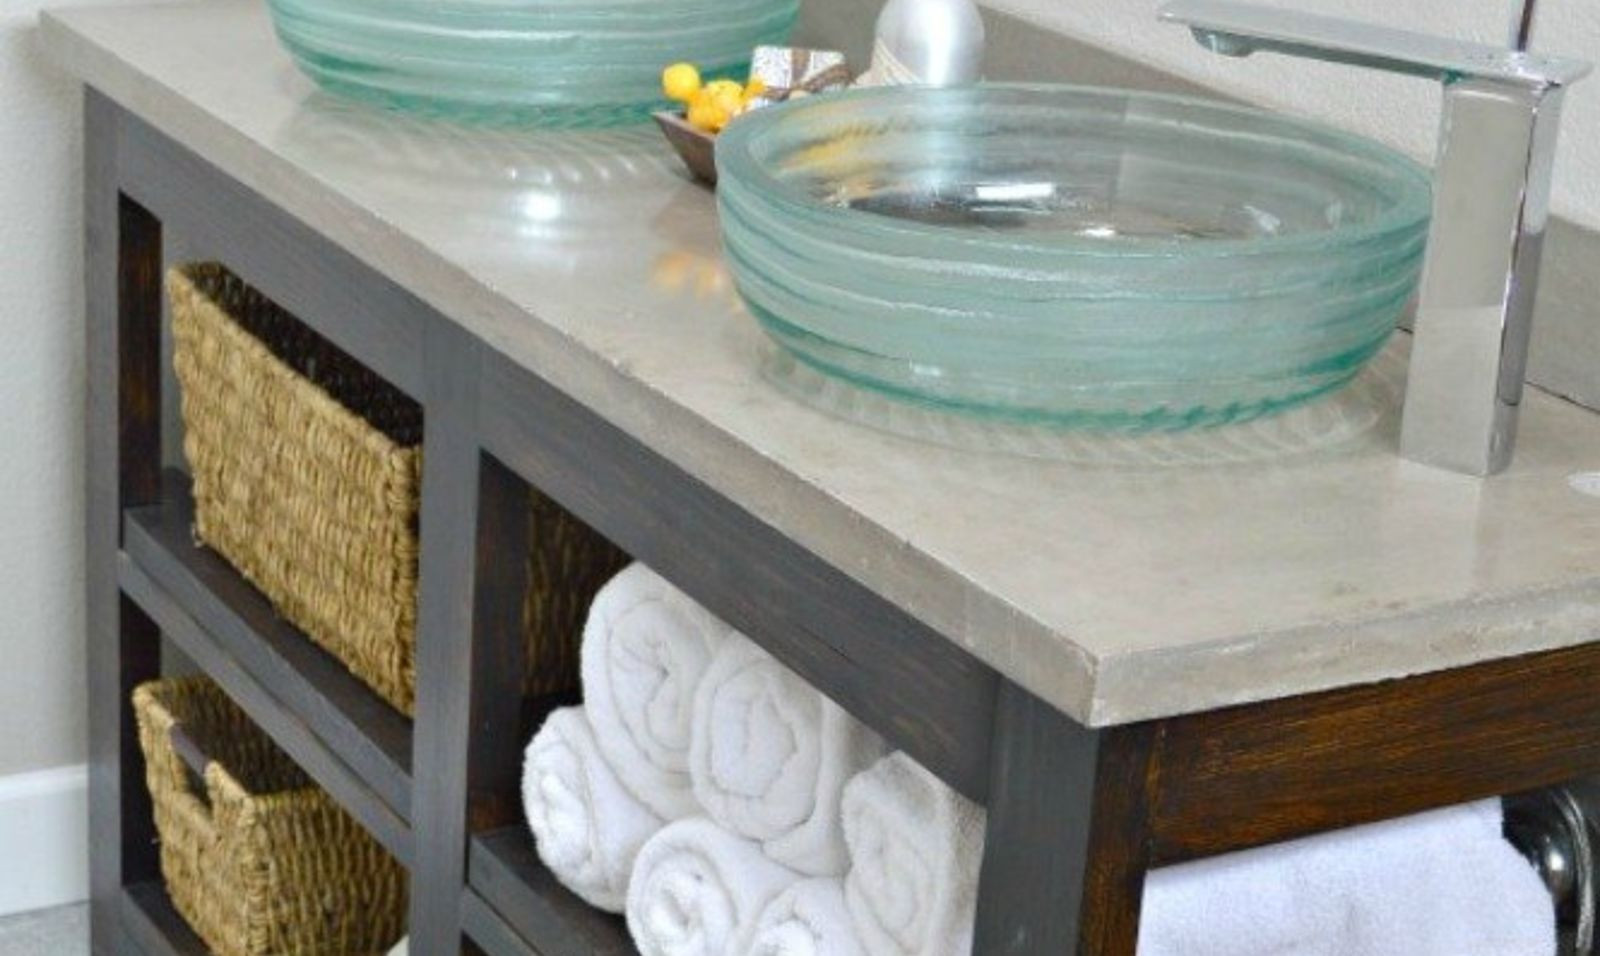
If you’re feeling crafty and want to save some money, DIY bathroom vanity trim is the way to go. There are many creative and budget-friendly ways to add trim to your vanity. You can use materials like wood, tile, or even wallpaper to achieve the desired look. Get inspired by browsing through different DIY bathroom vanity trim ideas and choose the one that best suits your style.
Step-by-Step Guide for Adding Trim to Your Bathroom Vanity
Adding trim to your bathroom vanity may seem like a daunting task, but it’s actually quite simple. Follow these steps to achieve a professional-looking result:
Step 1: Measure the length and width of your vanity’s edges where you want to add the trim.
Step 2: Purchase the trim material of your choice. You can find a variety of options at your local hardware store.
Step 3: Cut the trim to the desired length using a saw or a sharp utility knife.
Step 4: Sand the edges of the trim to smooth out any rough edges.
Step 5: Apply a thin layer of construction adhesive to the back of the trim and carefully place it on the edge of your vanity, making sure it’s aligned properly.
Step 6: Secure the trim with finishing nails or a nail gun.
Step 7: Fill in any gaps or nail holes with wood filler and let it dry.
Step 8: Sand the filled areas until they are smooth.
Step 9: Paint or stain the trim to match your vanity or go for a contrasting color for a more dramatic look.
Step 10: Let the paint or stain dry completely before using your newly trimmed vanity.
Best Trim Options for Bathroom Vanities
When it comes to choosing the best trim for your bathroom vanity, it ultimately depends on your personal style and the overall look of your bathroom. Some popular options include:
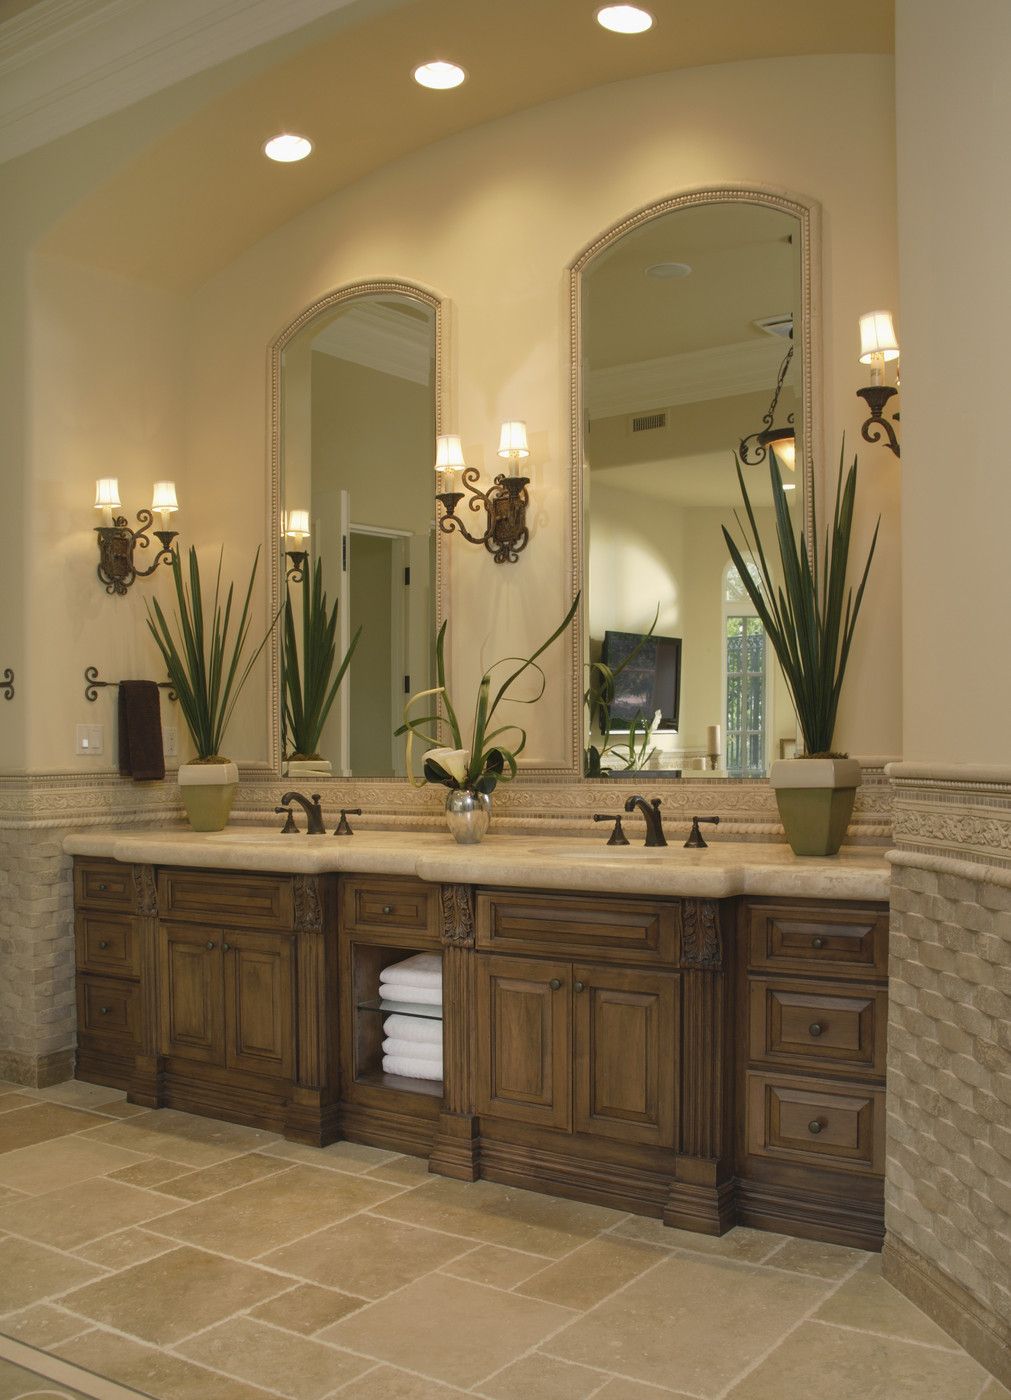
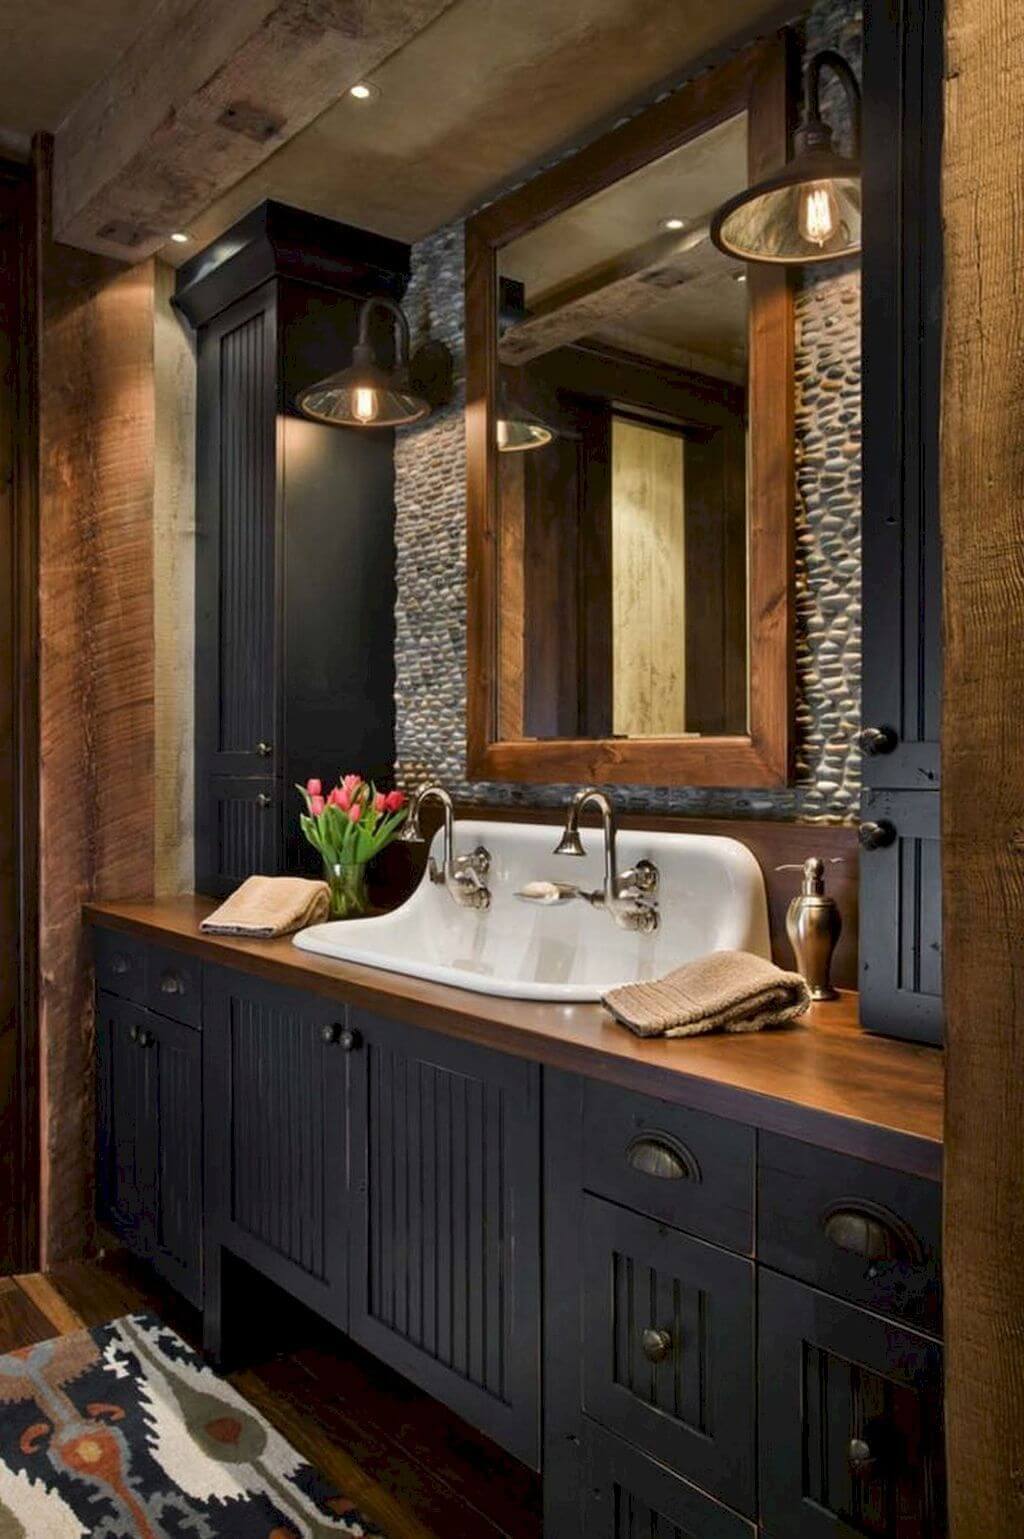
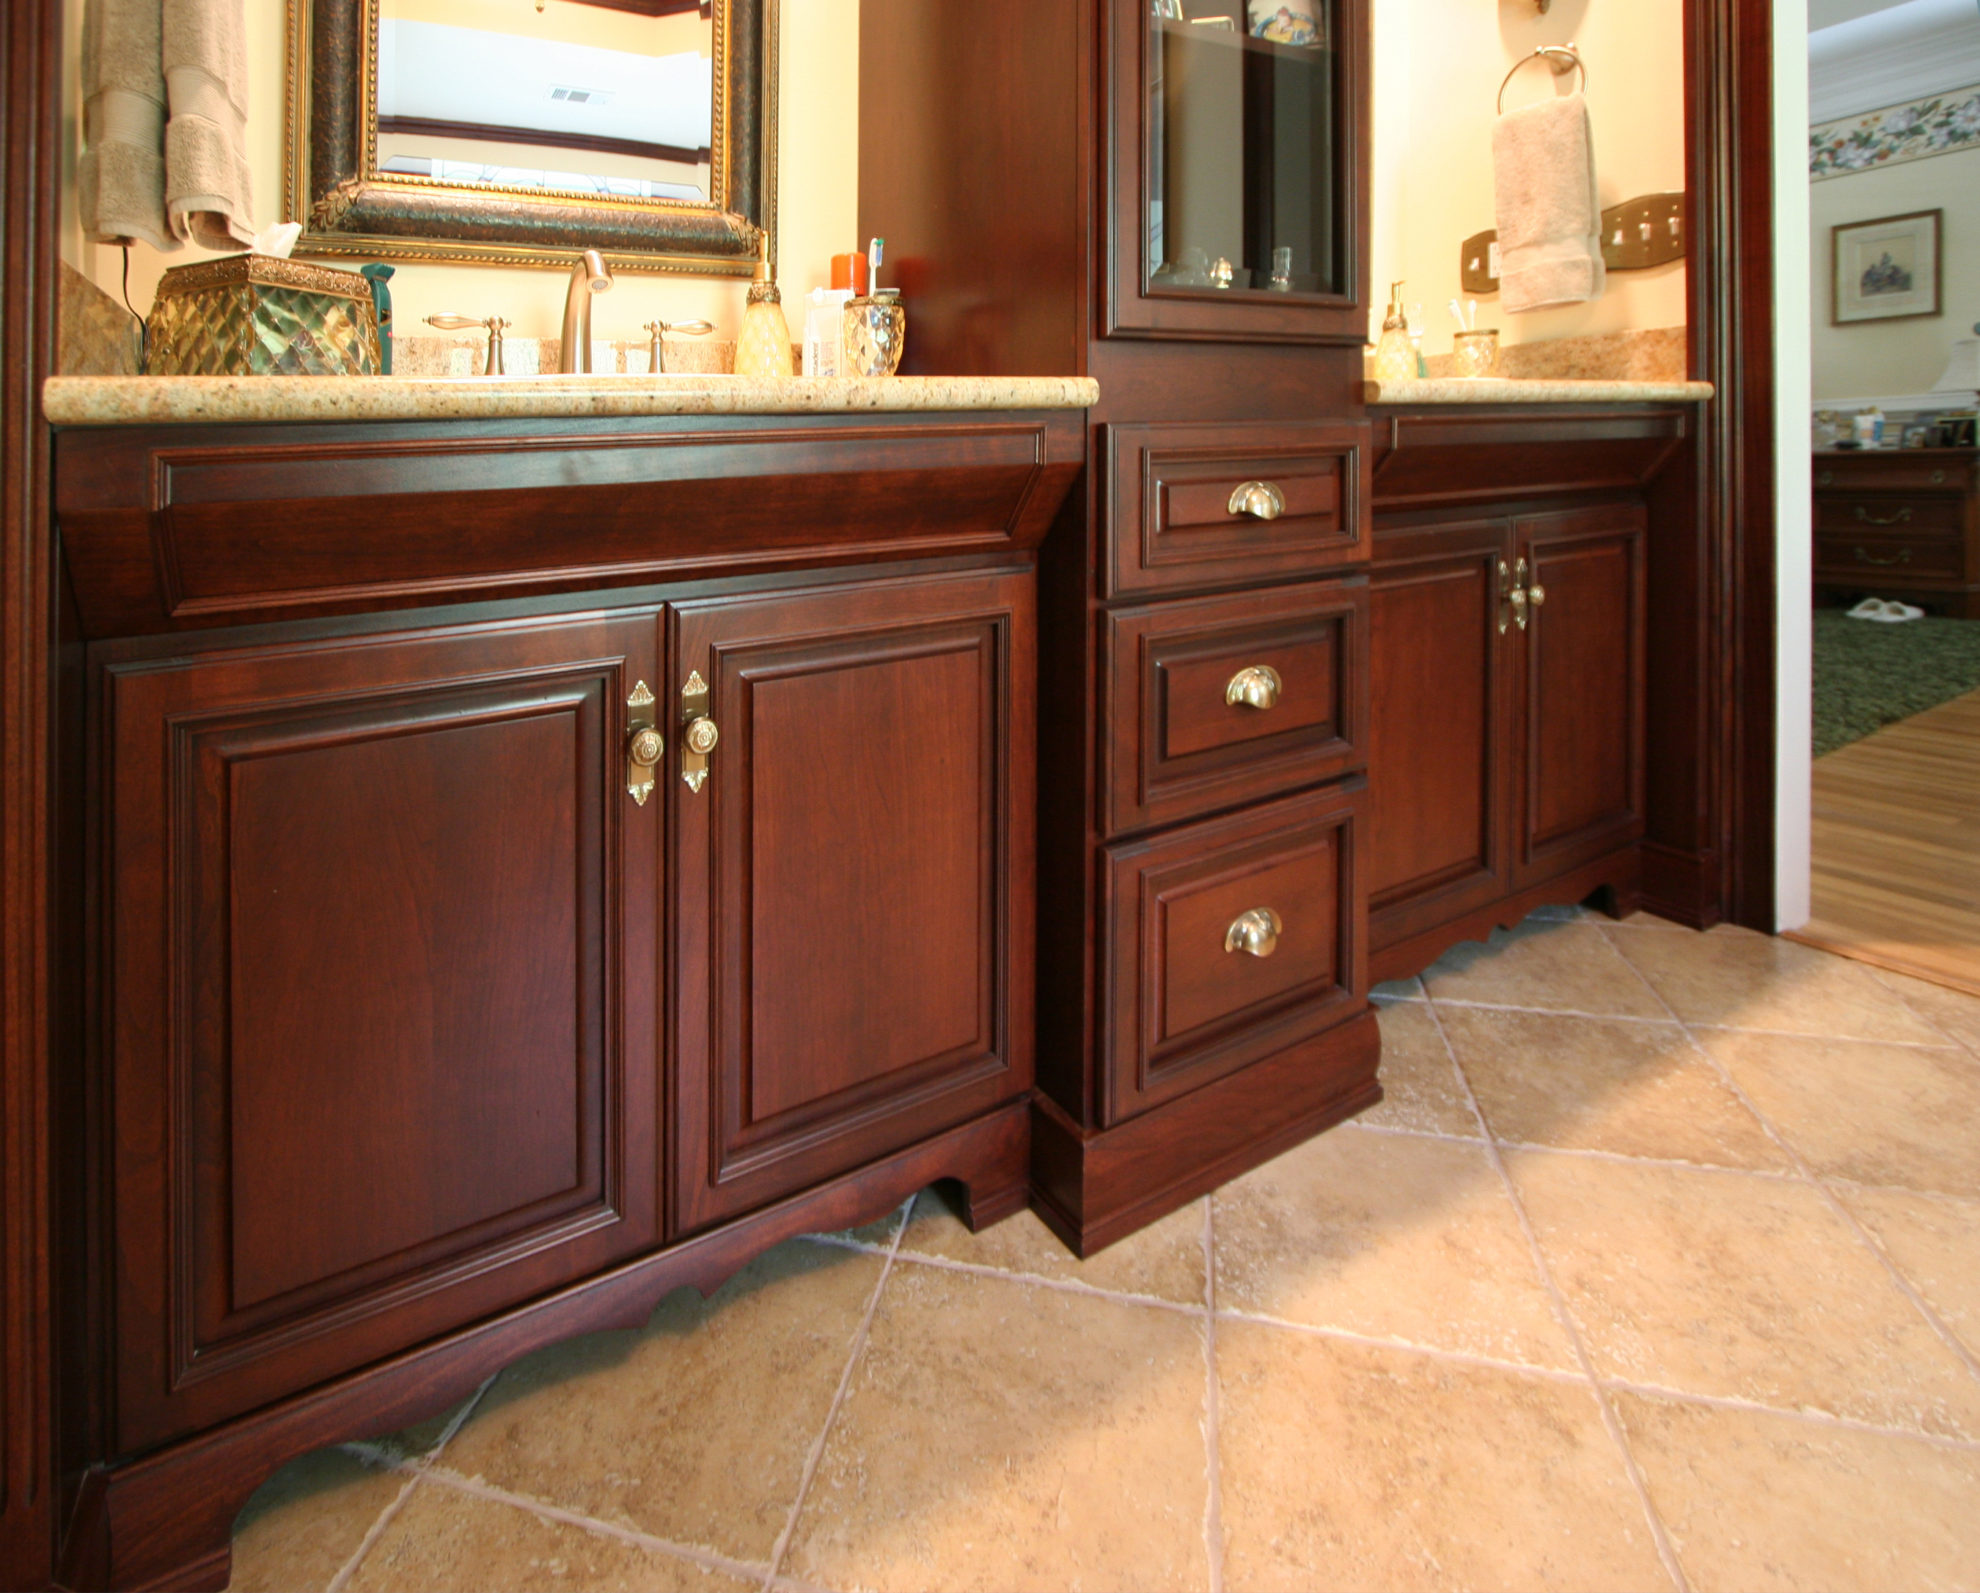
1. Wood trim: This is a classic and timeless choice that adds warmth and texture to your vanity. You can choose from a variety of wood species and finishes to match the rest of your bathroom decor.
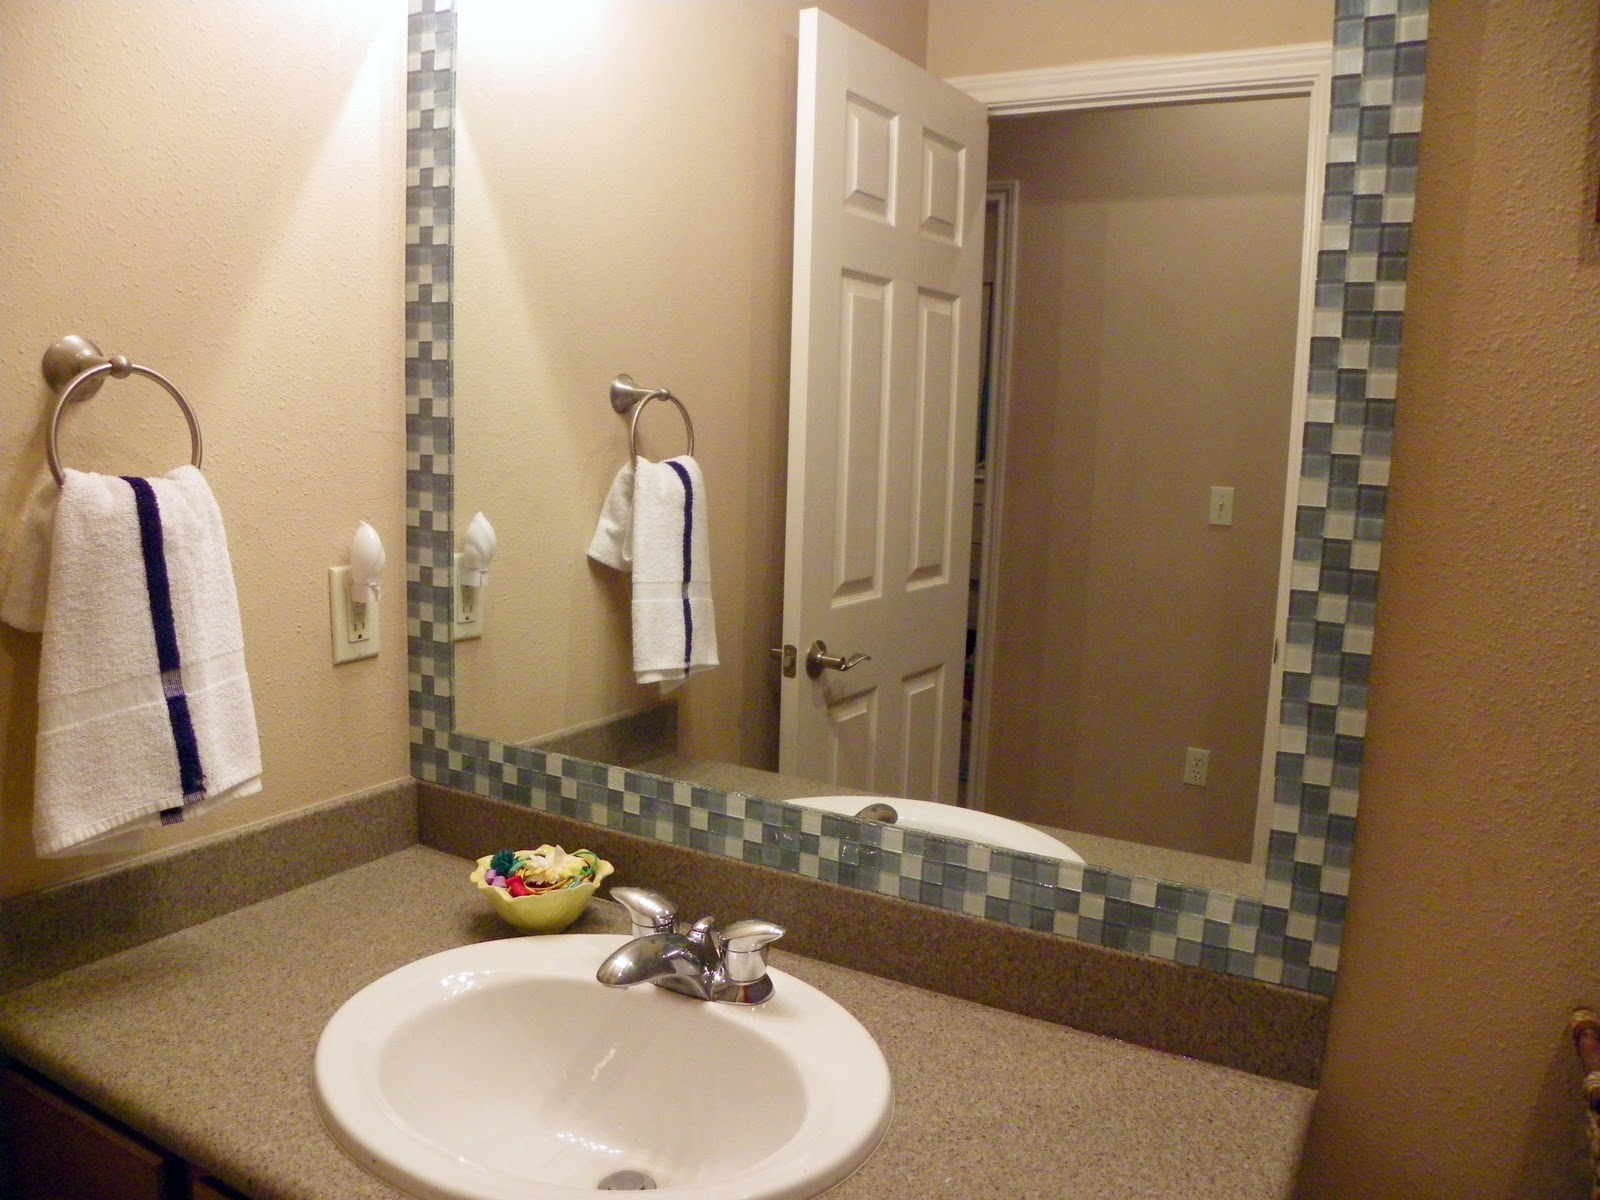
2. Tile trim: If you have a tiled bathroom, using the same tile as your trim can create a cohesive look. You can also mix and match different tiles for a unique design.
3. Wallpaper trim: This is a great option for those who want a bold and colorful look without the hassle of painting. There are many peel-and-stick wallpaper options available that make it easy to add a pop of color to your vanity.
Adding Trim to a Builder-Grade Bathroom Vanity
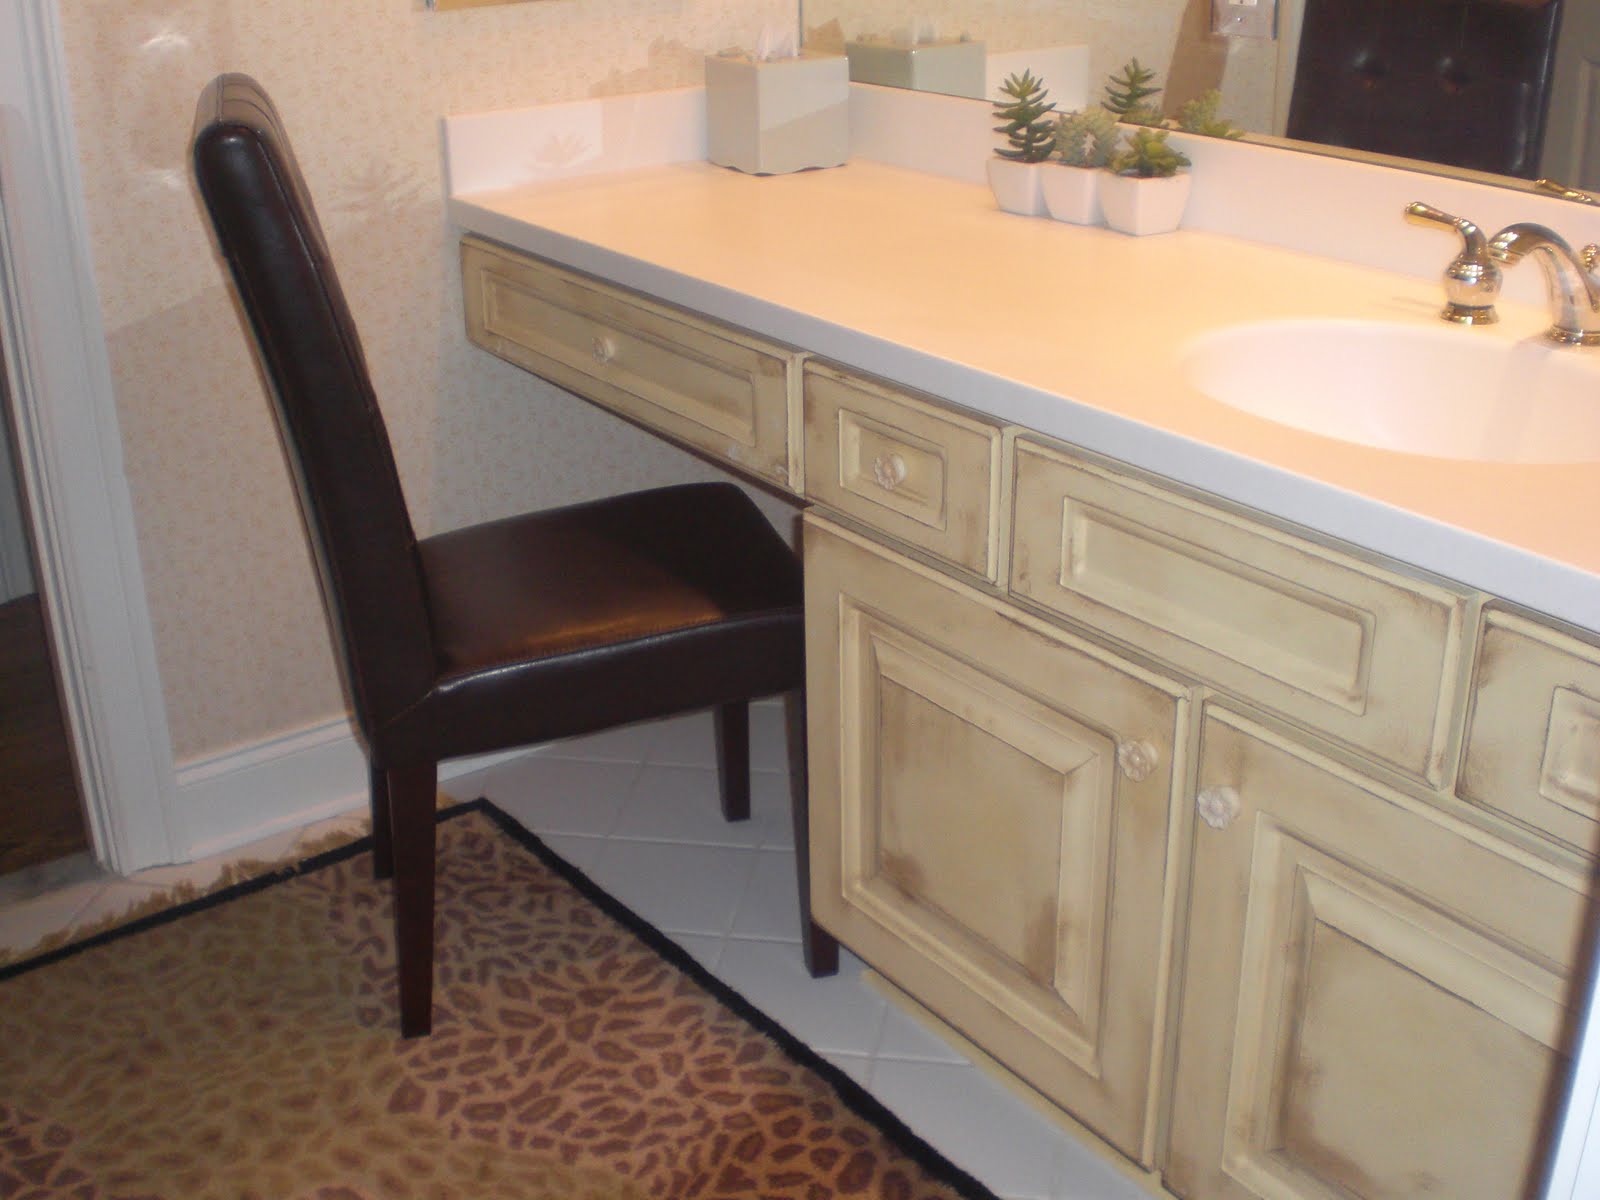
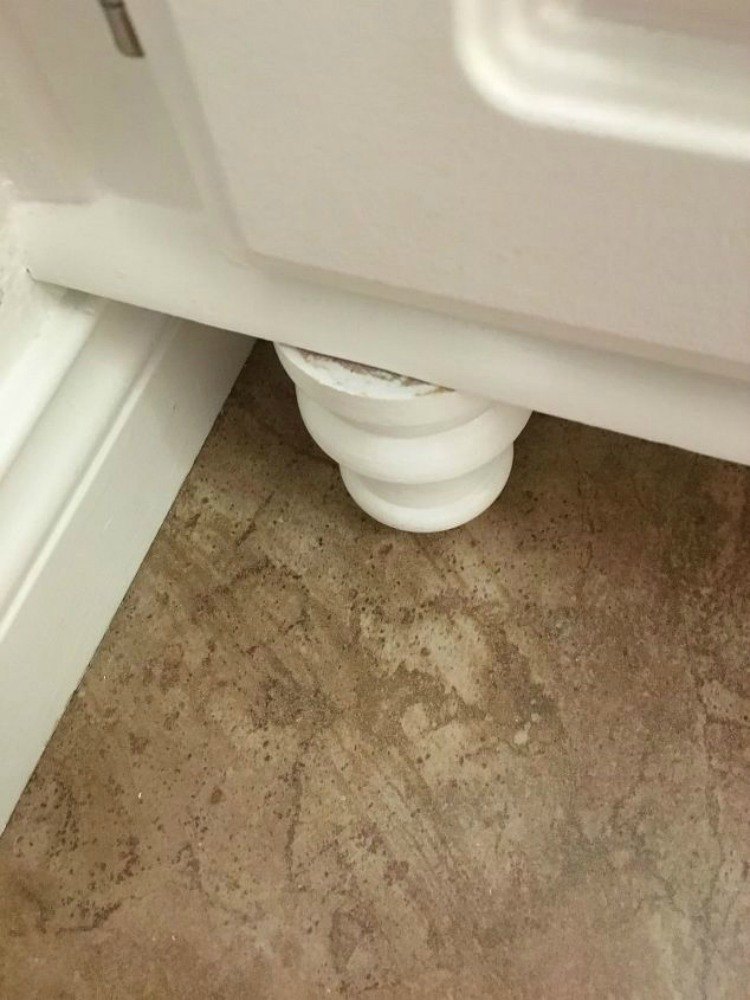
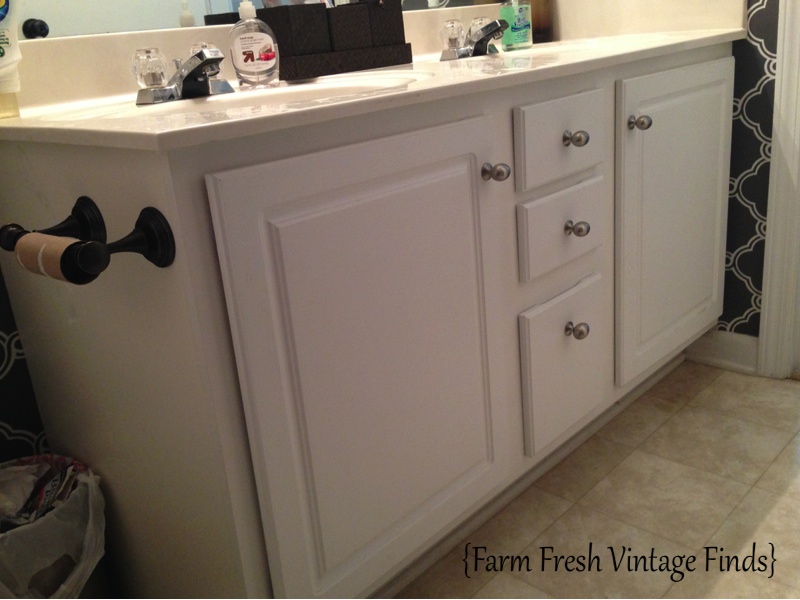
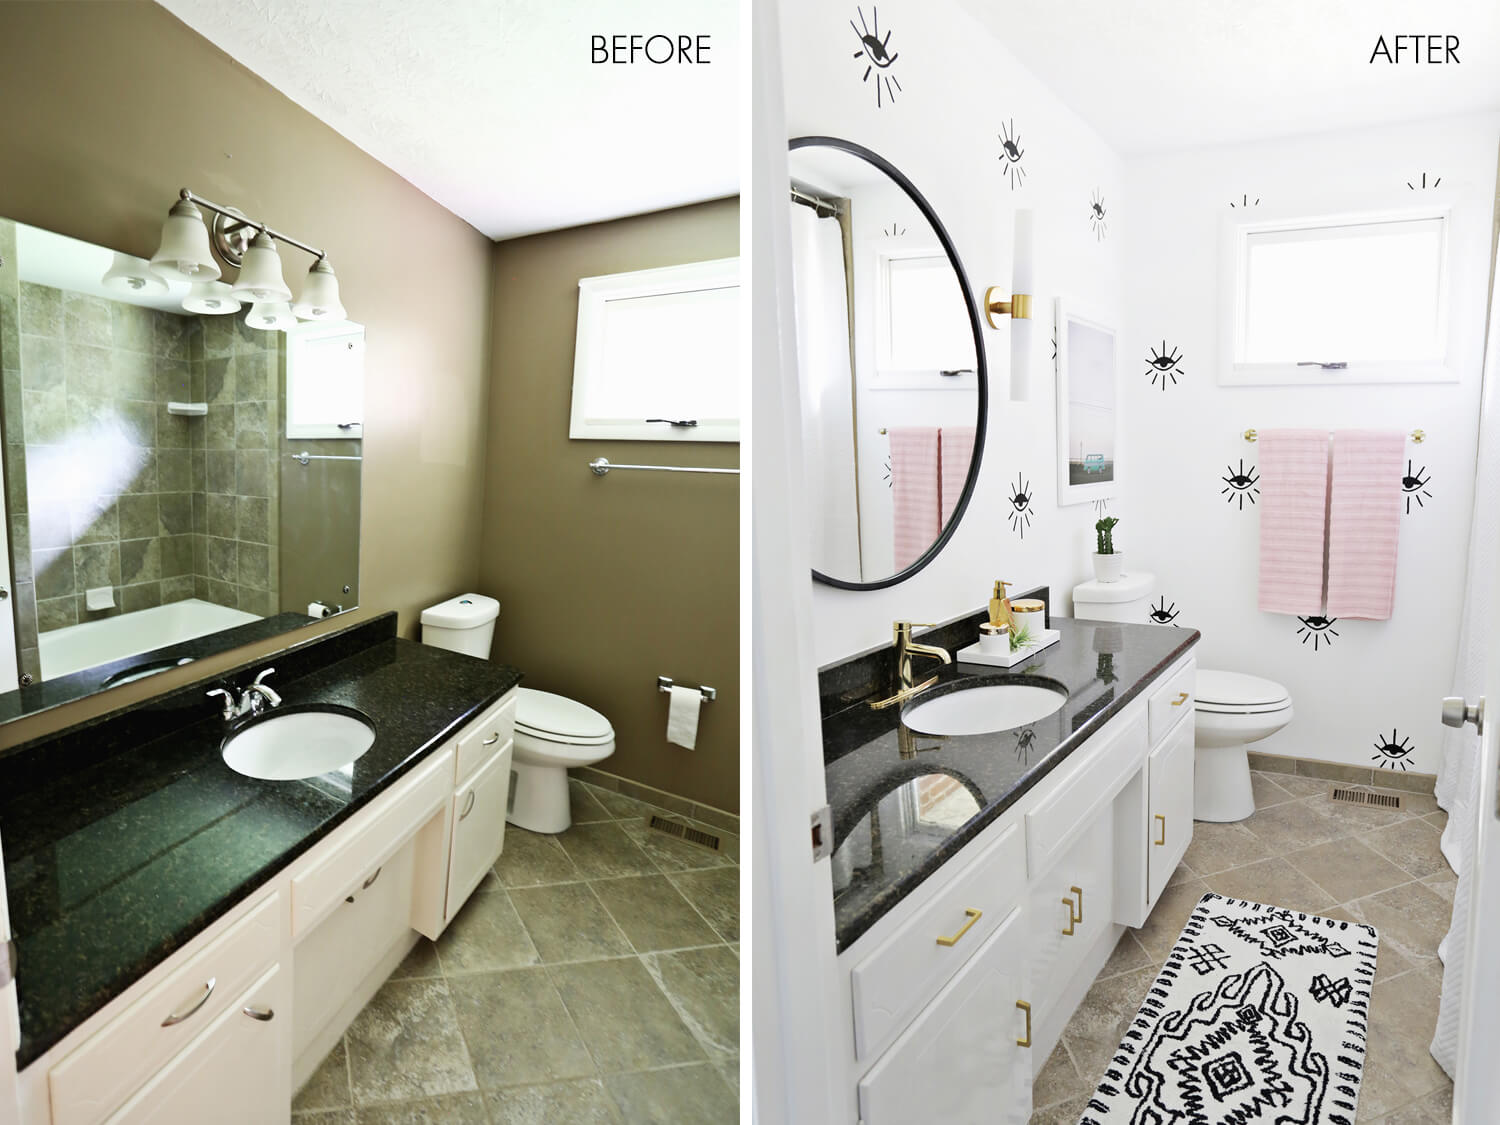
If you have a basic builder-grade bathroom vanity, adding trim is a great way to give it a custom and high-end look. You can follow the same steps as mentioned above and choose a trim material that complements the rest of your bathroom decor. This simple upgrade can make a big difference in the overall appearance of your bathroom.
Quick and Easy Trim Ideas for Bathroom Vanities
If you’re short on time or don’t want to invest a lot of money in adding trim to your bathroom vanity, here are some quick and easy ideas:
1. Paint the edges: A simple coat of paint can make your vanity’s edges stand out. You can use a contrasting color or stick to a monochromatic look.
2. Use washi tape: Washi tape comes in a variety of colors and patterns and is a great way to add a fun and playful touch to your vanity. Simply stick it along the edges of your vanity for an instant upgrade.
3. Add adhesive decals: Similar to washi tape, adhesive decals are easy to apply and come in a variety of designs. They can instantly transform your plain vanity into a work of art.
Transform Your Bathroom Vanity with Trim
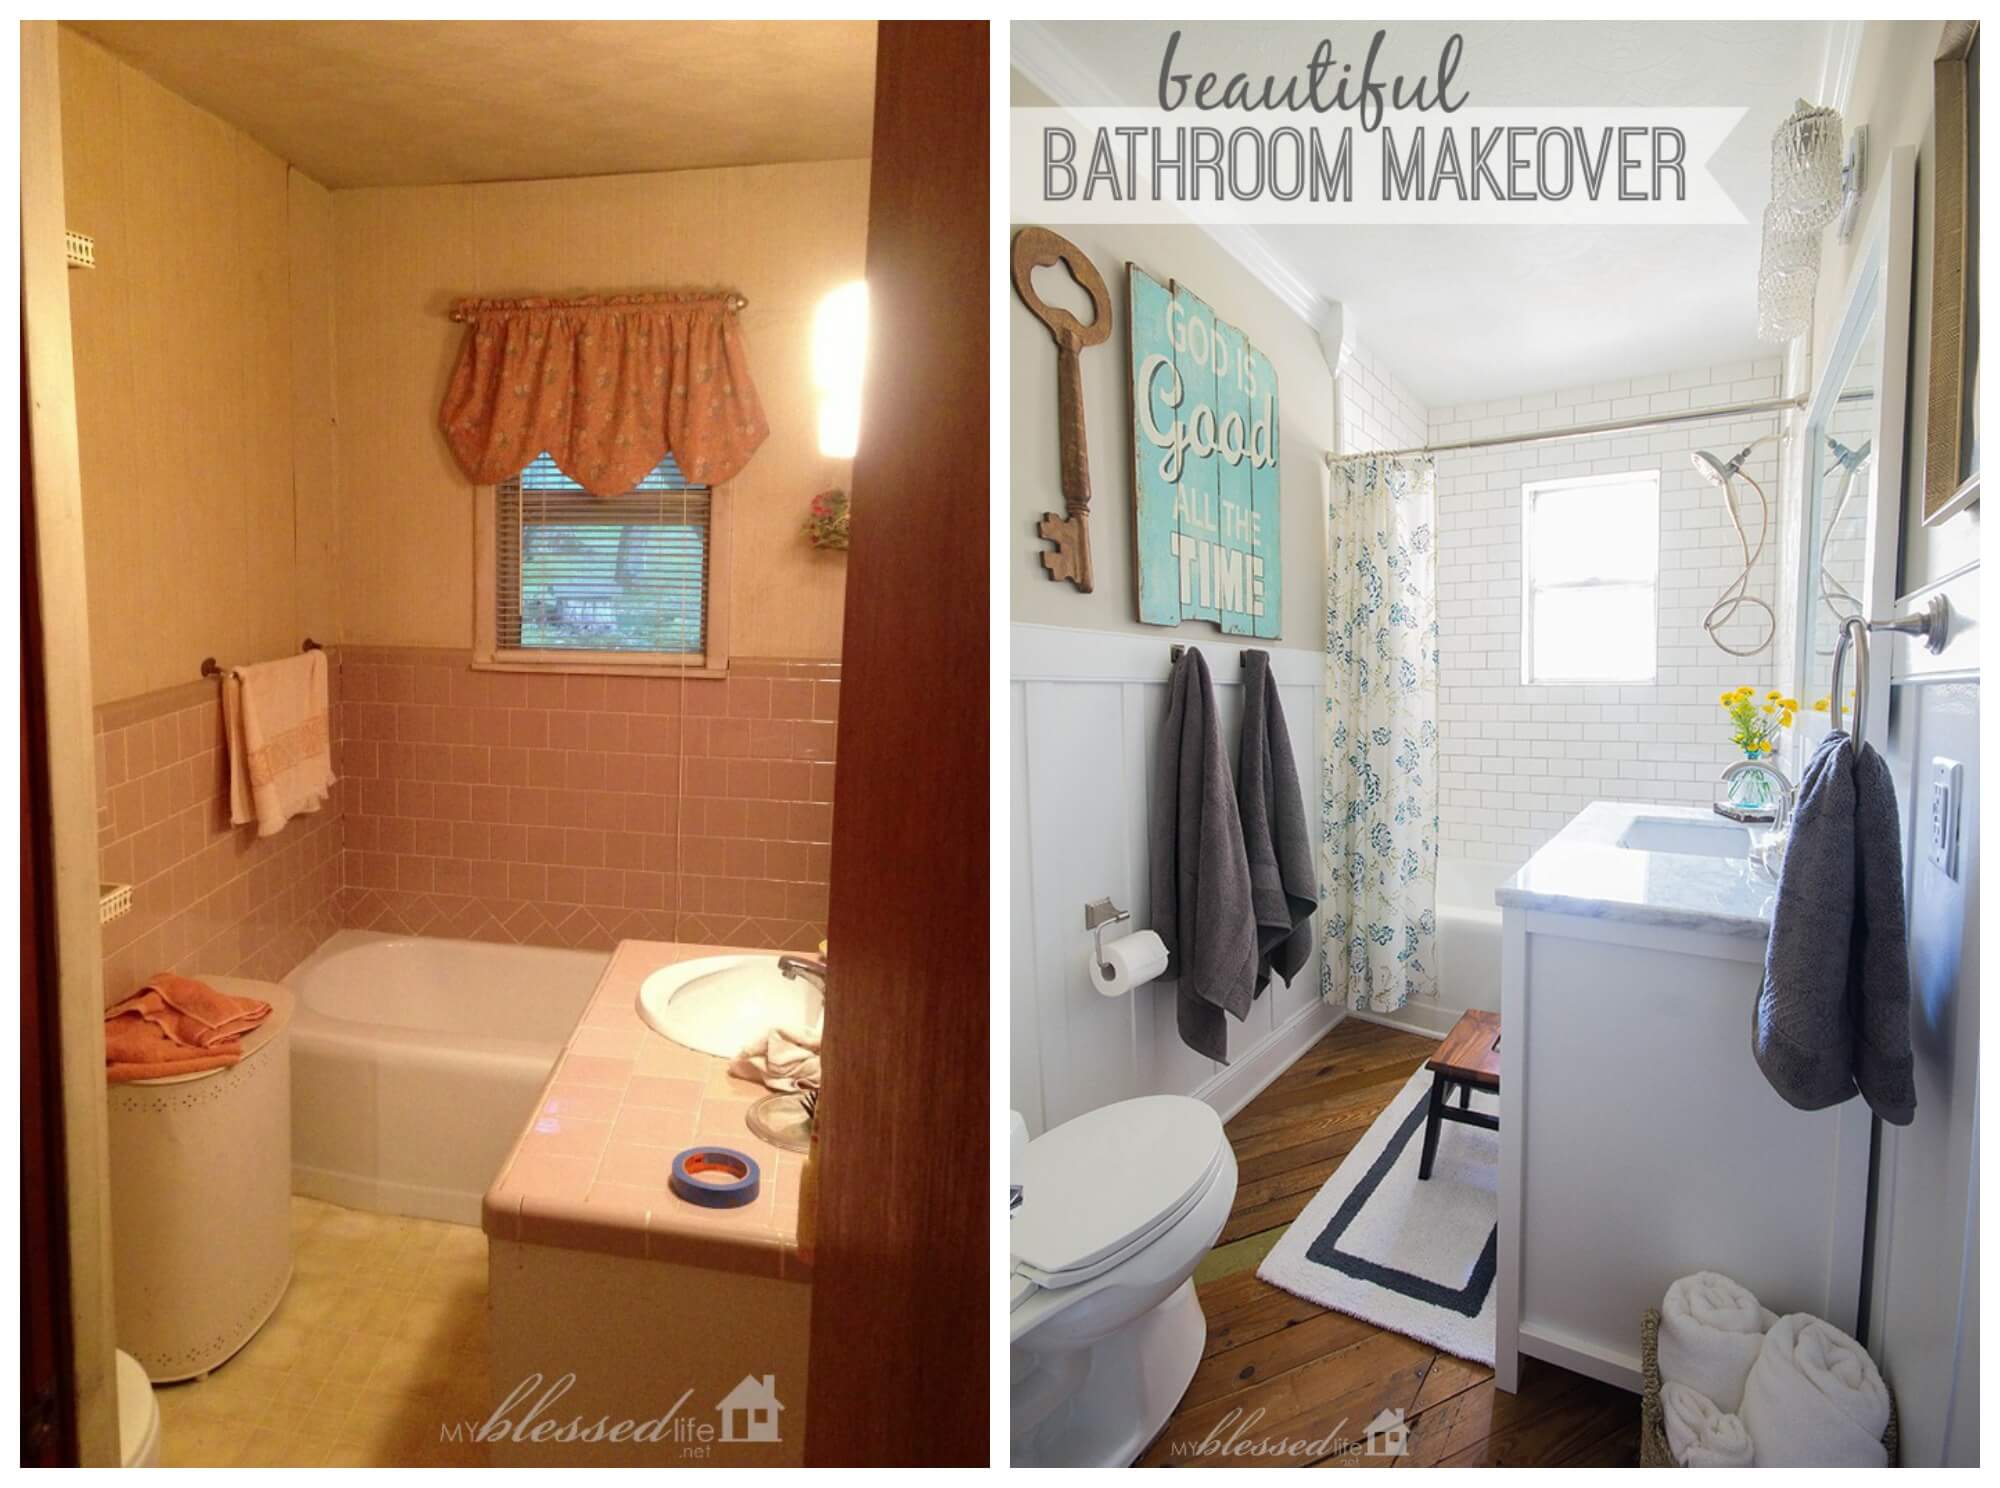
Adding trim to your bathroom vanity is a simple and affordable way to upgrade your bathroom’s aesthetic. You can choose from a wide range of materials and styles to achieve the desired look. Whether you opt for a DIY project or hire a professional, the end result will be a beautiful and personalized bathroom vanity that you’ll love.
Budget-Friendly Trim Options for Bathroom Vanities
Updating your bathroom doesn’t have to break the bank. There are many budget-friendly trim options that can give your vanity a high-end look without spending a fortune. Some ideas include:
1. Use leftover tiles: If you have leftover tiles from a previous project, you can use them to create a stunning trim for your vanity.
2. Use paint samples: Most hardware stores offer small paint samples at a fraction of the cost of a full can. These can be great for adding a pop of color to your vanity’s edges.
3. Upcycle old materials: Get creative and look around your house for old materials that you can repurpose as trim for your vanity. This could be anything from old picture frames to scraps of wood.
Creative Ways to Add Trim to Your Bathroom Vanity
Want to take your bathroom vanity to the next level? Get creative with your trim ideas! Here are some out-of-the-box ideas to inspire you:
1. Use rope: Wrap a thick rope around the edges of your vanity for a nautical and rustic touch.
2. Add a mosaic border: Use small pieces of broken tiles or glass to create a colorful and unique mosaic trim for your vanity.
3. Incorporate metal accents: Use metal strips or sheets to add an industrial and modern touch to your vanity’s edges.
Expert Tips for Adding Trim to Your Bathroom Vanity
Before you dive into adding trim to your bathroom vanity, here are some expert tips to keep in mind:
1. Choose the right material: Consider the overall look and feel of your bathroom and choose a trim material that complements it.
2. Take your time: Adding trim to your vanity may require some precision and patience. Take your time to ensure everything is aligned properly.
3. Measure twice, cut once: Double-check your measurements before cutting the trim to avoid any mistakes.
With these tips and ideas, you’re ready to transform your bathroom vanity with the addition of trim. Get creative and have fun with it – your bathroom will thank you for it!
Why Adding Trim to Your Bathroom Vanity is Essential for a Polished Look
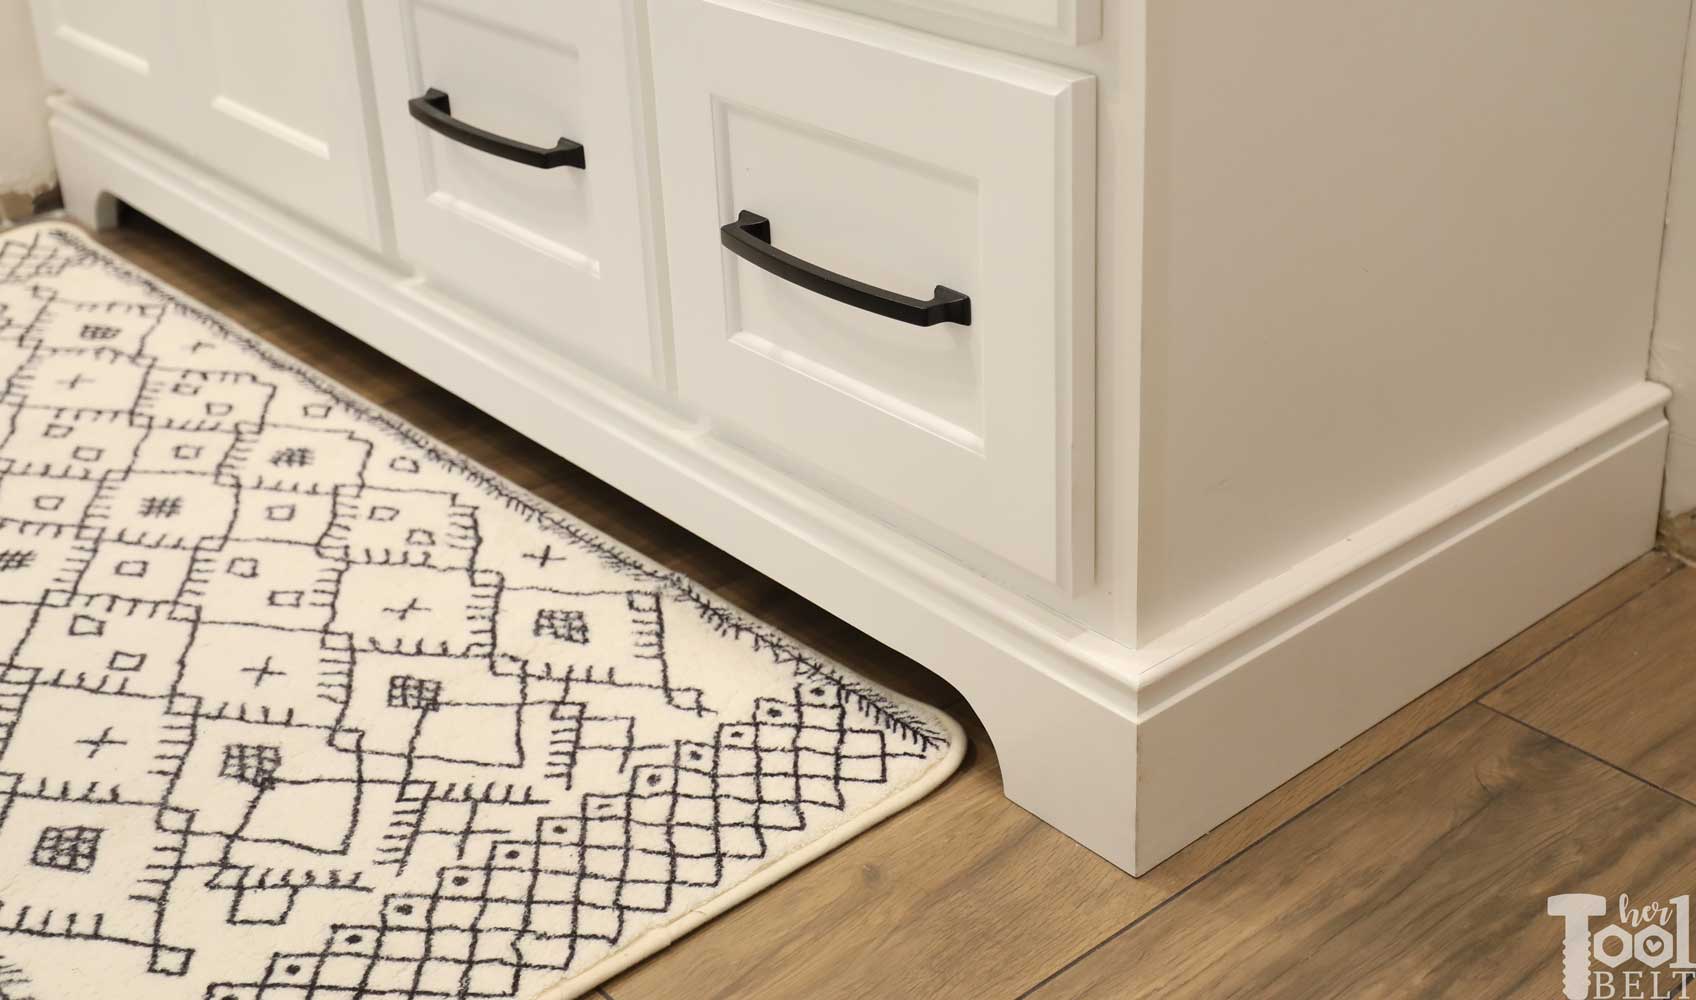
Creating a Cohesive Design
 When it comes to house design, every detail matters. This includes your bathroom vanity. While it may seem like a small element, adding
trim
to your bathroom vanity can make a big difference in the overall look and feel of your bathroom. The right trim can tie together the design elements of your bathroom and create a cohesive and polished look.
Defining the Space
Adding Dimension and Texture
 Another advantage of
trim
is that it adds dimension and texture to your bathroom vanity. Without any trim, your vanity may look flat and lack visual interest. With the right trim, you can create depth and texture, making your vanity stand out and adding visual appeal to your bathroom. This is especially important if your vanity is a simple, solid color or lacks intricate details.
Customizing Your Vanity
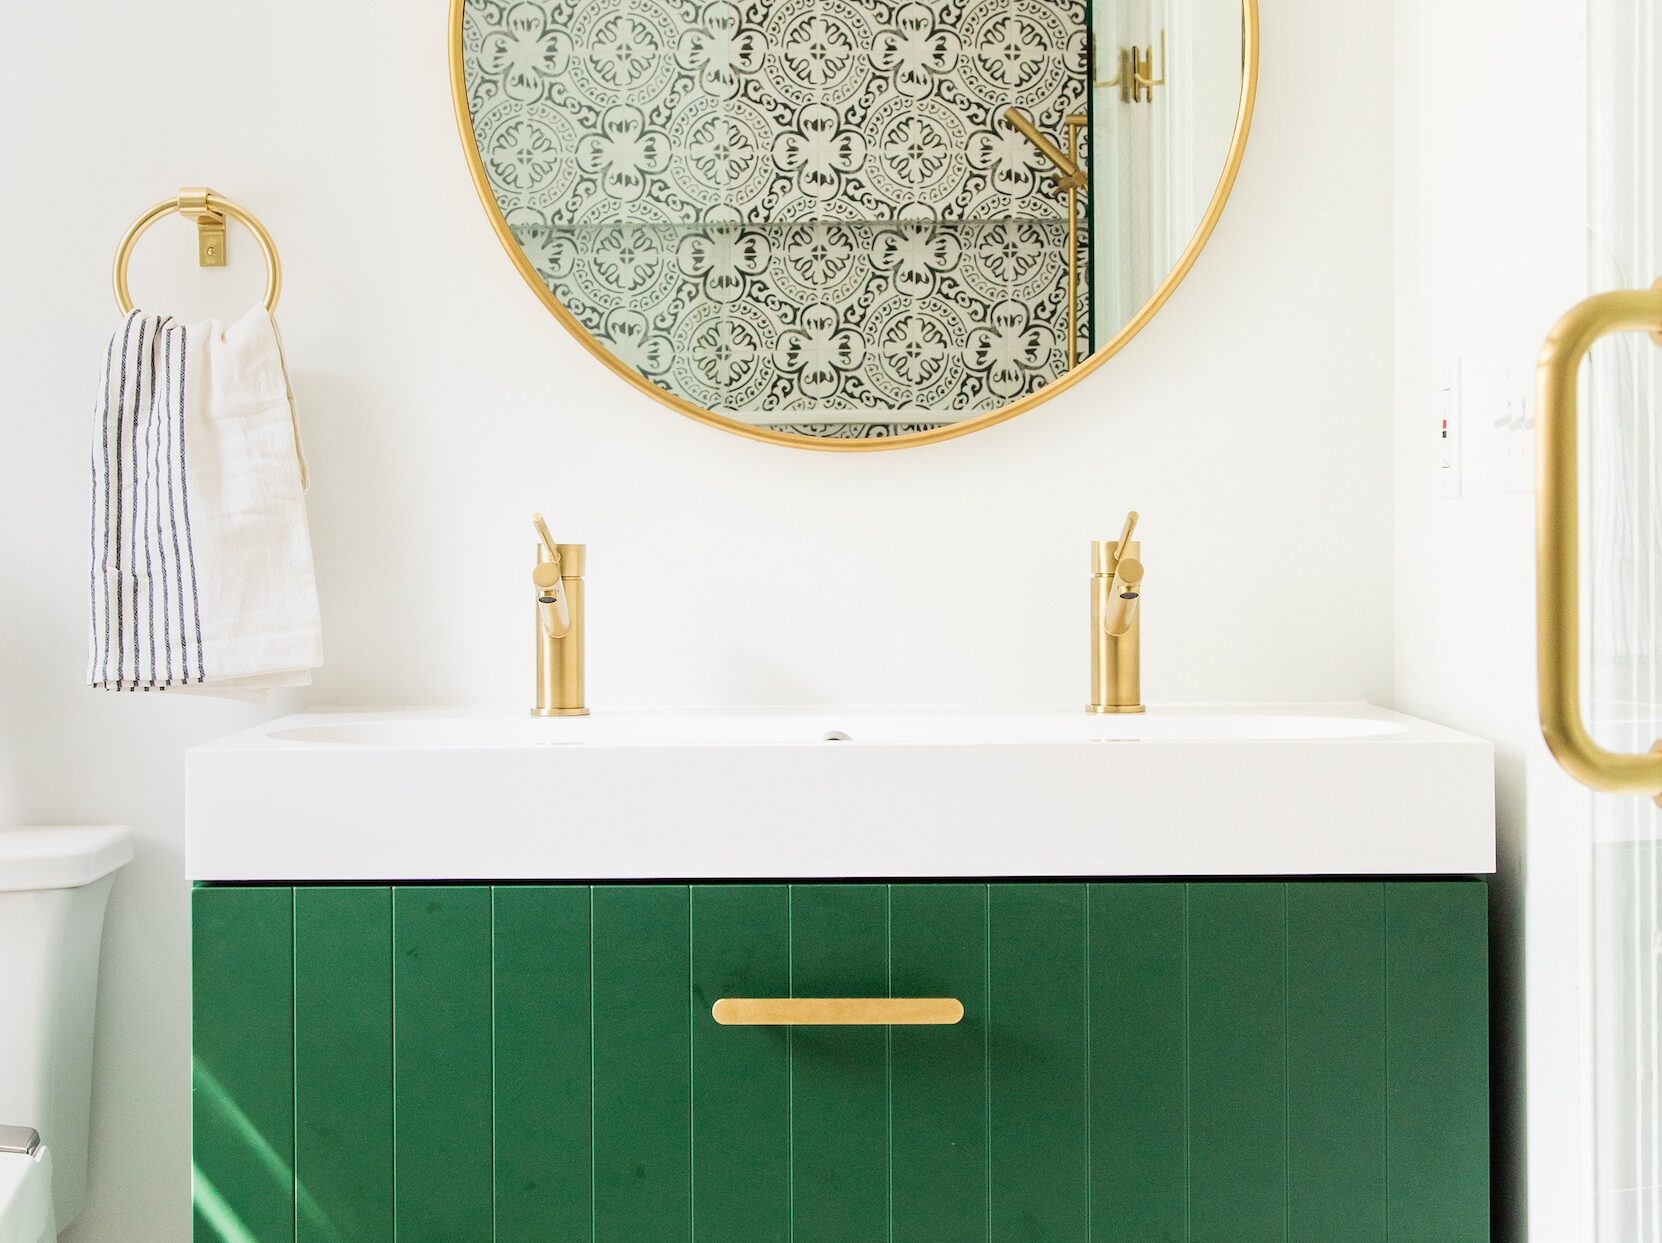 Trim also allows you to customize your bathroom vanity and make it unique to your personal style. There are many different types of
trim
available, from simple and sleek to ornate and intricate. You can choose a style that best fits the overall design of your bathroom and adds a touch of personalization. This small addition can make your bathroom vanity truly stand out.
Easy and Affordable Upgrade
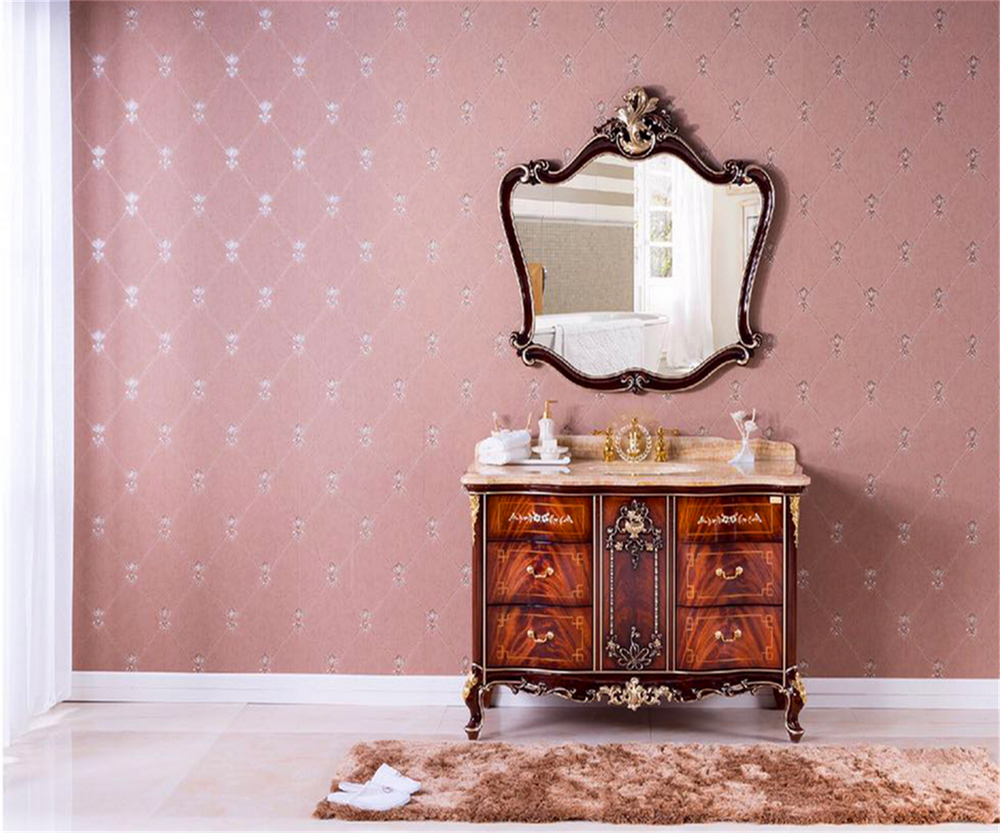 Adding
trim
to your bathroom vanity is a simple and affordable way to upgrade the look of your bathroom. It requires minimal time and effort, and the cost of trim is relatively low compared to other home renovation projects. You can even DIY this project to save even more money. With just a few tools and some creativity, you can transform your bathroom vanity into a stylish and elegant feature in your bathroom.
In conclusion, adding
trim
to your bathroom vanity is an essential step in creating a well-designed and cohesive bathroom. It defines the space, adds dimension and texture, allows for customization, and is a simple and affordable upgrade. So, if you want to elevate the look of your bathroom and make your vanity a standout feature, consider adding trim for a polished and professional finish.


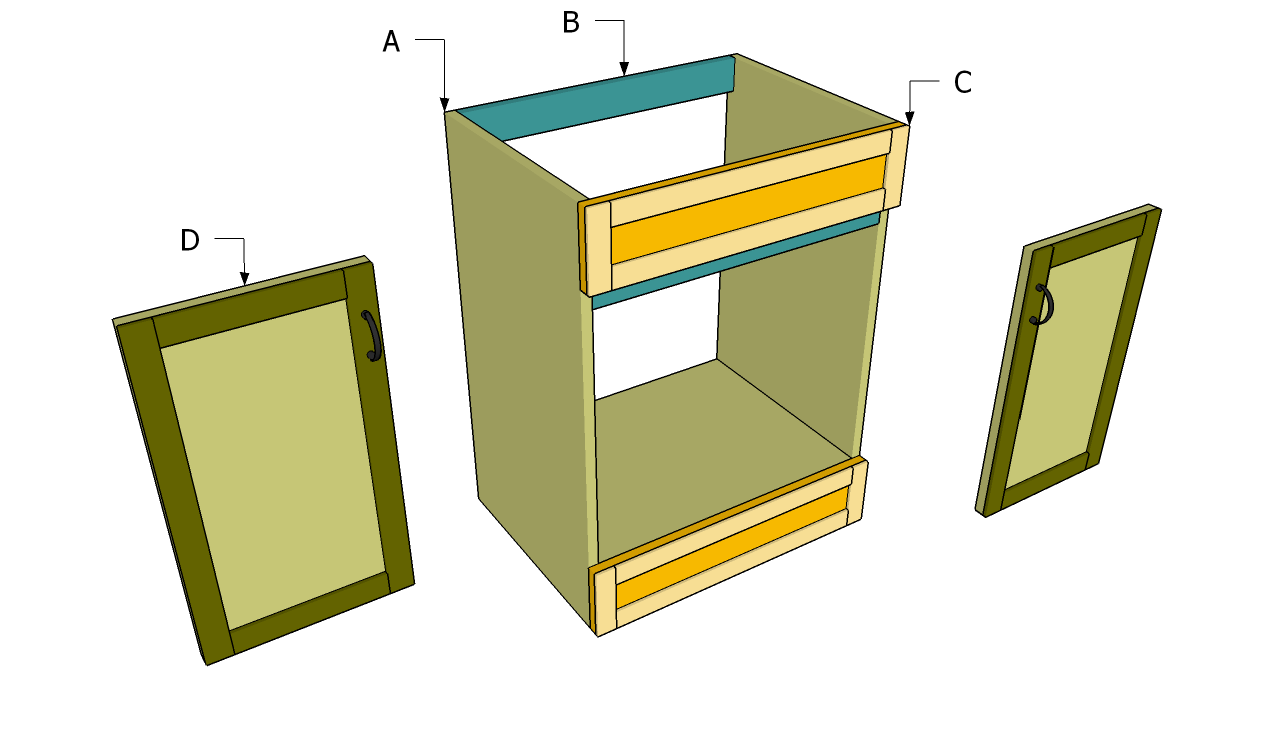



:max_bytes(150000):strip_icc()/build-something-diy-vanity-594402125f9b58d58ae21158.jpg)


:max_bytes(150000):strip_icc()/cherry-diy-bathroom-vanity-594414da5f9b58d58a099a36.jpg)


