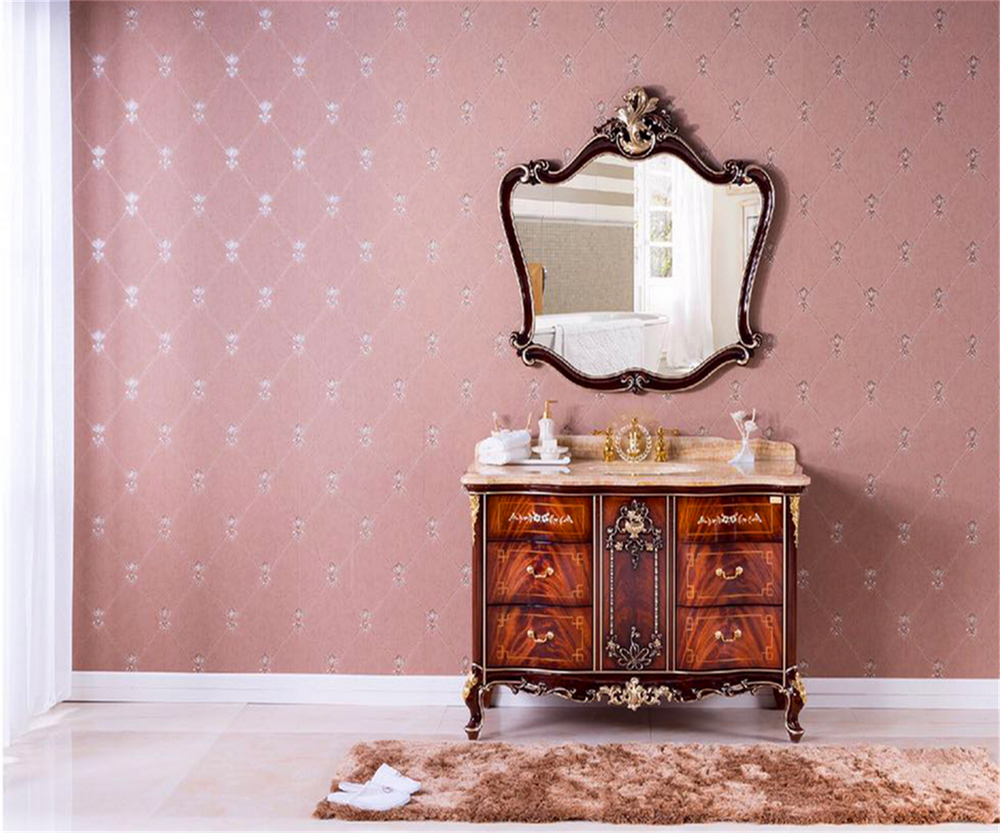
Adding Tow Kick To Bathroom Vanity
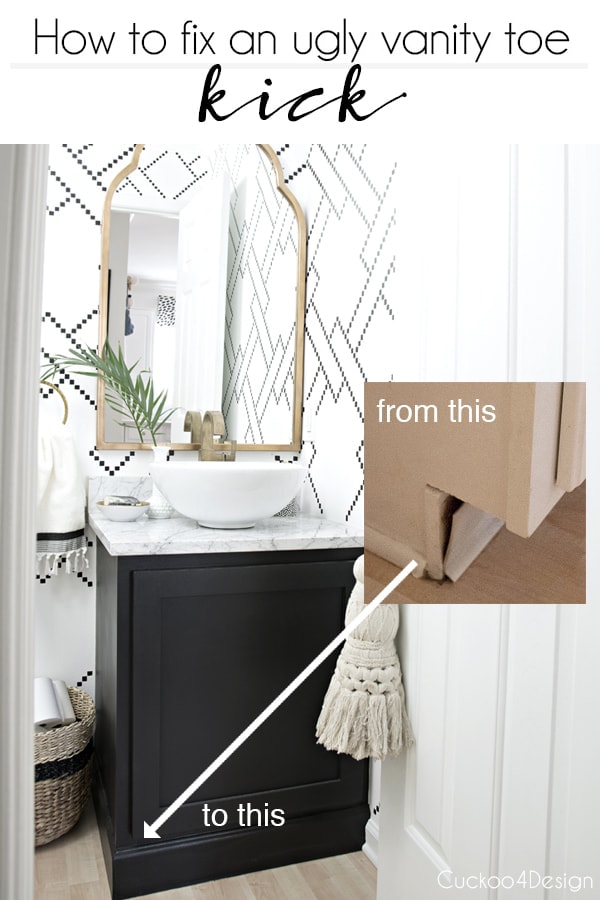
Adding a toe kick to your bathroom vanity is a simple but effective way to enhance the overall look and functionality of your bathroom. This small addition can make a big impact, giving your vanity a more polished and professional appearance while also providing extra storage space. If you're considering adding a toe kick to your bathroom vanity, here are 10 things you need to know.


Adding Tow Kick To Bathroom Vanity


How to Add a Toe Kick to a Bathroom Vanity
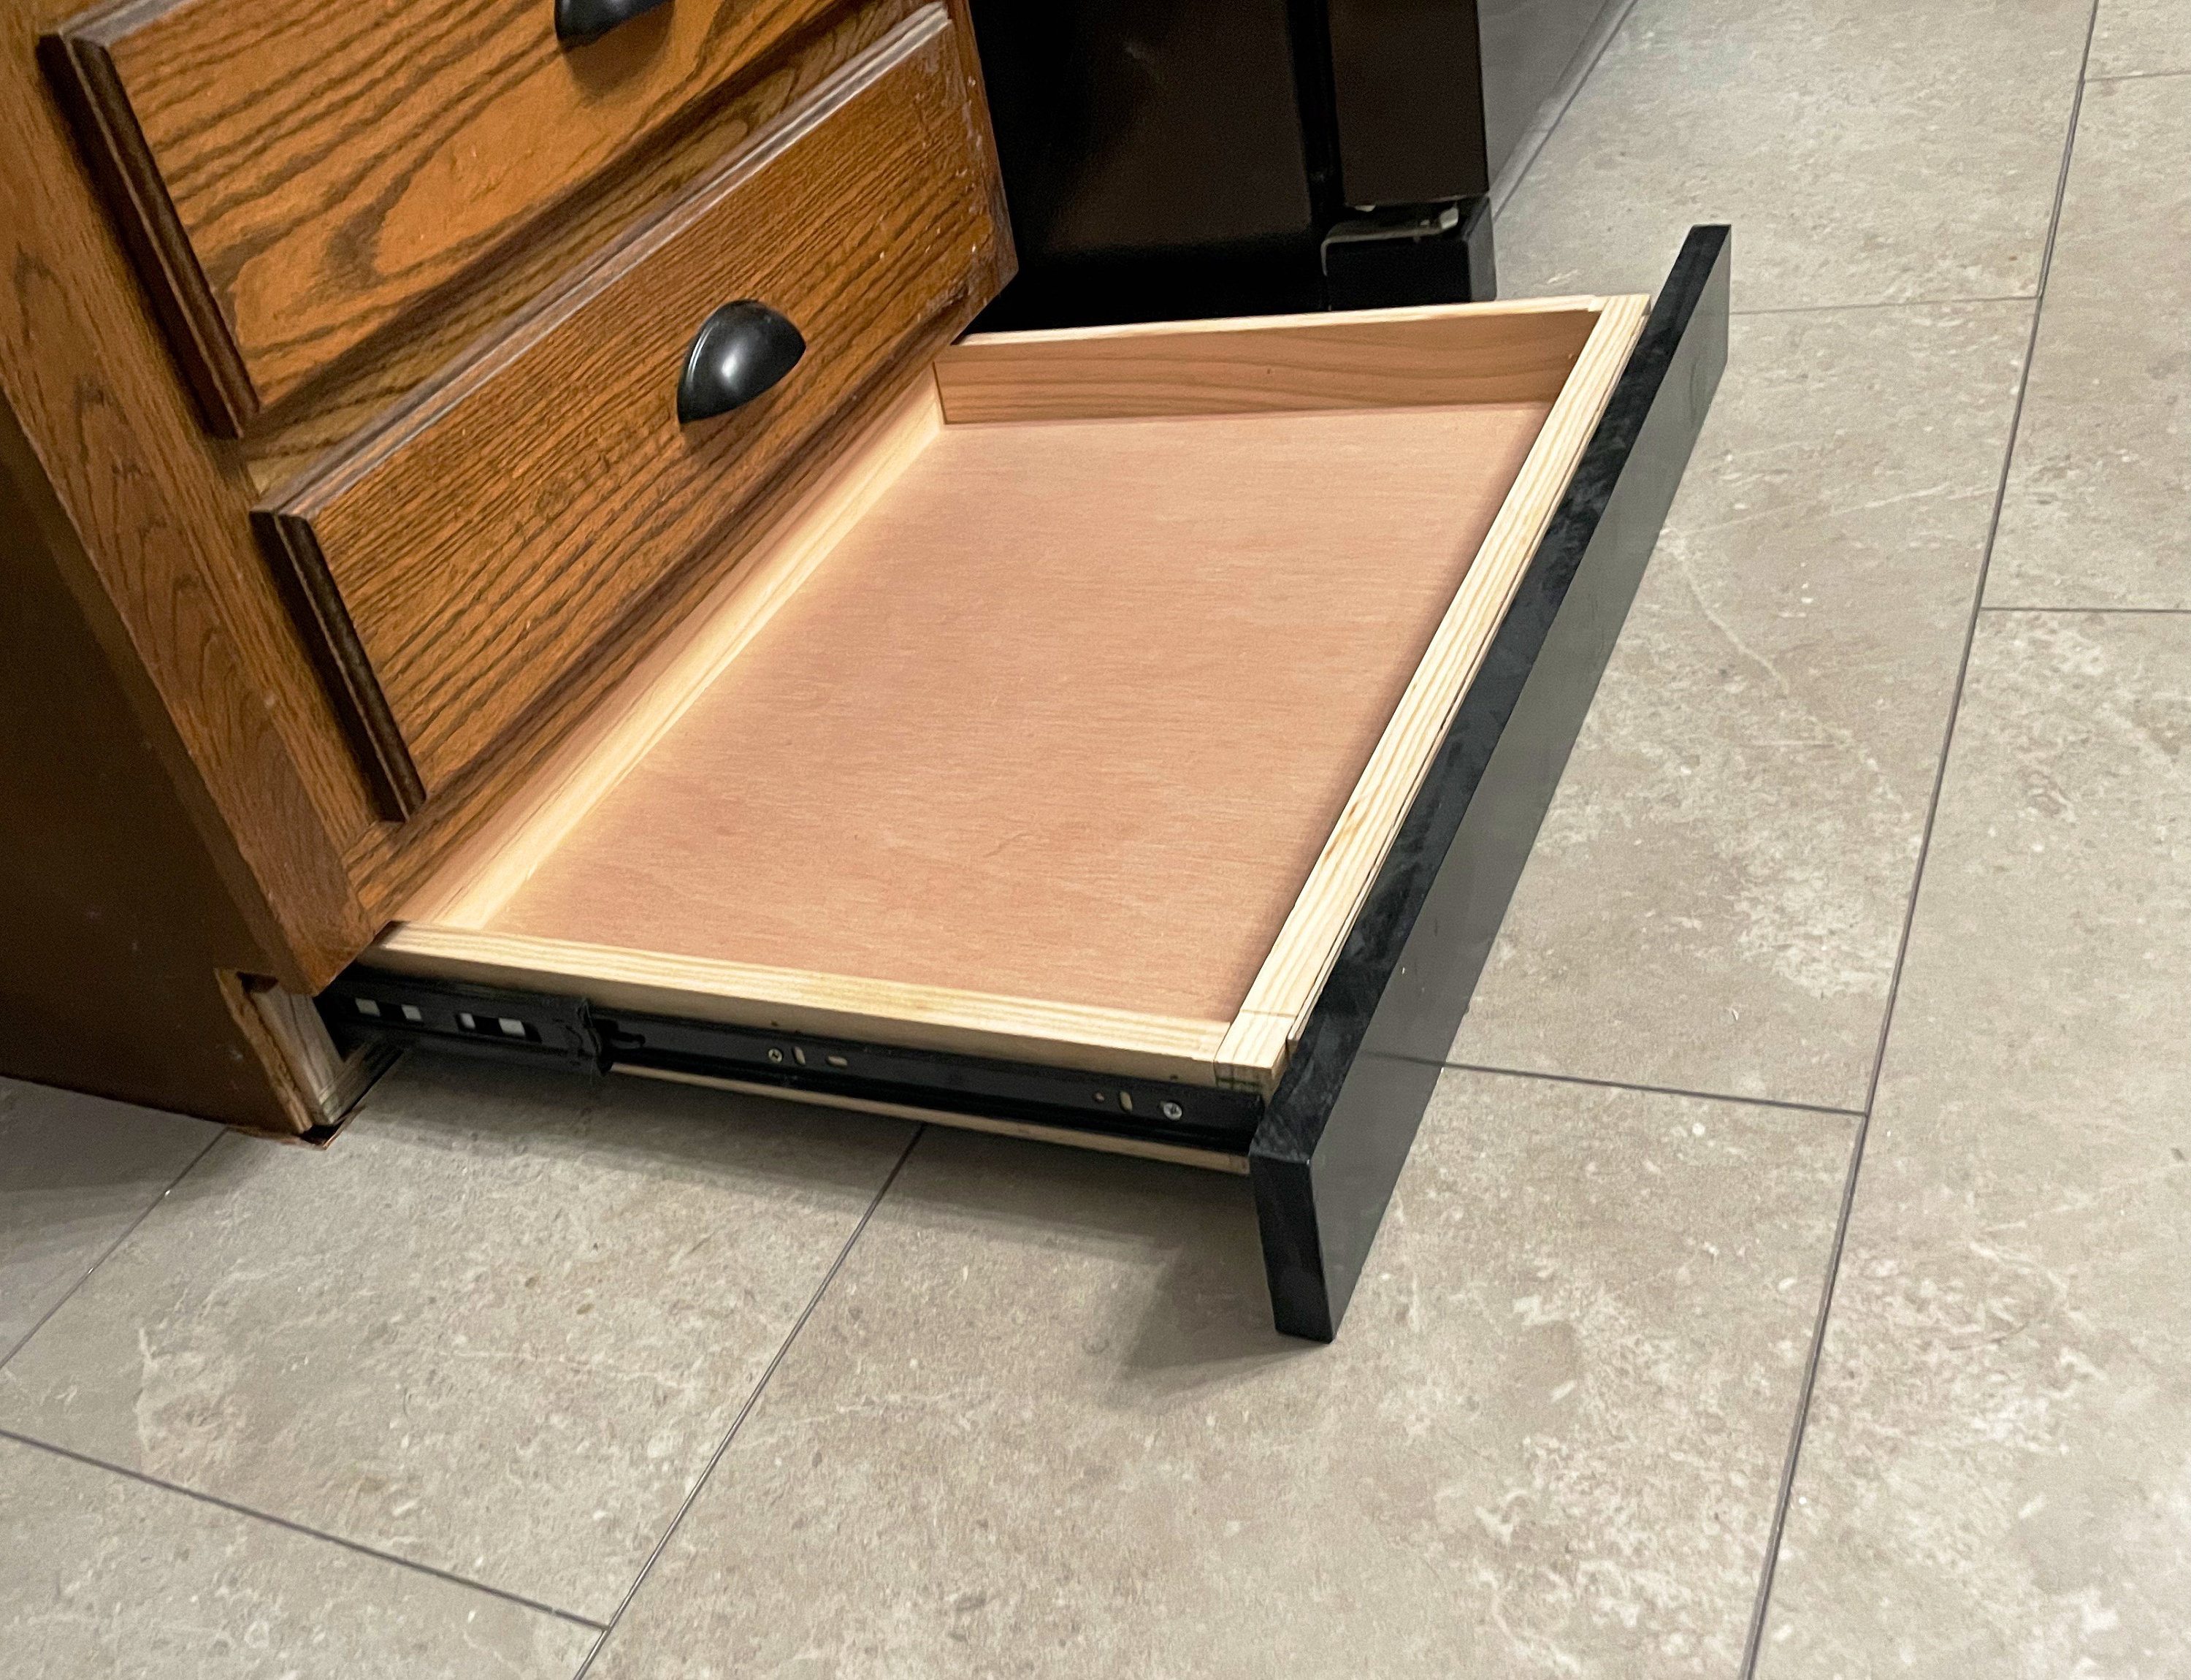
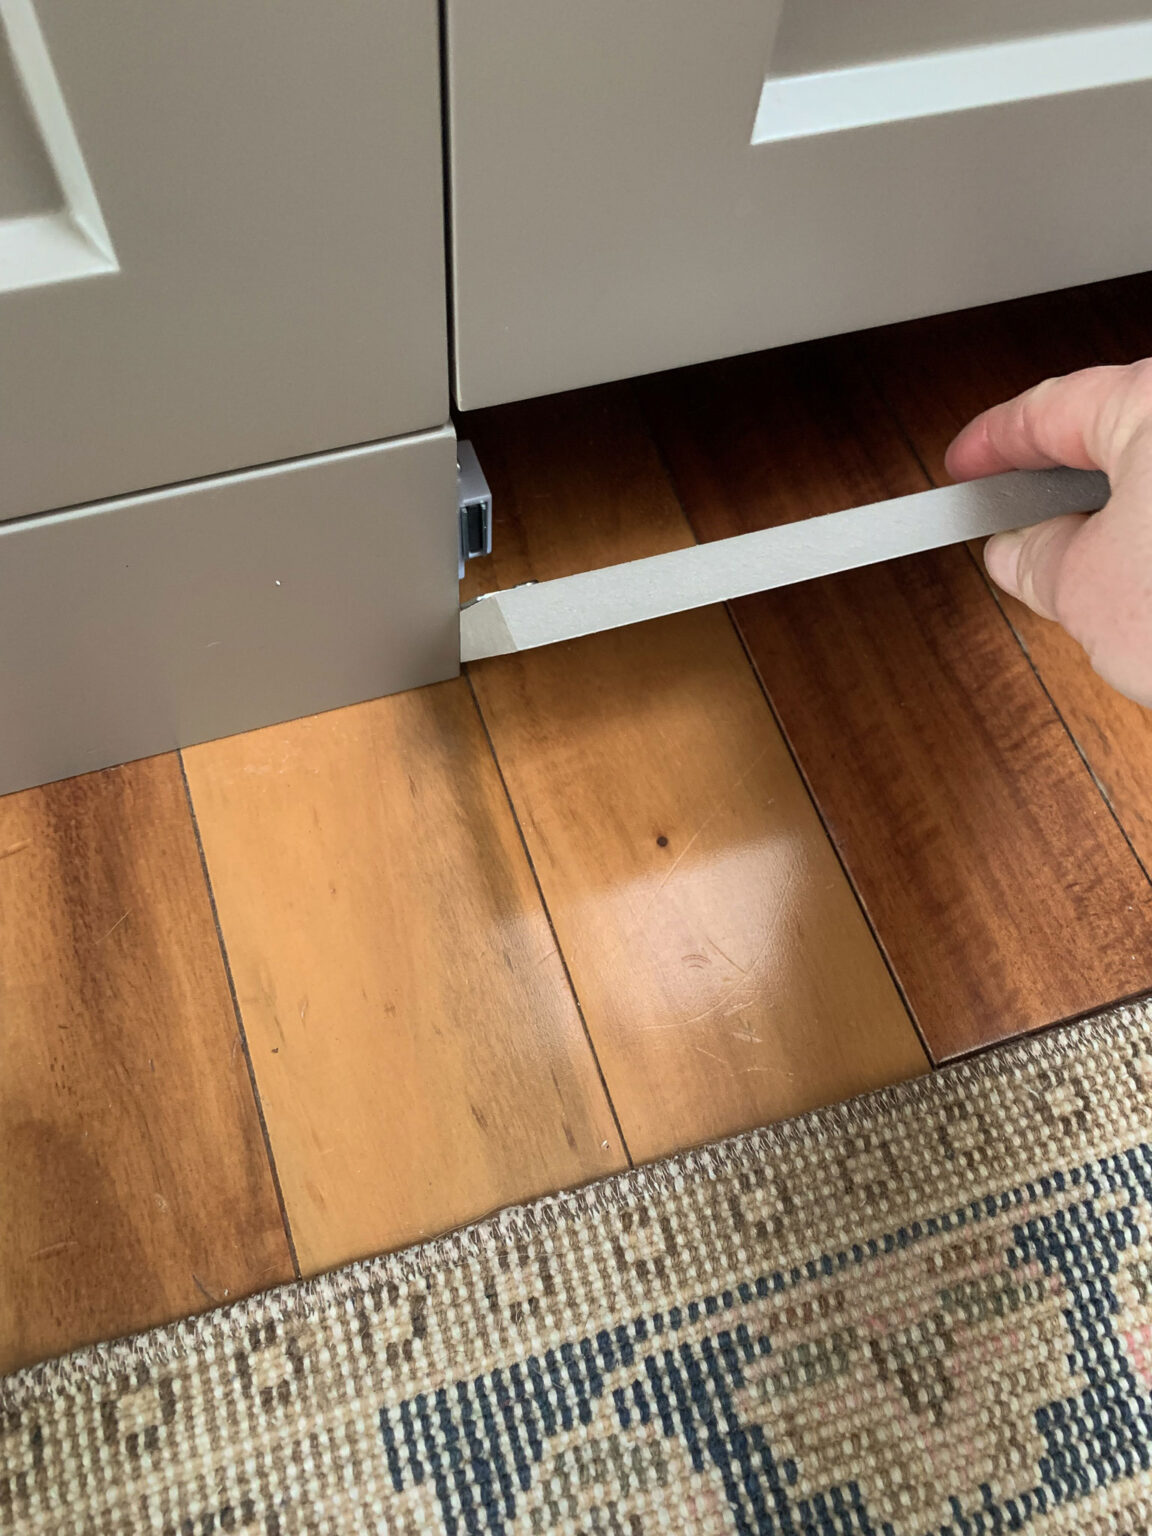
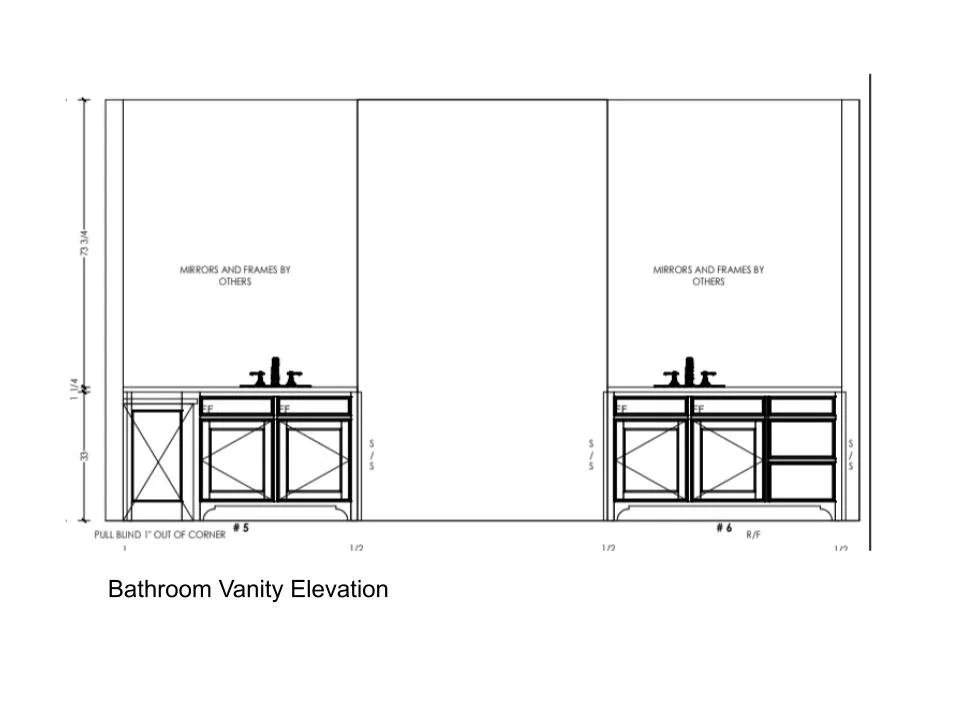
Adding a toe kick to a bathroom vanity is a relatively easy DIY project that can be completed in just a few steps. First, measure the length and depth of your vanity to determine the size of the toe kick you will need. Then, using a saw, cut a piece of wood to the desired size and attach it to the bottom of your vanity using screws or adhesive. Finally, finish off the edges with molding or trim for a seamless look.

How to Add a Toe Kick to a Bathroom Vanity


DIY Bathroom Vanity Toe Kick Installation
If you're feeling handy, installing a toe kick on your bathroom vanity is a project you can easily tackle on your own. However, it's important to have the right tools and materials on hand, including a saw, screws or adhesive, and molding or trim. It's also a good idea to have someone assist you in holding the wood piece in place while you attach it to the vanity. With a little patience and attention to detail, your bathroom vanity will have a brand new toe kick in no time.


DIY Bathroom Vanity Toe Kick Installation


Step-by-Step Guide for Adding a Toe Kick to Your Bathroom Vanity
To help you get started on your toe kick installation, here is a step-by-step guide to follow:
Step 1: Measure the length and depth of your vanity.
Step 2: Cut a piece of wood to the measured size.
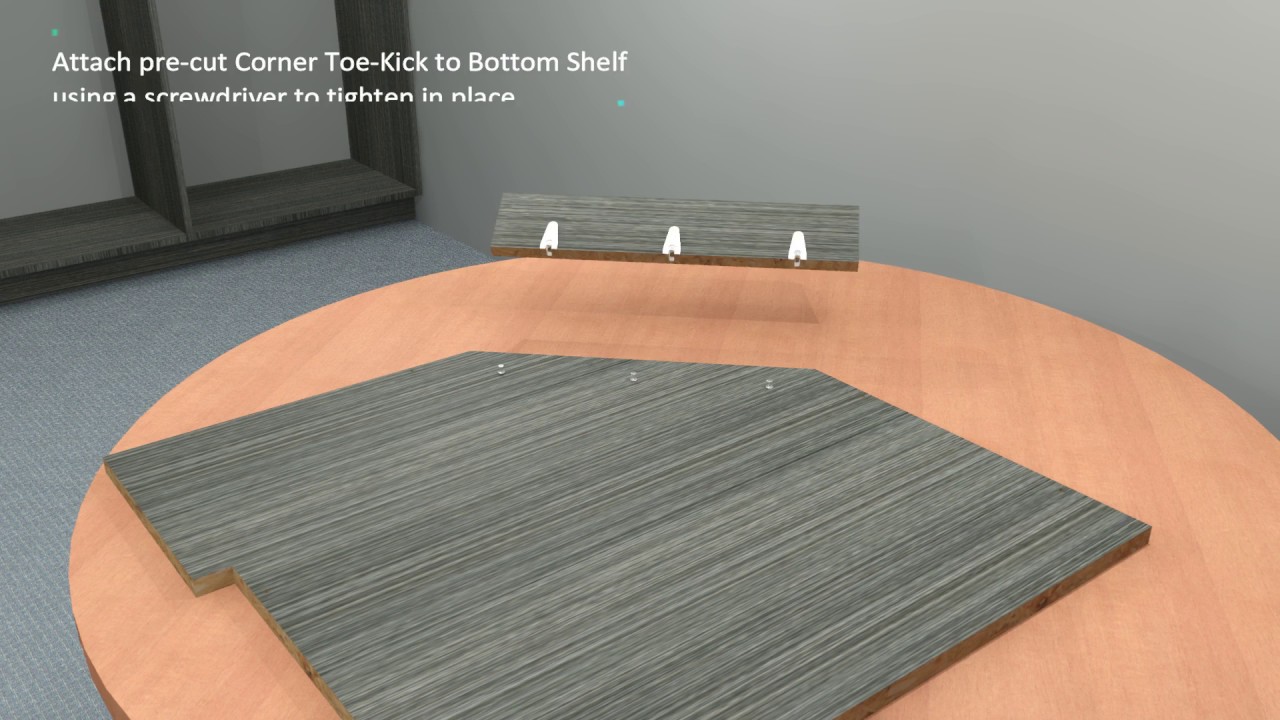
Step 3: Attach the wood to the bottom of the vanity using screws or adhesive.
Step 4: Cut molding or trim to fit the edges of the toe kick and attach with glue or finishing nails.
Step 5: Sand down any rough edges and paint or stain the toe kick to match your vanity.
Step 6: Let the paint or stain dry completely before using your new toe kick.


Step-by-Step Guide for Adding a Toe Kick to Your Bathroom Vanity


Benefits of Adding a Toe Kick to Your Bathroom Vanity
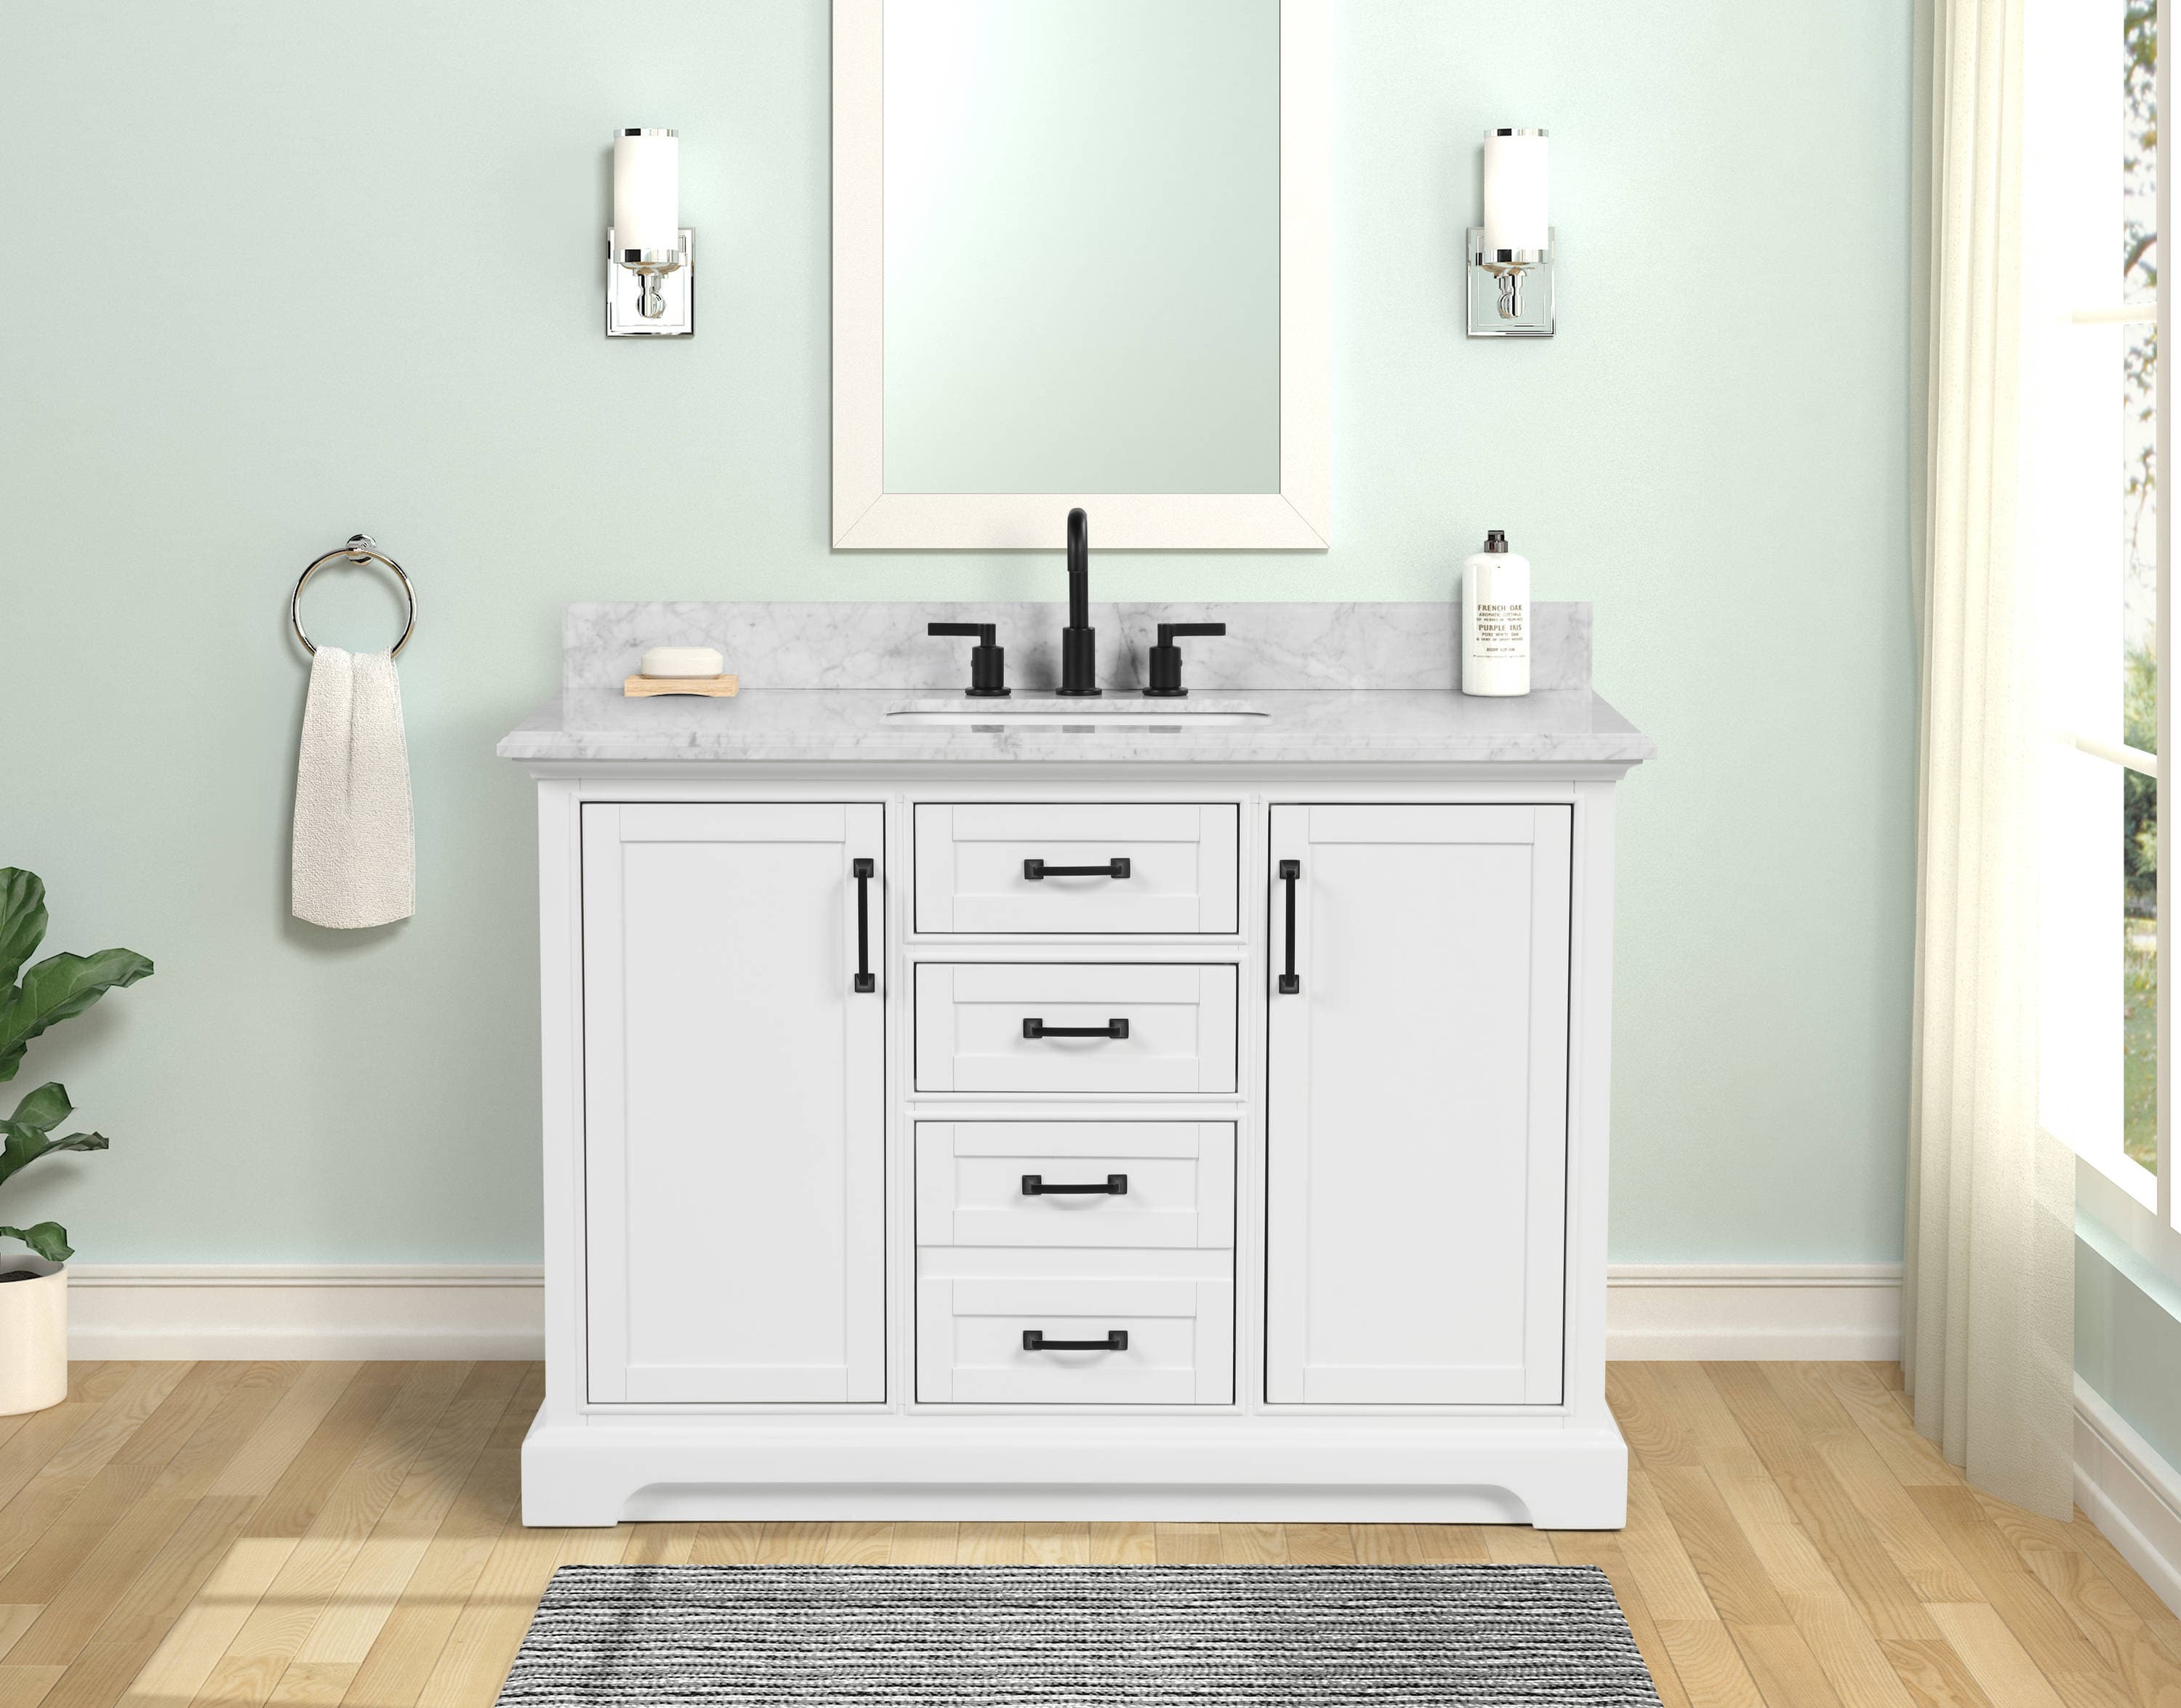
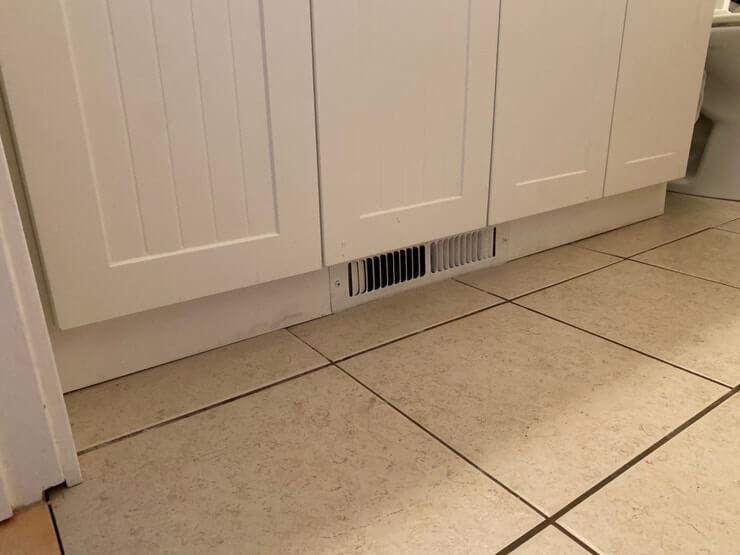
There are many benefits to adding a toe kick to your bathroom vanity. Not only does it give your vanity a more finished and professional look, but it also provides additional storage space for items like cleaning supplies, towels, or extra toiletries. It also helps protect your vanity from water damage by keeping it elevated off the floor. Additionally, a toe kick can make cleaning your bathroom easier by preventing dirt and debris from getting trapped under your vanity.

Benefits of Adding a Toe Kick to Your Bathroom Vanity

Materials Needed for Adding a Toe Kick to Your Bathroom Vanity
To add a toe kick to your bathroom vanity, you will need:
- A saw
- Screws or adhesive
- Wood for the toe kick
- Molding or trim
- Glue or finishing nails
- Sandpaper
- Paint or stain

Materials Needed for Adding a Toe Kick to Your Bathroom Vanity


Tips for a Professional-Looking Toe Kick Installation on Your Bathroom Vanity
For a seamless and professional-looking toe kick installation, here are a few tips to keep in mind:
- Measure carefully and accurately to ensure the toe kick fits perfectly.
- Use a level to make sure the toe kick is straight and even.
- Pre-drill holes before attaching the toe kick to prevent the wood from splitting.
- Use a color-matched wood filler to cover any visible screws or joints.
- Sand down any rough edges and paint or stain the toe kick to match your vanity.

Tips for a Professional-Looking Toe Kick Installation on Your Bathroom Vanity


Common Mistakes to Avoid When Adding a Toe Kick to Your Bathroom Vanity
While adding a toe kick to your bathroom vanity is a relatively simple project, there are a few common mistakes that can easily be avoided:
- Not measuring accurately, resulting in a toe kick that doesn't fit properly.
- Not using a level, resulting in a crooked or uneven toe kick.
- Not pre-drilling holes, leading to split wood and an unstable toe kick.
- Using mismatched or low-quality materials, resulting in a less polished look.
- Not sanding and finishing the toe kick, leaving it with rough edges or an unfinished appearance.


Common Mistakes to Avoid When Adding a Toe Kick to Your Bathroom Vanity
:format(png)/f/115220/2400x990/c34231413e/5-common-mistakes-to-avoid-when-doing-a-roundhouse-kick.png)


Creative Ideas for Customizing Your Bathroom Vanity Toe Kick
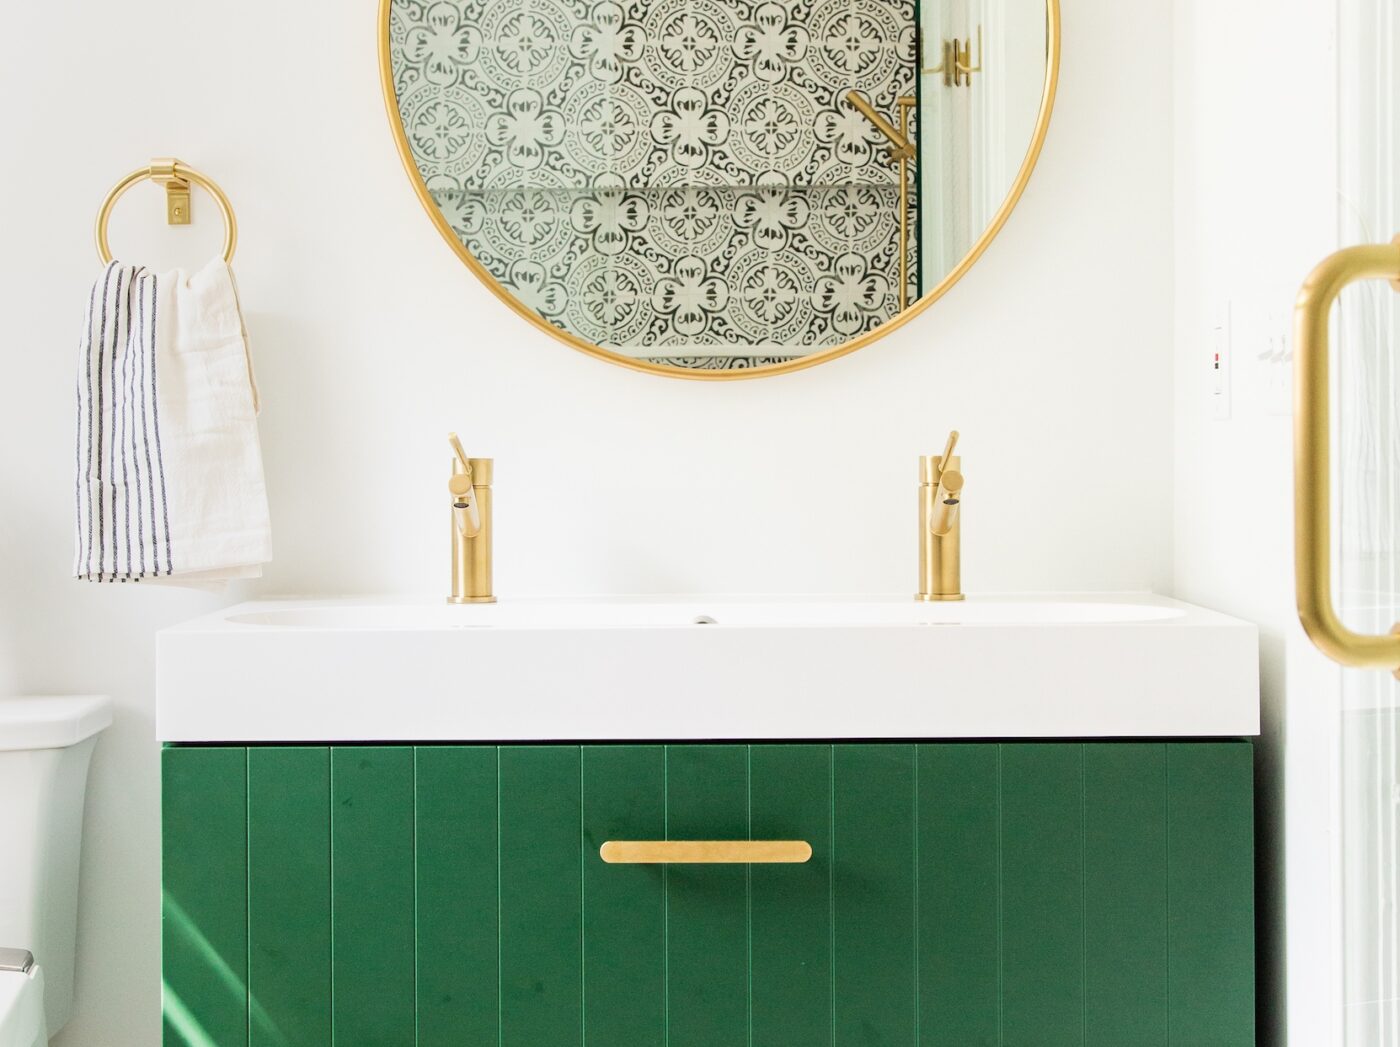
Adding a toe kick to your bathroom vanity doesn't have to be a plain and simple addition. There are many ways to get creative and customize your toe kick to make it truly unique. Consider using a different type of wood or adding decorative molding or trim for a more elaborate look. You can also paint or stain the toe kick in a bold color or pattern to add a pop of personality to your bathroom.

Creative Ideas for Customizing Your Bathroom Vanity Toe Kick


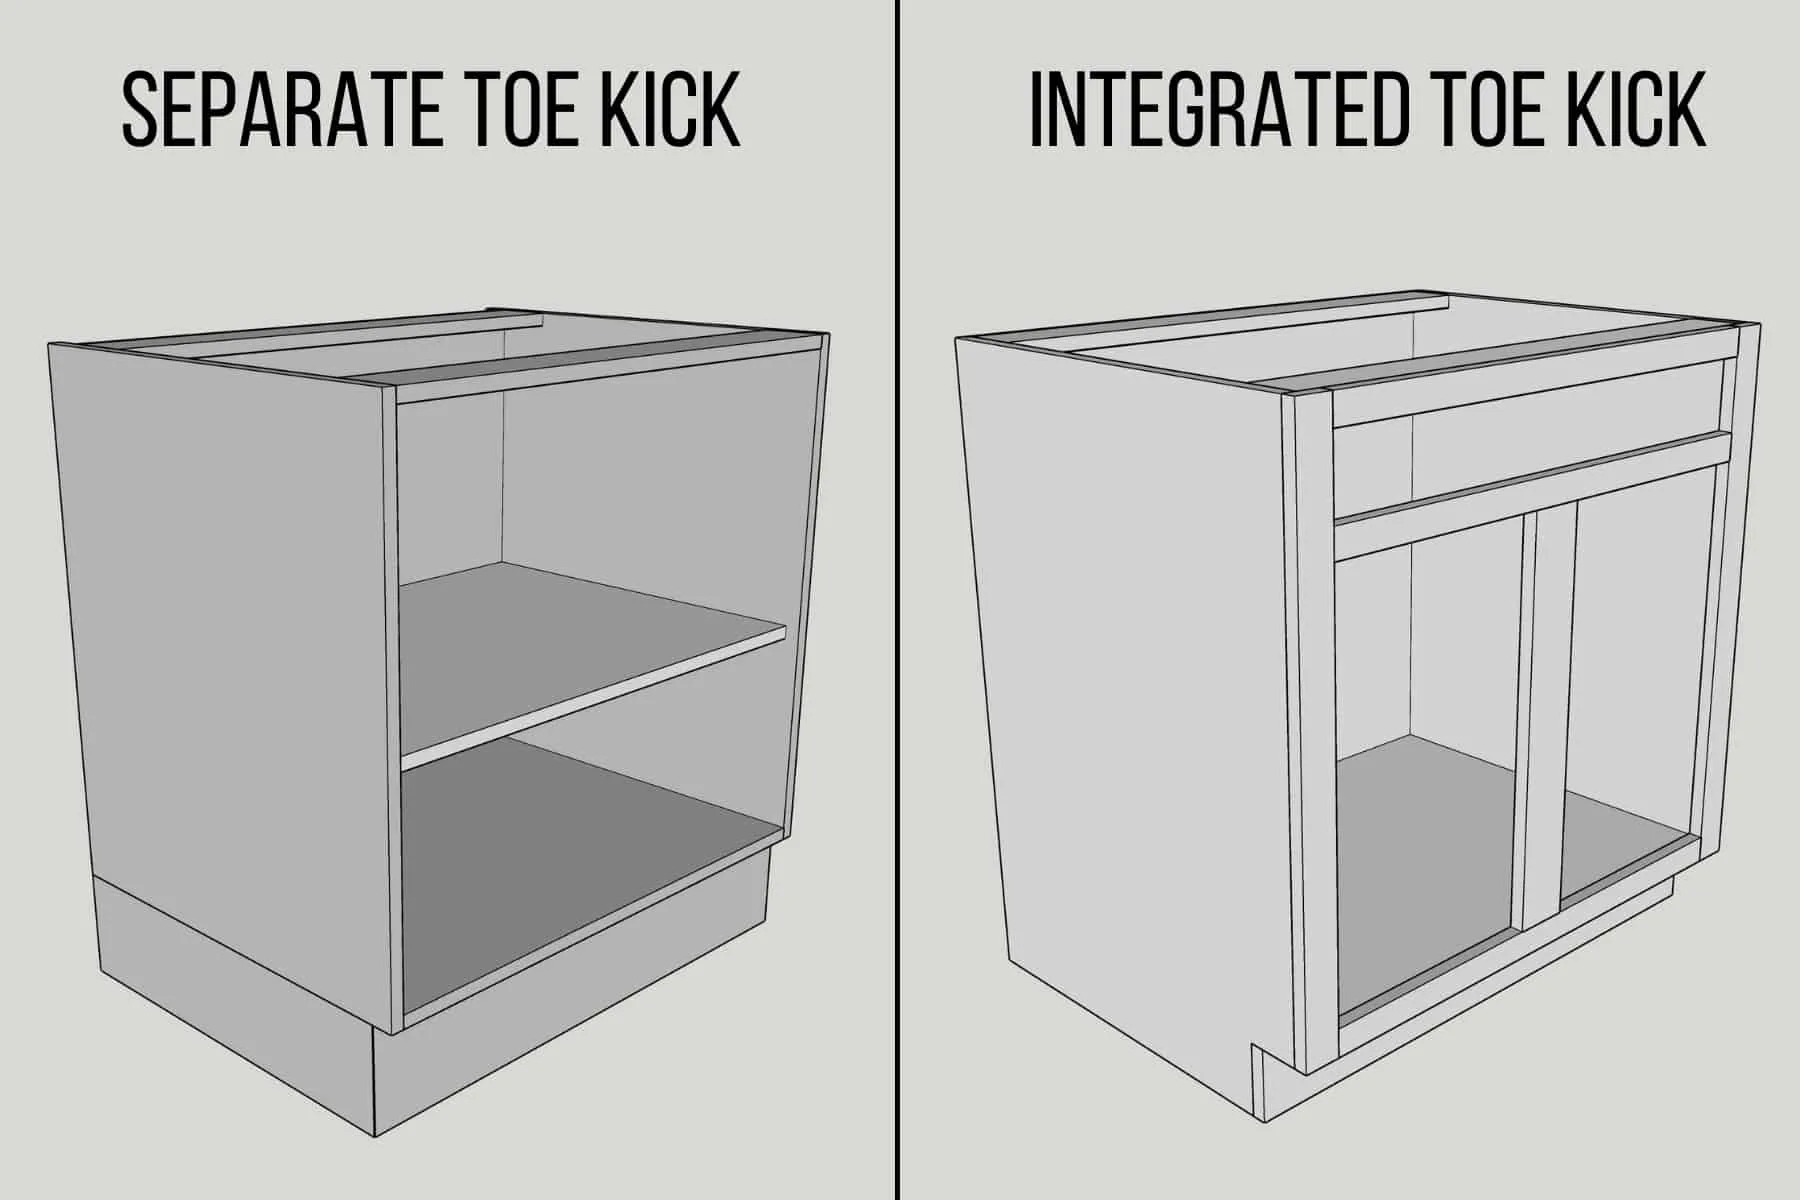
How to Incorporate a Toe Kick into Your Bathroom Vanity Design
If you're in the process of designing or remodeling your bathroom, incorporating a toe kick into your vanity design is a great way to add functionality and style. Consider using a contrasting color or material for the toe kick to make it stand out. You can also add additional features such as built-in drawers or shelves for even more storage options. By incorporating a toe kick into your design, you can elevate the look of your bathroom vanity while also making it more practical for everyday use.
In conclusion, adding a toe kick to your bathroom vanity is a simple and effective way to enhance the appearance and functionality of your bathroom. With the right tools, materials, and techniques, you can easily complete this DIY project and enjoy the benefits of a polished and customized bathroom vanity. So go ahead and give your vanity the finishing touch it deserves with a beautiful and functional toe kick.


How to Incorporate a Toe Kick into Your Bathroom Vanity Design

Why Adding a Toe Kick to Your Bathroom Vanity is a Game-Changer for Your House Design

The Importance of Attention to Detail in House Design
 When it comes to designing your home, it's often the little details that make the biggest impact. While many people focus on the color scheme, furniture, and overall layout of their house, one element that often gets overlooked is the
toe kick
. This small feature, located at the bottom of your bathroom vanity, may seem insignificant, but it can actually make a huge difference in the overall look and functionality of your space.
When it comes to designing your home, it's often the little details that make the biggest impact. While many people focus on the color scheme, furniture, and overall layout of their house, one element that often gets overlooked is the
toe kick
. This small feature, located at the bottom of your bathroom vanity, may seem insignificant, but it can actually make a huge difference in the overall look and functionality of your space.
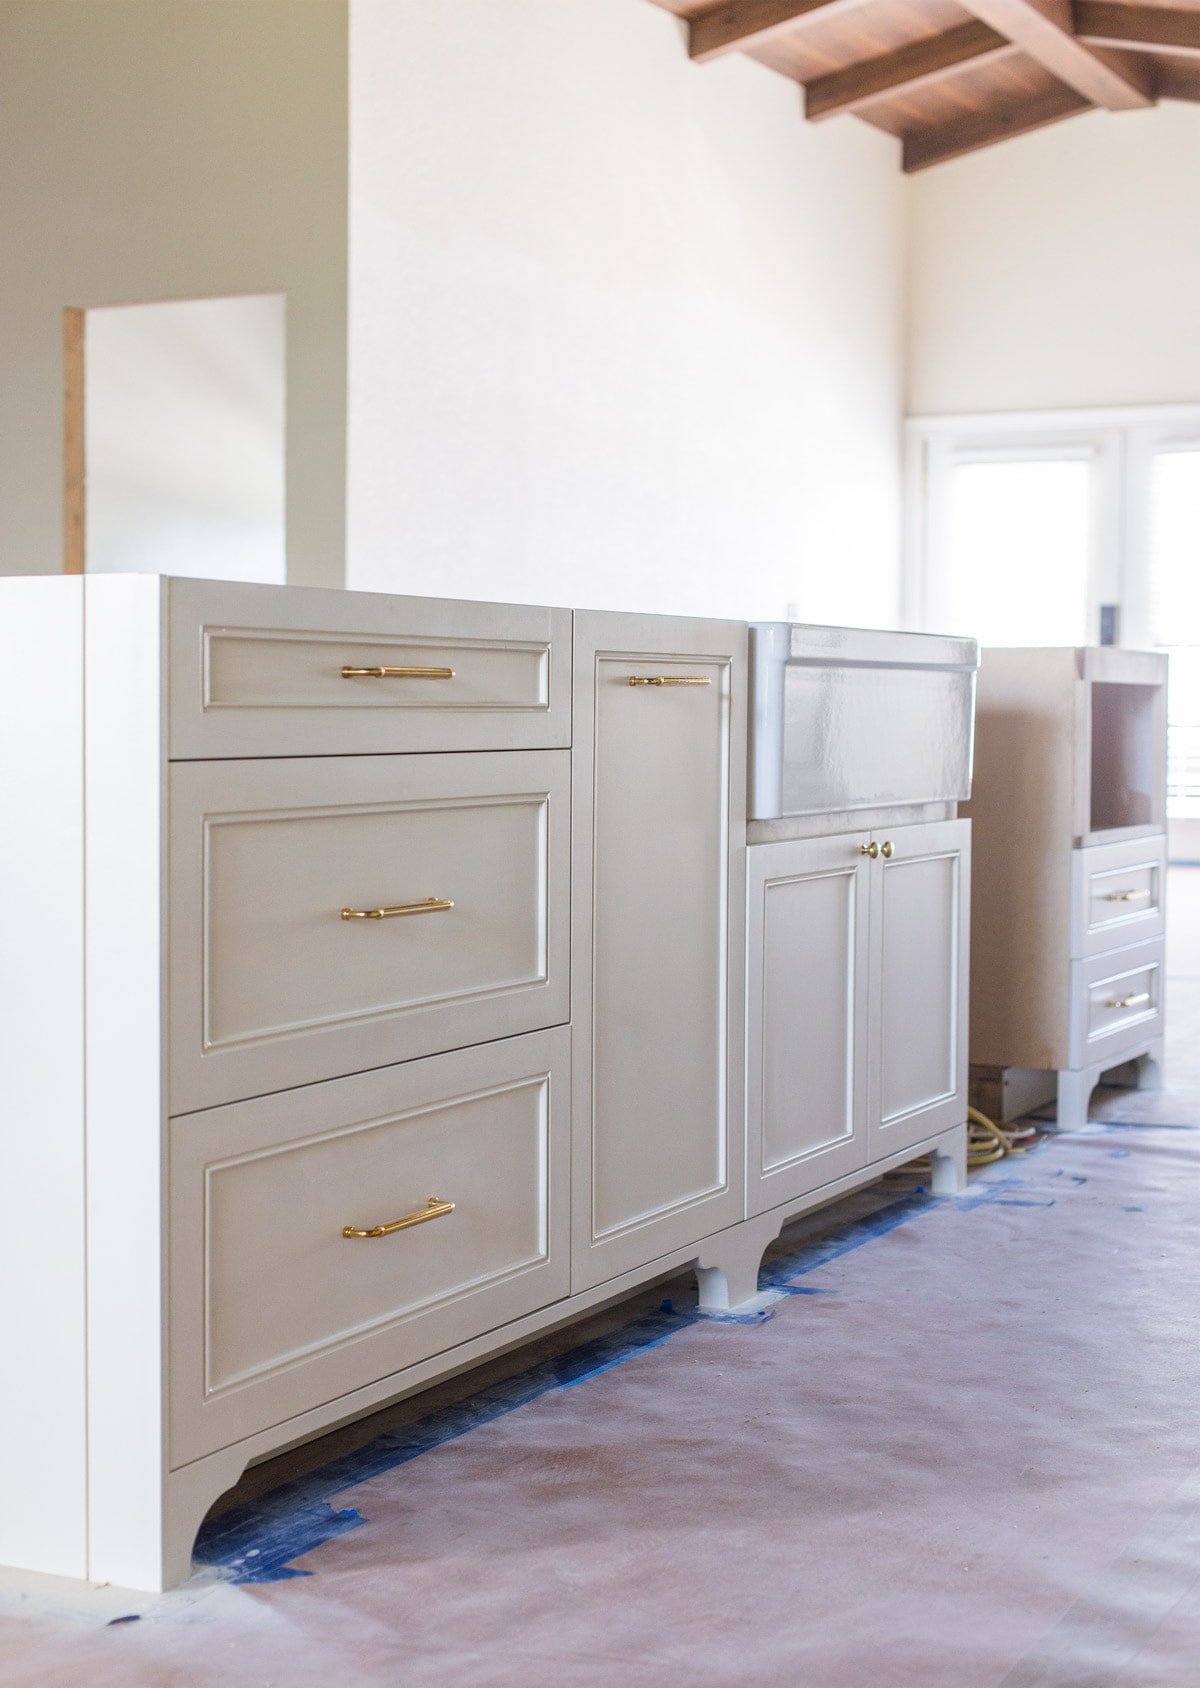
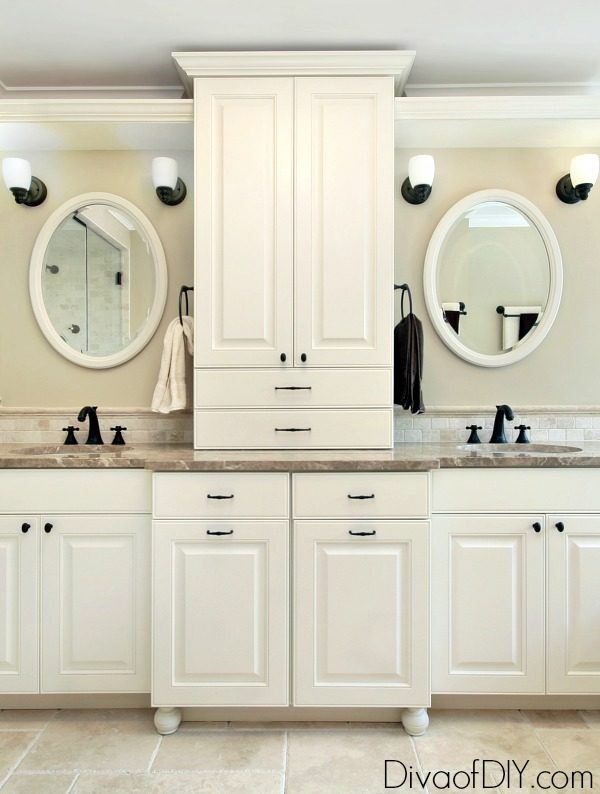
The Benefits of Adding a Toe Kick to Your Bathroom Vanity
 A toe kick is a recessed area at the bottom of your vanity that allows you to stand closer to the sink without bumping into the cabinet. This may not seem like a big deal, but it can make a world of difference in terms of comfort and convenience. With a toe kick, you won't have to awkwardly lean over the sink to reach the faucet, and you'll have more leg room while standing at the vanity. This can be especially beneficial for those with mobility issues or for families with young children who may struggle to reach the sink.
In addition to the practical benefits, adding a toe kick to your bathroom vanity also
enhances the aesthetic
of your space. It creates a seamless look and adds a touch of sophistication to your bathroom. Without a toe kick, your vanity may appear bulky and unfinished, whereas a toe kick creates a sleek and polished appearance.
A toe kick is a recessed area at the bottom of your vanity that allows you to stand closer to the sink without bumping into the cabinet. This may not seem like a big deal, but it can make a world of difference in terms of comfort and convenience. With a toe kick, you won't have to awkwardly lean over the sink to reach the faucet, and you'll have more leg room while standing at the vanity. This can be especially beneficial for those with mobility issues or for families with young children who may struggle to reach the sink.
In addition to the practical benefits, adding a toe kick to your bathroom vanity also
enhances the aesthetic
of your space. It creates a seamless look and adds a touch of sophistication to your bathroom. Without a toe kick, your vanity may appear bulky and unfinished, whereas a toe kick creates a sleek and polished appearance.
How to Incorporate a Toe Kick in Your Bathroom Vanity Design
 There are several ways to incorporate a toe kick into your bathroom vanity design. You can choose to
match the material and color
of your toe kick to your vanity, or opt for a contrasting color or material for a unique and eye-catching look. Another option is to
add accent lighting
to your toe kick, creating a soft and inviting glow in your bathroom.
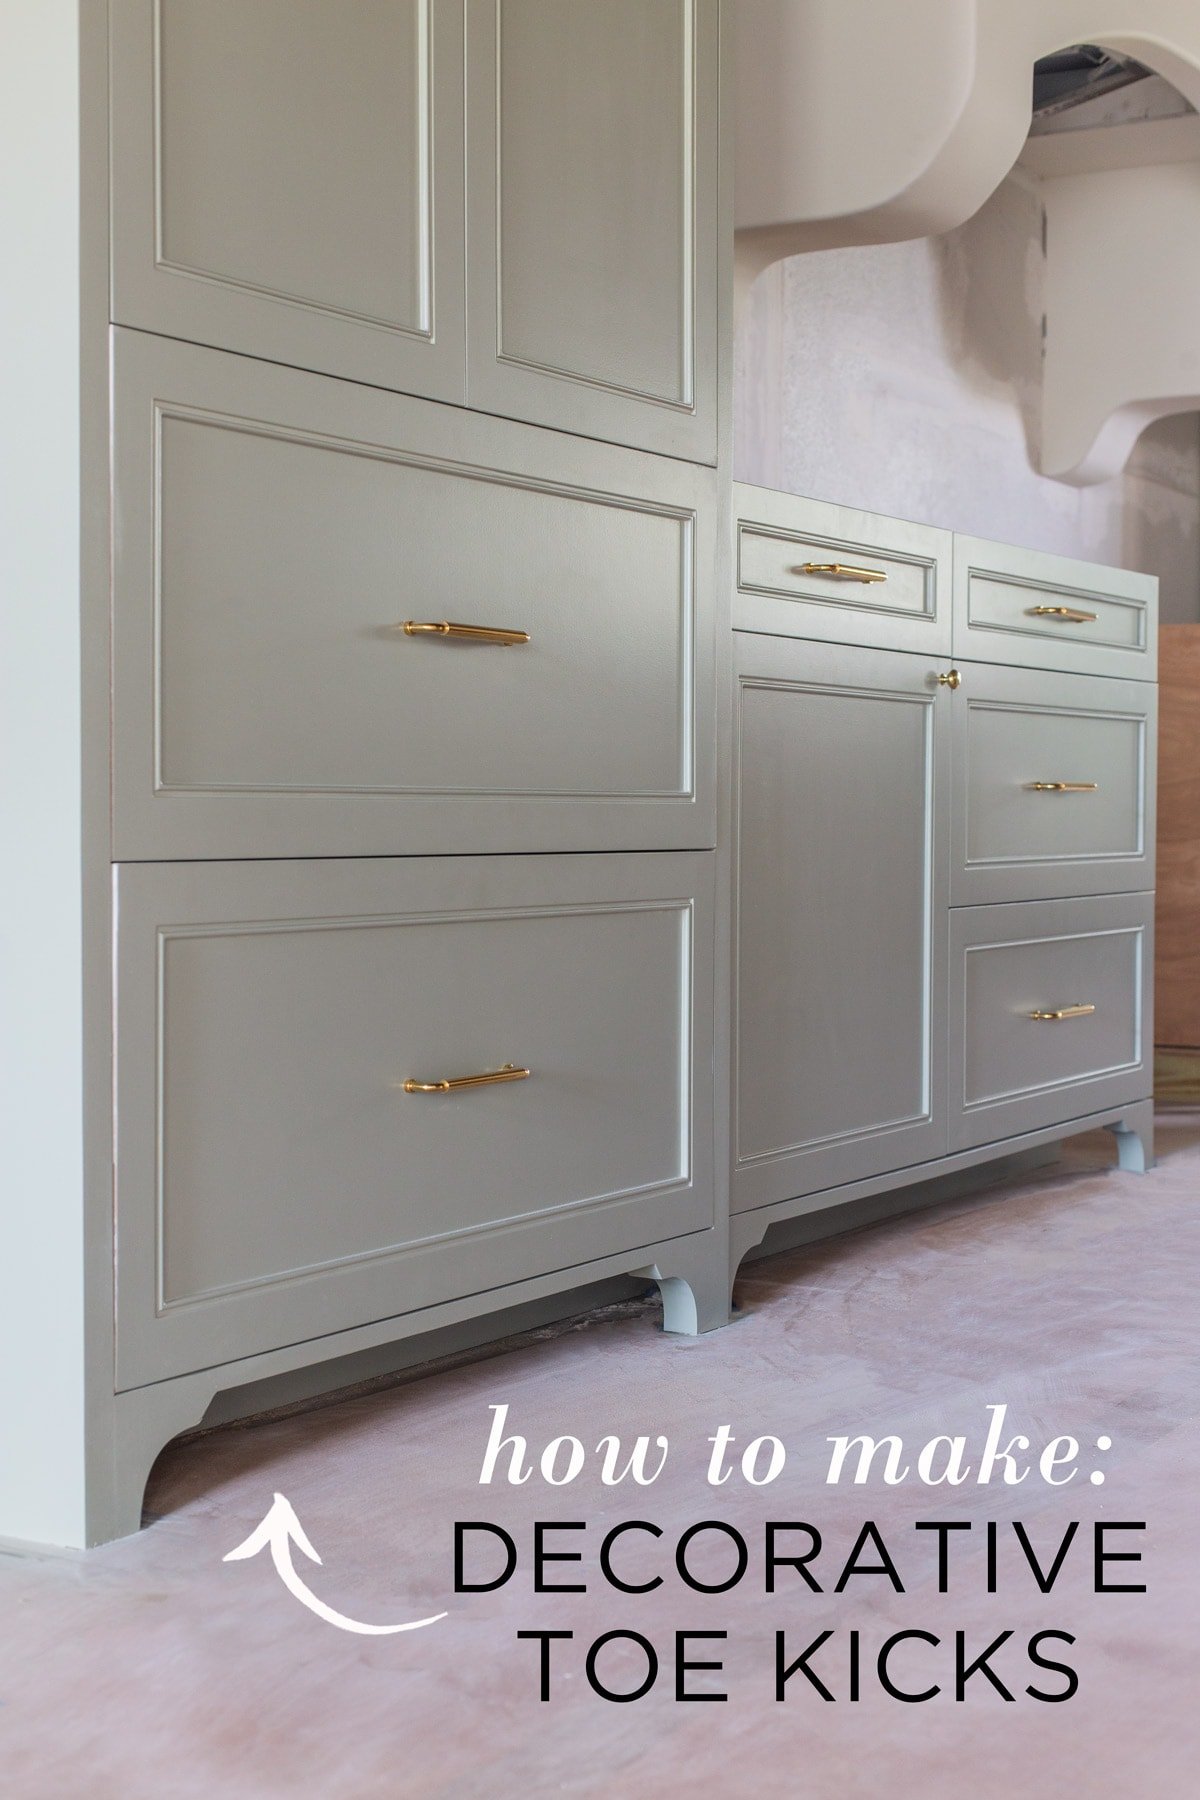
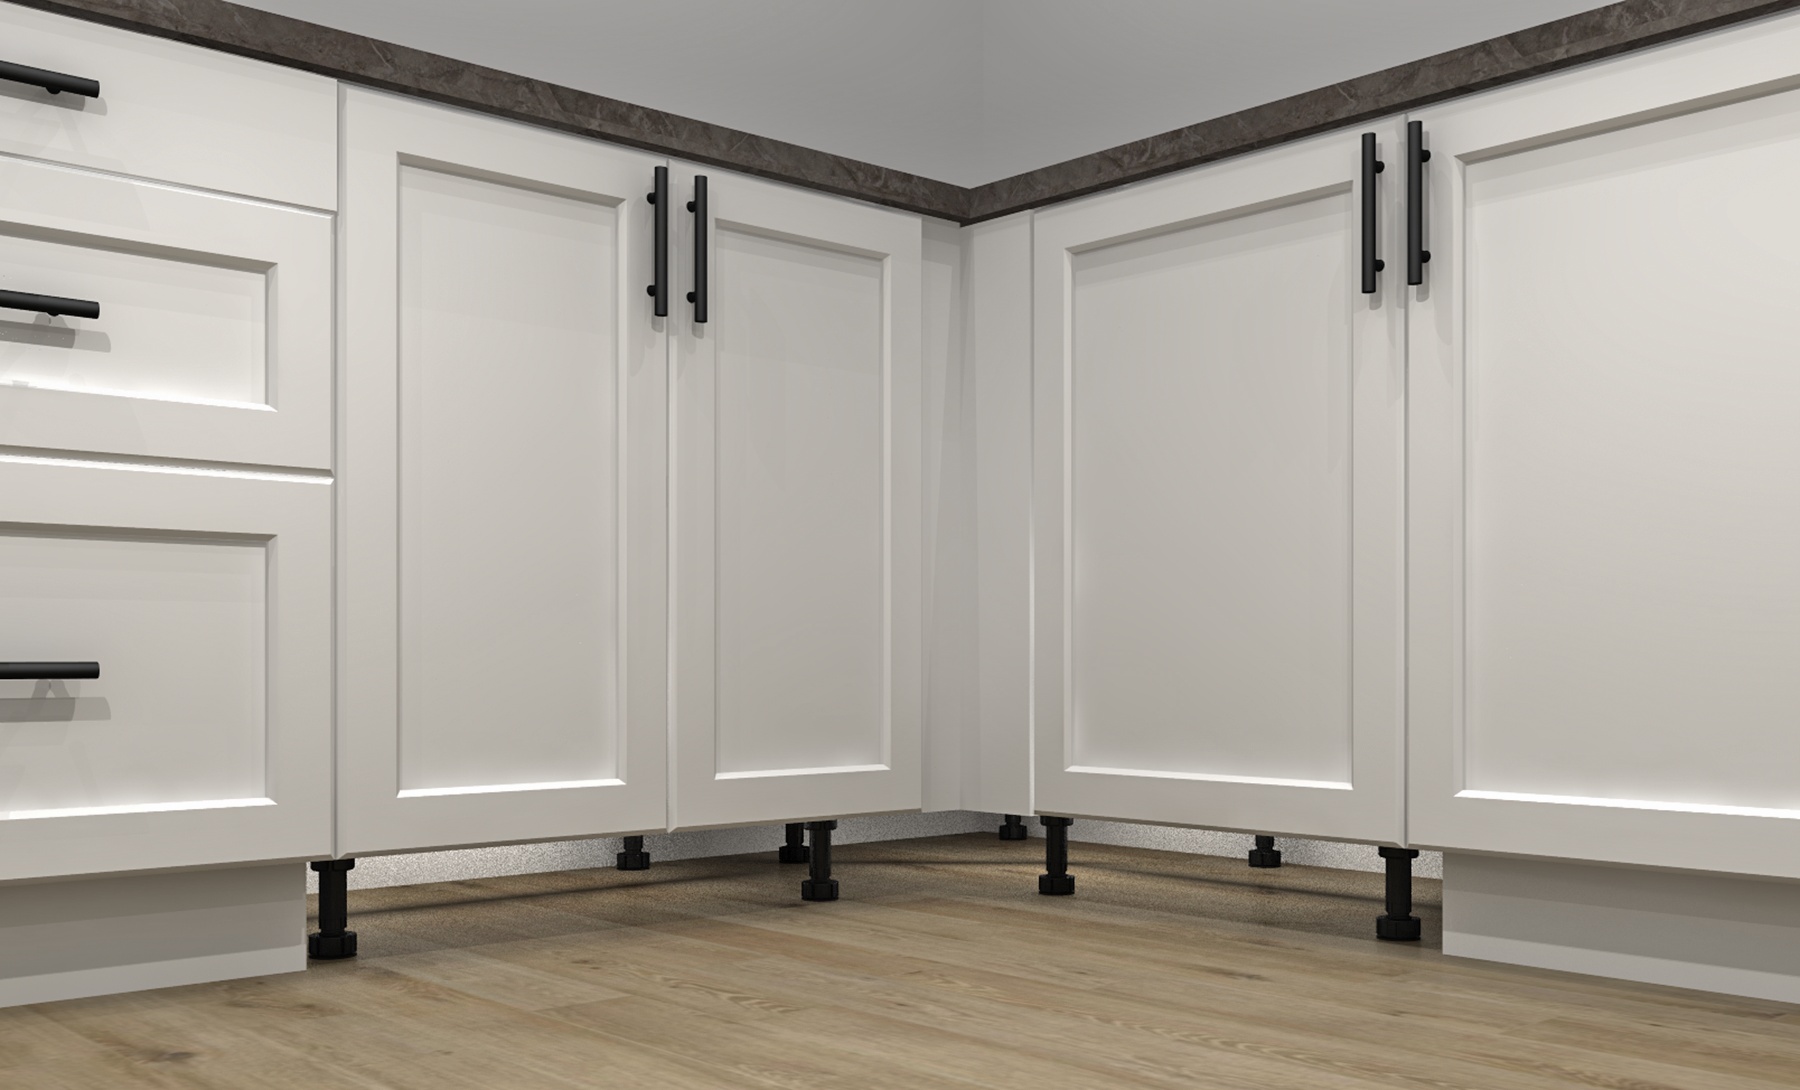
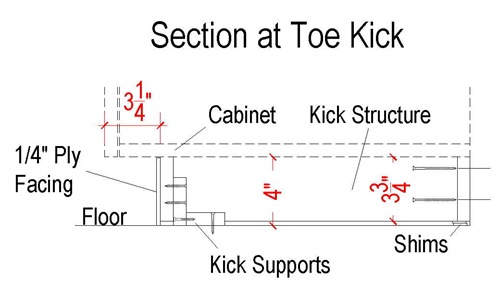
When designing your bathroom with a toe kick, it's important to consider the
height and depth
of the kick. The standard height for a toe kick is between 3 to 4 inches, but this can vary depending on the height of your vanity and the needs of your household. The depth of the toe kick should also be carefully considered to ensure it provides enough leg room without sacrificing storage space.
There are several ways to incorporate a toe kick into your bathroom vanity design. You can choose to
match the material and color
of your toe kick to your vanity, or opt for a contrasting color or material for a unique and eye-catching look. Another option is to
add accent lighting
to your toe kick, creating a soft and inviting glow in your bathroom.
When designing your bathroom with a toe kick, it's important to consider the
height and depth
of the kick. The standard height for a toe kick is between 3 to 4 inches, but this can vary depending on the height of your vanity and the needs of your household. The depth of the toe kick should also be carefully considered to ensure it provides enough leg room without sacrificing storage space.
Final Thoughts
 Incorporating a toe kick into your bathroom vanity design may seem like a small detail, but it can have a big impact on the overall look and functionality of your space. Not only does it add a touch of elegance, but it also improves the practicality of your bathroom. So if you're looking to elevate your house design, don't overlook the importance of a toe kick in your bathroom vanity.