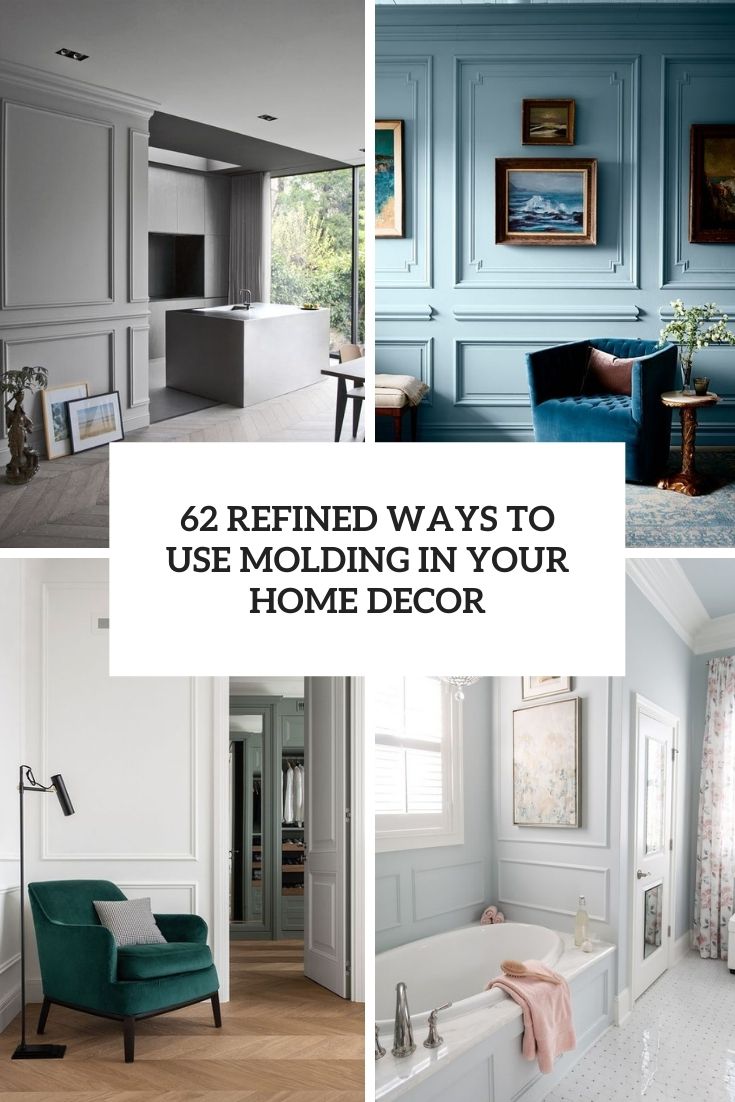
Adding molding to your living room is a great way to enhance the overall look and feel of the space. It adds character, depth, and architectural interest, making your living room feel more luxurious and sophisticated. Plus, it's a budget-friendly way to upgrade your home without breaking the bank. Follow these easy steps to add molding to your living room and transform it into a stylish and elegant space.Adding Molding to Your Living Room: A Step-by-Step Guide
Before you start adding molding to your living room, it's important to have a clear plan in mind. Think about the style and aesthetic you want to achieve, as well as the type of molding that will complement your existing decor. Measure the walls and windows to determine how much molding you will need, and create a sketch or digital design to help visualize the end result.Step 1: Plan Your Design
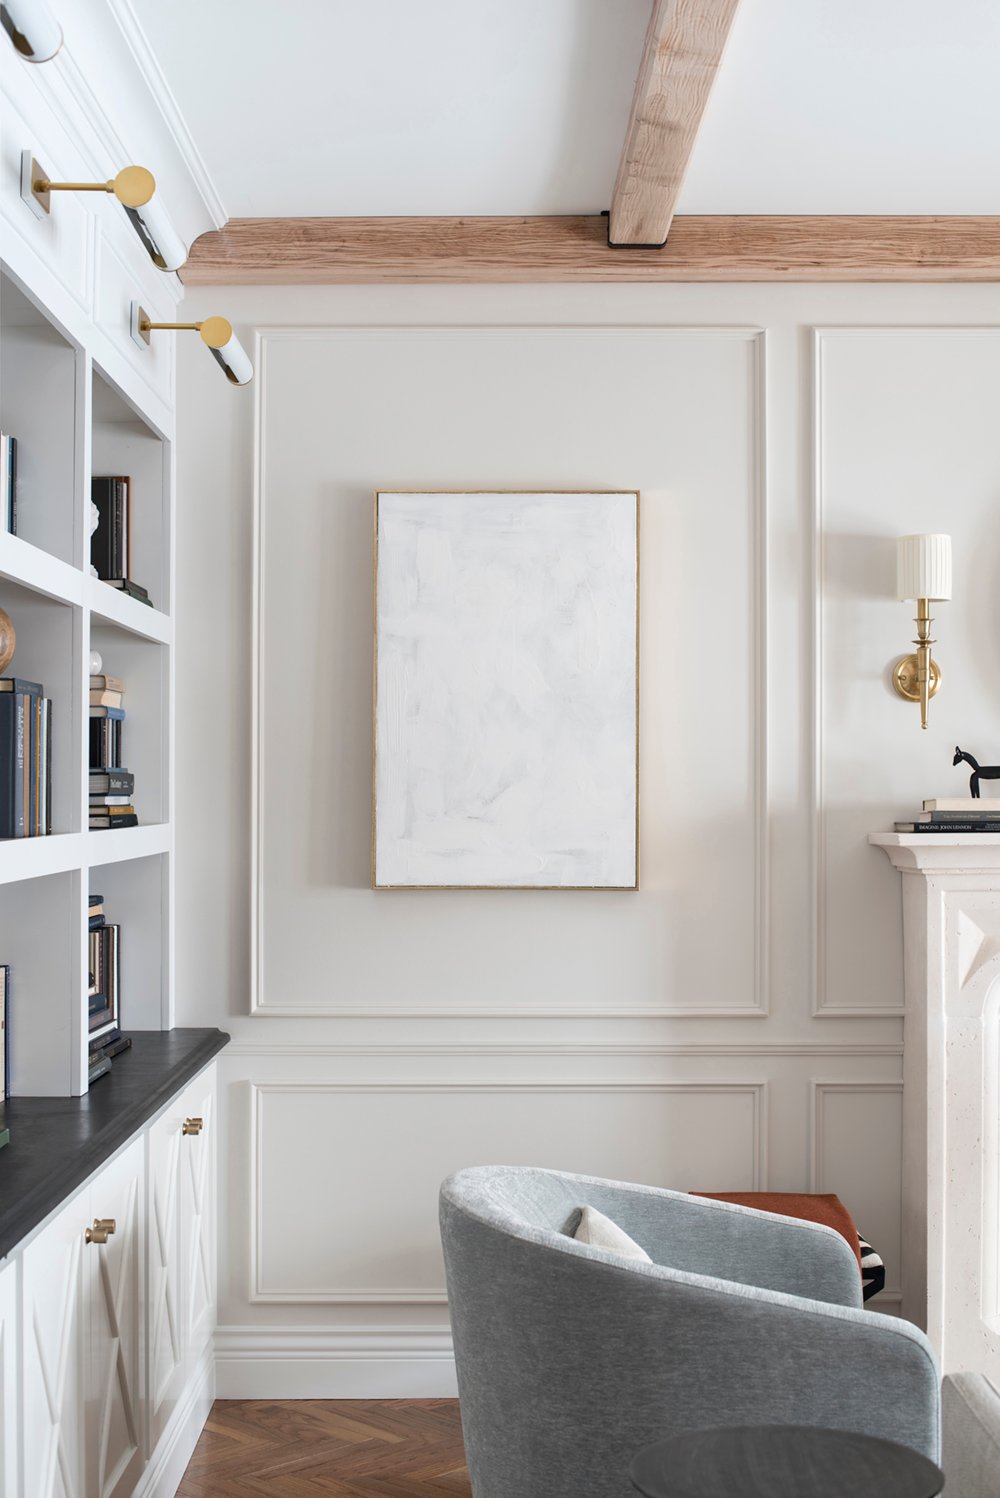
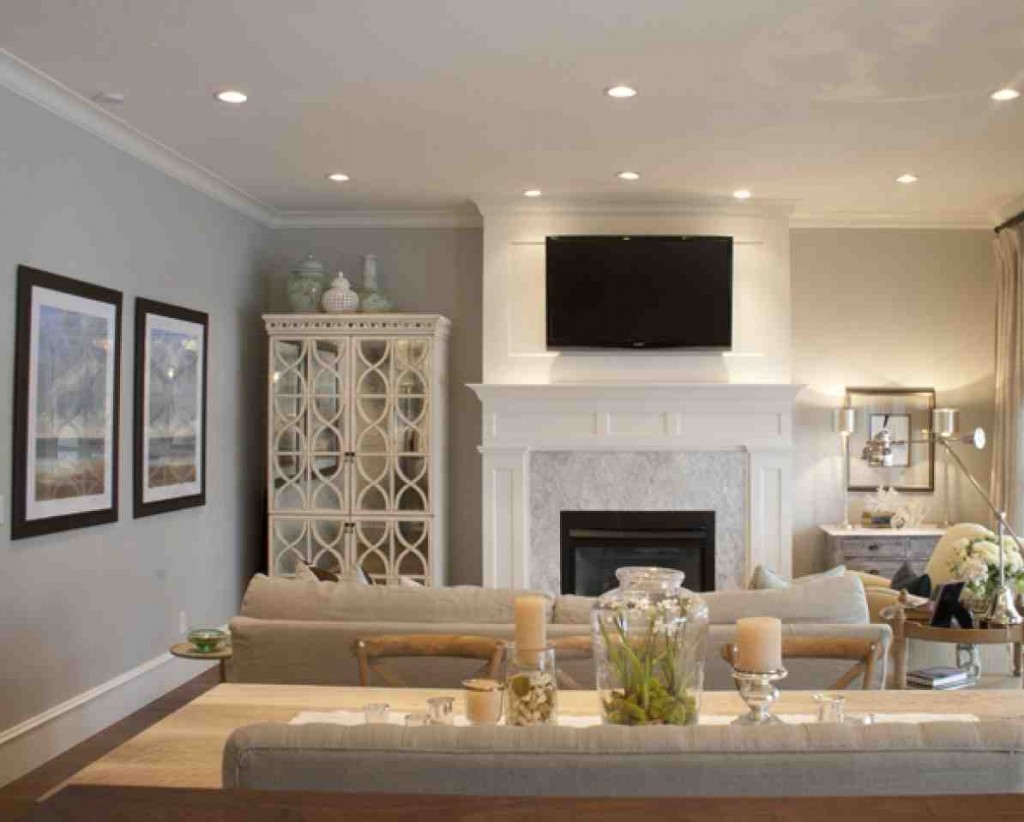
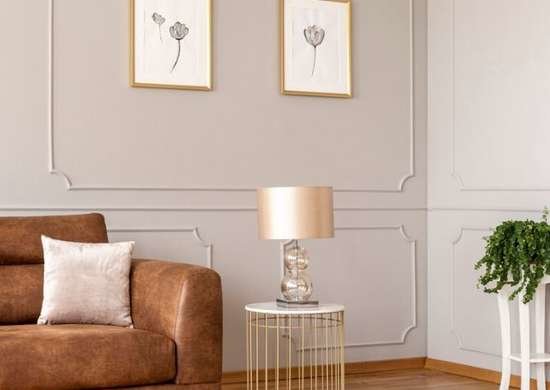
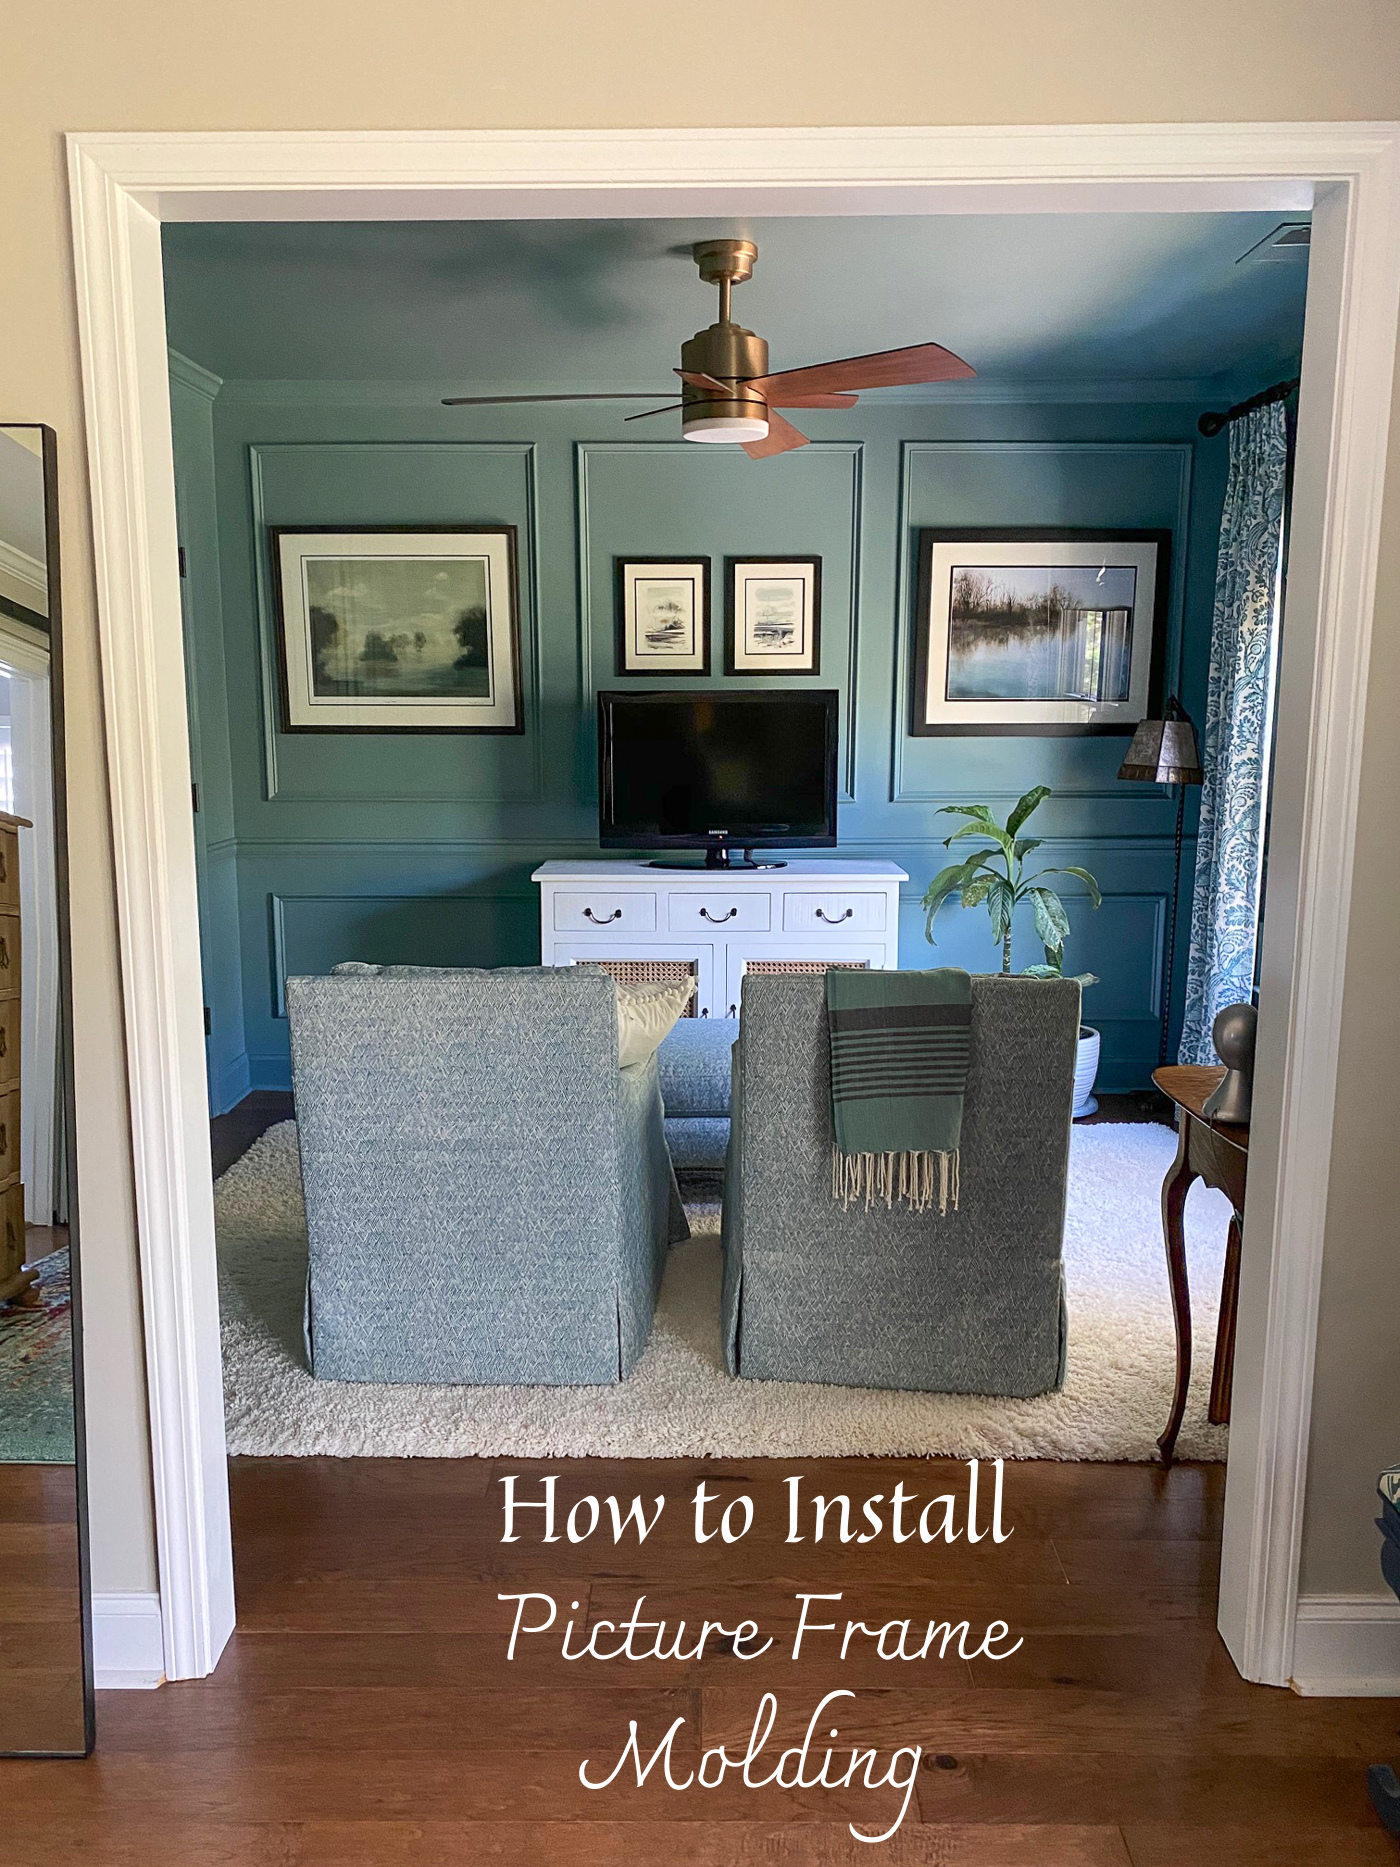
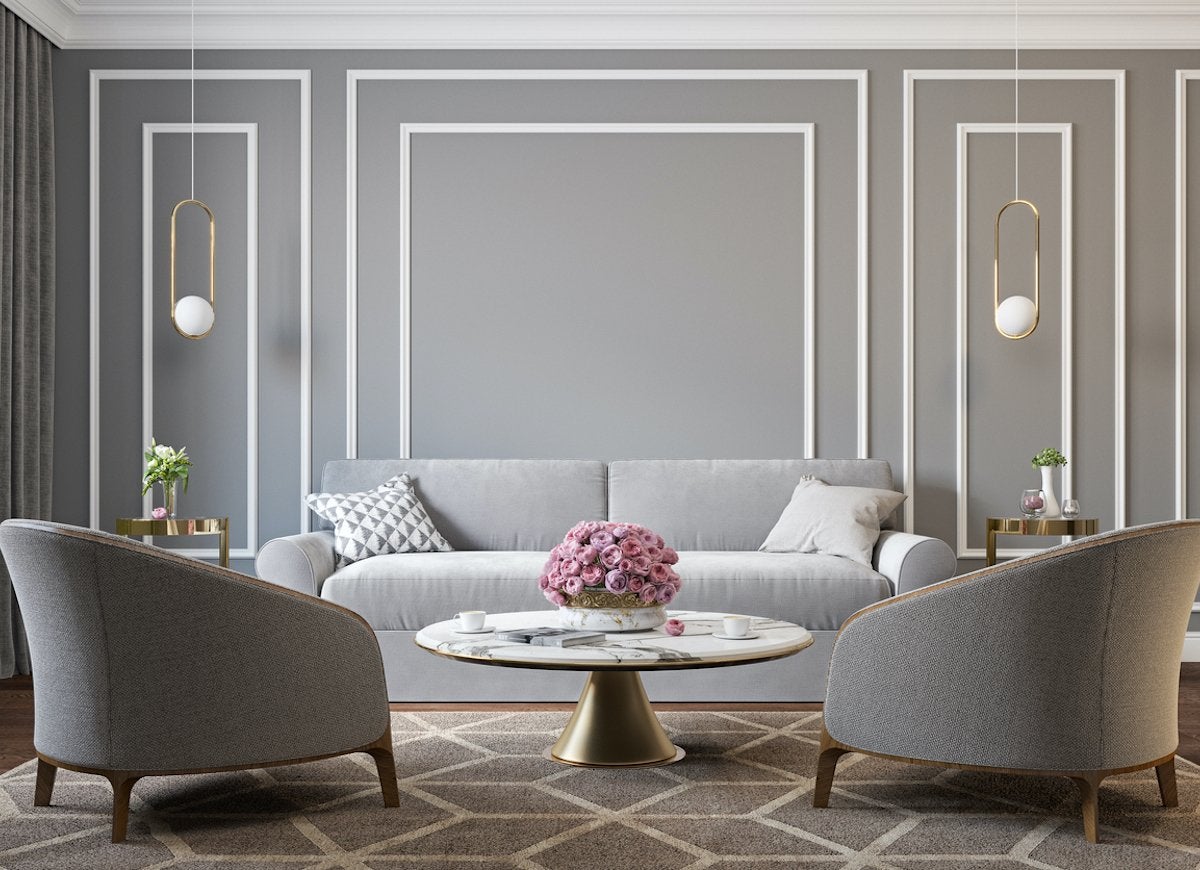
When it comes to choosing molding for your living room, the options are endless. You can go for traditional crown molding, picture frame molding, or even a more modern geometric design. Consider the size and scale of your living room, as well as the style of your furniture and decor, when selecting the right molding for your space.Step 2: Choose Your Molding
Before you start installing the molding, make sure you have all the necessary materials. This may include a miter saw, a nail gun, wood glue, caulk, sandpaper, and paint or stain. You may also want to consider purchasing pre-primed molding for easier installation and painting.Step 3: Gather Your Materials
Using your measurements and design plan, carefully measure and cut the molding to fit each section of your living room. It's important to make precise cuts and angles to ensure a seamless and professional-looking finish. If you're not comfortable using a miter saw, you can also have the molding cut at your local hardware store.Step 4: Measure and Cut the Molding
With your materials and molding ready, it's time to start installing. Begin by applying a thin layer of wood glue to the back of the molding and then secure it in place with the nail gun. Make sure to use a level to ensure the molding is straight and evenly aligned. Once the glue has dried, fill any gaps or nail holes with caulk and sand them down for a smooth finish.Step 5: Install the Molding
To complete the look, paint or stain your molding to match your existing trim or create a contrast. You can also add decorative corners or rosettes for an extra touch of elegance. Take your time with this step to ensure a professional and polished finish.Step 6: Add Finishing Touches
Now that you've successfully added molding to your living room, you can enjoy all the benefits it brings. Not only does it add visual interest and depth to the space, it also makes it feel more upscale and sophisticated. Molding can also help to define separate areas in an open-concept living room and create a more cohesive design.Benefits of Adding Molding to Your Living Room
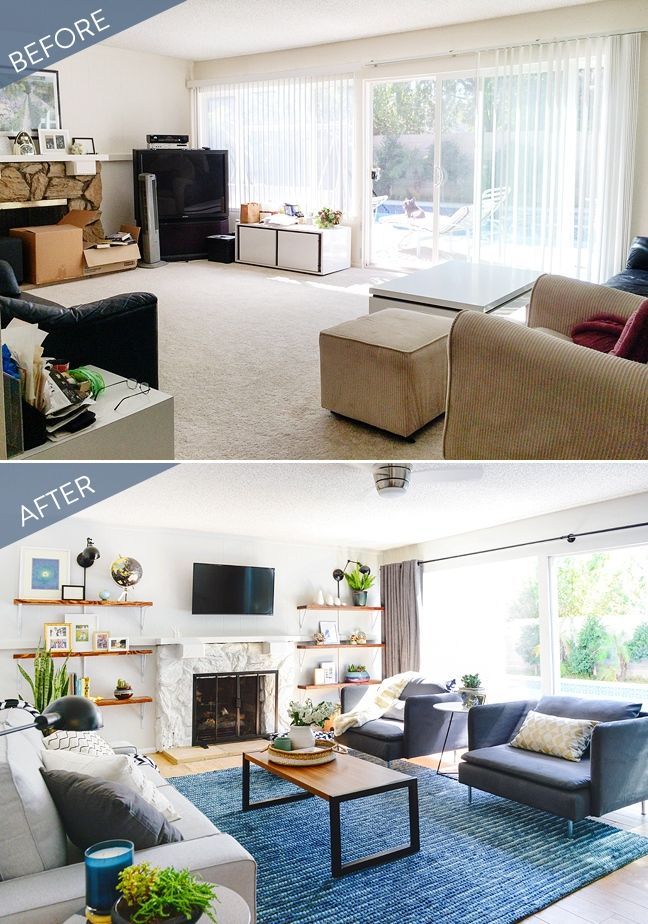
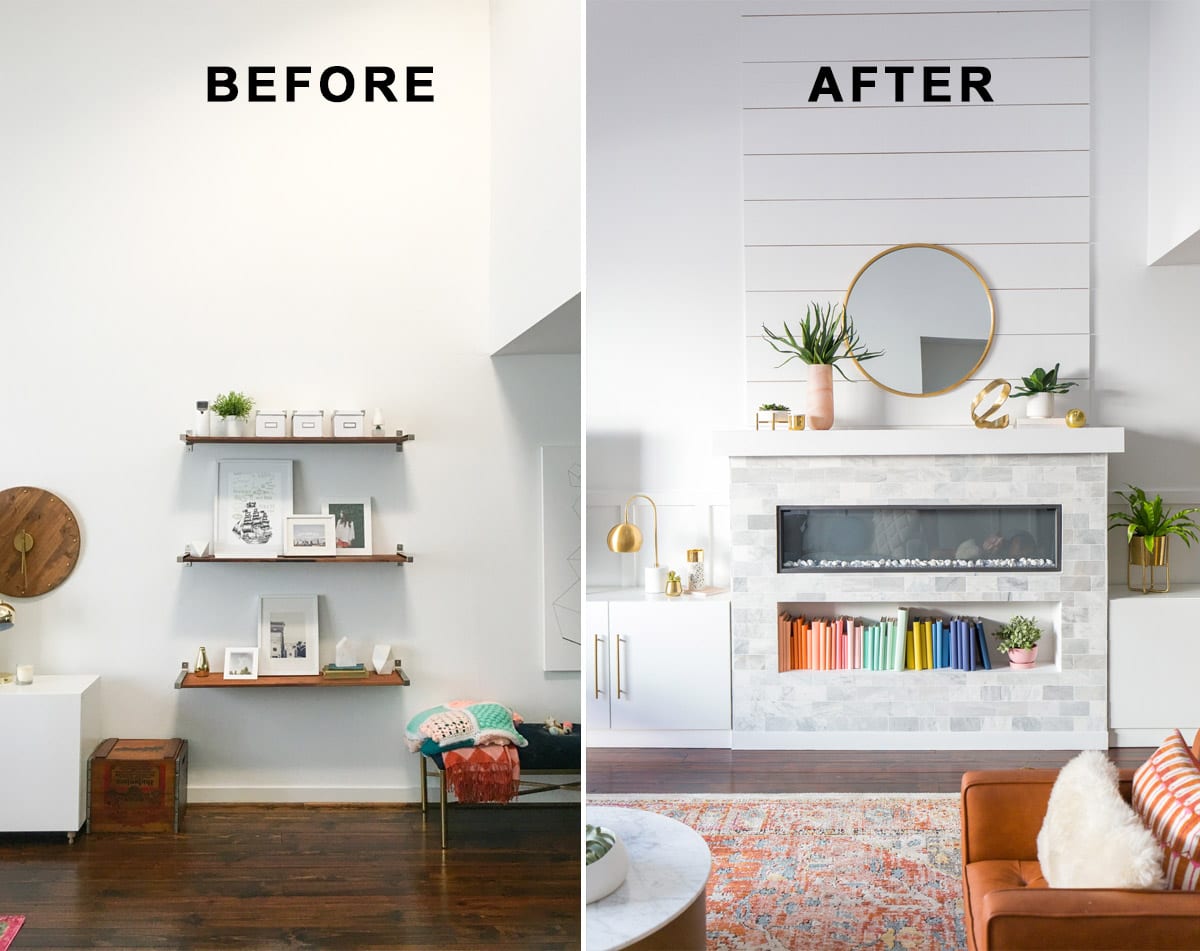
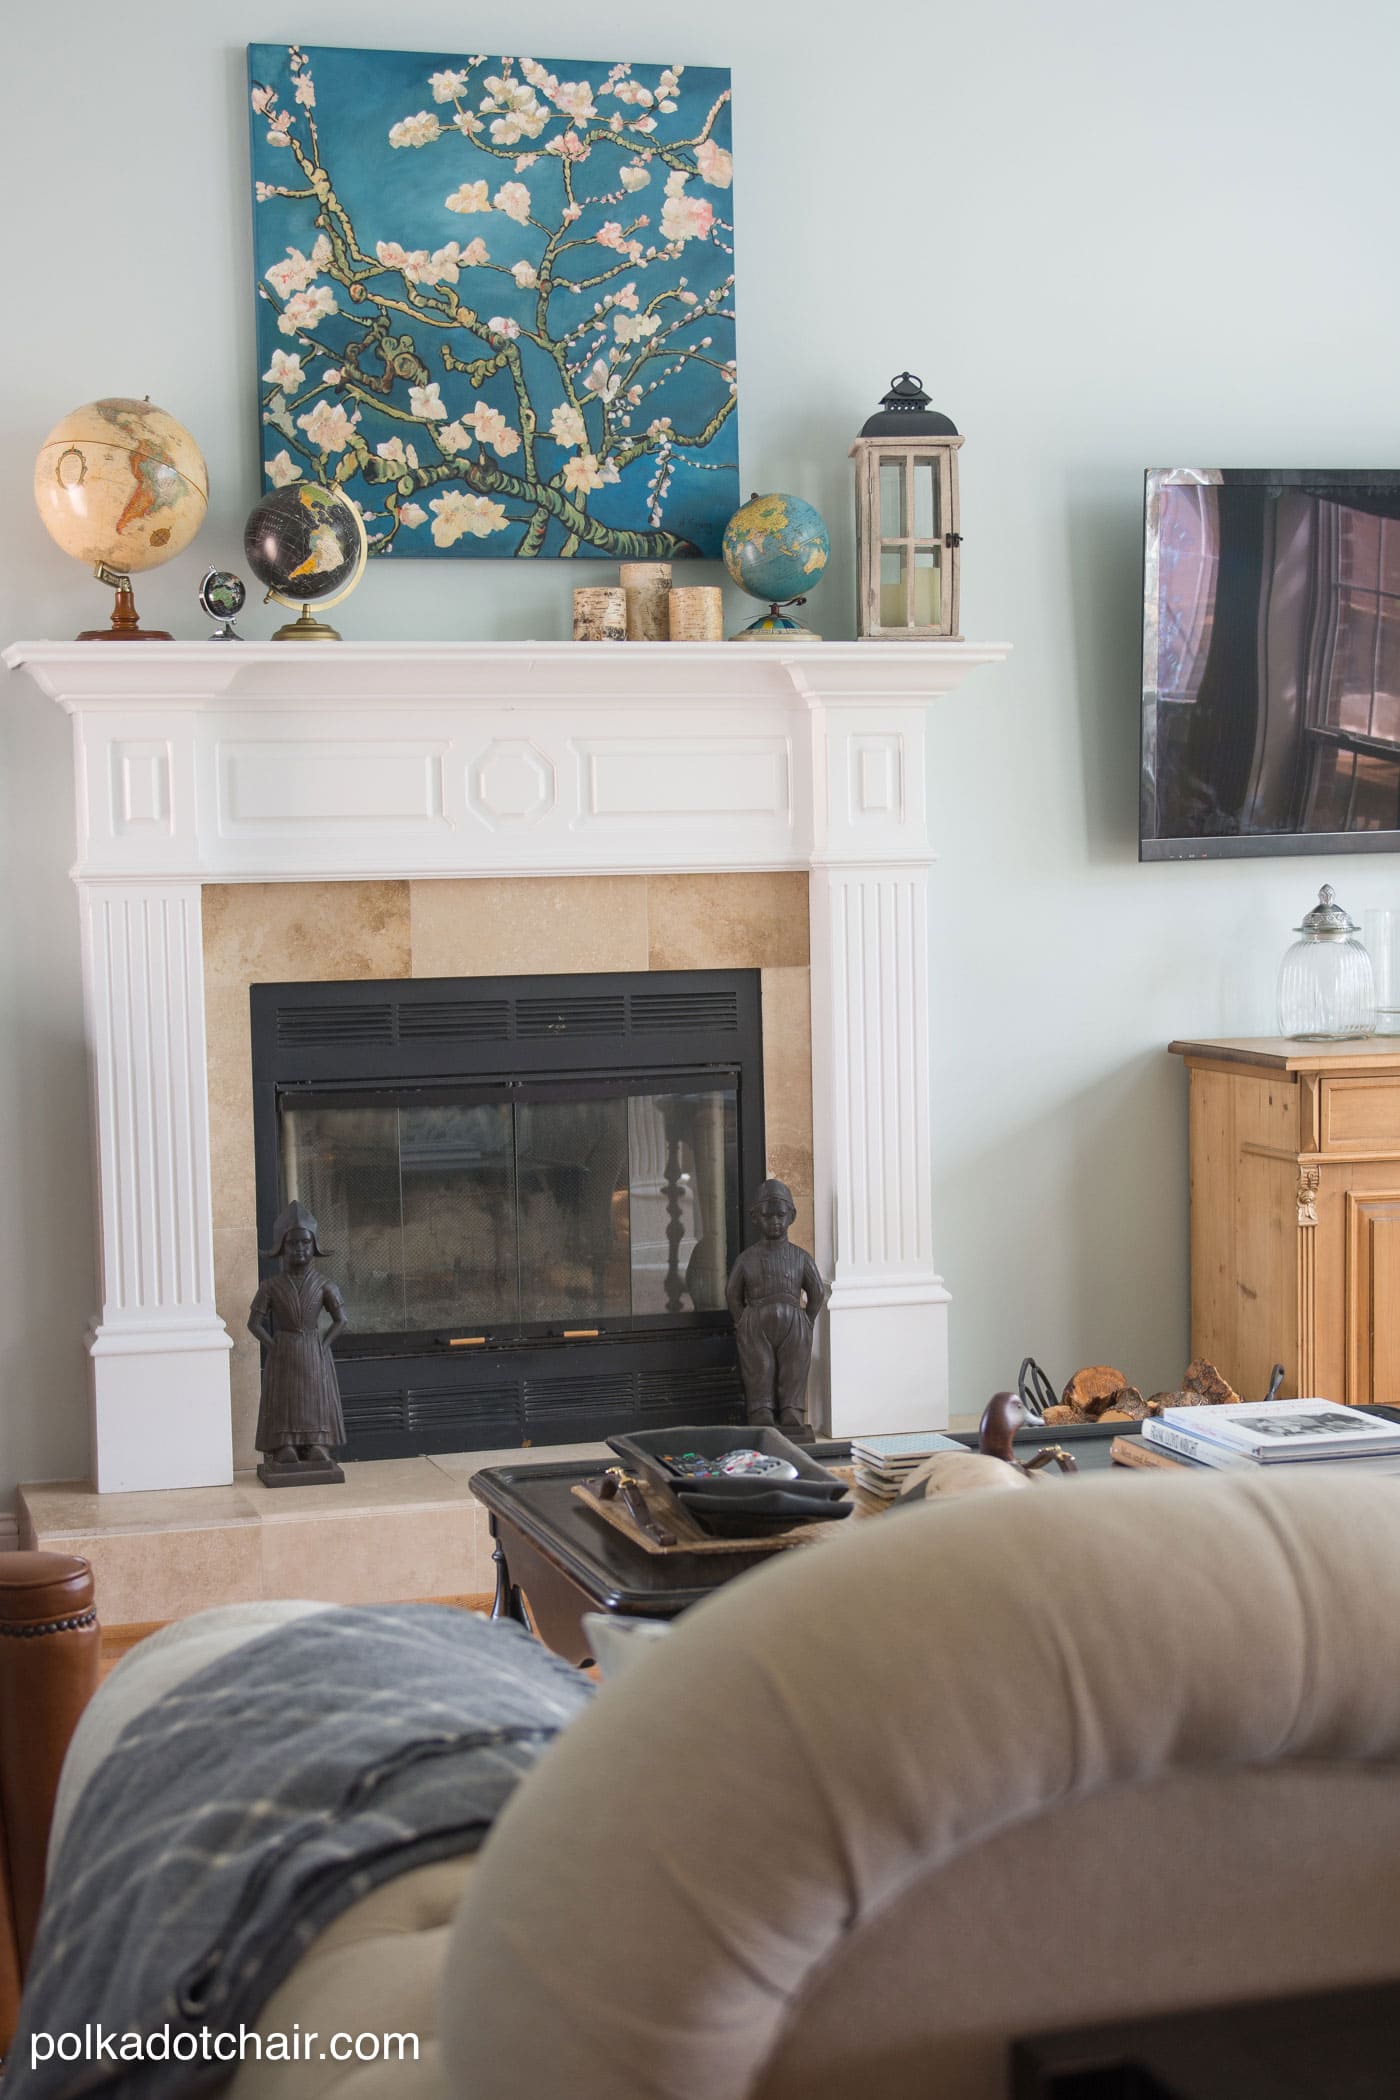
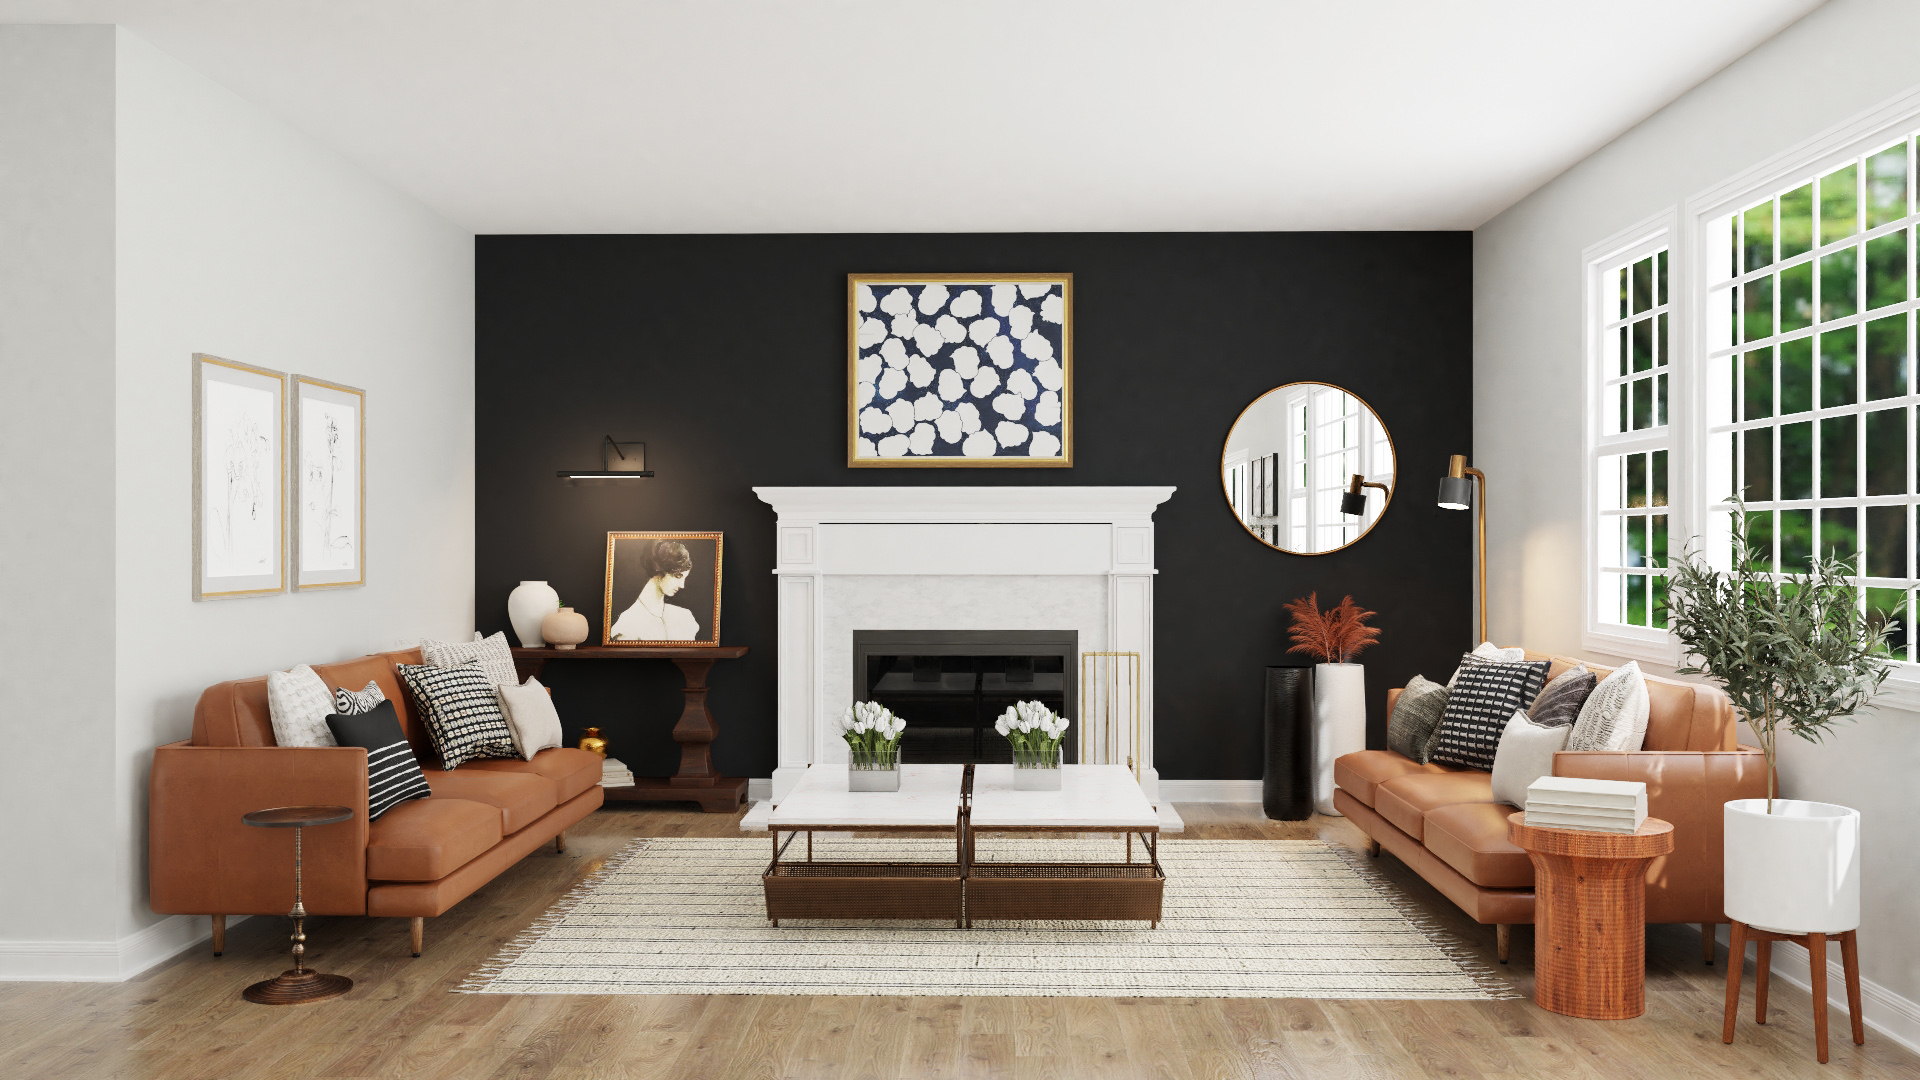
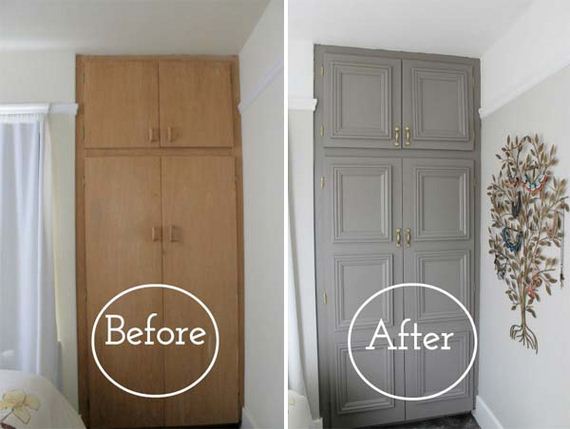
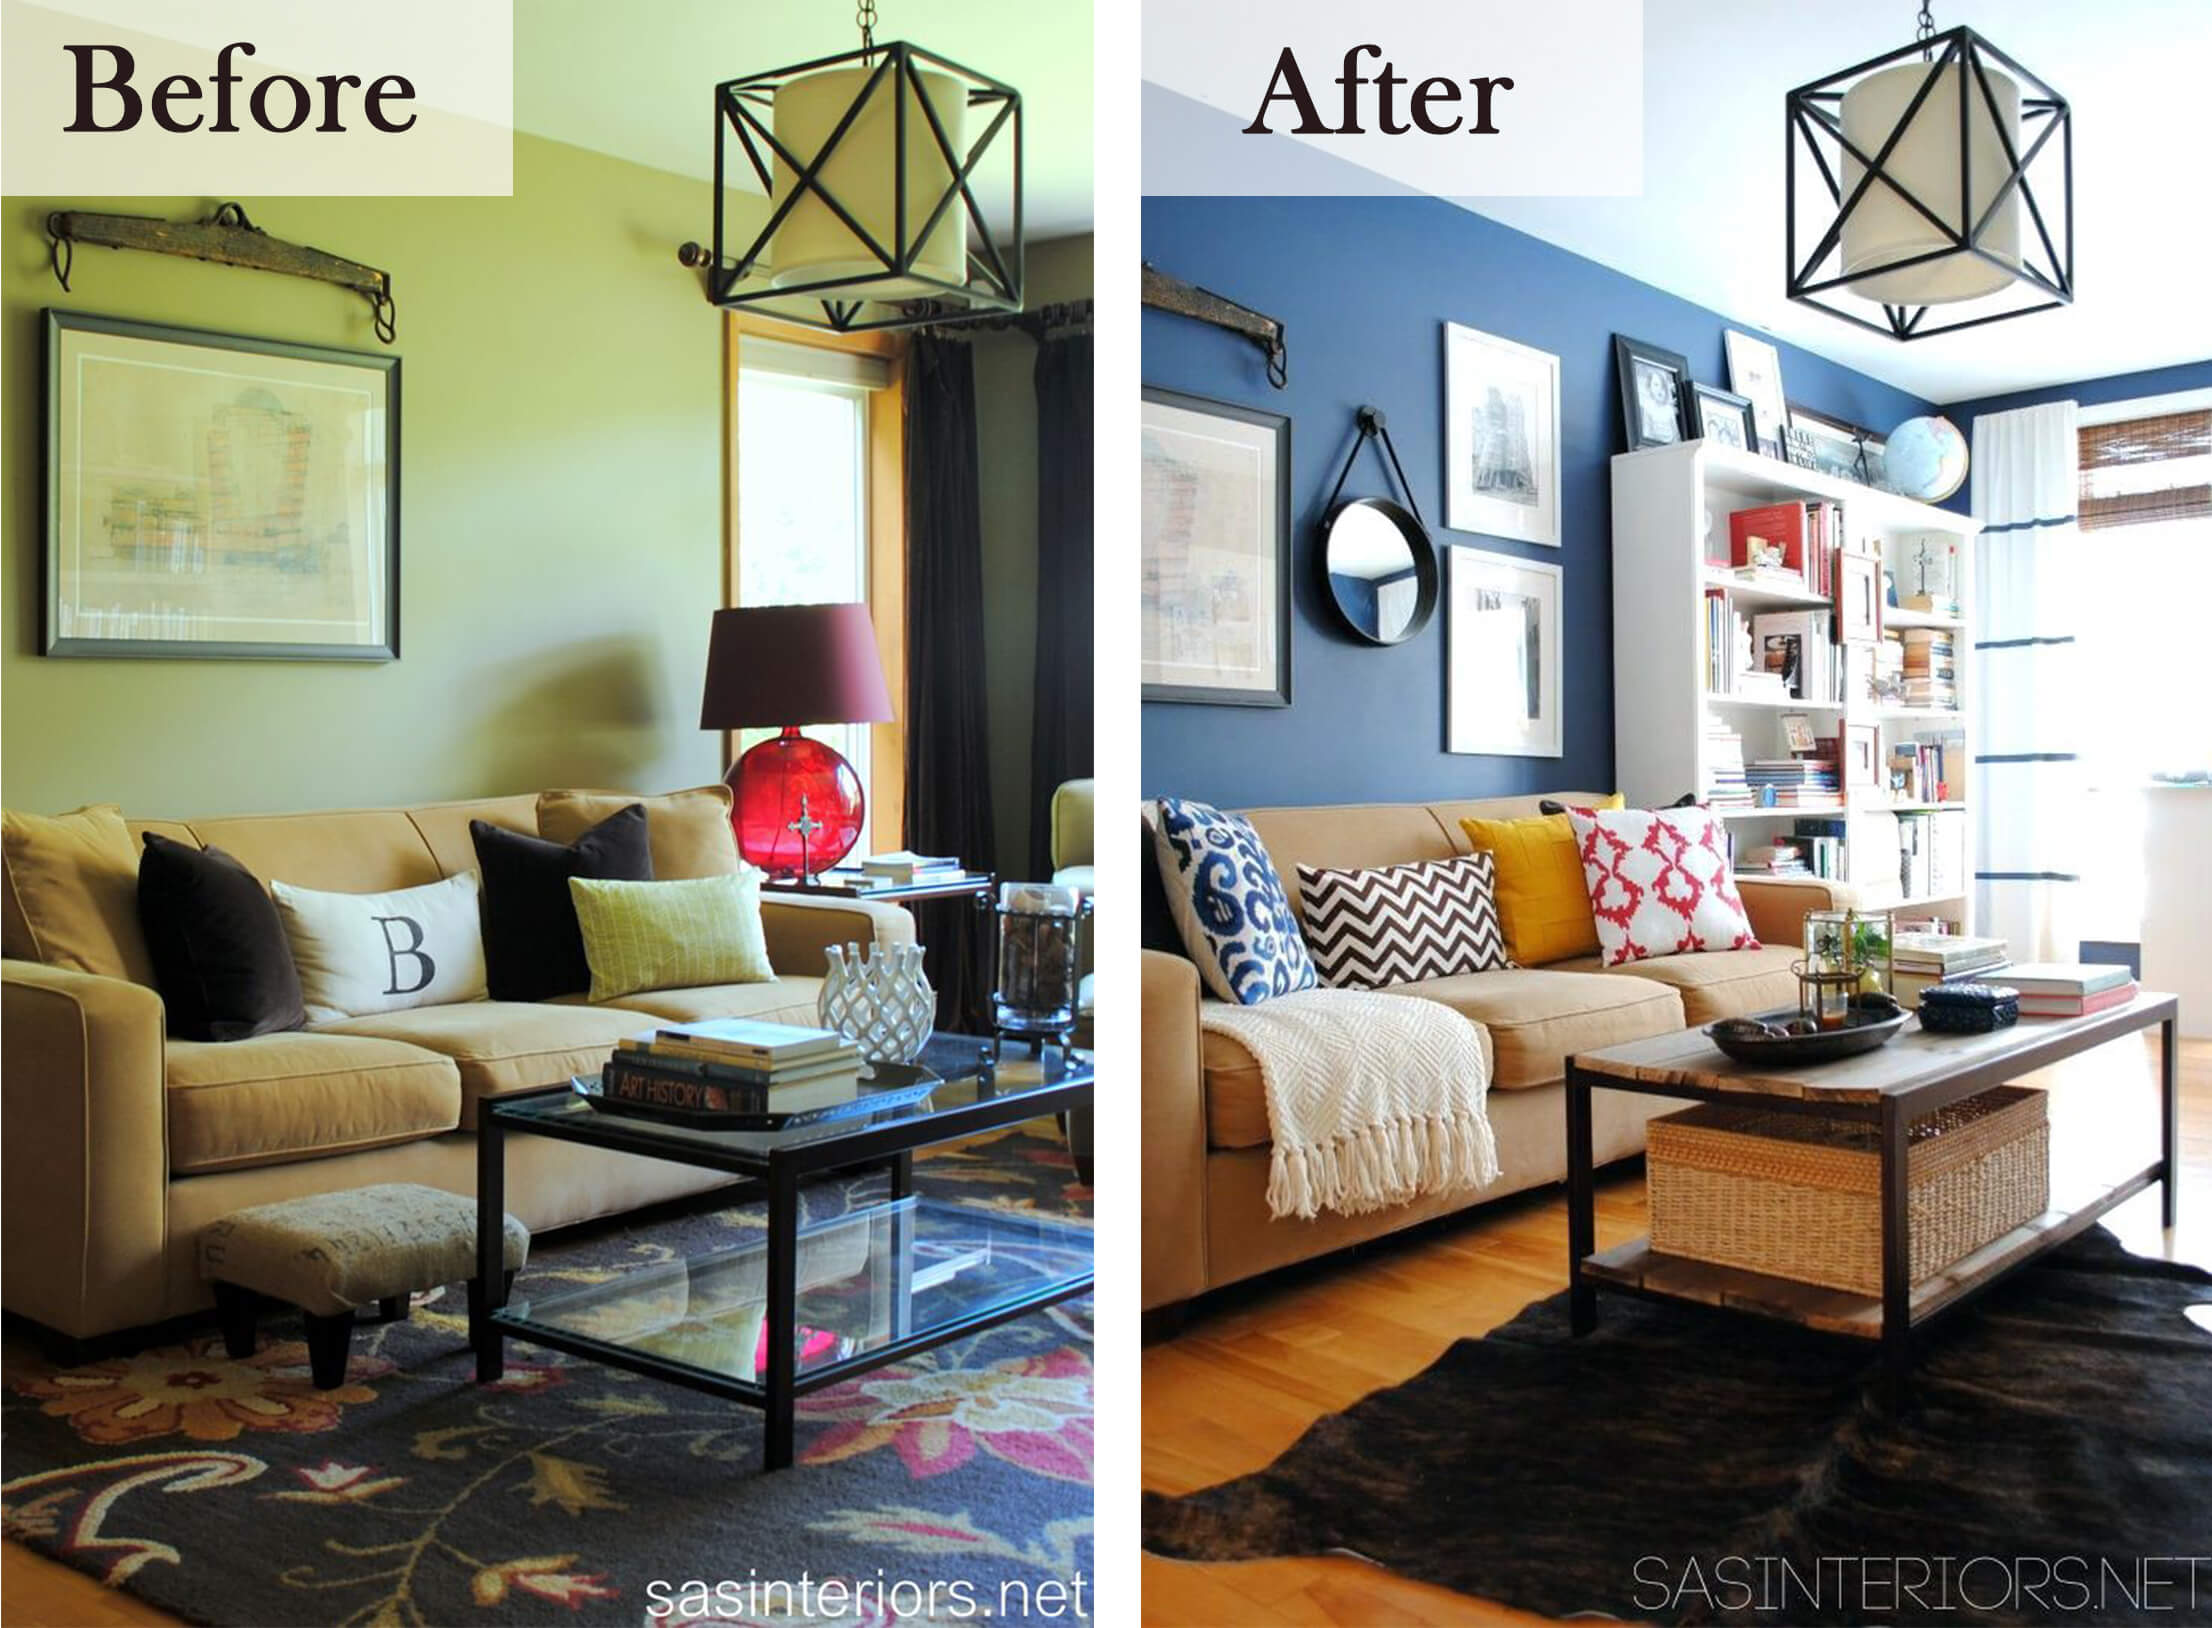
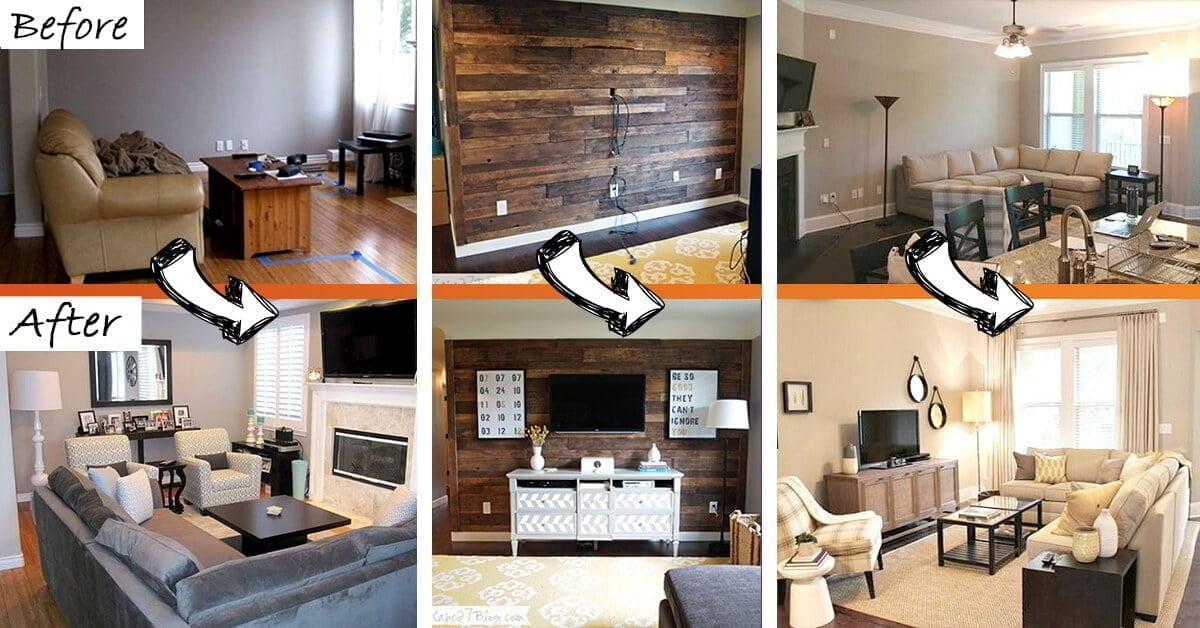
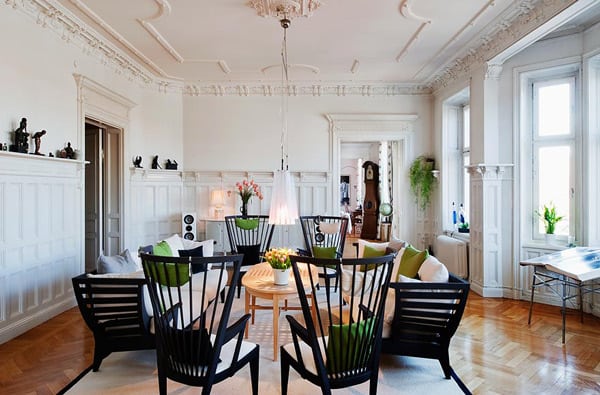
To give you some inspiration for your own living room, here are some before and after photos of living rooms that have been transformed with the addition of molding. Notice how the molding adds a touch of elegance and sophistication to each space, making them look more refined and put-together.Living Room Molding Inspiration: Before and After Photos
Adding molding to your living room is a simple and budget-friendly way to upgrade your home and give it a more luxurious feel. With these easy steps and some creativity, you can transform your living room into a stylish and elegant space that you'll love spending time in. So grab your materials and get started on this fun and rewarding DIY project today!Conclusion
Enhance Your Living Room with Beautiful Molding

What is Molding?
 Molding, also known as trim, is a decorative feature that can add elegance and character to any room. It is typically made of wood, but can also be made of other materials such as plaster, polyurethane, or even foam. Molding can be found in various shapes, sizes, and designs, and can be used on walls, ceilings, and even around doors and windows. It serves as a finishing touch to any room and can instantly elevate the overall design.
The Benefits of Adding Molding to Your Living Room
 Now, you may be wondering how adding molding to your living room can benefit you. Well, let us tell you that the benefits are numerous. First and foremost, molding can add visual interest and depth to a room. It can create a focal point and draw the eyes upwards, making the room appear larger and more spacious. This is particularly beneficial for small living rooms. Additionally, molding can also hide imperfections on walls or ceilings, giving your room a seamless and polished look.
Choose the Right Molding for Your Living Room
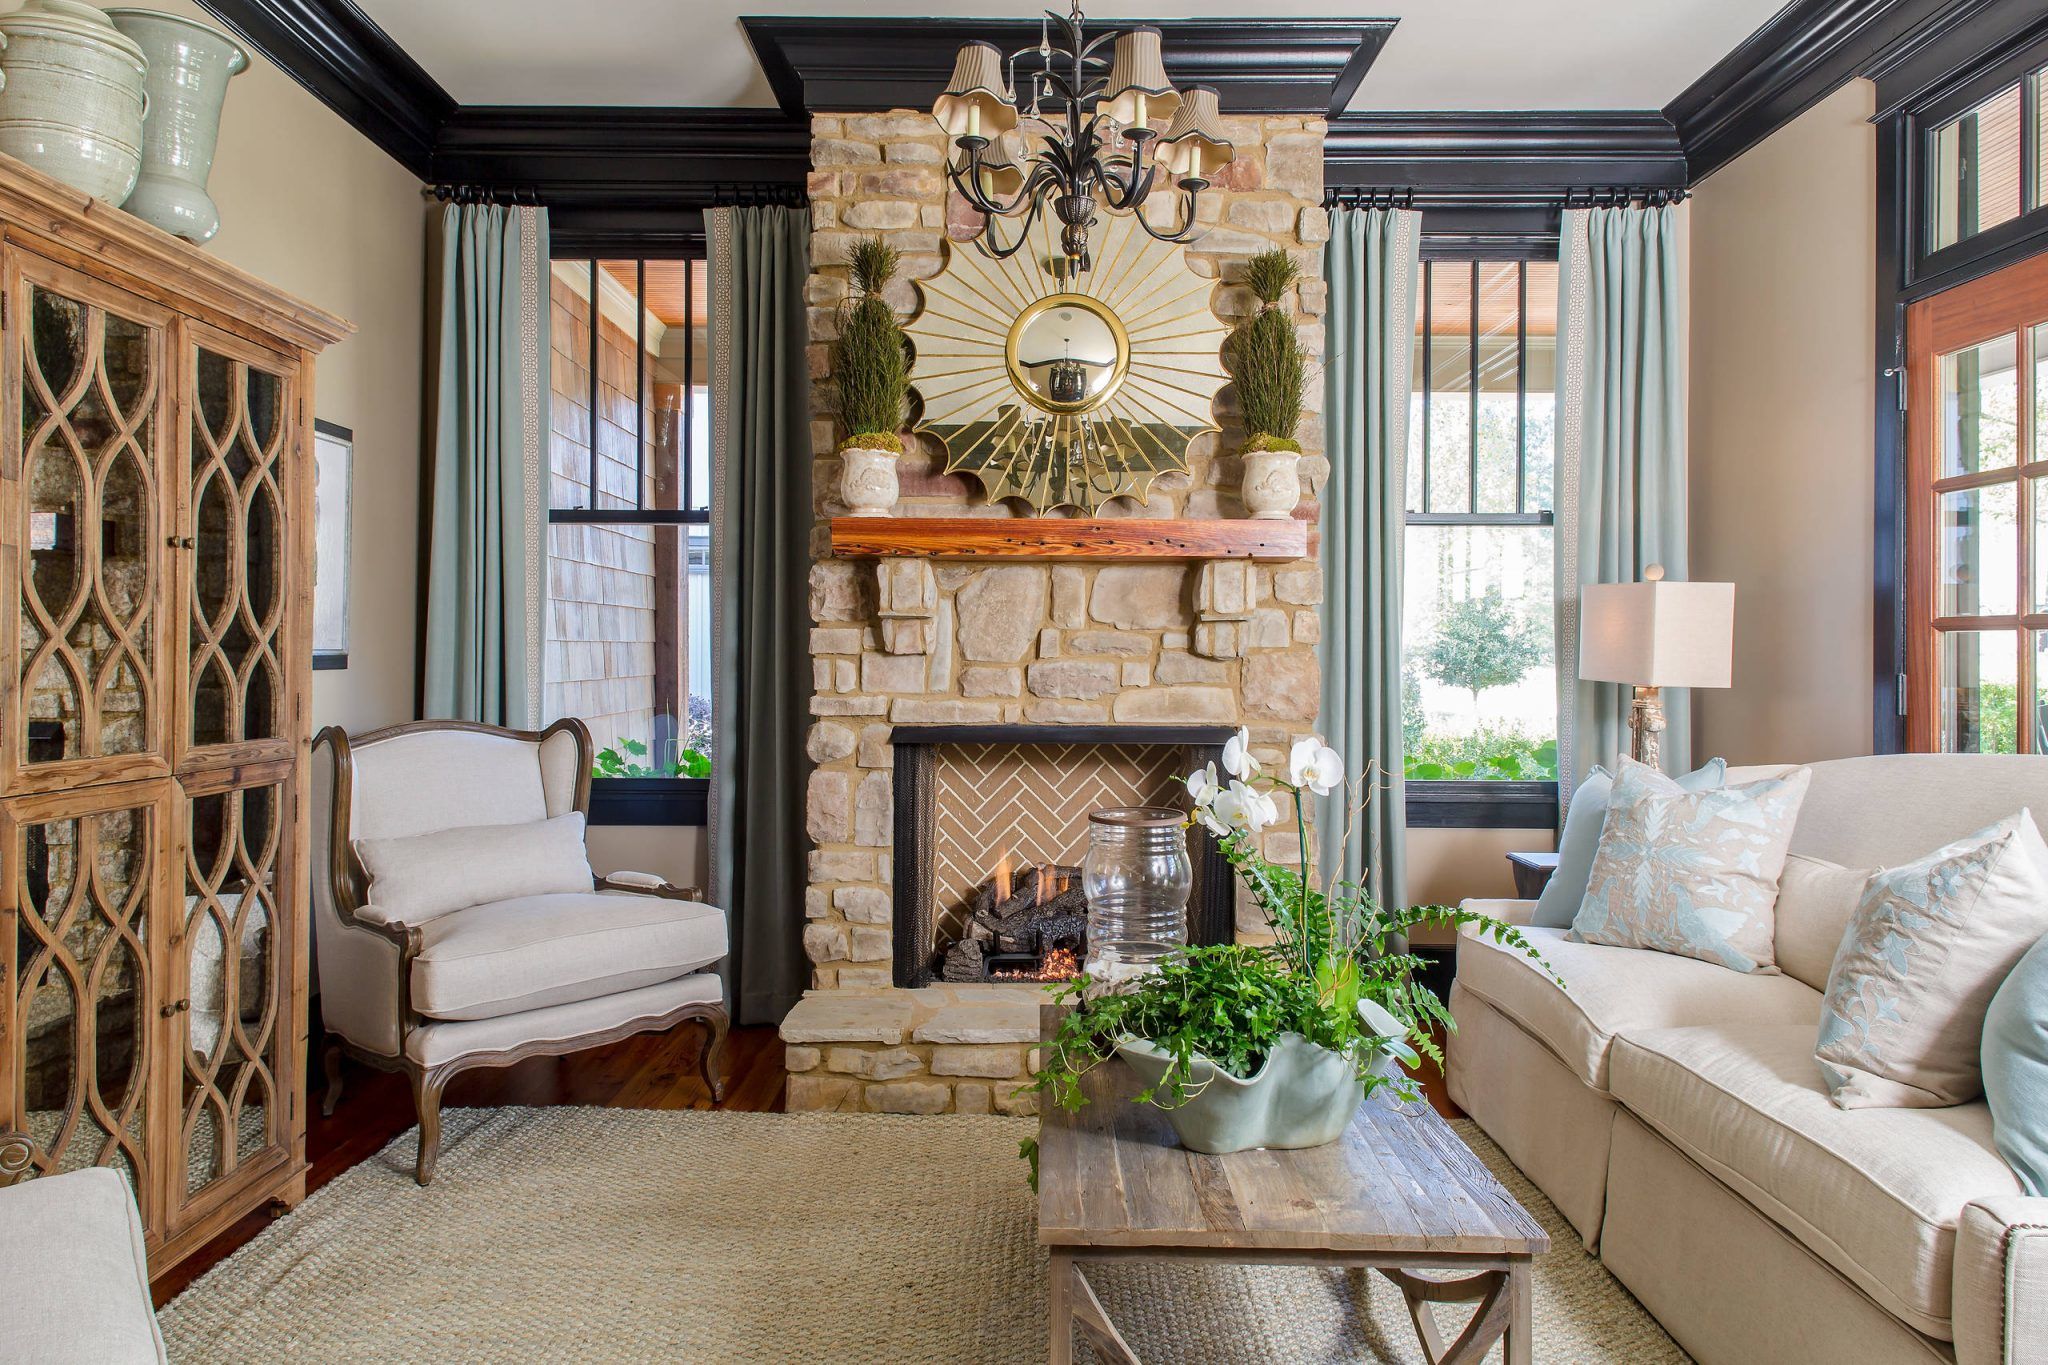
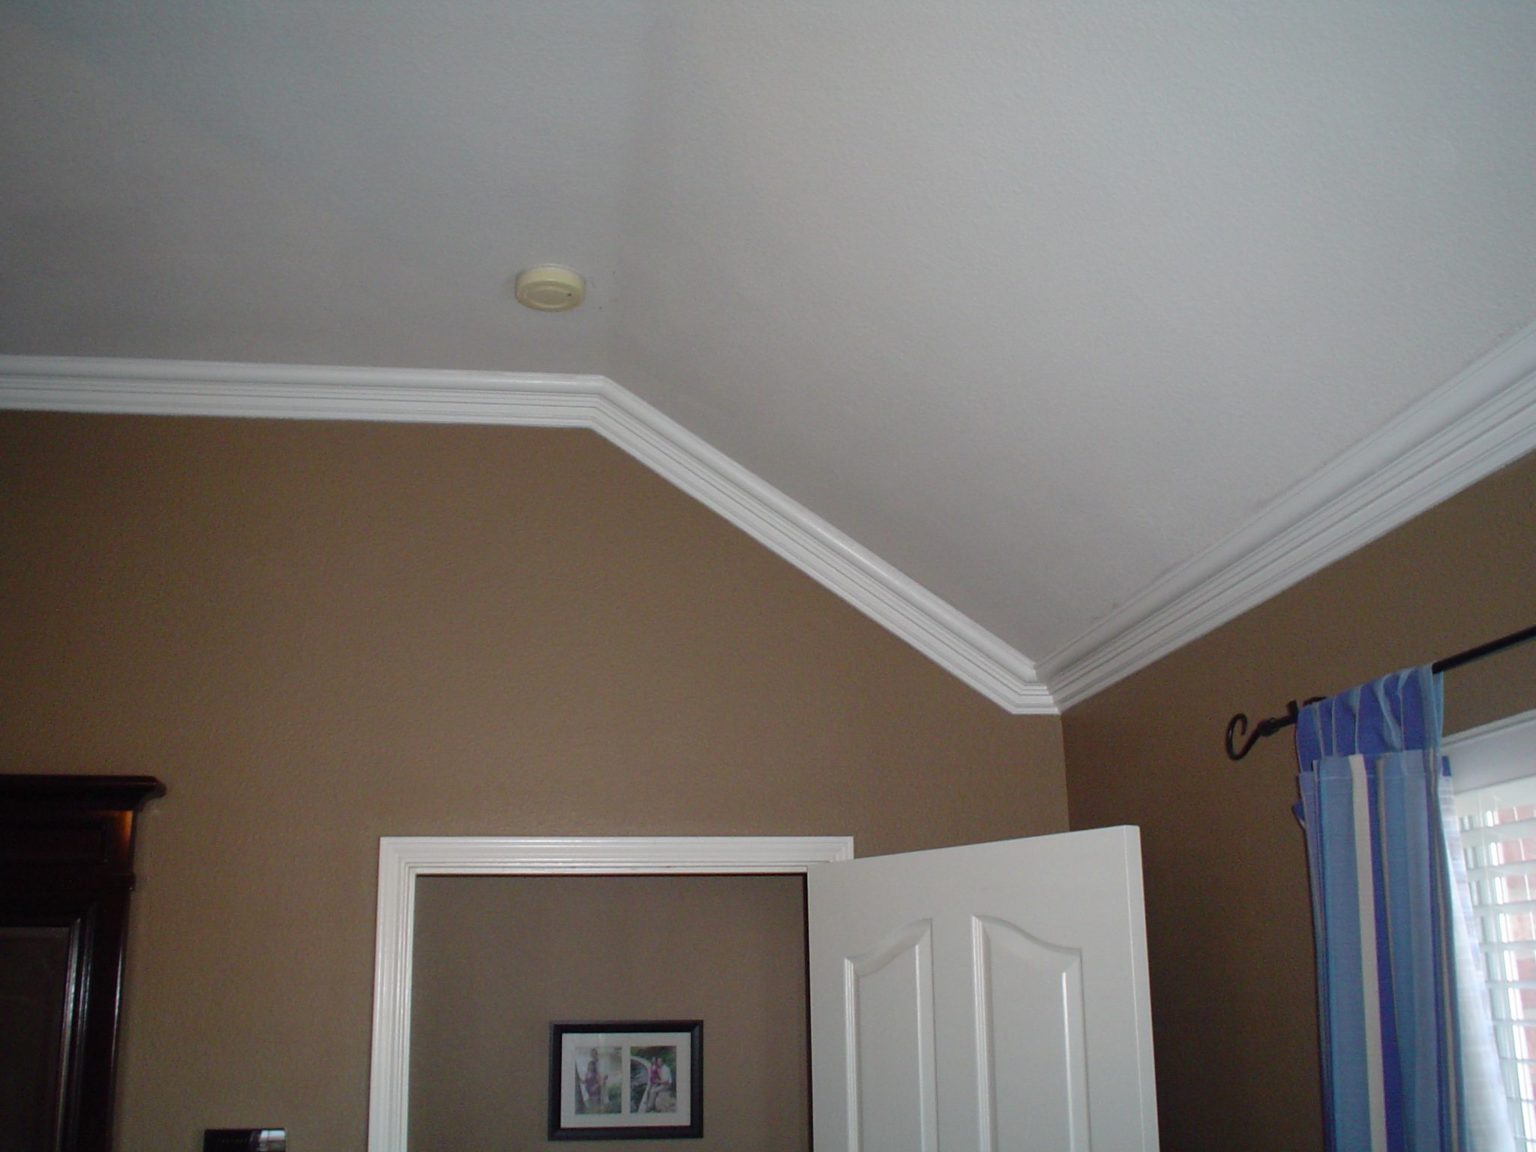
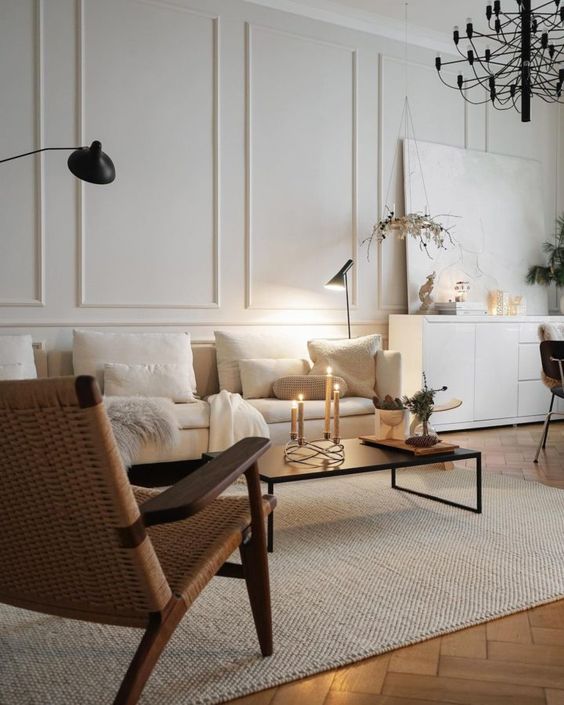
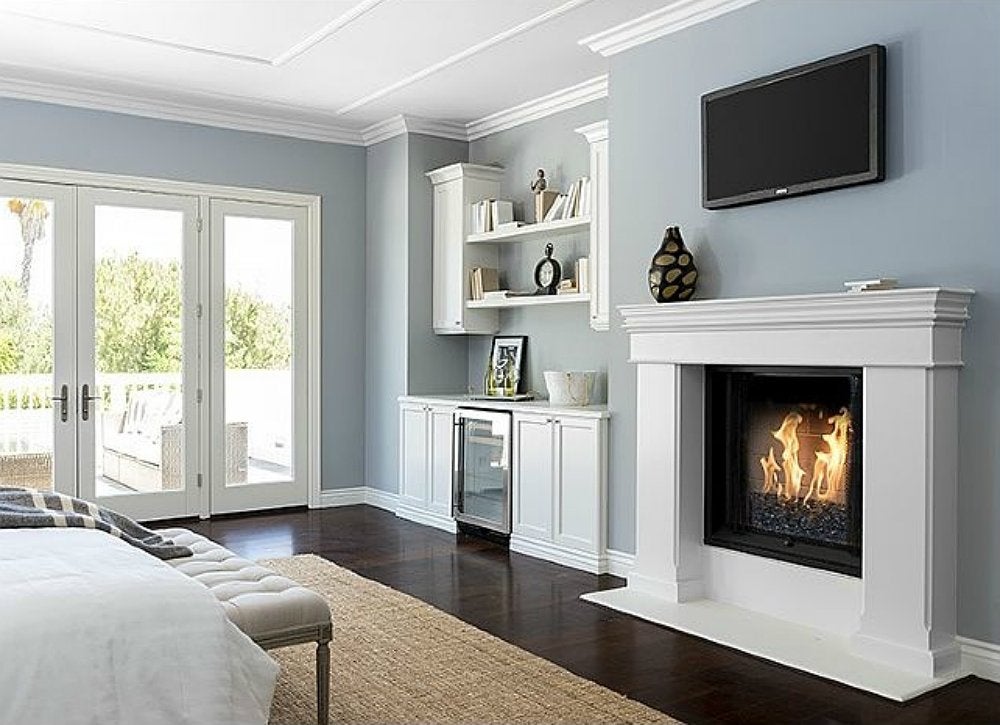 When it comes to choosing the right molding for your living room, the options are endless. You can opt for a simple crown molding for a classic and elegant look, or go for a more elaborate design for a touch of grandeur. You can also mix and match different types of molding to create a unique and personalized look. It is important to consider the style and theme of your living room when choosing the right molding. For instance, if you have a modern living room, you may want to go for a more streamlined and minimalist molding design.
Featured Keyword:
Add Molding to Living Room
The Installation Process
 Installing molding may seem like a daunting task, but with the right tools and techniques, it can be a simple and straightforward process. If you have some DIY experience, you can tackle this project yourself. However, it is always recommended to hire a professional for a flawless and seamless finish. A professional will also ensure that the molding is installed correctly and securely.
Related Main Keyword:
House Design
Transform Your Living Room Today!
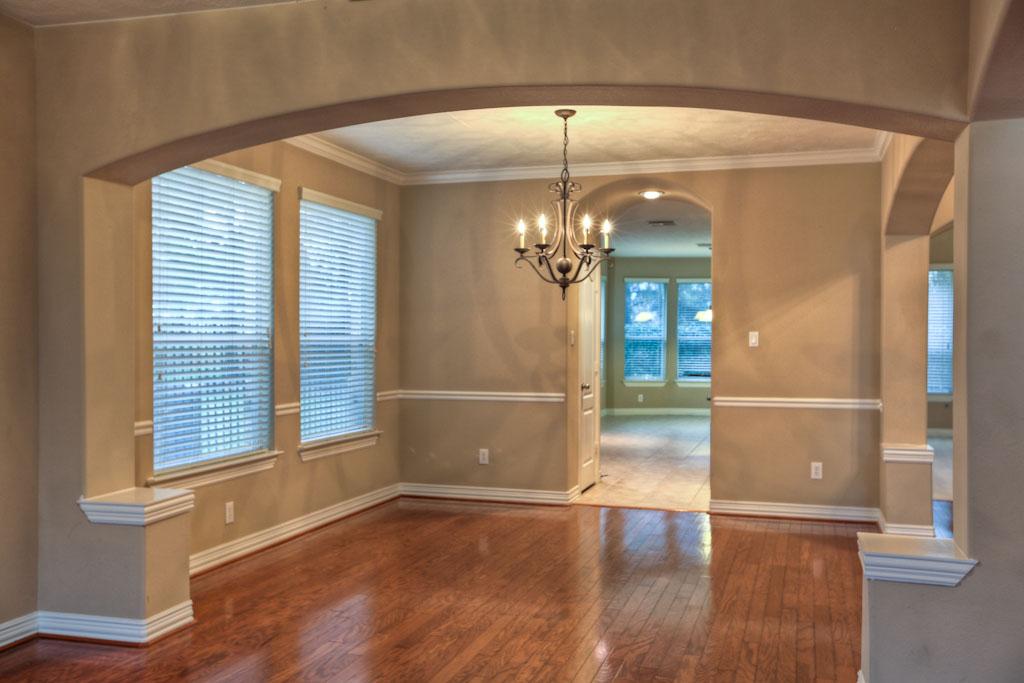 In conclusion,
adding molding to your living room
is an easy and effective way to enhance the overall design and aesthetic of your home. It not only adds visual interest and depth, but it also has practical benefits such as hiding imperfections and making a small room appear larger. With endless options to choose from and a relatively simple installation process,
incorporating molding into your house design
is a no-brainer. So, what are you waiting for? Transform your living room today with beautiful molding!






/Diningroomwithcrownmolding-GettyImages-145121522-85951b058d5f406cb48bd96375265b2e.jpg)










:max_bytes(150000):strip_icc()/DesignbyEmilyHendersonDesignPhotographerbySaraTramp_181-ba033340b54147399980cfeaed3673ee.jpg)

