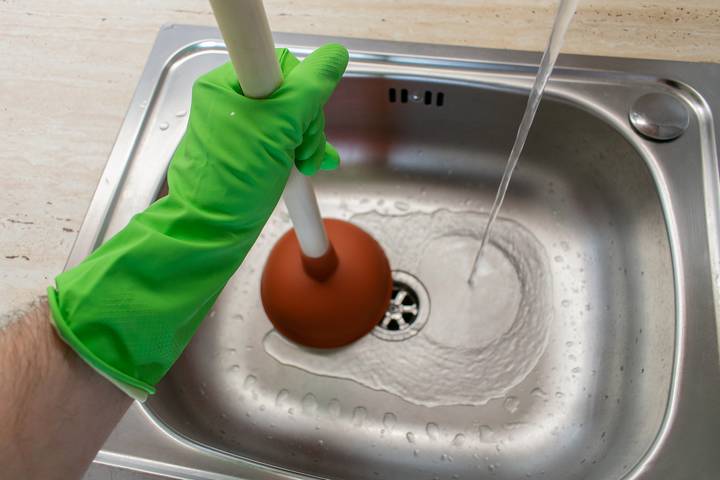
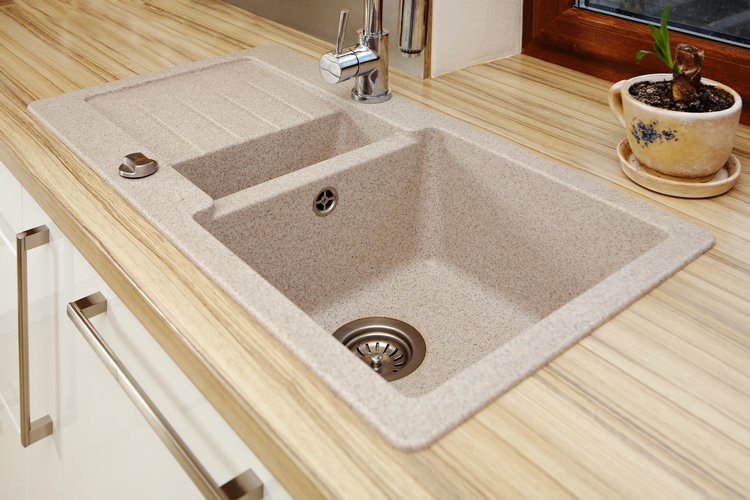
If you've noticed a leaky kitchen sink, it may be time to add a new gasket. A gasket is a rubber or silicone seal that fits between the sink and the drain to prevent water from leaking. Over time, gaskets can become worn or damaged, causing leaks and potential water damage. Luckily, adding a new gasket to your kitchen sink is a simple DIY project that can be done in just a few steps. Here's how to add a gasket to your kitchen sink and keep your sink leak-free.How to Add a Gasket to a Kitchen Sink
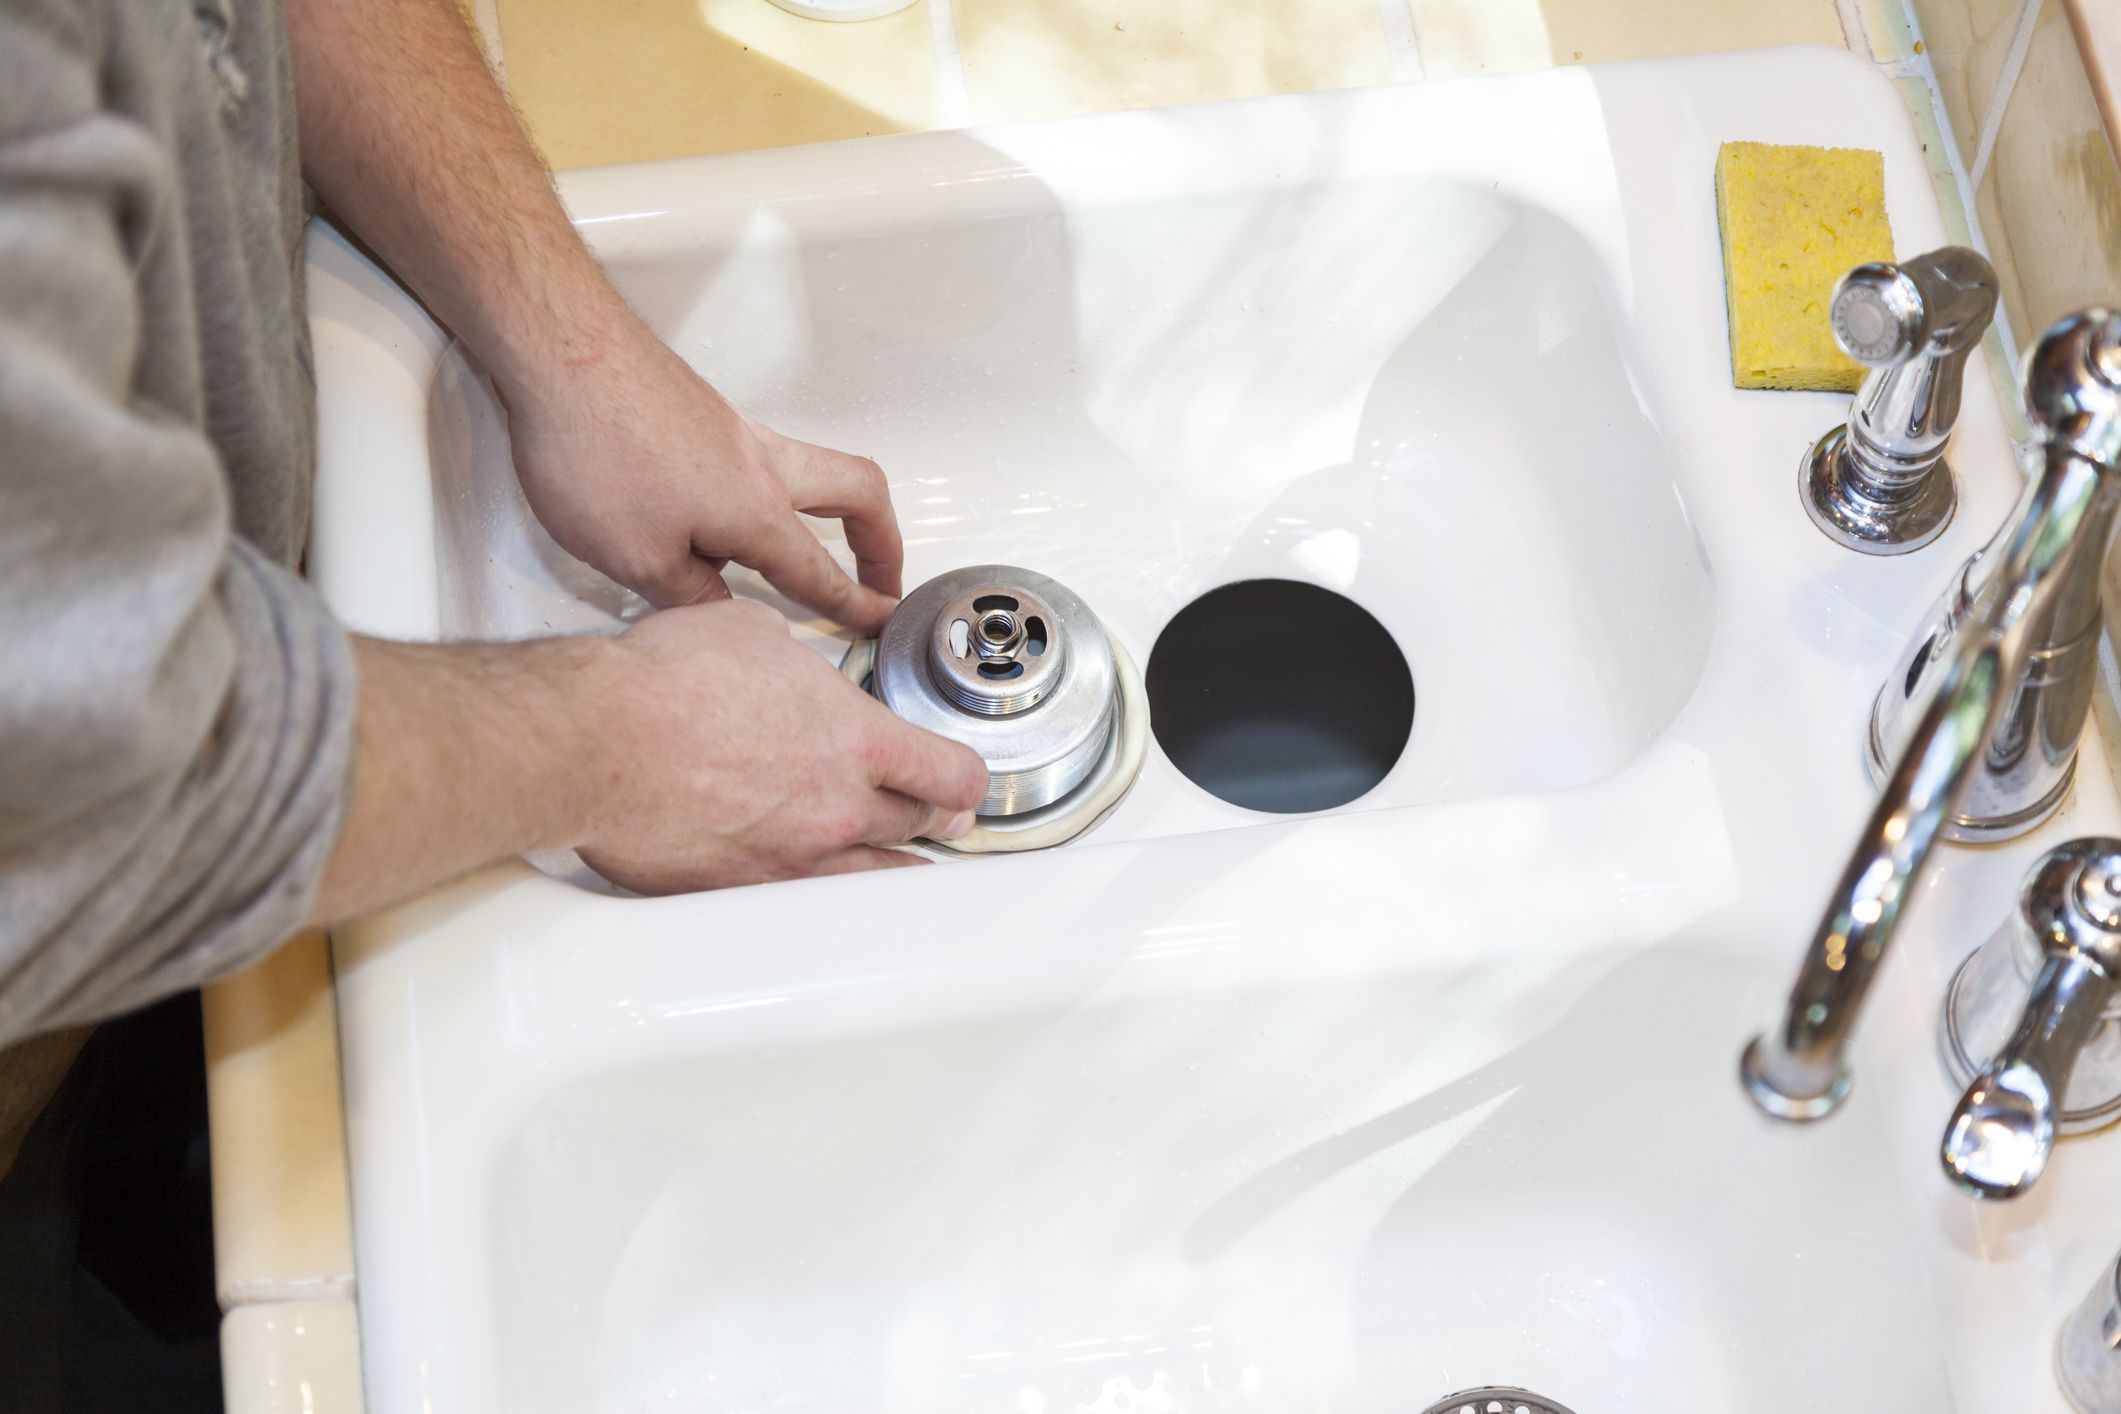
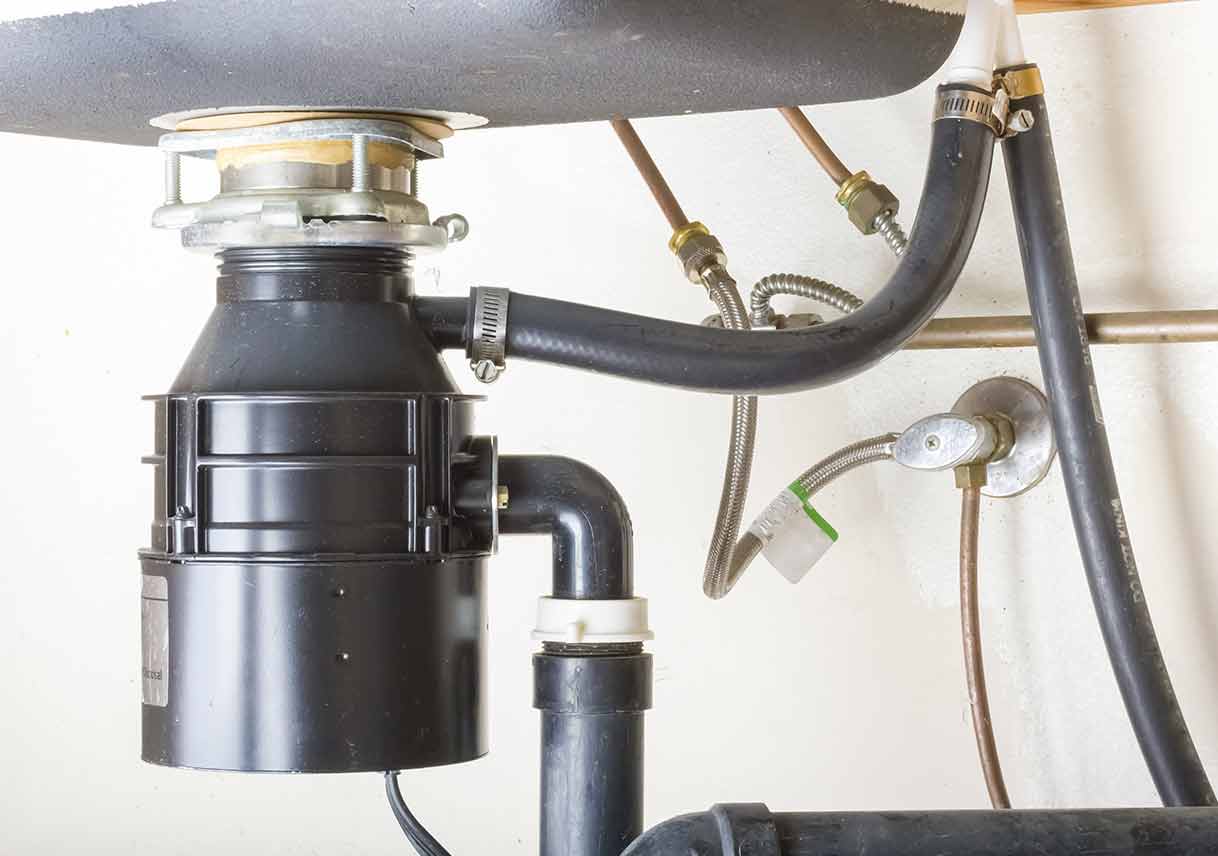
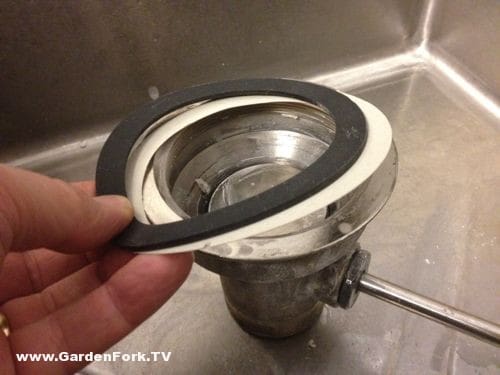
Before you begin, gather all the necessary tools and materials. You will need a new gasket, a screwdriver, plumbers putty, and a wrench. Make sure to choose a gasket that is the correct size and shape for your sink. Start by turning off the water supply to your sink and removing any items from underneath the sink. Next, loosen and remove the locking nut that holds the old gasket in place. This can usually be done by hand but may require a wrench for tighter fittings. With the old gasket removed, clean the area around the drain thoroughly. You may need to use a putty knife to scrape away any old putty or debris. Once the area is clean, roll a small amount of plumbers putty into a thin rope and wrap it around the underside of the lip of the drain. Now it's time to add the new gasket. Place the gasket on top of the putty, making sure it is centered and fits snugly. Then, carefully place the drain back into the sink and line up the holes with the bolts. Use the screwdriver to tighten the bolts, securing the drain in place. Finally, tighten the locking nut with a wrench to ensure a tight seal. Wipe away any excess putty that may have squeezed out around the drain. Turn the water supply back on and check for any leaks. If everything looks good, you're all set with a new, leak-free gasket.How to Install a Gasket on a Kitchen Sink
If you're replacing an old gasket, it's important to check for any signs of damage or wear. A worn gasket may not provide a tight seal, leading to leaks and potential water damage. If you notice any cracks or tears in the gasket, it's time for a replacement. It's always better to be safe than sorry when it comes to preventing leaks in your kitchen sink.Replacing a Gasket on a Kitchen Sink
To recap, here is a step-by-step guide for adding a gasket to a kitchen sink: Step 1: Gather all necessary tools and materials. Step 2: Turn off the water supply and remove any items from under the sink. Step 3: Loosen and remove the locking nut holding the old gasket in place. Step 4: Clean the area around the drain and apply plumbers putty to the underside of the drain lip. Step 5: Place the new gasket on top of the putty, then place the drain back into the sink and tighten the bolts. Step 6: Use a wrench to tighten the locking nut and wipe away any excess putty. Step 7: Turn the water supply back on and check for any leaks.Step-by-Step Guide for Adding a Gasket to a Kitchen Sink
Replacing a kitchen sink gasket is a simple and budget-friendly DIY project that can save you from costly water damage in the long run. With the right tools and materials, you can easily replace a worn or damaged gasket on your own. However, if you're not comfortable with DIY projects, it's always best to hire a professional plumber to ensure the job is done correctly.DIY Kitchen Sink Gasket Replacement
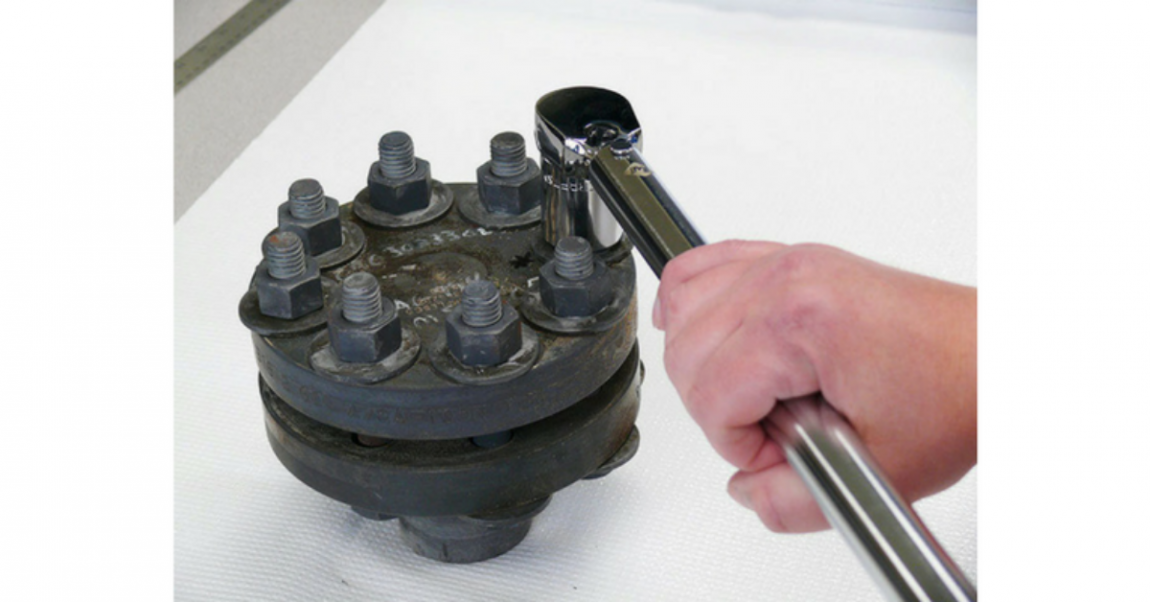
Here are the tools you will need to add a gasket to your kitchen sink: Screwdriver - for loosening and tightening bolts. Wrench - for tightening the locking nut. Plumbers Putty - for creating a watertight seal. New Gasket - make sure to choose the correct size and shape for your sink.Tools Needed for Adding a Gasket to a Kitchen Sink
Here are some tips to keep in mind when adding a gasket to your kitchen sink: Tip 1: Make sure to turn off the water supply before starting the installation process. Tip 2: Use a wrench for tighter fittings to ensure a secure seal. Tip 3: Clean the area thoroughly before adding the new gasket to ensure a tight seal. Tip 4: Check for any signs of damage on the old gasket before replacing it.Tips for a Successful Kitchen Sink Gasket Installation
While adding a gasket to a kitchen sink is a relatively simple task, there are some common mistakes that can lead to leaks and potential water damage. Here are some mistakes to avoid: Mistake 1: Not turning off the water supply before starting the installation process. Mistake 2: Using the wrong size or shape gasket for your sink. Mistake 3: Forgetting to tighten the locking nut with a wrench for a secure seal.Common Mistakes to Avoid When Adding a Gasket to a Kitchen Sink
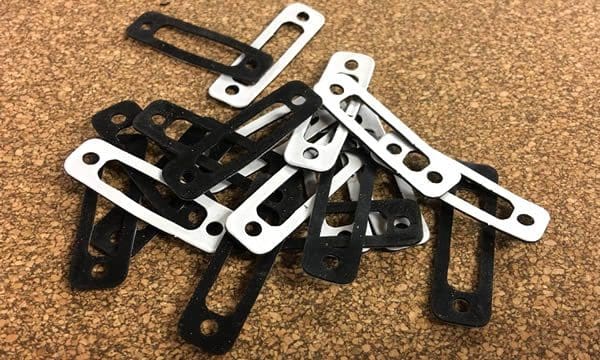
When choosing a gasket for your kitchen sink, it's essential to select the correct size and shape for your sink. Most gaskets are made of rubber or silicone and come in various sizes and shapes to fit different sinks. It's always best to bring your old gasket with you to the store to ensure you get the right replacement.How to Choose the Right Gasket for Your Kitchen Sink
Adding a gasket to your kitchen sink comes with several benefits, including: Preventing leaks: A gasket creates a watertight seal between the sink and the drain, preventing leaks and potential water damage. Easy DIY project: Adding a gasket to your kitchen sink is a simple DIY project that can be done in just a few steps. Cost-effective: By replacing a worn or damaged gasket, you can save yourself from costly repairs in the future.Benefits of Adding a Gasket to Your Kitchen Sink
Add a Gasket to Your Kitchen Sink for a More Efficient and Stylish Design

Why You Should Consider Adding a Gasket to Your Kitchen Sink
 When it comes to designing a house, the kitchen is often the heart of the home. It's where families gather to cook, eat, and spend time together. With that in mind, it's important to have a functional and aesthetically pleasing kitchen. One aspect that often gets overlooked is the sink. However, adding a
gasket
to your kitchen sink can make a big difference in both its functionality and style.
The Benefits of a Gasket
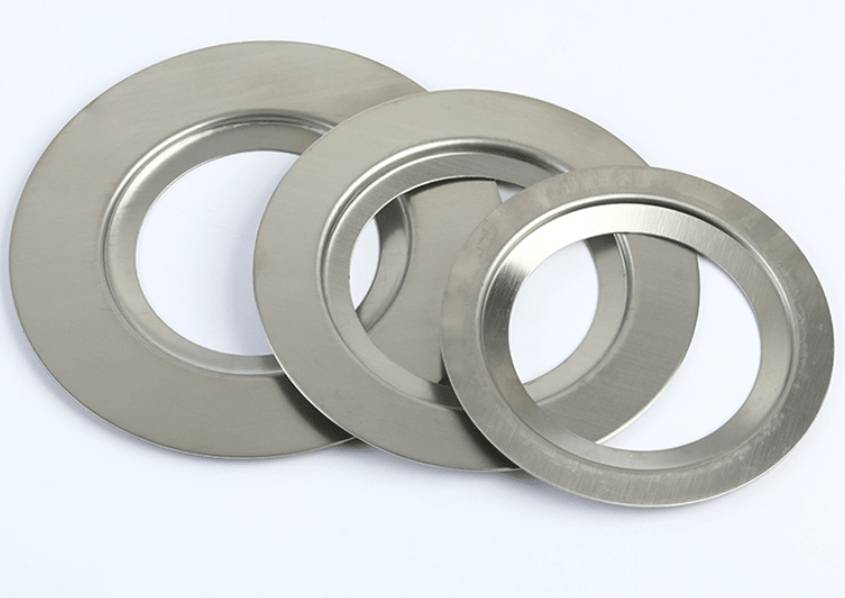 A
gasket
is a small but crucial part of your kitchen sink. It is a thin strip of rubber or silicone that fits between the edges of your sink and the countertop. The primary function of a
gasket
is to create a seal between the sink and the countertop, preventing water and other substances from seeping through and causing damage. But a
gasket
also offers several other benefits that can enhance your kitchen design.
Prevent Water Damage and Mold Growth
 Without a proper seal, water can seep through the gaps between your sink and countertop and cause damage to your cabinets and flooring. This can lead to costly repairs and even the growth of mold, which can be harmful to your health. Adding a
gasket
creates a tight seal that prevents water from leaking, protecting your kitchen from potential damage.
Improve the Aesthetics of Your Kitchen
 In addition to its functional benefits, a
gasket
can also enhance the overall look of your kitchen. It creates a clean and seamless transition between the sink and countertop, giving your kitchen a more polished and professional appearance.
Gaskets
also come in a variety of colors and styles, allowing you to choose one that complements your kitchen design.
Easy to Install
 Adding a
gasket
to your kitchen sink is a simple and affordable DIY project. Most
gaskets
come with adhesive backing, making installation quick and easy. You can find
gaskets
at most home improvement stores or online, and they are available in various sizes to fit different types of sinks.
Conclusion
 In conclusion, adding a
gasket
to your kitchen sink is a small but impactful upgrade that can improve both the functionality and aesthetics of your kitchen. It is an affordable and easy DIY project that can prevent water damage, mold growth, and enhance the overall design of your kitchen. So why not give your kitchen sink the attention it deserves and add a
gasket
today?





:no_upscale()/cdn.vox-cdn.com/uploads/chorus_asset/file/19495086/drain_0.jpg)





















:max_bytes(150000):strip_icc()/Basic-kitchen-sink-types-1821207_color_rev-0b539306b9ef4236a136624ad2a89a4c.jpg)


