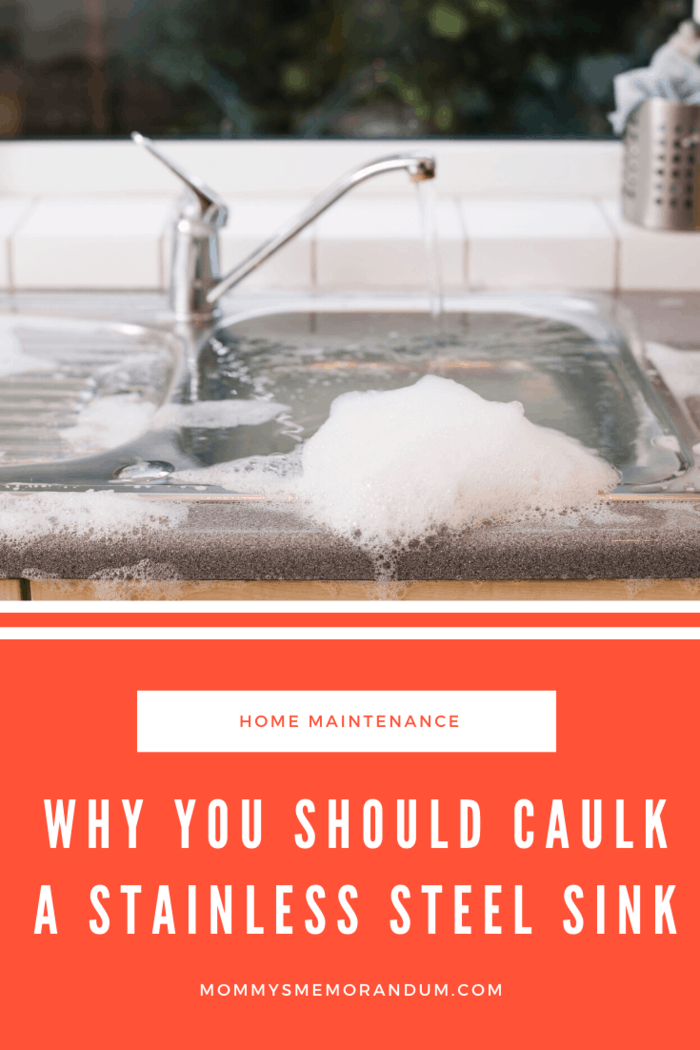
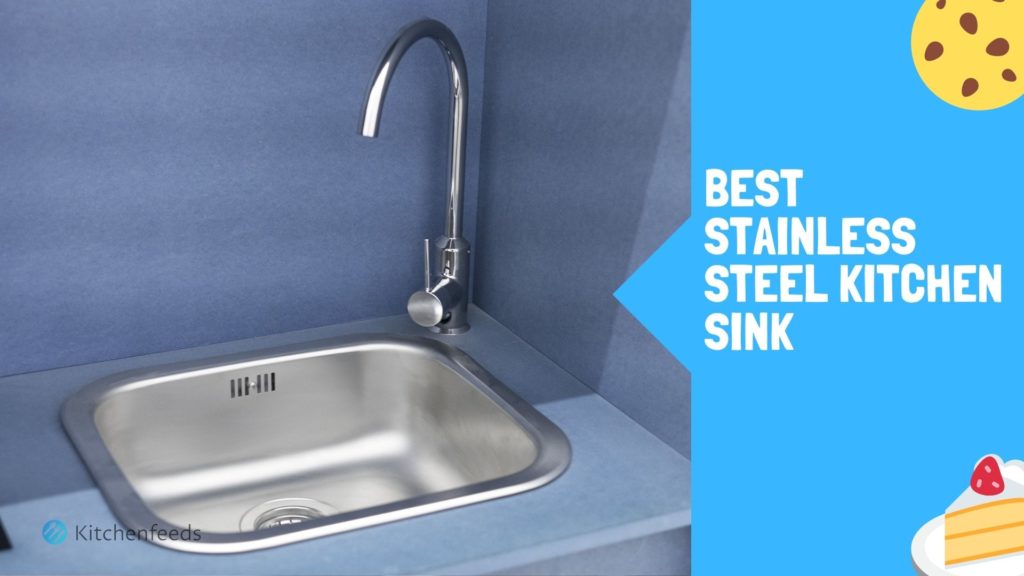
Caulking a stainless steel kitchen sink may seem like a daunting task, but it is actually a simple and important step in maintaining your sink. Caulk helps to seal any gaps between the sink and the countertop, preventing water and debris from getting trapped and causing damage. In this guide, we will go through the steps of caulking a stainless steel kitchen sink properly.How to Caulk a Stainless Steel Kitchen Sink


How to Caulk a Stainless Steel Kitchen Sink


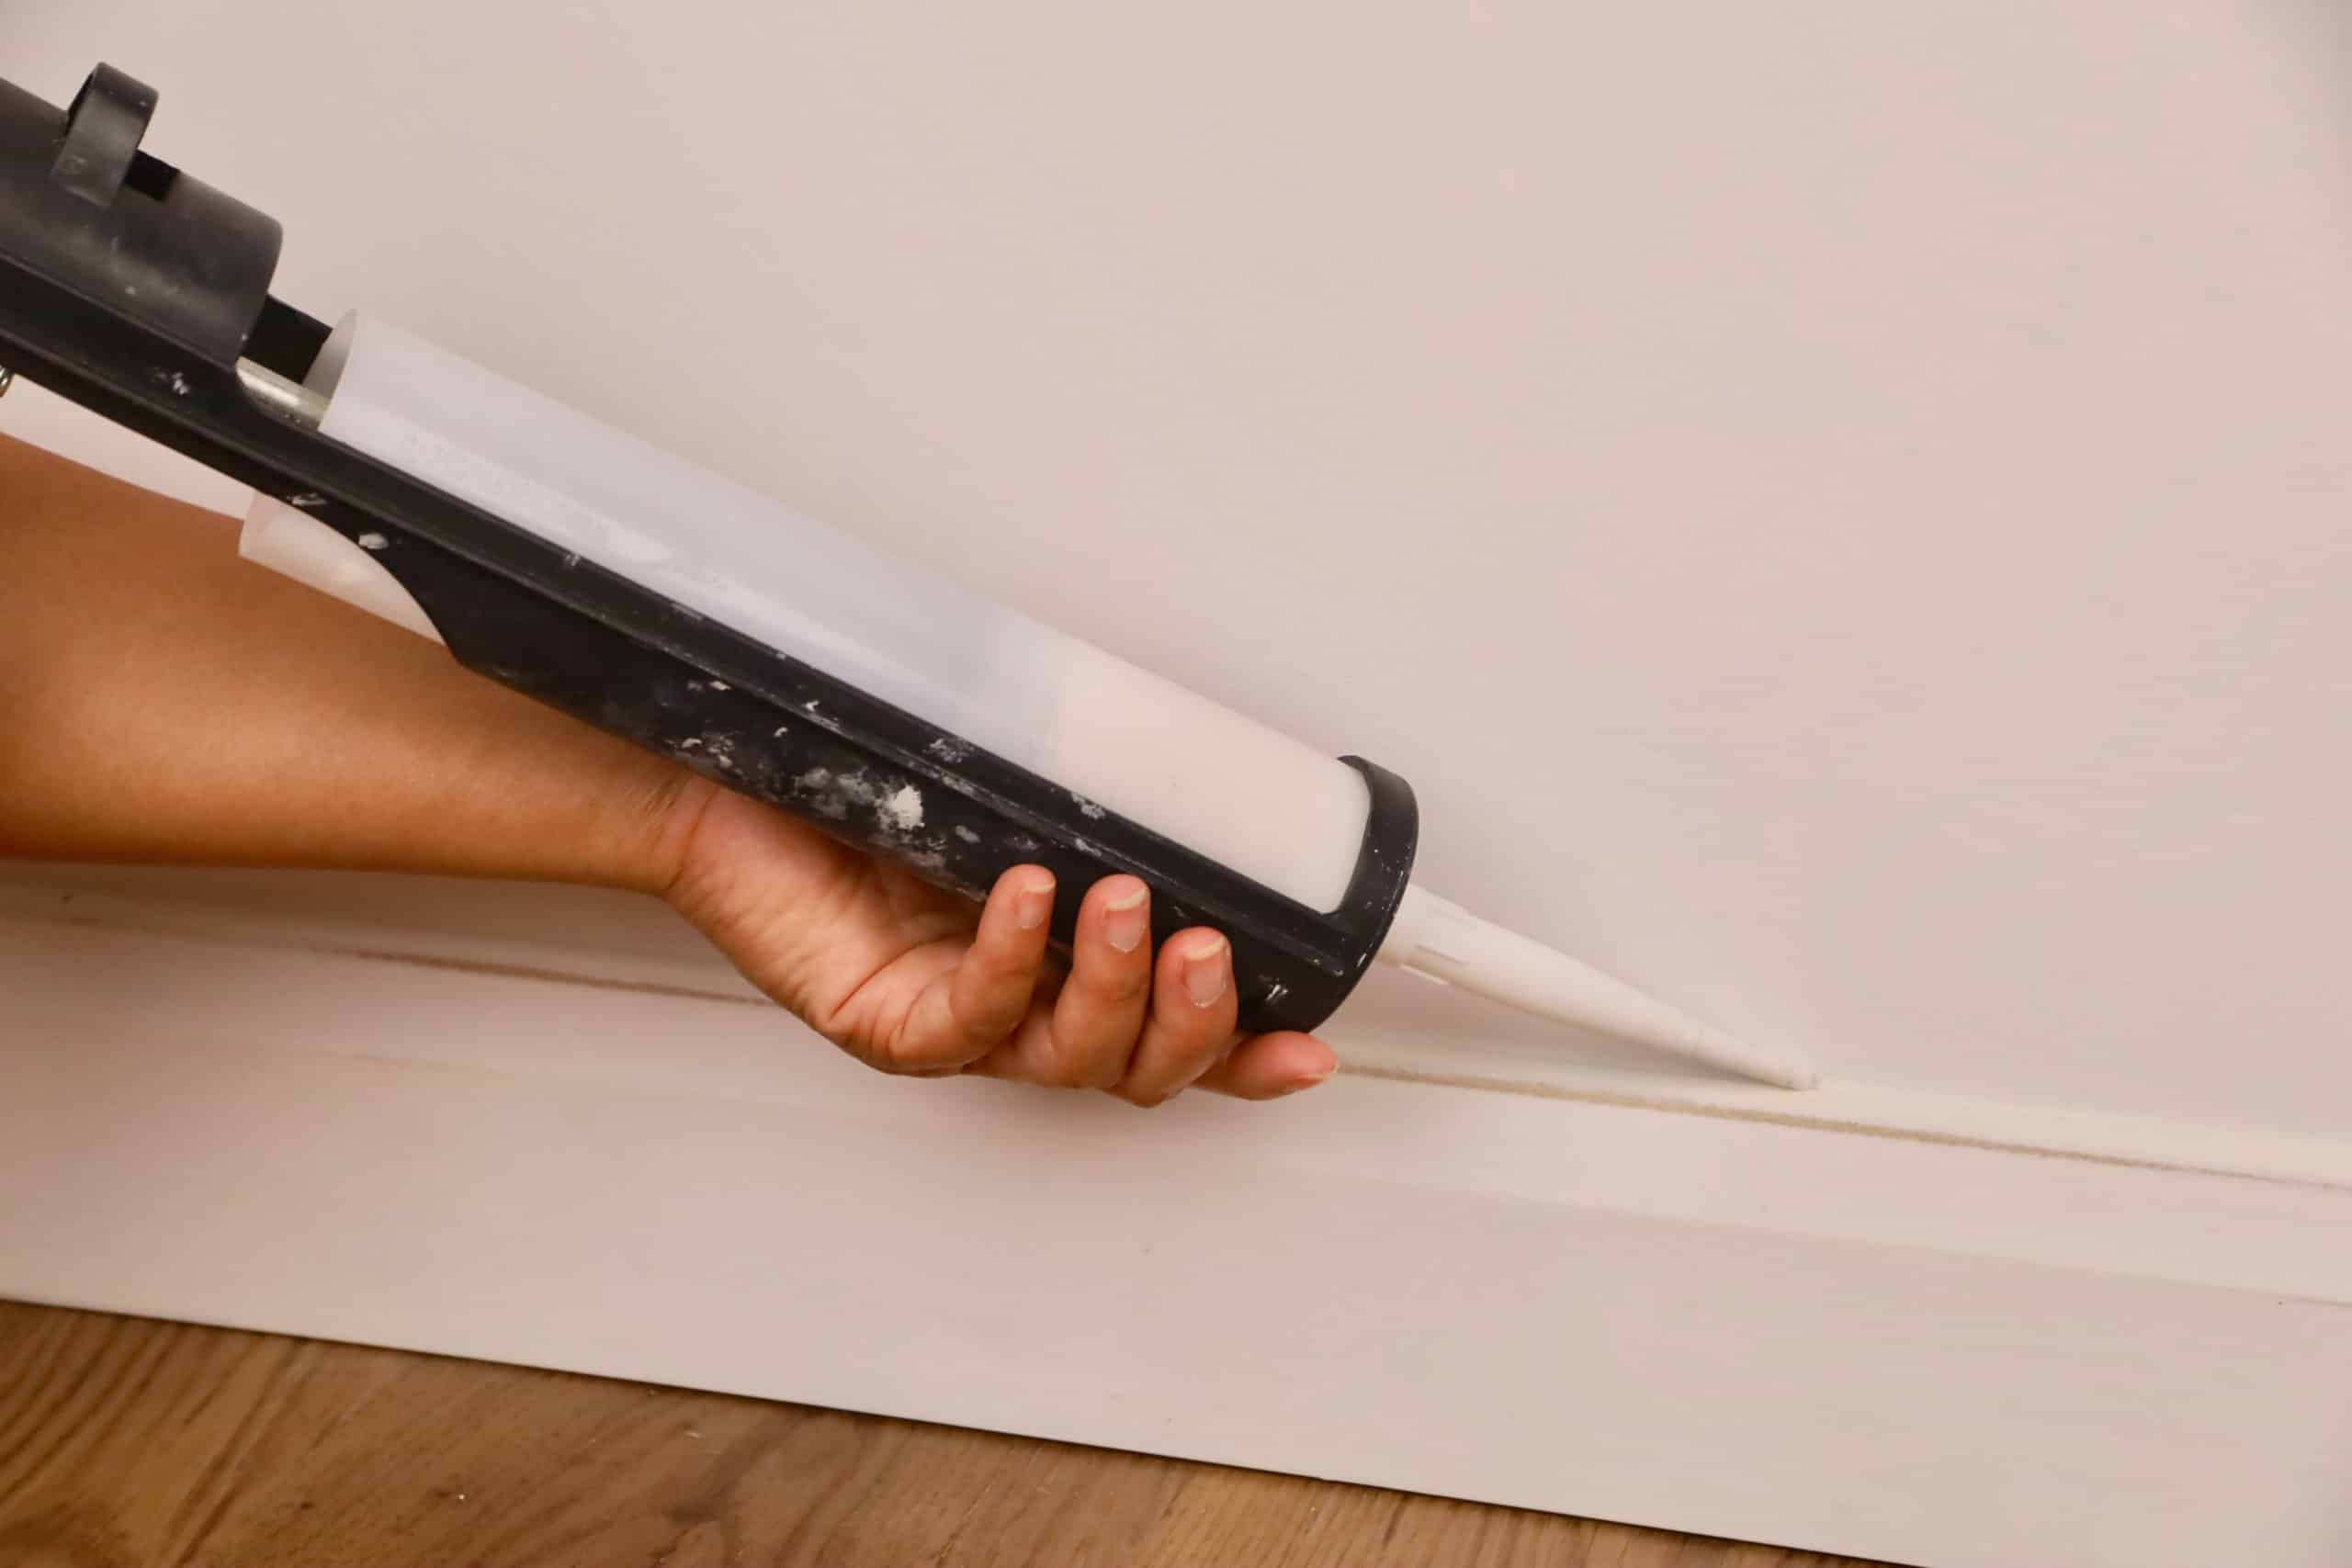
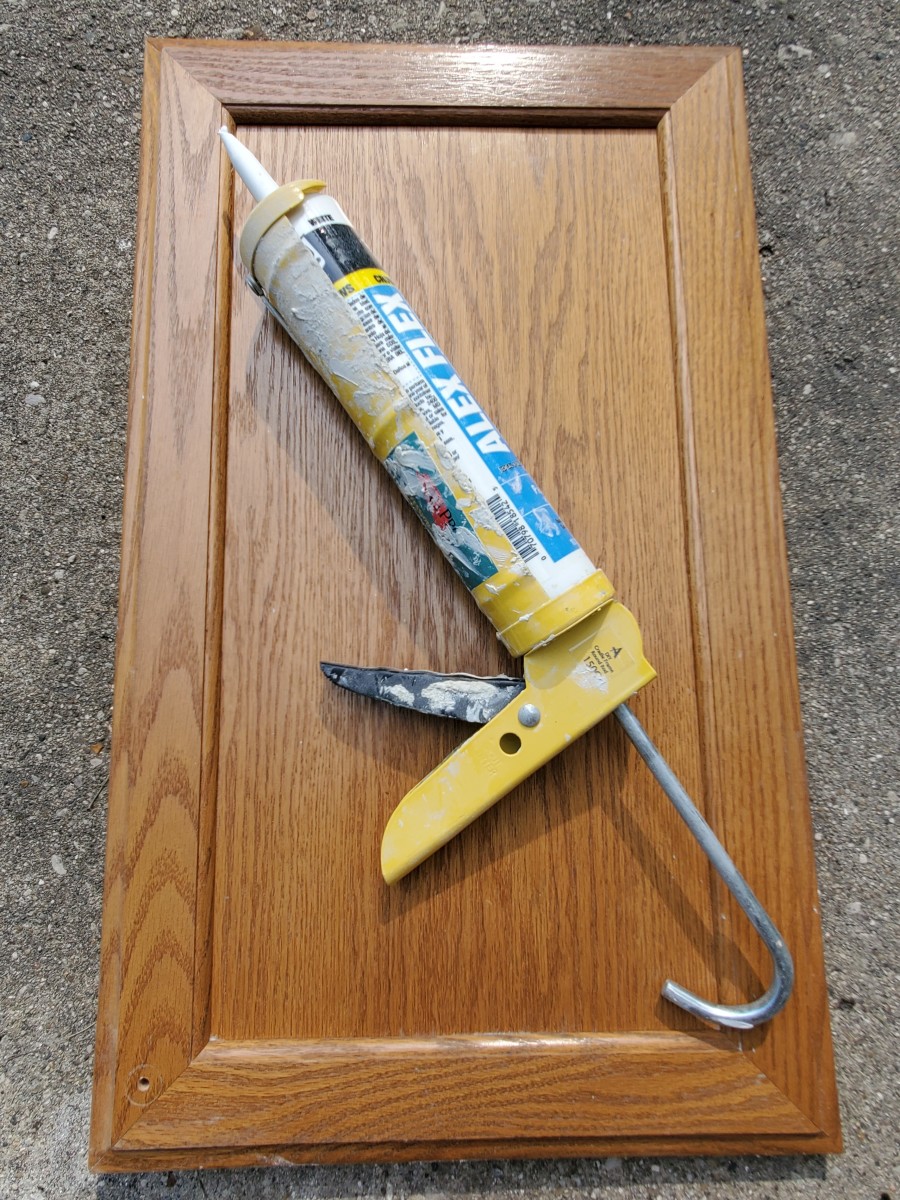
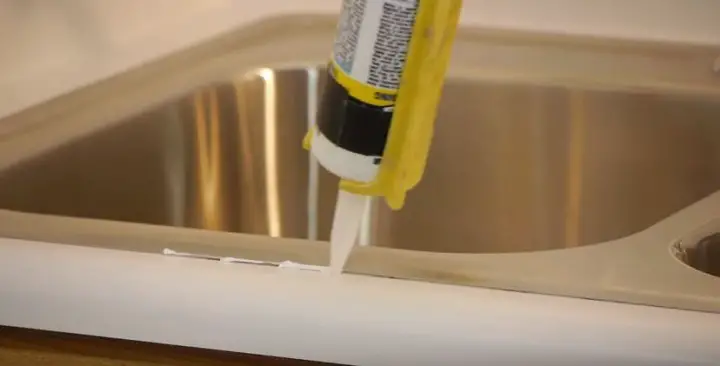
Step 1: Gather your materials. You will need caulk, a caulk gun, a utility knife, a damp cloth, and painter's tape. Make sure to choose a caulk that is specifically designed for use on stainless steel. Step 2: Clean the sink and surrounding area thoroughly. Use a mild cleaner and a sponge to remove any dirt, grime, or residue. Dry the area with a clean cloth. Step 3: Apply painter's tape along the edges of the sink and countertop. This will create clean lines and make the caulk application neater. Step 4: Cut the tip of the caulk tube at a 45-degree angle. This will make it easier to apply the caulk smoothly and evenly. Step 5: Load the caulk tube into the caulk gun and squeeze the trigger to start the flow of caulk. Step 6: Starting at one corner, apply a thin and even bead of caulk along the seam between the sink and the countertop. Use steady pressure on the caulk gun and keep the tip at a 45-degree angle to the seam. Step 7: Use your finger or a caulk smoothing tool to smooth out the caulk and remove any excess. Wipe off any excess caulk with a damp cloth. Step 8: Repeat this process for each seam around the sink. Let the caulk dry for at least 24 hours before using the sink.Step-by-Step Guide to Caulking a Stainless Steel Kitchen Sink


Step-by-Step Guide to Caulking a Stainless Steel Kitchen Sink


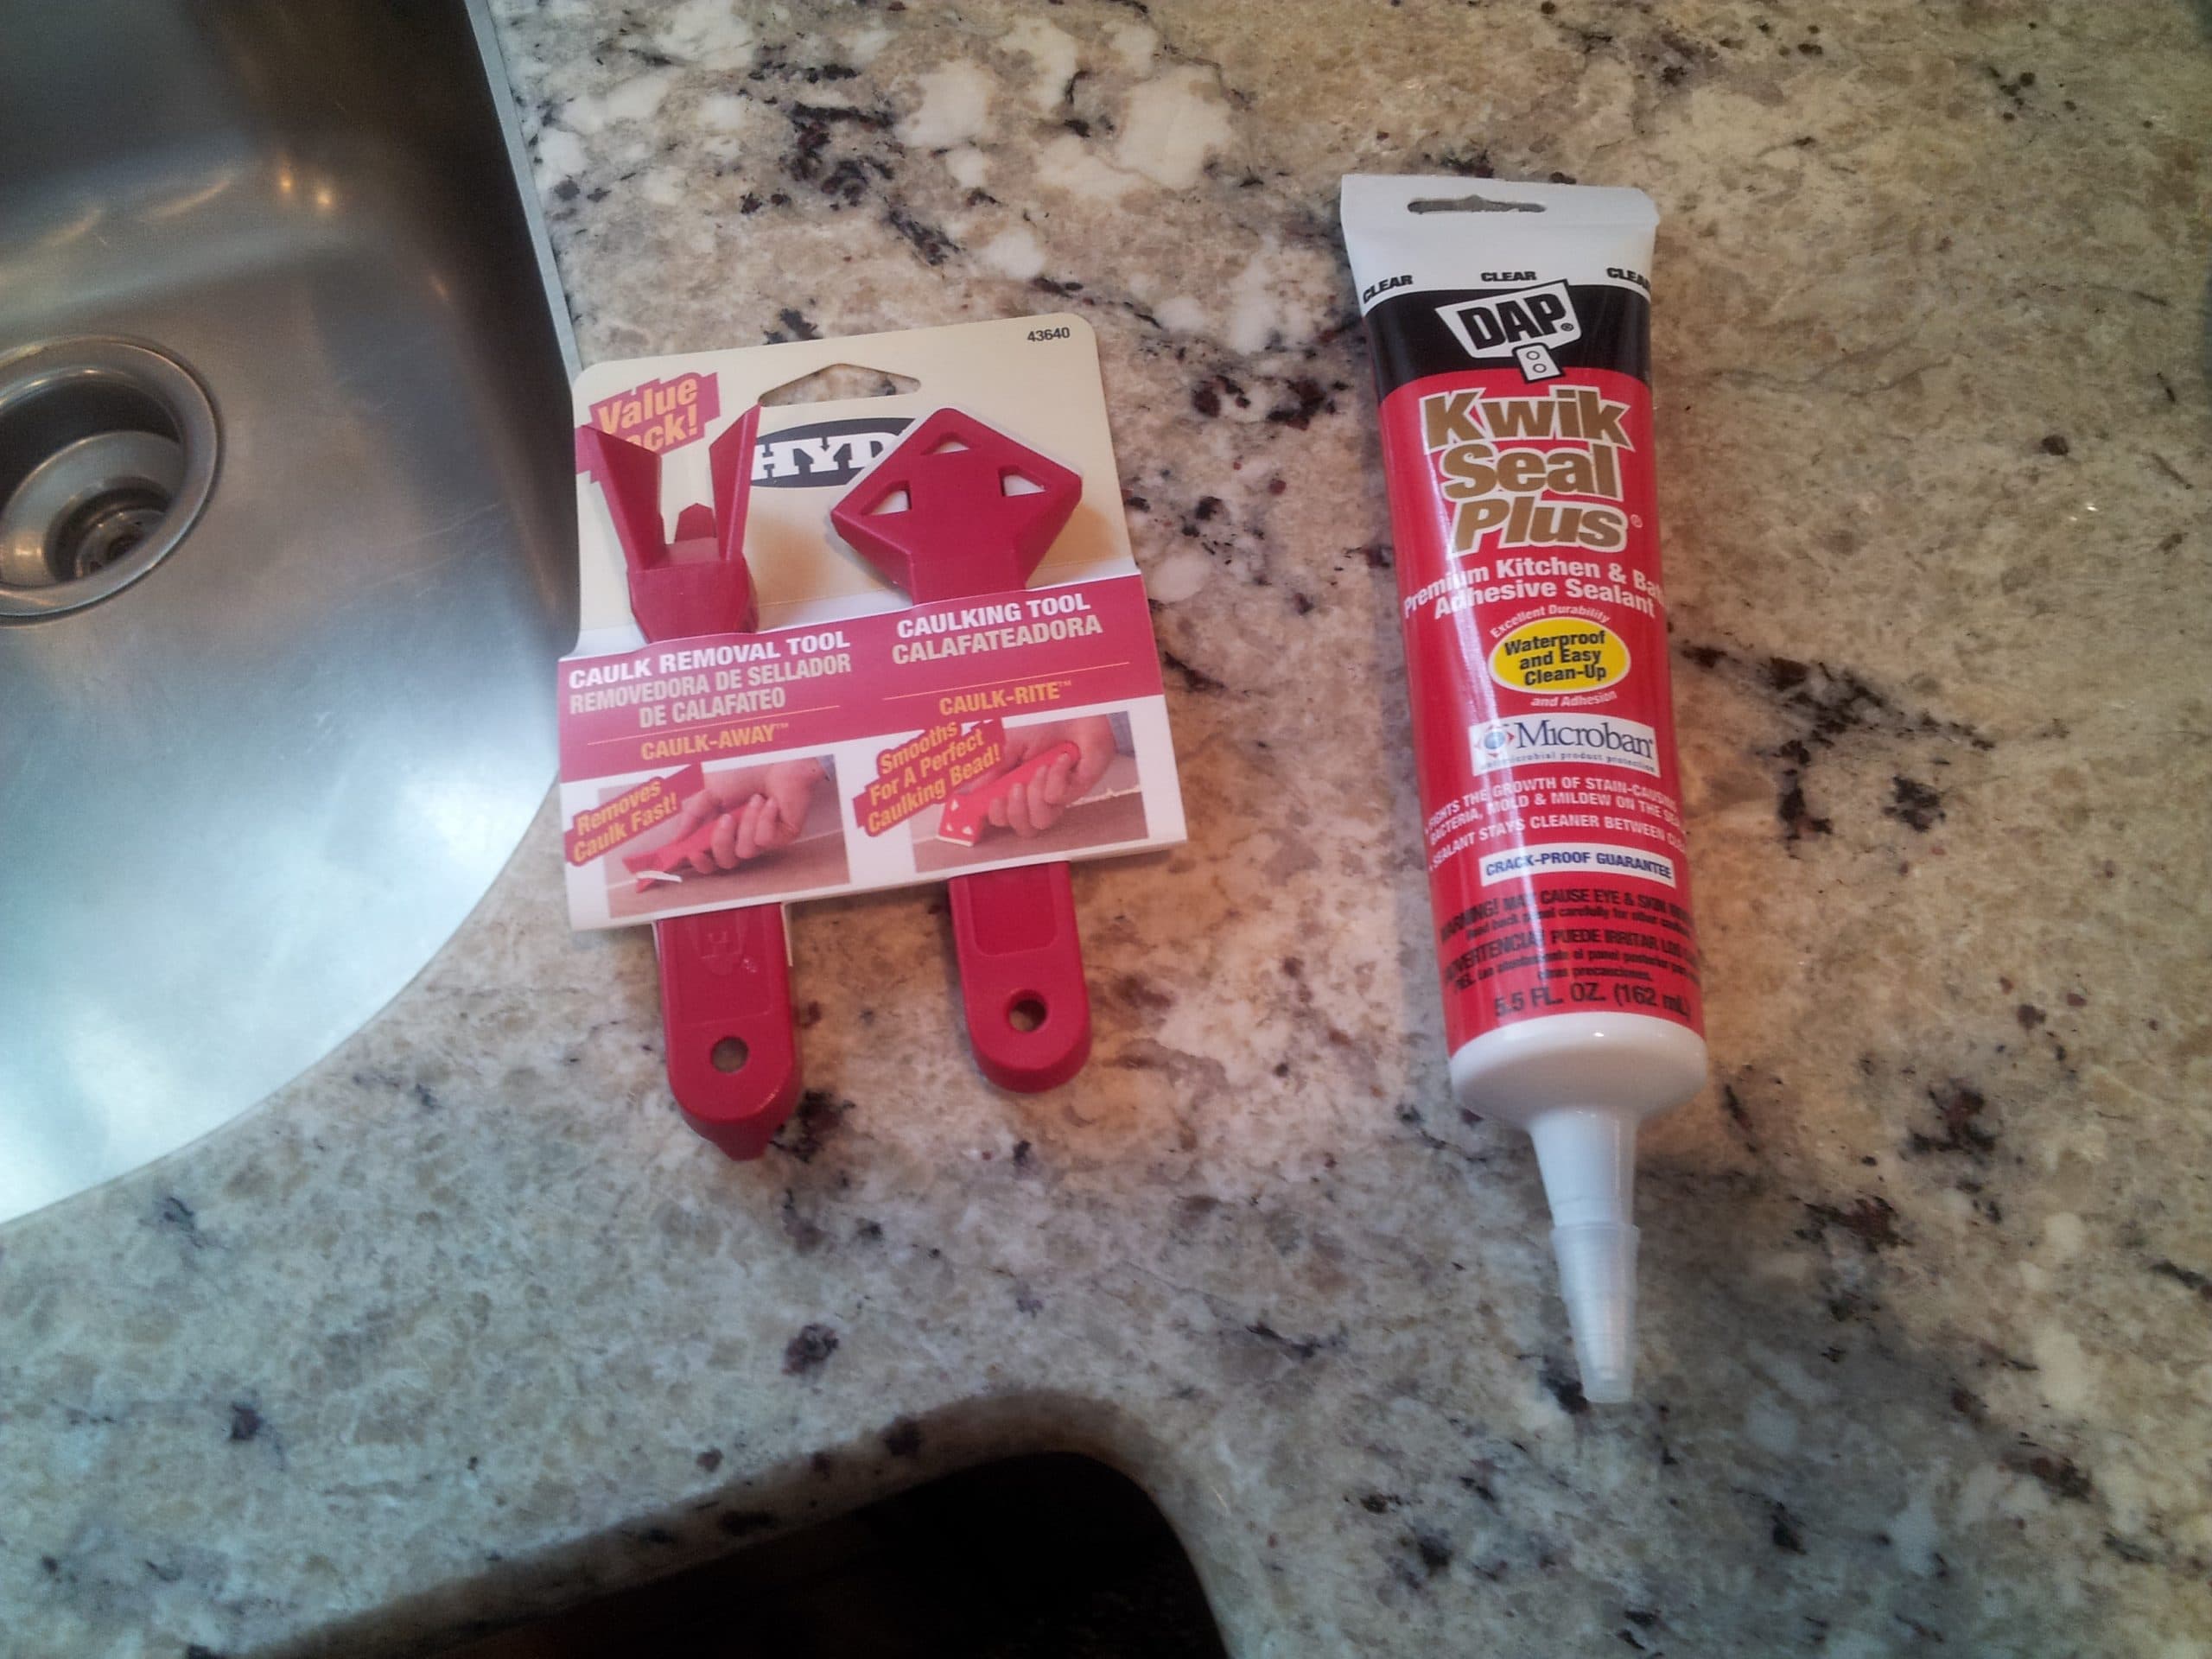
Choosing the right caulk for your stainless steel kitchen sink is important for achieving a long-lasting seal. Look for a caulk that is specifically designed for use on stainless steel and is labeled as waterproof and mold-resistant. Some popular options include silicone, acrylic, or hybrid caulk.Best Caulk for Stainless Steel Kitchen Sink


Best Caulk for Stainless Steel Kitchen Sink


.jpg)


1. Choose the right caulk: As mentioned, make sure to choose a caulk that is specifically designed for use on stainless steel. This will ensure a strong and lasting seal. 2. Clean and prep the area properly: Before caulking, make sure the sink and surrounding area are clean and dry. This will help the caulk adhere better. 3. Use painter's tape: As mentioned, using painter's tape will create clean lines and make the caulk application neater. 4. Smooth out the caulk: Use your finger or a caulk smoothing tool to smooth out the caulk and remove any excess. This will create a more professional-looking finish. 5. Let it dry: Allow the caulk to dry for at least 24 hours before using the sink. This will ensure that the seal is strong and lasting.Tips for Caulking a Stainless Steel Kitchen Sink
Tips for Caulking a Stainless Steel Kitchen Sink


Caulking may seem like a small and insignificant task, but it actually plays a crucial role in maintaining your stainless steel kitchen sink. Without proper caulking, water and debris can seep into the gaps between the sink and countertop, causing damage and potential mold growth. Caulking helps to create a watertight seal, protecting your sink and prolonging its lifespan.Why Caulking is Important for a Stainless Steel Kitchen Sink

Why Caulking is Important for a Stainless Steel Kitchen Sink


It is recommended to check the caulk around your stainless steel kitchen sink at least once a year. If you notice any cracks or gaps, it is time to re-caulk. It is also a good idea to re-caulk if you are making any changes to your kitchen, such as replacing the countertop or sink.How Often Should You Caulk a Stainless Steel Kitchen Sink

How Often Should You Caulk a Stainless Steel Kitchen Sink

1. Using the wrong caulk: Using a caulk that is not specifically designed for use on stainless steel can result in a weak seal that can easily break or deteriorate over time. 2. Not cleaning the area properly: If the sink and surrounding area are not properly cleaned and prepped, the caulk will not adhere properly and may not create a waterproof seal. 3. Applying too much caulk: Over-applying caulk can result in a messy and uneven finish. It can also take much longer to dry, prolonging the time the sink cannot be used. 4. Not smoothing out the caulk: Skipping the step of smoothing out the caulk can result in an unprofessional-looking finish and potential gaps where water and debris can get trapped.Common Mistakes When Caulking a Stainless Steel Kitchen Sink


Common Mistakes When Caulking a Stainless Steel Kitchen Sink

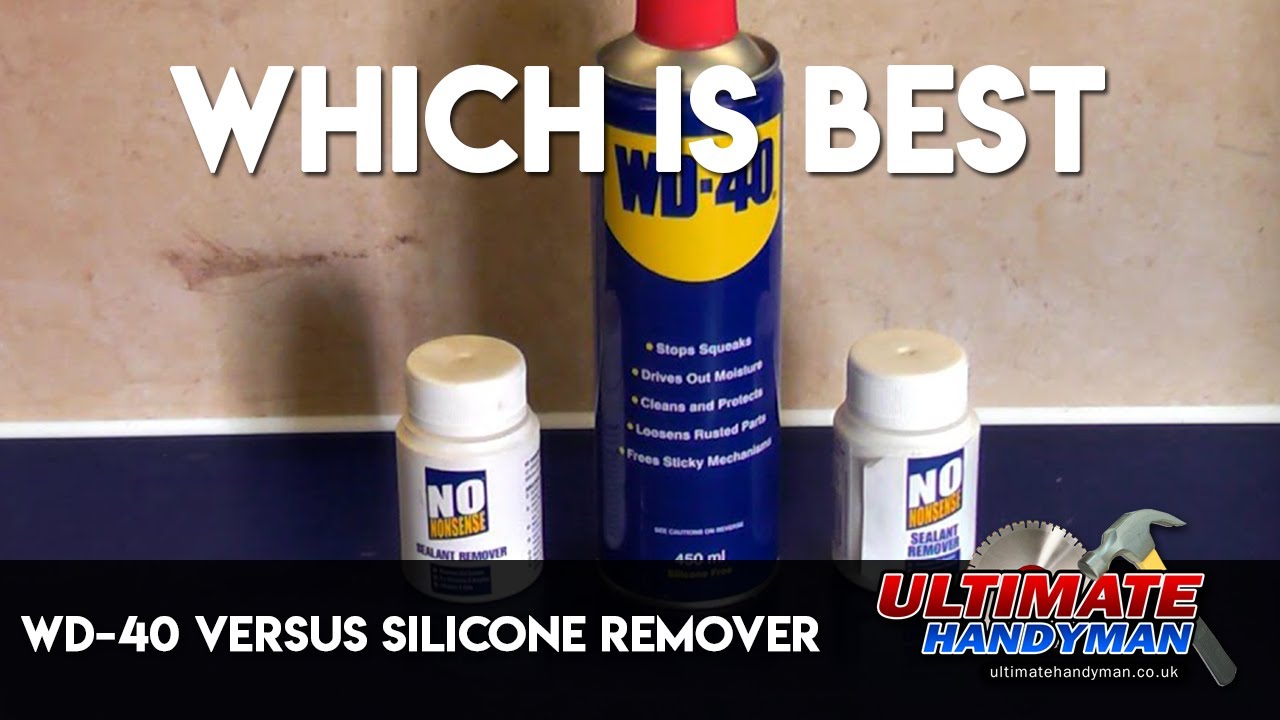
If you need to remove old caulk from your stainless steel kitchen sink, follow these steps: Step 1: Soften the caulk by applying heat. You can use a hairdryer or a heat gun on a low setting. Step 2: Use a utility knife or a caulk removal tool to scrape off as much of the old caulk as possible. Step 3: Use a caulk remover or mineral spirits to dissolve any remaining caulk. Step 4: Clean the area thoroughly and let it dry completely before re-caulking.How to Remove Old Caulk from a Stainless Steel Kitchen Sink


How to Remove Old Caulk from a Stainless Steel Kitchen Sink


:max_bytes(150000):strip_icc()/how-to-remove-old-caulk-1824827-01-3d0370c59e124dbbaa6560c68bab111c.jpg)
:max_bytes(150000):strip_icc()/how-to-remove-old-caulk-1824827-04-c71b38e1f79142e3b7b6656a81cdcdbb.jpg)
To properly caulk a stainless steel kitchen sink, you will need the following tools: - Caulk gun - Caulk - Utility knife - Damp cloth - Painter's tape - Caulk smoothing tool (optional)Tools Needed for Caulking a Stainless Steel Kitchen Sink


Tools Needed for Caulking a Stainless Steel Kitchen Sink

Step 1: Clean the sink and surrounding area with a mild cleaner and a sponge. Rinse with water and dry with a clean cloth. Step 2: Use a degreaser to remove any residue or buildup on the sink and surrounding area. Rinse with water and dry completely. Step 3: Use a fine-grit sandpaper to lightly sand the area where the caulk will be applied. This will help the caulk adhere better. Step 4: Wipe down the area with a damp cloth and let it dry completely before applying the caulk. By following these steps and tips, you can easily and effectively caulk your stainless steel kitchen sink, ensuring a watertight seal and prolonging the life of your sink. Remember to check the caulk regularly and re-caulk as needed to maintain a strong and lasting seal. How to Properly Clean and Prep a Stainless Steel Kitchen Sink for Caulking


How to Properly Clean and Prep a Stainless Steel Kitchen Sink for Caulking


Why Caulking Your Stainless Steel Kitchen Sink Is Essential for a Polished Look

Maximize the Functionality of Your Kitchen Sink
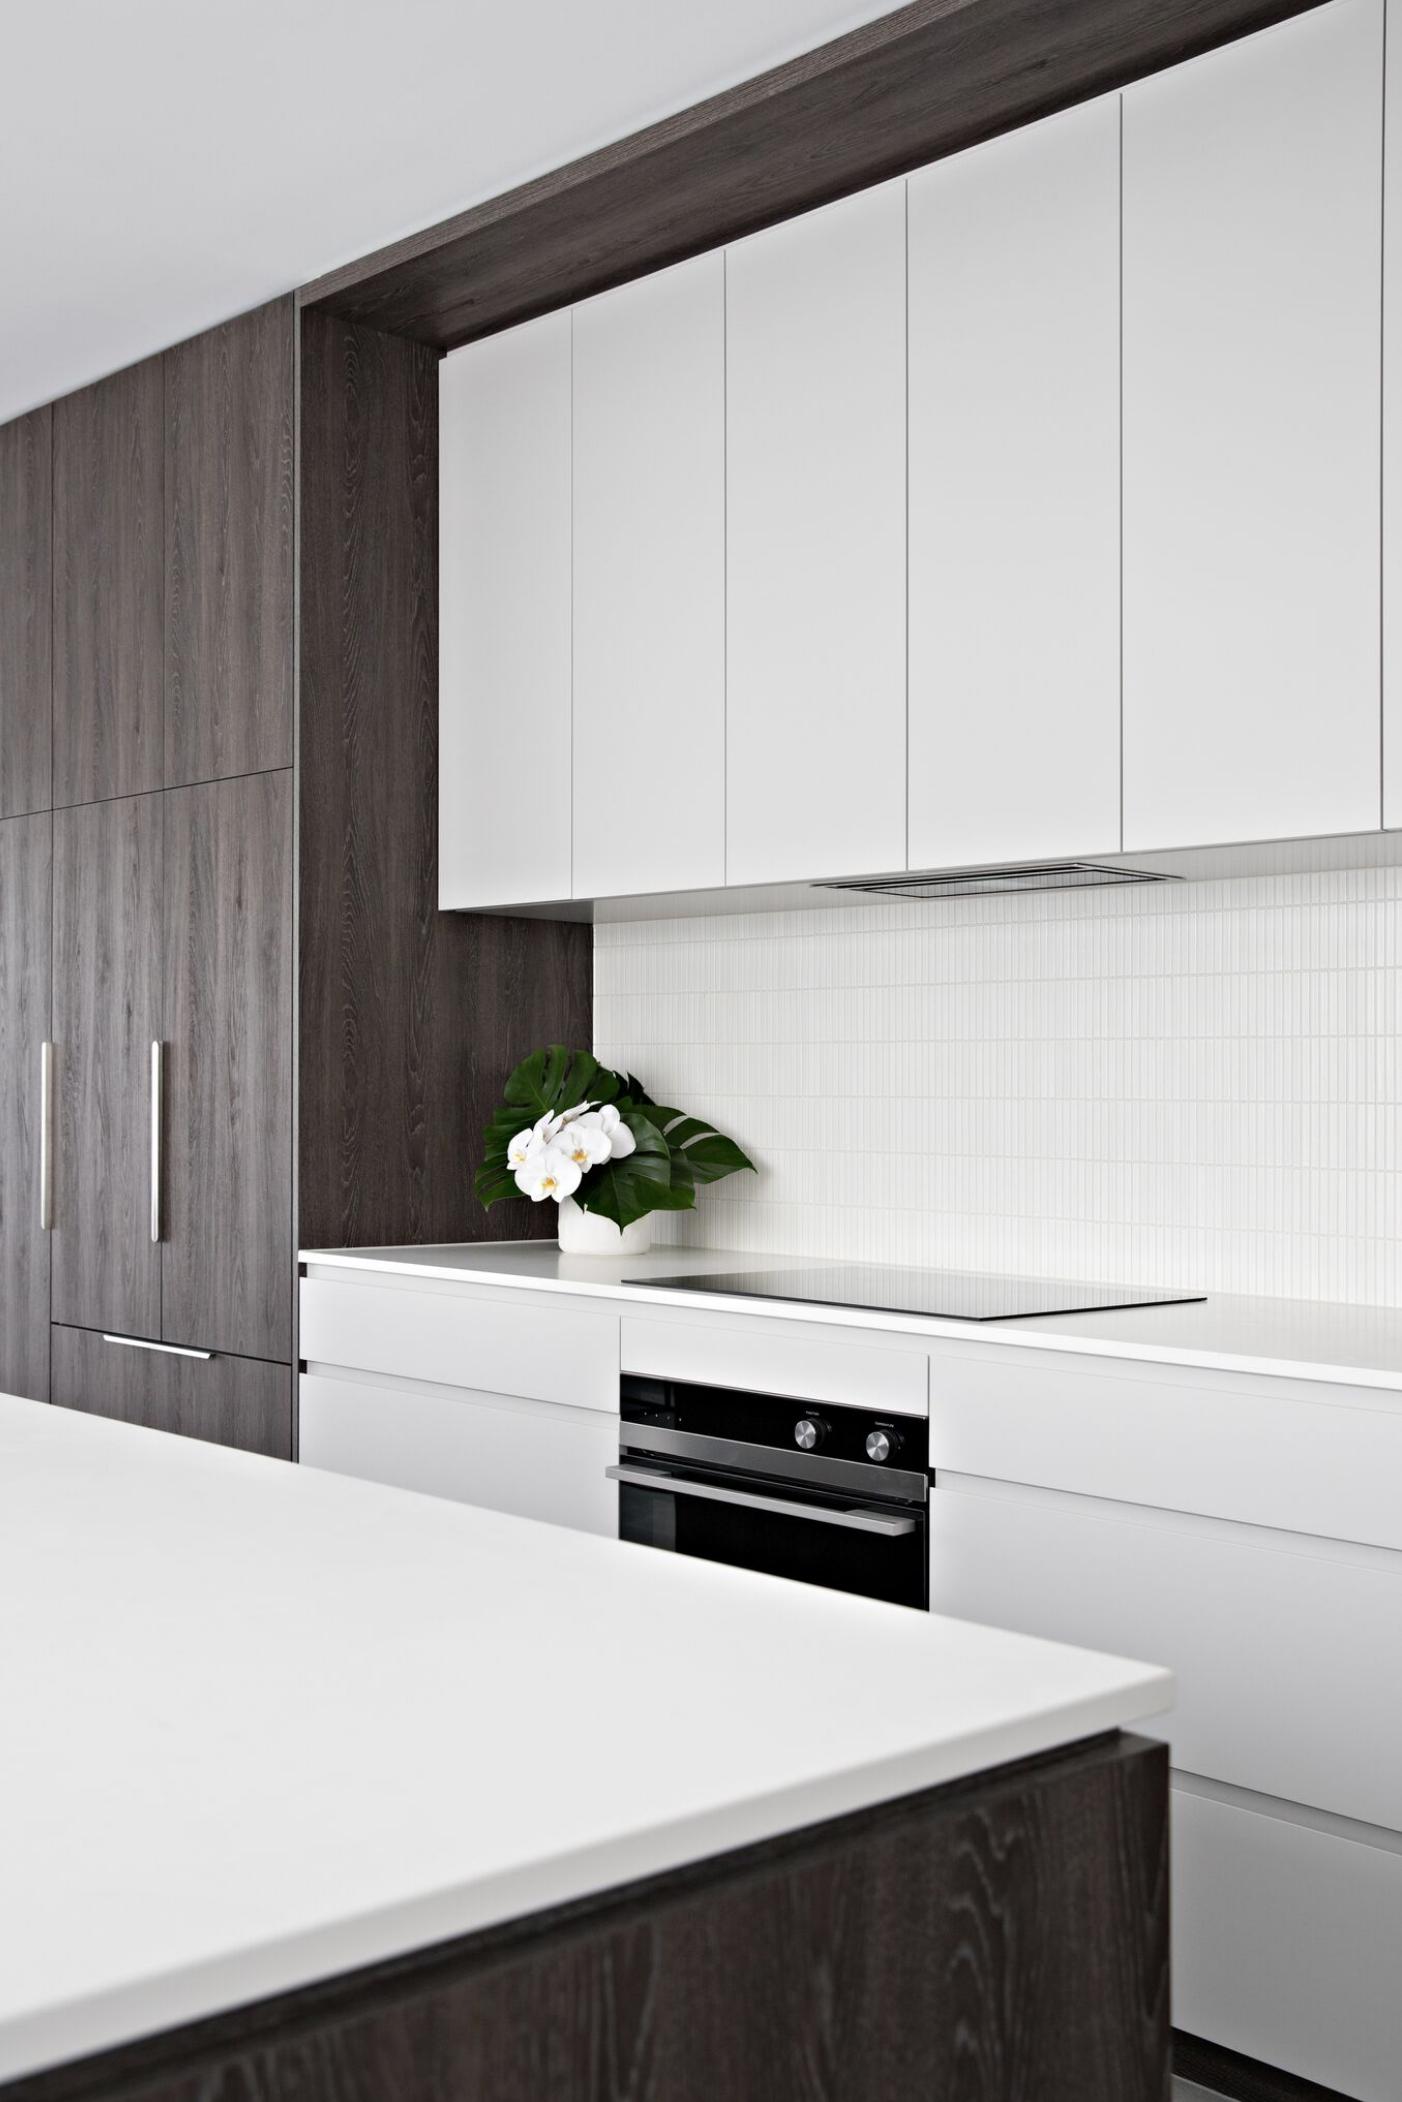
 When it comes to designing your dream kitchen, a stainless steel sink is a popular choice due to its durability and sleek appearance. However, to maintain its functionality and aesthetics, proper maintenance is crucial. One task that often gets overlooked is caulking the sink.
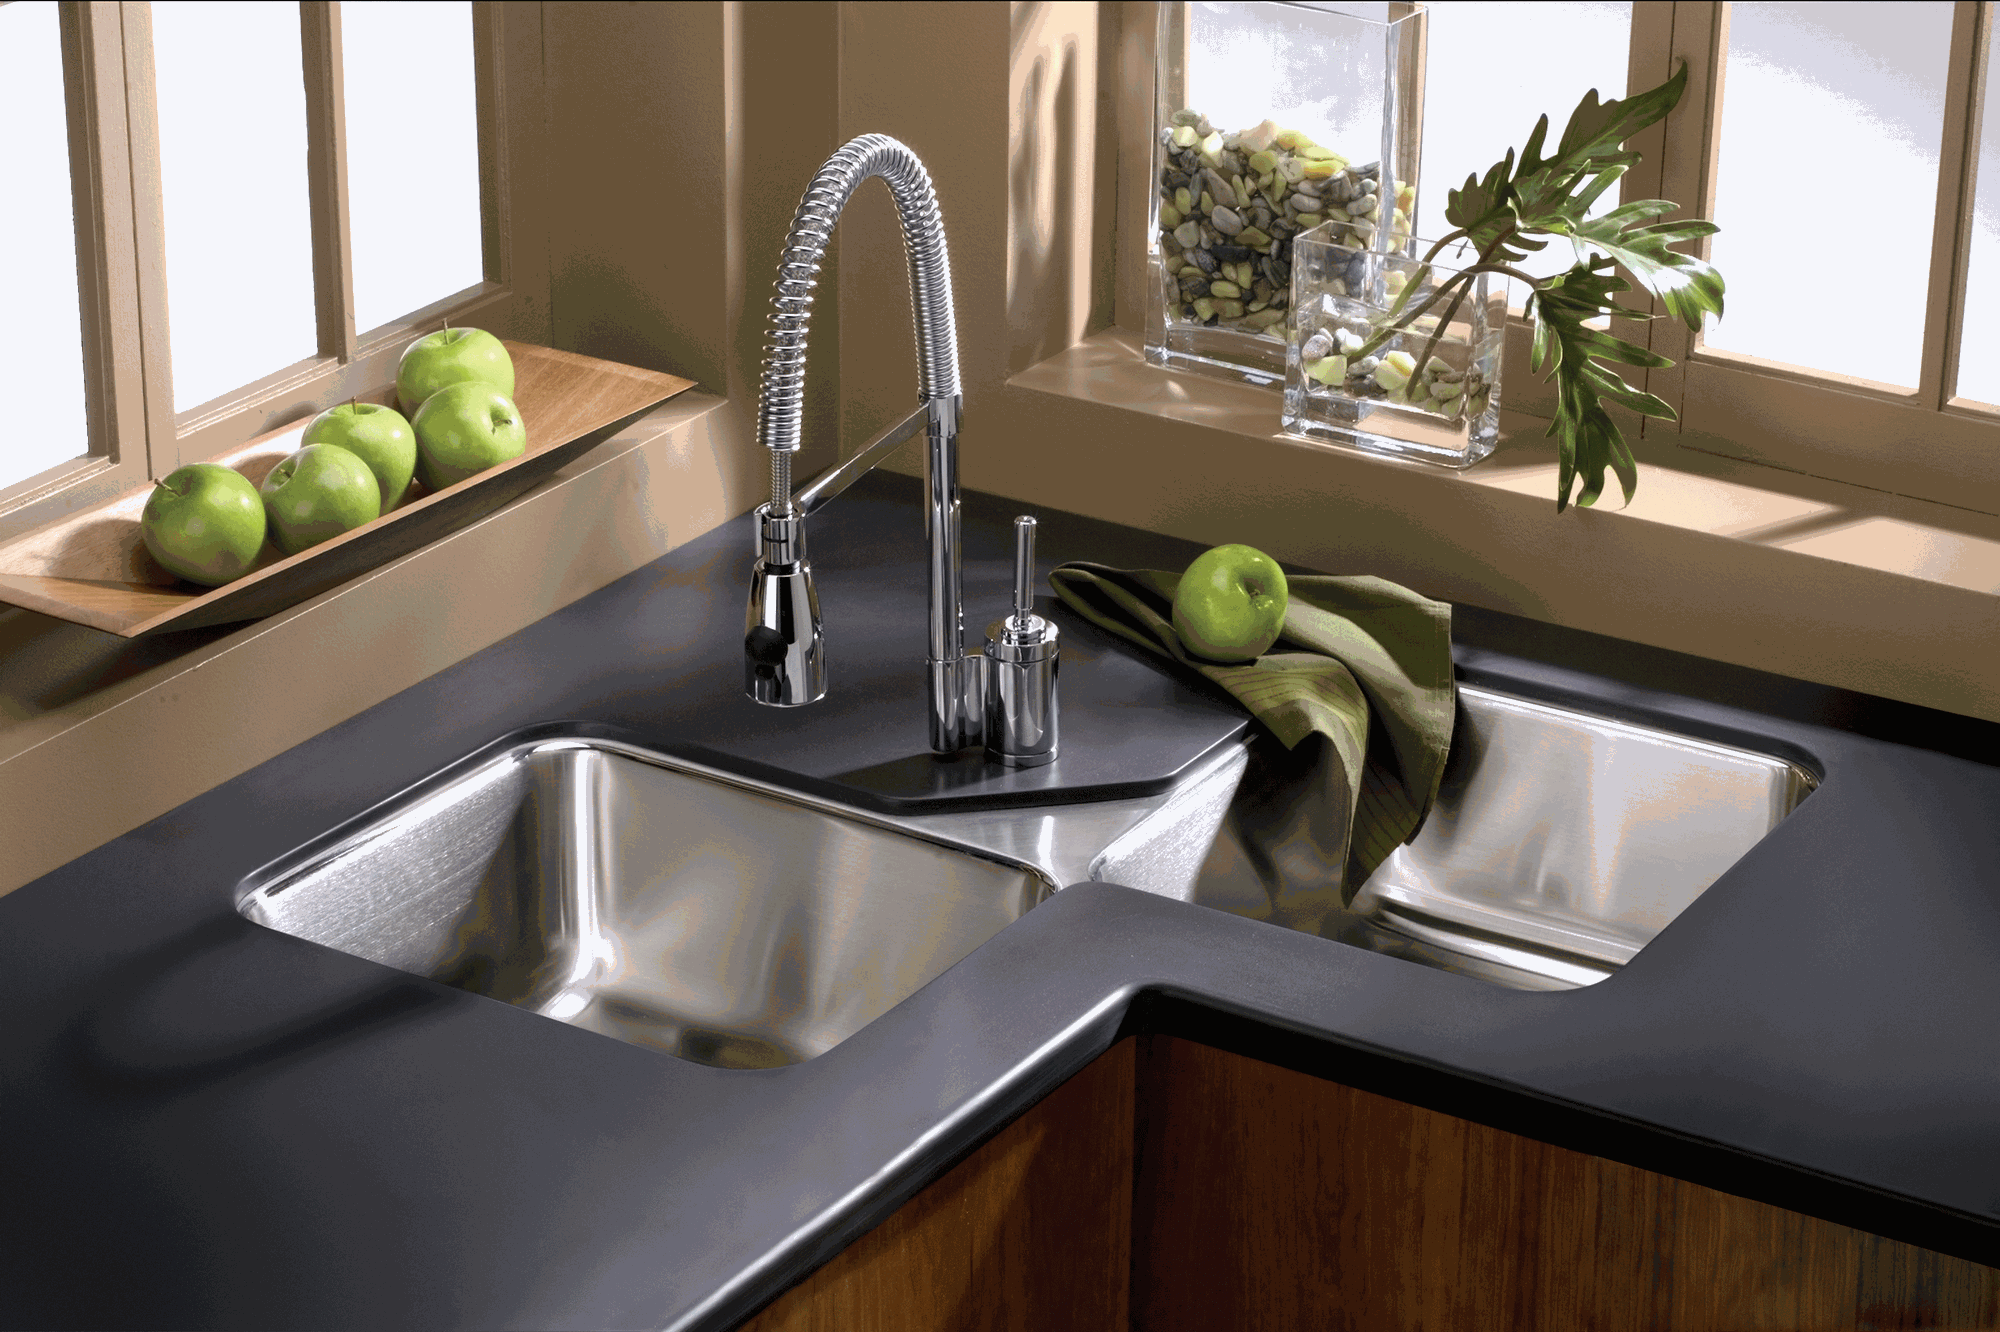
Caulking is the process of sealing joints or seams in a surface, and in this case, it involves sealing the gap between your sink and the countertop.
While it may seem like a small detail, caulking your stainless steel kitchen sink is essential for a polished and professional look.
When it comes to designing your dream kitchen, a stainless steel sink is a popular choice due to its durability and sleek appearance. However, to maintain its functionality and aesthetics, proper maintenance is crucial. One task that often gets overlooked is caulking the sink.
Caulking is the process of sealing joints or seams in a surface, and in this case, it involves sealing the gap between your sink and the countertop.
While it may seem like a small detail, caulking your stainless steel kitchen sink is essential for a polished and professional look.
Prevent Water Damage and Mold Growth
 One of the main reasons to caulk your stainless steel sink is to prevent water damage.
Water can easily seep through the gap between the sink and the countertop and cause damage to the underlying structure, leading to costly repairs.
Additionally, the moisture can also create a breeding ground for mold and mildew, which can be harmful to your health.
By properly caulking your sink, you create a watertight seal that prevents any water from seeping through, keeping your kitchen safe and dry.
One of the main reasons to caulk your stainless steel sink is to prevent water damage.
Water can easily seep through the gap between the sink and the countertop and cause damage to the underlying structure, leading to costly repairs.
Additionally, the moisture can also create a breeding ground for mold and mildew, which can be harmful to your health.
By properly caulking your sink, you create a watertight seal that prevents any water from seeping through, keeping your kitchen safe and dry.
Add a Finishing Touch to Your Kitchen Design
 Caulking your stainless steel kitchen sink not only serves a functional purpose but also adds a finishing touch to your kitchen design.
Without proper caulking, the gap between the sink and the countertop can collect food particles, debris, and water, making it look unsightly and unhygienic.
By sealing this gap, you create a smooth and seamless transition between the sink and the countertop, giving your kitchen a clean and polished look.
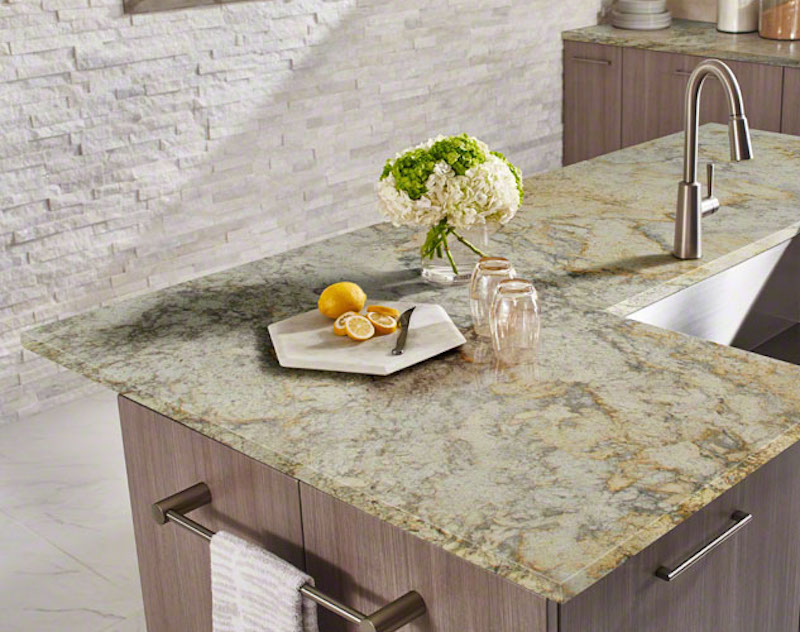
You can also choose a caulk color that matches your countertop to create a cohesive and aesthetically pleasing appearance.
Caulking your stainless steel kitchen sink not only serves a functional purpose but also adds a finishing touch to your kitchen design.
Without proper caulking, the gap between the sink and the countertop can collect food particles, debris, and water, making it look unsightly and unhygienic.
By sealing this gap, you create a smooth and seamless transition between the sink and the countertop, giving your kitchen a clean and polished look.
You can also choose a caulk color that matches your countertop to create a cohesive and aesthetically pleasing appearance.
A Simple and Cost-Effective DIY Project
 Many homeowners may be hesitant to caulk their own kitchen sink, thinking it is a complicated and expensive task. However, caulking your stainless steel sink is a simple and cost-effective DIY project that can be done in just a few easy steps.
All you need is a caulk gun, a tube of silicone caulk, and a putty knife.
With a little bit of patience and attention to detail, you can have a professionally caulked kitchen sink in no time.
In conclusion,
caulking your stainless steel kitchen sink is a crucial step in maintaining the functionality and aesthetics of your kitchen.
It prevents water damage, mold growth, and adds a finishing touch to your kitchen design. With its simplicity and cost-effectiveness, there is no reason not to add this task to your regular kitchen maintenance routine. So the next time you're planning a kitchen remodel, don't forget the importance of caulking your stainless steel sink.
Many homeowners may be hesitant to caulk their own kitchen sink, thinking it is a complicated and expensive task. However, caulking your stainless steel sink is a simple and cost-effective DIY project that can be done in just a few easy steps.
All you need is a caulk gun, a tube of silicone caulk, and a putty knife.
With a little bit of patience and attention to detail, you can have a professionally caulked kitchen sink in no time.
In conclusion,
caulking your stainless steel kitchen sink is a crucial step in maintaining the functionality and aesthetics of your kitchen.
It prevents water damage, mold growth, and adds a finishing touch to your kitchen design. With its simplicity and cost-effectiveness, there is no reason not to add this task to your regular kitchen maintenance routine. So the next time you're planning a kitchen remodel, don't forget the importance of caulking your stainless steel sink.