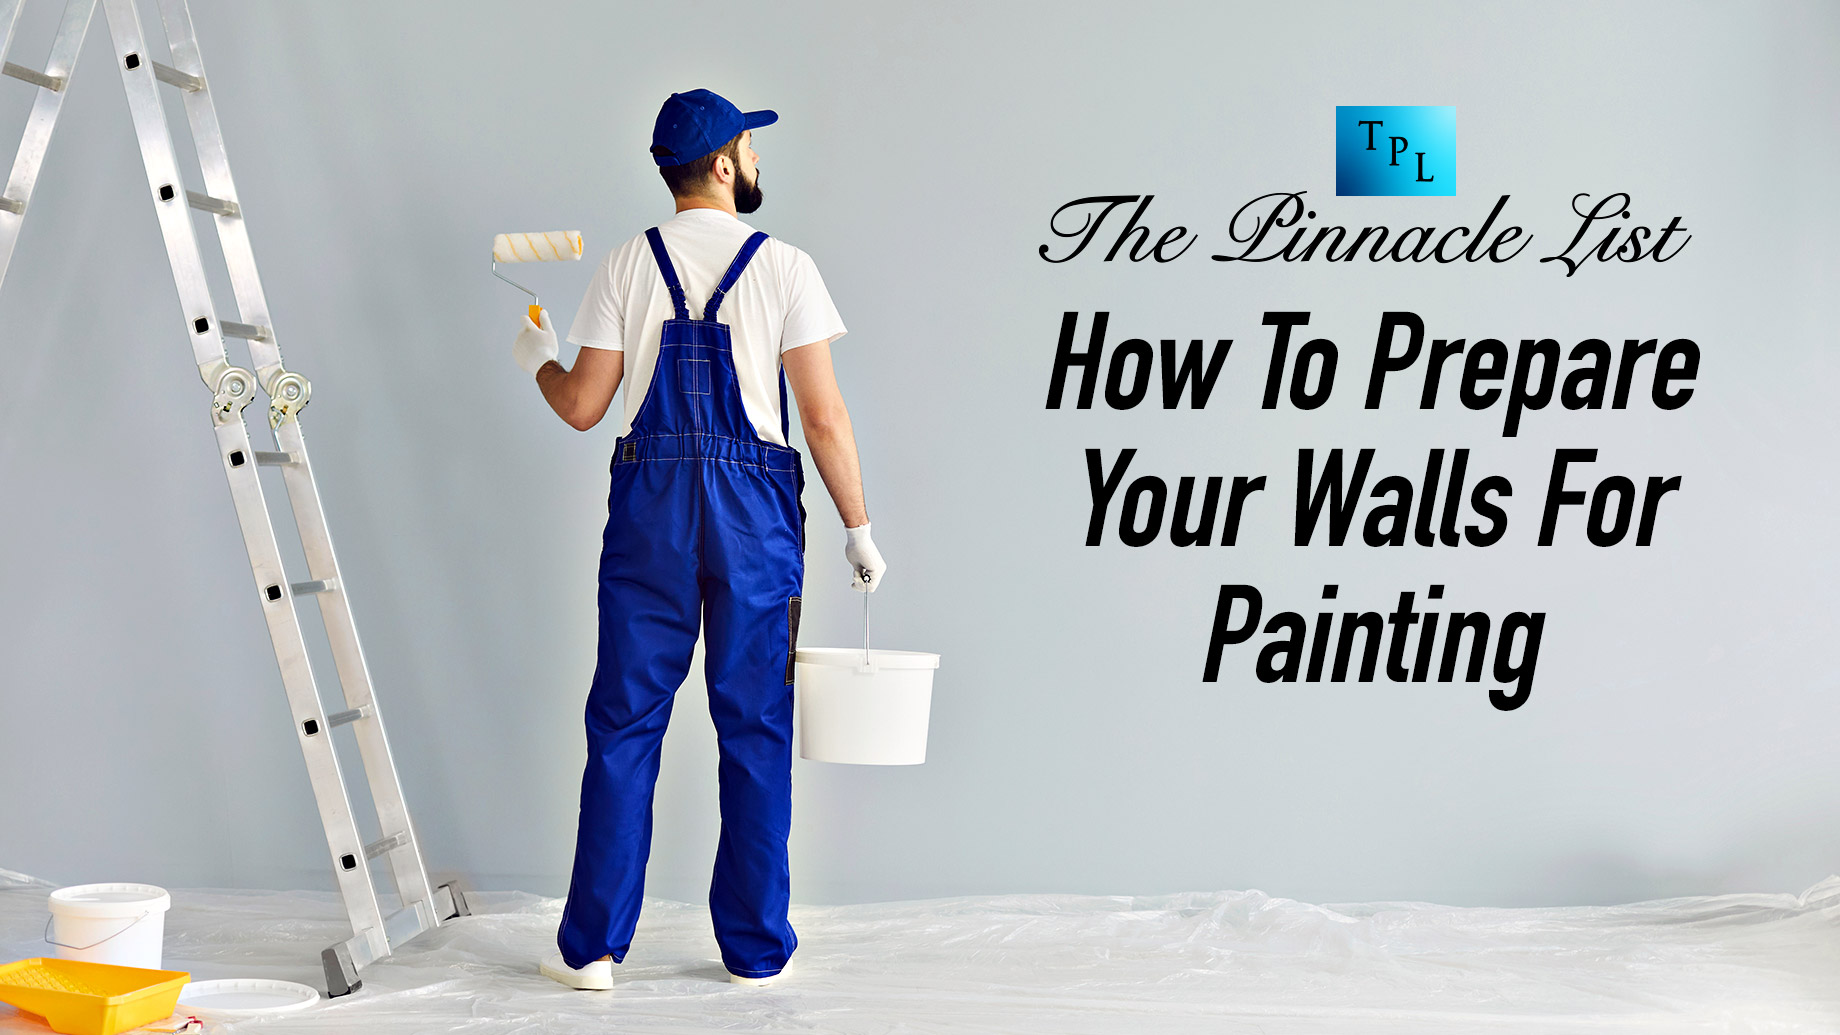
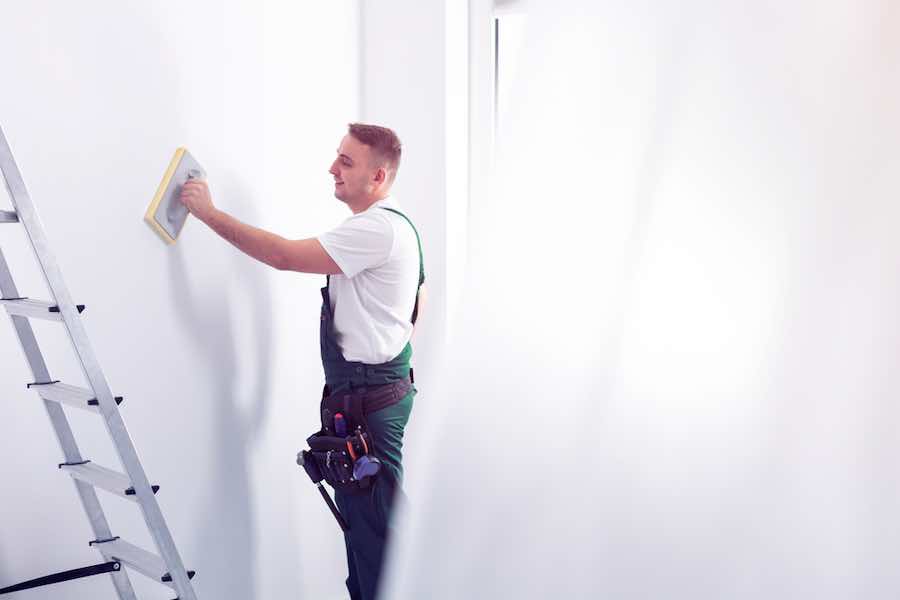
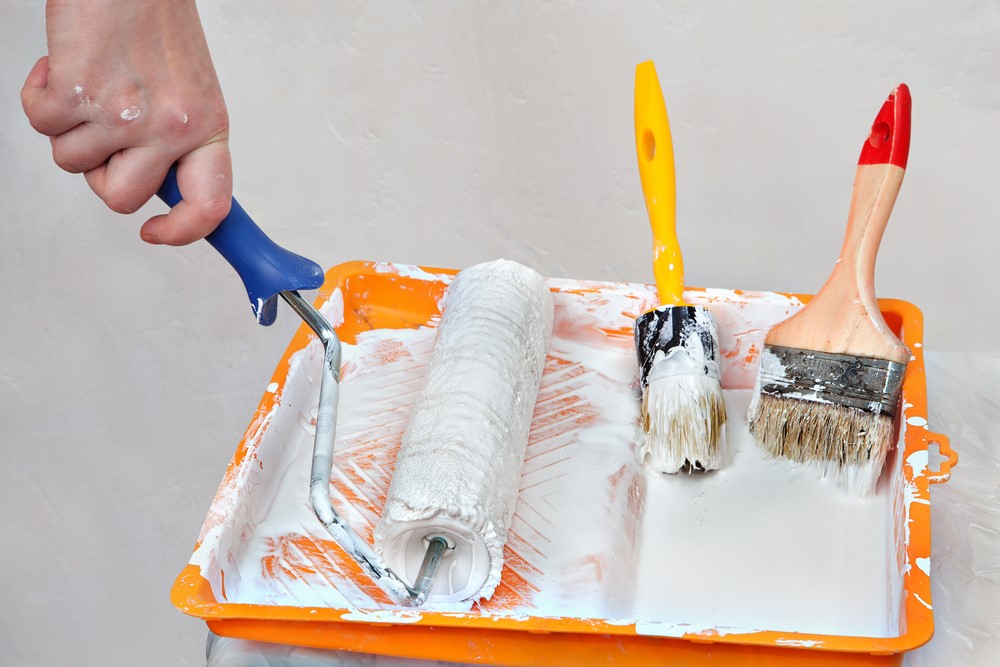
Preparing your walls properly before painting is crucial for achieving a smooth and long-lasting finish. This is especially important for high-traffic areas like the kitchen, where walls are more prone to dirt, grease, and stains.How to Prepare Walls for Painting


How to Prepare Walls for Painting


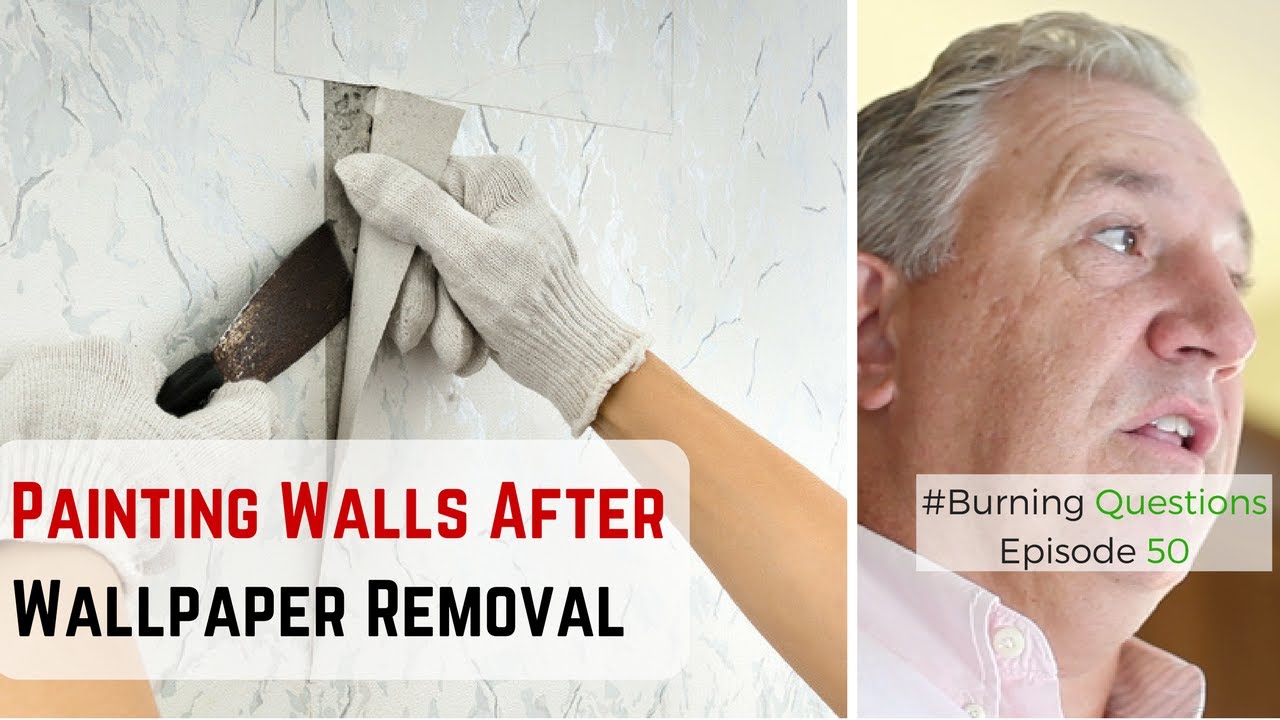

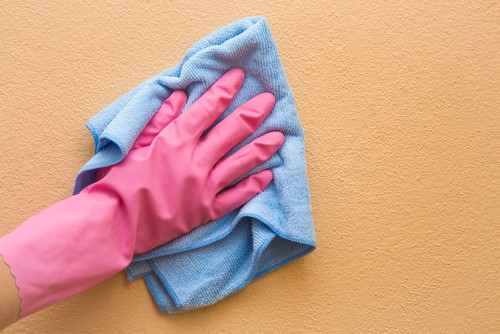
The first step in preparing your kitchen walls for painting is to thoroughly clean them. This will ensure that the paint adheres well and the final result is free of any imperfections.How to Clean Walls Before Painting


How to Clean Walls Before Painting
:max_bytes(150000):strip_icc()/washing-interior-walls-2-b5cd3327c69944188f71d8c989ab021c.jpg)
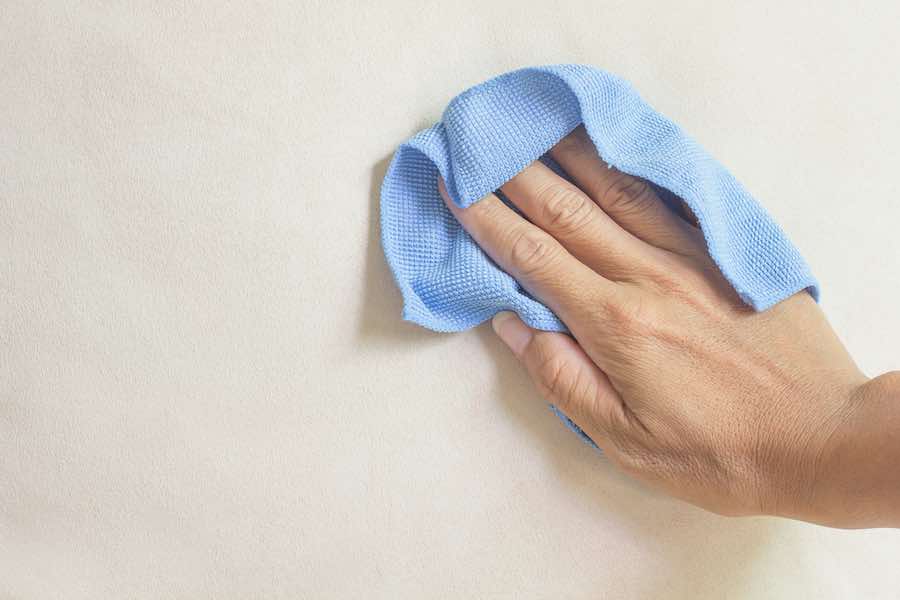


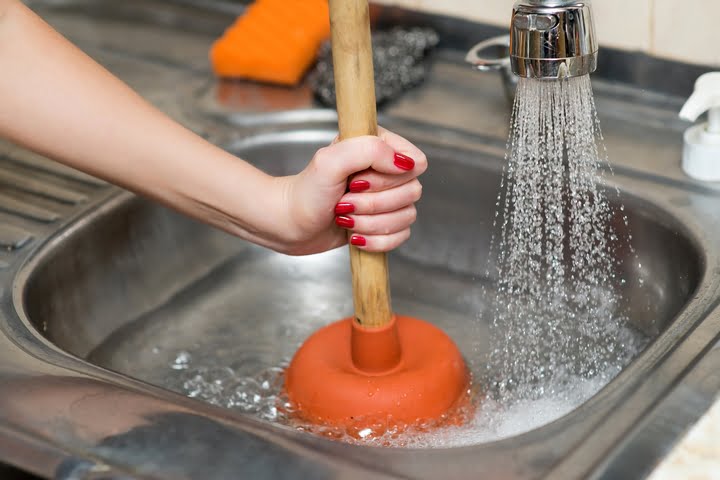
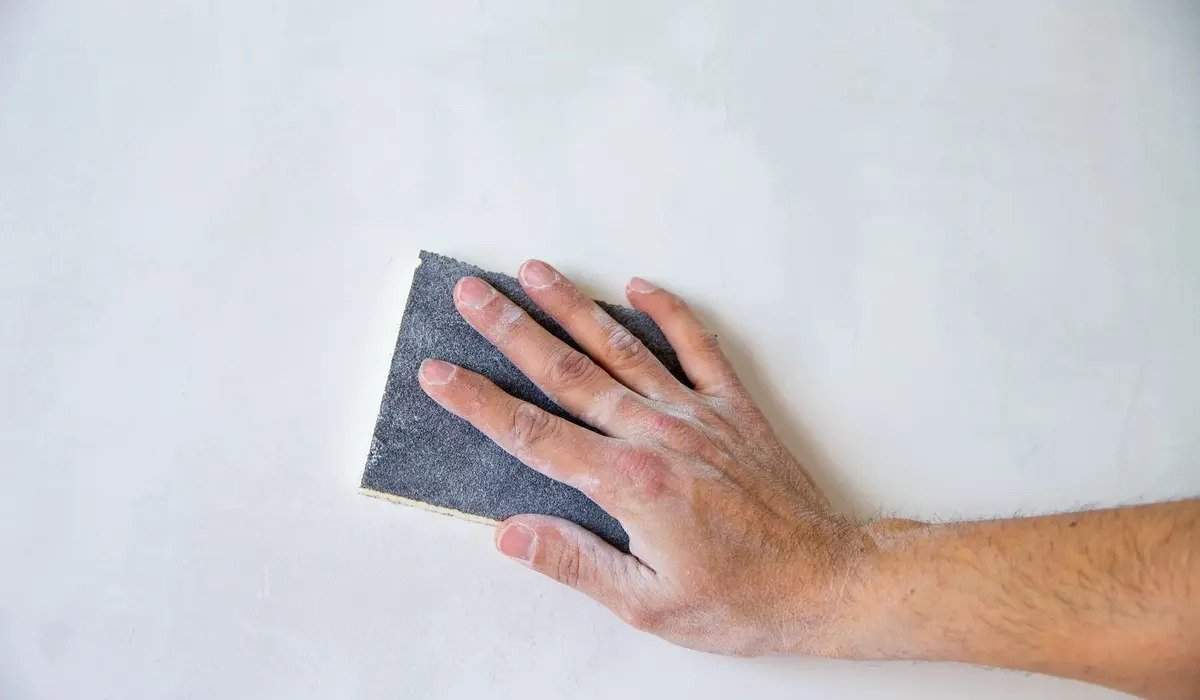
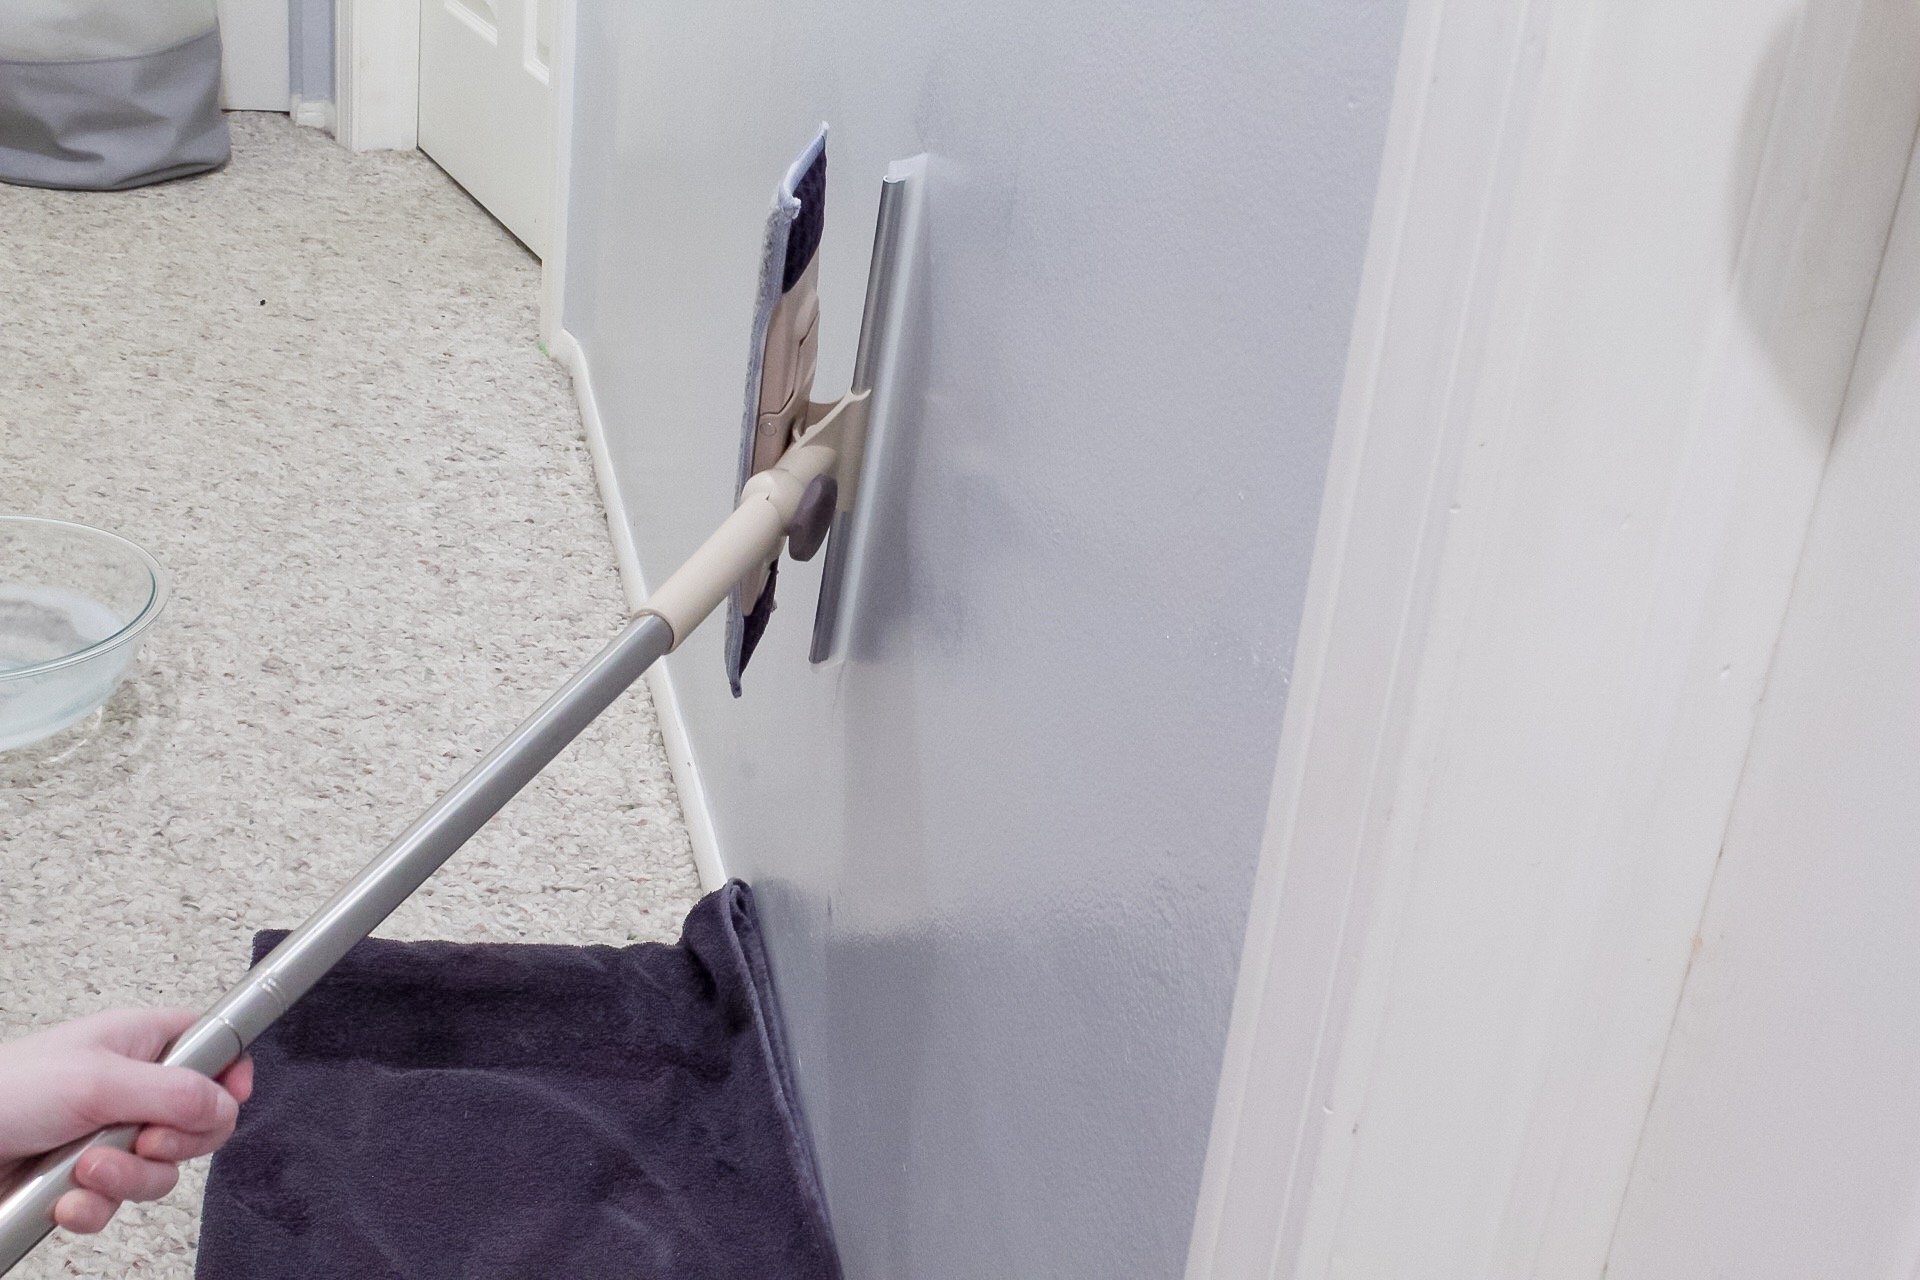
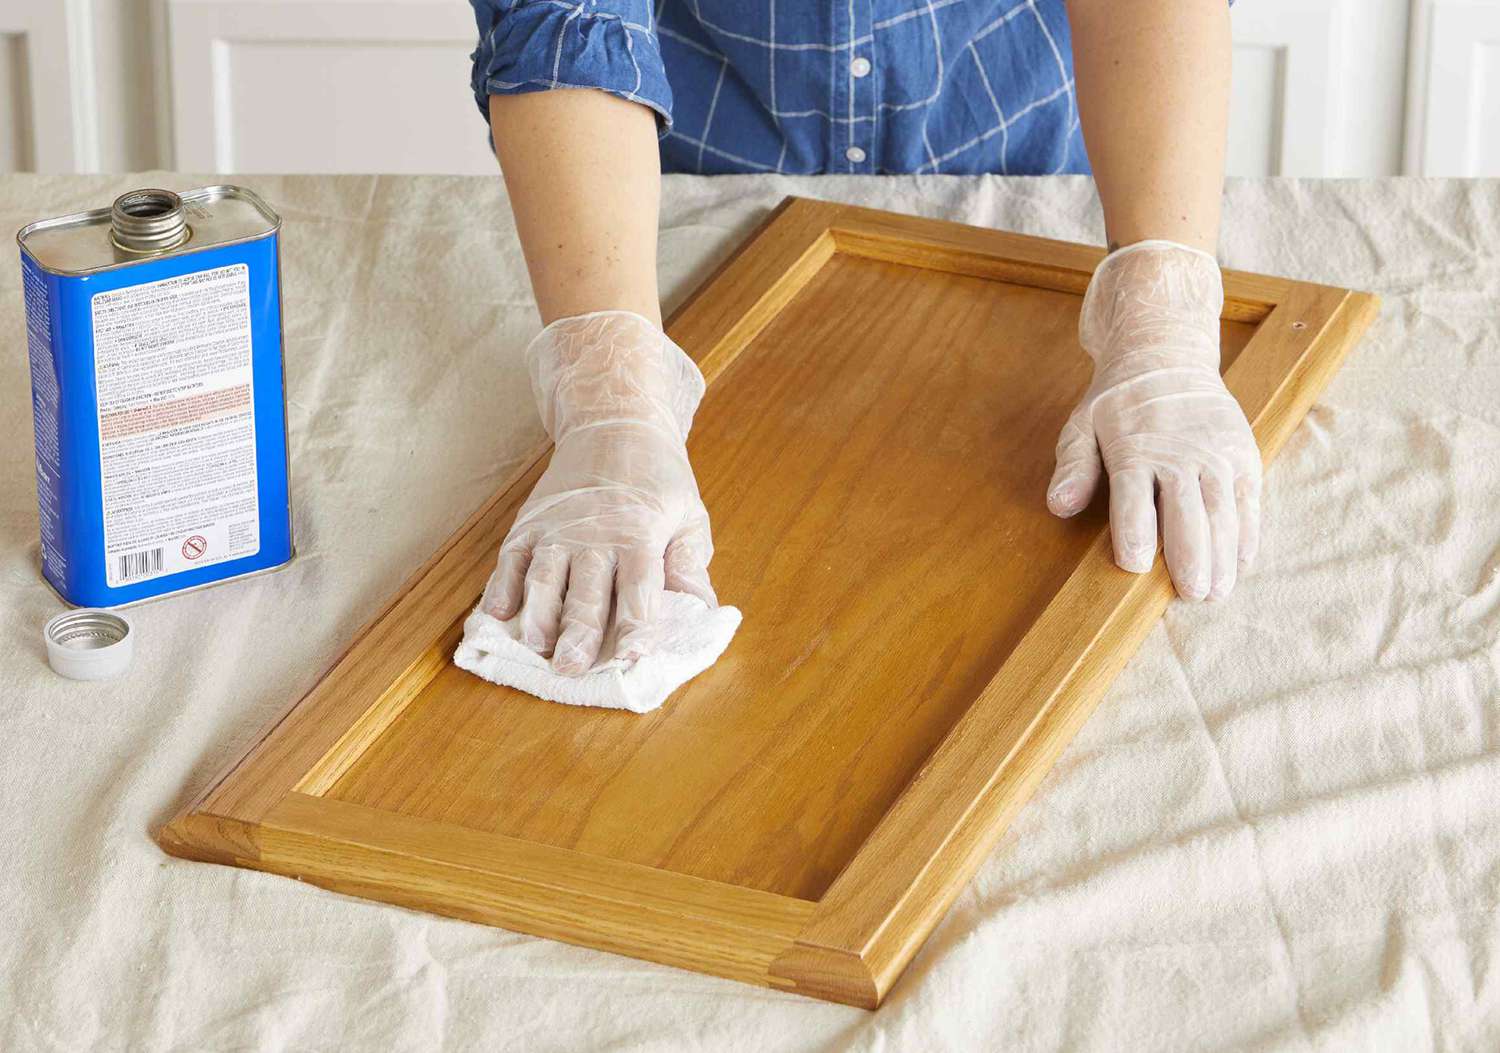
Start by removing any loose dirt and debris from the walls using a soft cloth or vacuum cleaner. Next, mix a solution of warm water and mild dish soap. Dip a sponge into the solution and wring out excess water. Use the sponge to gently scrub the walls, working from top to bottom. Rinse the walls with clean water and let them dry completely before proceeding.Steps for Washing Walls Before Painting


Steps for Washing Walls Before Painting
:max_bytes(150000):strip_icc()/washing-interior-walls-2-b5cd3327c69944188f71d8c989ab021c.jpg)


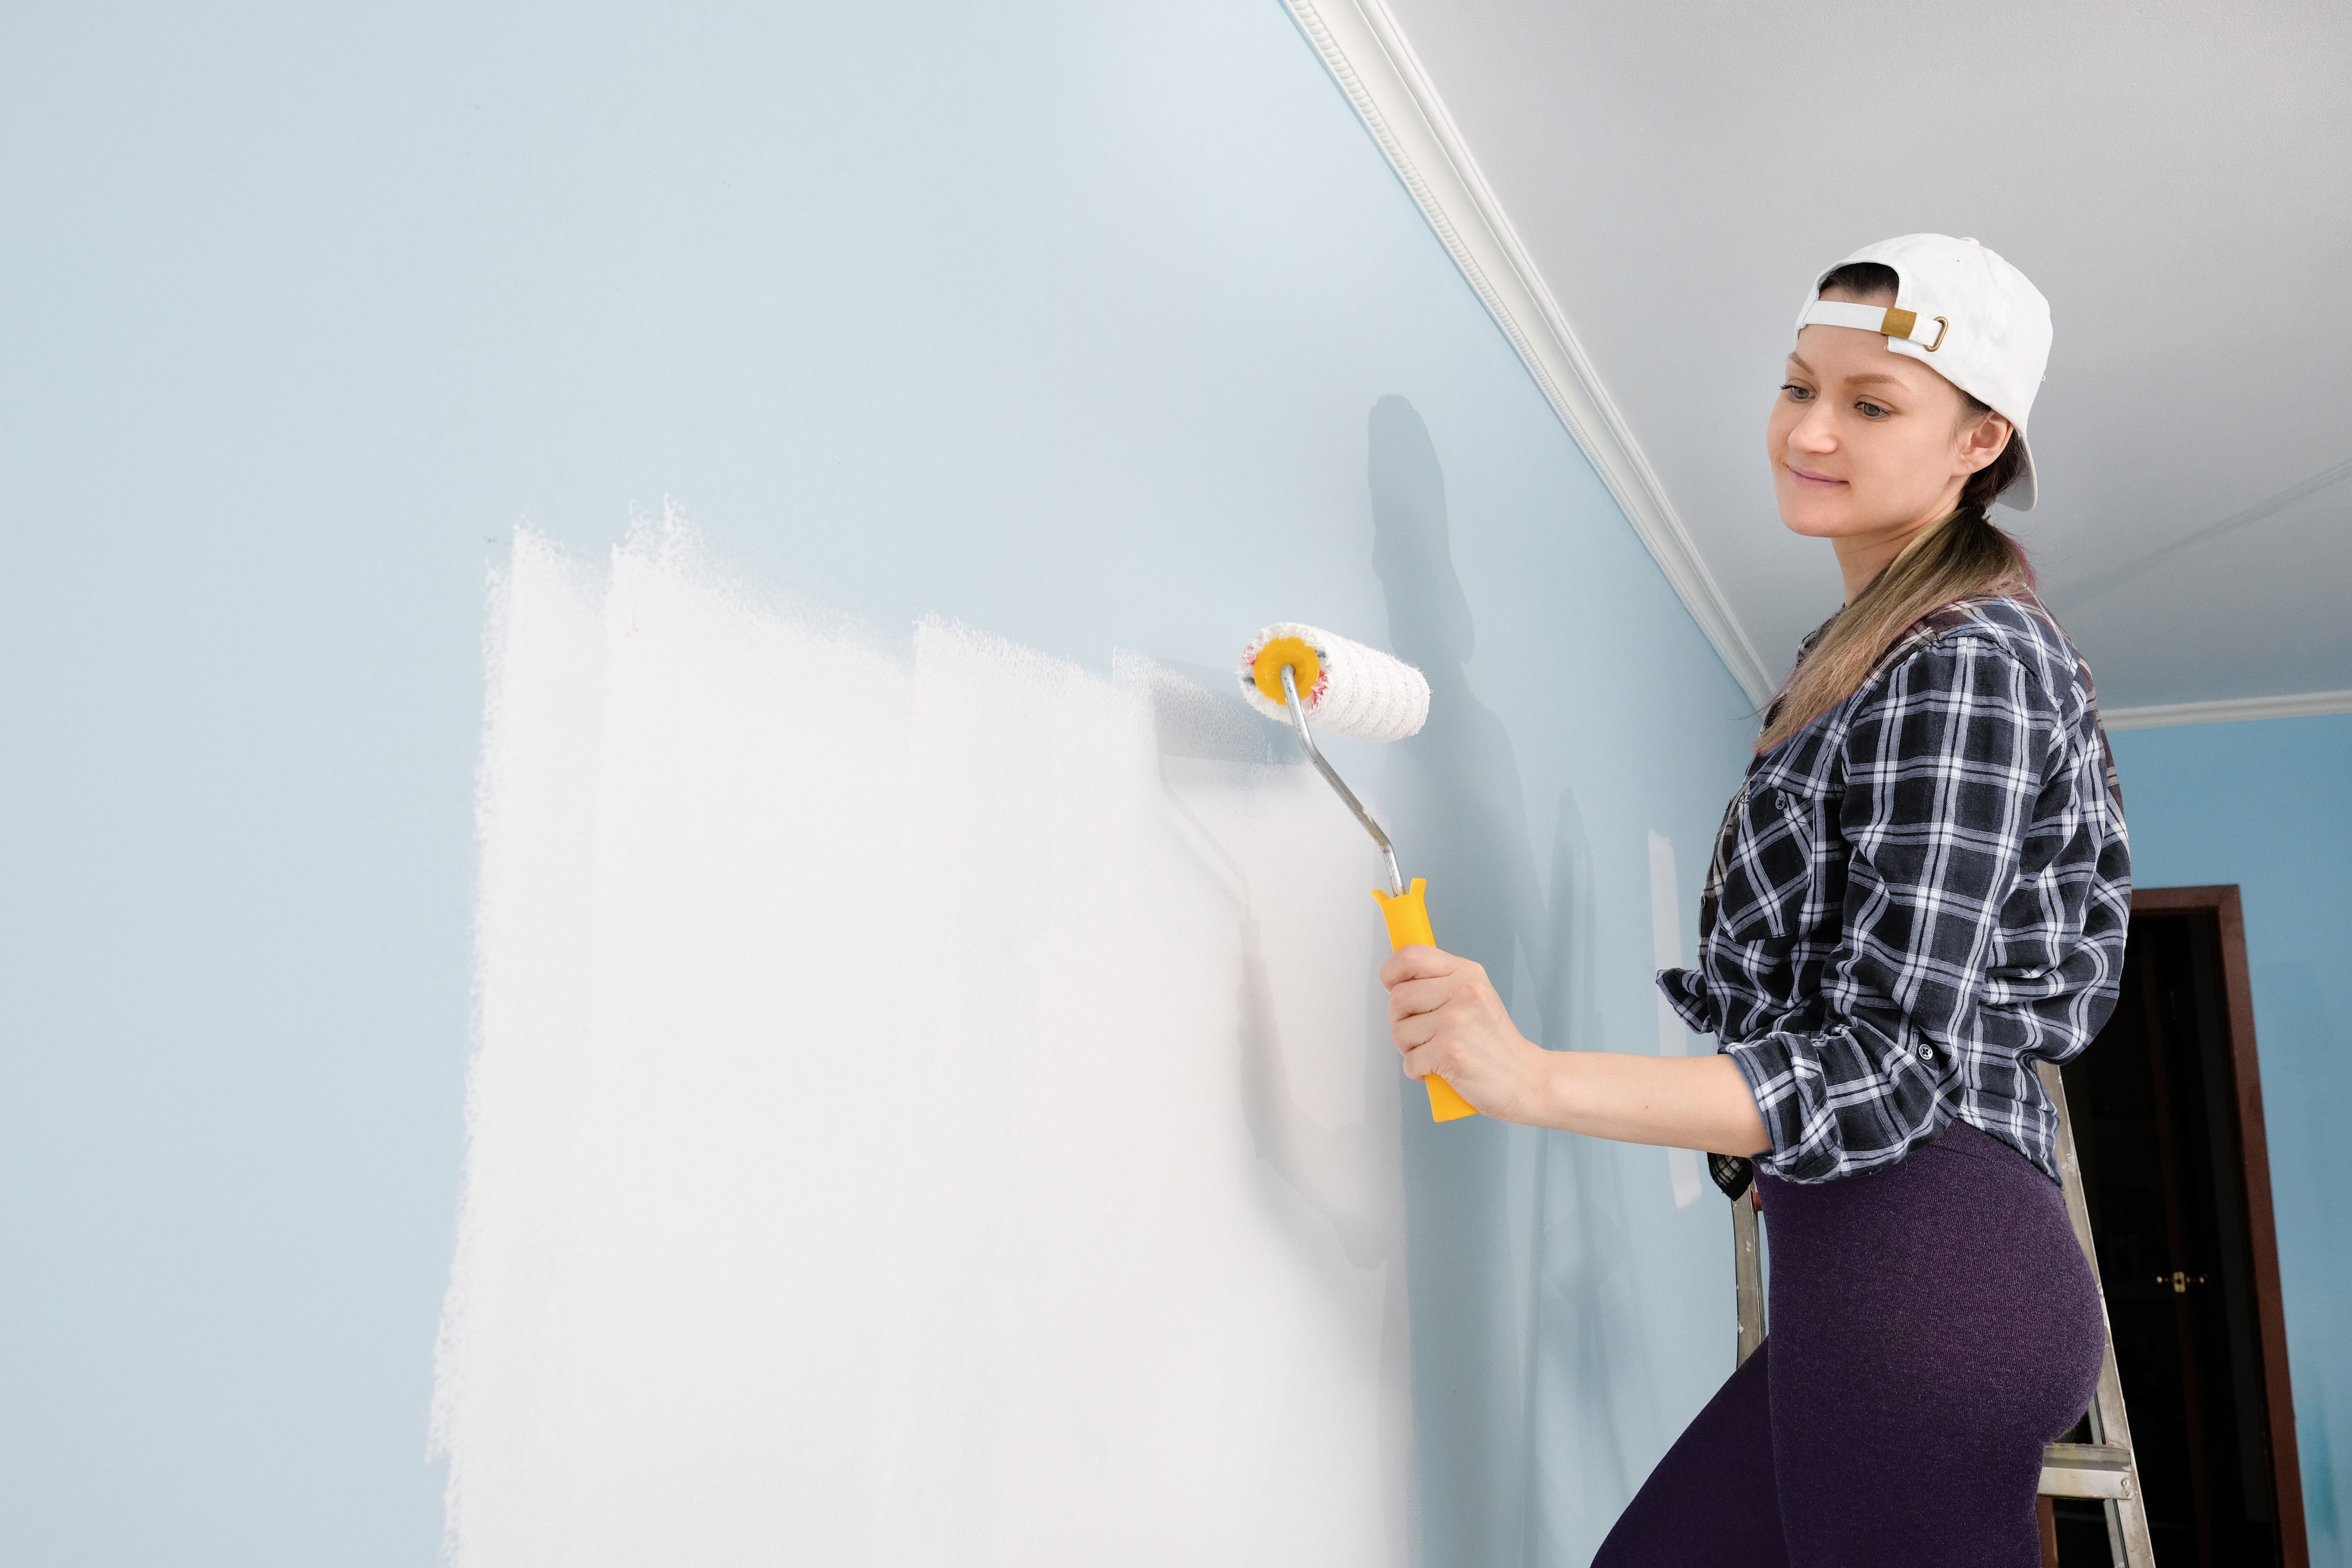
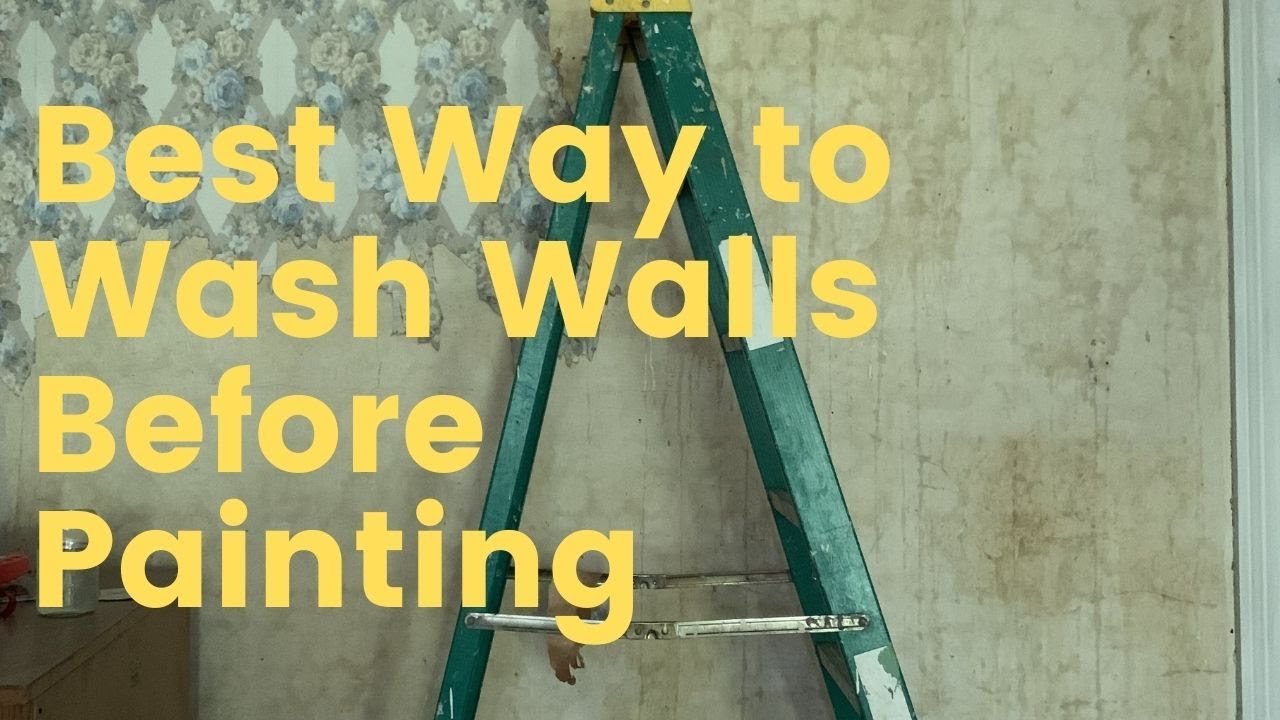
The best way to wash kitchen walls before painting is to use a solution of warm water and mild dish soap. This will effectively remove any grease, dirt, and stains without damaging the paint or the walls.Best Way to Wash Walls Before Painting


Best Way to Wash Walls Before Painting
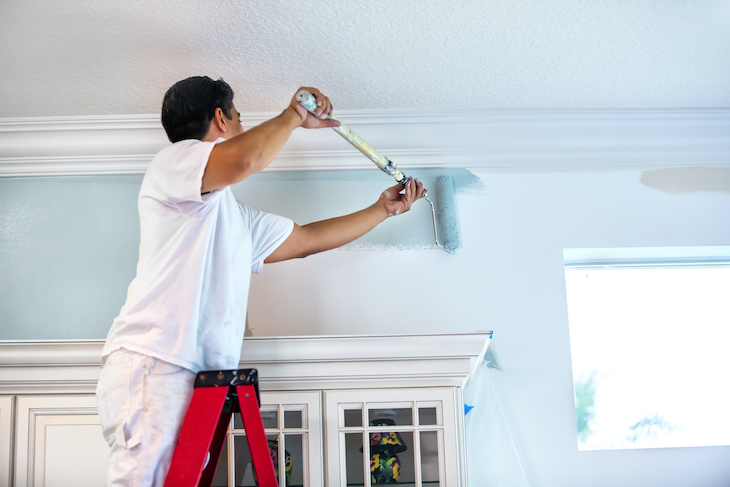


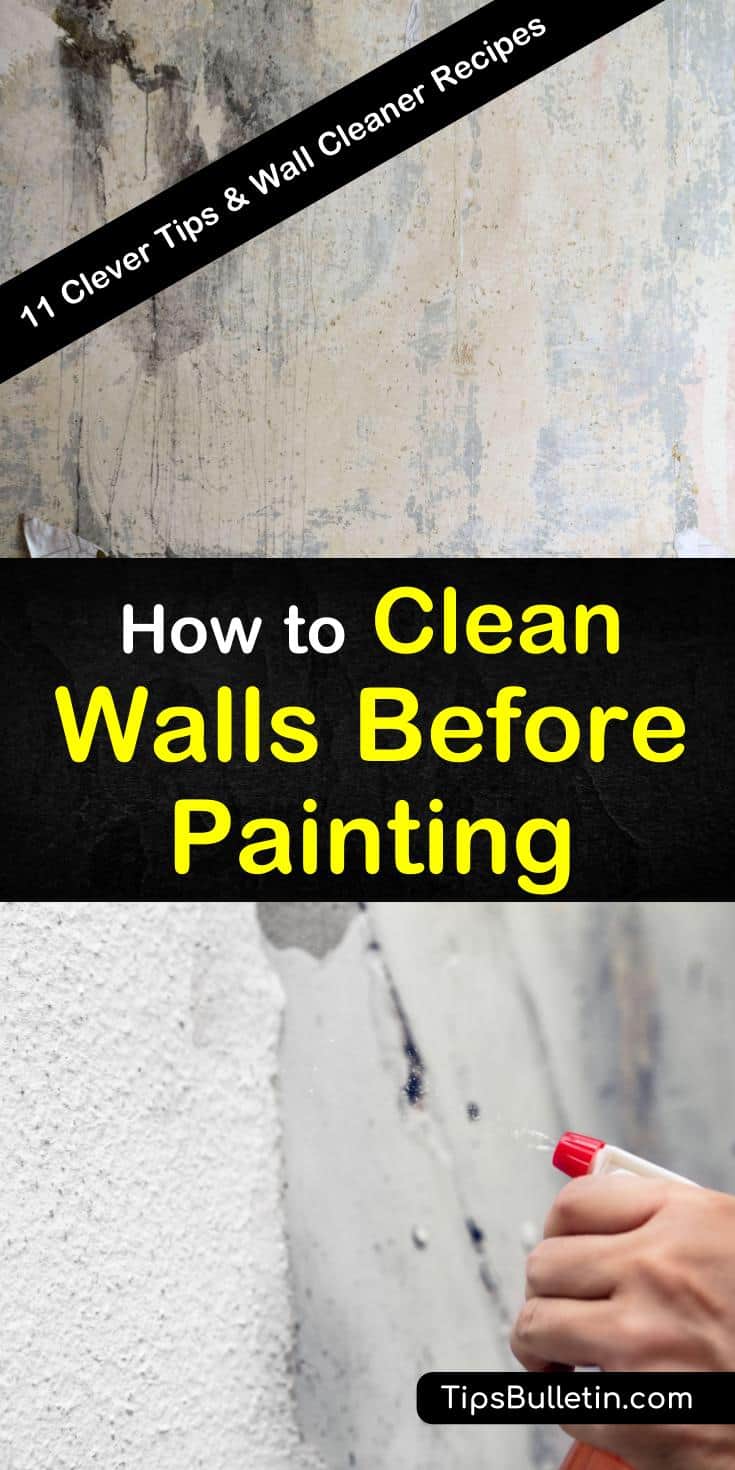
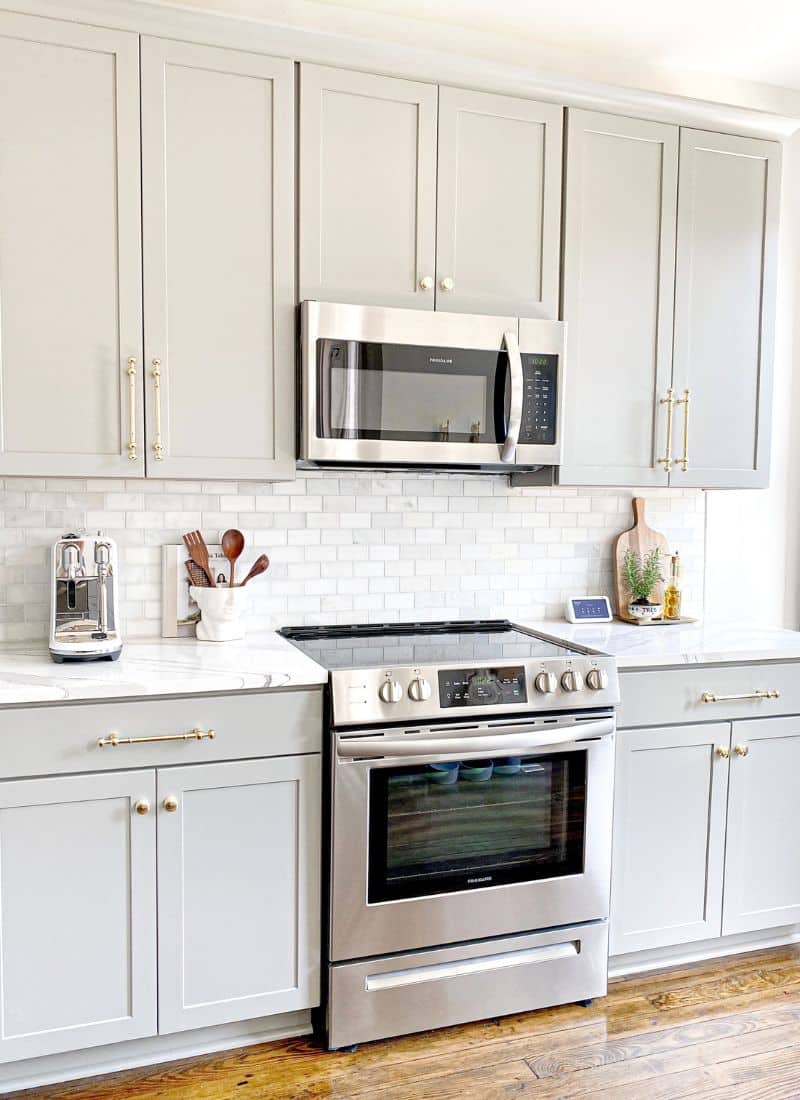
Washing walls before painting is important because it ensures a clean and smooth surface for the paint to adhere to. It also helps to remove any imperfections and gives the paint a better finish. Skipping this step can result in a less-than-perfect final result and may require you to repaint sooner than expected.Why You Should Wash Walls Before Painting


Why You Should Wash Walls Before Painting


+(1).jpg?format=1000w)
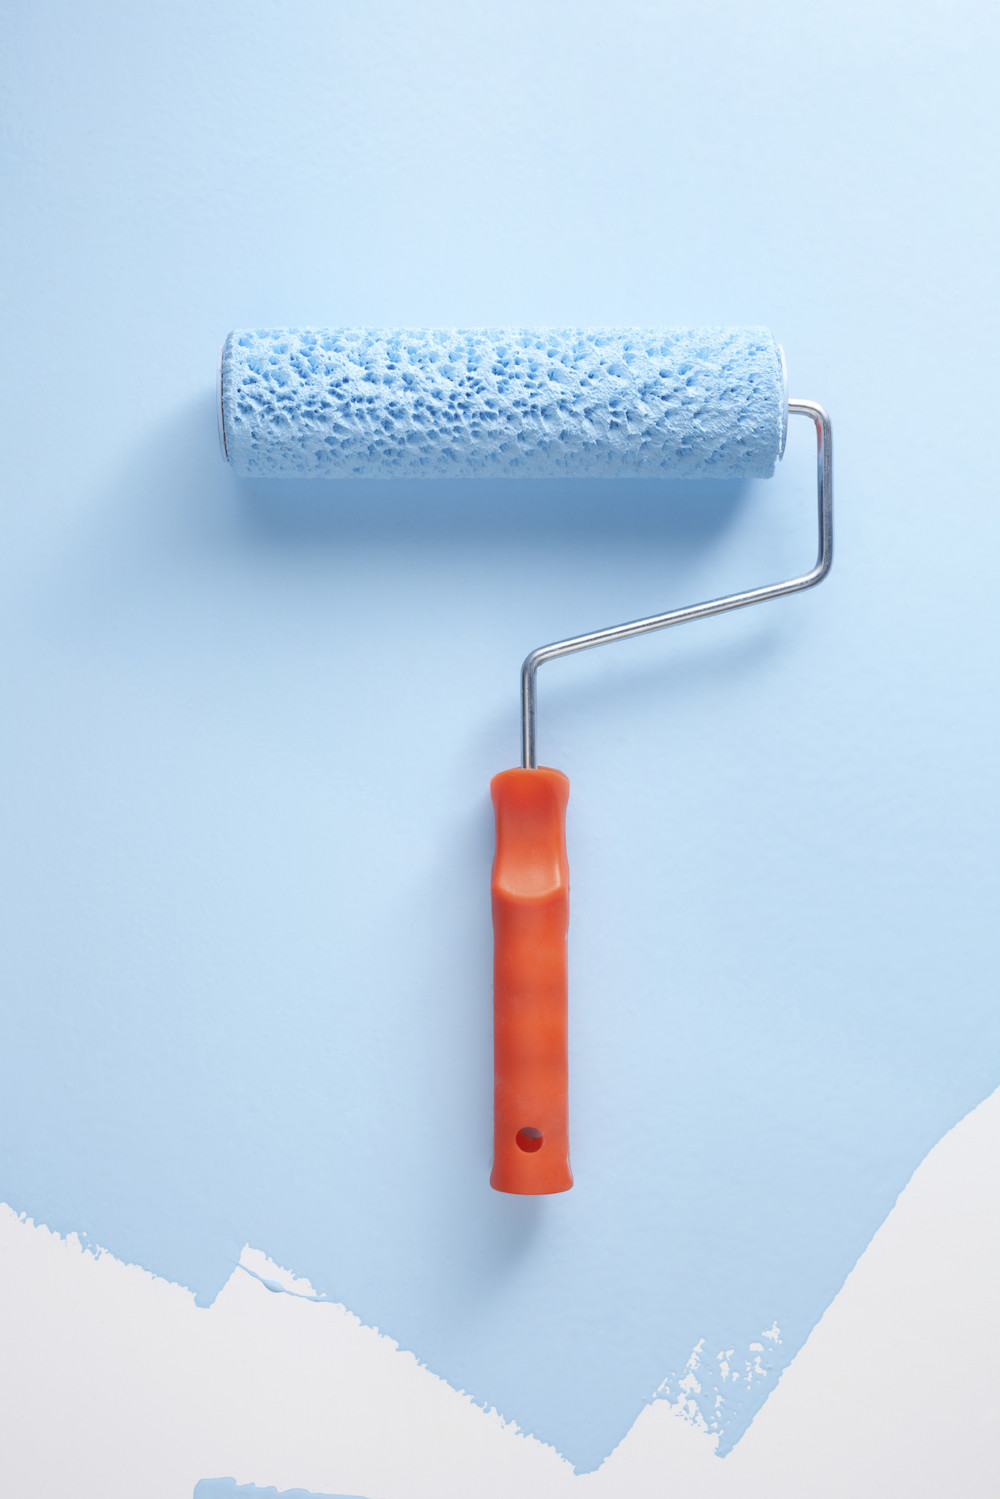
You don't need any fancy tools for washing walls before painting. All you need is a soft cloth, a sponge, mild dish soap, and warm water. If you want to speed up the process, you can also use a vacuum cleaner with a soft brush attachment.Tools for Washing Walls Before Painting


Tools for Washing Walls Before Painting


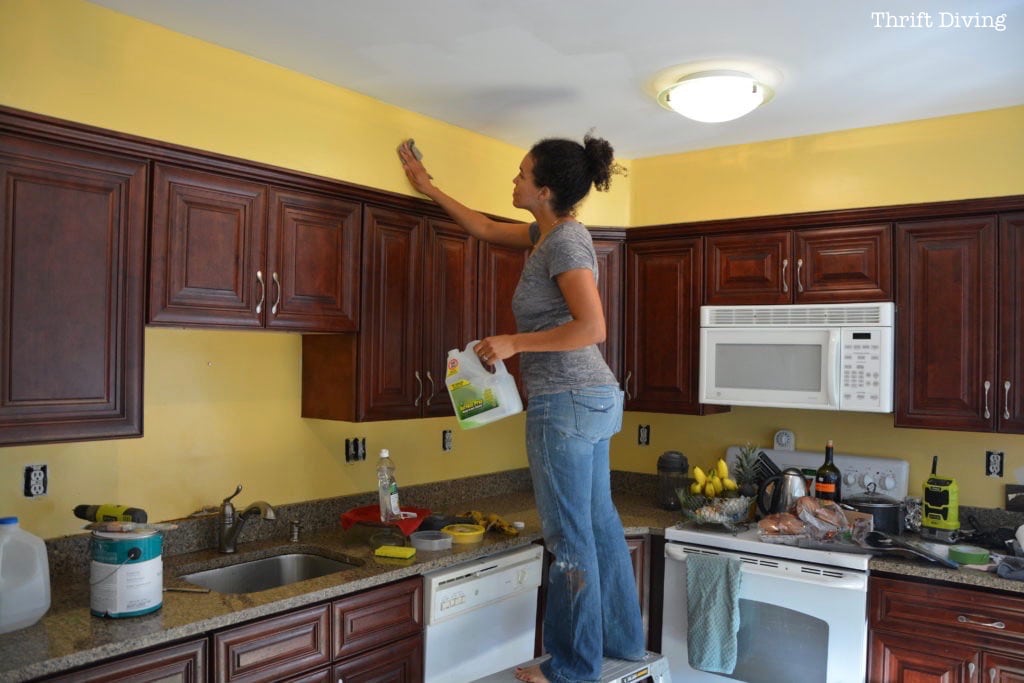
Kitchen walls are often covered in grease and grime, making them a bit more challenging to clean. To effectively remove grease from your kitchen walls, mix equal parts of warm water and white vinegar. Use a sponge to scrub the walls and rinse with clean water. This solution will not only remove grease but also disinfect the walls.How to Remove Grease from Kitchen Walls Before Painting


How to Remove Grease from Kitchen Walls Before Painting


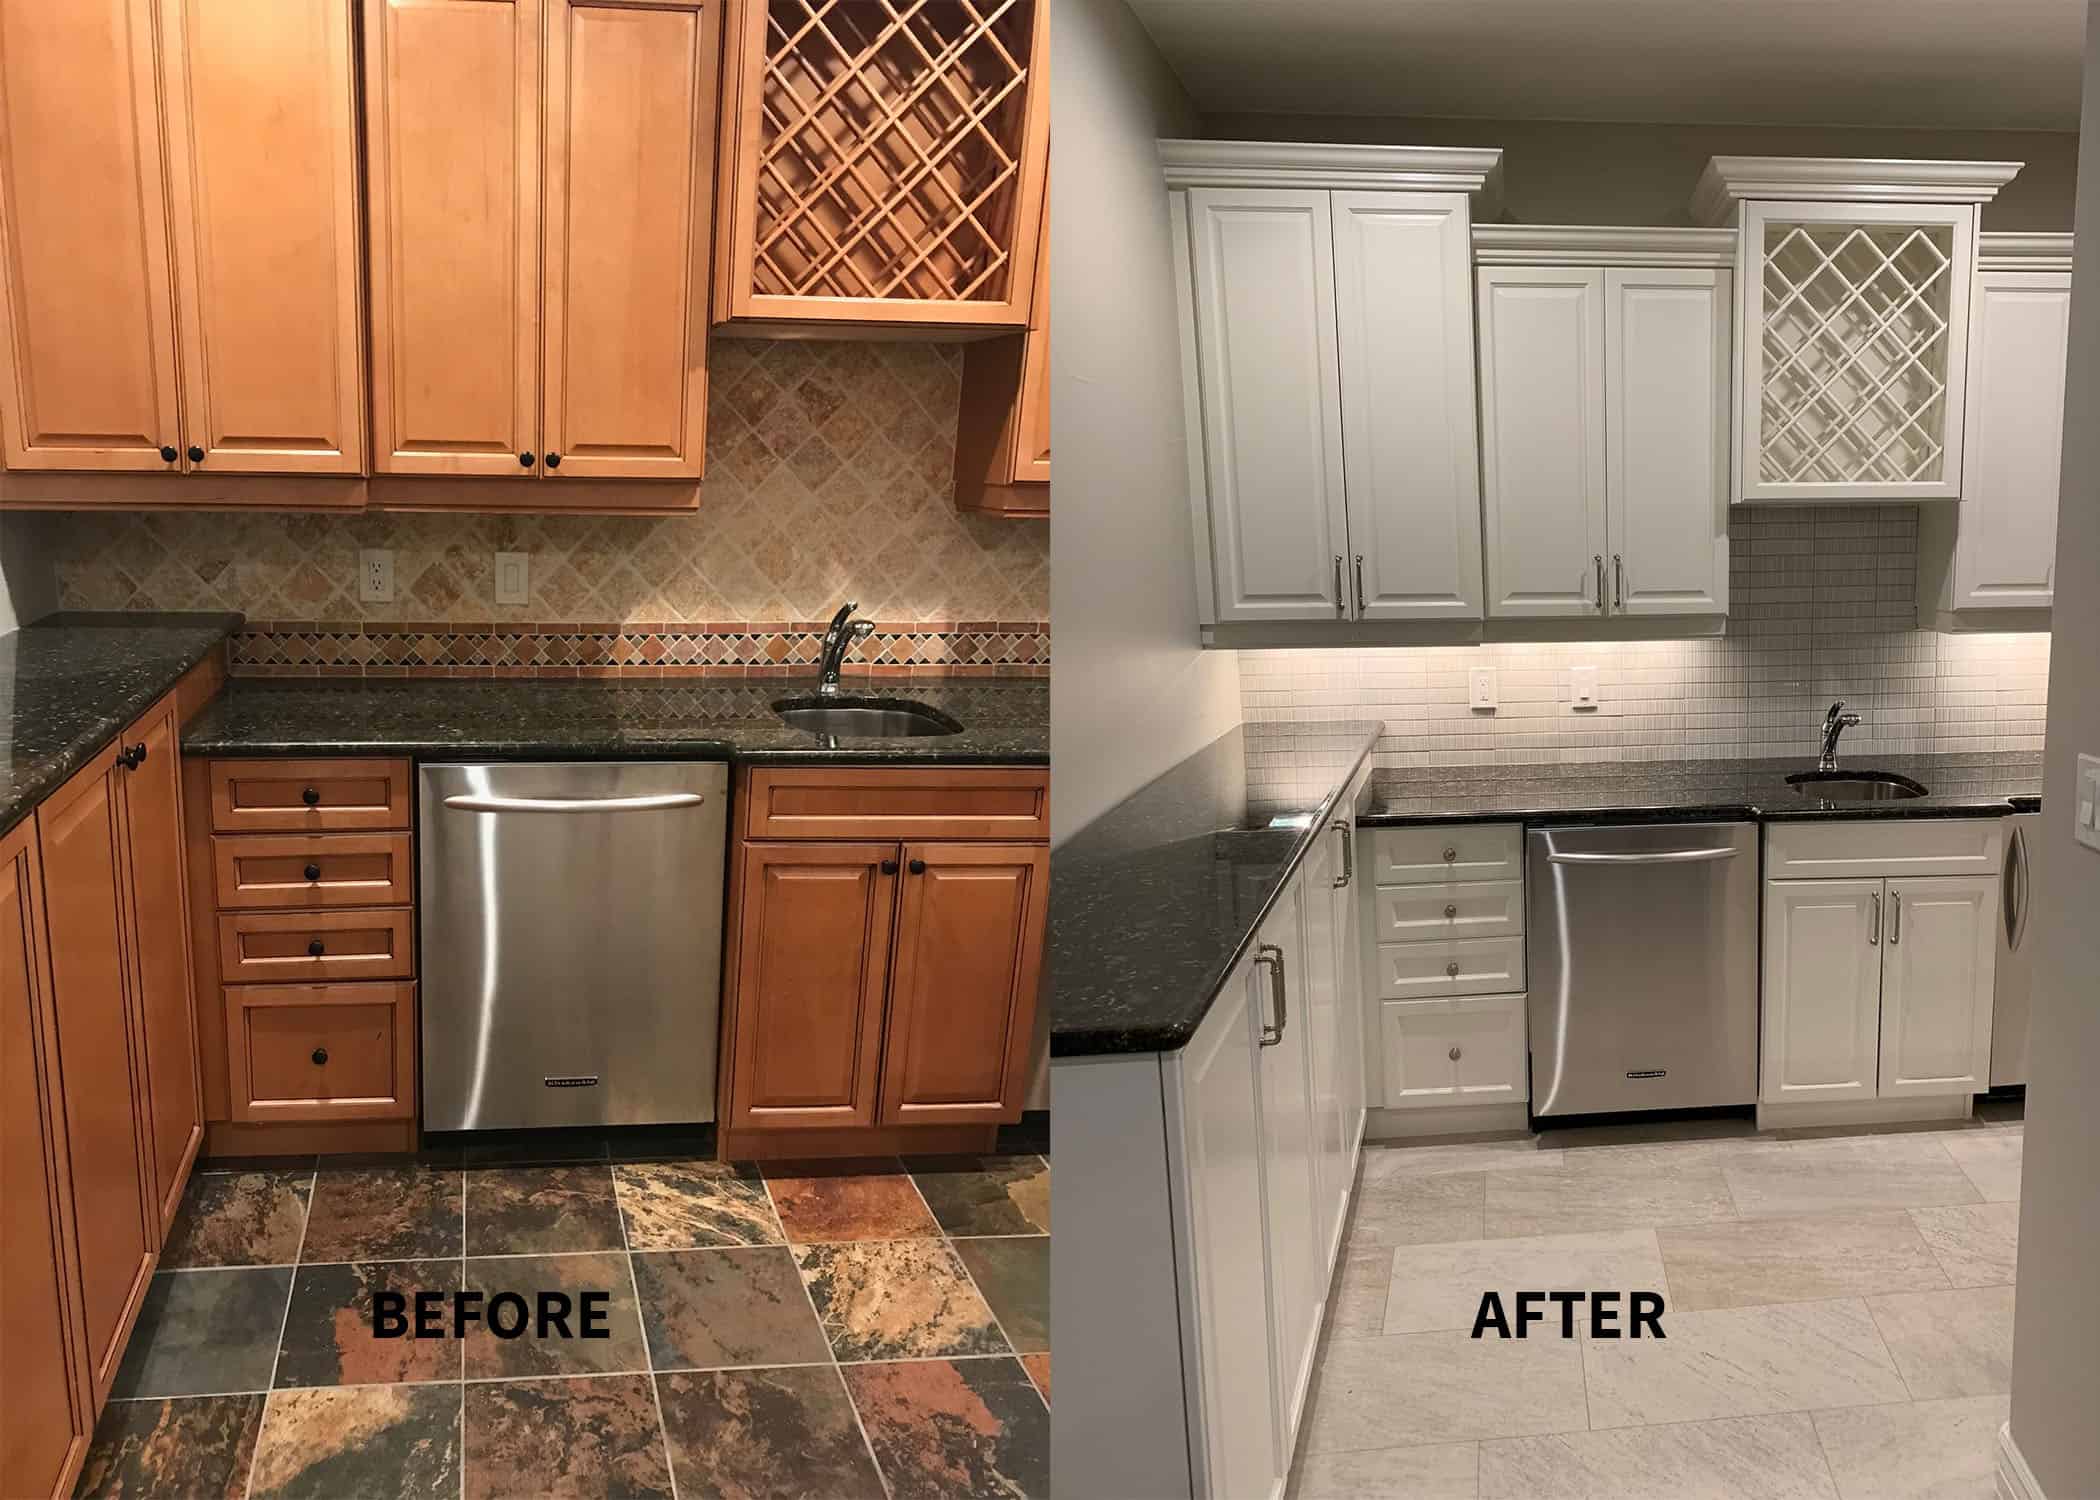
Washing walls before painting is crucial for achieving a professional-looking finish. It helps to remove any dirt, grease, and stains that may affect the final result. It also ensures that the paint adheres well to the walls, preventing peeling and flaking in the future.Importance of Washing Walls Before Painting


Importance of Washing Walls Before Painting


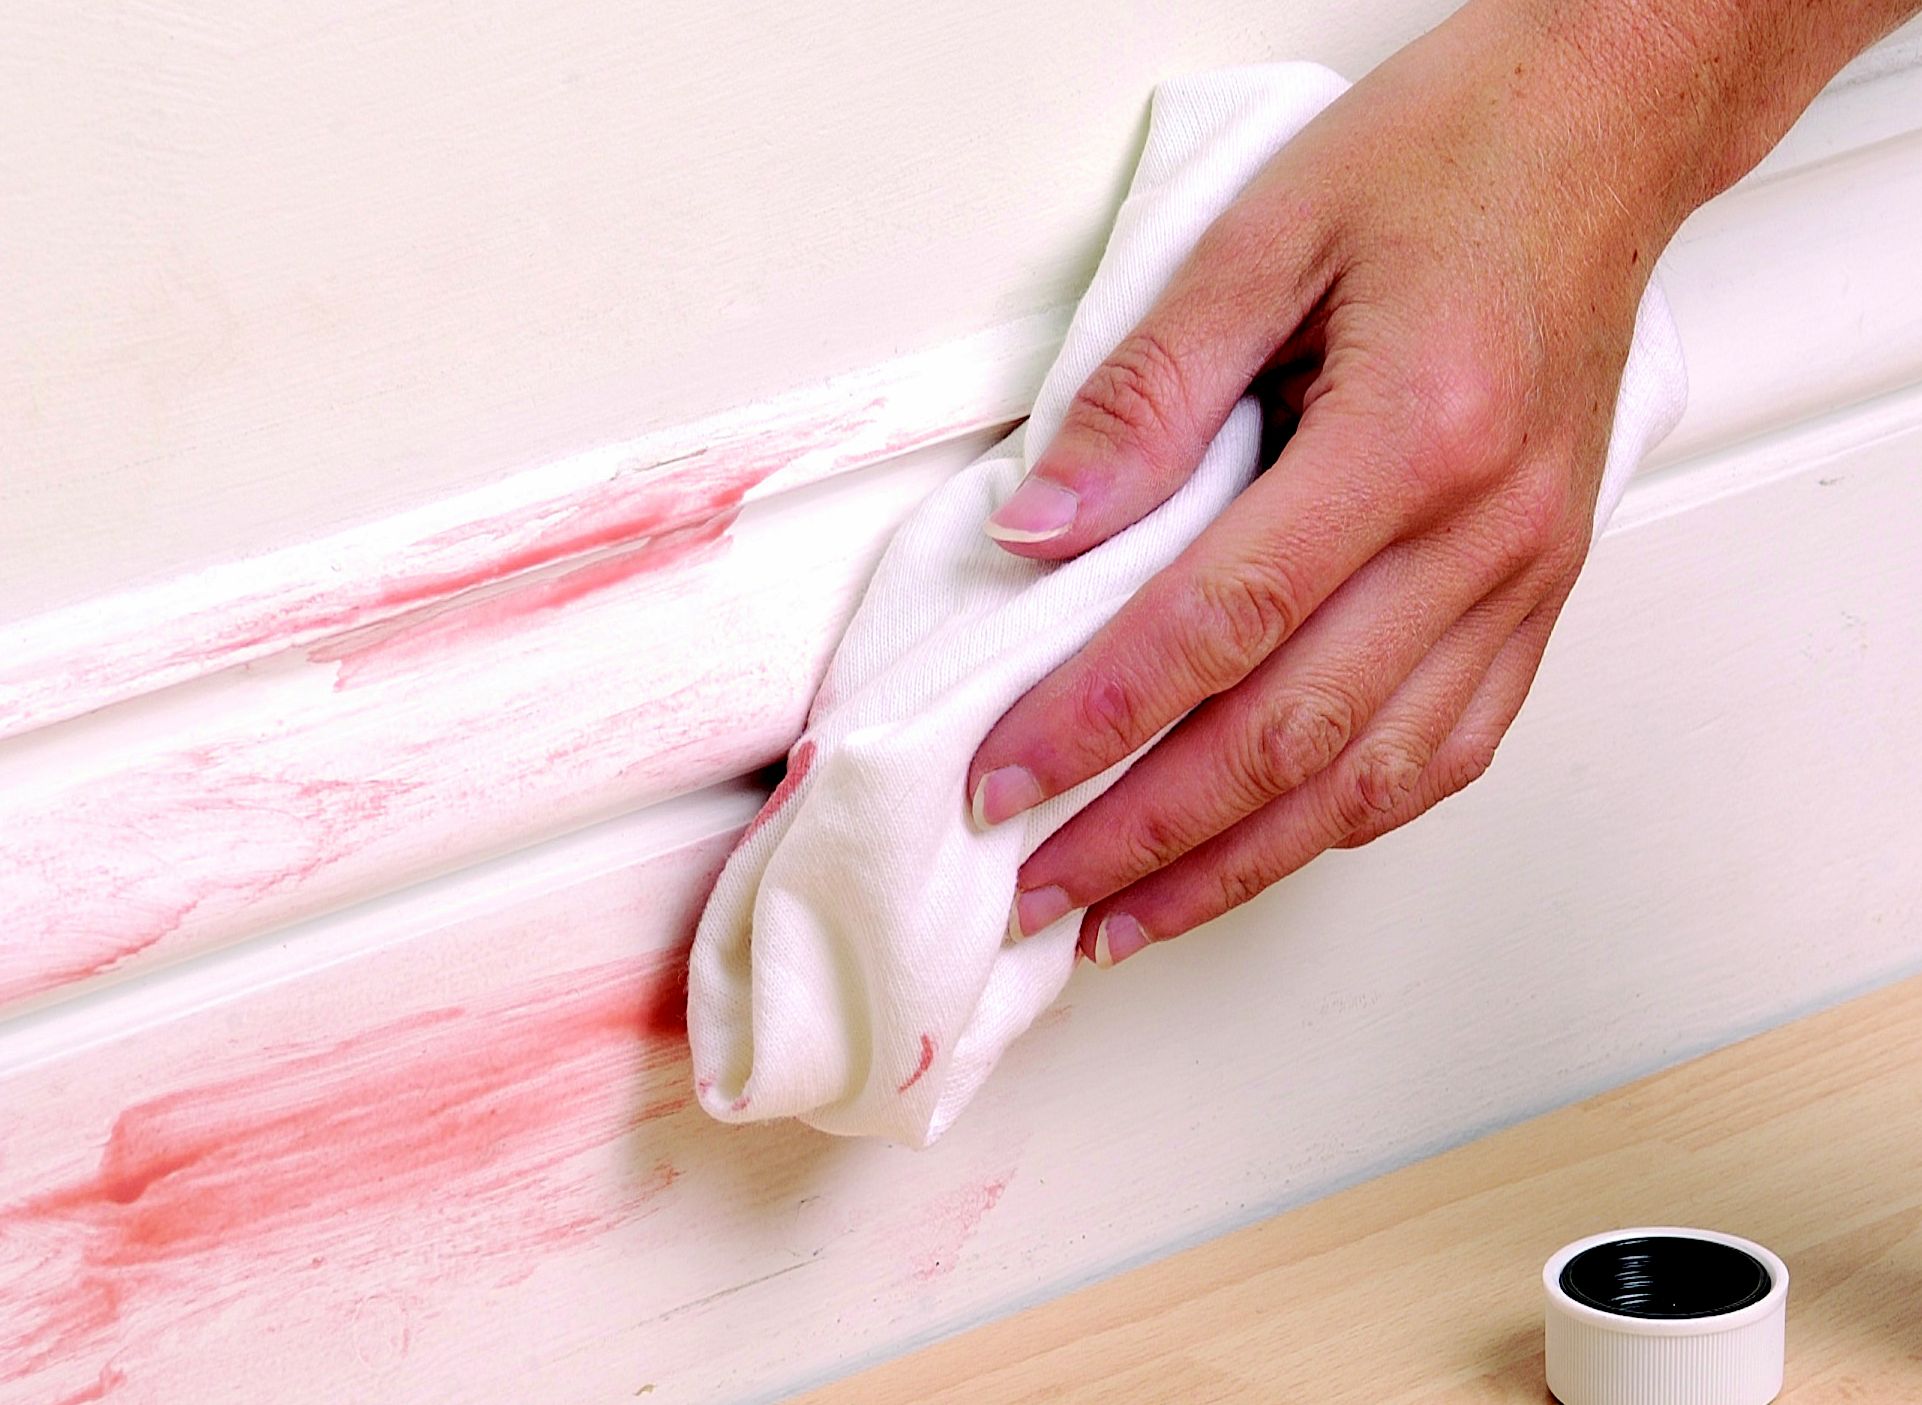
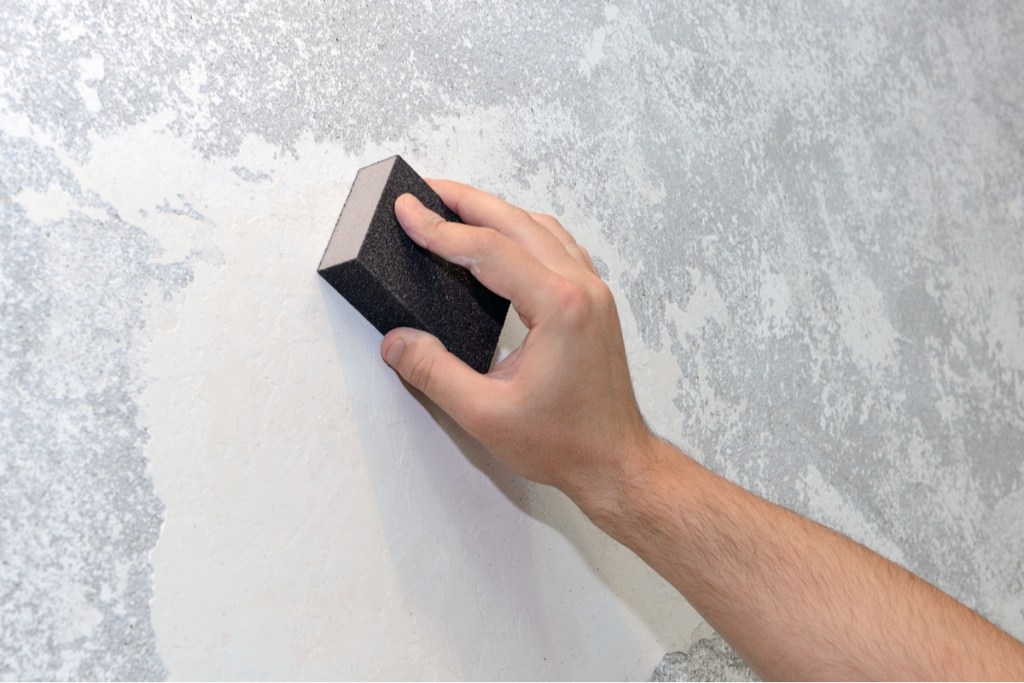
If your kitchen walls have stubborn stains, such as crayon marks or food splatters, mix a paste of baking soda and water. Apply the paste to the stains and let it sit for a few minutes before scrubbing with a sponge. Rinse with clean water and let the walls dry before painting.How to Get Rid of Stains on Kitchen Walls Before Painting


How to Get Rid of Stains on Kitchen Walls Before Painting


Here are some additional tips to keep in mind when washing walls before painting:Tips for Washing Walls Before Painting


Tips for Washing Walls Before Painting


Why Washing Your Kitchen Walls Before Painting is Essential

The Importance of Proper Preparation in House Design
 When it comes to painting the walls in your kitchen, it may seem like a simple and straightforward task. However, to achieve a professional and long-lasting finish, proper preparation is crucial. This includes washing your kitchen walls before painting. Many homeowners often overlook this step, but it can make a significant difference in the overall outcome of your house design.
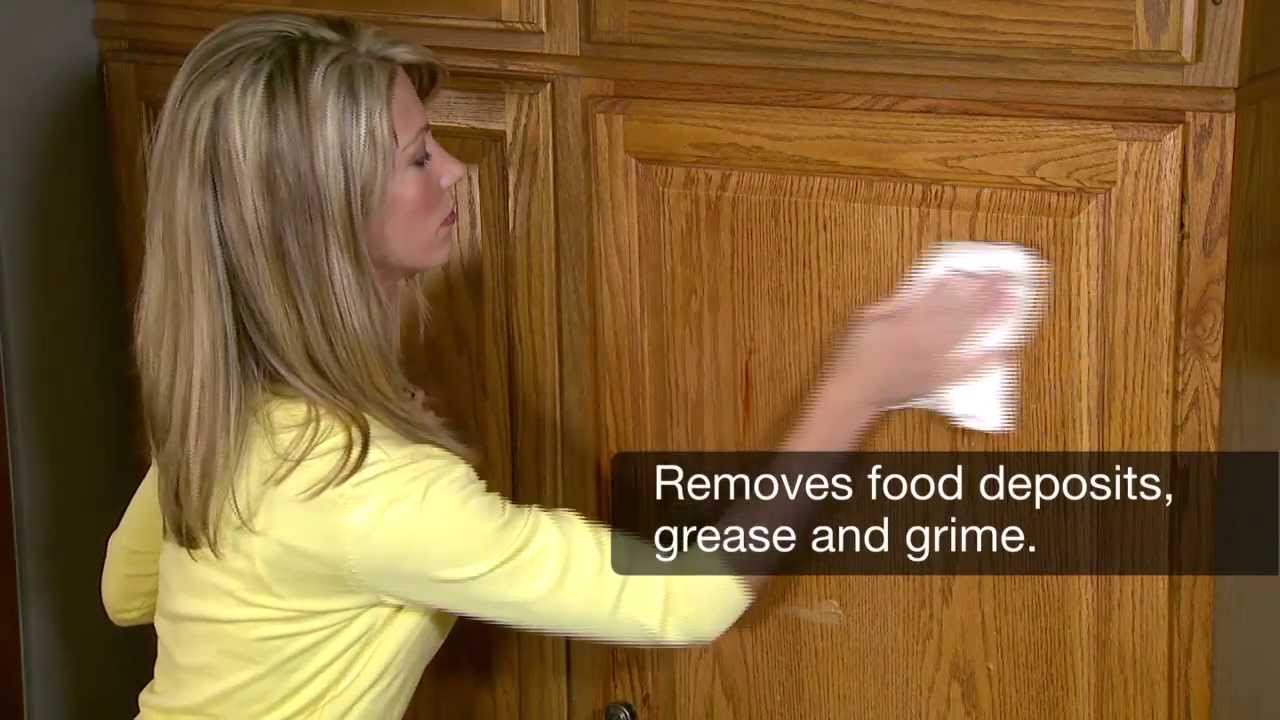
Removing Dirt and Grime
Over time, the walls in your kitchen can accumulate a layer of dirt and grime. This can be caused by cooking oils, food splatters, and general household dust. If you skip the step of washing your walls before painting, you risk trapping this dirt and grime underneath the new paint. This can lead to an uneven and unappealing finish, as well as potential mold or mildew growth.
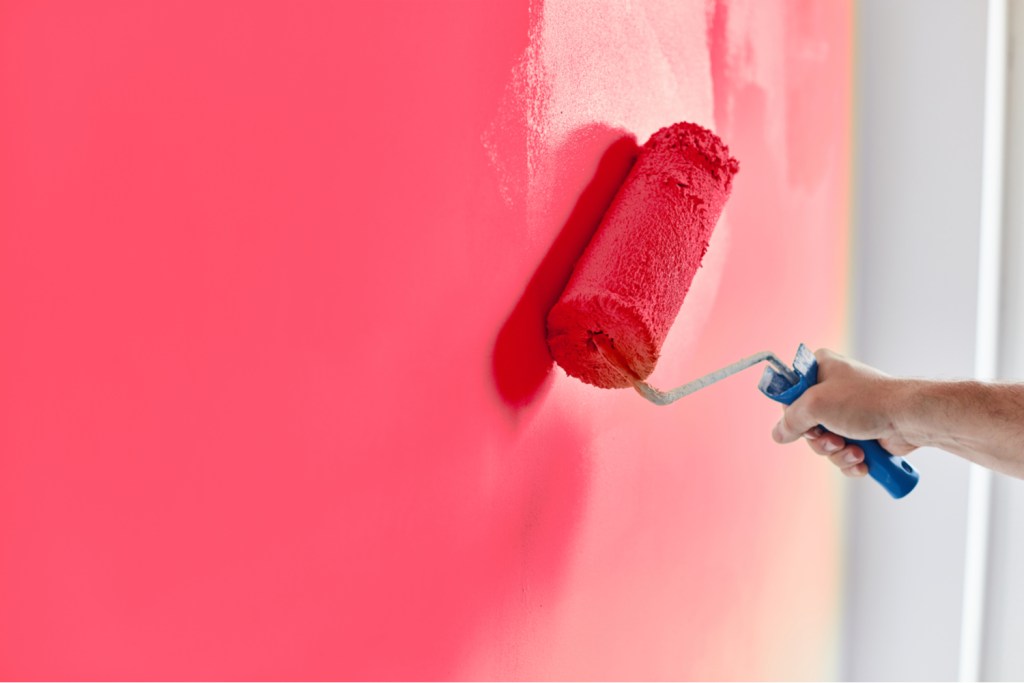
Ensuring Proper Adhesion
Another reason to wash your kitchen walls before painting is to ensure proper adhesion of the new paint. Without removing any dirt or grease, the paint may not adhere well to the wall, resulting in peeling or cracking in the future. This can also be a waste of time and money, as you may need to repaint sooner than expected. By thoroughly washing your walls, you create a clean and smooth surface for the paint to adhere to, resulting in a more durable and long-lasting finish.
Eliminating Odors
In a room like the kitchen, where cooking and food preparation take place, there can be lingering odors that have absorbed into the walls. By washing your walls before painting, you can eliminate these odors and create a fresh and clean canvas for your new paint. This is especially important if you are changing the color of your kitchen walls, as the old color may still have lingering smells.
When it comes to painting the walls in your kitchen, it may seem like a simple and straightforward task. However, to achieve a professional and long-lasting finish, proper preparation is crucial. This includes washing your kitchen walls before painting. Many homeowners often overlook this step, but it can make a significant difference in the overall outcome of your house design.
Removing Dirt and Grime
Over time, the walls in your kitchen can accumulate a layer of dirt and grime. This can be caused by cooking oils, food splatters, and general household dust. If you skip the step of washing your walls before painting, you risk trapping this dirt and grime underneath the new paint. This can lead to an uneven and unappealing finish, as well as potential mold or mildew growth.
Ensuring Proper Adhesion
Another reason to wash your kitchen walls before painting is to ensure proper adhesion of the new paint. Without removing any dirt or grease, the paint may not adhere well to the wall, resulting in peeling or cracking in the future. This can also be a waste of time and money, as you may need to repaint sooner than expected. By thoroughly washing your walls, you create a clean and smooth surface for the paint to adhere to, resulting in a more durable and long-lasting finish.
Eliminating Odors
In a room like the kitchen, where cooking and food preparation take place, there can be lingering odors that have absorbed into the walls. By washing your walls before painting, you can eliminate these odors and create a fresh and clean canvas for your new paint. This is especially important if you are changing the color of your kitchen walls, as the old color may still have lingering smells.
In Conclusion
 To achieve a professional and flawless finish in your kitchen, proper preparation is key. This includes washing your walls before painting to remove dirt and grime, ensure proper adhesion, and eliminate any lingering odors. By taking this extra step, you can be confident in the longevity and overall appearance of your house design. So don't skip this crucial step and add it to your painting checklist for a successful kitchen renovation.