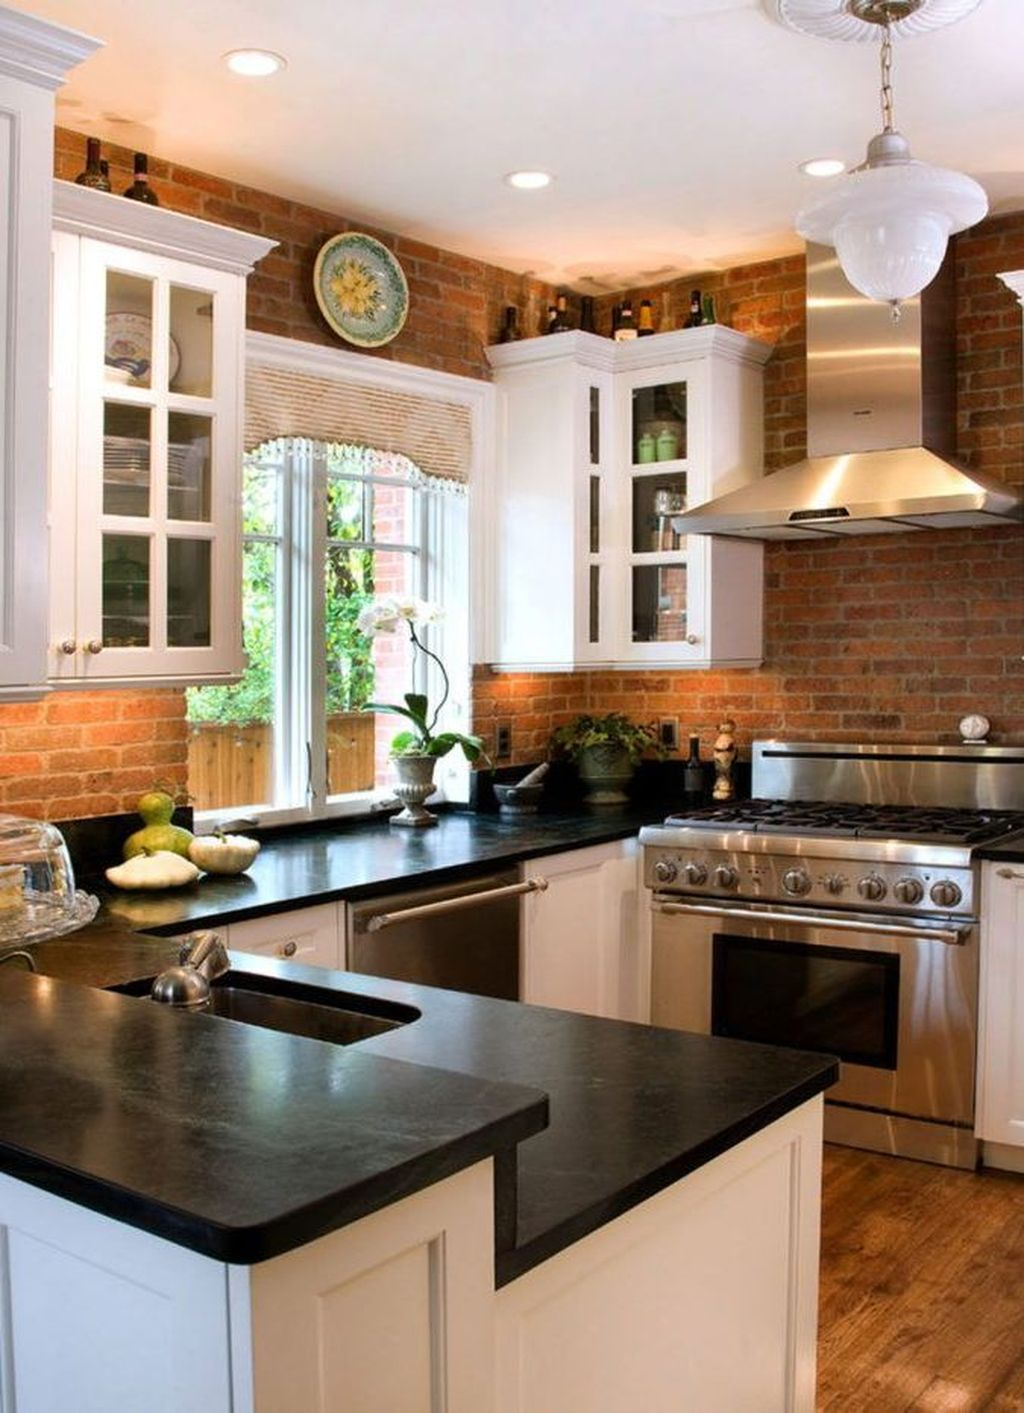
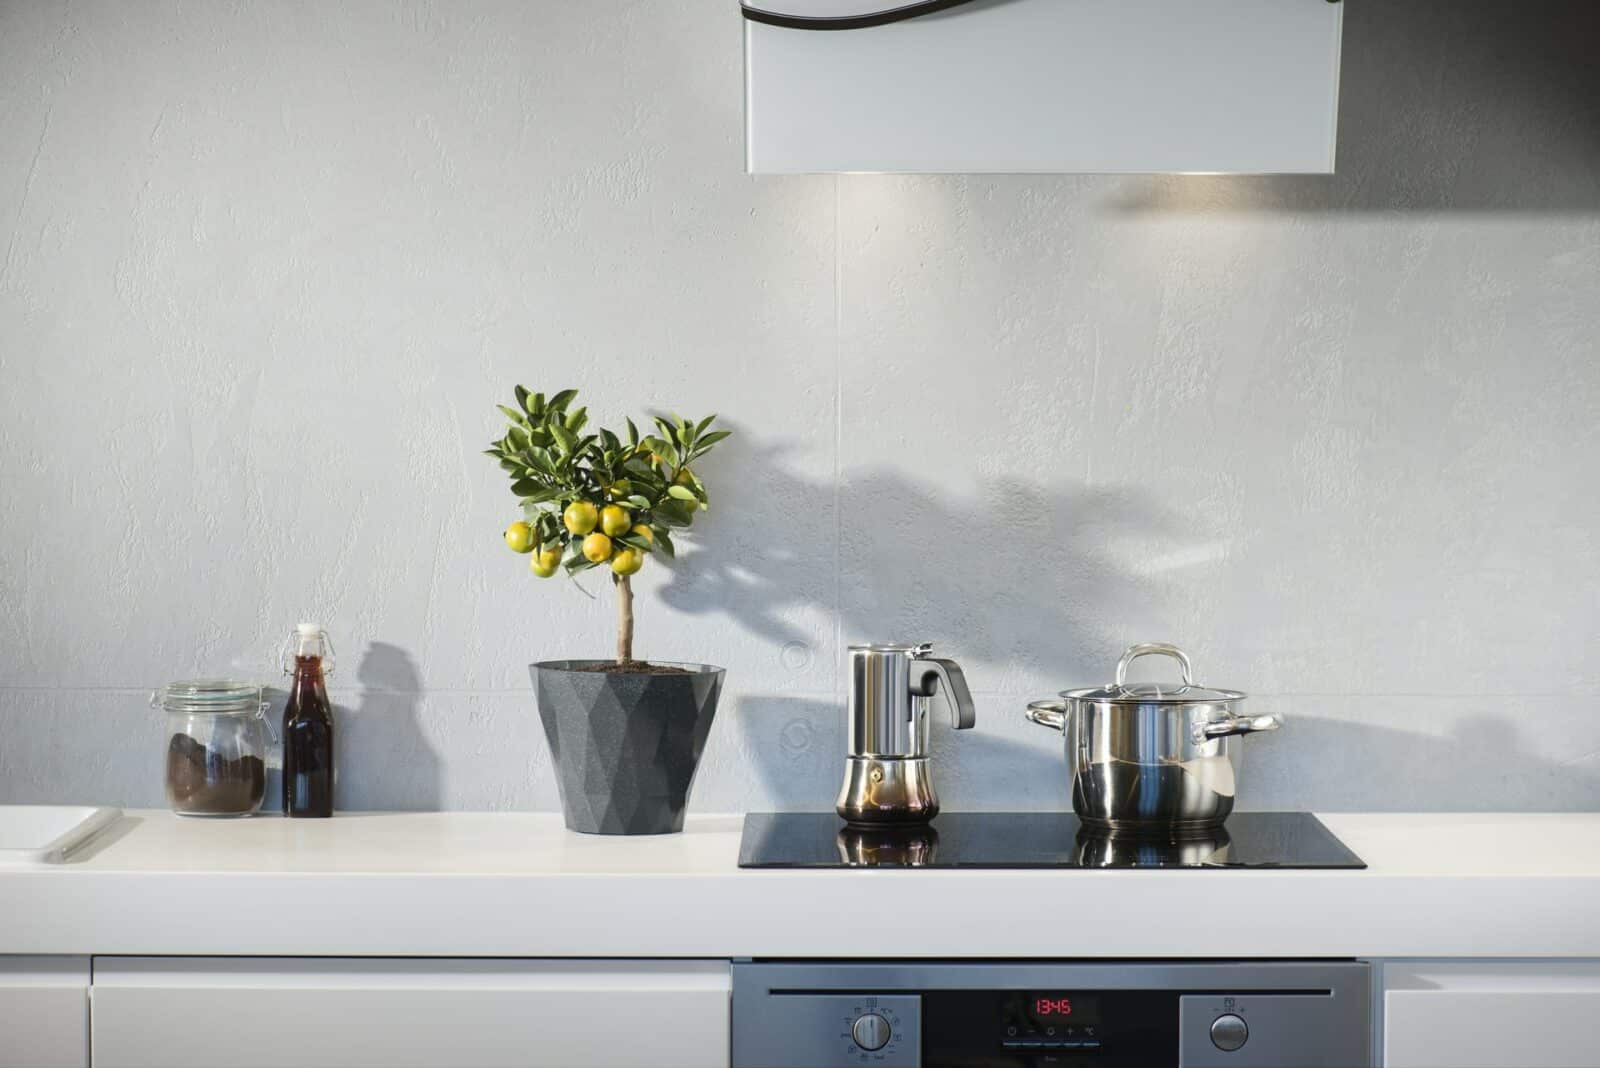
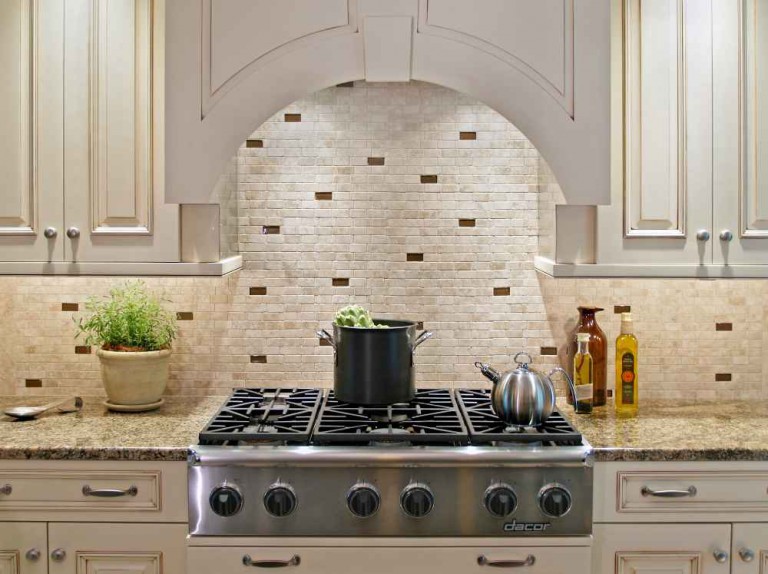
Installing a kitchen backsplash is a great way to add style and functionality to your kitchen. Not only does it protect your walls from spills and splatters, but it also adds a beautiful touch to your overall design. However, before you can install your dream backsplash, you must prepare your wall properly. Here are 10 essential steps for preparing your kitchen wall for a backsplash.How to Prepare a Wall for a Kitchen Backsplash

How to Prepare a Wall for a Kitchen Backsplash


Proper wall preparation is crucial for a successful backsplash installation. Without the right preparation, your backsplash may not adhere properly and could lead to future problems. Follow these steps to ensure your wall is ready for your new backsplash.Wall Preparation for Kitchen Backsplash: A Step-by-Step Guide


Wall Preparation for Kitchen Backsplash: A Step-by-Step Guide

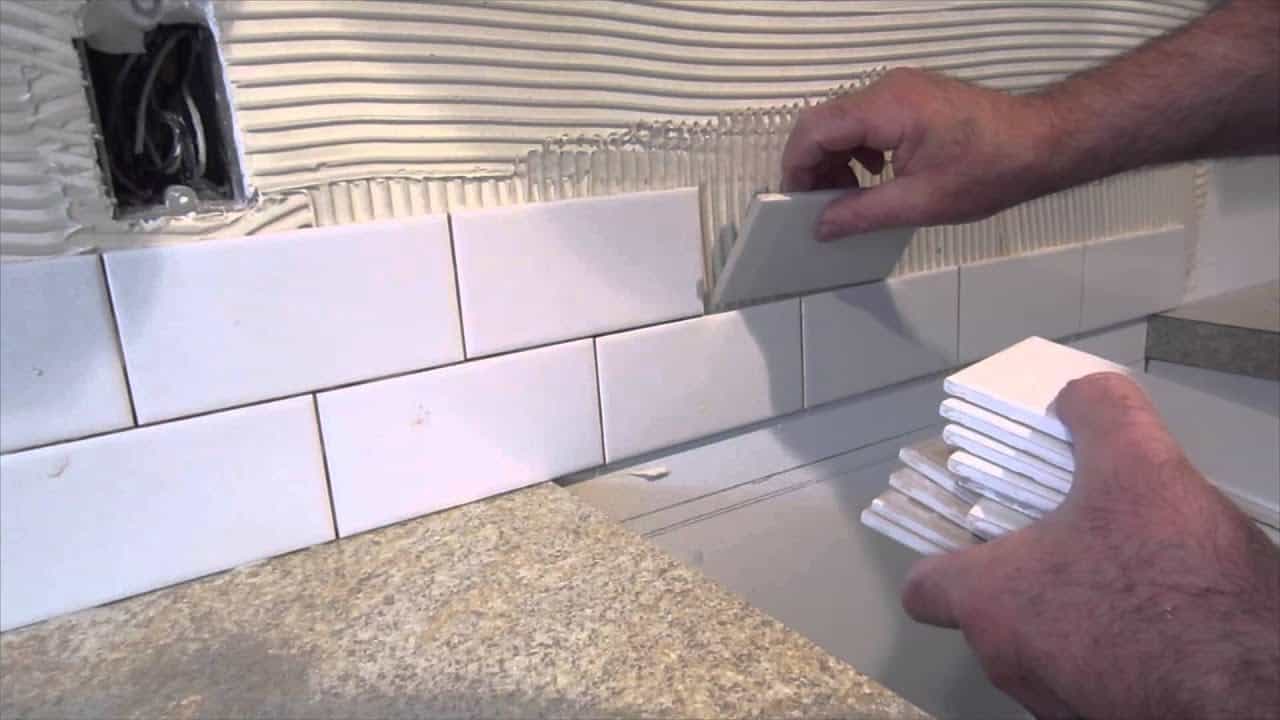

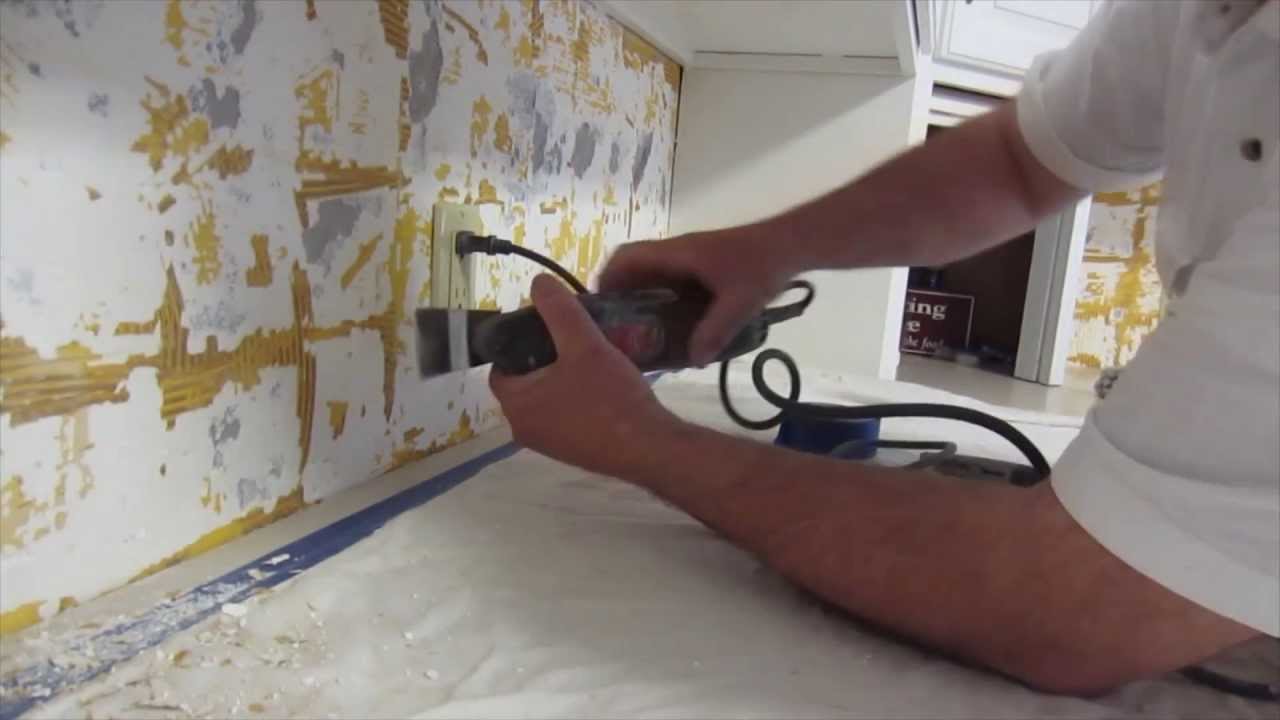
1. Clean and Clear the Wall: Before you can start preparing your wall, you need to make sure it is clean and free of any debris. Use a damp cloth to wipe down the wall and remove any dirt, grime, or grease. 2. Remove Outlet Covers: Take off any outlet covers or switch plates that are on the wall. This will make it easier to work with the wall and will prevent any accidental damage to the covers. 3. Protect Countertops and Cabinets: Use plastic sheeting or drop cloths to cover your countertops and cabinets. This will protect them from any damage during the preparation process. 4. Sand the Wall: If your wall has any bumps, uneven patches, or rough spots, lightly sand them down. This will create a smooth surface for your backsplash to adhere to. 5. Fill in Holes and Cracks: Use spackling compound to fill in any nail holes, cracks, or dents in the wall. Smooth it out with a putty knife and let it dry completely. 6. Sand Again: Once the spackling compound is dry, sand it down again to create an even surface. 7. Wipe Down the Wall Again: Use a damp cloth to wipe down the wall and remove any dust created by sanding. 8. Prime the Wall: Applying a coat of primer is essential to ensure the adhesive used for the backsplash will stick properly. Use a paintbrush or roller to apply the primer and let it dry completely. 9. Measure and Mark the Wall: Use a level and tape measure to mark the area where your backsplash will go. This will ensure that your backsplash is straight and centered. 10. Apply Adhesive: Follow the manufacturer's instructions to apply the adhesive to the back of your backsplash. Use a notched trowel to spread the adhesive evenly.Essential Tips for Preparing Your Kitchen Wall for a Backsplash


Essential Tips for Preparing Your Kitchen Wall for a Backsplash


Proper wall preparation is crucial for the longevity and success of your backsplash installation. Without the right preparation, your backsplash may not adhere properly, leading to future problems such as tiles falling off or grout cracking. Taking the time to prepare your wall will ensure a smooth and successful installation.The Importance of Proper Wall Preparation for a Kitchen Backsplash


The Importance of Proper Wall Preparation for a Kitchen Backsplash


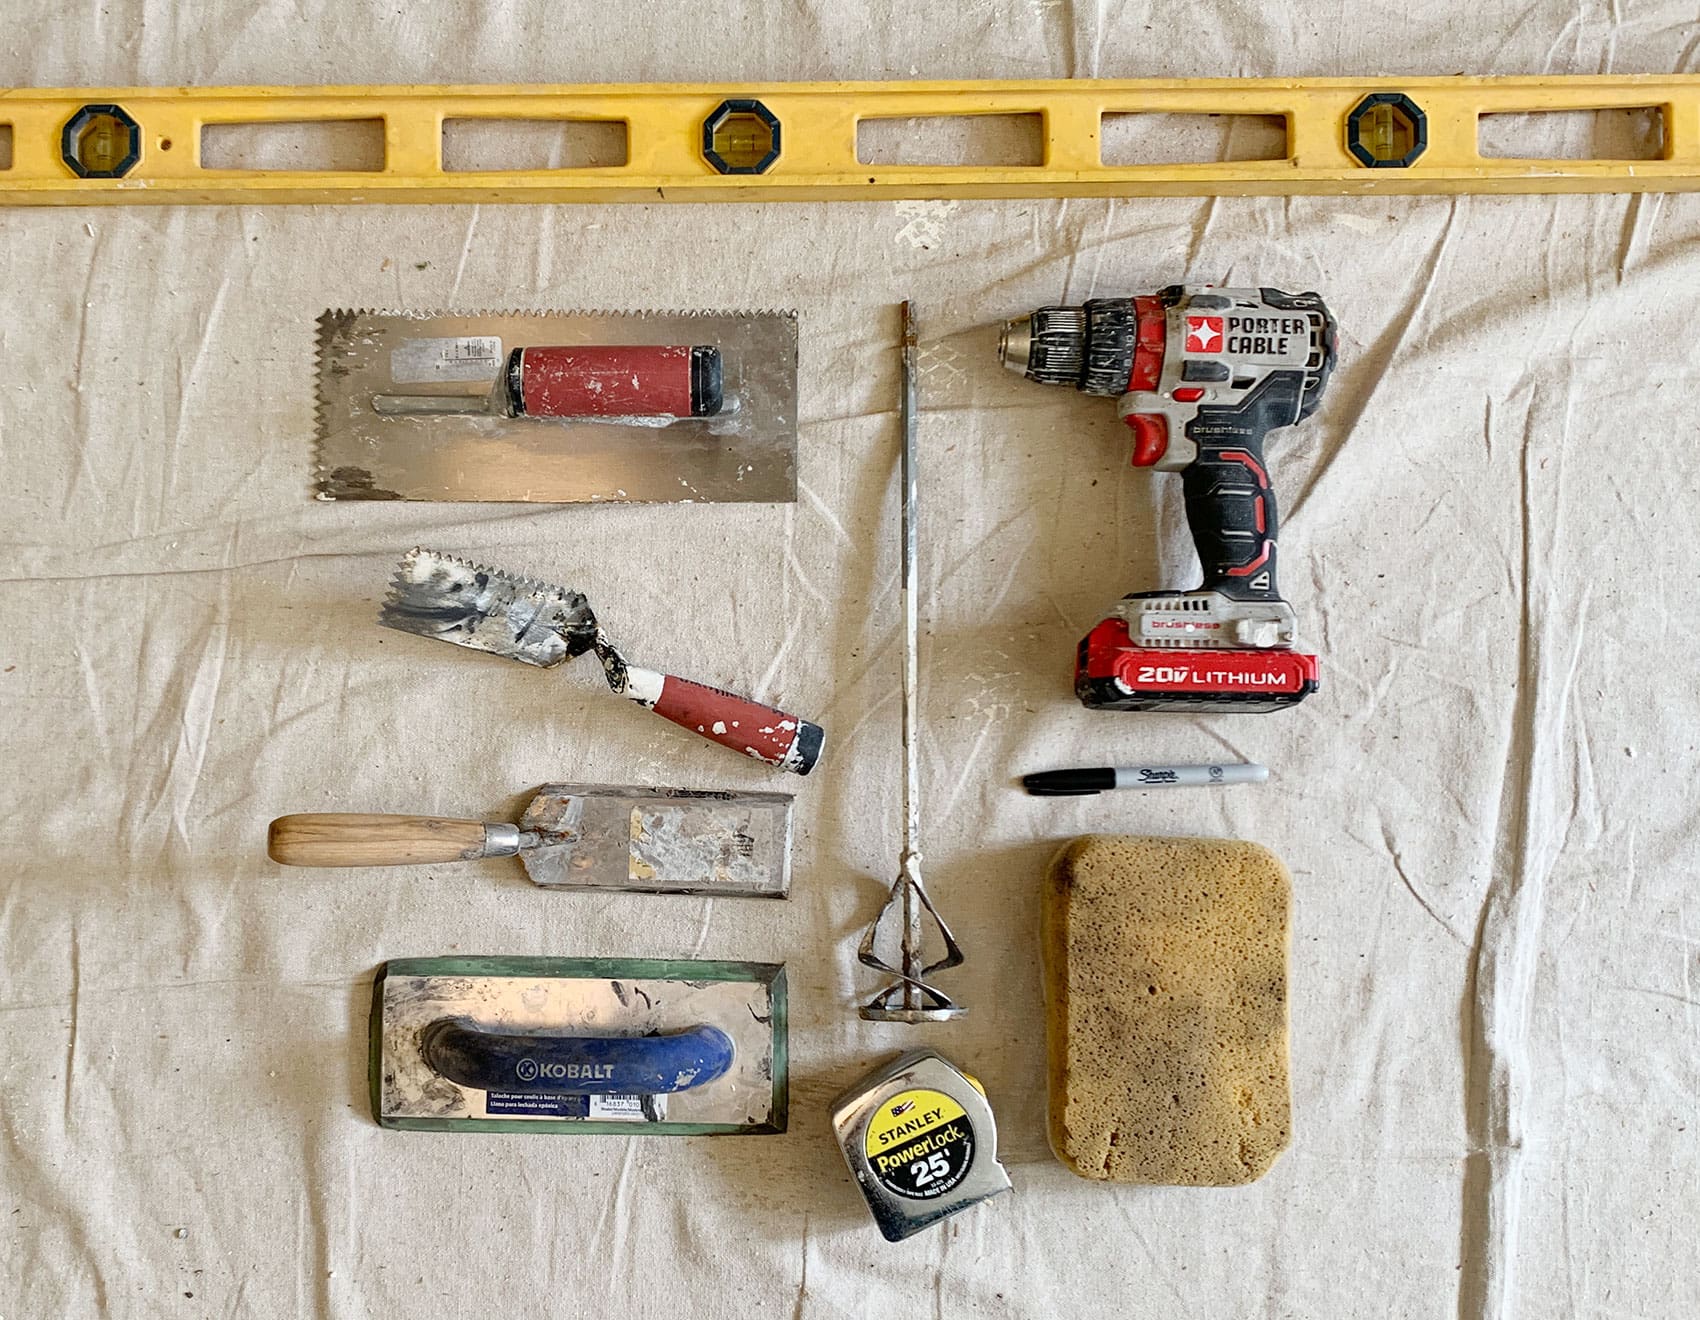
• Damp cloth • Plastic sheeting or drop cloths • Sandpaper • Spackling compound • Putty knife • Primer • Paintbrush or roller • Level • Tape measure • Notched trowel • AdhesiveTools and Materials Needed for Preparing a Wall for a Kitchen Backsplash


Tools and Materials Needed for Preparing a Wall for a Kitchen Backsplash
/pastry-tools-and-baking-utensils-1908347-Final-3acb2a97793d4493b175f4c8422a7557.png)

:max_bytes(150000):strip_icc()/luxury-kitchen-165594300-58a719fb5f9b58a3c9362b1c.jpg)
1. Clean the wall with a damp cloth. 2. Remove outlet covers. 3. Protect countertops and cabinets. 4. Sand the wall. 5. Fill in holes and cracks with spackling compound. 6. Sand again. 7. Wipe down the wall again. 8. Prime the wall. 9. Measure and mark the wall. 10. Apply adhesive to the backsplash.Step-by-Step Guide for Preparing Your Kitchen Wall for a Backsplash

Step-by-Step Guide for Preparing Your Kitchen Wall for a Backsplash


• Not cleaning the wall properly before starting. • Skipping the step of priming the wall. • Not using a level and tape measure to mark the area for the backsplash. • Using the wrong type of adhesive for your backsplash material. • Rushing the preparation process.Common Mistakes to Avoid When Preparing a Wall for a Kitchen Backsplash


Common Mistakes to Avoid When Preparing a Wall for a Kitchen Backsplash


• When sanding, use a fine-grit sandpaper to avoid creating deep scratches on the wall. • Use a putty knife to smooth out the spackling compound before it dries. • Don't be afraid to ask for help or hire a professional if you are unsure about any step of the preparation process. • Apply the adhesive in small sections to avoid it drying out before you can place the backsplash tiles.Expert Tips for Preparing a Wall for a Kitchen Backsplash


Expert Tips for Preparing a Wall for a Kitchen Backsplash


If your walls have larger holes or cracks, you may need to do some repair work before starting the preparation process. Use a drywall repair patch or mesh tape to cover the damaged area, and then follow the steps above to prepare the wall for your backsplash.How to Repair and Patch Walls Before Installing a Kitchen Backsplash


How to Repair and Patch Walls Before Installing a Kitchen Backsplash


• If your kitchen walls are made of drywall, be extra careful when sanding to avoid damaging the paper coating. • If the drywall is uneven, use a sanding block to create a smooth surface. • Use a stain-blocking primer if your wall has any water stains or discoloration. Now that you know the steps for preparing your kitchen wall for a backsplash, you can confidently start your installation process. Remember to take your time and follow these tips for a successful and long-lasting backsplash. Happy decorating!Preparing Drywall for a Kitchen Backsplash: Tips and Tricks


:max_bytes(150000):strip_icc()/BacksplashBehindorAroundStove-a421f80f118d447cadf35a05c2b72910.jpg)
Preparing Drywall for a Kitchen Backsplash: Tips and Tricks


Proper Wall Preparation for Kitchen Backsplash Installation

Preparing your Walls for a Beautiful Kitchen Backsplash
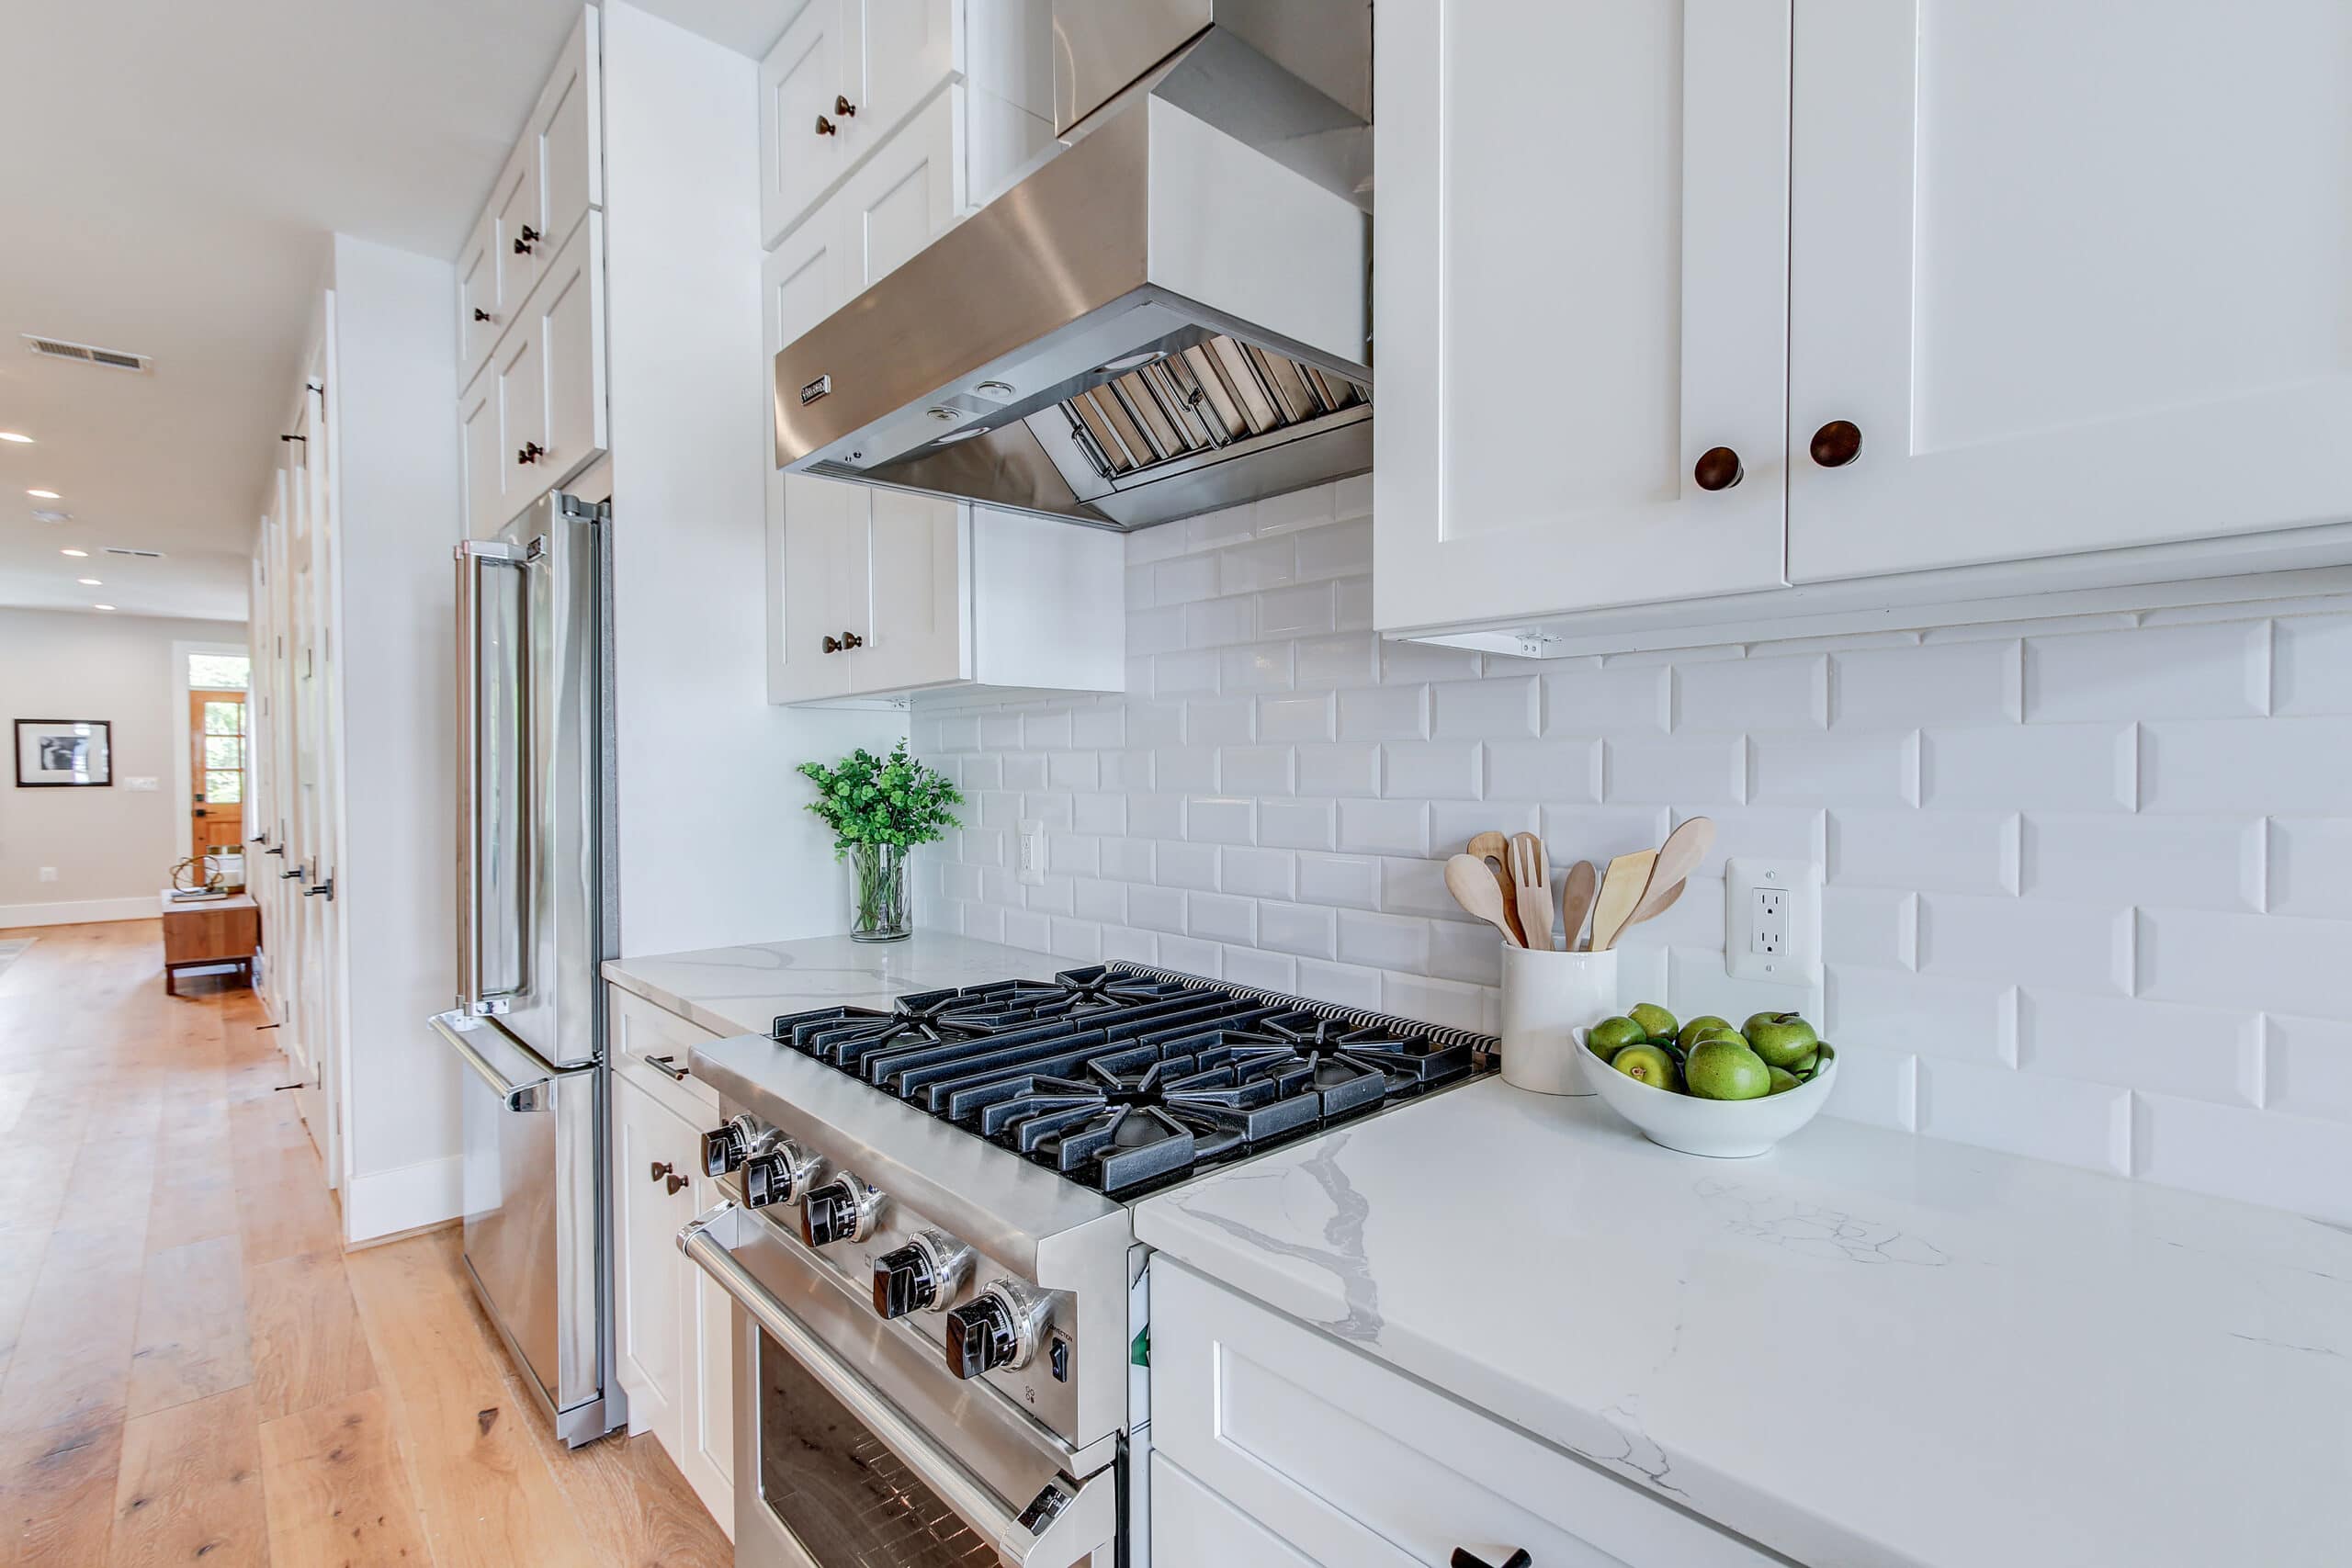
 Adding a backsplash to your kitchen is a great way to enhance the overall design and functionality of the space. Not only does it protect your walls from stains and water damage, but it also adds a unique and stylish touch to your kitchen. However, before you can begin installing your
kitchen backsplash,
it is crucial to properly prepare your walls. This will ensure a smooth and successful installation process. Here are some essential steps to follow for
wall preparation for kitchen backsplash.
Adding a backsplash to your kitchen is a great way to enhance the overall design and functionality of the space. Not only does it protect your walls from stains and water damage, but it also adds a unique and stylish touch to your kitchen. However, before you can begin installing your
kitchen backsplash,
it is crucial to properly prepare your walls. This will ensure a smooth and successful installation process. Here are some essential steps to follow for
wall preparation for kitchen backsplash.
Step 1: Clean and Repair Any Imperfections
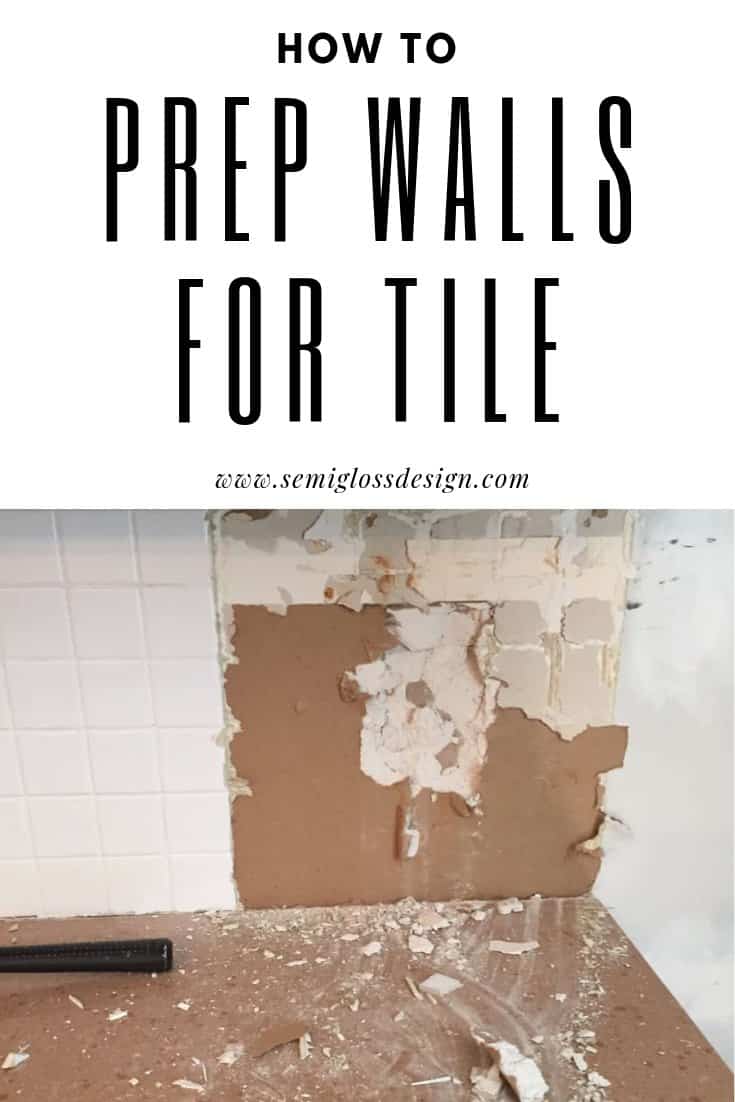
 Before you can start preparing your walls, you need to make sure they are clean and free of any imperfections. Use a mild detergent and warm water to clean the walls thoroughly. Remove any dust, grease, or grime that may have accumulated over time. Once the walls are clean, inspect them for any cracks, holes, or bumps. These imperfections can affect the final result of your backsplash, so it is important to repair them before proceeding.
Step 2: Sand the Walls
 Sanding the walls is an essential step in the
wall preparation process
for a kitchen backsplash. This will help create a smooth and even surface for the adhesive to adhere to. Use a fine-grit sandpaper to gently sand the walls in a circular motion. Be sure to wipe away any dust or debris after sanding.
Sanding the walls is an essential step in the
wall preparation process
for a kitchen backsplash. This will help create a smooth and even surface for the adhesive to adhere to. Use a fine-grit sandpaper to gently sand the walls in a circular motion. Be sure to wipe away any dust or debris after sanding.
Step 3: Prime the Walls
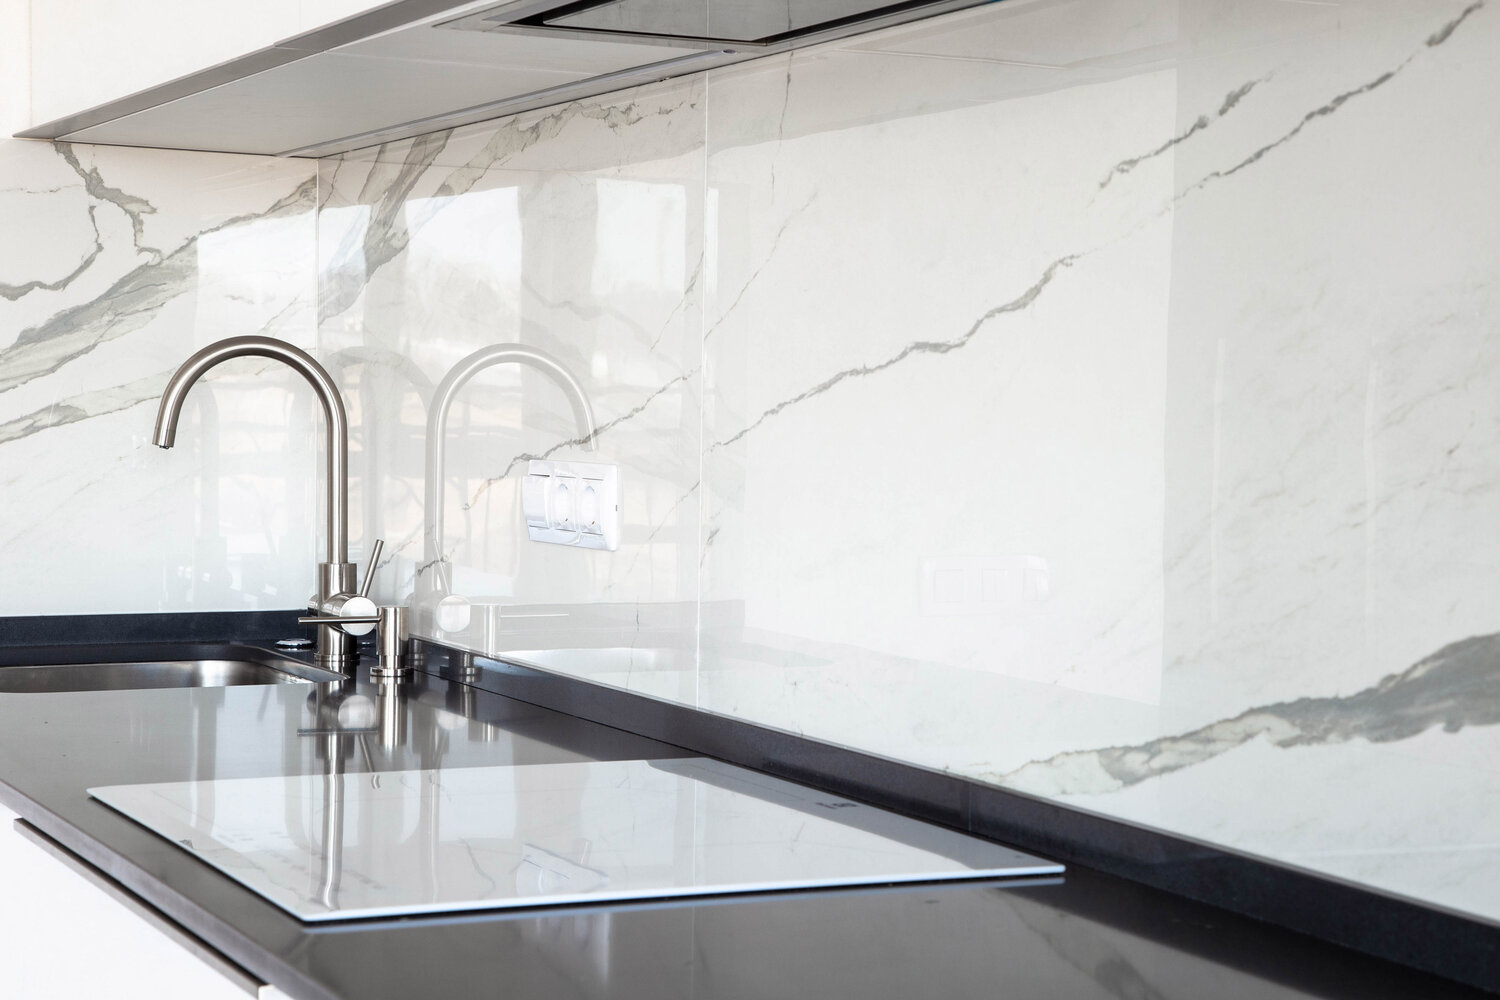
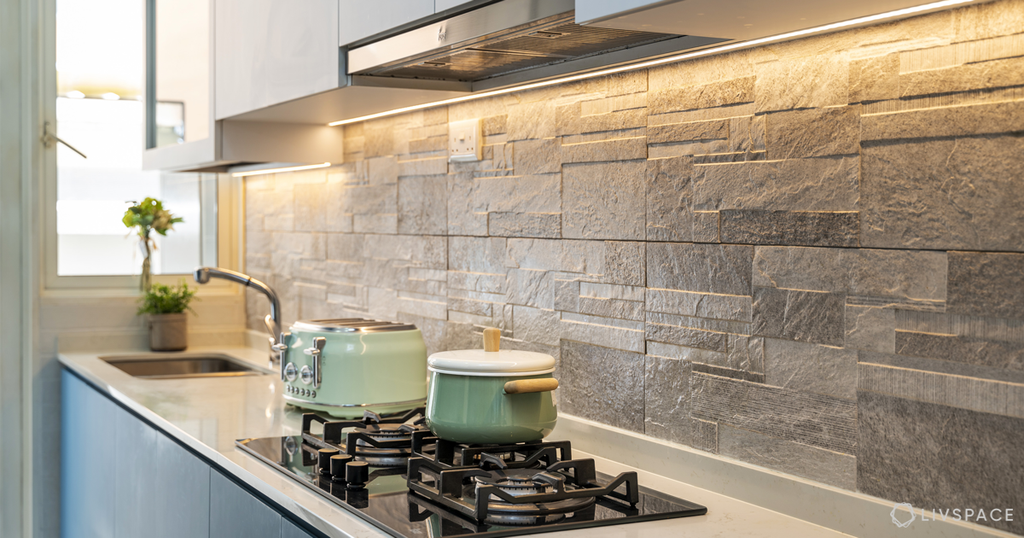
:max_bytes(150000):strip_icc()/Slab-backsplash-credit-Madeline-Harper--3f2a53a02fdc484ba34b885c07b55b5e.jpg) Priming the walls is crucial for
ensuring proper adhesion
of the backsplash tiles. Use a high-quality primer designed for use on the material of your walls. Apply the primer in a thin, even coat, using a roller or brush. Let the primer dry completely before proceeding.
Priming the walls is crucial for
ensuring proper adhesion
of the backsplash tiles. Use a high-quality primer designed for use on the material of your walls. Apply the primer in a thin, even coat, using a roller or brush. Let the primer dry completely before proceeding.
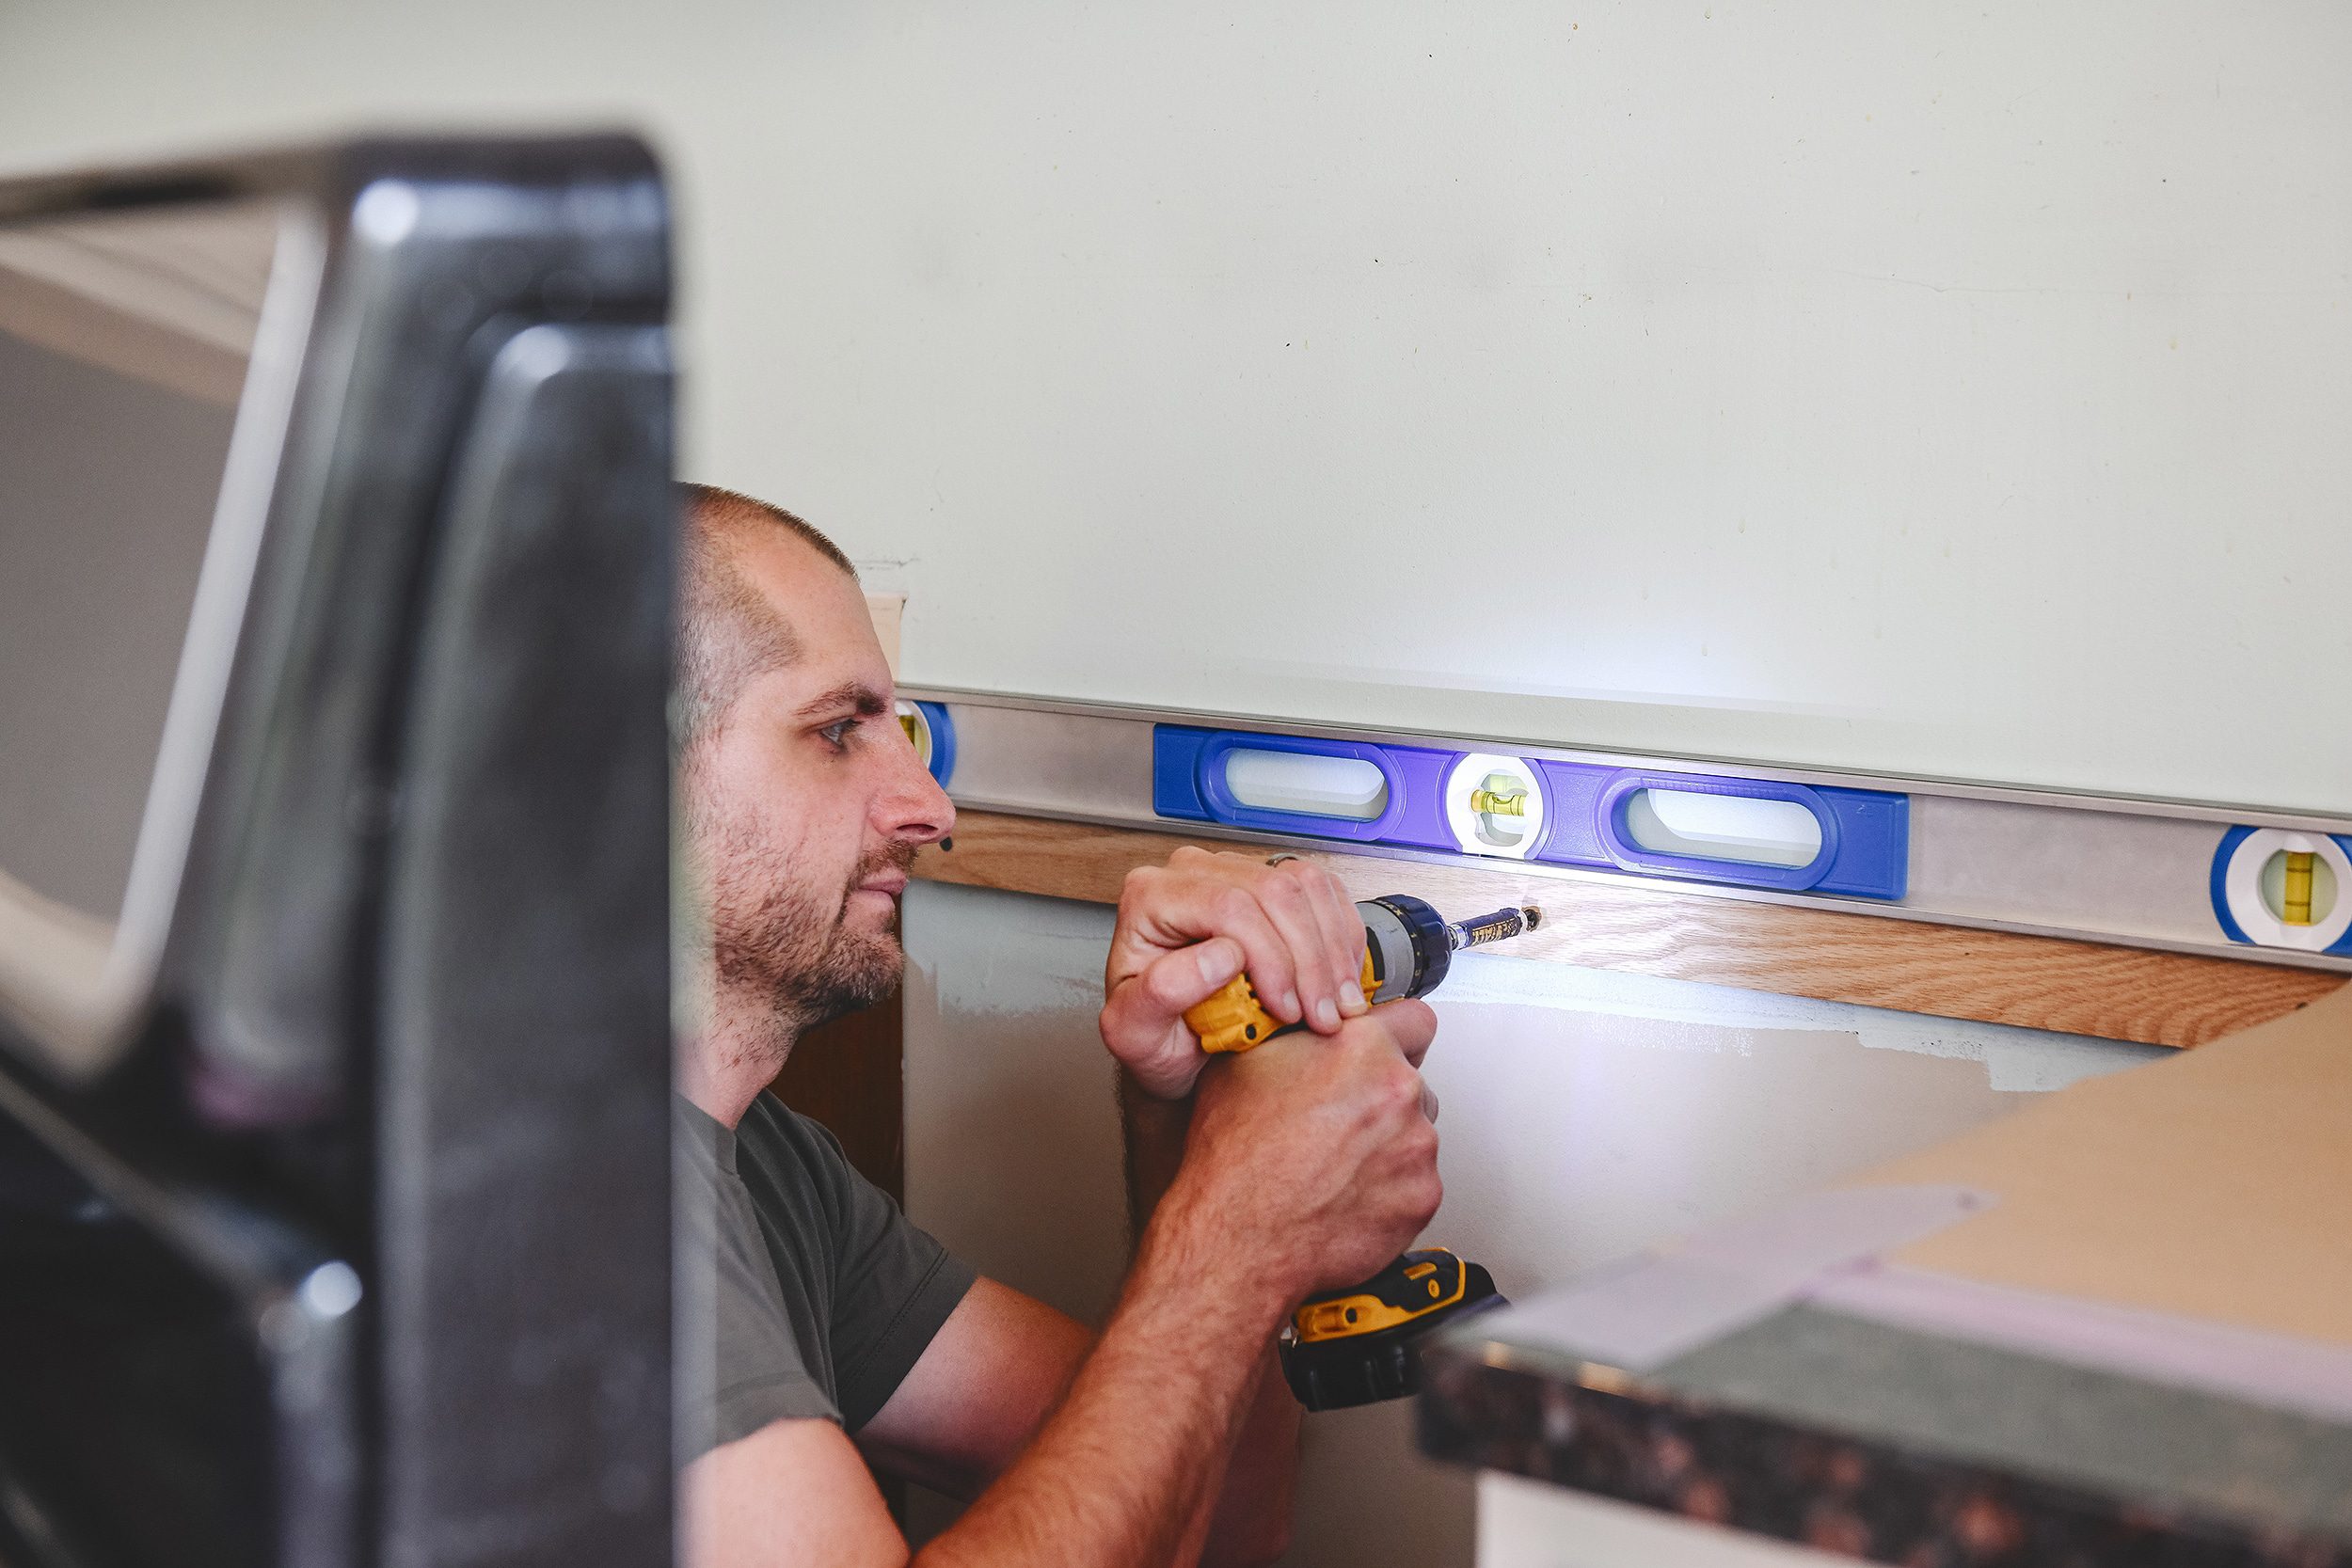
Step 4: Measure and Mark the Layout
 Before installing the backsplash, it is important to plan out the layout to ensure a visually appealing result. Measure the area where you will be installing the backsplash and mark the layout using a level and a pencil. This will help guide you during the installation process and ensure that the tiles are aligned correctly.
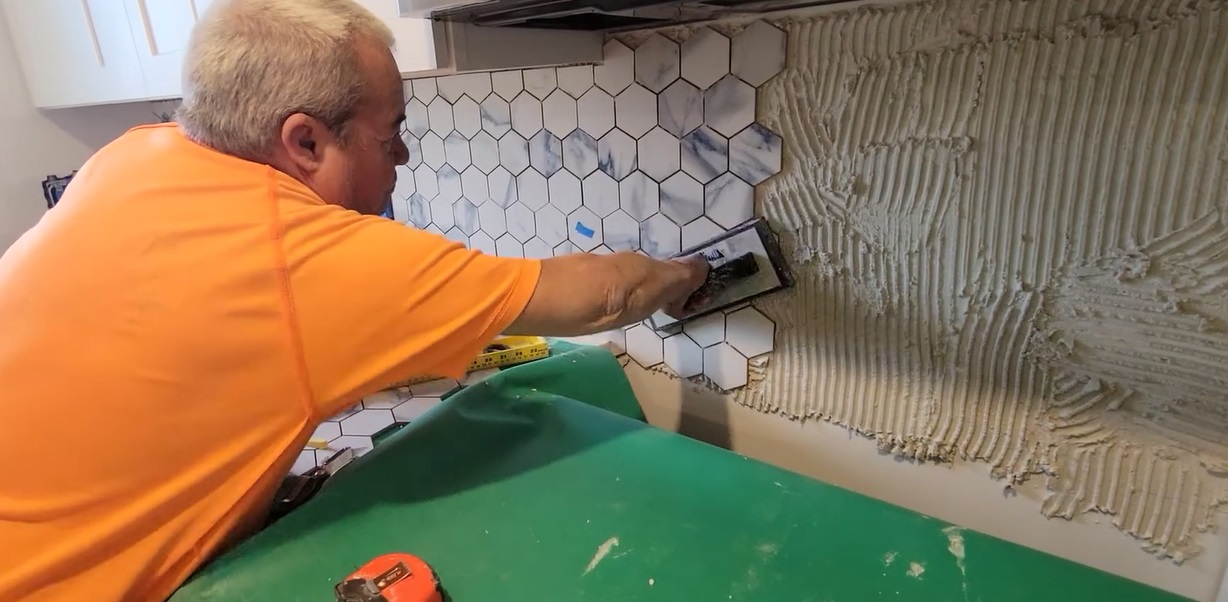
Step 5: Apply the Adhesive
 Using a trowel, apply the adhesive to the backsplash area in small sections. Be sure to follow the manufacturer's instructions for the correct adhesive to use. Spread the adhesive evenly and at a 45-degree angle. This will create ridges that will help the tiles adhere to the wall.
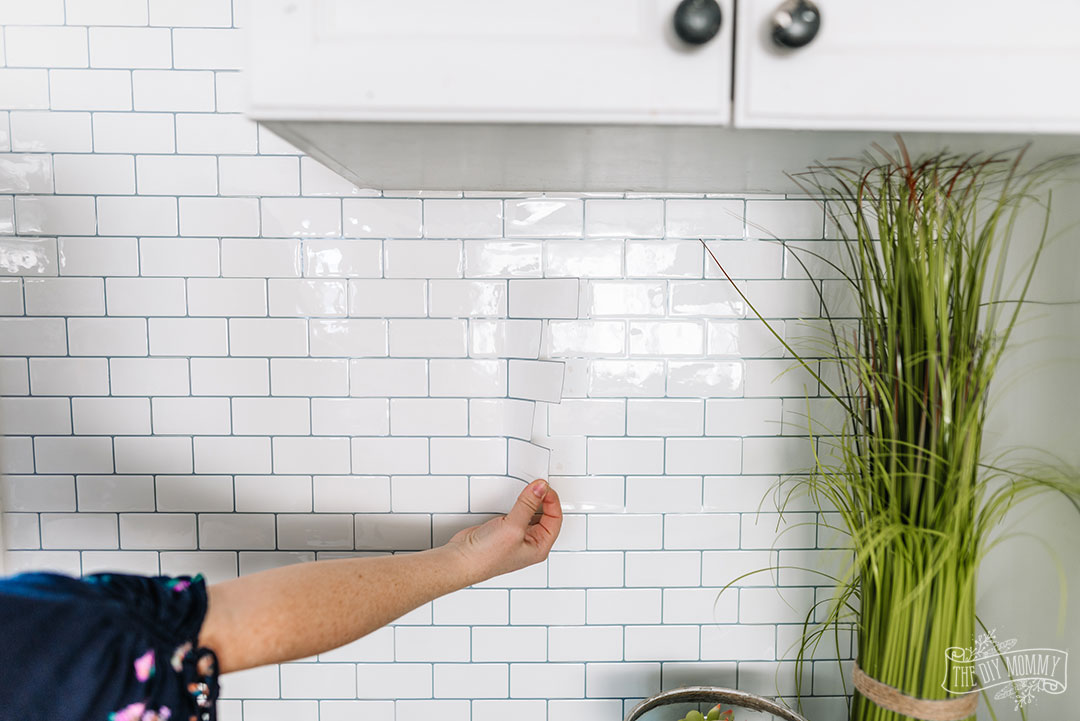
Step 6: Install the Backsplash Tiles
 Carefully place the backsplash tiles onto the adhesive, starting from the bottom and working your way up. Use tile spacers to create even spacing between the tiles. Once all the tiles are installed, gently press them into the adhesive using a tile float.
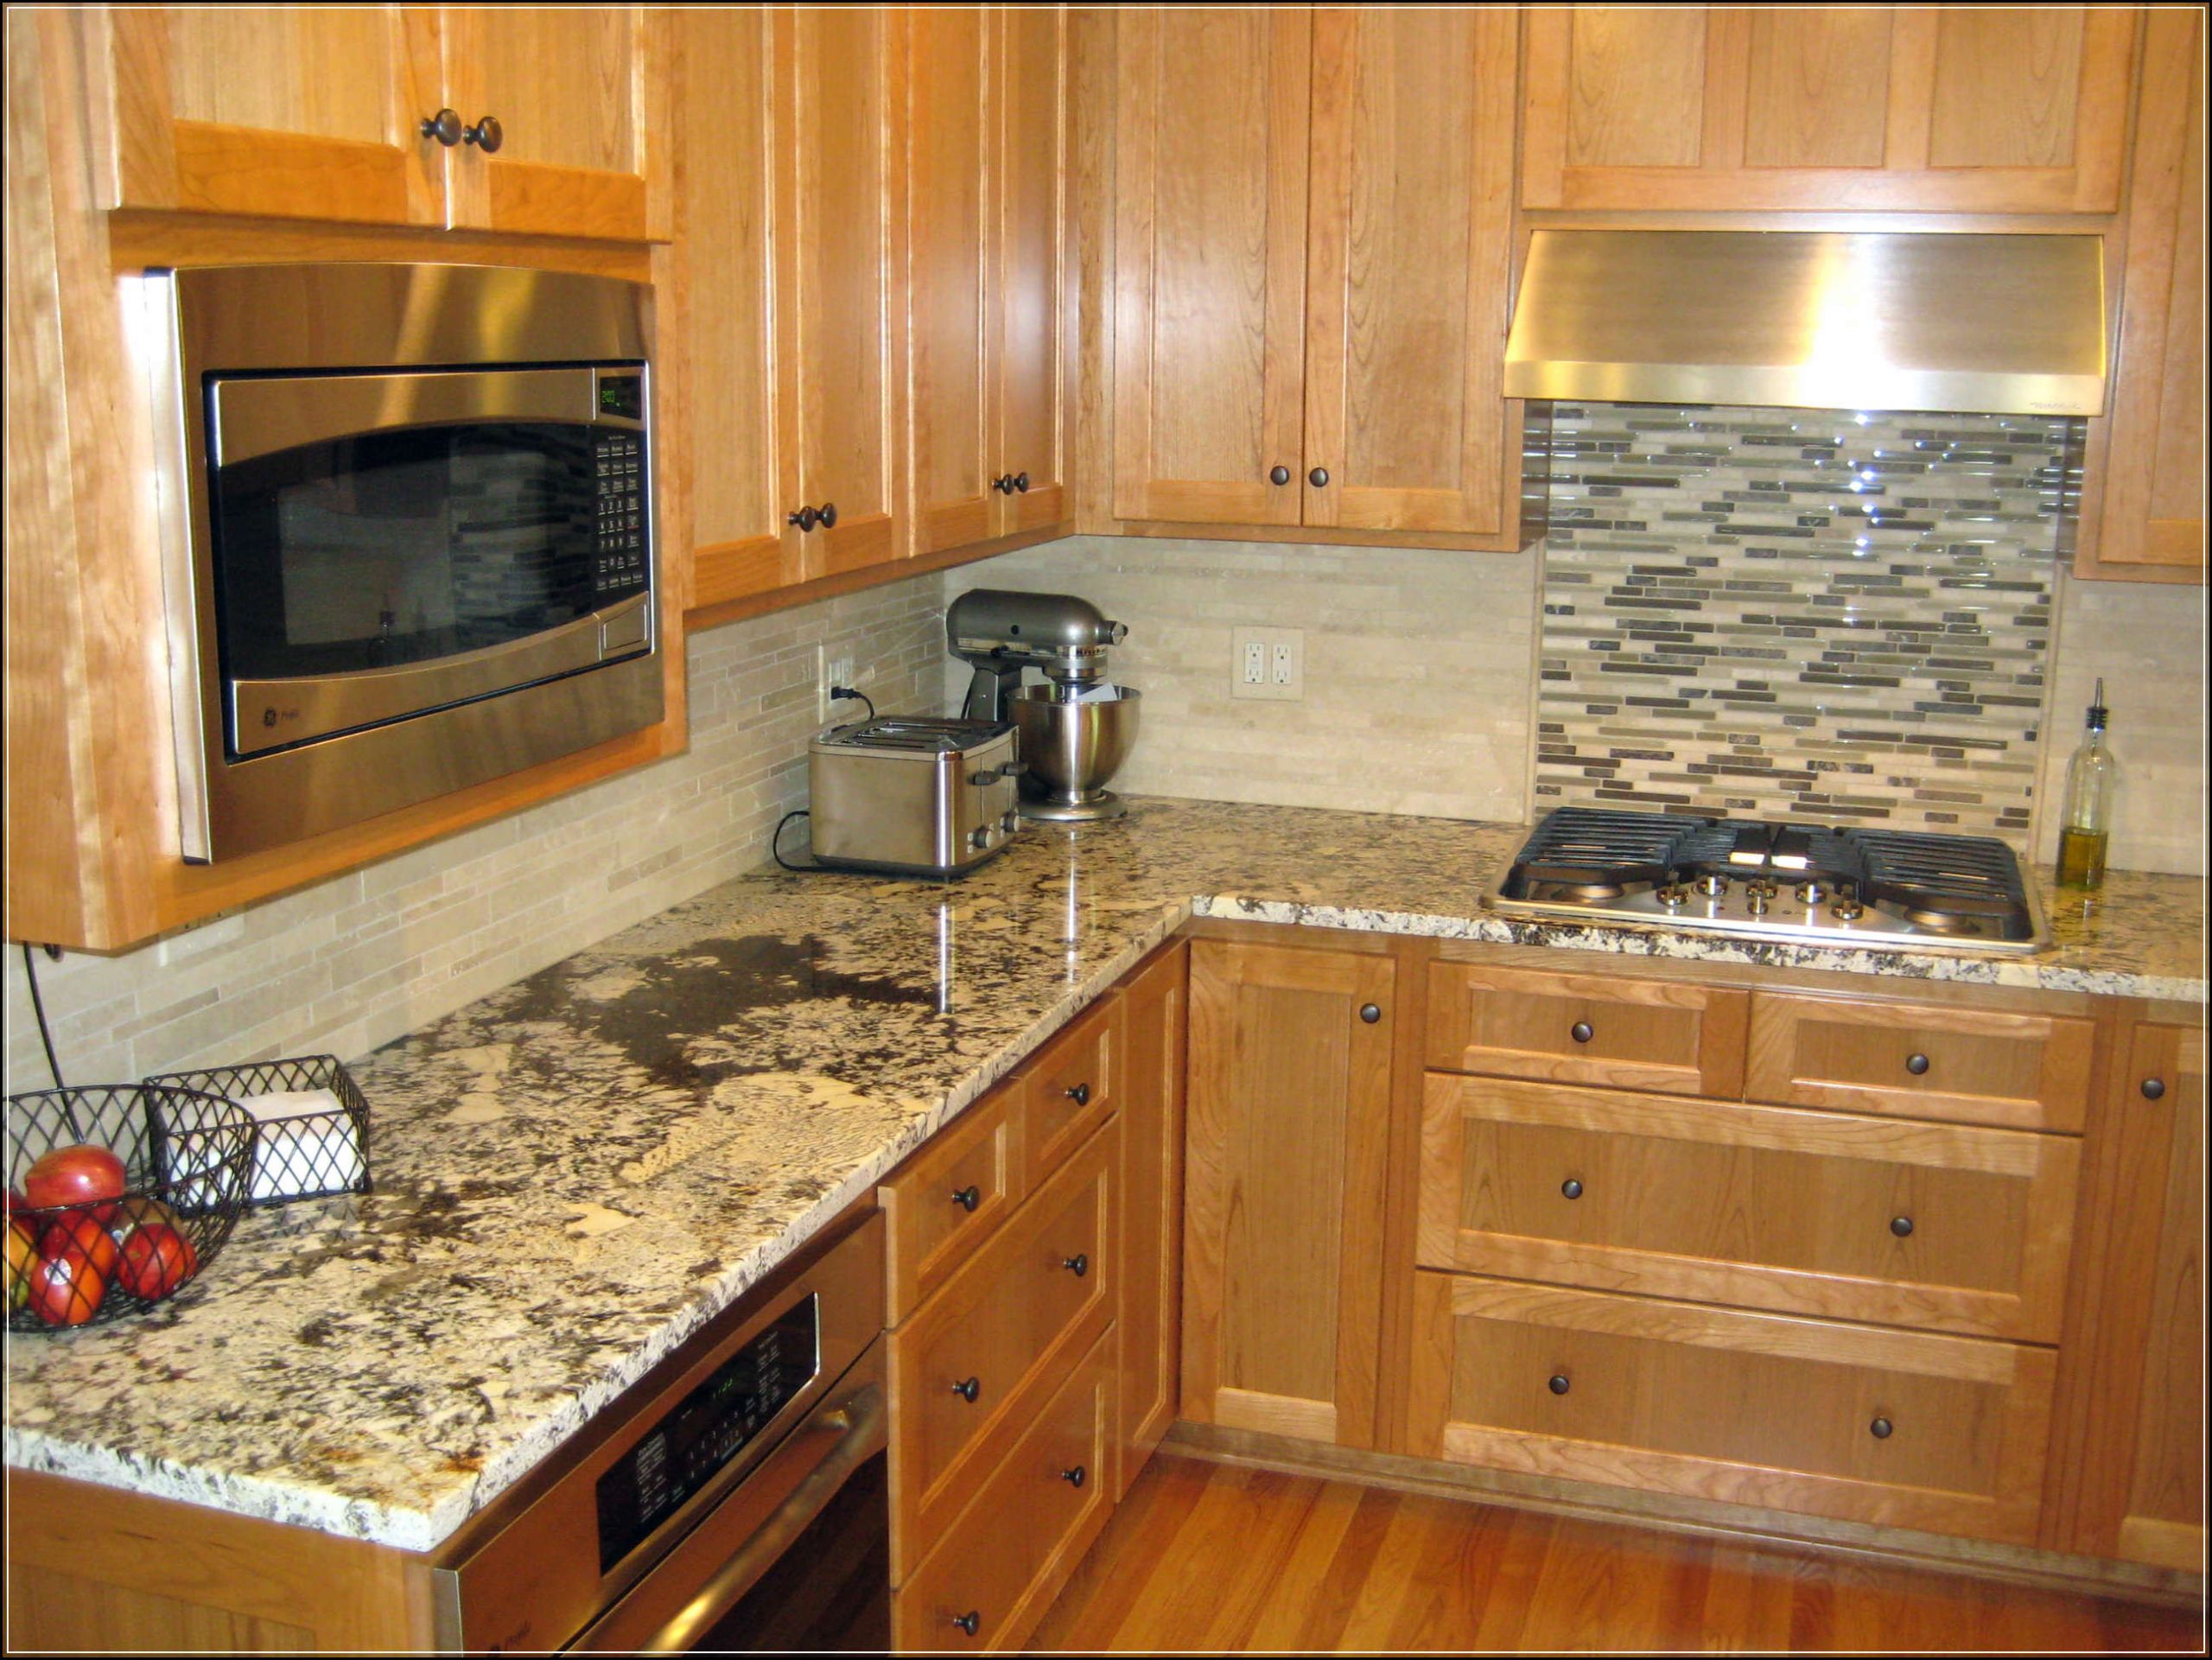
Step 7: Grout the Tiles
:max_bytes(150000):strip_icc()/GettyImages-113860134-5a04b6efb39d03003718c8a8.jpg) After the adhesive has dried, remove the tile spacers and use a grout float to apply the grout between the tiles. Wipe away any excess grout with a damp sponge and let it dry according to the manufacturer's instructions.
By following these steps for
wall preparation for kitchen backsplash
, you can ensure a successful and visually appealing installation. Remember to take your time and attention to detail, and you will have a beautiful and functional backsplash in your kitchen in no time.
After the adhesive has dried, remove the tile spacers and use a grout float to apply the grout between the tiles. Wipe away any excess grout with a damp sponge and let it dry according to the manufacturer's instructions.
By following these steps for
wall preparation for kitchen backsplash
, you can ensure a successful and visually appealing installation. Remember to take your time and attention to detail, and you will have a beautiful and functional backsplash in your kitchen in no time.