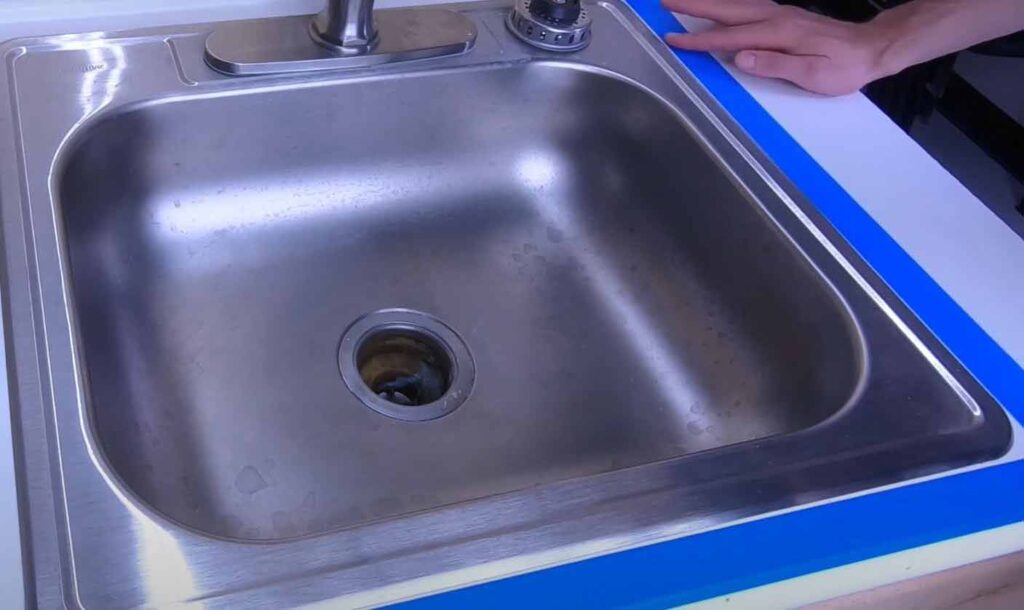
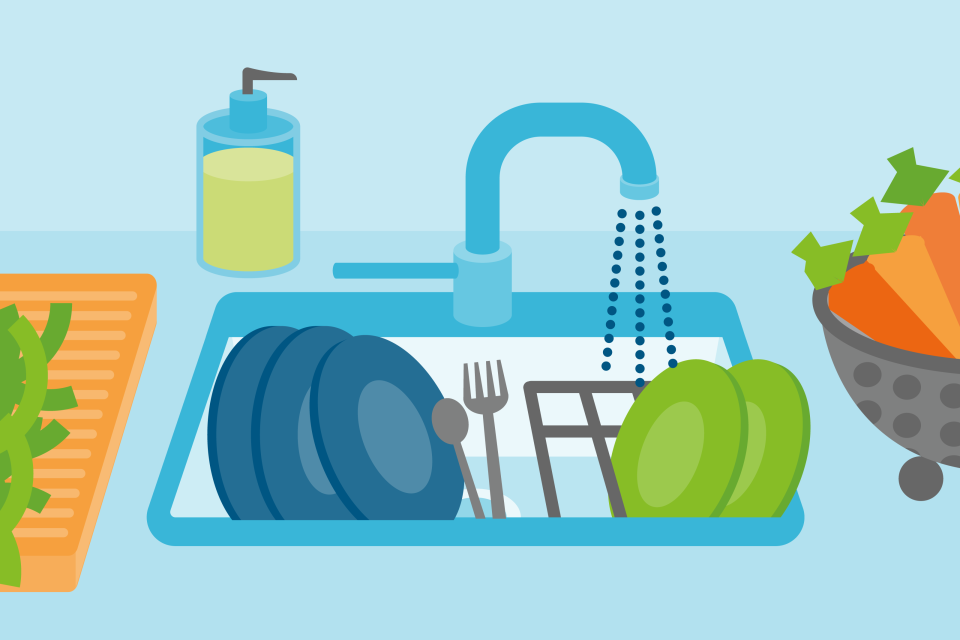
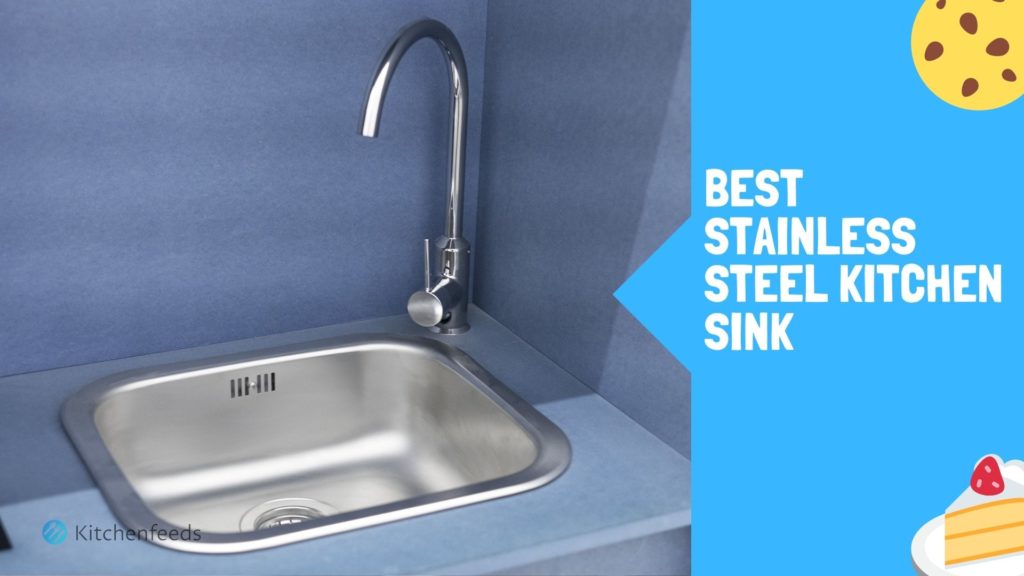
Resealing a kitchen sink is an important maintenance task that can help keep your sink in good condition and prevent leaks. Over time, the sealant around your sink can wear out and become damaged, leading to water leaks and potential damage to your cabinets and countertops. But don't worry, resealing your kitchen sink is a simple DIY project that can be done in just a few easy steps. In this guide, we'll walk you through the process and give you tips and tricks for a successful resealing job.How to Reseal a Kitchen Sink


How to Reseal a Kitchen Sink


:max_bytes(150000):strip_icc()/kitchen-sink-159627080-57b602395f9b58ae7f5e9b9c.jpg)
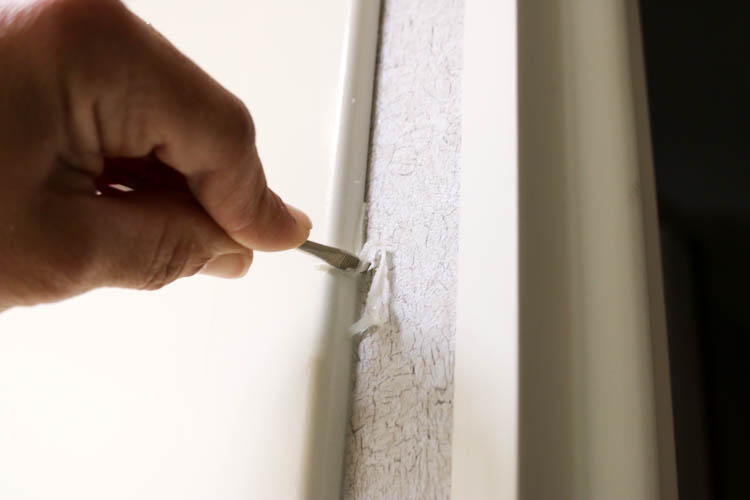
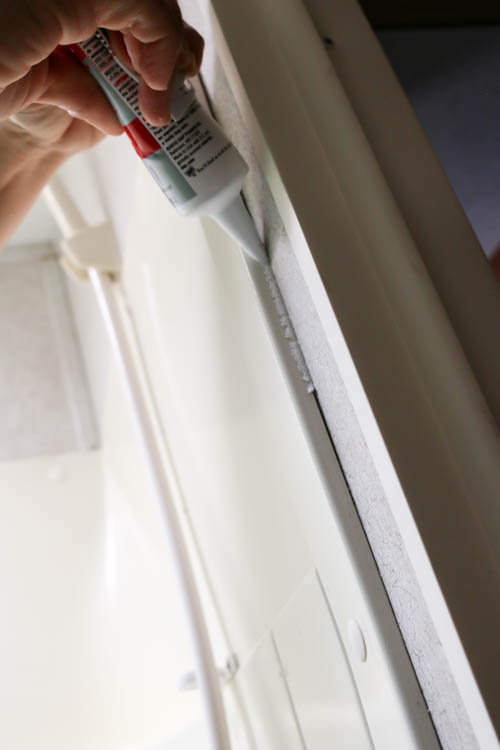
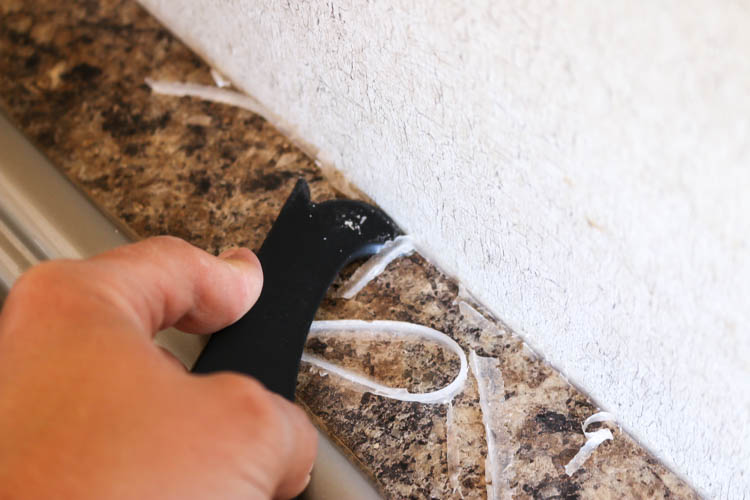
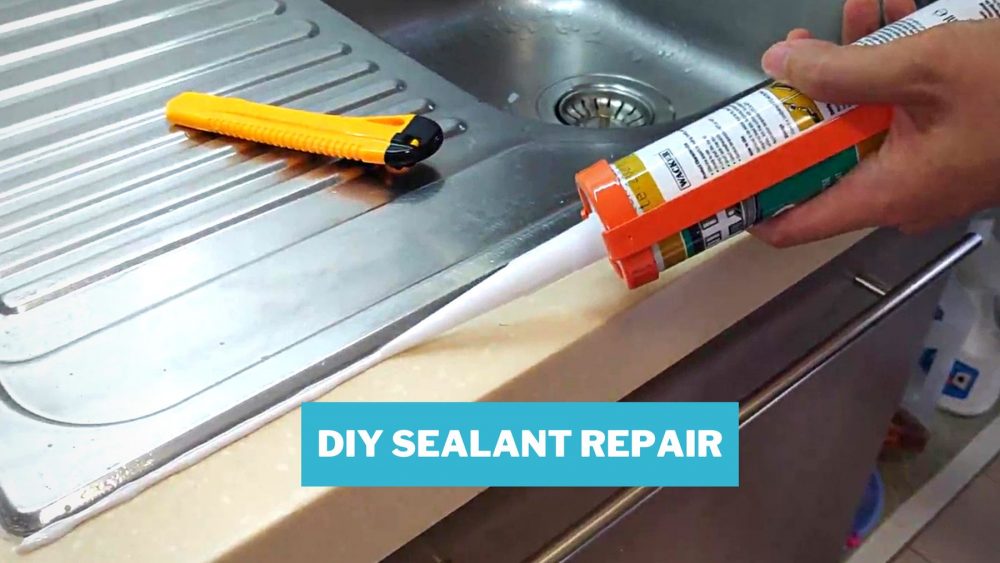
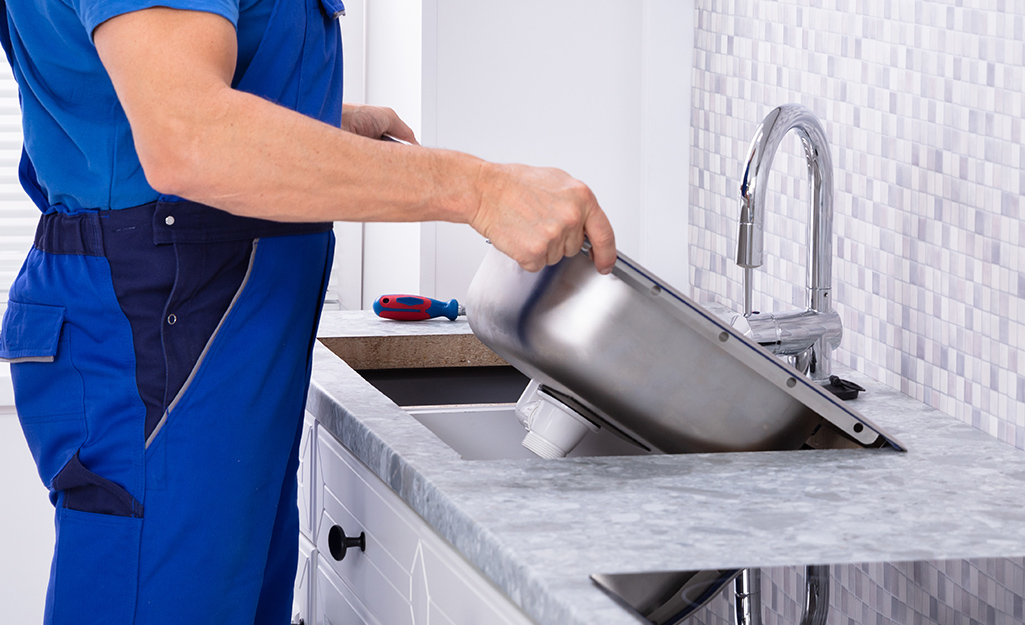
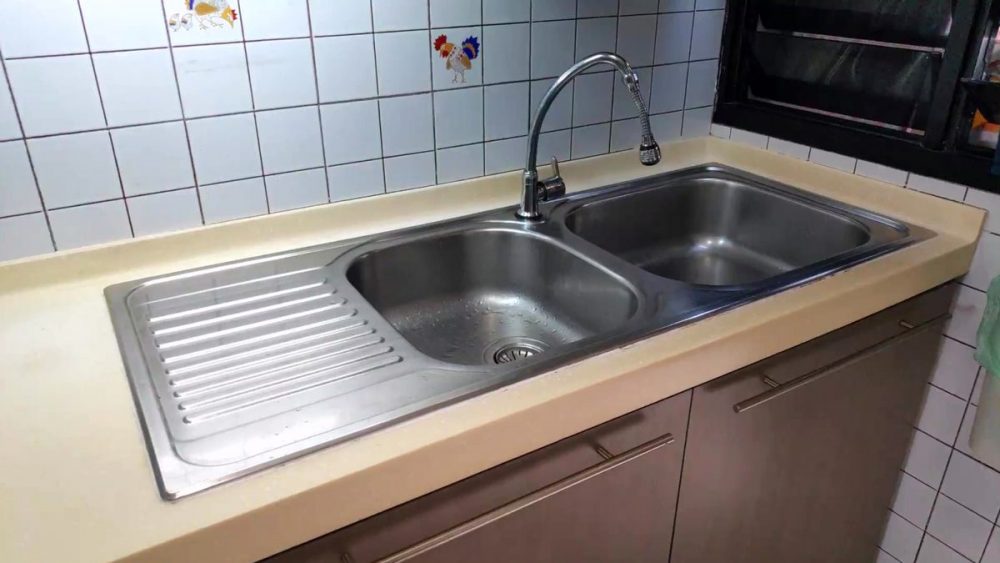
The first step in resealing your kitchen sink is to gather all the necessary tools and materials. You will need a tube of silicone sealant, a caulking gun, a putty knife, and a rag or paper towels. Make sure the silicone sealant is appropriate for use in a kitchen and is safe for your sink material. Step 1: Remove the old sealant around your sink using a putty knife. Be careful not to scratch or damage the sink surface. Step 2: Clean the area around the sink with a degreaser or rubbing alcohol. This will ensure that the new sealant adheres properly. Step 3: Cut the tip of the silicone sealant tube at a 45-degree angle and load it into the caulking gun. Step 4: Apply a thin and even layer of sealant around the edges of the sink, making sure to cover any gaps or cracks. You can use your finger or a damp cloth to smooth out the sealant and remove any excess. Step 5: Let the sealant dry according to the manufacturer's instructions. This usually takes around 24 hours. Step 6: Once the sealant is completely dry, run a bead of caulk along the edges of the sink where it meets the countertop. This will provide extra protection against water leaks. Step 7: Use a damp cloth to smooth out the caulk and remove any excess. Let it dry completely before using your sink.Resealing a Kitchen Sink: A Step-by-Step Guide


Resealing a Kitchen Sink: A Step-by-Step Guide


Resealing a kitchen sink is a simple and cost-effective DIY project that can save you money on professional repairs. By following these steps, you can easily reseal your sink without any special skills or tools. However, if you don't feel comfortable doing it yourself, don't hesitate to hire a professional to ensure the job is done correctly.DIY: How to Reseal a Kitchen Sink


DIY: How to Reseal a Kitchen Sink

Here are some tips and tricks to keep in mind when resealing your kitchen sink: Tip 1: Choose a high-quality silicone sealant that is specifically designed for use in kitchens and is safe for your sink material. Tip 2: Make sure the area around your sink is clean and dry before applying the sealant. Tip 3: Use a damp cloth to smooth out the sealant and remove any excess for a clean and professional finish. Tip 4: Don't use your sink for at least 24 hours after resealing to allow the sealant to dry completely.Resealing Your Kitchen Sink: Tips and Tricks


Resealing Your Kitchen Sink: Tips and Tricks


Resealing a kitchen sink may seem like a daunting task, but with the right tools and techniques, it can be done easily and quickly. By following the steps outlined in this guide, you can reseal your sink without any hassle and ensure it stays leak-free for a long time.Easy Ways to Reseal a Kitchen Sink


Easy Ways to Reseal a Kitchen Sink


It's essential to regularly check and reseal your kitchen sink to prevent water damage and maintain its overall condition. You should also keep an eye out for any signs of wear and tear on the sealant and address them promptly to avoid more extensive repairs in the future.Resealing a Kitchen Sink: What You Need to Know

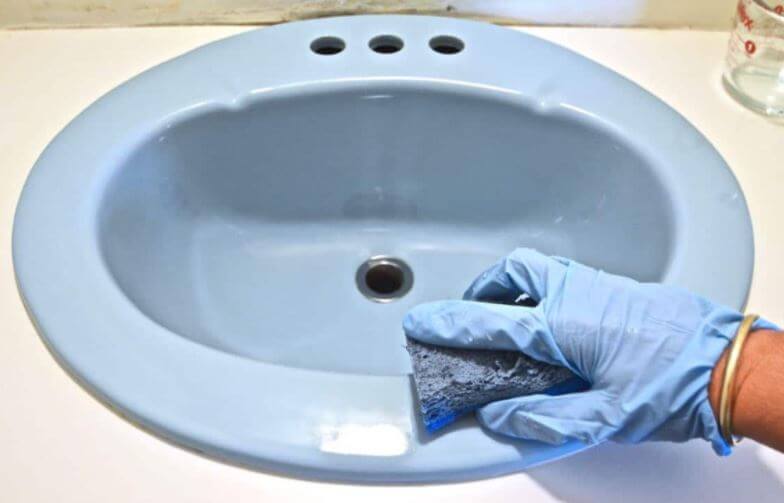
Resealing a Kitchen Sink: What You Need to Know


To summarize, here's a step-by-step guide to resealing your kitchen sink: Step 1: Remove the old sealant using a putty knife. Step 2: Clean the area around the sink with a degreaser or rubbing alcohol. Step 3: Apply a thin and even layer of silicone sealant. Step 4: Let it dry for 24 hours. Step 5: Run a bead of caulk along the edges of the sink. Step 6: Use a damp cloth to smooth out the caulk and remove any excess.Step-by-Step Guide to Resealing Your Kitchen Sink


Step-by-Step Guide to Resealing Your Kitchen Sink


:no_upscale()/cdn.vox-cdn.com/uploads/chorus_asset/file/19495086/drain_0.jpg)

Here are some common mistakes to avoid when resealing your kitchen sink: Mistake 1: Not removing the old sealant properly, which can affect the adhesion of the new sealant. Mistake 2: Using the wrong type of sealant, which can cause damage to your sink and may not provide adequate protection against leaks. Mistake 3: Not letting the sealant or caulk dry completely before using the sink, which can cause the sealant to peel or crack.Resealing a Kitchen Sink: Common Mistakes to Avoid


Resealing a Kitchen Sink: Common Mistakes to Avoid


The frequency of resealing your kitchen sink depends on the type of sealant used and the amount of wear and tear it experiences. It's recommended to reseal your sink every 1-2 years to ensure it remains in good condition and prevent leaks.How Often Should You Reseal Your Kitchen Sink?


How Often Should You Reseal Your Kitchen Sink?


There are many products available for resealing a kitchen sink, but here are some of the best ones to consider: Product 1: GE Silicone II Kitchen & Bath Sealant Product 2: Dap 08640 Bathroom Silicone Rubber Caulk Product 3: Red Devil Kitchen & Bath Stain Block Caulk With the right product and proper technique, resealing your kitchen sink can be a simple and effective way to maintain its condition and prevent leaks. So don't wait for a major problem to arise, regularly check and reseal your kitchen sink to keep it in top shape.Best Products for Resealing a Kitchen Sink


Best Products for Resealing a Kitchen Sink


Why Resealing Your Kitchen Sink is Important for Your Home
The Importance of Maintaining Your Kitchen Sink
 The kitchen sink is one of the most frequently used and essential fixtures in any household. It is where we prepare our meals, wash our dishes, and dispose of food waste. With constant use, the sink is susceptible to wear and tear, which can lead to leaks, mold, and other damages. That is why regularly resealing your kitchen sink is crucial for maintaining the overall functionality and appearance of your home.
The Benefits of Resealing Your Kitchen Sink
 Resealing your kitchen sink has numerous benefits, both for your home and your family. Firstly, it helps prevent water leaks, which can cause damage to your cabinets and countertops. It also prevents mold and mildew from growing, which can lead to health issues for you and your loved ones. Additionally, resealing your kitchen sink can improve the overall aesthetic of your kitchen, giving it a fresh and clean look.
Steps to Reseal Your Kitchen Sink
 Resealing your kitchen sink is a relatively simple process that can be done in a few easy steps. Firstly, you will need to remove the old caulk using a putty knife or a caulk remover. Then, clean the area thoroughly with a mild cleaner and let it dry completely. Next, apply a new layer of
waterproof caulk
around the edges of your sink, making sure to seal any gaps or cracks. Finally, use a caulk smoothing tool to create a smooth and even finish.
Resealing your kitchen sink is a relatively simple process that can be done in a few easy steps. Firstly, you will need to remove the old caulk using a putty knife or a caulk remover. Then, clean the area thoroughly with a mild cleaner and let it dry completely. Next, apply a new layer of
waterproof caulk
around the edges of your sink, making sure to seal any gaps or cracks. Finally, use a caulk smoothing tool to create a smooth and even finish.
When to Reseal Your Kitchen Sink
 It is essential to
regularly
check the condition of your kitchen sink and reseal it as needed. Signs that your sink needs to be resealed include water leaks, mold growth, and a discolored or worn-out caulk. It is recommended to reseal your kitchen sink at least once a year to ensure it remains in good condition and to prevent any potential damages.
It is essential to
regularly
check the condition of your kitchen sink and reseal it as needed. Signs that your sink needs to be resealed include water leaks, mold growth, and a discolored or worn-out caulk. It is recommended to reseal your kitchen sink at least once a year to ensure it remains in good condition and to prevent any potential damages.
Conclusion
 In conclusion, resealing your kitchen sink is a vital task for any homeowner looking to maintain the functionality and appearance of their home. By following the steps mentioned above and regularly checking the condition of your sink, you can prevent water leaks, mold growth, and other damages. So, don't overlook the importance of resealing your kitchen sink and make it a part of your regular home maintenance routine.