Using a Sander Inside Living Room: 10 Tips for Success
Sanding can be a messy and noisy task, especially when done inside your living room. However, with the right tools and techniques, you can achieve a smooth and beautiful finish on your floors, walls, or furniture. Here are 10 tips to help you successfully use a sander inside your living room.


Using a Sander Inside Living Room: 10 Tips for Success


How to Safely Use a Sander in Your Living Room
Safety should always be your top priority when using power tools, especially in an enclosed space like your living room. Before you start sanding, make sure to wear safety goggles, a dust mask, and earplugs. Also, be sure to read the manufacturer's instructions and wear appropriate clothing to protect yourself from any potential hazards.

:max_bytes(150000):strip_icc()/living-room-area-rugs-1977221-e10e92b074244eb38400fecb3a77516c.png)

How to Safely Use a Sander in Your Living Room


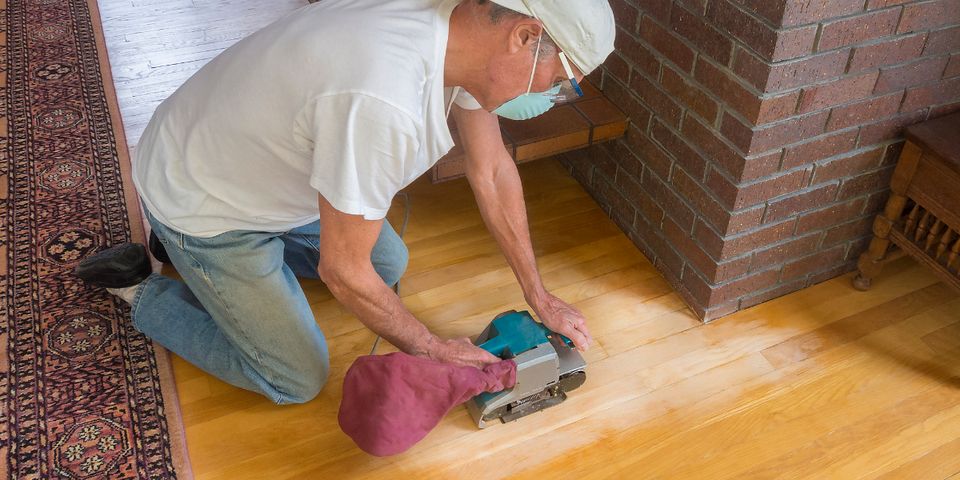
DIY: Sanding Your Living Room Floors
If you're planning to refinish your living room floors, sanding is an essential step to achieve a smooth and even surface. Start by removing any furniture and cover any nearby items with plastic sheets to protect them from dust and debris. Then, use a drum sander or orbital sander to sand the floors, making sure to move in the direction of the wood grain.


DIY: Sanding Your Living Room Floors


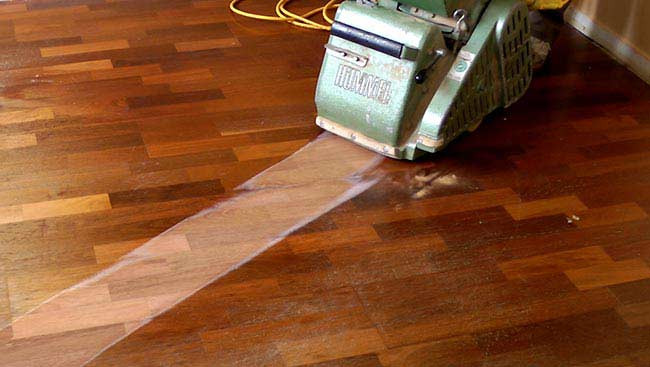


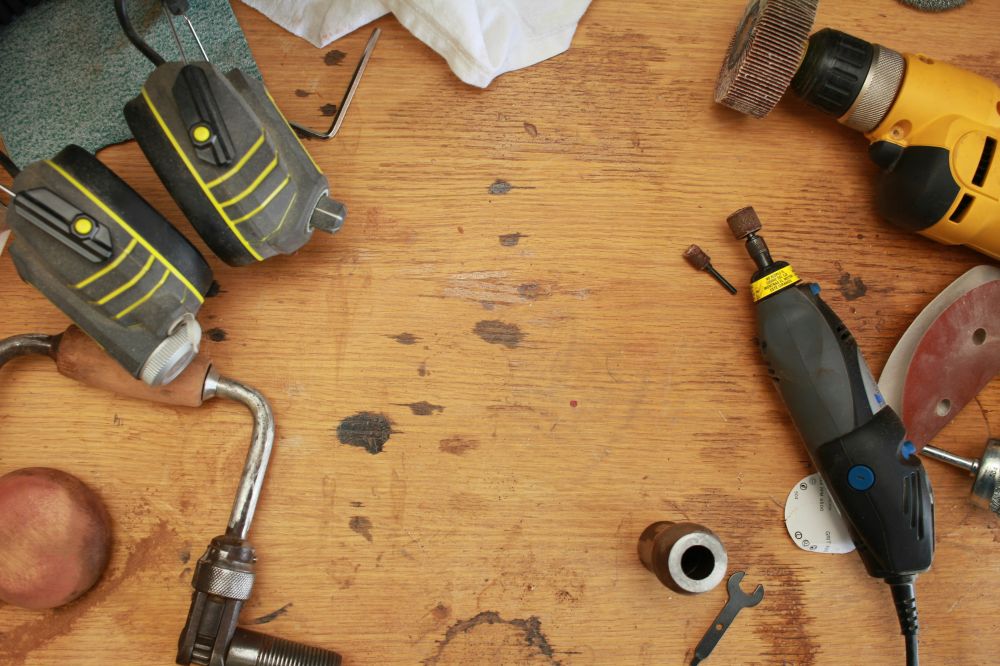
The Best Sanders for Indoor Use
When it comes to sanding inside your living room, not all sanders are created equal. Some are better suited for specific tasks or types of surfaces. For example, a belt sander is ideal for large and flat surfaces, while an orbital sander is more suitable for smaller and curved areas. Do your research and choose the right sander for your project.

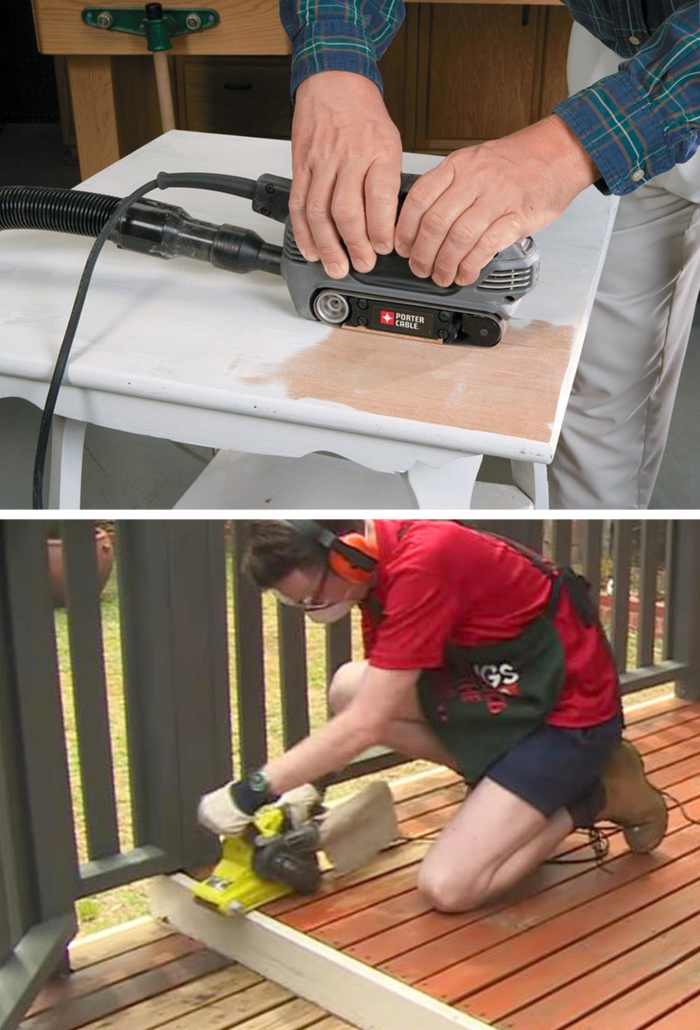

The Best Sanders for Indoor Use


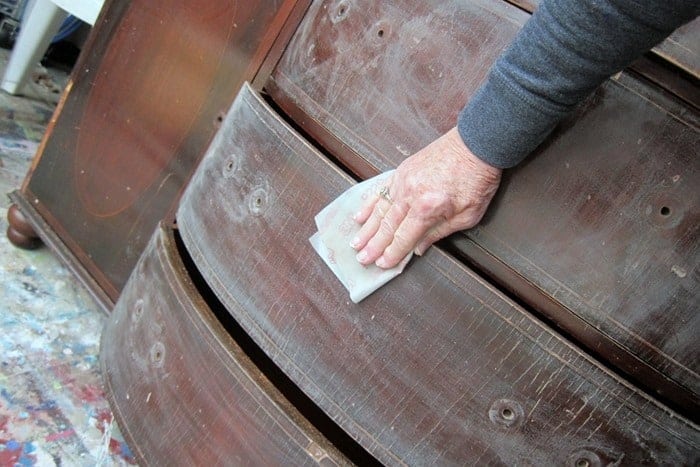
Protecting Your Furniture When Sanding in the Living Room
While it's best to remove all furniture from the room before sanding, it's not always possible. If you have heavy or bulky furniture that cannot be moved, cover them with plastic sheets or drop cloths to protect them from dust and scratches. You can also use furniture sliders to easily move them around as needed.


Protecting Your Furniture When Sanding in the Living Room


How to Minimize Dust When Using a Sander Inside
Sanding can create a lot of dust, which can be harmful to your health and damaging to your electronics and furniture. To minimize dust, use a sander with a built-in dust collection system or attach a shop vac to your sander. You can also dampen the surface before sanding to help keep the dust down.


How to Minimize Dust When Using a Sander Inside


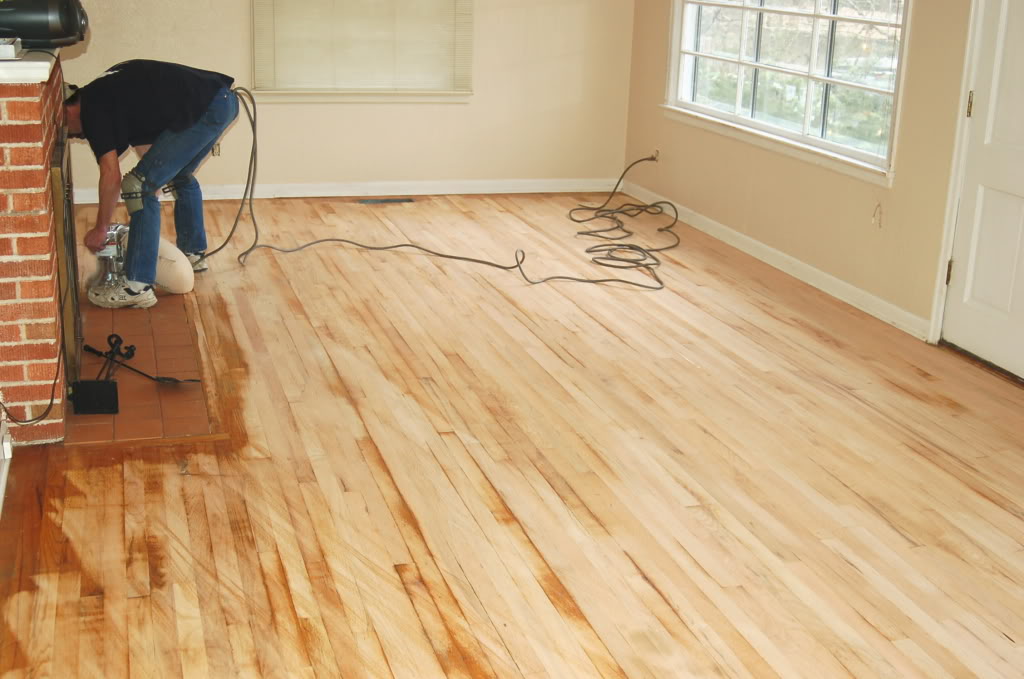
Step-by-Step Guide to Sanding Your Living Room Walls
If you're planning to repaint or wallpaper your living room walls, sanding is a crucial step to achieve a smooth and even surface. Start by removing any wall hangings, outlet covers, and switch plates. Then, use a sanding block or palm sander to gently sand the walls in a circular motion. Make sure to wear a dust mask and protective goggles.


Step-by-Step Guide to Sanding Your Living Room Walls
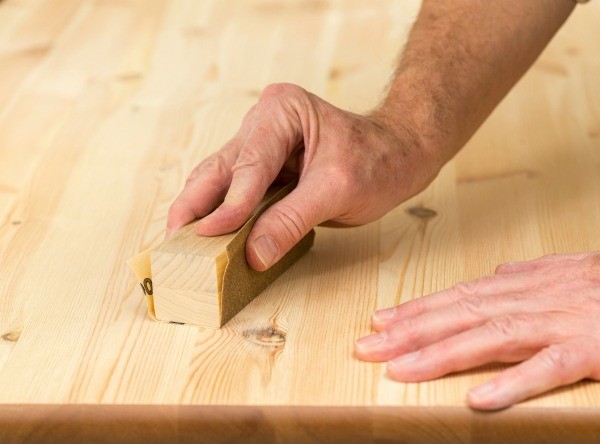


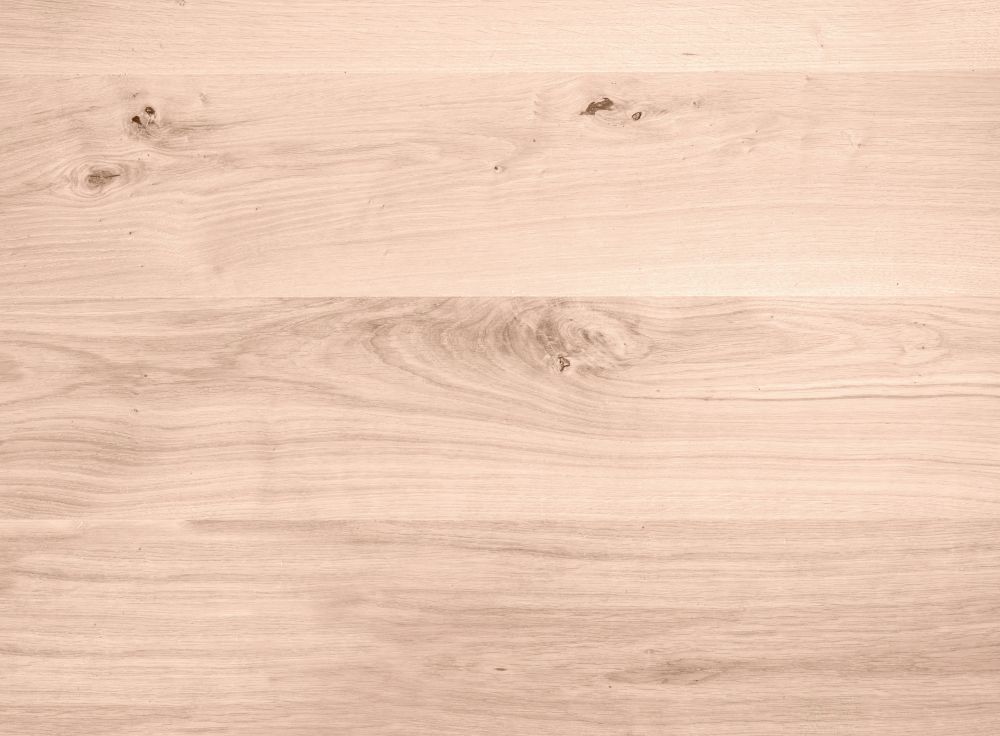
Choosing the Right Grit for Sanding Your Living Room Floors
The grit of sandpaper you use will depend on the type of finish you want to achieve. The lower the grit number, the coarser the sandpaper, which is ideal for removing old finishes or deep scratches. As you progress, switch to a higher grit sandpaper for a smoother finish. Finish with a very fine grit sandpaper for a polished look.

Choosing the Right Grit for Sanding Your Living Room Floors


Common Mistakes to Avoid When Sanding Inside Your Living Room
Sanding may seem like a simple task, but it's easy to make mistakes that can ruin your project. Some common mistakes to avoid include sanding too aggressively, not changing the sandpaper frequently enough, and not using a sanding block or guide. These mistakes can lead to uneven surfaces, damage to your floors or walls, and frustration.


Common Mistakes to Avoid When Sanding Inside Your Living Room


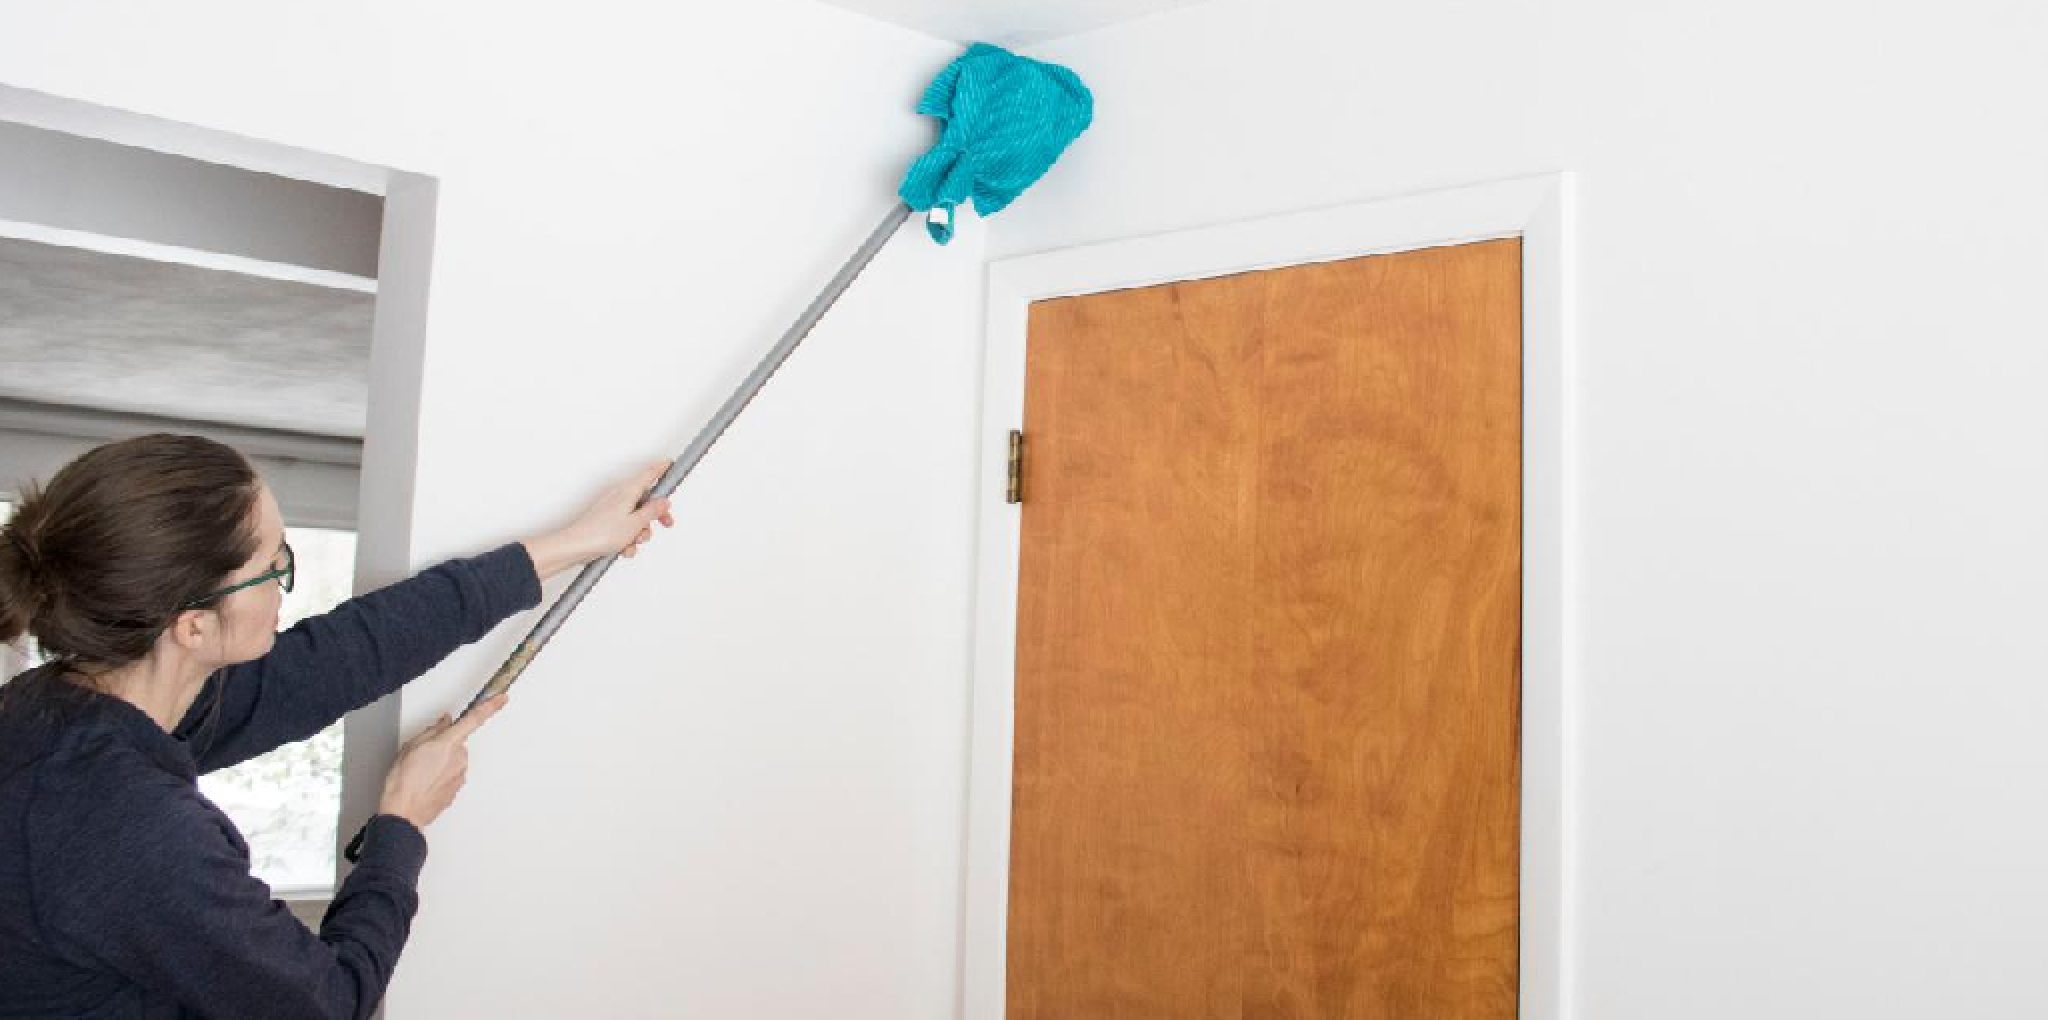
How to Clean Up After Sanding in Your Living Room
Once you've finished sanding, it's time to clean up the mess. Start by vacuuming the entire room to remove any dust and debris. Wipe down any surfaces with a damp cloth, and mop the floors to remove any leftover dust. Make sure to properly dispose of any used sandpaper and empty your vacuum or shop vac before storing it.
In conclusion, using a sander inside your living room can be a daunting task, but with these 10 tips, you can tackle the job with confidence. Remember to prioritize safety, choose the right sander for your project, and take your time to achieve a flawless finish. Happy sanding!


How to Clean Up After Sanding in Your Living Room


The Benefits of Using a Sander Inside Your Living Room

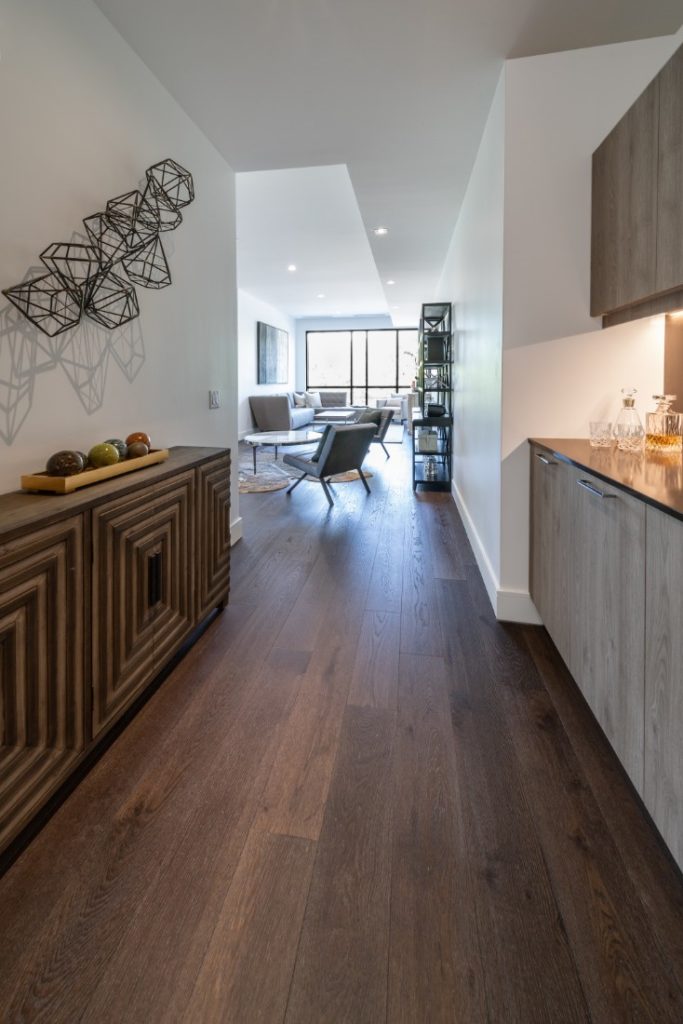
The Importance of a Well-Designed Living Room
 A living room is often considered the heart of a home, where family and friends gather to relax, entertain, and make memories. As such, it is important to create a warm, inviting, and visually appealing space that reflects your personal style. From furniture to color scheme, every element plays a crucial role in achieving the desired look and feel. However, one aspect that is often overlooked is the finishing of surfaces such as walls, floors, and furniture. This is where the use of a sander comes in.
What is a Sander and Why Use it Inside Your Living Room?
 A sander is a power tool that is used to smooth out surfaces by abrasion. It is an essential tool for any home renovation or DIY project, especially when it comes to refinishing or restoring furniture and surfaces in the living room. With its ability to remove imperfections, old finishes, and stains,
a sander can transform any dull or damaged surface into a smooth and polished one, giving your living room a brand new look.
A sander is a power tool that is used to smooth out surfaces by abrasion. It is an essential tool for any home renovation or DIY project, especially when it comes to refinishing or restoring furniture and surfaces in the living room. With its ability to remove imperfections, old finishes, and stains,
a sander can transform any dull or damaged surface into a smooth and polished one, giving your living room a brand new look.
Benefits of Using a Sander Inside Your Living Room
 1.
Efficient and Time-Saving:
Sanding by hand can be a tedious and time-consuming process, especially if you have a large living room. Using a sander can significantly speed up the process, allowing you to achieve professional results in a fraction of the time.
2.
Smooth and Professional Finish:
A sander is designed to remove any imperfections, scratches, or old finishes, leaving behind a smooth and even surface. This is especially important for surfaces such as hardwood floors, where a smooth finish is essential for both aesthetics and durability.
3.
Cost-effective:
Renovating or refinishing your living room can be an expensive endeavor, but using a sander can save you money in the long run. By sanding and refinishing surfaces instead of replacing them, you can achieve a new look at a fraction of the cost.
4.
Easy to Use:
Modern sanders are lightweight, user-friendly, and come with different attachments for various surfaces. This makes them easy to use, even for beginners, and allows you to achieve professional results without hiring a professional.
5.
Versatile:
A sander can be used on a variety of surfaces, from hardwood floors and walls to furniture and even metal surfaces. This makes it a versatile tool for any living room renovation project.
1.
Efficient and Time-Saving:
Sanding by hand can be a tedious and time-consuming process, especially if you have a large living room. Using a sander can significantly speed up the process, allowing you to achieve professional results in a fraction of the time.
2.
Smooth and Professional Finish:
A sander is designed to remove any imperfections, scratches, or old finishes, leaving behind a smooth and even surface. This is especially important for surfaces such as hardwood floors, where a smooth finish is essential for both aesthetics and durability.
3.
Cost-effective:
Renovating or refinishing your living room can be an expensive endeavor, but using a sander can save you money in the long run. By sanding and refinishing surfaces instead of replacing them, you can achieve a new look at a fraction of the cost.
4.
Easy to Use:
Modern sanders are lightweight, user-friendly, and come with different attachments for various surfaces. This makes them easy to use, even for beginners, and allows you to achieve professional results without hiring a professional.
5.
Versatile:
A sander can be used on a variety of surfaces, from hardwood floors and walls to furniture and even metal surfaces. This makes it a versatile tool for any living room renovation project.
Conclusion
 In conclusion, incorporating the use of a sander in your living room design can have numerous benefits. It not only saves time and money but also allows you to achieve a smooth and professional finish that will enhance the overall look and feel of your living room. So, the next time you are considering a living room renovation, don't forget to include a sander in your toolkit.