When it comes to updating your RV, the bathroom sink may not be the first thing that comes to mind. However, giving your bathroom sink a makeover can make a big difference in the overall look and functionality of your RV bathroom. In this DIY guide, we will walk you through the process of updating your bathroom sink in your RV.Updating Bathroom Sinks in an RV: A DIY Guide
Updating your RV bathroom sink doesn't have to break the bank. With some creativity and DIY skills, you can give your bathroom sink a new look without spending a fortune. One budget-friendly option is to refinish your current sink instead of buying a new one. You can use a rustoleum or epoxy kit to give your sink a fresh coat of paint and make it look brand new.How to Update Your RV Bathroom Sink on a Budget
Before getting started on your sink upgrade, it's important to gather all the necessary tools and materials. This includes a new sink, if you're replacing the old one, as well as any paint or refinishing materials. It's also a good idea to have a plumber's wrench on hand in case you need to disconnect the plumbing under the sink. Additionally, make sure to measure the space to ensure your new sink will fit properly.DIY RV Bathroom Sink Upgrade: Tips and Tricks
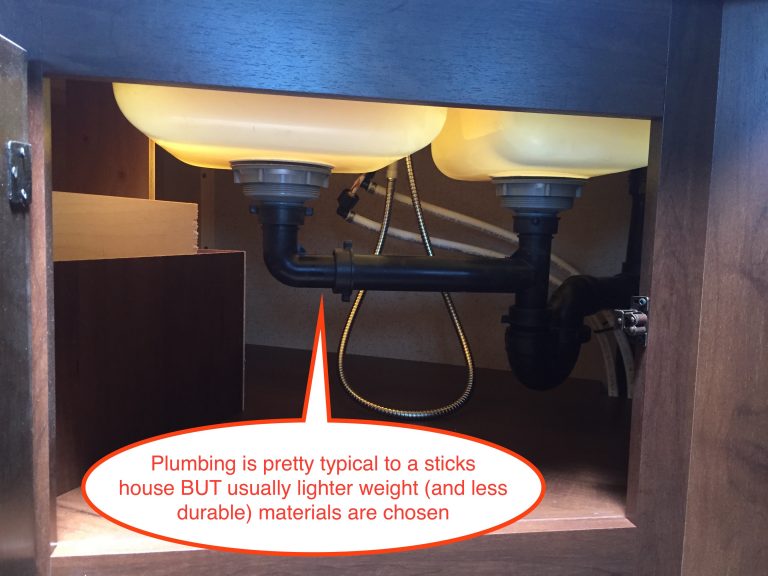
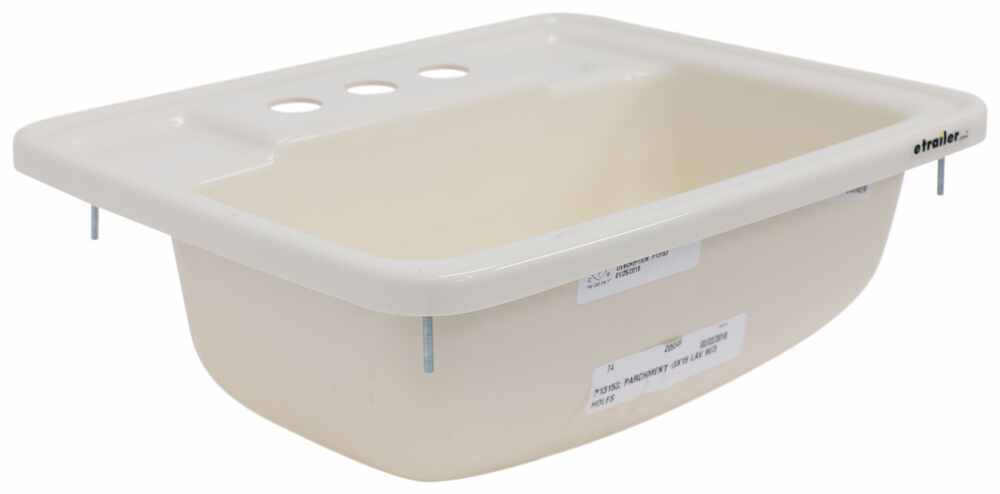
If you're looking to replace your current sink with a new one, don't be intimidated by the thought of plumbing. Replacing an RV bathroom sink is actually a fairly simple process. First, shut off the water supply and disconnect the plumbing under the sink. Then, remove the old sink and install the new one. Make sure to follow the manufacturer's instructions for proper installation. Once the new sink is in place, reconnect the plumbing and turn the water supply back on.Easy DIY RV Bathroom Sink Replacement
If you're updating your current sink rather than replacing it, here is a step-by-step guide to follow: Step 1: Remove the sink and clean it thoroughly. Make sure to remove any old caulking or residue. Step 2: Sand the sink to create a smooth surface for painting or refinishing. Step 3: Apply a coat of primer to the sink and allow it to dry completely. Step 4: Apply a coat of paint or use the epoxy kit according to the manufacturer's instructions. Allow it to dry completely before applying a second coat, if needed. Step 5: Once the sink is completely dry, apply a coat of sealant to protect the paint or finish. Step 6: Reinstall the sink and reconnect the plumbing.Step-by-Step Guide to Updating Your RV Bathroom Sink
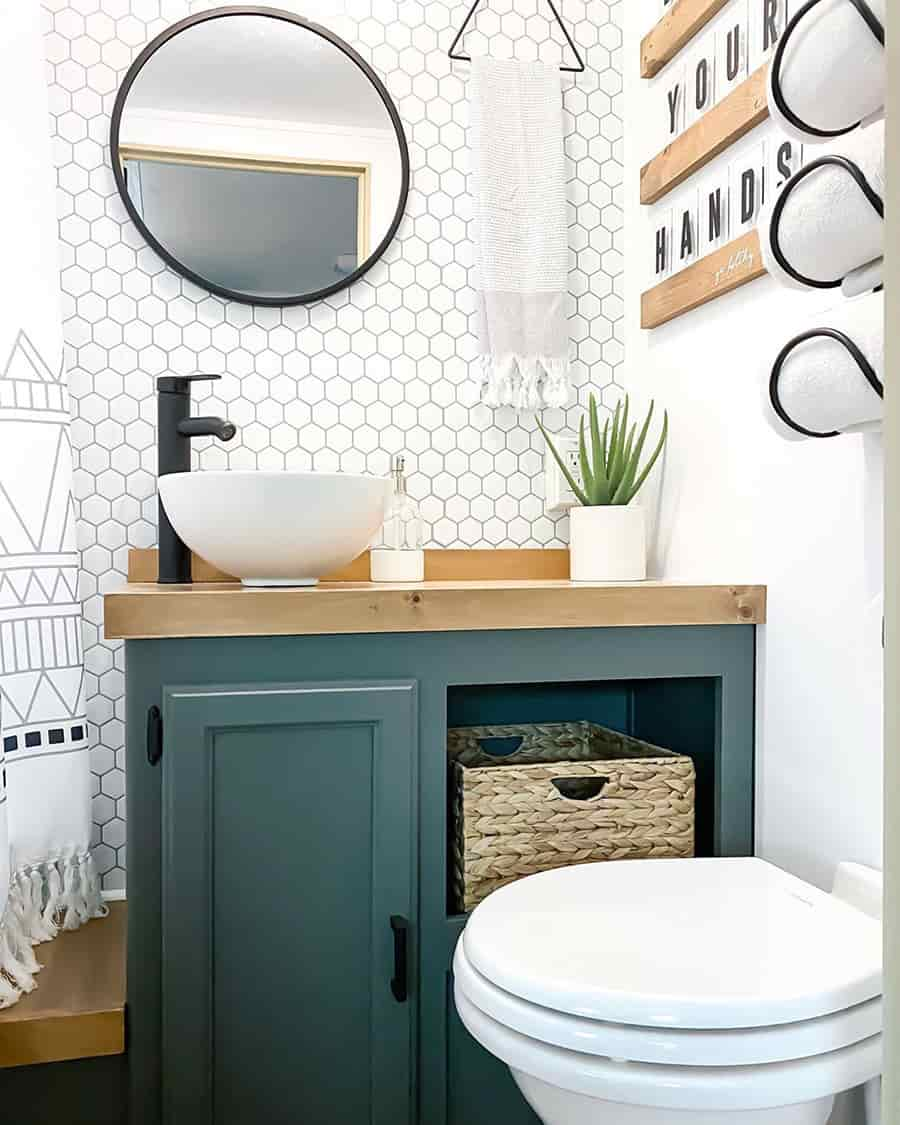
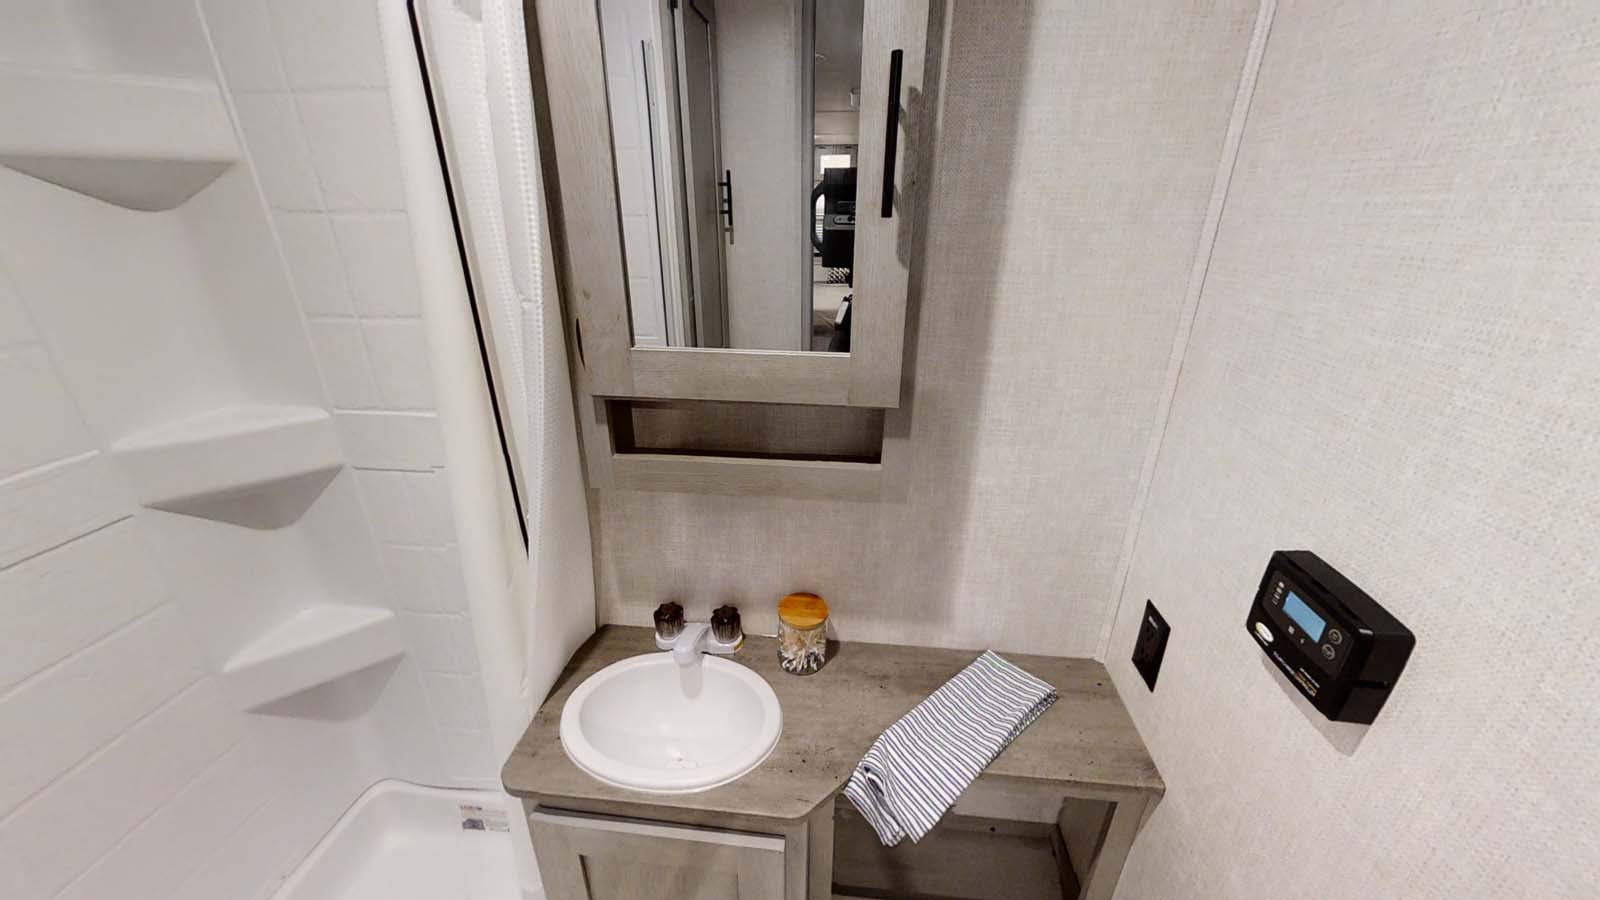
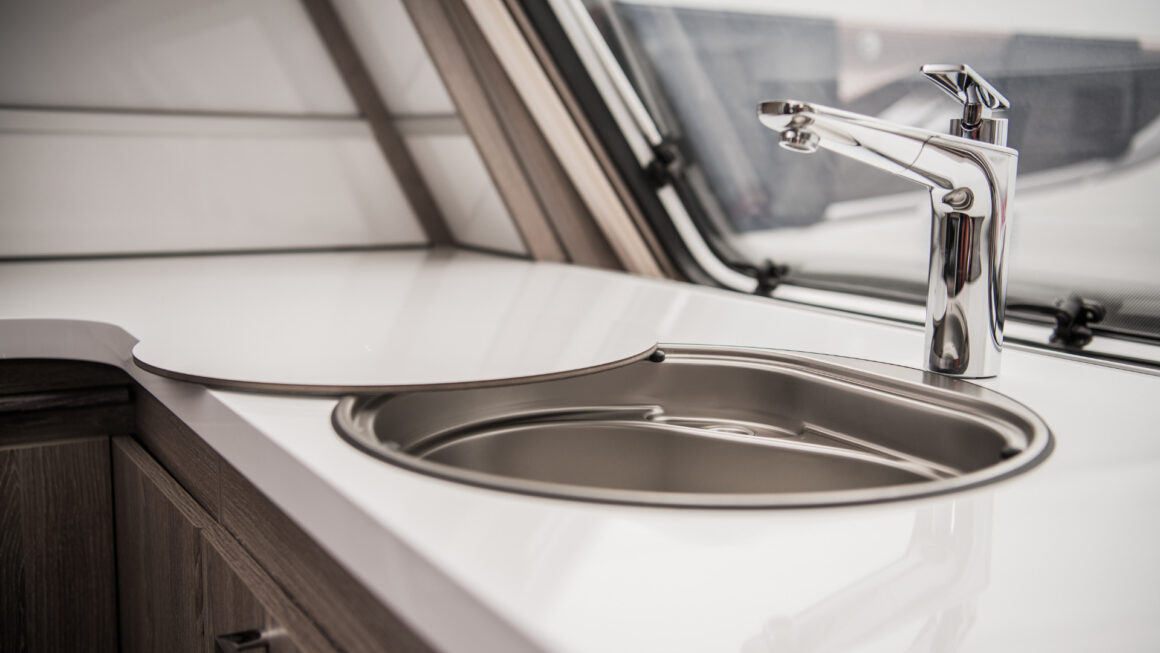
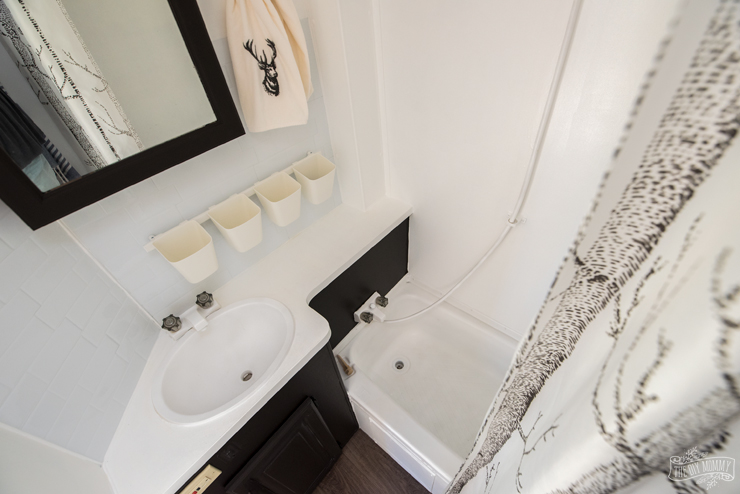
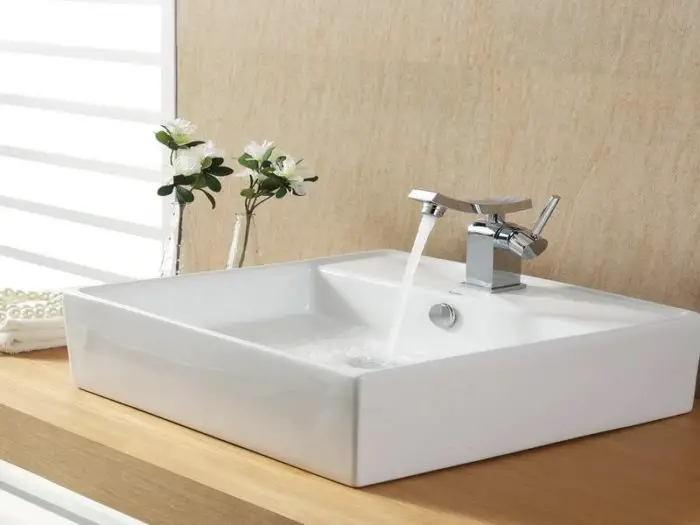
There are endless possibilities when it comes to giving your RV bathroom sink a makeover. Here are a few DIY ideas to consider: 1. Add a backsplash: An easy and affordable way to add some style to your sink is by installing a backsplash. You can use peel-and-stick tiles or even create a mosaic design with small tiles. 2. Replace the faucet: Switching out the faucet can instantly give your sink a new look. Look for a sleek and modern design to add a touch of elegance to your bathroom. 3. Install shelves: If you're short on storage space, consider adding shelves above or next to your sink. This will not only give you more room to store toiletries, but also add some visual interest to the space. 4. Use a vessel sink: Vessel sinks are becoming increasingly popular and can add a unique and modern touch to your RV bathroom. You can find affordable options online or in home improvement stores.RV Bathroom Sink Makeover: DIY Ideas
Not all sink updates have to be a major project. There are plenty of affordable DIY solutions that can make a big impact on the look of your bathroom sink. Consider adding a new faucet, new hardware, or even just a fresh coat of paint to give your sink a new look without breaking the bank.Affordable DIY Solutions for Updating Your RV Bathroom Sink
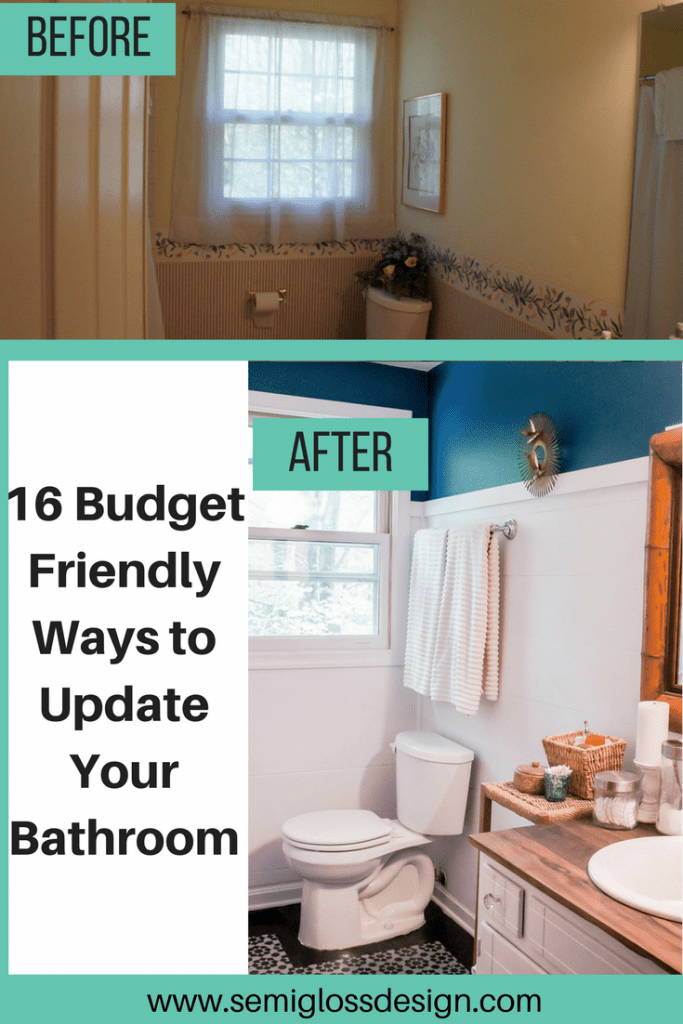
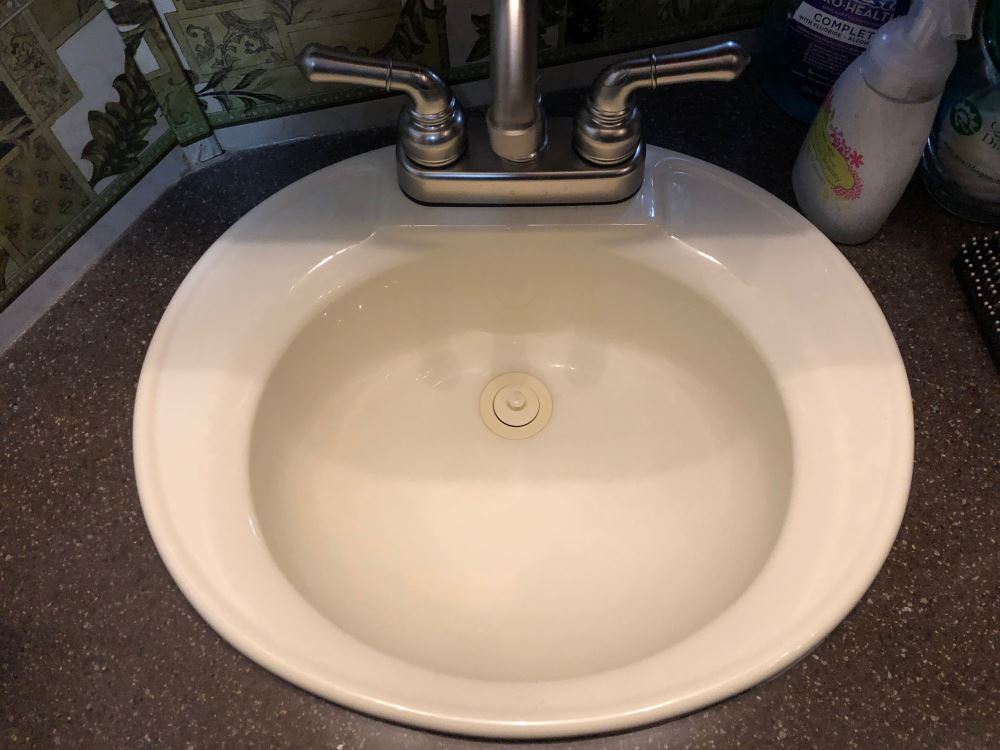
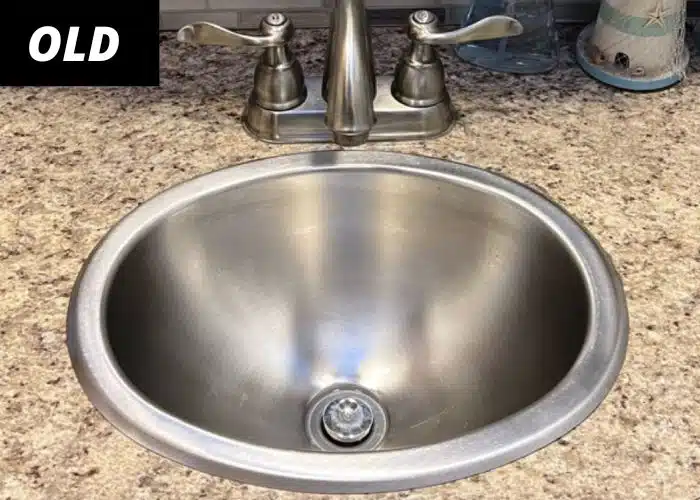
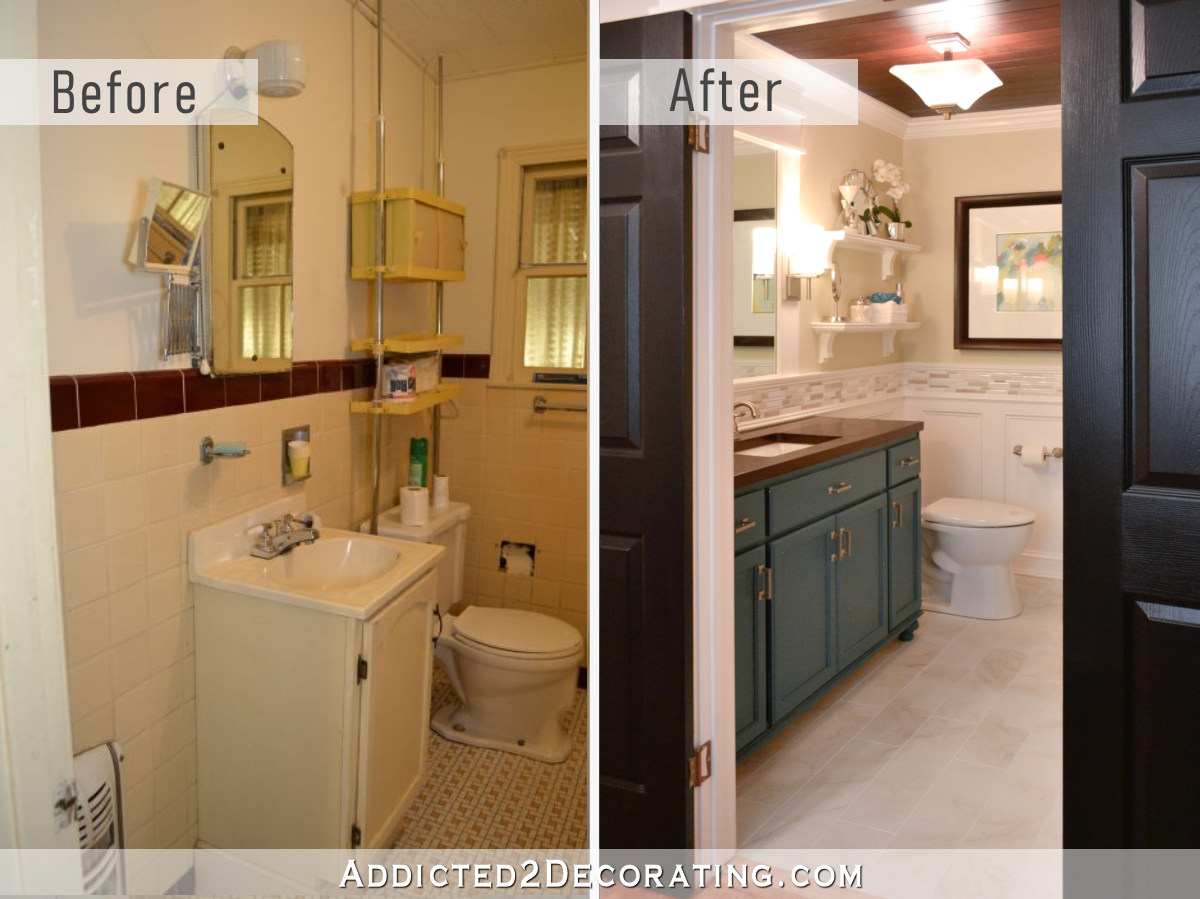
Still not convinced that updating your RV bathroom sink can make a big difference? Take a look at some before and after photos of sink renovations to see the transformation for yourself. You'll be amazed at what a simple update can do for the overall look of your RV bathroom.DIY RV Bathroom Sink Renovation: Before and After
In a small space like an RV bathroom, storage is key. Here are a few DIY ideas for maximizing space around your bathroom sink: 1. Use a spice rack: Spice racks can be a great way to store small items like toothbrushes, makeup brushes, or even small bottles of shampoo and conditioner. 2. Utilize the space above the sink: Install a small shelf or use a hanging organizer to make use of the space above the sink. 3. Add hooks: Hooks can be a great way to hang towels or washcloths, freeing up space in your cabinets or drawers.Maximizing Space: DIY RV Bathroom Sink Storage Ideas
While DIY projects can be fun and budget-friendly, it's important to know when it's best to hire a professional. If you're not confident in your DIY skills, it may be best to hire a professional to ensure the sink is installed properly and avoid any potential plumbing issues. Additionally, if you're looking for a major overhaul of your bathroom sink, a professional may be able to provide more options and a higher quality finish. In conclusion, updating your RV bathroom sink can make a big difference in the overall look and functionality of your bathroom. With these DIY tips and ideas, you can give your sink a makeover without breaking the bank. Whether you're replacing the entire sink or just giving it a fresh coat of paint, your RV bathroom will thank you for the update.Updating Your RV Bathroom Sink: DIY vs Hiring a Professional
Why Updating Bathroom Sinks in Your RV is a DIY Project You Need to Tackle

The Importance of a Functional and Stylish Bathroom in Your RV
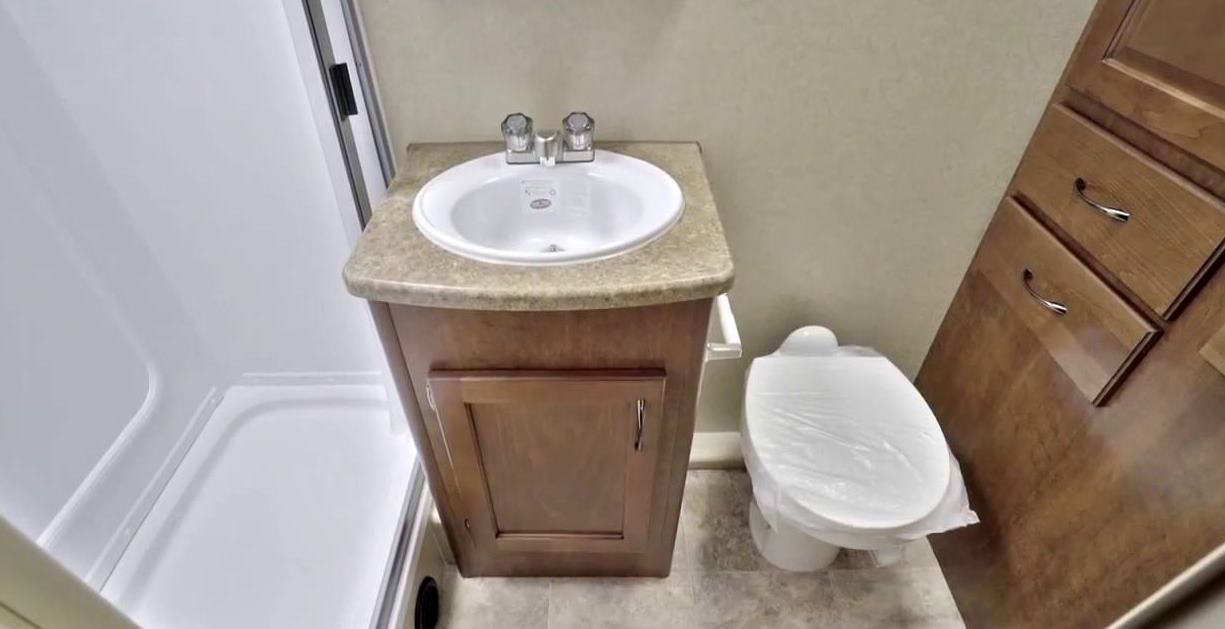
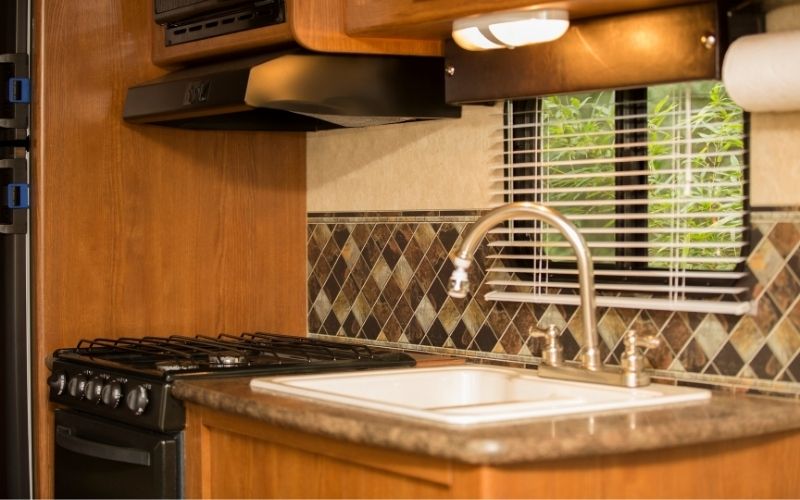
 When it comes to RV living, every inch of space counts. This is especially true for the bathroom, which is typically the smallest room in an RV. However, just because it's small doesn't mean it can't be both functional and stylish. In fact, a well-designed bathroom can make all the difference in your overall RV experience. And one of the key elements in a bathroom is the sink. Not only does it serve a practical purpose, but it also adds to the aesthetic of the space.
Why DIY is the Way to Go
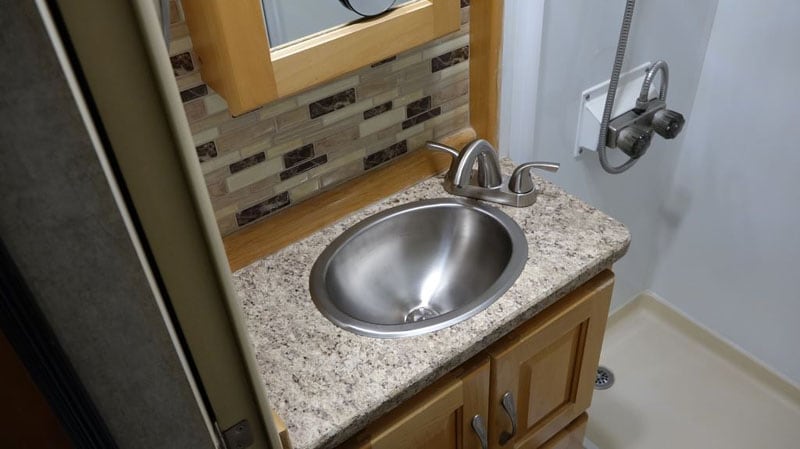 You may be thinking, "Why bother updating my bathroom sink? Can't I just live with the one that came with my RV?" While it may seem like a minor detail, a new sink can completely transform the look and feel of your bathroom. Plus, if you're someone who loves DIY projects, it's a great opportunity to showcase your skills and add a personal touch to your living space. And the best part? It's a budget-friendly option compared to hiring a professional.
How to Update Your RV Bathroom Sink
 Now that you're convinced to take on this project, let's dive into the steps involved in updating your RV bathroom sink. First, you'll need to choose a sink that fits the size and style of your RV. Look for lightweight options that won't add unnecessary weight to your vehicle. Next, gather all the necessary tools and supplies, such as a wrench, plumber's putty, and silicone caulk. It's also important to shut off the water supply before beginning any work.
Once you have all your materials, remove the old sink and clean the area thoroughly. Then, install the new sink, making sure to properly secure it and seal any gaps with silicone caulk. Lastly, turn the water supply back on and check for any leaks.
Benefits of Updating Your RV Bathroom Sink
 Updating your RV bathroom sink not only adds a fresh look to your space, but it also has practical benefits. A new sink can improve water flow and reduce the risk of leaks, saving you from potential costly repairs down the line. It can also increase the value of your RV if you ever decide to sell it.
In conclusion, updating your bathroom sink in your RV is a DIY project worth tackling. It's a simple and affordable way to enhance the functionality and style of your bathroom, and it can be a fun and rewarding project for any DIY enthusiast. So go ahead and give your RV bathroom the upgrade it deserves.





















/GettyImages-155017605-5c6625ea46e0fb00015e7889.jpg)


