Is your bathroom still stuck in the 1970's? It's time to give it a much-needed update. With just a few simple changes, you can transform your outdated bathroom vanity into a modern and stylish space. Say goodbye to the old and hello to the new with these top 10 ways to update your 1970's bathroom vanity in a dark walnut finish.Update


Update


The 1970's were a time of bold colors and funky patterns, but those trends don't necessarily translate well into the present day. If you have a bathroom vanity from this era, chances are it's seen better days. But don't despair, with some clever updates, you can bring your vanity into the 21st century while still maintaining its retro charm.1970's
.jpg)
.jpg)
1970's
.jpg)


.jpg)


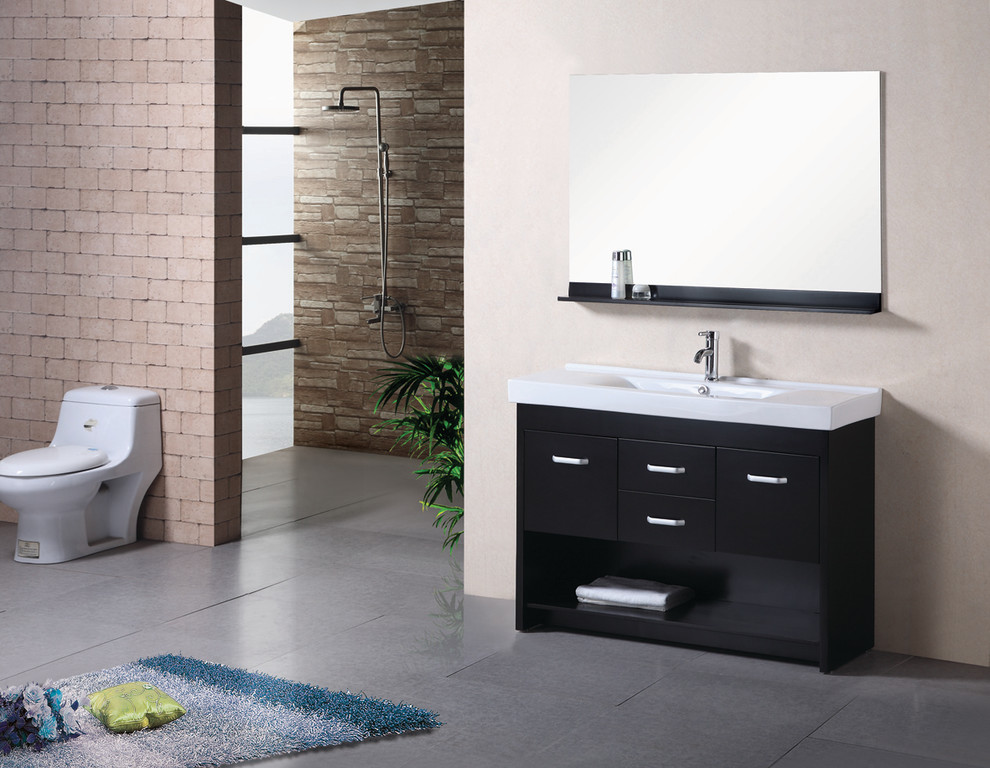
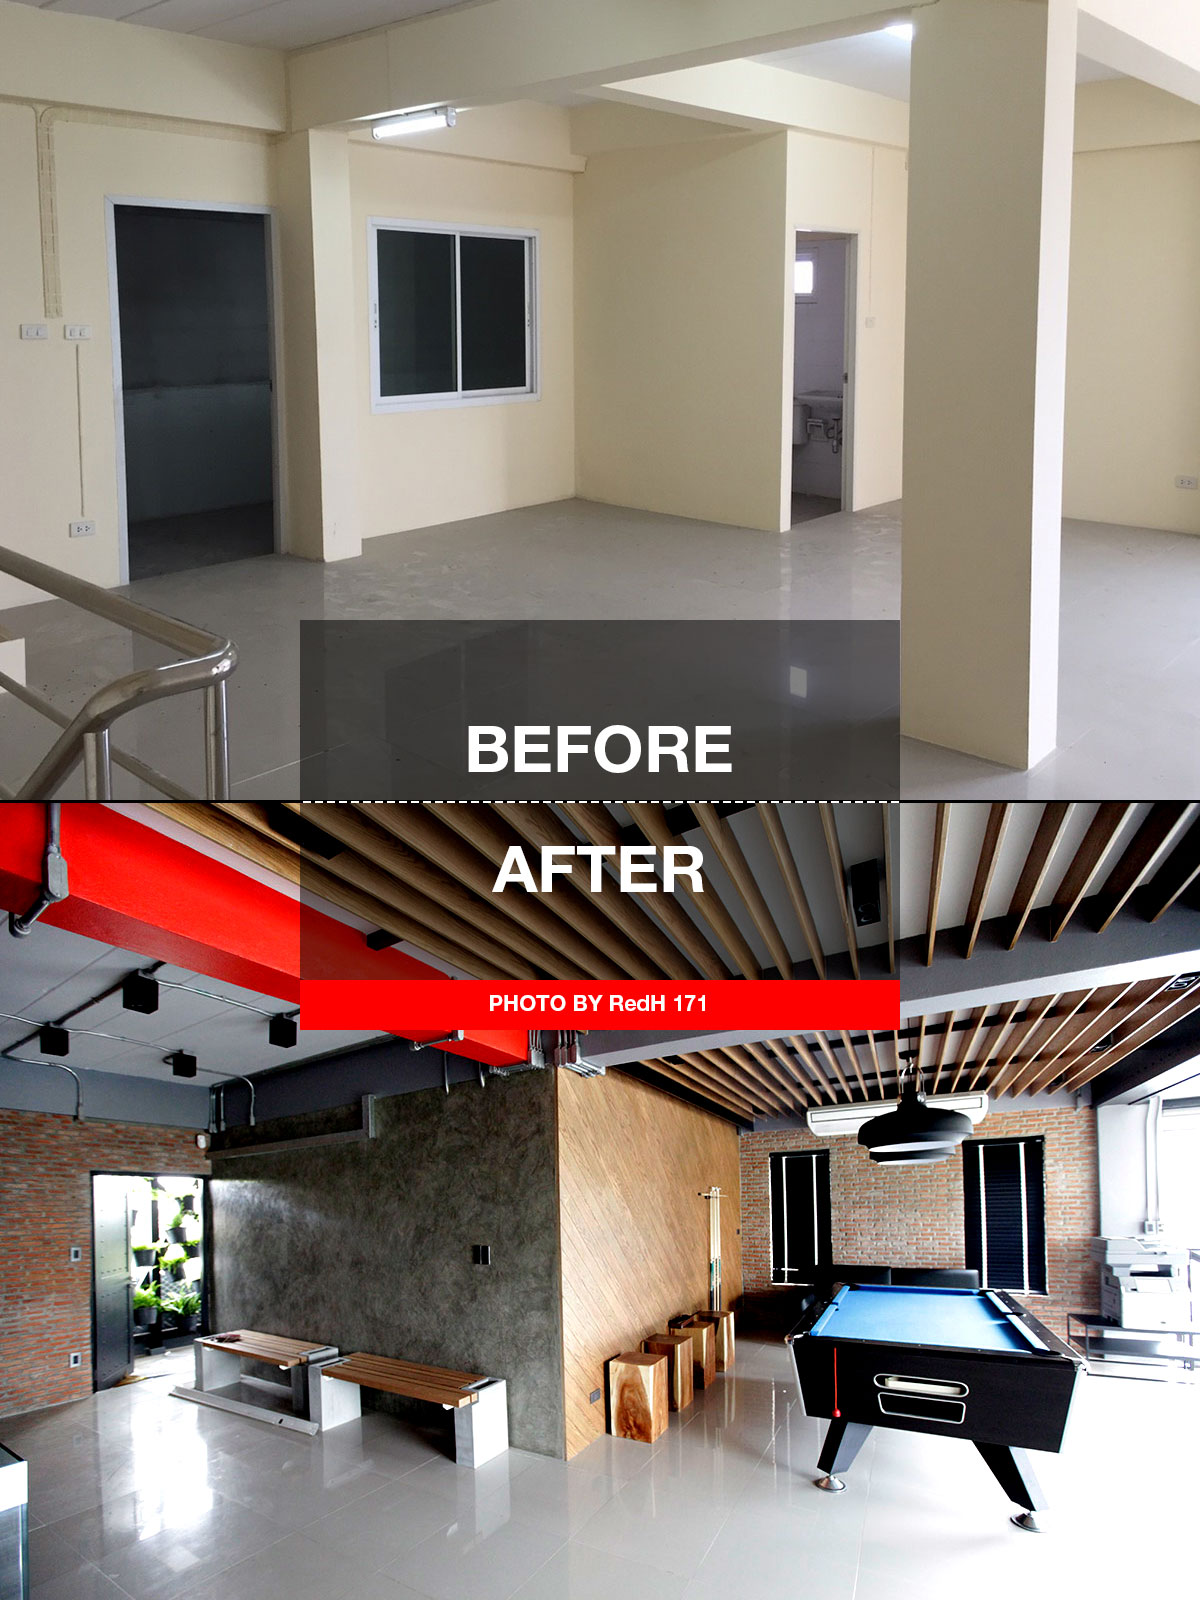
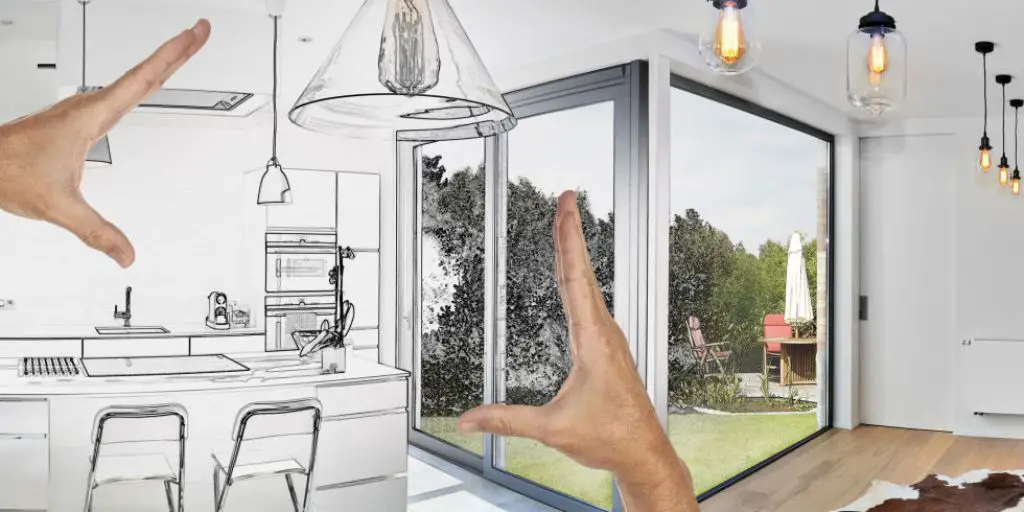
When it comes to updating your bathroom vanity, there are a few different approaches you can take. You can either renovate, refinish, or replace it entirely. Each option has its own benefits and can help you achieve the look you desire. Let's explore the different ways to transform your 1970's bathroom vanity.Bathroom Vanity


Bathroom Vanity
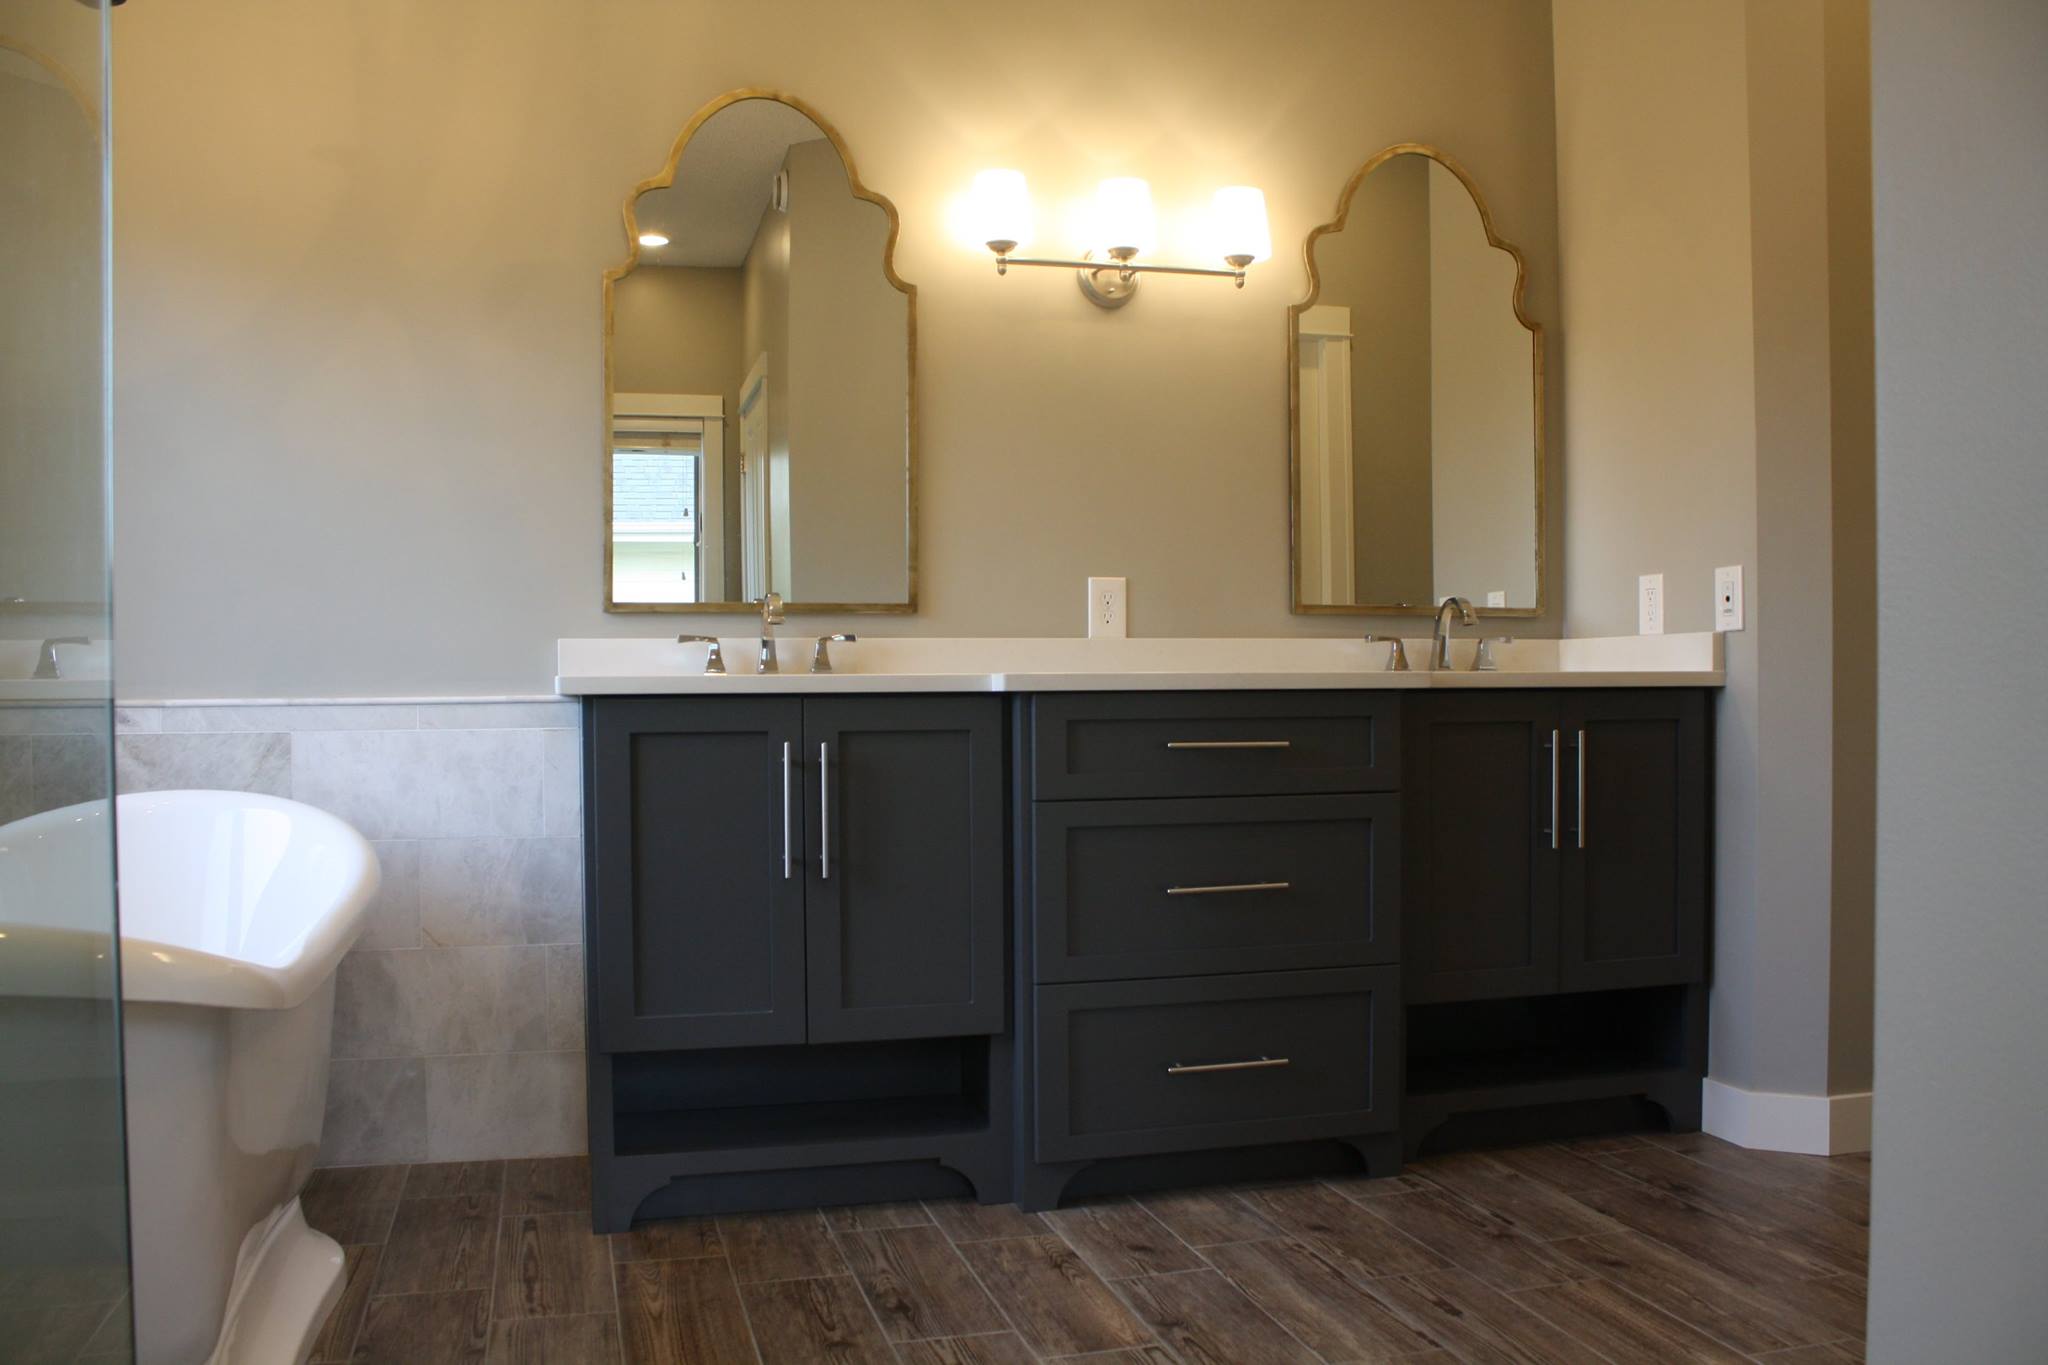

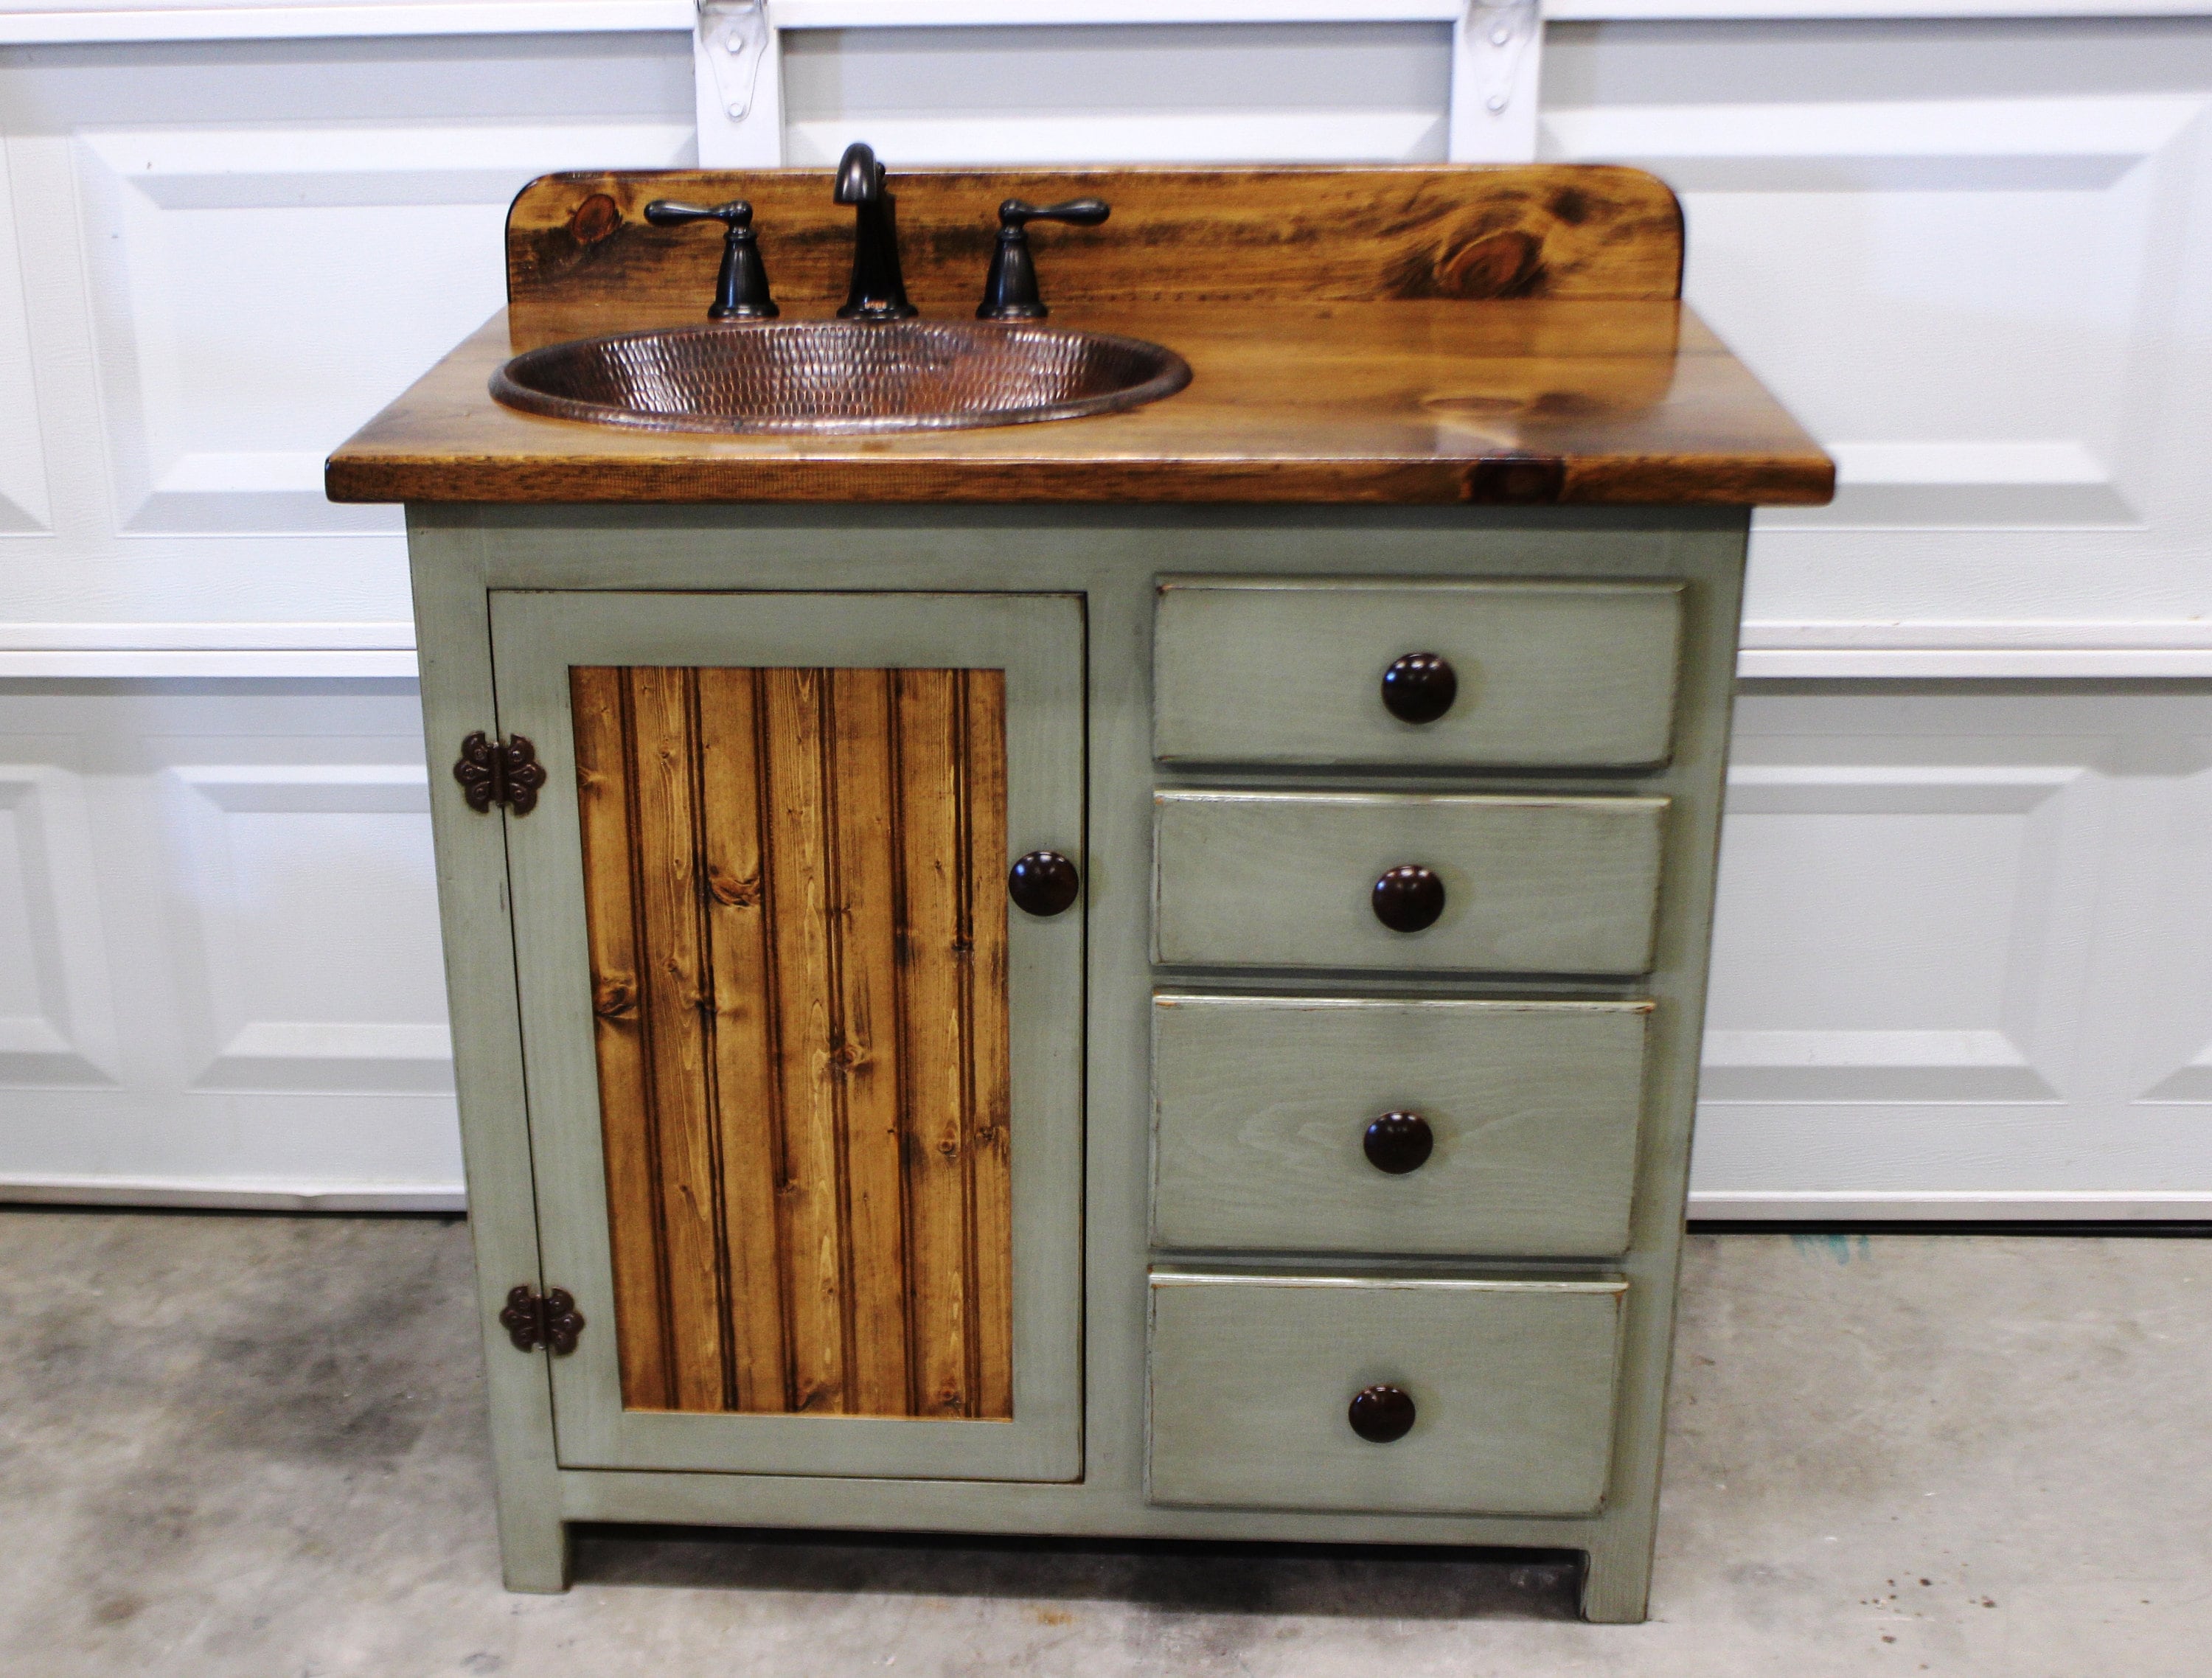
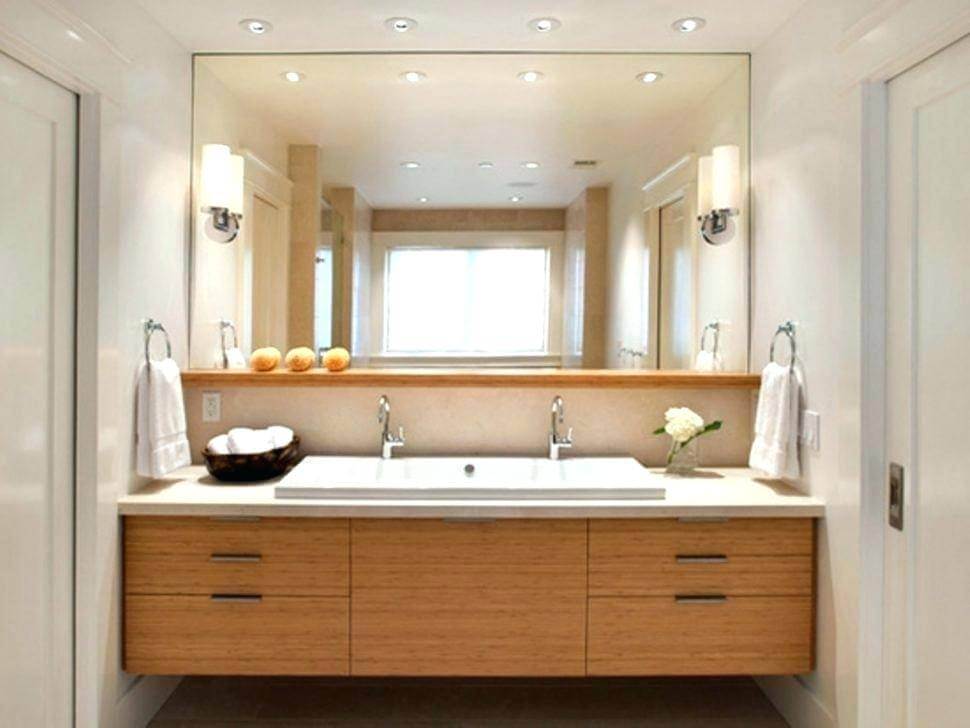
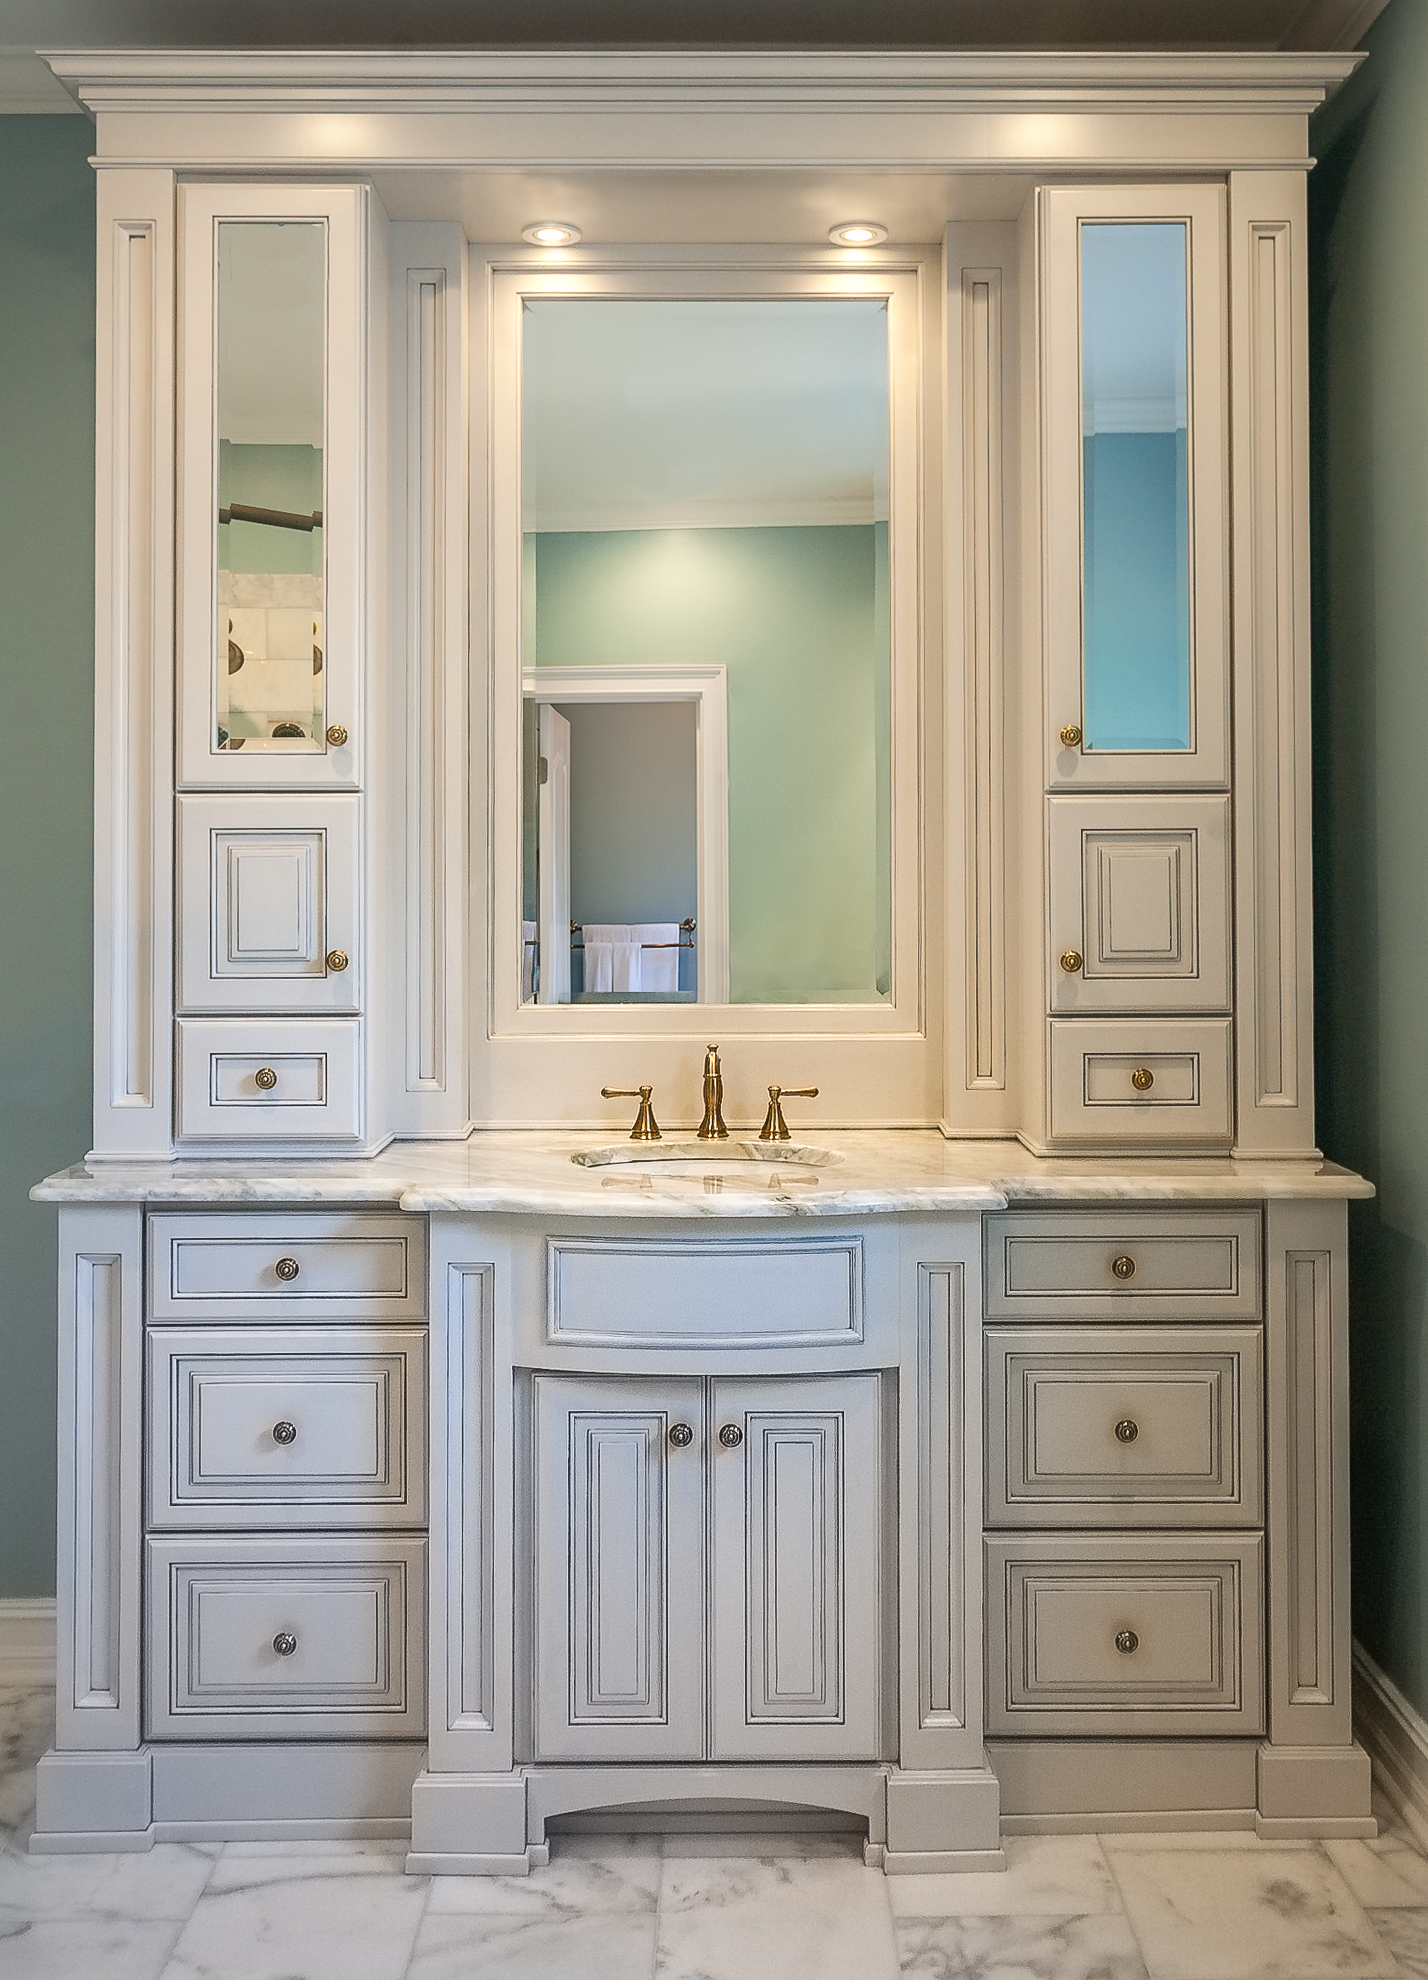
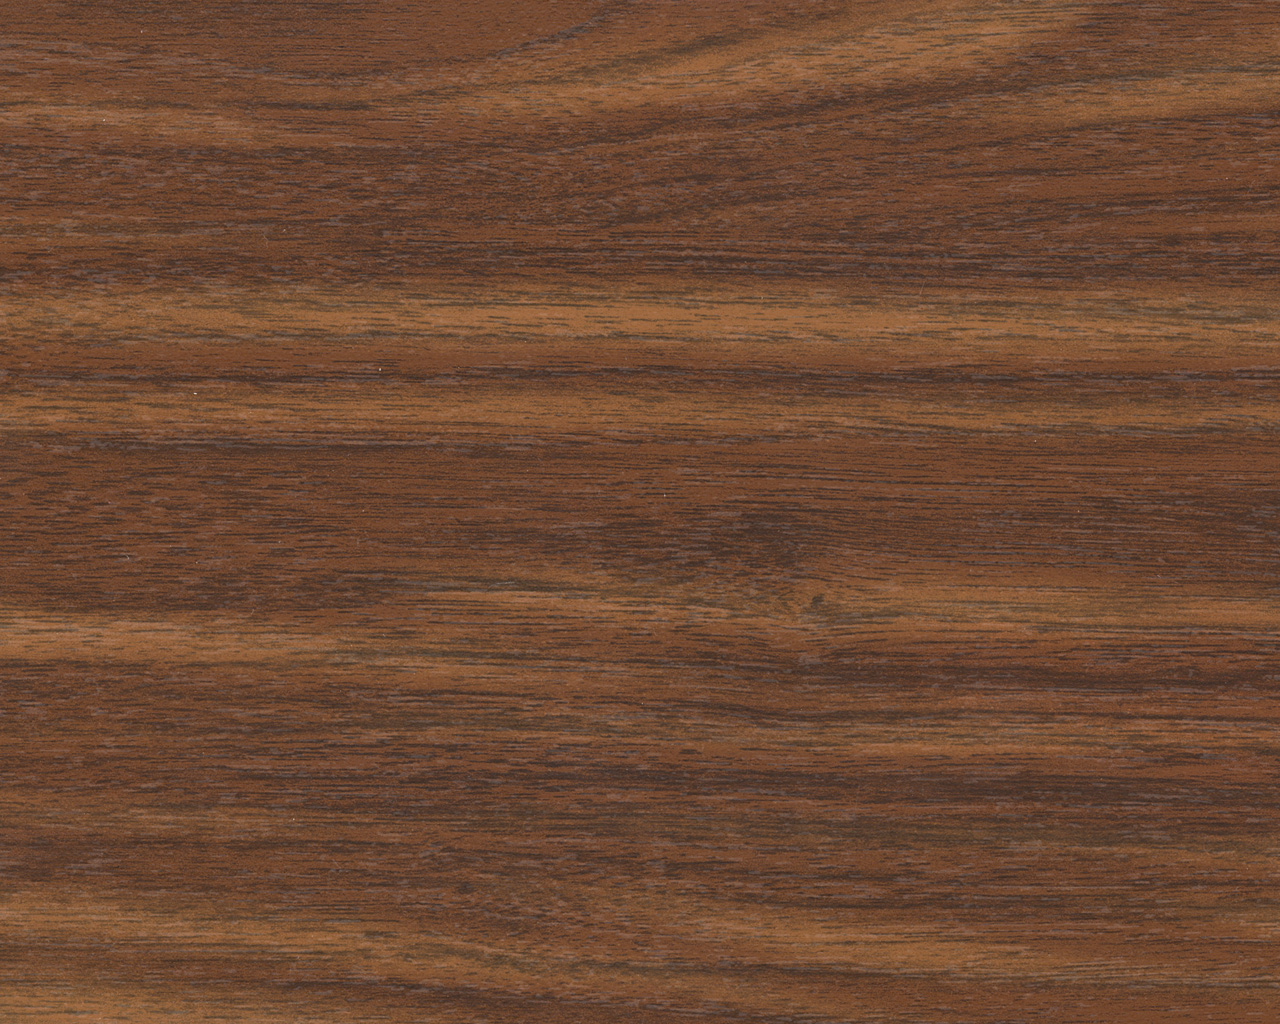
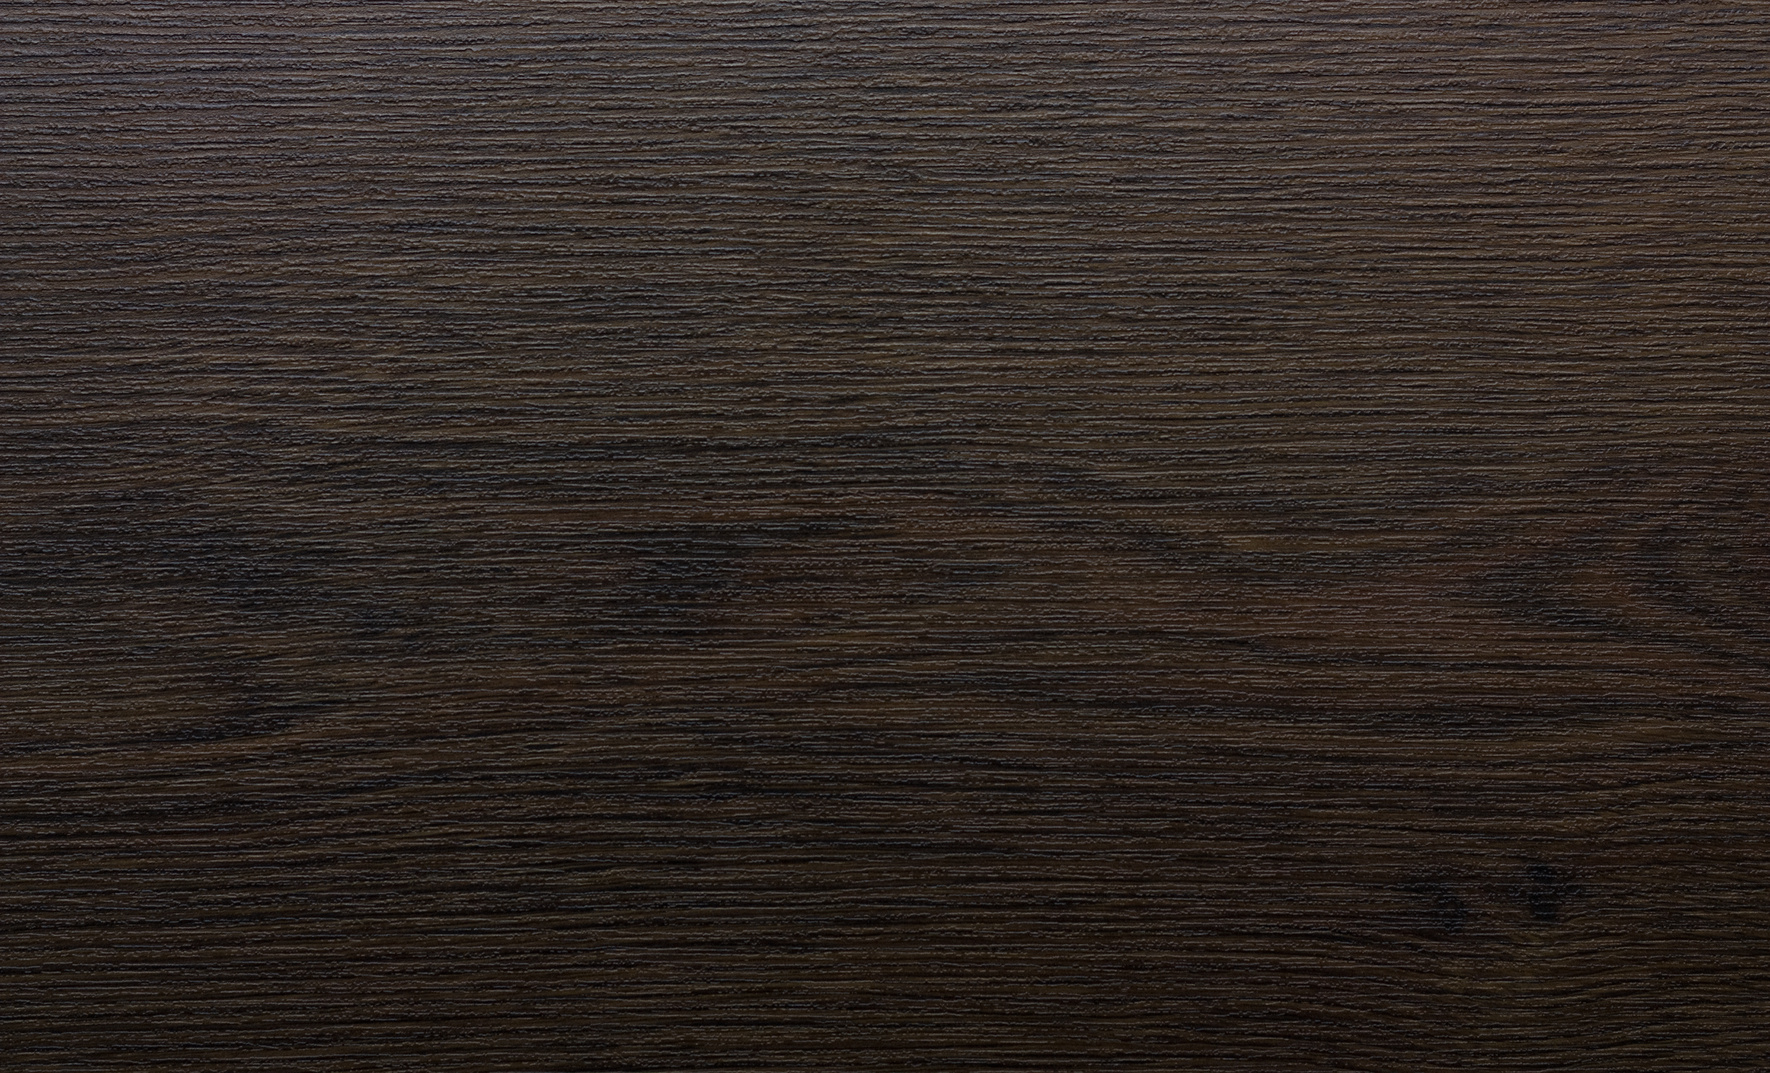
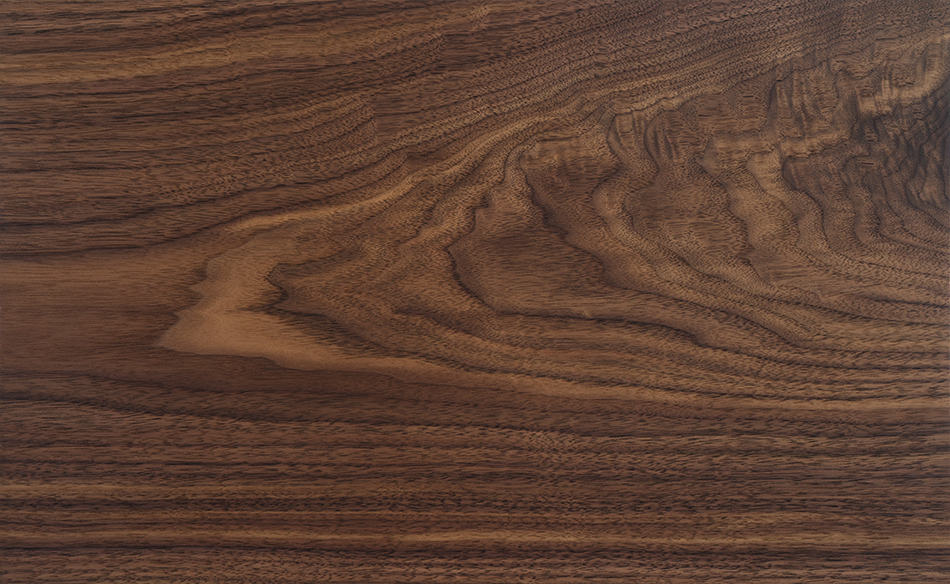
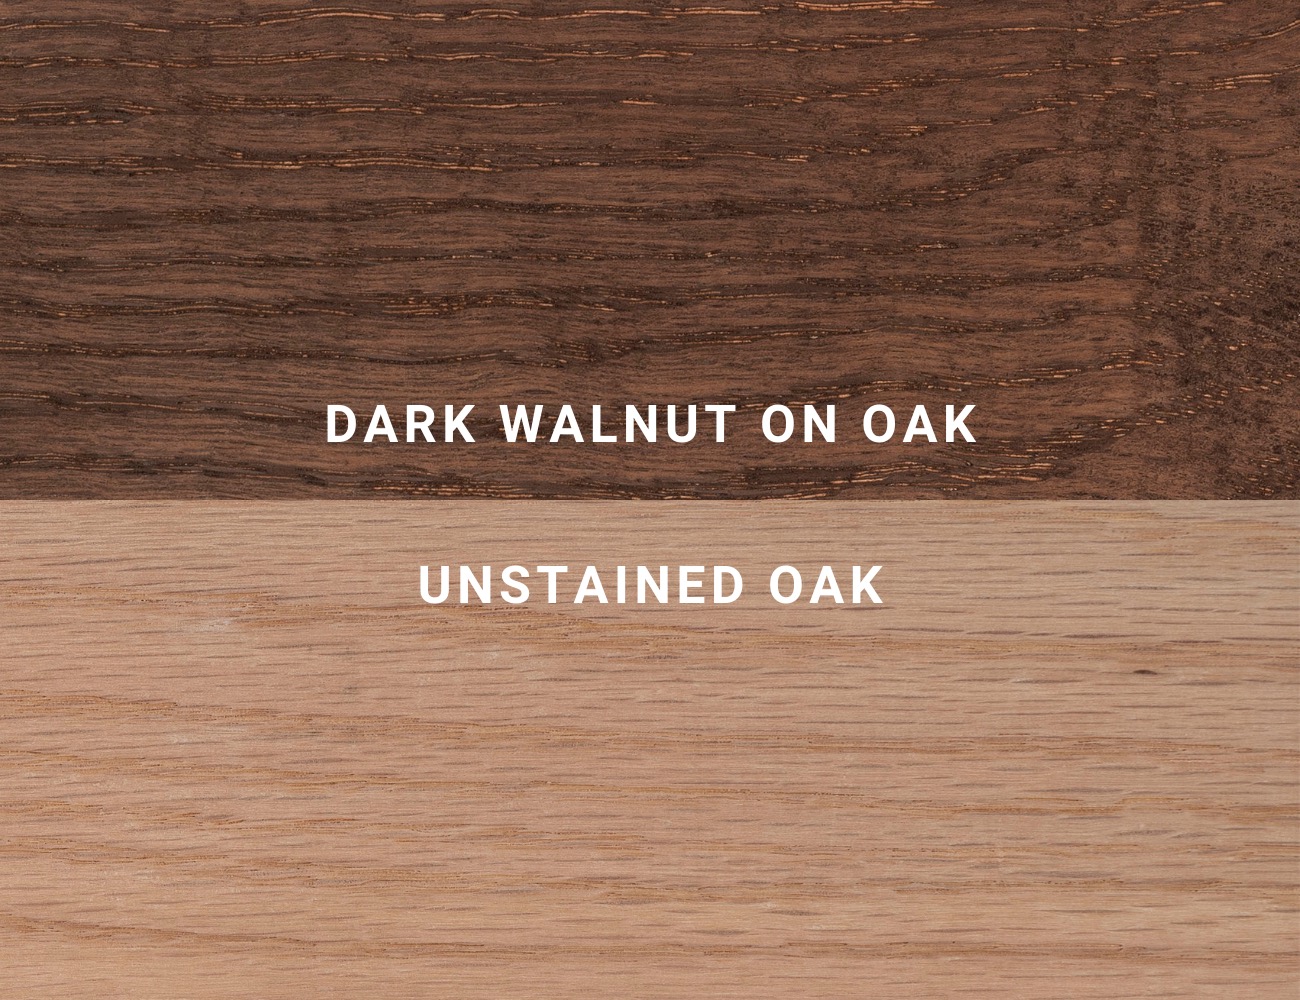
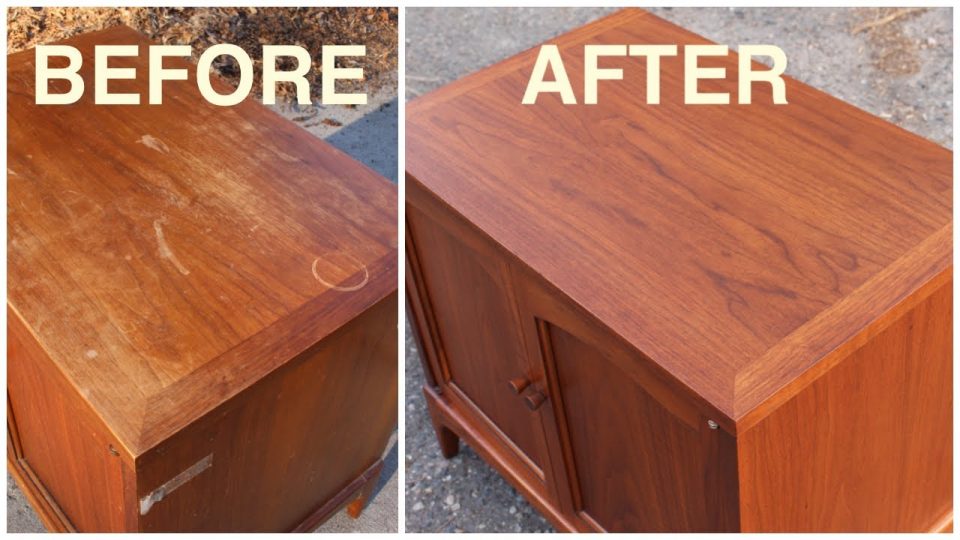
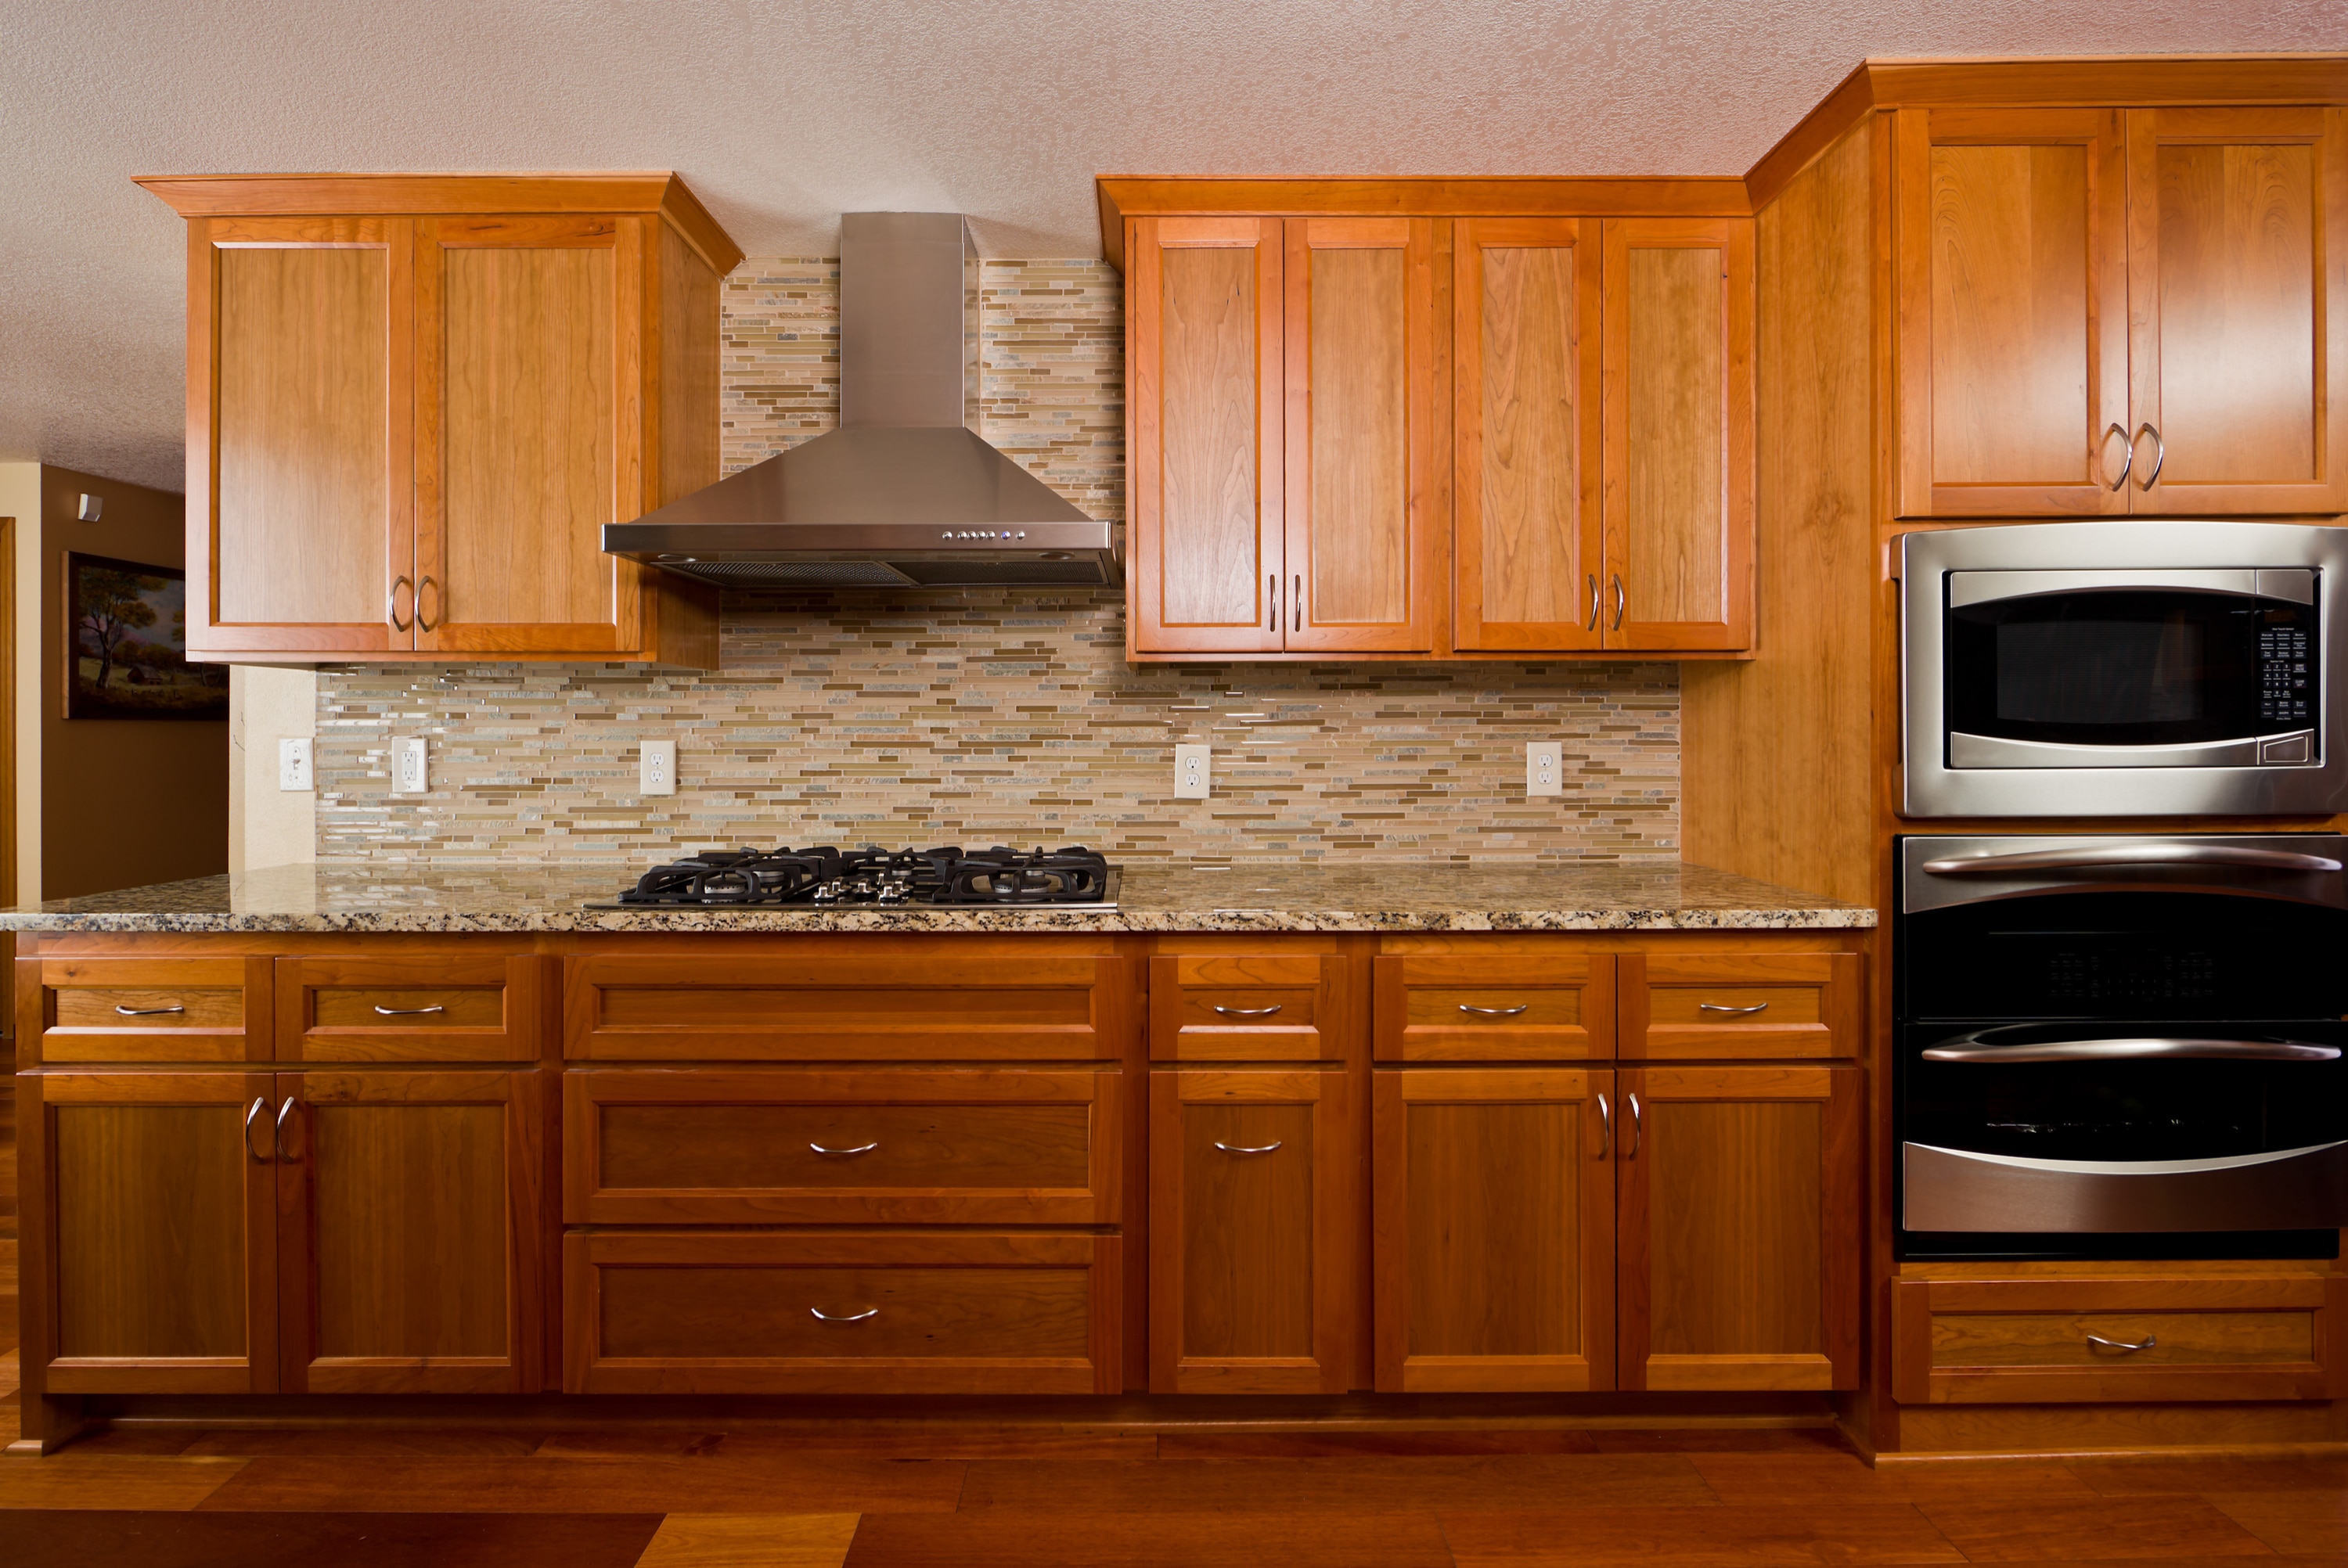
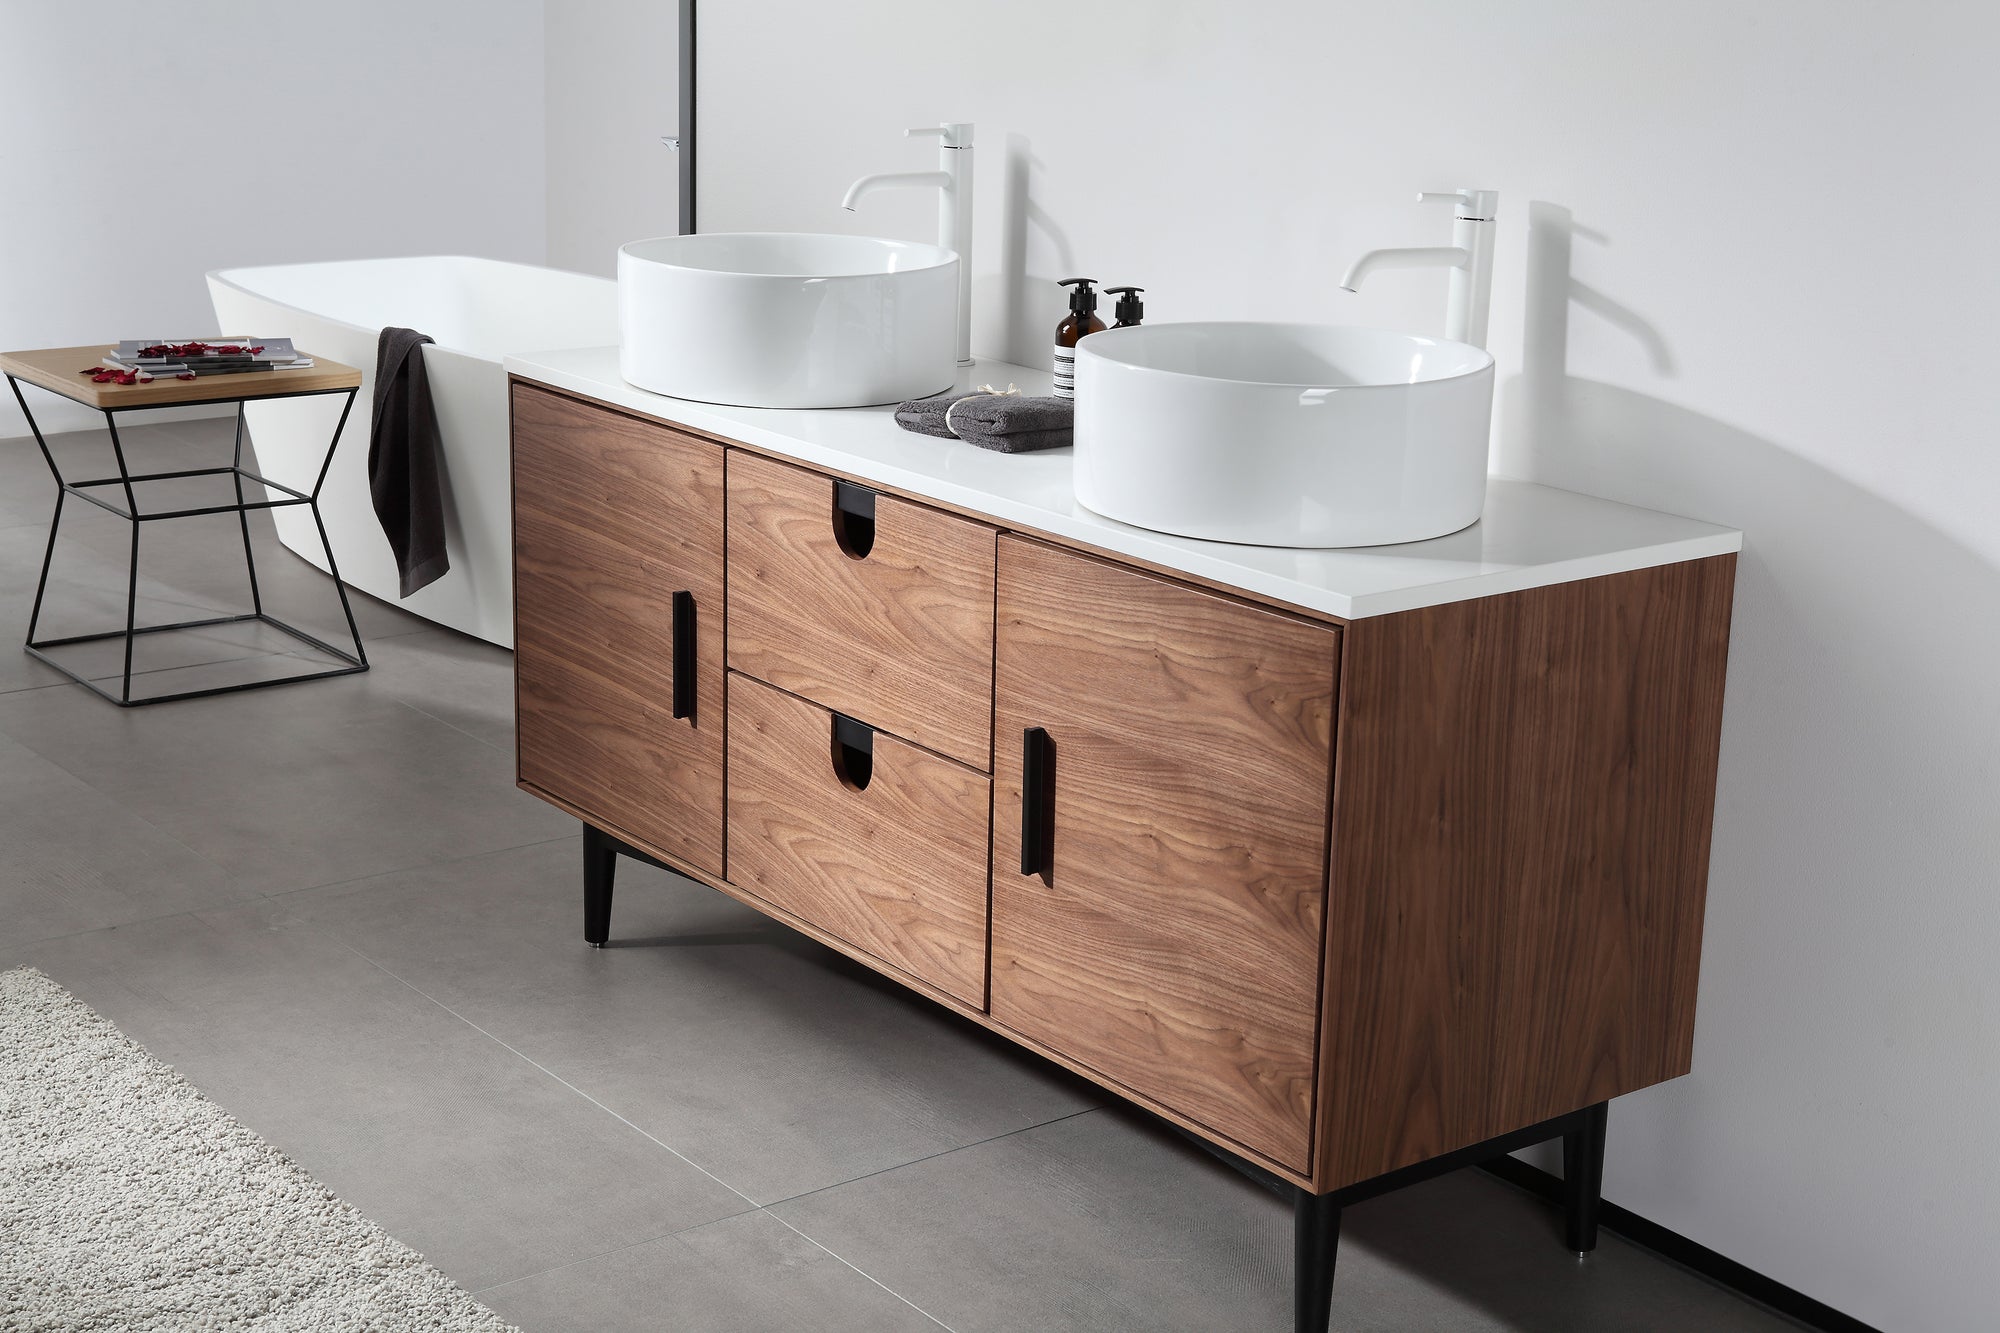
The dark walnut finish was a popular choice for bathroom vanities in the 1970's. While it may have been trendy at the time, it can now make your bathroom look outdated and drab. But fear not, with a little bit of creativity and some bold design choices, you can turn your dark walnut vanity into a modern and stylish focal point of your bathroom.Dark Walnut


Dark Walnut


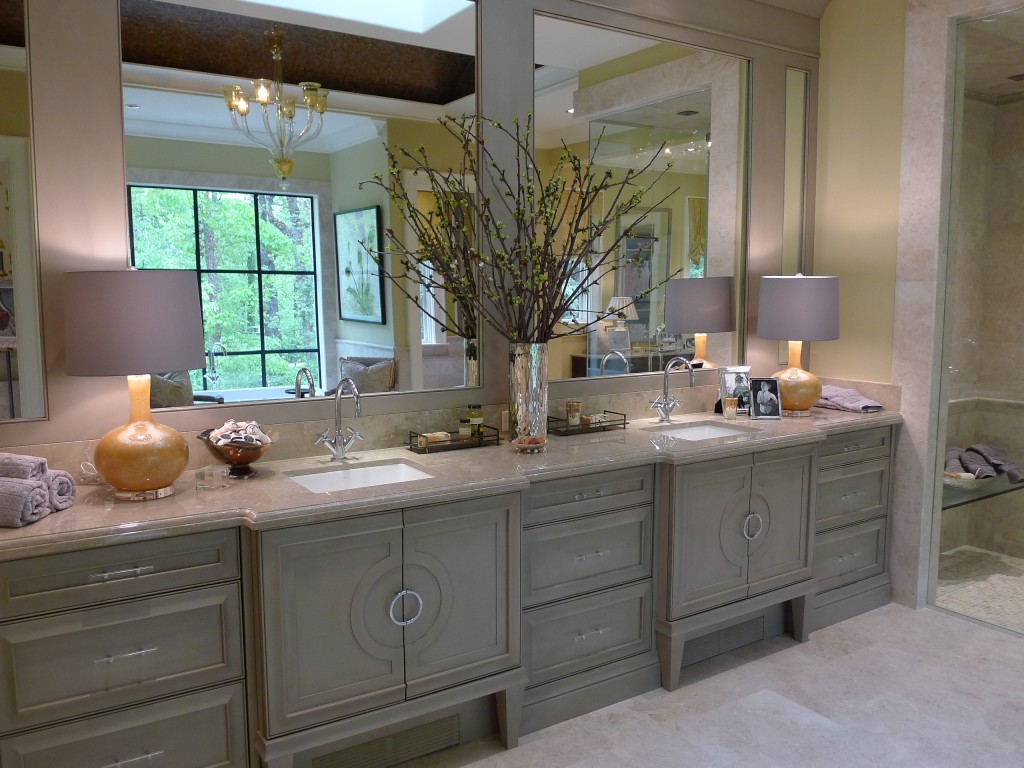
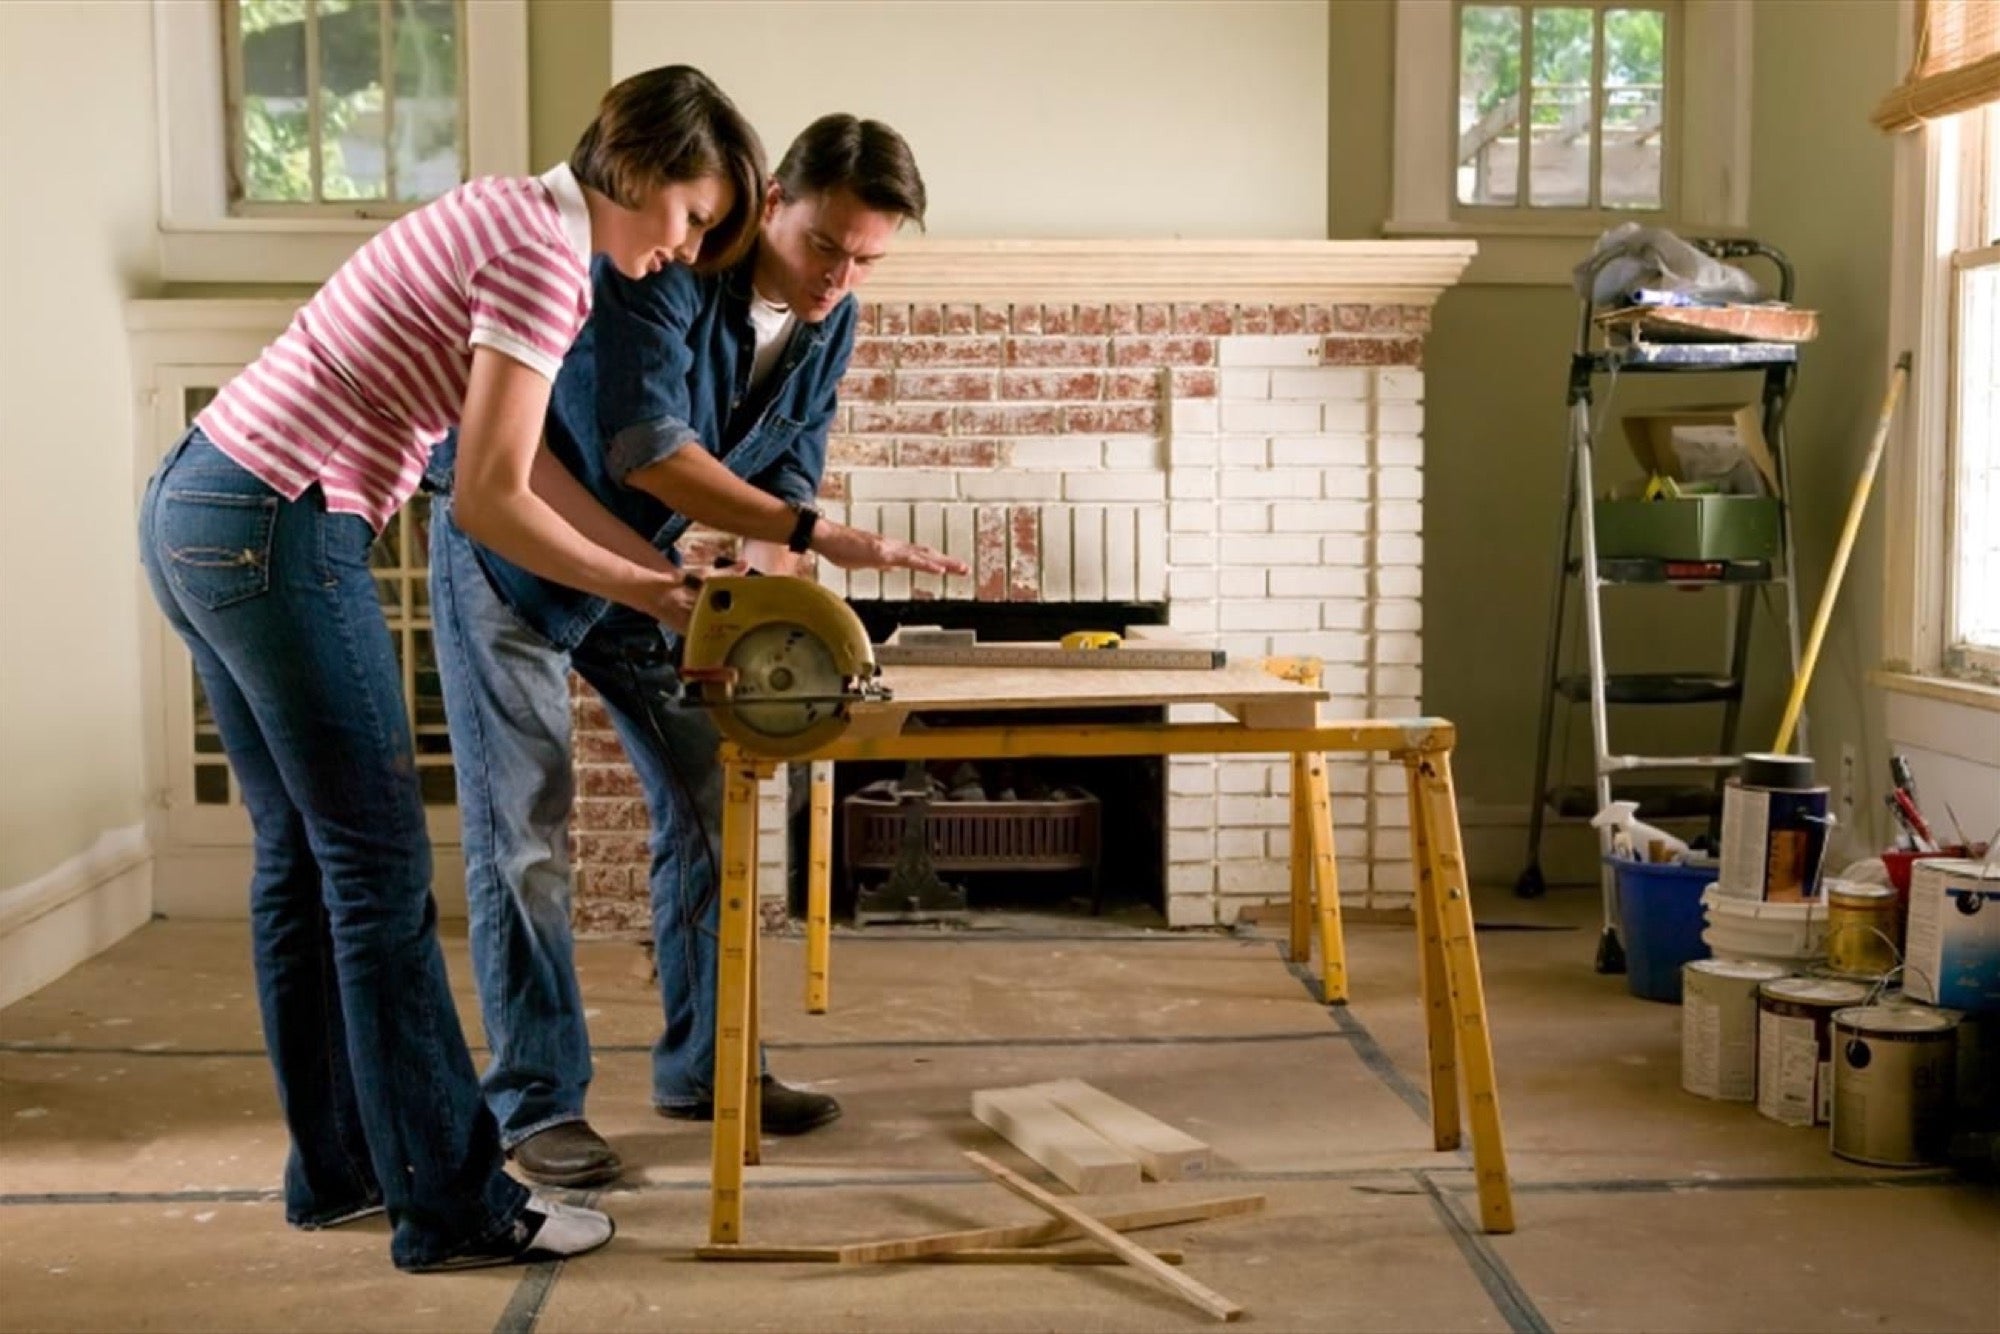
If your 1970's bathroom vanity is in good condition but just needs a little sprucing up, then renovating might be the best option for you. This involves making cosmetic changes, such as replacing the countertops, adding new hardware, and giving the vanity a fresh coat of paint. You can even add some modern touches, like a new sink or faucet, to completely transform the look of your vanity.Renovate


Renovate


/Family-home-renovation-GettyImages-513438249-58a0e0803df78c4758055c1a.jpg)

If you want to keep the original charm of your 1970's bathroom vanity but give it a more updated look, then refinishing is the way to go. This involves sanding down the existing finish and applying a new one. You can choose a lighter color to brighten up the vanity or go for a bold and modern look with a darker finish. Either way, refinishing your vanity will give it a fresh and updated appearance.Refinish
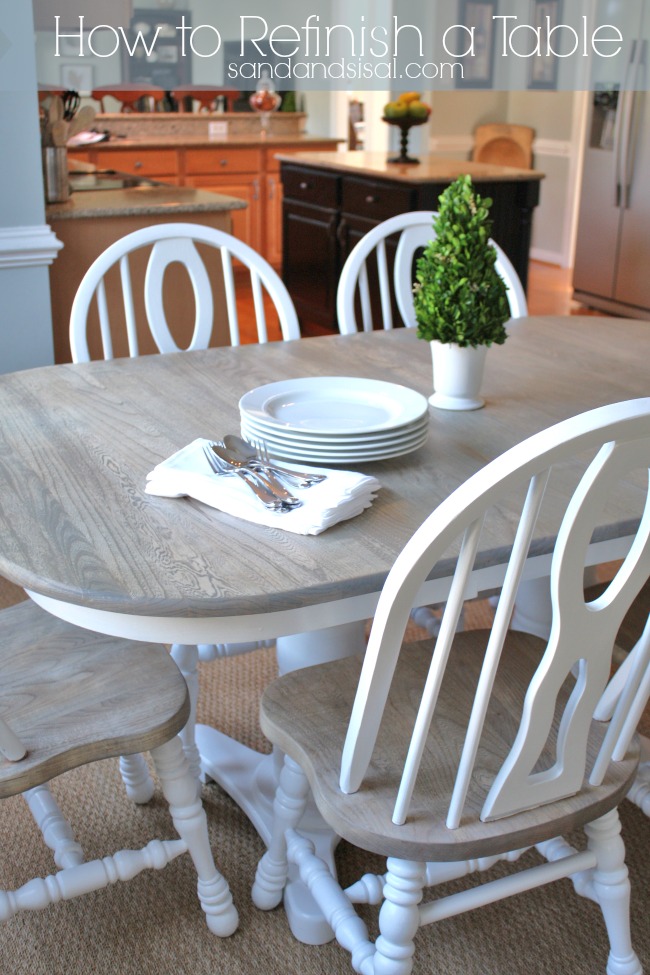

Refinish

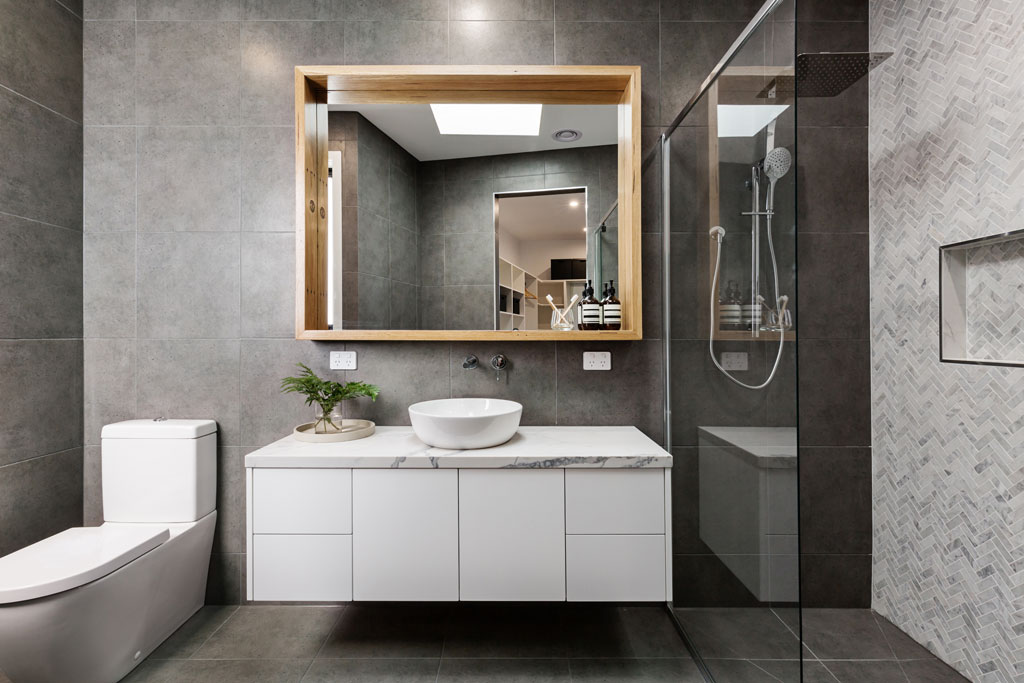
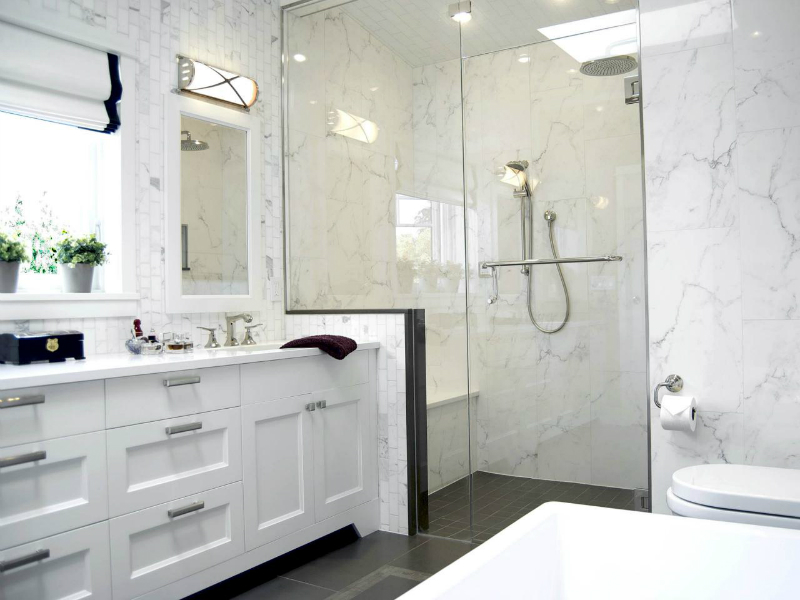
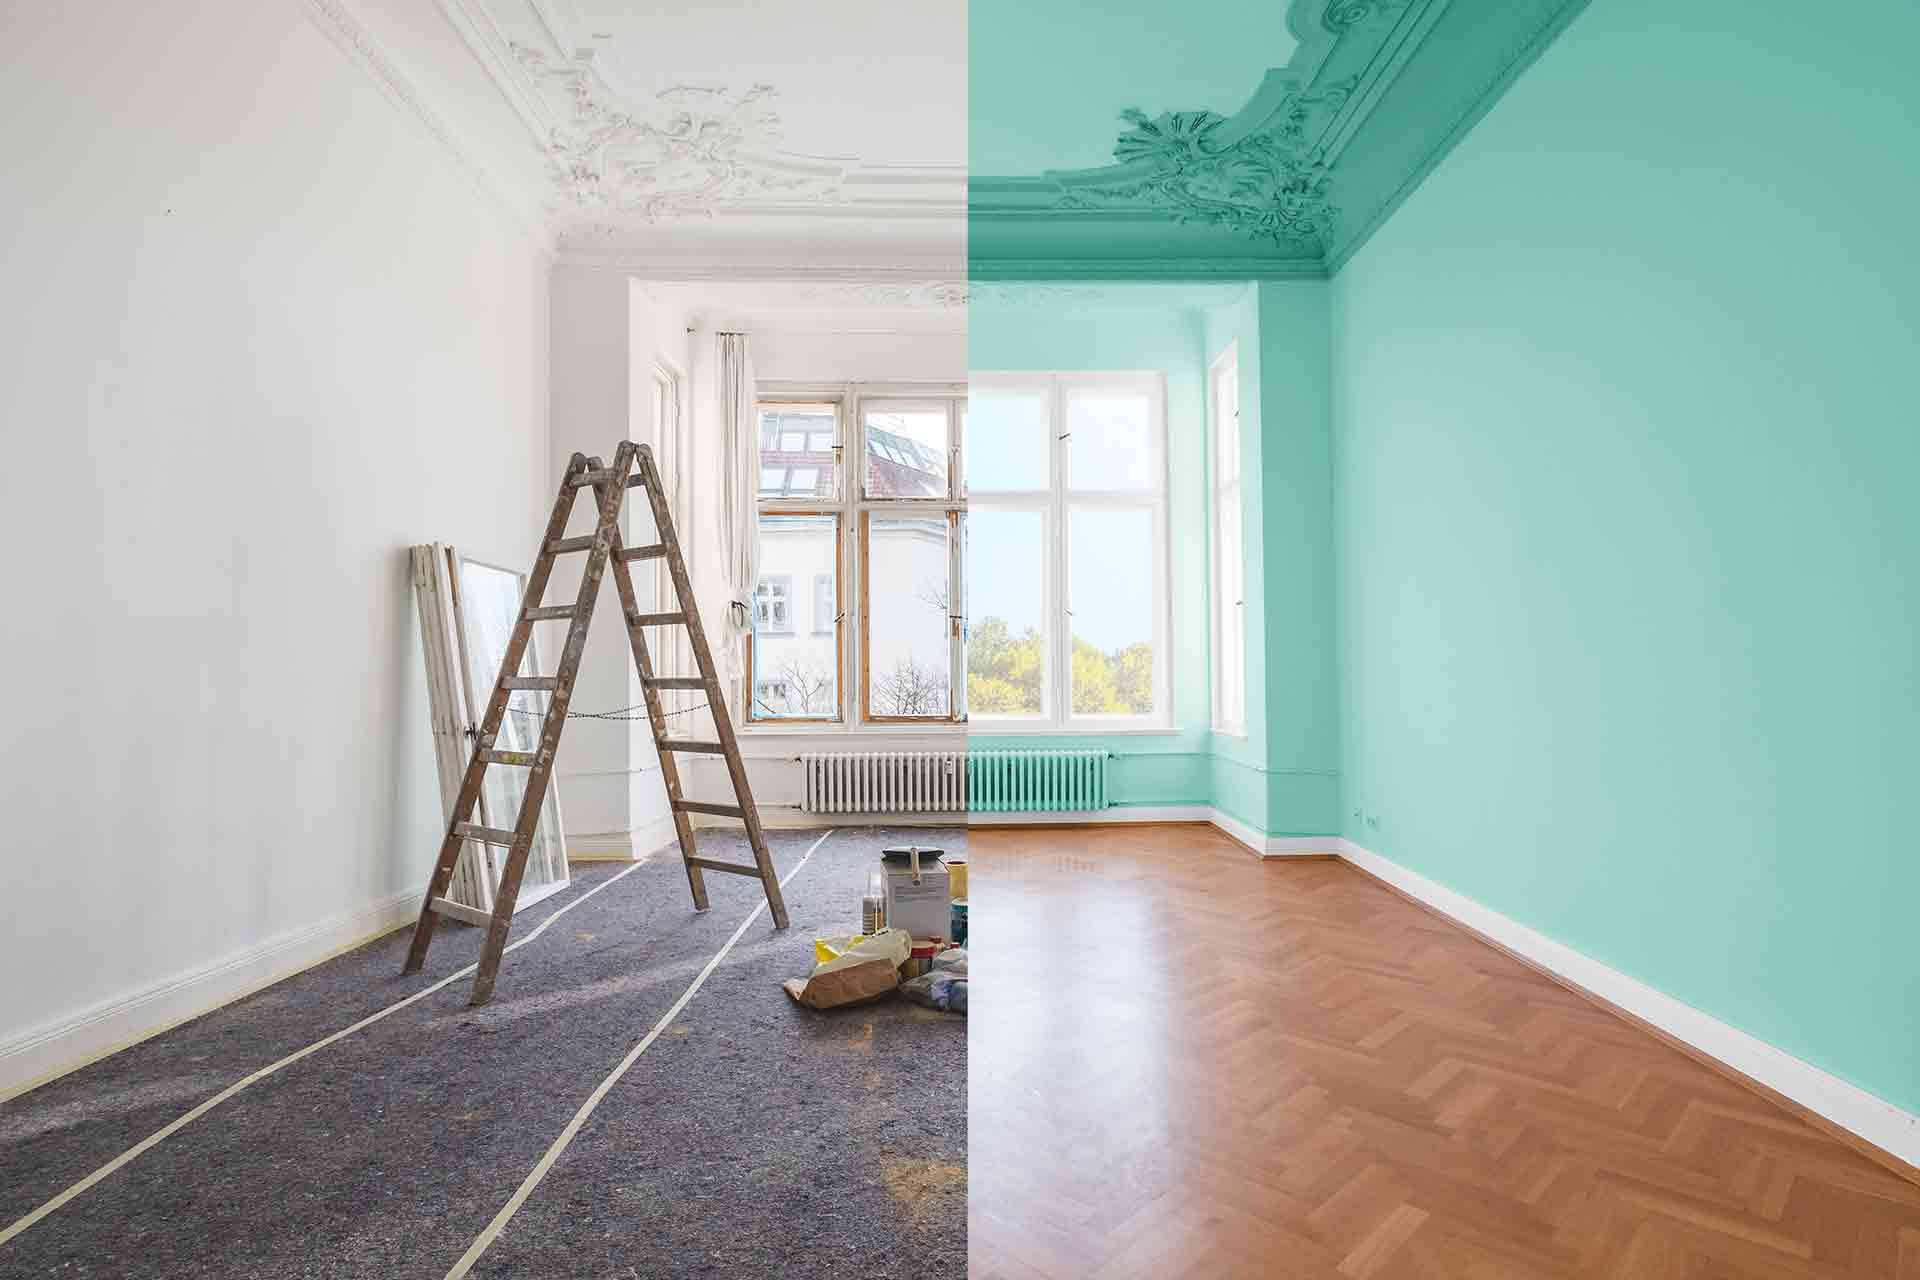
If you're looking to completely modernize your 1970's bathroom vanity, then you might want to consider replacing it altogether. This will give you the opportunity to choose a vanity that fits your style and the overall aesthetic of your bathroom. Look for sleek designs and finishes that will bring your vanity into the present day.Modernize


Modernize


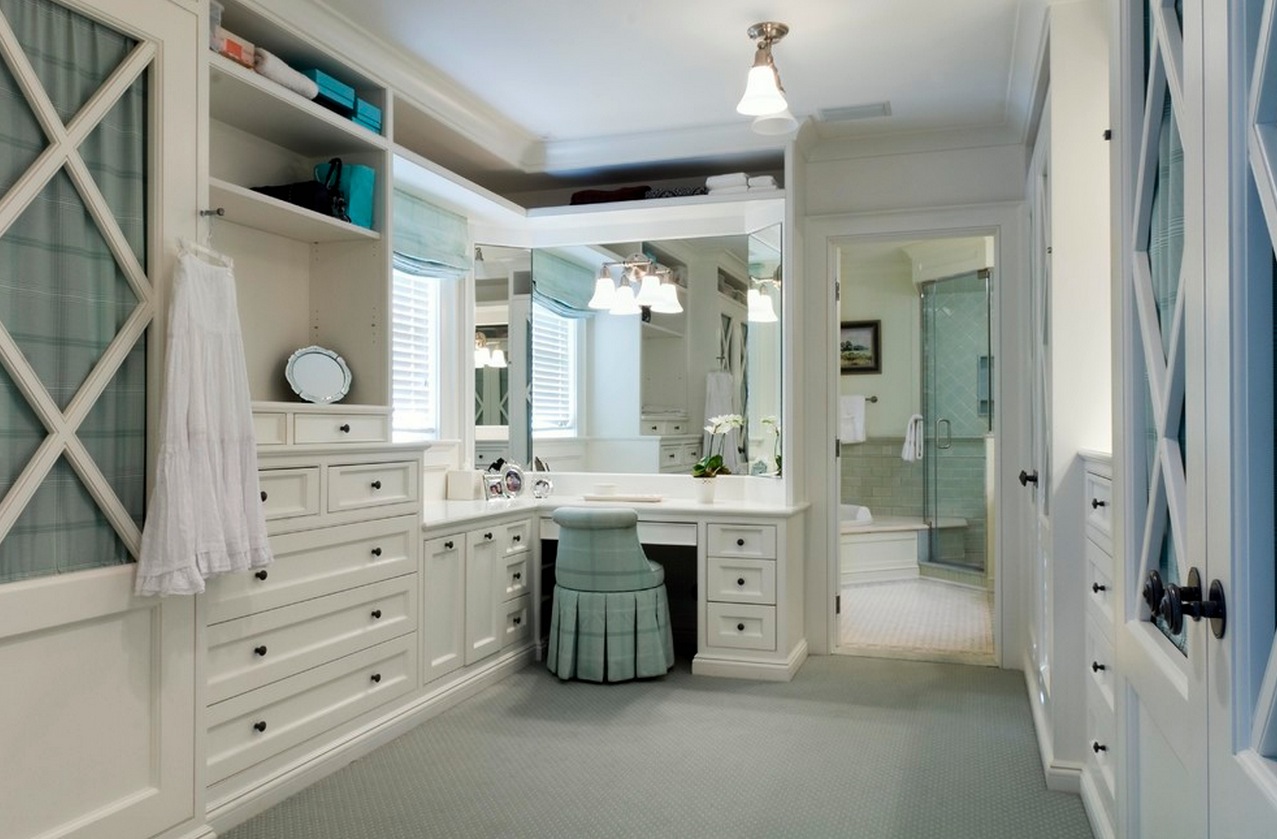
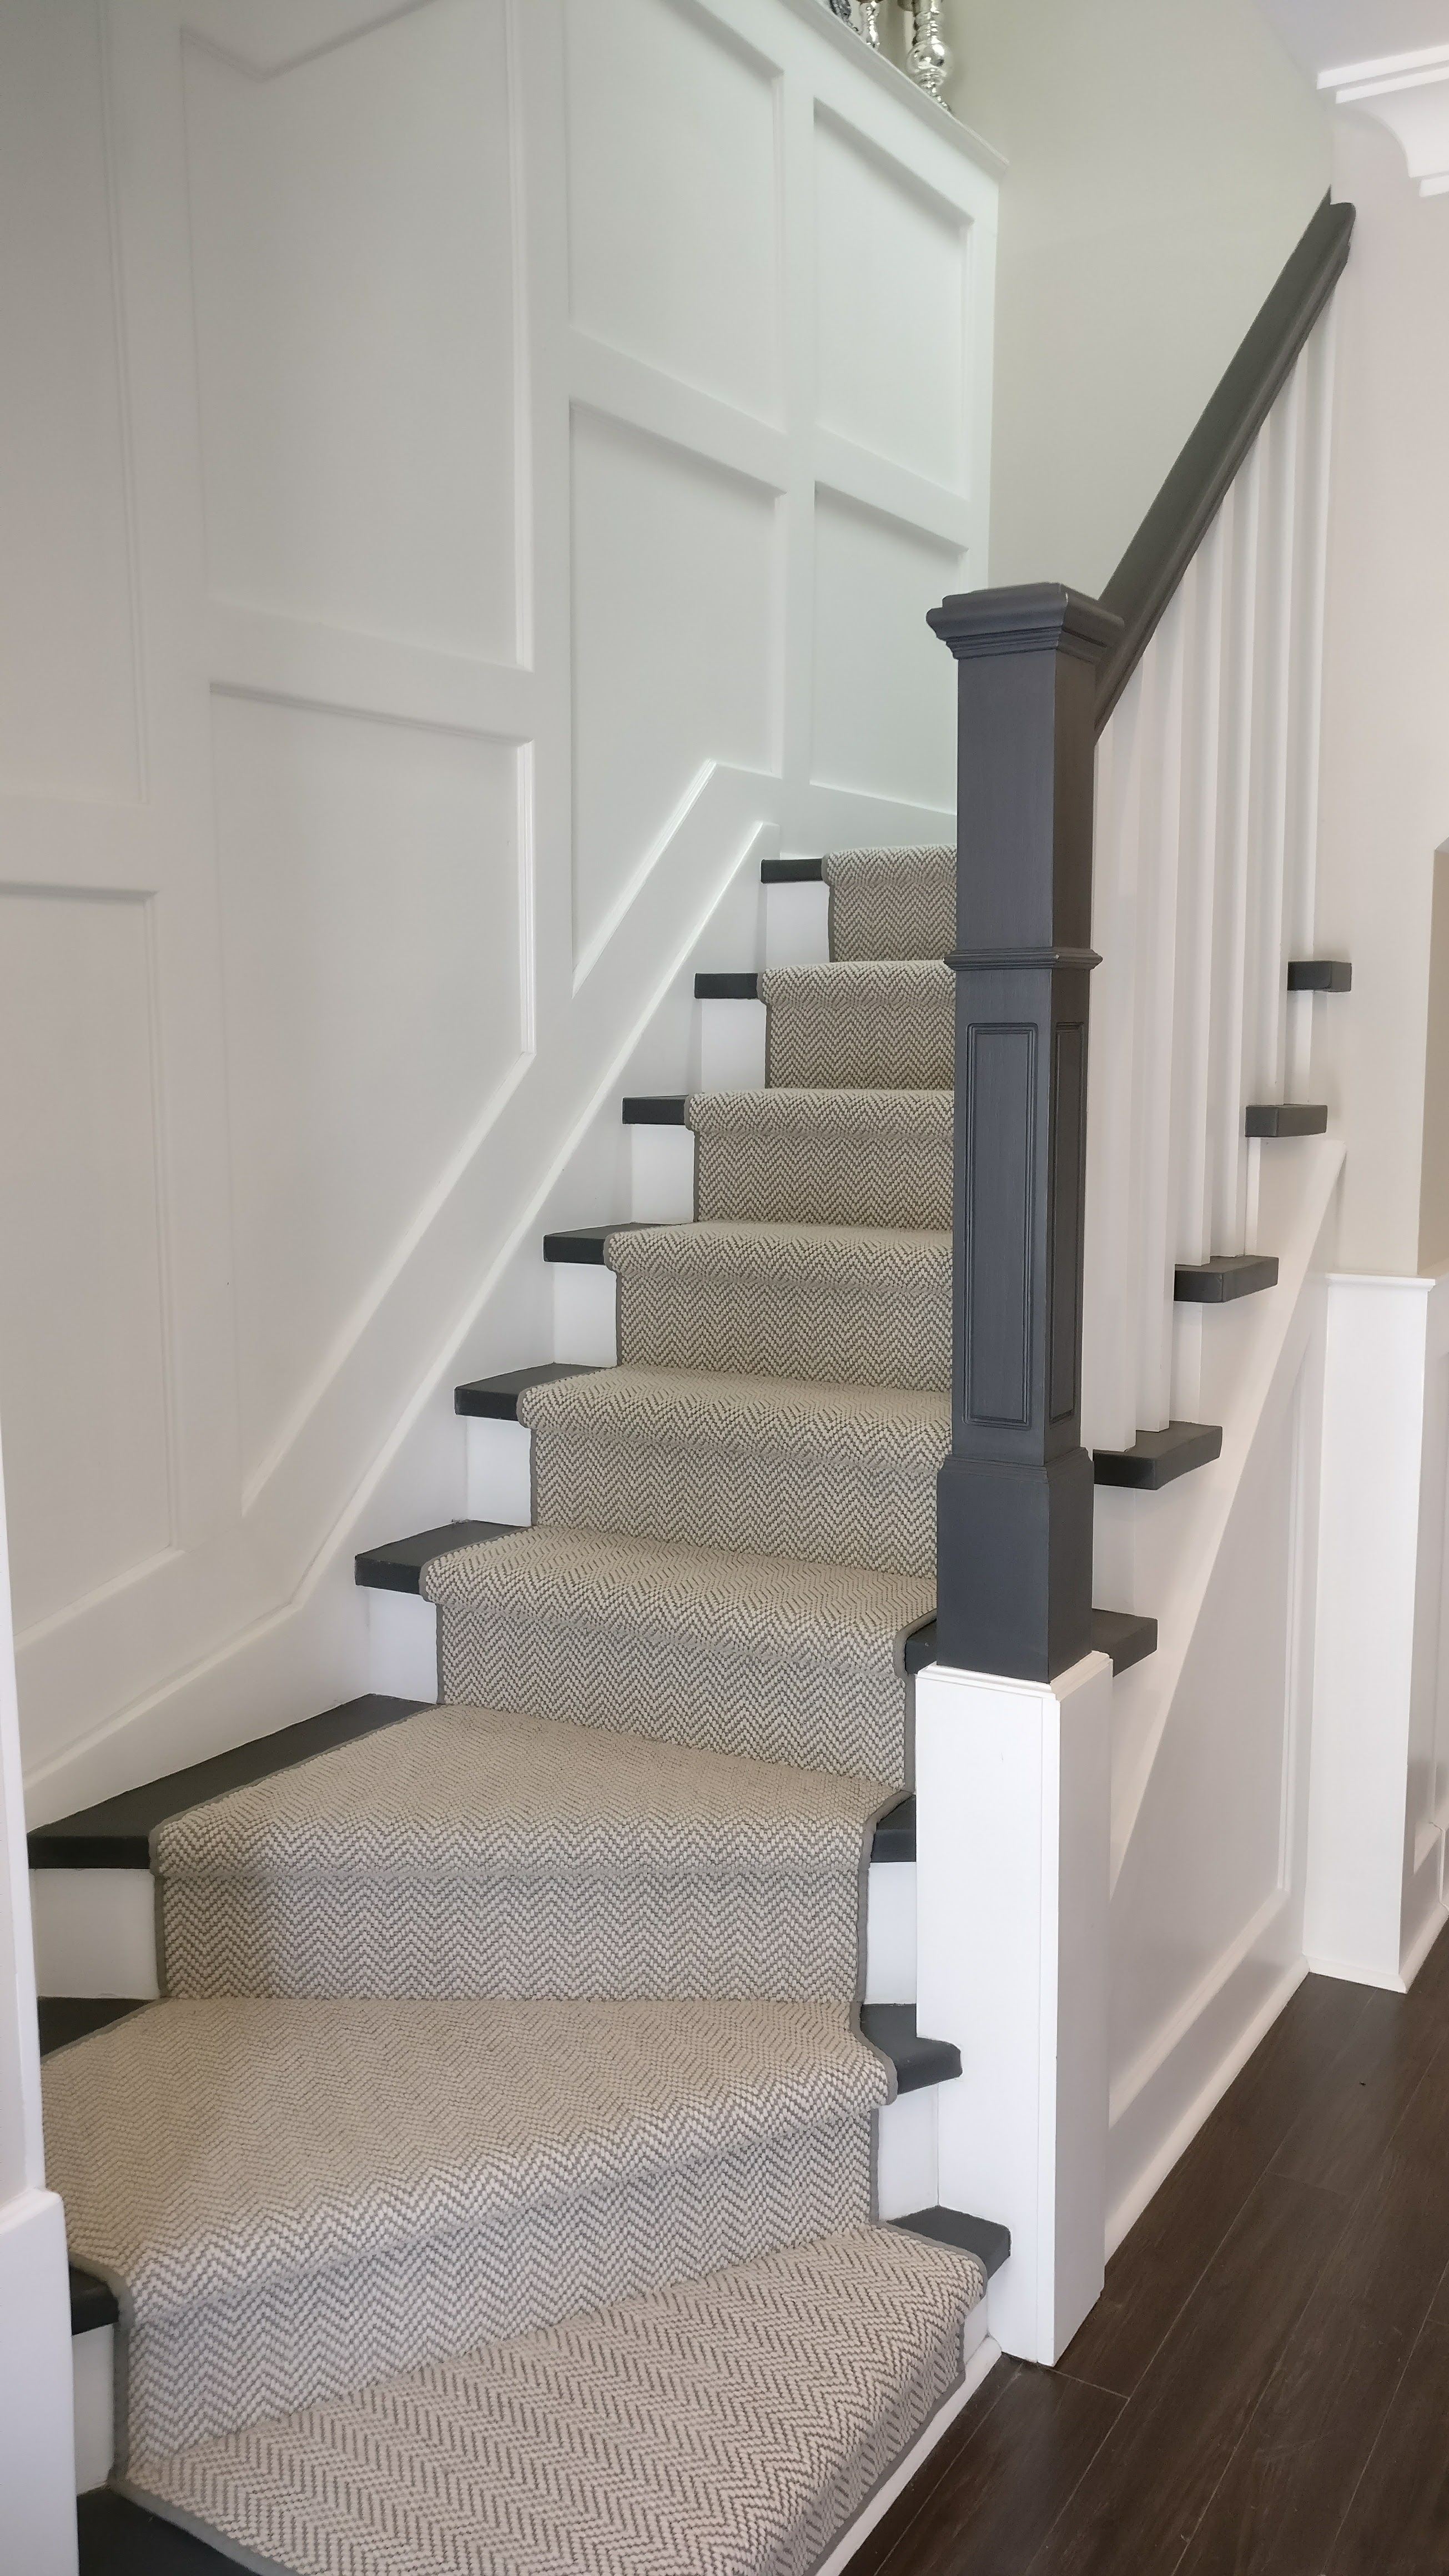
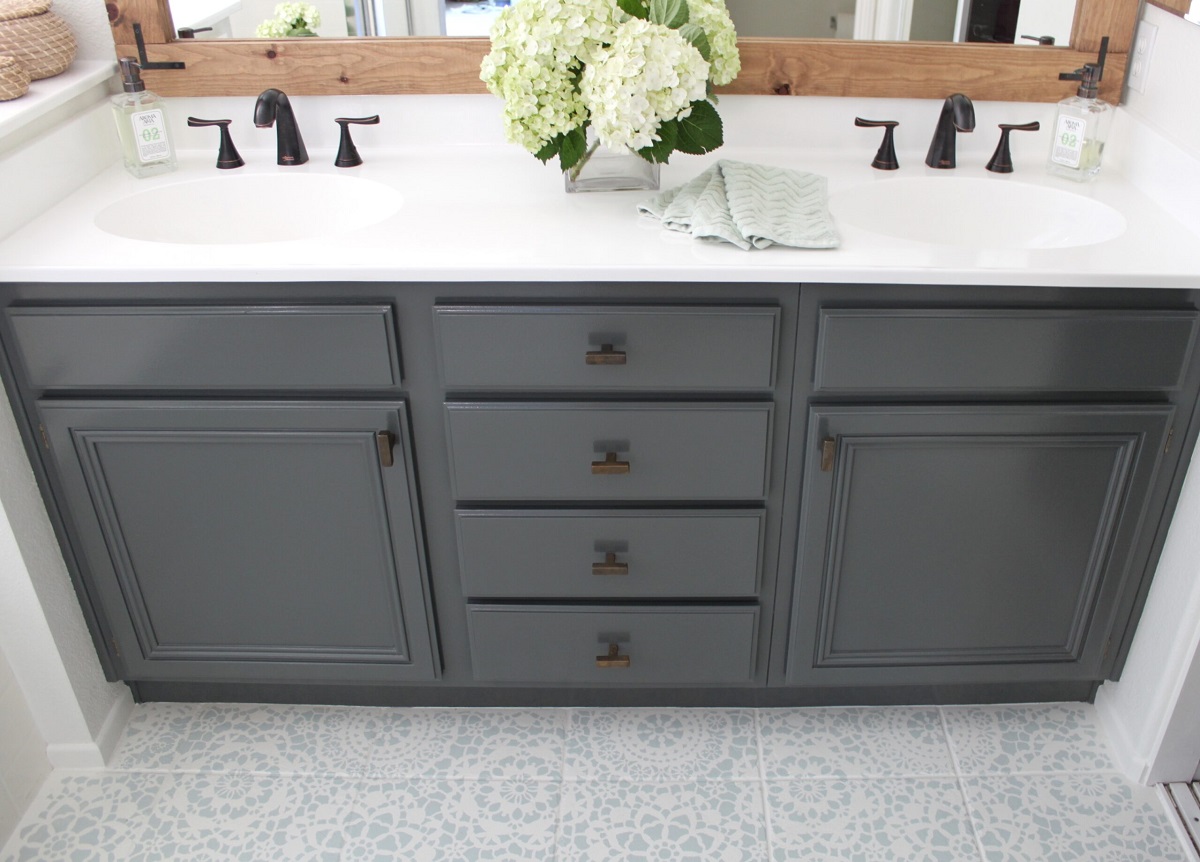
If you're on a budget and can't afford to replace your entire vanity, you can still give it a new look by restyling it. This involves adding new decorative elements, such as a backsplash, new hardware, or even a unique mirror. These small changes can make a big impact and give your vanity a fresh and updated look.Restyle


Restyle


.jpg.caa34882b933298ef4029535a1cd4df3.jpg)


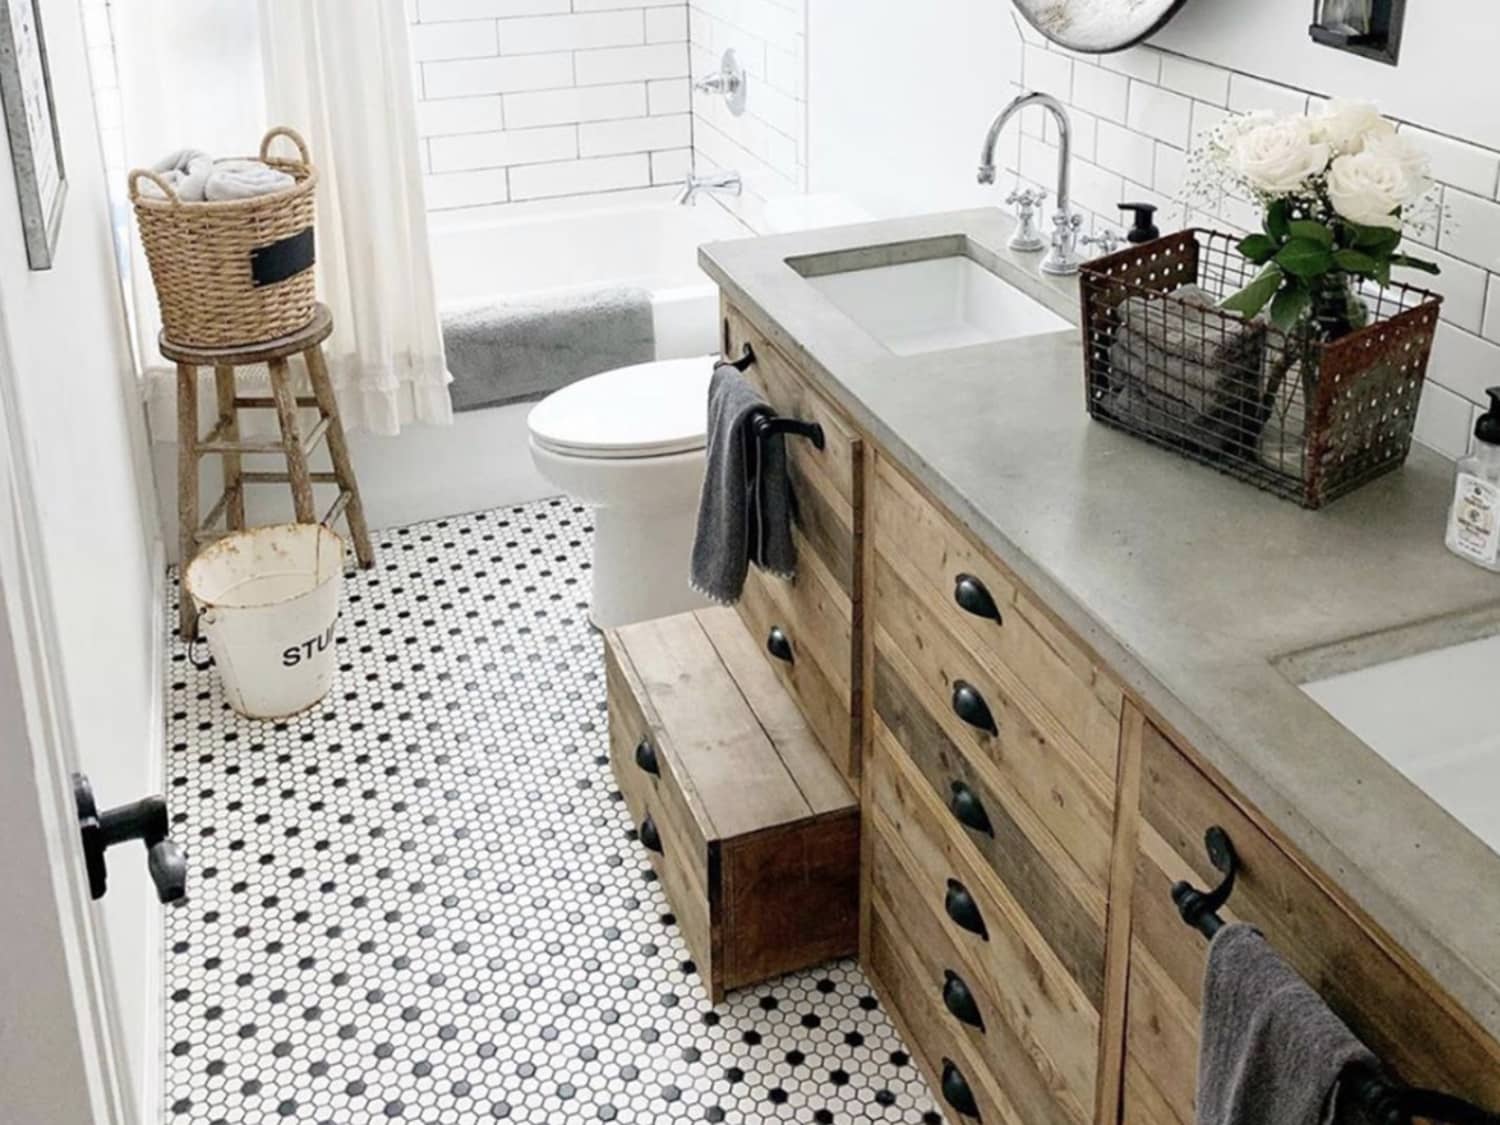
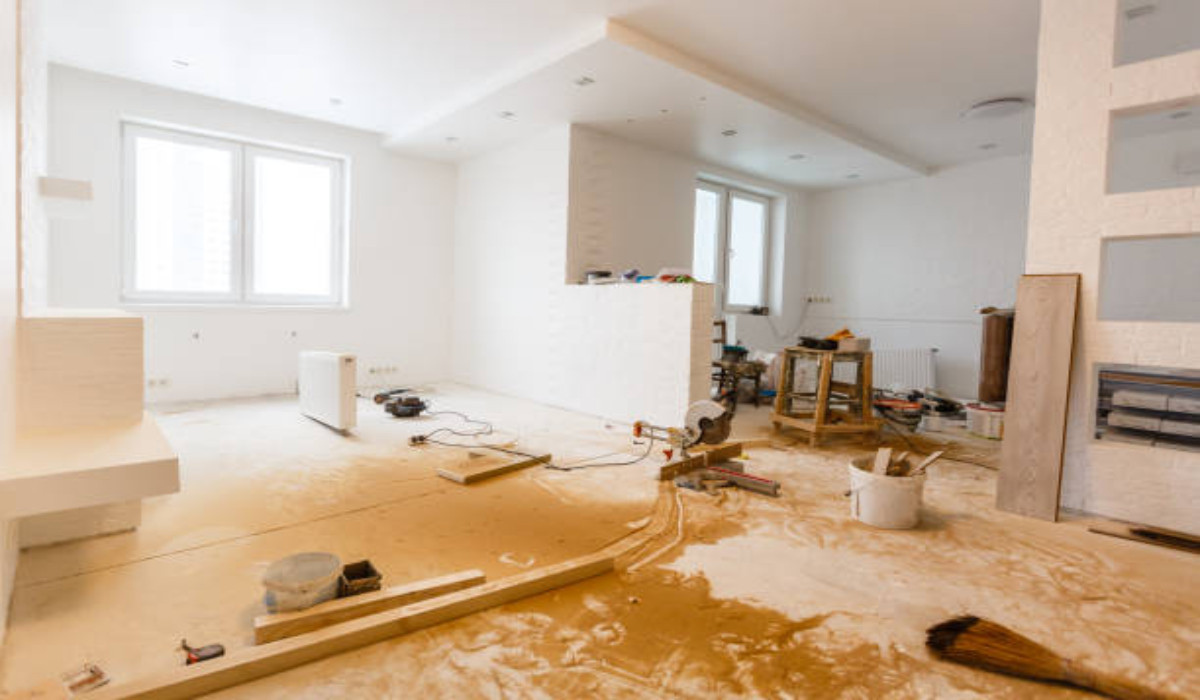
If you want to go all out and give your 1970's bathroom vanity a complete makeover, then revamping it is the way to go. This involves tearing out the existing vanity and starting from scratch. You can choose a new layout, add new features like a double sink or built-in storage, and choose a modern and stylish finish. This option may require a bigger budget and more extensive renovations, but the end result will be well worth it.Revamp


Revamp


A makeover is a combination of all the above options. It involves making cosmetic changes, refinishing, and restyling your 1970's bathroom vanity to give it a fresh and updated look. This is a great option if you want to keep some of the original elements of your vanity but still want to give it a modern and stylish makeover.Makeover


Makeover


How to Update Your 1970's Bathroom Vanity with a Dark Walnut Finish

Why Update Your 1970's Bathroom Vanity?
 If you have a bathroom that was last updated in the 1970s, chances are you have a dated and worn-out vanity. While it may have been trendy at the time, it may not fit in with your current design aesthetic. Additionally, old vanities can become damaged and worn over time, making them an eyesore in an otherwise updated bathroom. But before you go out and splurge on a brand new vanity, consider updating your existing one with a dark walnut finish. Not only will this give your bathroom a modern and stylish look, but it is also a budget-friendly option.
Preparing Your Vanity for the Update
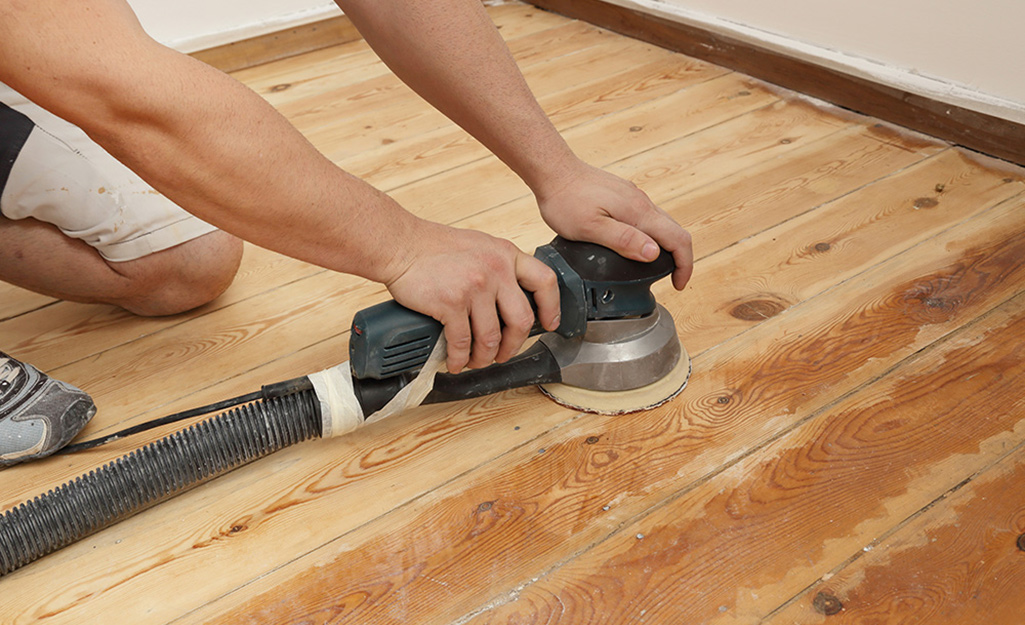
 Before you begin the process of updating your 1970's bathroom vanity, you will need to do some prep work. Start by removing all items from the vanity and giving it a thorough cleaning. This will help to remove any built-up grime and make the surface smoother for painting. Next, remove any hardware such as knobs or handles and set them aside. If your vanity has a laminate or glossy finish, you will need to sand it down to create a rough surface for the paint to adhere to. Use a medium grit sandpaper and be sure to wear a dust mask for protection.
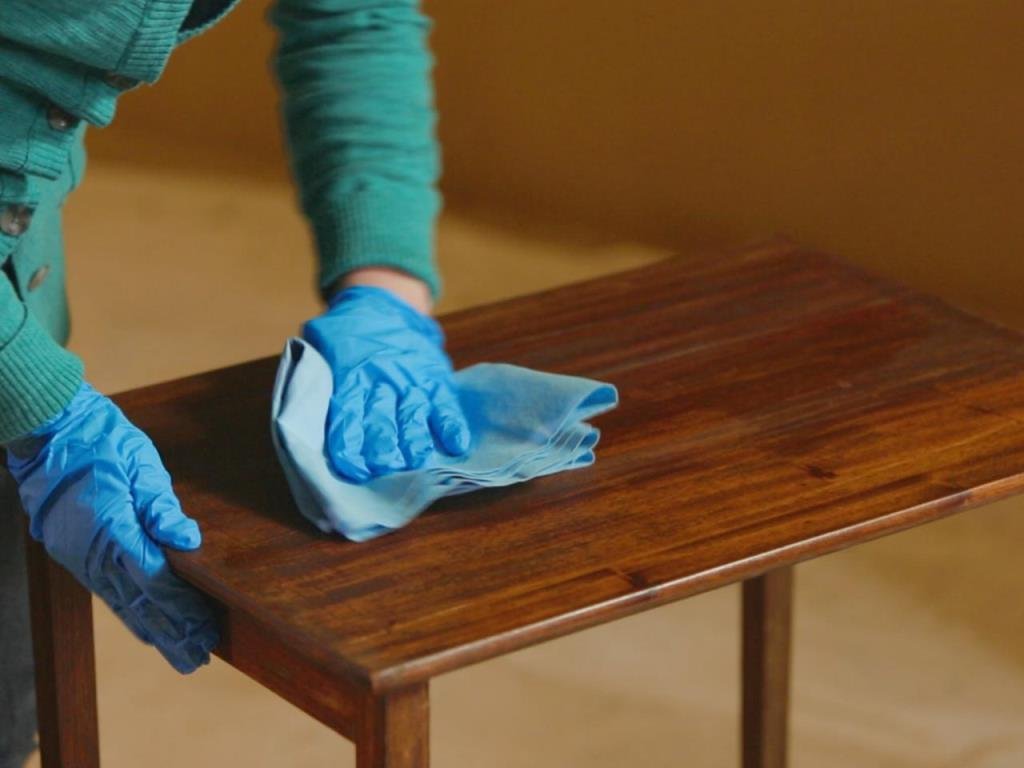
Applying the Dark Walnut Finish
 Now it's time to apply the dark walnut finish to your vanity. Start by applying a coat of primer to the entire surface and allow it to dry completely. This will help the paint adhere better and provide a smoother finish. Next, use a high-quality paintbrush to apply the dark walnut paint to the vanity. Be sure to use long, even strokes and cover the entire surface. You may need to apply multiple coats for full coverage, depending on the original color of your vanity. Allow each coat to dry completely before applying the next one.
Adding the Finishing Touches
 Once your vanity has dried completely, it's time to add the finishing touches. Reattach any hardware that you removed and consider updating them with new, modern pieces for an extra touch of style. You can also add a new countertop, sink, and faucet to complete the look. Or, if you want to keep your existing countertop, consider painting it with a coordinating color to tie the whole look together. Finally, add some decorative accents such as a new mirror or wall art to give your bathroom a cohesive and updated design.
In just a few simple steps, you can transform your outdated 1970's bathroom vanity into a modern and stylish piece. Not only will this save you money, but it will also give your bathroom a fresh new look without having to do a full renovation. So why wait? Grab some paint and get ready to update your bathroom vanity with a beautiful dark walnut finish.
Once your vanity has dried completely, it's time to add the finishing touches. Reattach any hardware that you removed and consider updating them with new, modern pieces for an extra touch of style. You can also add a new countertop, sink, and faucet to complete the look. Or, if you want to keep your existing countertop, consider painting it with a coordinating color to tie the whole look together. Finally, add some decorative accents such as a new mirror or wall art to give your bathroom a cohesive and updated design.
In just a few simple steps, you can transform your outdated 1970's bathroom vanity into a modern and stylish piece. Not only will this save you money, but it will also give your bathroom a fresh new look without having to do a full renovation. So why wait? Grab some paint and get ready to update your bathroom vanity with a beautiful dark walnut finish.