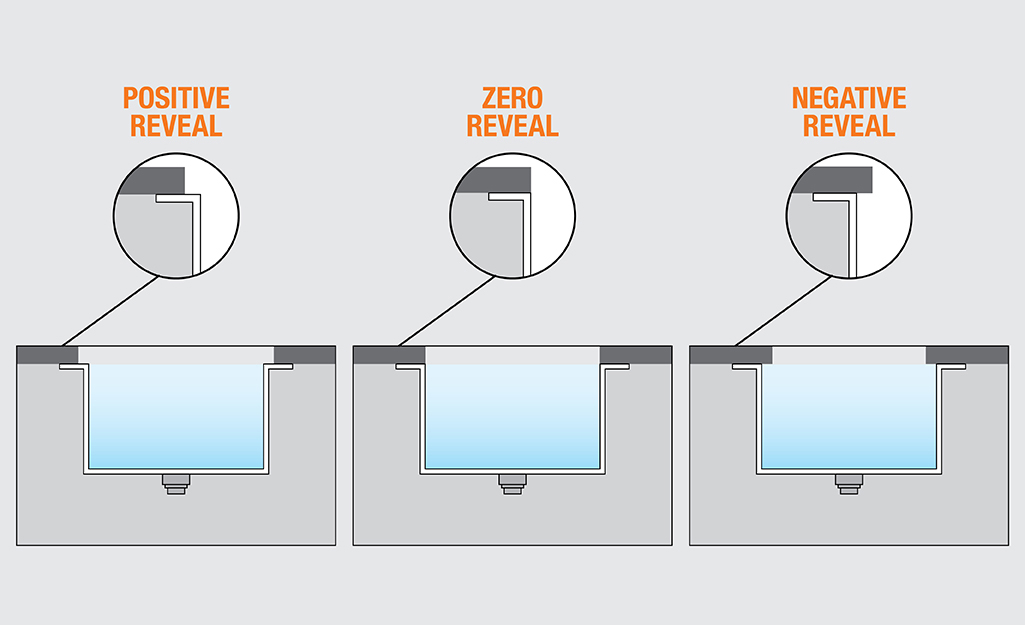
Installing an undermount kitchen sink can be a daunting task, but with the right tools and knowledge, it can be a DIY project that will save you money and add value to your kitchen. In this guide, we will walk you through the steps of installing an undermount kitchen sink, from measuring to the final installation. Before we get started, it’s important to note that undermount kitchen sinks are installed underneath the countertop, as opposed to top-mounted sinks which are placed on top of the countertop. This not only gives a sleek and seamless look to your kitchen, but it also makes cleaning the countertop easier.1. Undermount Kitchen Sink Installation Guide


1. Undermount Kitchen Sink Installation Guide


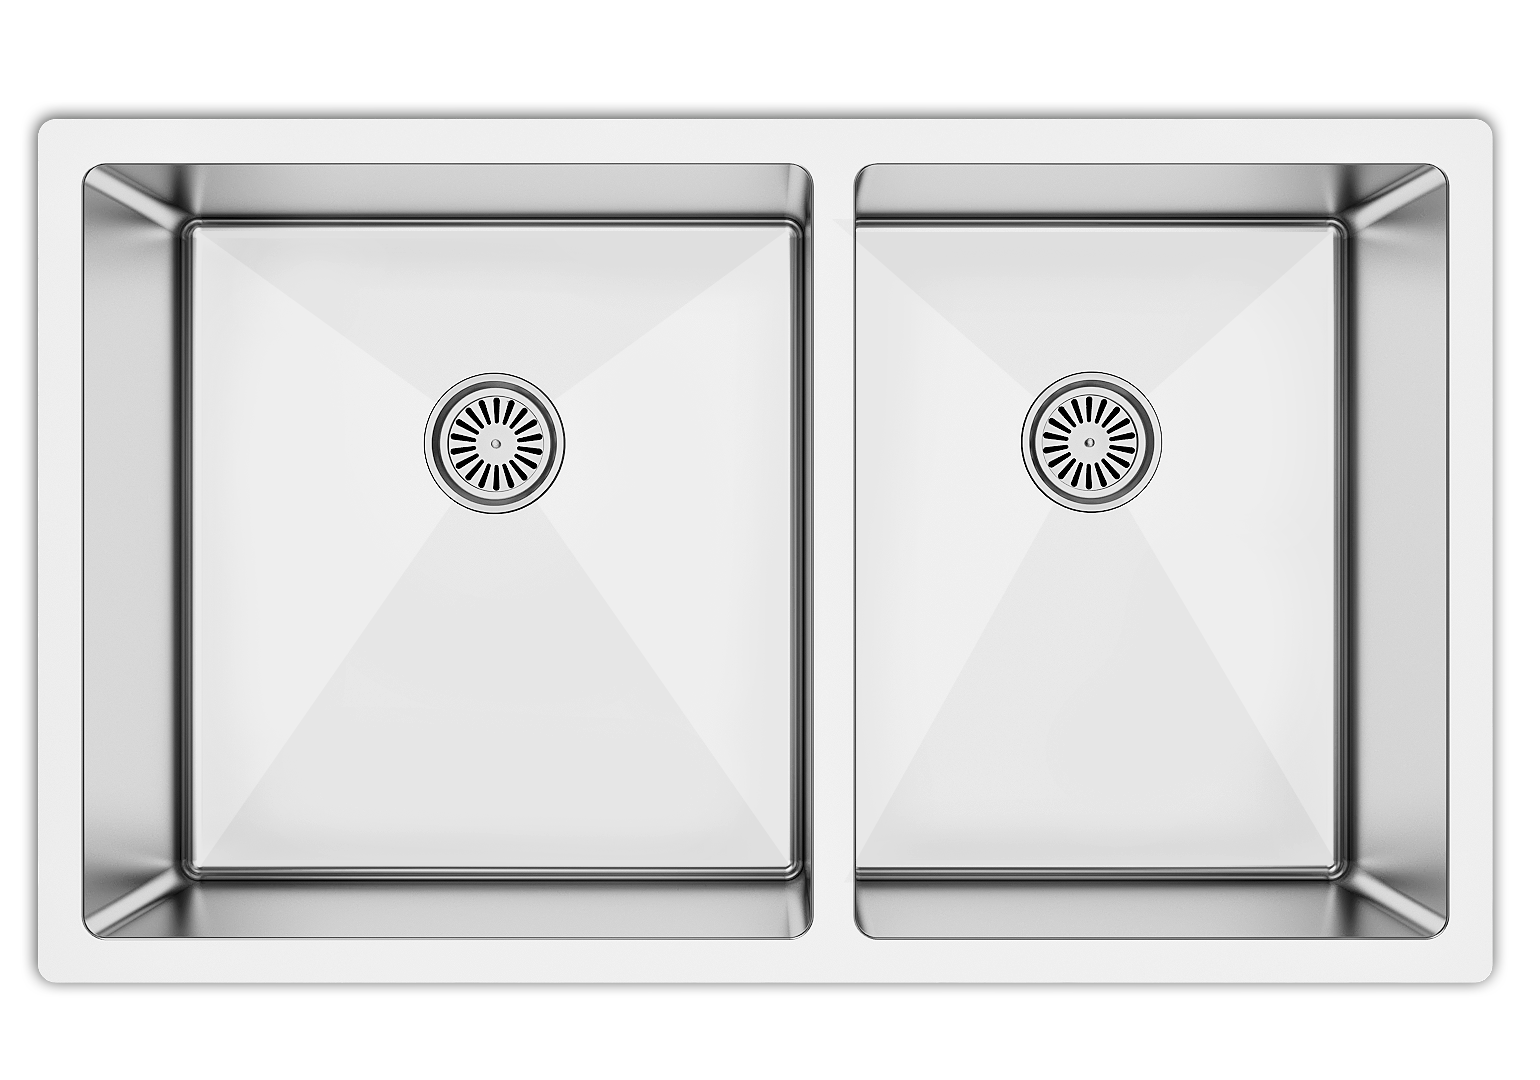
To begin the installation process, you will need to choose the right undermount kitchen sink for your space. Make sure to measure the width and depth of your cabinet to ensure the sink will fit properly. You also want to consider the material of the sink, as well as the style and design that will complement your kitchen. Once you have your sink, it’s time to prepare your countertop for installation. Start by turning off the water supply and disconnecting the plumbing. Next, remove the old sink and clean the area thoroughly. You may also need to cut a hole in the countertop for the sink’s drain and faucet.2. How to Install an Undermount Kitchen Sink


2. How to Install an Undermount Kitchen Sink


Step 1: Place the sink upside down on the countertop and trace the outline of the sink with a pencil. Step 2: Using a jigsaw, cut along the traced line to create a hole for the sink. Step 3: Apply a bead of silicone caulk around the edge of the sink cutout. Step 4: Carefully lower the sink into the opening, making sure it is centered and level. Step 5: Secure the sink in place by using clips or brackets provided by the manufacturer. Step 6: Reconnect the plumbing and turn the water supply back on. Step 7: Clean up any excess silicone caulk and let it dry for 24 hours before using the sink.3. Step-by-Step Guide for Installing an Undermount Kitchen Sink


3. Step-by-Step Guide for Installing an Undermount Kitchen Sink


If you’re feeling confident in your DIY skills, installing an undermount kitchen sink can be a great project to take on. However, it’s important to note that this is not a one-person job and you may need assistance lifting and securing the sink in place. It’s also crucial to follow the manufacturer’s instructions and take your time to ensure a proper installation.4. DIY Undermount Kitchen Sink Installation


4. DIY Undermount Kitchen Sink Installation


- Use a quality silicone caulk to seal the sink to the countertop. - Make sure the sink is level and centered before securing it in place. - Follow the manufacturer’s instructions for securing the sink with clips or brackets. - Let the silicone caulk dry for at least 24 hours before using the sink. - Use a template provided by the manufacturer to cut the hole for the drain and faucet.5. Tips for Installing an Undermount Kitchen Sink


5. Tips for Installing an Undermount Kitchen Sink


- Not measuring the space properly before purchasing the sink. - Not using a high-quality silicone caulk, which can lead to leaks. - Rushing the installation process and not taking the time to properly secure the sink. - Forgetting to turn off the water supply before disconnecting the plumbing. - Cutting the hole for the sink too large or too small.6. Common Mistakes to Avoid When Installing an Undermount Kitchen Sink


6. Common Mistakes to Avoid When Installing an Undermount Kitchen Sink


- Undermount kitchen sink - Silicone caulk - Jigsaw - Drill - Screwdriver - Measuring tape - Level - Putty knife - Plumber’s putty7. Tools and Materials Needed for Undermount Kitchen Sink Installation


7. Tools and Materials Needed for Undermount Kitchen Sink Installation


Pros: - Sleek and seamless look - Easier to clean countertops - Adds value to your kitchen - Can accommodate larger dishes and pans Cons: - Can be more expensive than top-mounted sinks - More difficult to install than top-mounted sinks - May require professional installation if not confident in DIY skills8. Pros and Cons of Undermount Kitchen Sink Installation


8. Pros and Cons of Undermount Kitchen Sink Installation


:no_upscale()/cdn.vox-cdn.com/uploads/chorus_asset/file/19495086/drain_0.jpg)
- Measure the width and depth of your cabinet to ensure the sink will fit. - Measure the width and depth of the sink to ensure it will fit in the cabinet. - Consider the height of the sink to make sure it will not interfere with any drawers or cabinets.9. How to Measure for an Undermount Kitchen Sink Installation


9. How to Measure for an Undermount Kitchen Sink Installation
:no_upscale()/cdn.vox-cdn.com/uploads/chorus_asset/file/19495086/drain_0.jpg)


If DIY is not your thing or you don’t have the time to install an undermount kitchen sink yourself, consider hiring a professional. They have the skills and experience to ensure a proper and efficient installation, giving you peace of mind and a beautiful new sink in your kitchen. Now that you have a better understanding of the process and tips for installing an undermount kitchen sink, you can confidently tackle this project and enjoy the benefits of a sleek and functional kitchen sink. Just remember to take your time and follow the steps carefully for a successful installation. Happy remodeling!10. Professional Undermount Kitchen Sink Installation Services

10. Professional Undermount Kitchen Sink Installation Services

The Benefits of Installing an Undermount Kitchen Sink in Your Home

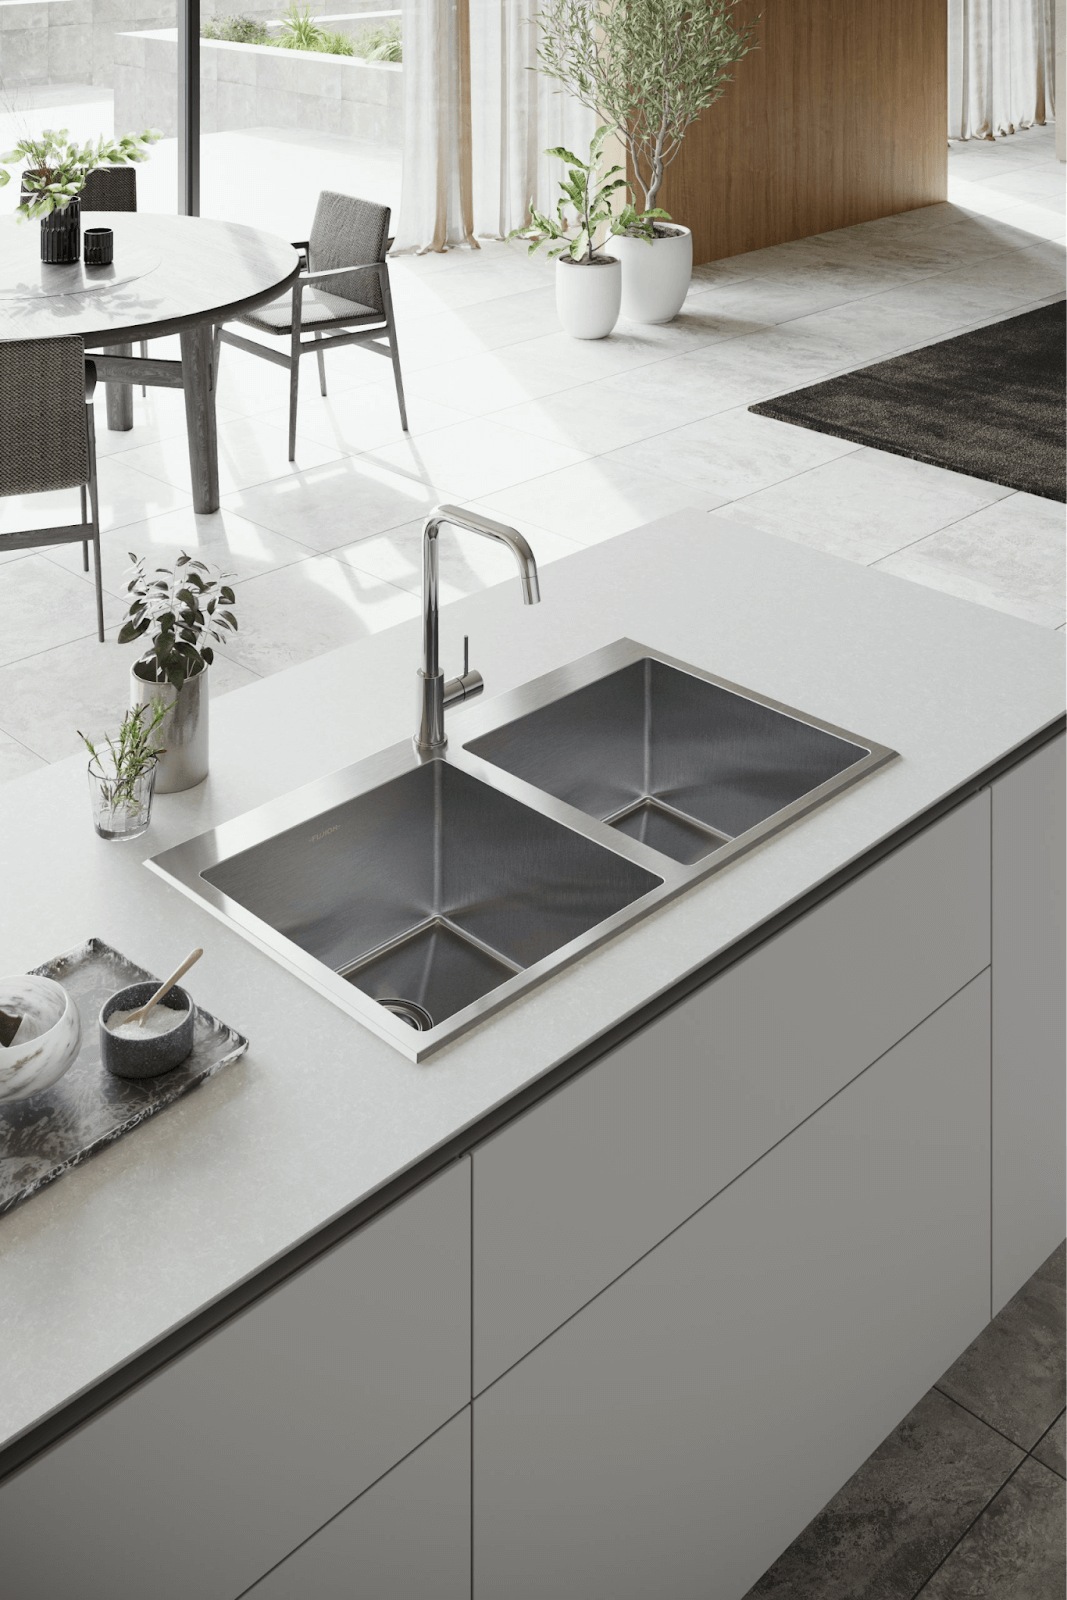
Enhanced Aesthetics
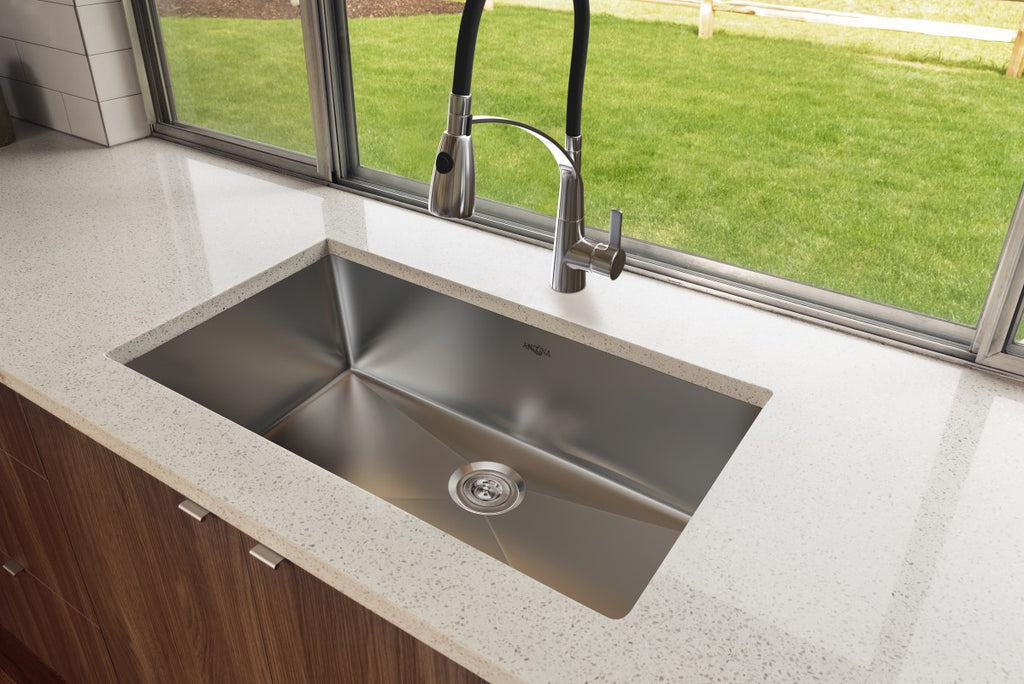
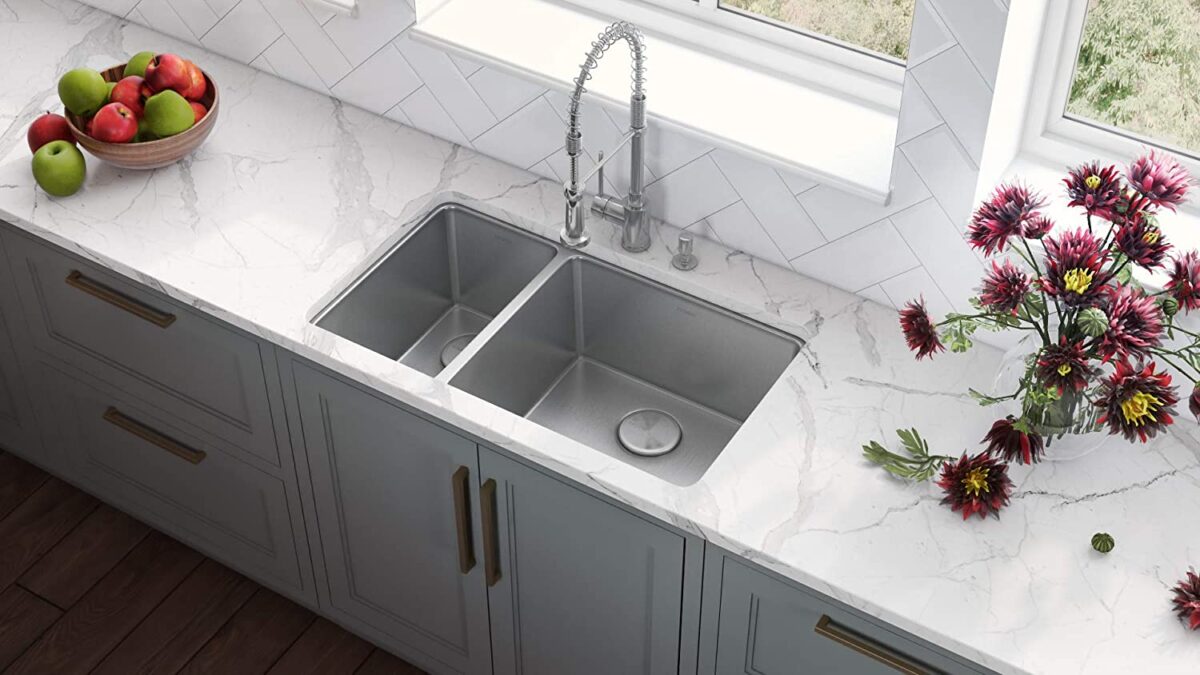
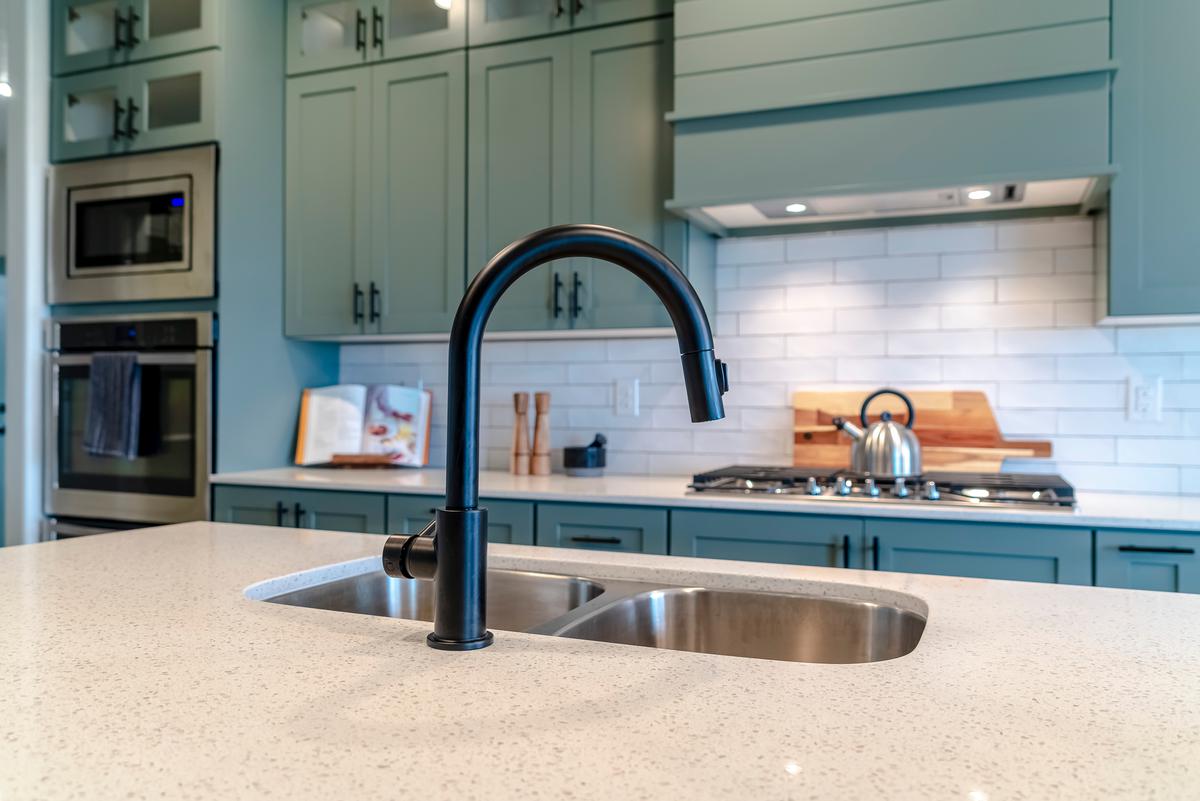
 When it comes to designing your dream kitchen, every detail matters. The type of sink you choose can make a huge impact on the overall look and feel of your space. This is where an undermount kitchen sink comes in. Unlike traditional top-mounted sinks, undermount sinks are installed underneath the countertop, giving your kitchen a sleek and modern appearance. The
clean lines and seamless integration
of this type of sink can elevate the style of any kitchen, making it a popular choice among homeowners and interior designers alike.
When it comes to designing your dream kitchen, every detail matters. The type of sink you choose can make a huge impact on the overall look and feel of your space. This is where an undermount kitchen sink comes in. Unlike traditional top-mounted sinks, undermount sinks are installed underneath the countertop, giving your kitchen a sleek and modern appearance. The
clean lines and seamless integration
of this type of sink can elevate the style of any kitchen, making it a popular choice among homeowners and interior designers alike.
Maximized Counter Space
 One of the biggest advantages of an undermount kitchen sink is the way it maximizes counter space. Since the sink is mounted underneath the countertop, there is no rim or lip that takes up valuable space. This not only creates a more
spacious and open
feel in the kitchen, but it also allows for more room to work and prepare meals. Whether you have a small or large kitchen, an undermount sink can help you make the most out of your counter space.
One of the biggest advantages of an undermount kitchen sink is the way it maximizes counter space. Since the sink is mounted underneath the countertop, there is no rim or lip that takes up valuable space. This not only creates a more
spacious and open
feel in the kitchen, but it also allows for more room to work and prepare meals. Whether you have a small or large kitchen, an undermount sink can help you make the most out of your counter space.
Easier Clean-Up
 With a top-mounted sink, crumbs and debris can easily get caught in the rim and become difficult to clean. However, with an undermount sink, there is no rim to trap particles, making clean-up a breeze. The smooth edges of an undermount sink also make it easier to wipe down and keep clean, making it a
more hygienic
option for your kitchen.
With a top-mounted sink, crumbs and debris can easily get caught in the rim and become difficult to clean. However, with an undermount sink, there is no rim to trap particles, making clean-up a breeze. The smooth edges of an undermount sink also make it easier to wipe down and keep clean, making it a
more hygienic
option for your kitchen.
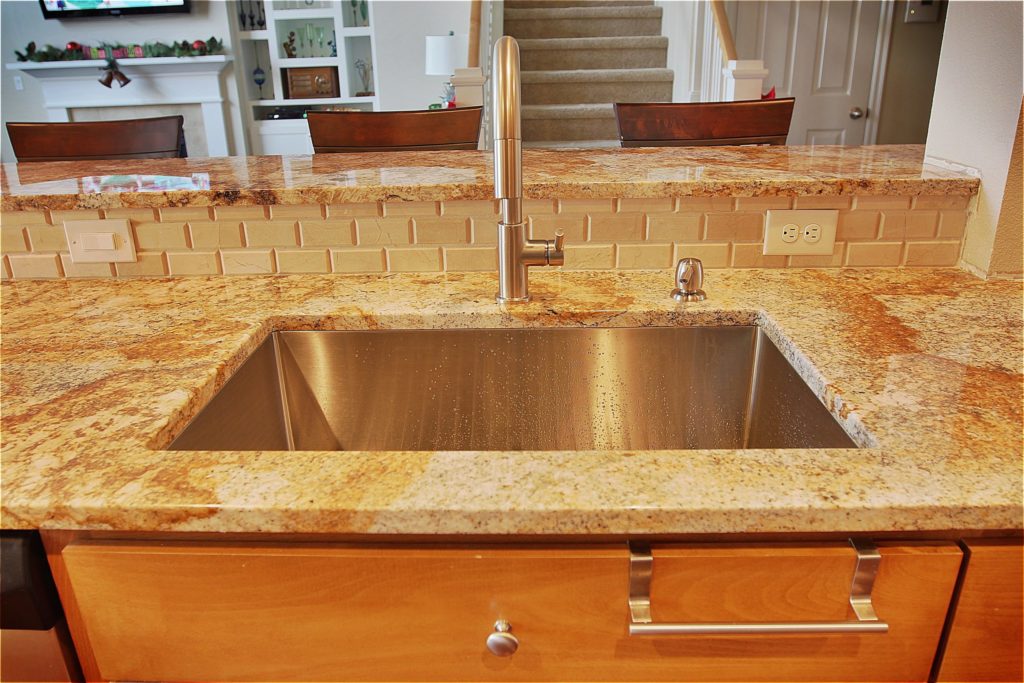
Durable and Long-Lasting
 Undermount kitchen sinks are typically made of high-quality materials such as stainless steel or granite, making them
extremely durable and long-lasting
. They are resistant to scratches, stains, and heat, making them a practical choice for a busy kitchen. With proper care and maintenance, an undermount sink can last for many years, making it a worthwhile investment for your home.
Undermount kitchen sinks are typically made of high-quality materials such as stainless steel or granite, making them
extremely durable and long-lasting
. They are resistant to scratches, stains, and heat, making them a practical choice for a busy kitchen. With proper care and maintenance, an undermount sink can last for many years, making it a worthwhile investment for your home.
Increased Property Value
 Lastly, installing an undermount kitchen sink can increase the value of your home. With its sleek and modern appearance, this type of sink is a desirable feature for potential buyers. It is also a sign of a well-designed and well-maintained kitchen, which can add to the overall value of your property. So not only will you enjoy the benefits of an undermount sink, but it can also be a selling point when it comes time to put your home on the market.
In conclusion, an undermount kitchen sink is a
stylish, practical, and valuable
addition to any home. Its enhanced aesthetics, maximized counter space, easy clean-up, durability, and increased property value make it a top choice for kitchen design. If you're looking to upgrade your kitchen, consider installing an undermount sink for a sleek and functional upgrade that will stand the test of time.
Lastly, installing an undermount kitchen sink can increase the value of your home. With its sleek and modern appearance, this type of sink is a desirable feature for potential buyers. It is also a sign of a well-designed and well-maintained kitchen, which can add to the overall value of your property. So not only will you enjoy the benefits of an undermount sink, but it can also be a selling point when it comes time to put your home on the market.
In conclusion, an undermount kitchen sink is a
stylish, practical, and valuable
addition to any home. Its enhanced aesthetics, maximized counter space, easy clean-up, durability, and increased property value make it a top choice for kitchen design. If you're looking to upgrade your kitchen, consider installing an undermount sink for a sleek and functional upgrade that will stand the test of time.