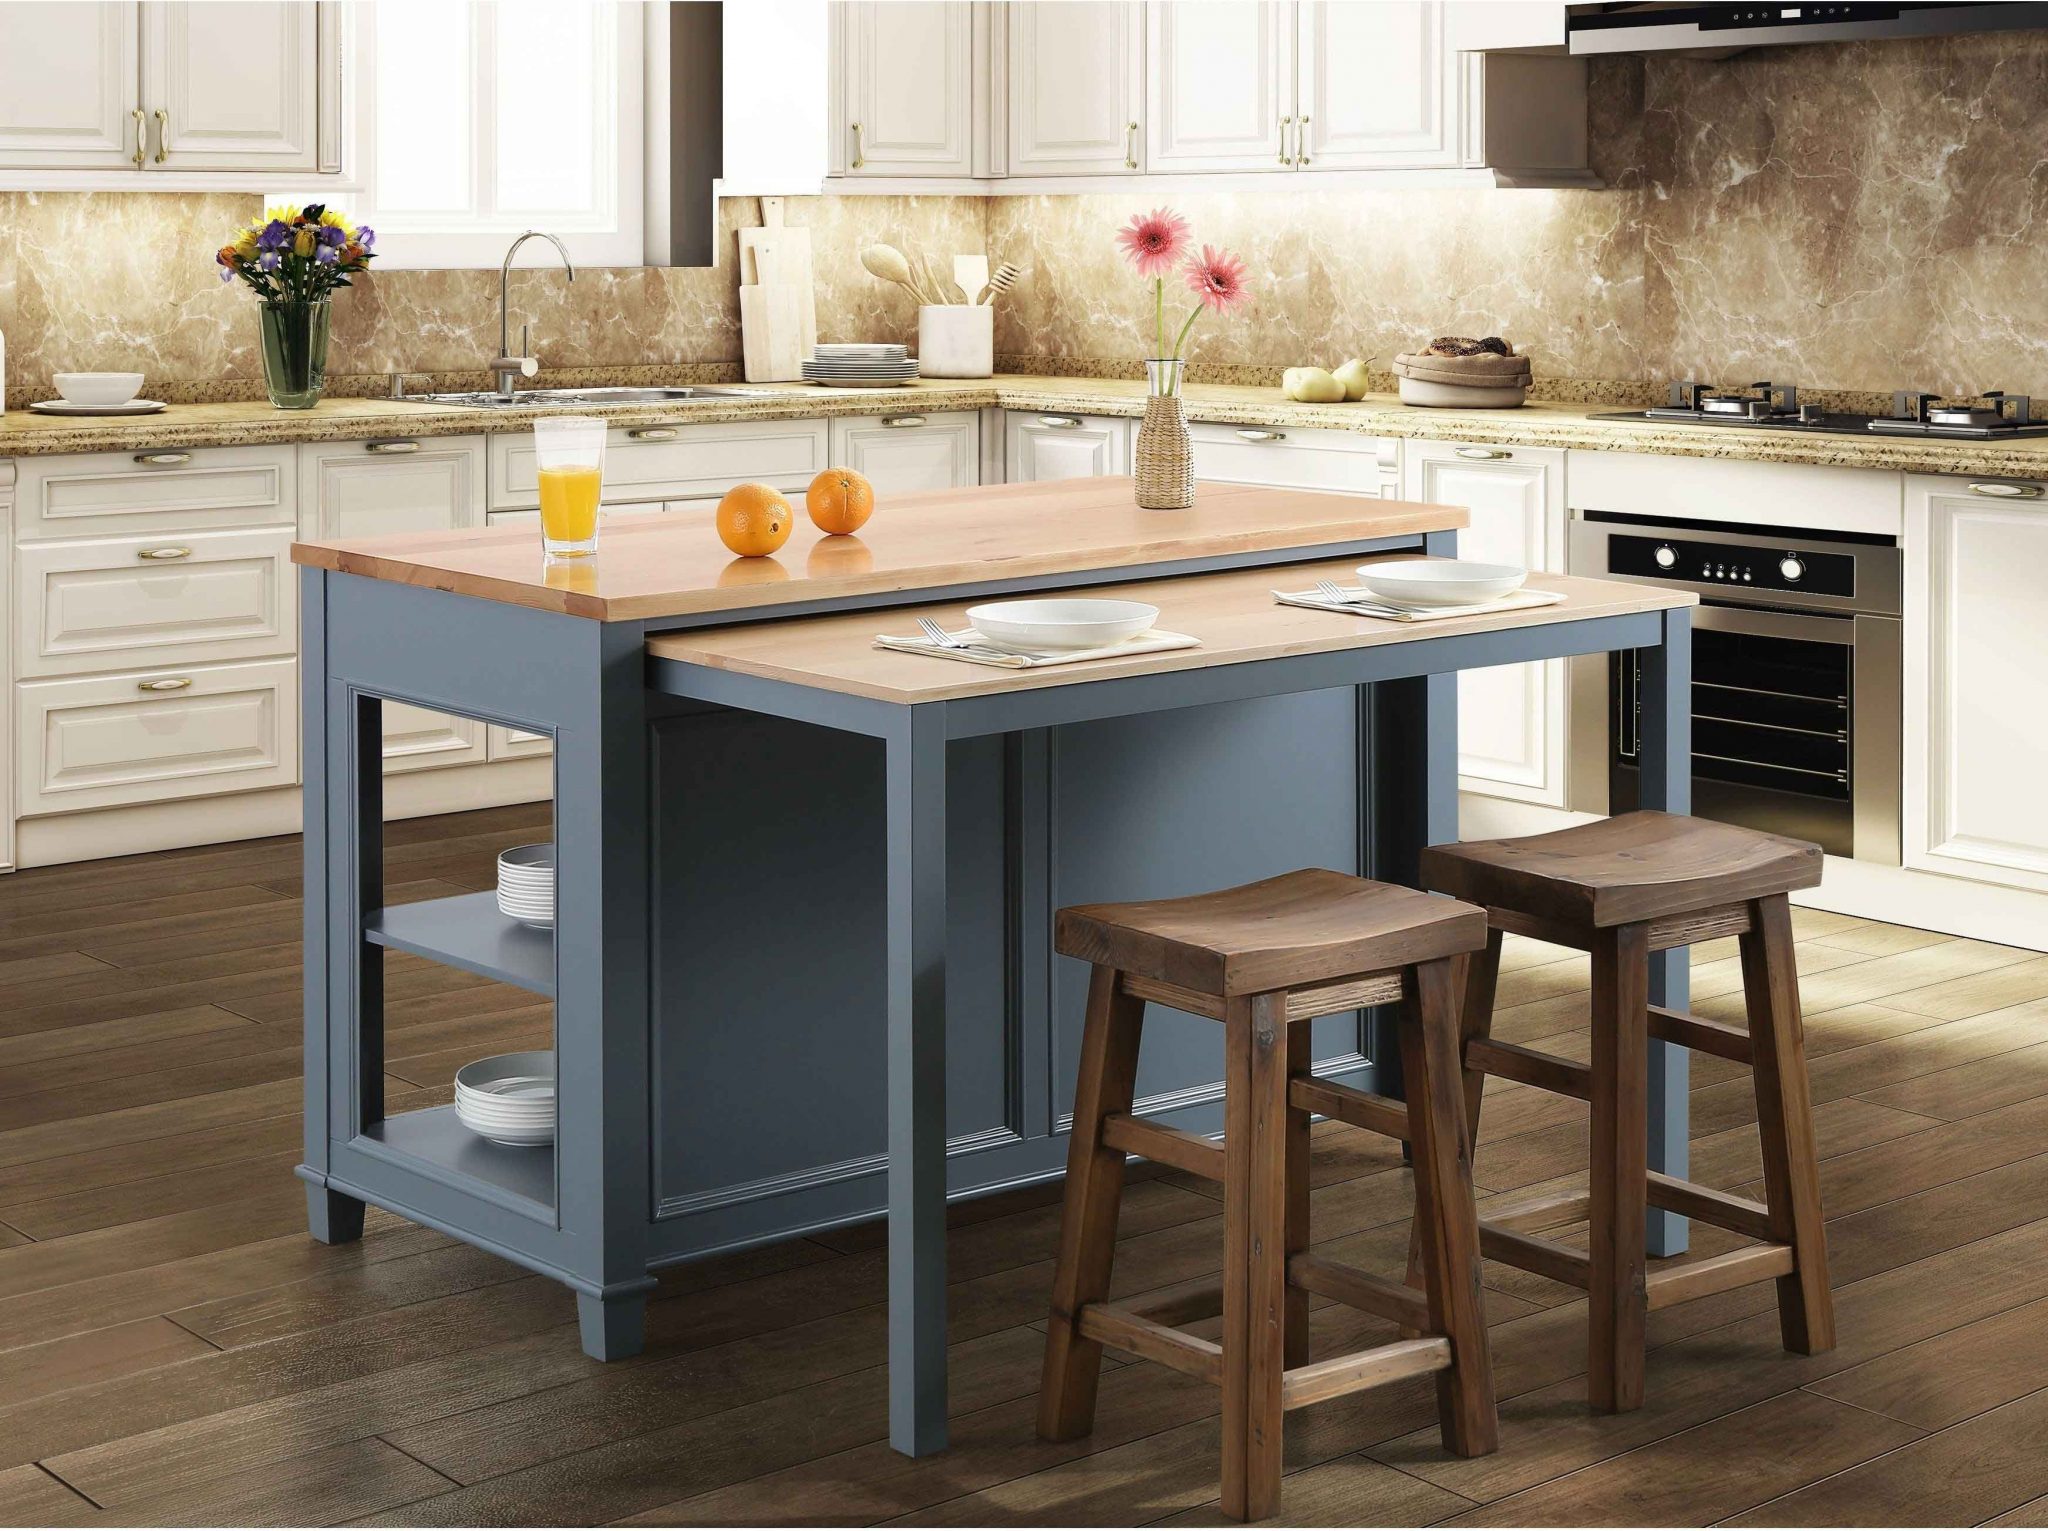
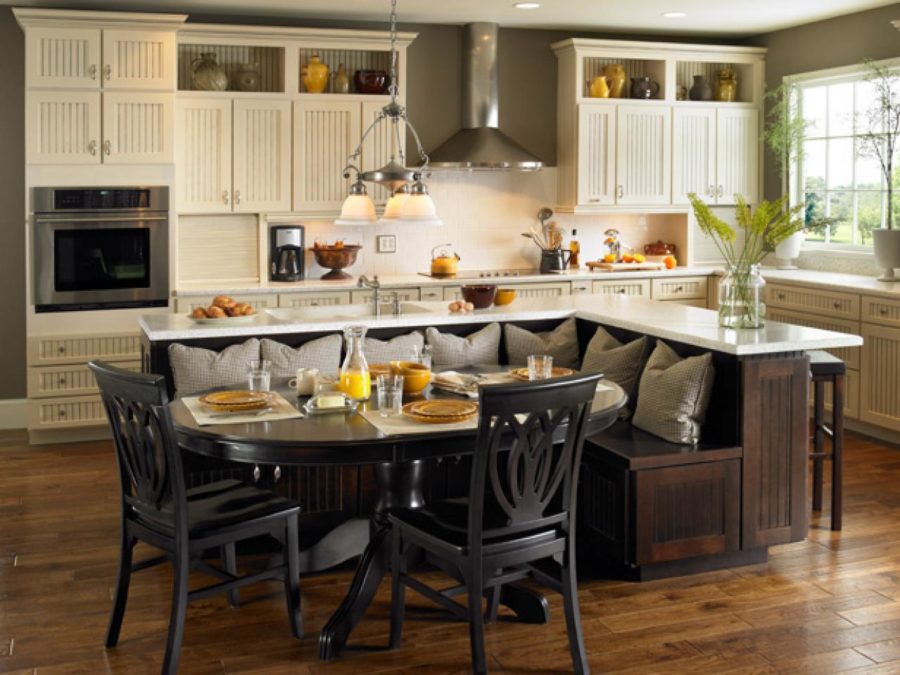
Are you looking to add more counter space and storage to your kitchen without breaking the bank? Look no further than your own dining room table! With a little creativity and some basic tools, you can easily transform a table into a functional kitchen island. Not only will this DIY project save you money, but it will also add a unique and personalized touch to your kitchen. Start by selecting a sturdy and visually appealing table that fits the size and style of your kitchen. It can be an old table you no longer use or a budget-friendly find from a thrift store. The possibilities are endless, and you can customize the finished product to fit your specific needs and design preferences. Once you have your table, it's time to get to work. The first step is to empty out the drawers and remove any hardware. Then, flip the table over and use a saw to remove the legs. If your table has a leaf, you can also remove it at this time. Next, decide how you want to use the table's existing drawers. You can either leave them in place for added storage or remove them to create open shelves. If you choose to keep the drawers, simply remove the front panel and attach it to the back of the drawer to create a new front. This will give the illusion of a solid front while still allowing you to access the contents of the drawer from the kitchen side. Now it's time to add some extra storage and functionality to your kitchen island. Measure and cut pieces of wood to create shelves or cabinets on the sides of the table. These can be used to store pots, pans, and other kitchen essentials. You can also add hooks or racks on the sides of the island for hanging utensils or towels. Lastly, sand down any rough edges and paint or stain the table to your desired color. You can also add a butcher block or tile top for a more durable and easy-to-clean surface. Once everything is dry and assembled, you can flip the table over and add any finishing touches, such as decorative hardware or a towel bar. And just like that, you have a beautiful and functional kitchen island made from a simple table. Not only did you save money, but you also created a one-of-a-kind piece that adds character and charm to your kitchen. This DIY project is perfect for anyone looking to spruce up their kitchen on a budget.1. DIY Kitchen Island from a Table


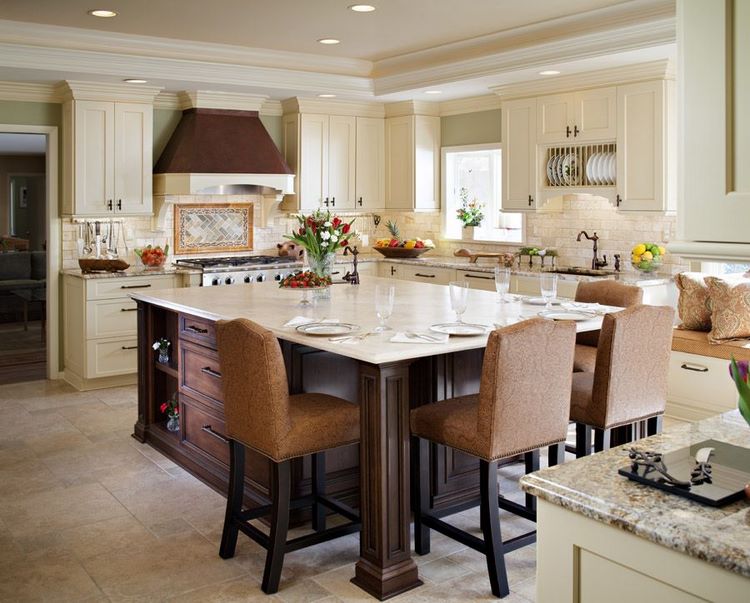
1. DIY Kitchen Island from a Table


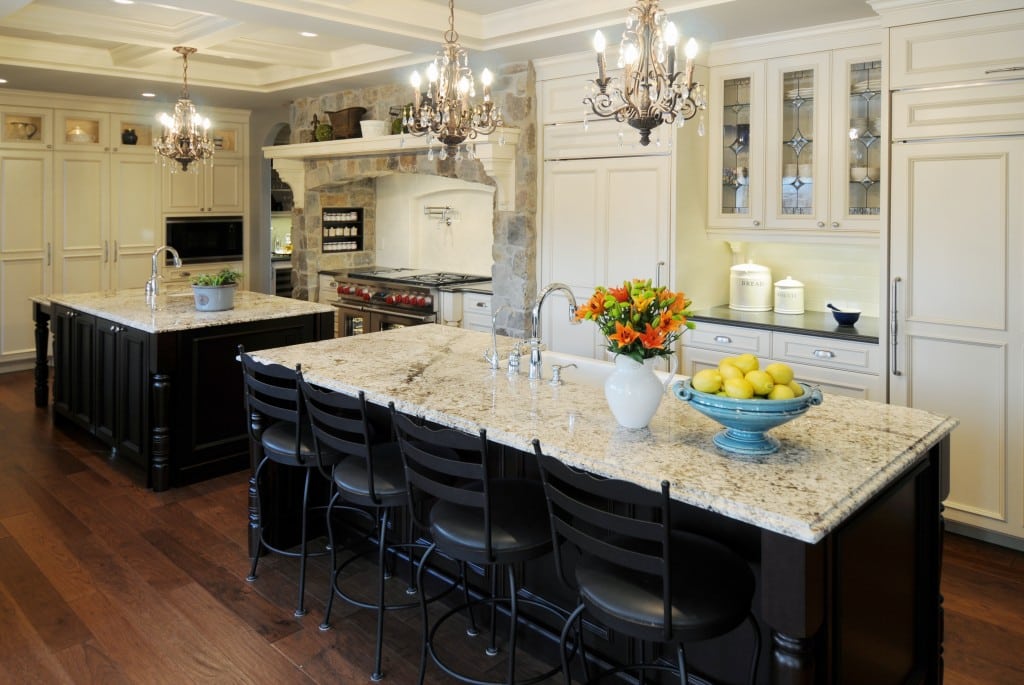
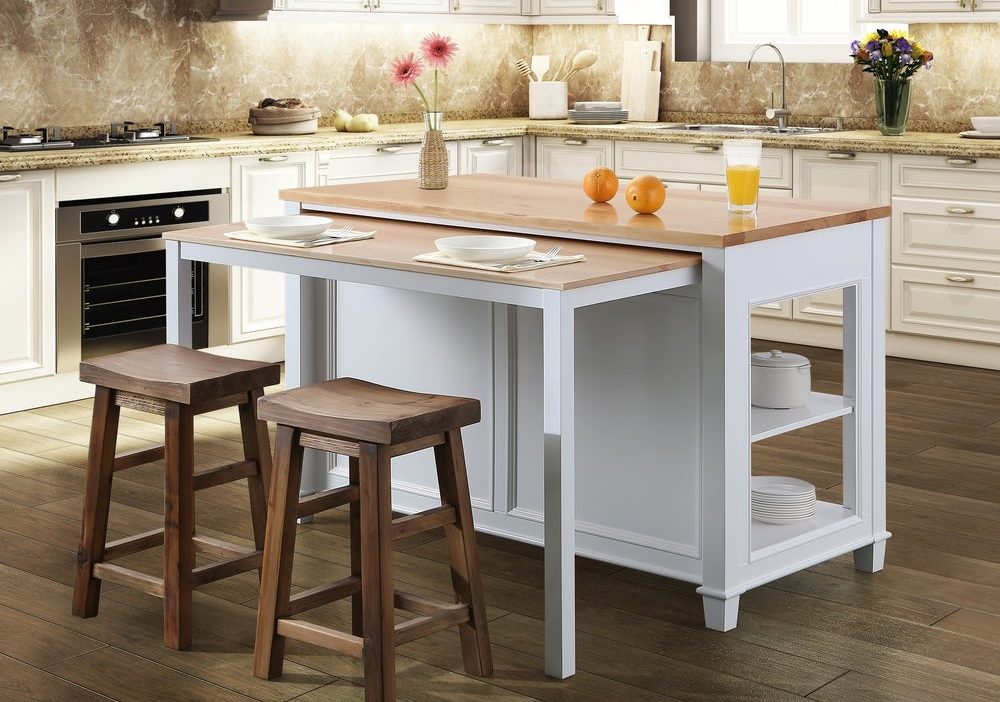
Do you dream of having a spacious and organized kitchen? Turning a table into a kitchen island is a great way to achieve that without spending a fortune. This simple and budget-friendly project will not only add counter space and storage to your kitchen but also give it a unique and personalized touch. The first step is to find a suitable table. It can be an old one you no longer use or a budget-friendly find from a thrift store. Look for a sturdy and visually appealing table that fits the size and style of your kitchen. Keep in mind that you can always customize the finished product to fit your specific needs and design preferences. Once you have your table, it's time to start transforming it into a kitchen island. Begin by clearing out the drawers and removing any hardware. Then, using a saw, remove the legs of the table. If your table has a leaf, you can also remove it to create a more open and spacious island. Next, decide how you want to use the table's drawers. You can either leave them in place for added storage or remove them to create open shelves. If you choose to keep the drawers, simply remove the front panel and attach it to the back of the drawer to create a new front. This will give the illusion of a solid front while still allowing you to access the contents of the drawer from the kitchen side. To add more storage and functionality to your kitchen island, you can attach pieces of wood to the sides of the table to create shelves or cabinets. These can be used to store pots, pans, and other kitchen essentials. You can also add hooks or racks on the sides of the island for hanging utensils or towels. After all the additional storage is in place, sand down any rough edges and paint or stain the table to your desired color. You can also add a butcher block or tile top for a more durable and easy-to-clean surface. Once everything is dry and assembled, you can flip the table over and add any finishing touches, such as decorative hardware or a towel bar. And there you have it – a beautiful and functional kitchen island made from a simple table. This DIY project is perfect for those on a budget or anyone looking to add a personal touch to their kitchen. With a little creativity and some basic tools, you can transform a table into a unique and practical kitchen island.2. How to Turn a Table into a Kitchen Island


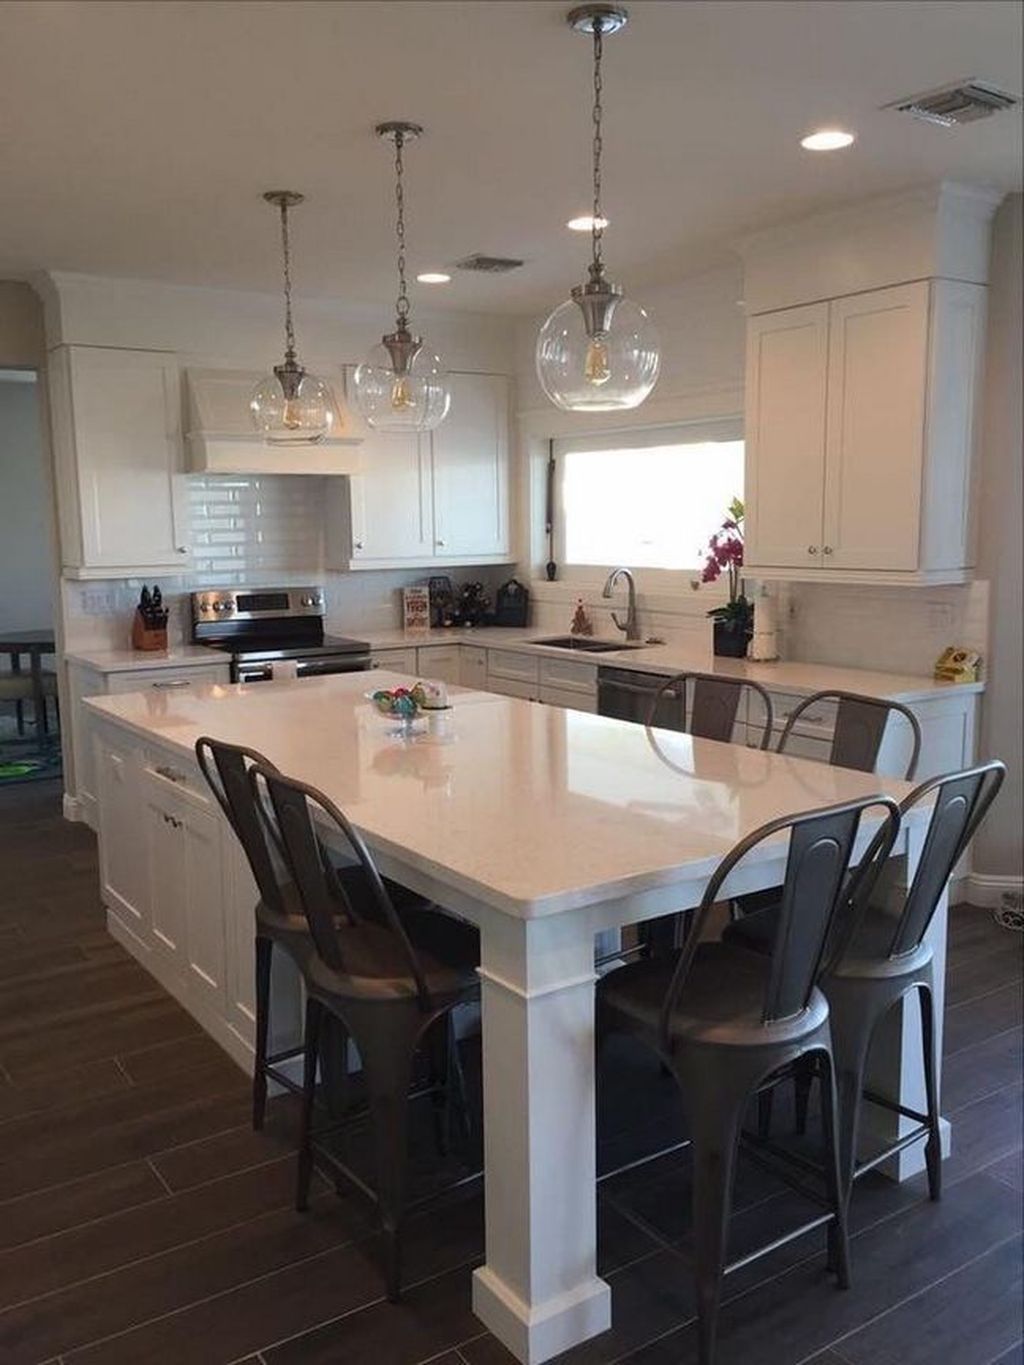
2. How to Turn a Table into a Kitchen Island


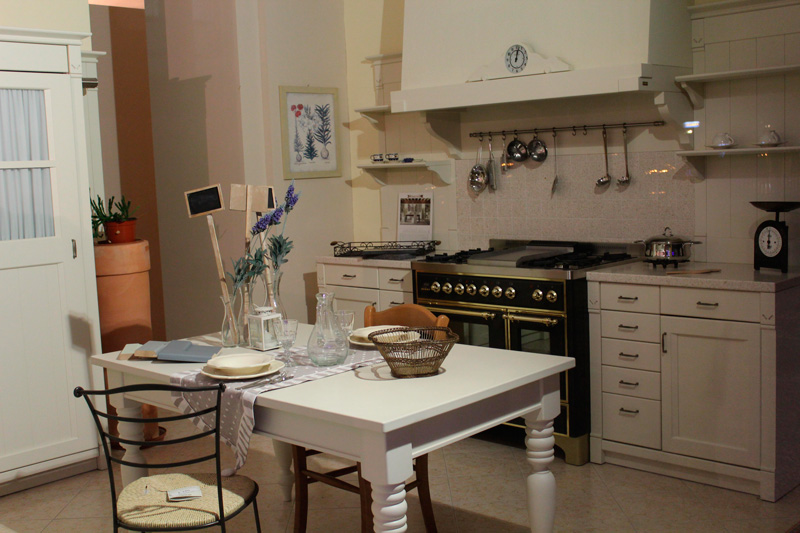
Looking for a way to upgrade your kitchen without breaking the bank? Why not repurpose an old table into a stunning and functional kitchen island? This simple and budget-friendly DIY project will not only add counter space and storage to your kitchen but also give it a unique and personalized touch. The first step is to find a suitable table. It can be an old one you no longer use or a budget-friendly find from a thrift store. Choose a sturdy and visually appealing table that fits the size and style of your kitchen. Keep in mind that you can always customize the finished product to fit your specific needs and design preferences. Once you have your table, the transformation process can begin. Start by clearing out the drawers and removing any hardware. Then, using a saw, remove the legs of the table. If your table has a leaf, you can also remove it to create a more open and spacious island. Next, decide how you want to use the table's drawers. You can either leave them in place for added storage or remove them to create open shelves. If you choose to keep the drawers, simply remove the front panel and attach it to the back of the drawer to create a new front. This will give the illusion of a solid front while still allowing you to access the contents of the drawer from the kitchen side. To add more storage and functionality to your kitchen island, you can attach pieces of wood to the sides of the table to create shelves or cabinets. These can be used to store pots, pans, and other kitchen essentials. You can also add hooks or racks on the sides of the island for hanging utensils or towels. Once all the additional storage is in place, sand down any rough edges and paint or stain the table to your desired color. You can also add a butcher block or tile top for a more durable and easy-to-clean surface. Once everything is dry and assembled, you can flip the table over and add any finishing touches, such as decorative hardware or a towel bar. And there you have it – a beautiful and functional kitchen island made from a simple table. This DIY project is perfect for those on a budget or anyone looking to add a personal touch to their kitchen. With a little creativity and some basic tools, you can transform a table into a unique and practical kitchen island.3. Transforming a Table into a Kitchen Island

3. Transforming a Table into a Kitchen Island
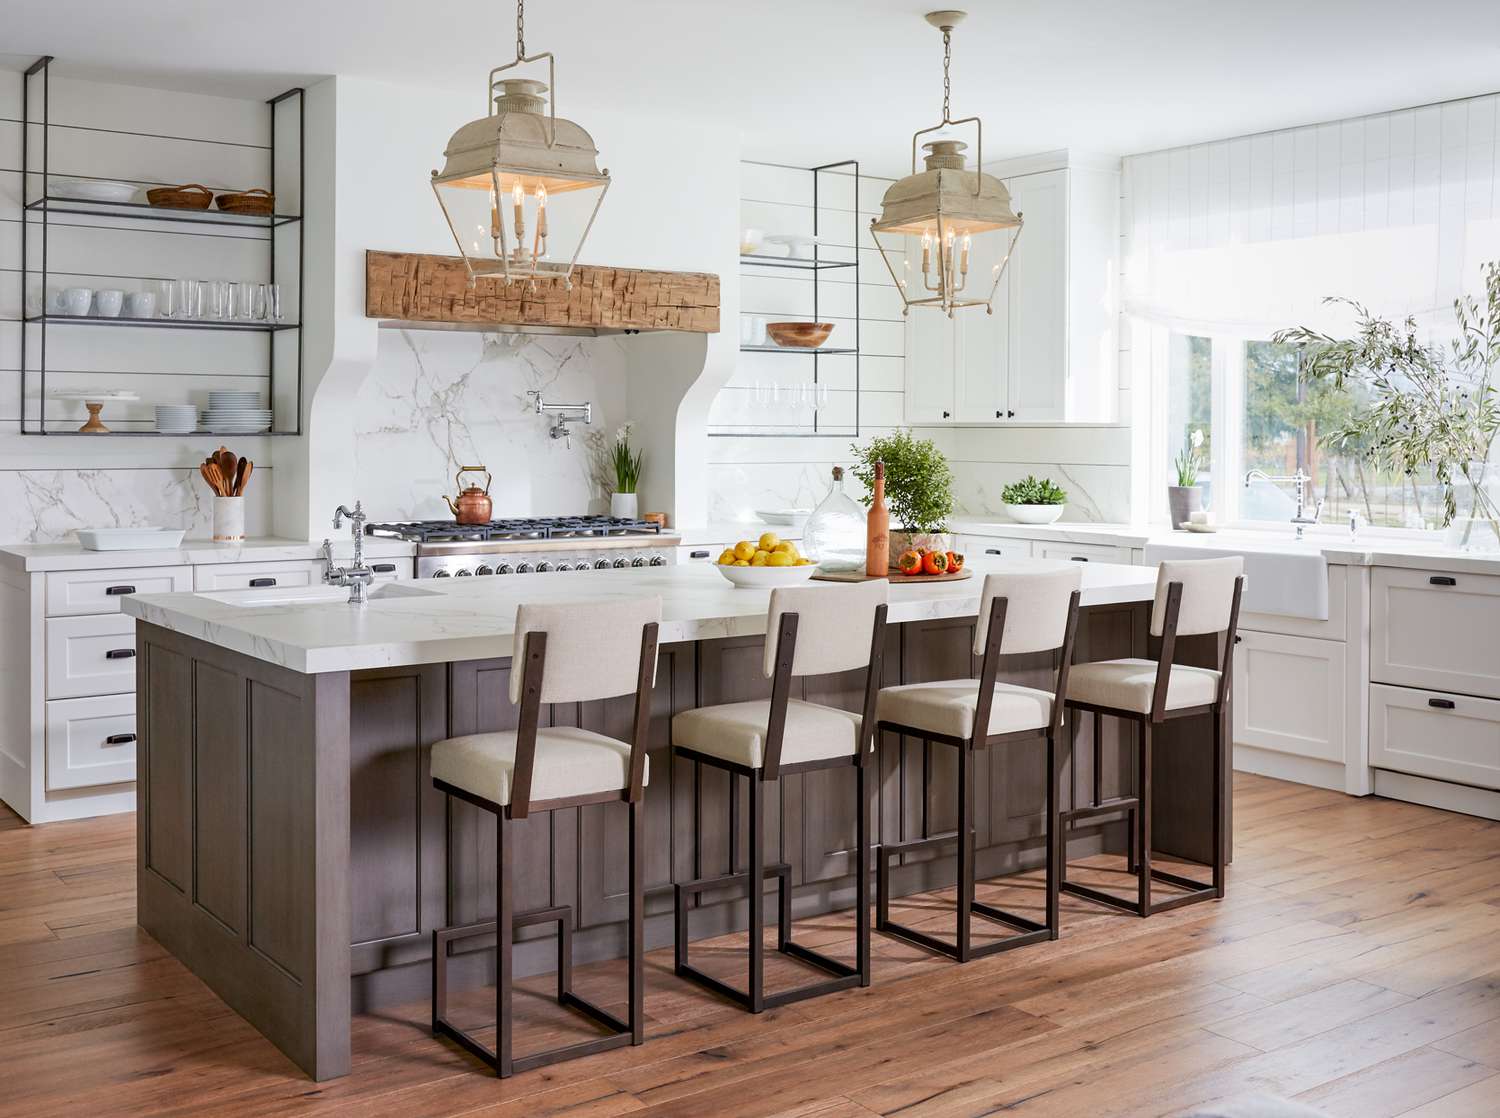
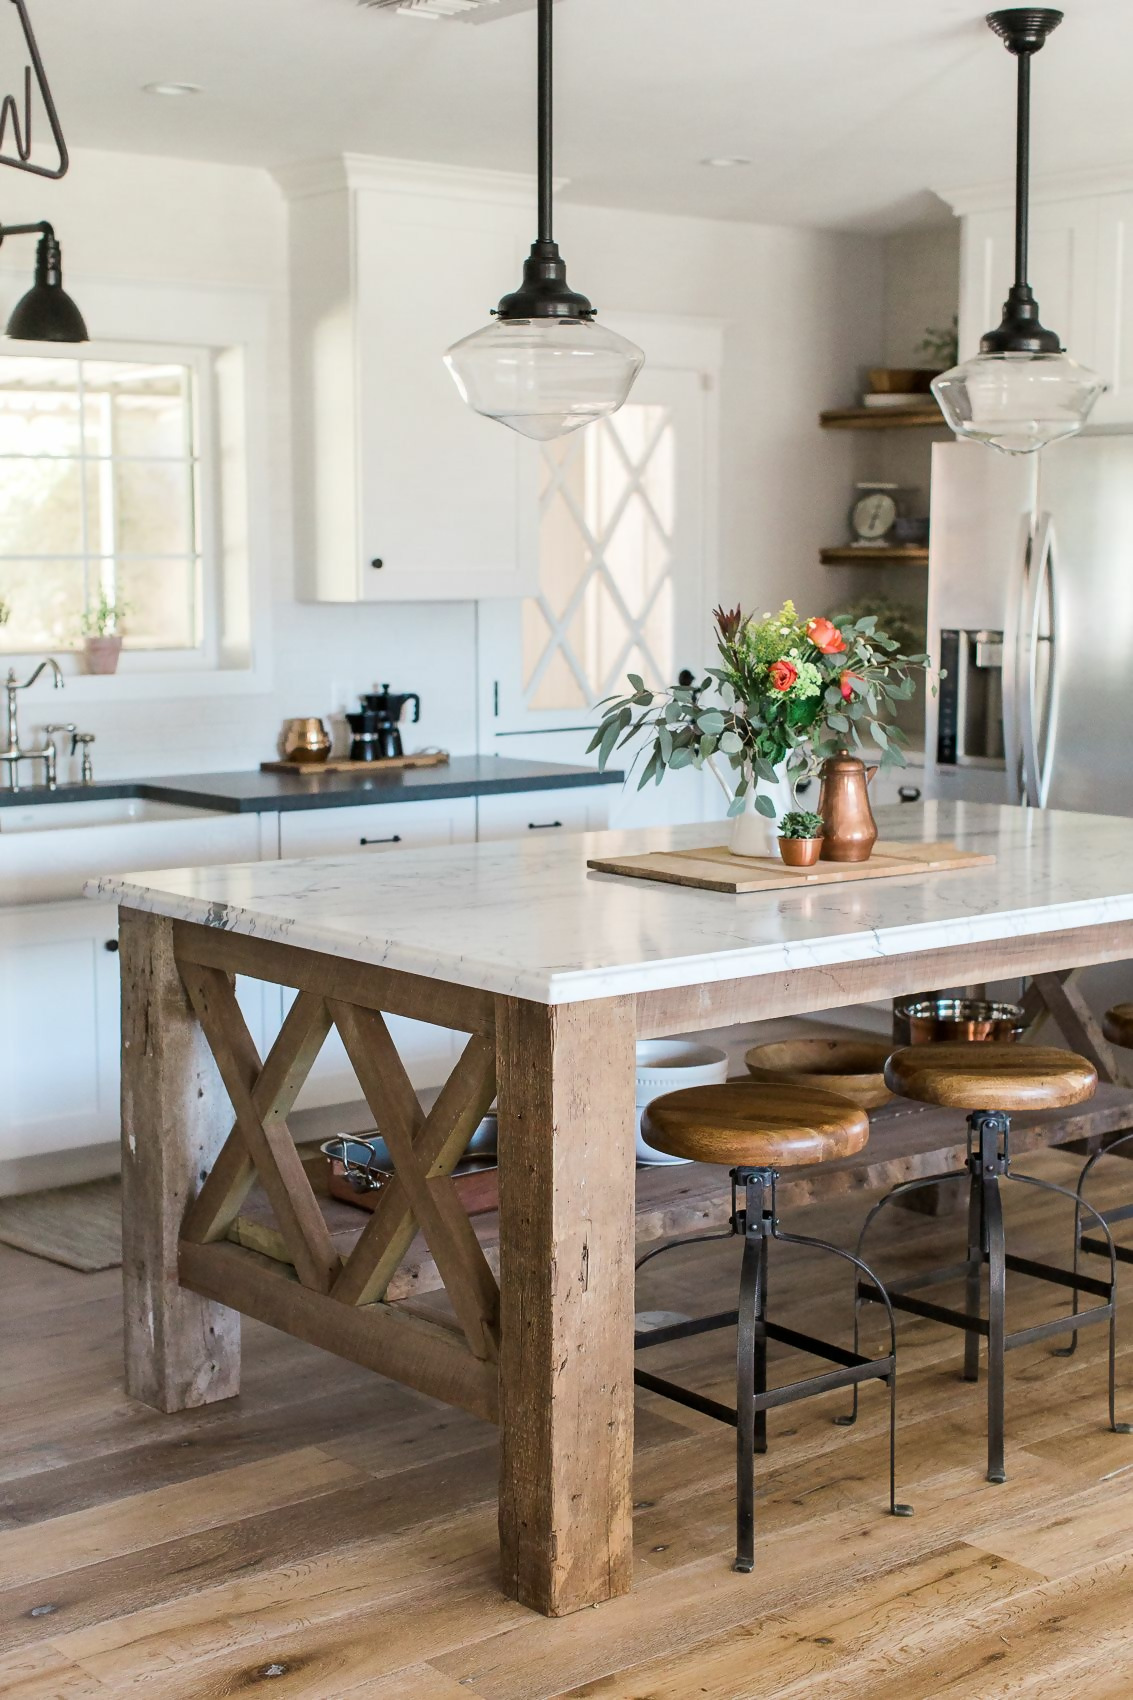
:max_bytes(150000):strip_icc()/farmhouse-style-kitchen-island-7d12569a-85b15b41747441bb8ac9429cbac8bb6b.jpg)

Want to add more counter space and storage to your kitchen without spending a fortune? Look no further than your own dining room table! With a little creativity and some basic tools, you can easily transform a table into a functional kitchen island. This budget-friendly and personalized DIY project will not only save you money but also add character and charm to your kitchen. The first step is to choose a table that fits the size and style of your kitchen. It can be an old one you no longer use or a budget-friendly find from a thrift store. Keep in mind that you can always customize the finished product to fit your specific needs and design preferences. Once you have your table, it's time to get to work. Start by emptying out the drawers and removing any hardware. Then, using a saw, remove the legs of the table. If your table has a leaf, you can also remove it to create a more open and spacious island. Next, decide how you want to use the table's drawers. You can either leave them in place for added storage or remove them to create open shelves. If you choose to keep the drawers, simply remove the front panel and attach it to the back of the drawer to create a new front. This will give the illusion of a solid front while still allowing you to access the contents of the drawer from the kitchen side. To add more storage and functionality to your kitchen island, you can attach pieces of wood to the sides of the table to create shelves or cabinets. These can be used to store pots, pans, and other kitchen essentials. You can also add hooks or racks on the sides of the island for hanging utensils or towels. Once all the additional storage is in place, sand down any rough edges and paint or stain the table to your desired color. You can also add a butcher block or tile top for a more durable and easy-to-clean surface. Once everything is dry and assembled, you can flip the table over and add any finishing touches, such as decorative hardware or a towel bar. And there you have it – a beautiful and functional kitchen island made from a simple table. This DIY project is perfect for those on a budget or anyone looking to add a personal touch to their kitchen. With a little creativity and some basic tools, you can transform a table into a unique and practical kitchen island.4. Table to Kitchen Island Conversion


4. Table to Kitchen Island Conversion


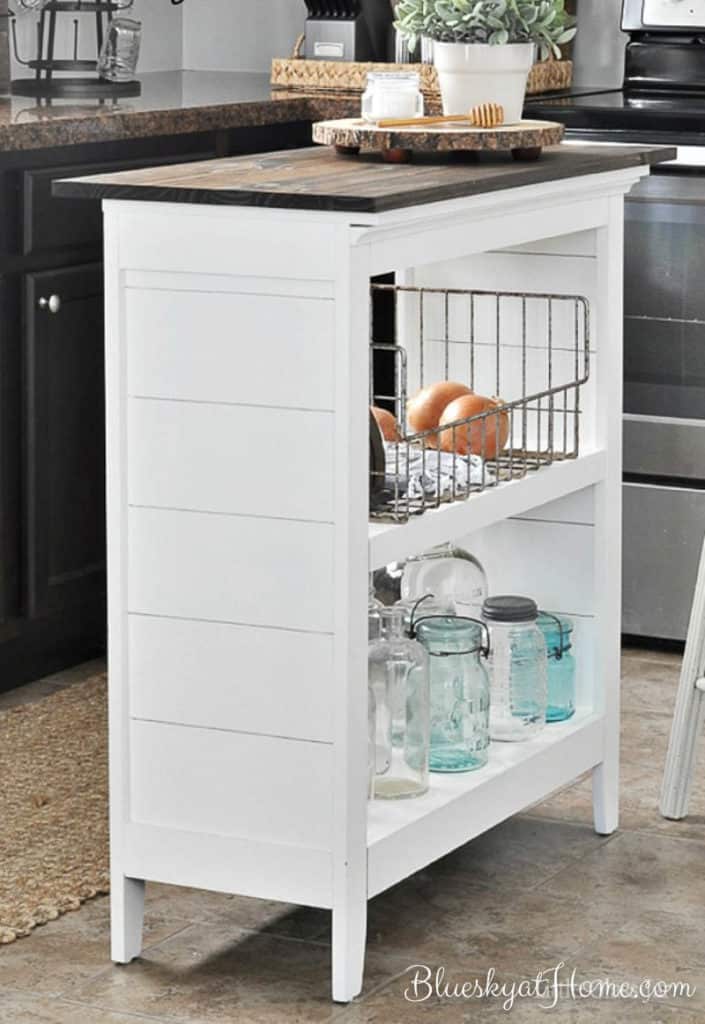
Are you looking to add more counter space and storage to your kitchen without spending a fortune? Don't overlook the potential of an old table! With some creativity and basic tools, you can easily transform a table into a functional and stylish kitchen island. This budget-friendly and personalized DIY project will not only save you money but also add a unique touch to your kitchen. Start by selecting a sturdy and visually appealing table that fits the size and style of your kitchen. It can be an old one you no longer use or a budget-friendly find from a thrift store. Keep in mind that you can always customize the finished product to fit your specific needs and design preferences. Once you have your table, it's time to get to work. Begin by clearing out the drawers and removing any hardware. Then, using a saw, remove the legs of the table. If your table has a leaf, you can also remove it to create a more open and spacious island. Next, decide how you want to use the table's drawers. You can either leave them in place for added storage or remove them to create open shelves. If you choose to keep the drawers, simply remove the front panel and attach it to the back of the drawer to create a new front. This will give the illusion of a solid front while still allowing you to access the contents of the drawer from the kitchen side. To add more storage and functionality to your kitchen island, you can attach pieces of wood to the sides of the table to create shelves or cabinets. These can be used to store pots, pans, and other kitchen essentials. You can also add hooks or racks on the sides of the island for hanging utensils or towels. Once all the additional storage is in place, sand down any rough edges and paint or stain the table to your desired color. You can also add a butcher block or tile top for a more durable and easy-to-clean surface. Once everything is dry and assembled, you can flip the table over and add any finishing touches, such as decorative hardware or a towel bar. And there you have it – a beautiful and functional kitchen island made from a simple table. This DIY project is perfect for those on a budget or anyone looking to add a personal touch to their kitchen. With a little creativity and some basic tools, you can transform a table into a unique and practical kitchen island.5. Creative Ways to Repurpose a Table as a Kitchen Island


5. Creative Ways to Repurpose a Table as a Kitchen Island


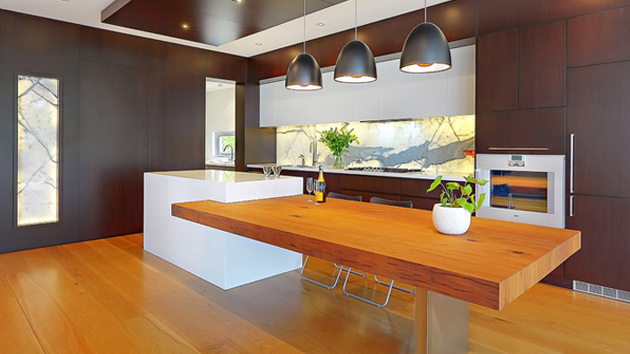
Looking for a budget-friendly and personalized way to upgrade your kitchen? Why not repurpose an old table into a stunning and functional kitchen island? With some creativity and basic tools, you can easily transform a table into a one-of-a-kind piece that adds counter space and storage to your kitchen. The first step is to select a table that fits the size and style of your kitchen. It can be an old one you no longer use or a budget-friendly find from a thrift store. Keep in mind that you can always customize the finished product to fit your specific needs and design preferences. Once you have your table, it's time to get to work. Begin by clearing out the drawers and removing any hardware. Then, using a saw, remove the legs of the table. If your table has a leaf, you can also remove it to create a more open and spacious island. Next, decide how you want to use the table's drawers. You can either leave them in place for added storage or remove them to create open shelves. If you choose to keep the drawers, simply remove the front panel and attach it to the back of the drawer to create a new front. This will give the illusion of a solid front while still allowing you to access the contents of the drawer from the kitchen side. To add more storage and functionality to your kitchen island, you can attach pieces of wood to the sides of the table to create shelves or cabinets. These can be used to store pots, pans, and other kitchen essentials. You can also add hooks or racks on the sides of the island for hanging utensils or towels.6. Step-by-Step Guide to Turning a Table into a Kitchen Island

6. Step-by-Step Guide to Turning a Table into a Kitchen Island
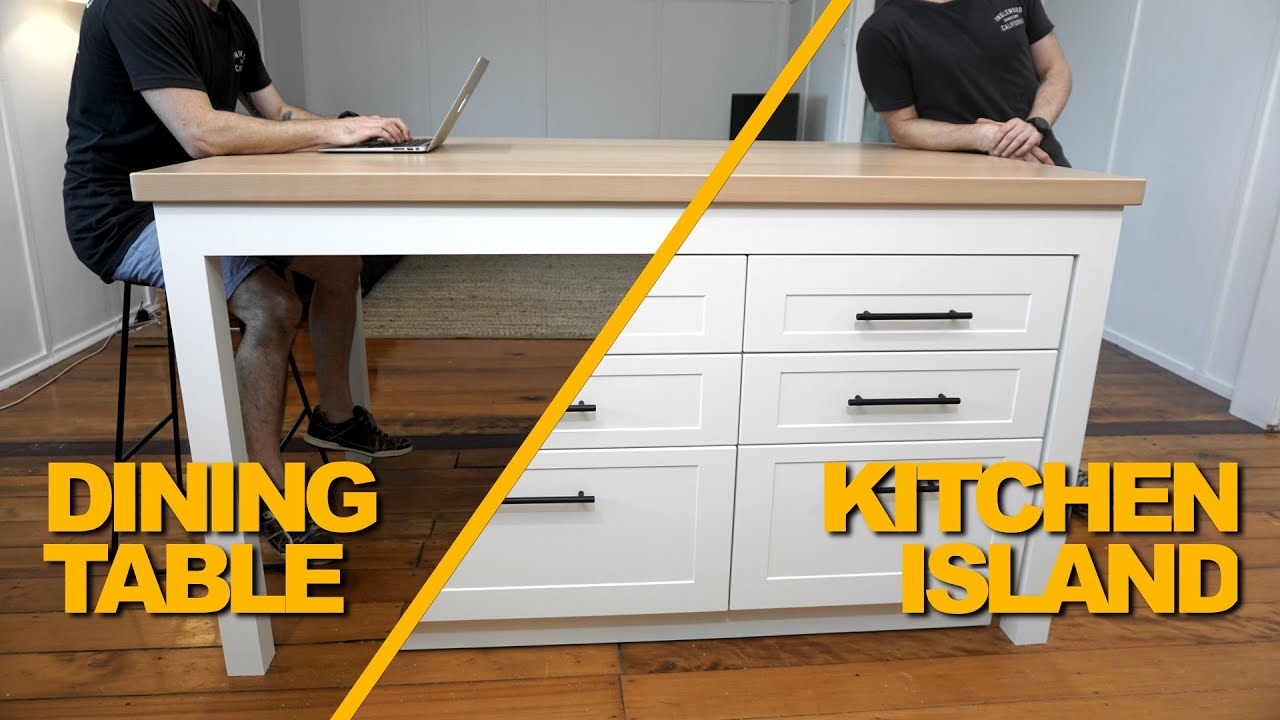
Transforming Your Table into a Functional Kitchen Island

Maximizing Space and Functionality in Your Kitchen
 When it comes to designing your dream kitchen, functionality and space are two key factors that should not be compromised. While a traditional kitchen island may seem like the perfect solution, it can take up a significant amount of floor space and may not fit into smaller kitchens. That's where
turning a table into a kitchen island
comes in as a clever and practical alternative.
By repurposing a table into a kitchen island, you can create a multifunctional and stylish addition to your kitchen without taking up valuable floor space. Plus, it can be a cost-effective option compared to purchasing a traditional kitchen island. Here's how you can transform your table into a functional kitchen island.
When it comes to designing your dream kitchen, functionality and space are two key factors that should not be compromised. While a traditional kitchen island may seem like the perfect solution, it can take up a significant amount of floor space and may not fit into smaller kitchens. That's where
turning a table into a kitchen island
comes in as a clever and practical alternative.
By repurposing a table into a kitchen island, you can create a multifunctional and stylish addition to your kitchen without taking up valuable floor space. Plus, it can be a cost-effective option compared to purchasing a traditional kitchen island. Here's how you can transform your table into a functional kitchen island.
Choose the Right Table
 The first step in
turning a table into a kitchen island
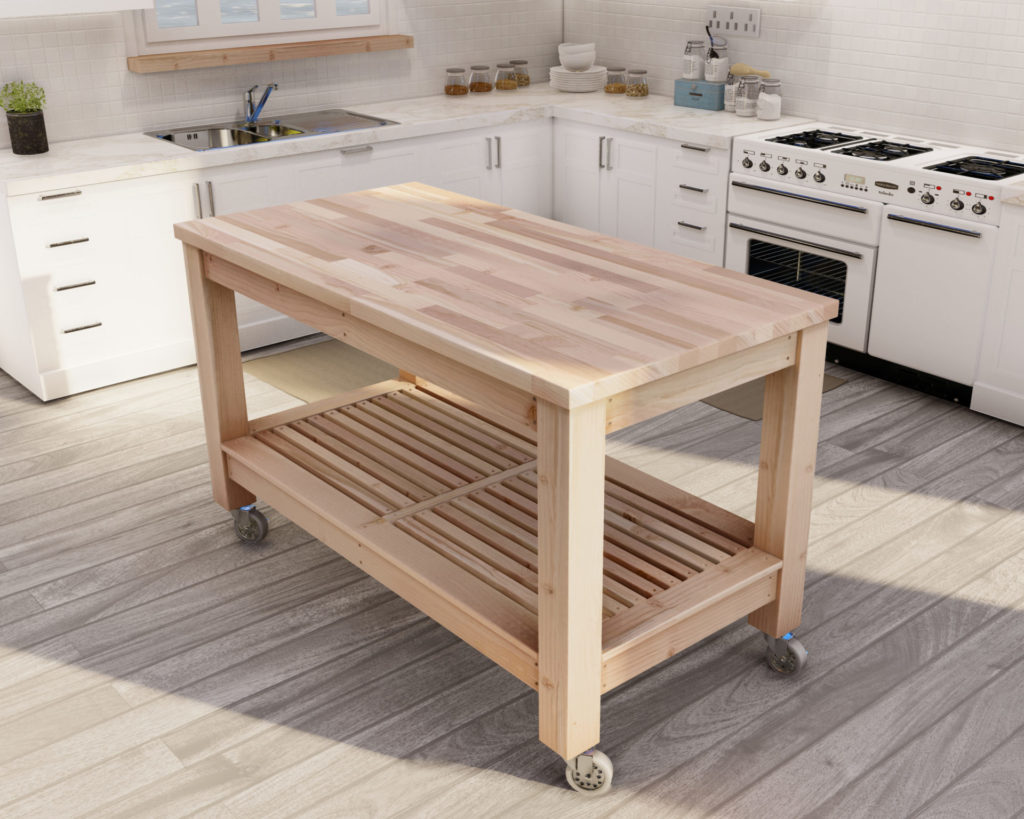
is to find the perfect table for the job. Look for a sturdy and stable table that is at least counter height (around 36 inches) and has a solid surface for easy cleaning. A rectangular or square table would work best for a kitchen island, but you can also get creative and use an oval or round table if you have limited space.
The first step in
turning a table into a kitchen island
is to find the perfect table for the job. Look for a sturdy and stable table that is at least counter height (around 36 inches) and has a solid surface for easy cleaning. A rectangular or square table would work best for a kitchen island, but you can also get creative and use an oval or round table if you have limited space.
Prep and Paint
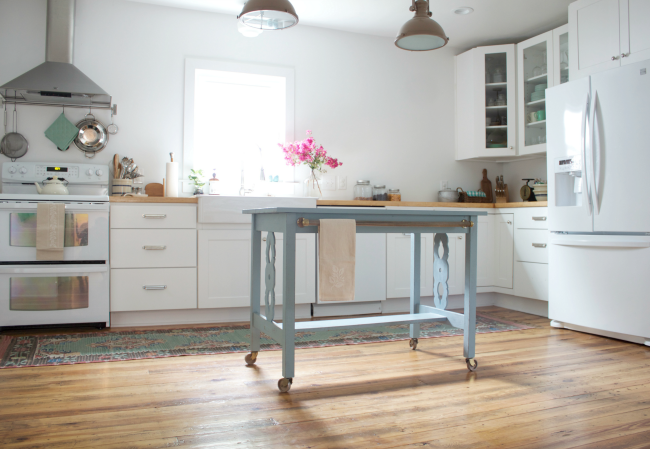
 Once you have your table, it's time to prepare and paint it. Start by sanding down the surface of the table to remove any imperfections and create a smooth surface. Then, wipe down the table with a damp cloth to remove any dust or debris. Next, choose a paint color that complements your kitchen's design and style. Don't be afraid to get creative and add a pop of color to your kitchen with a bold paint choice.
Add Storage and Functionality
 One of the main benefits of
turning a table into a kitchen island
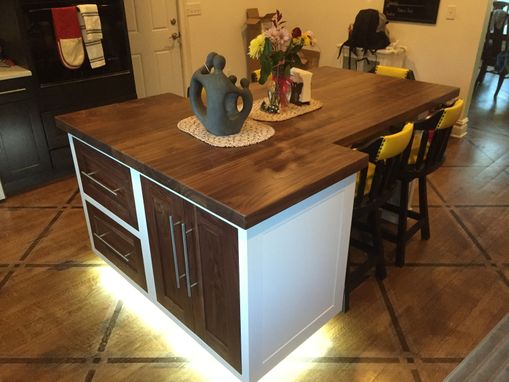
is the added storage and functionality it can provide. Consider adding shelves, drawers, or cabinets to the base of your table to create additional storage space for kitchen essentials. You can also install hooks or racks on the sides of the table for hanging pots, pans, and utensils, making them easily accessible while cooking.
One of the main benefits of
turning a table into a kitchen island
is the added storage and functionality it can provide. Consider adding shelves, drawers, or cabinets to the base of your table to create additional storage space for kitchen essentials. You can also install hooks or racks on the sides of the table for hanging pots, pans, and utensils, making them easily accessible while cooking.
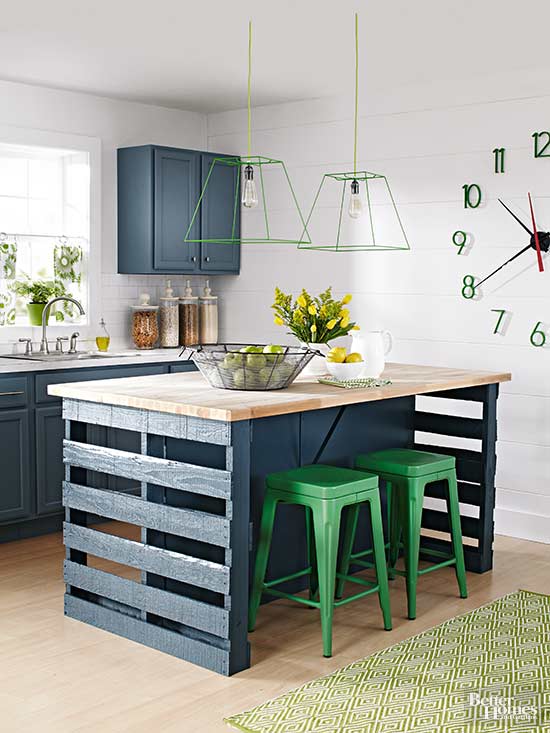
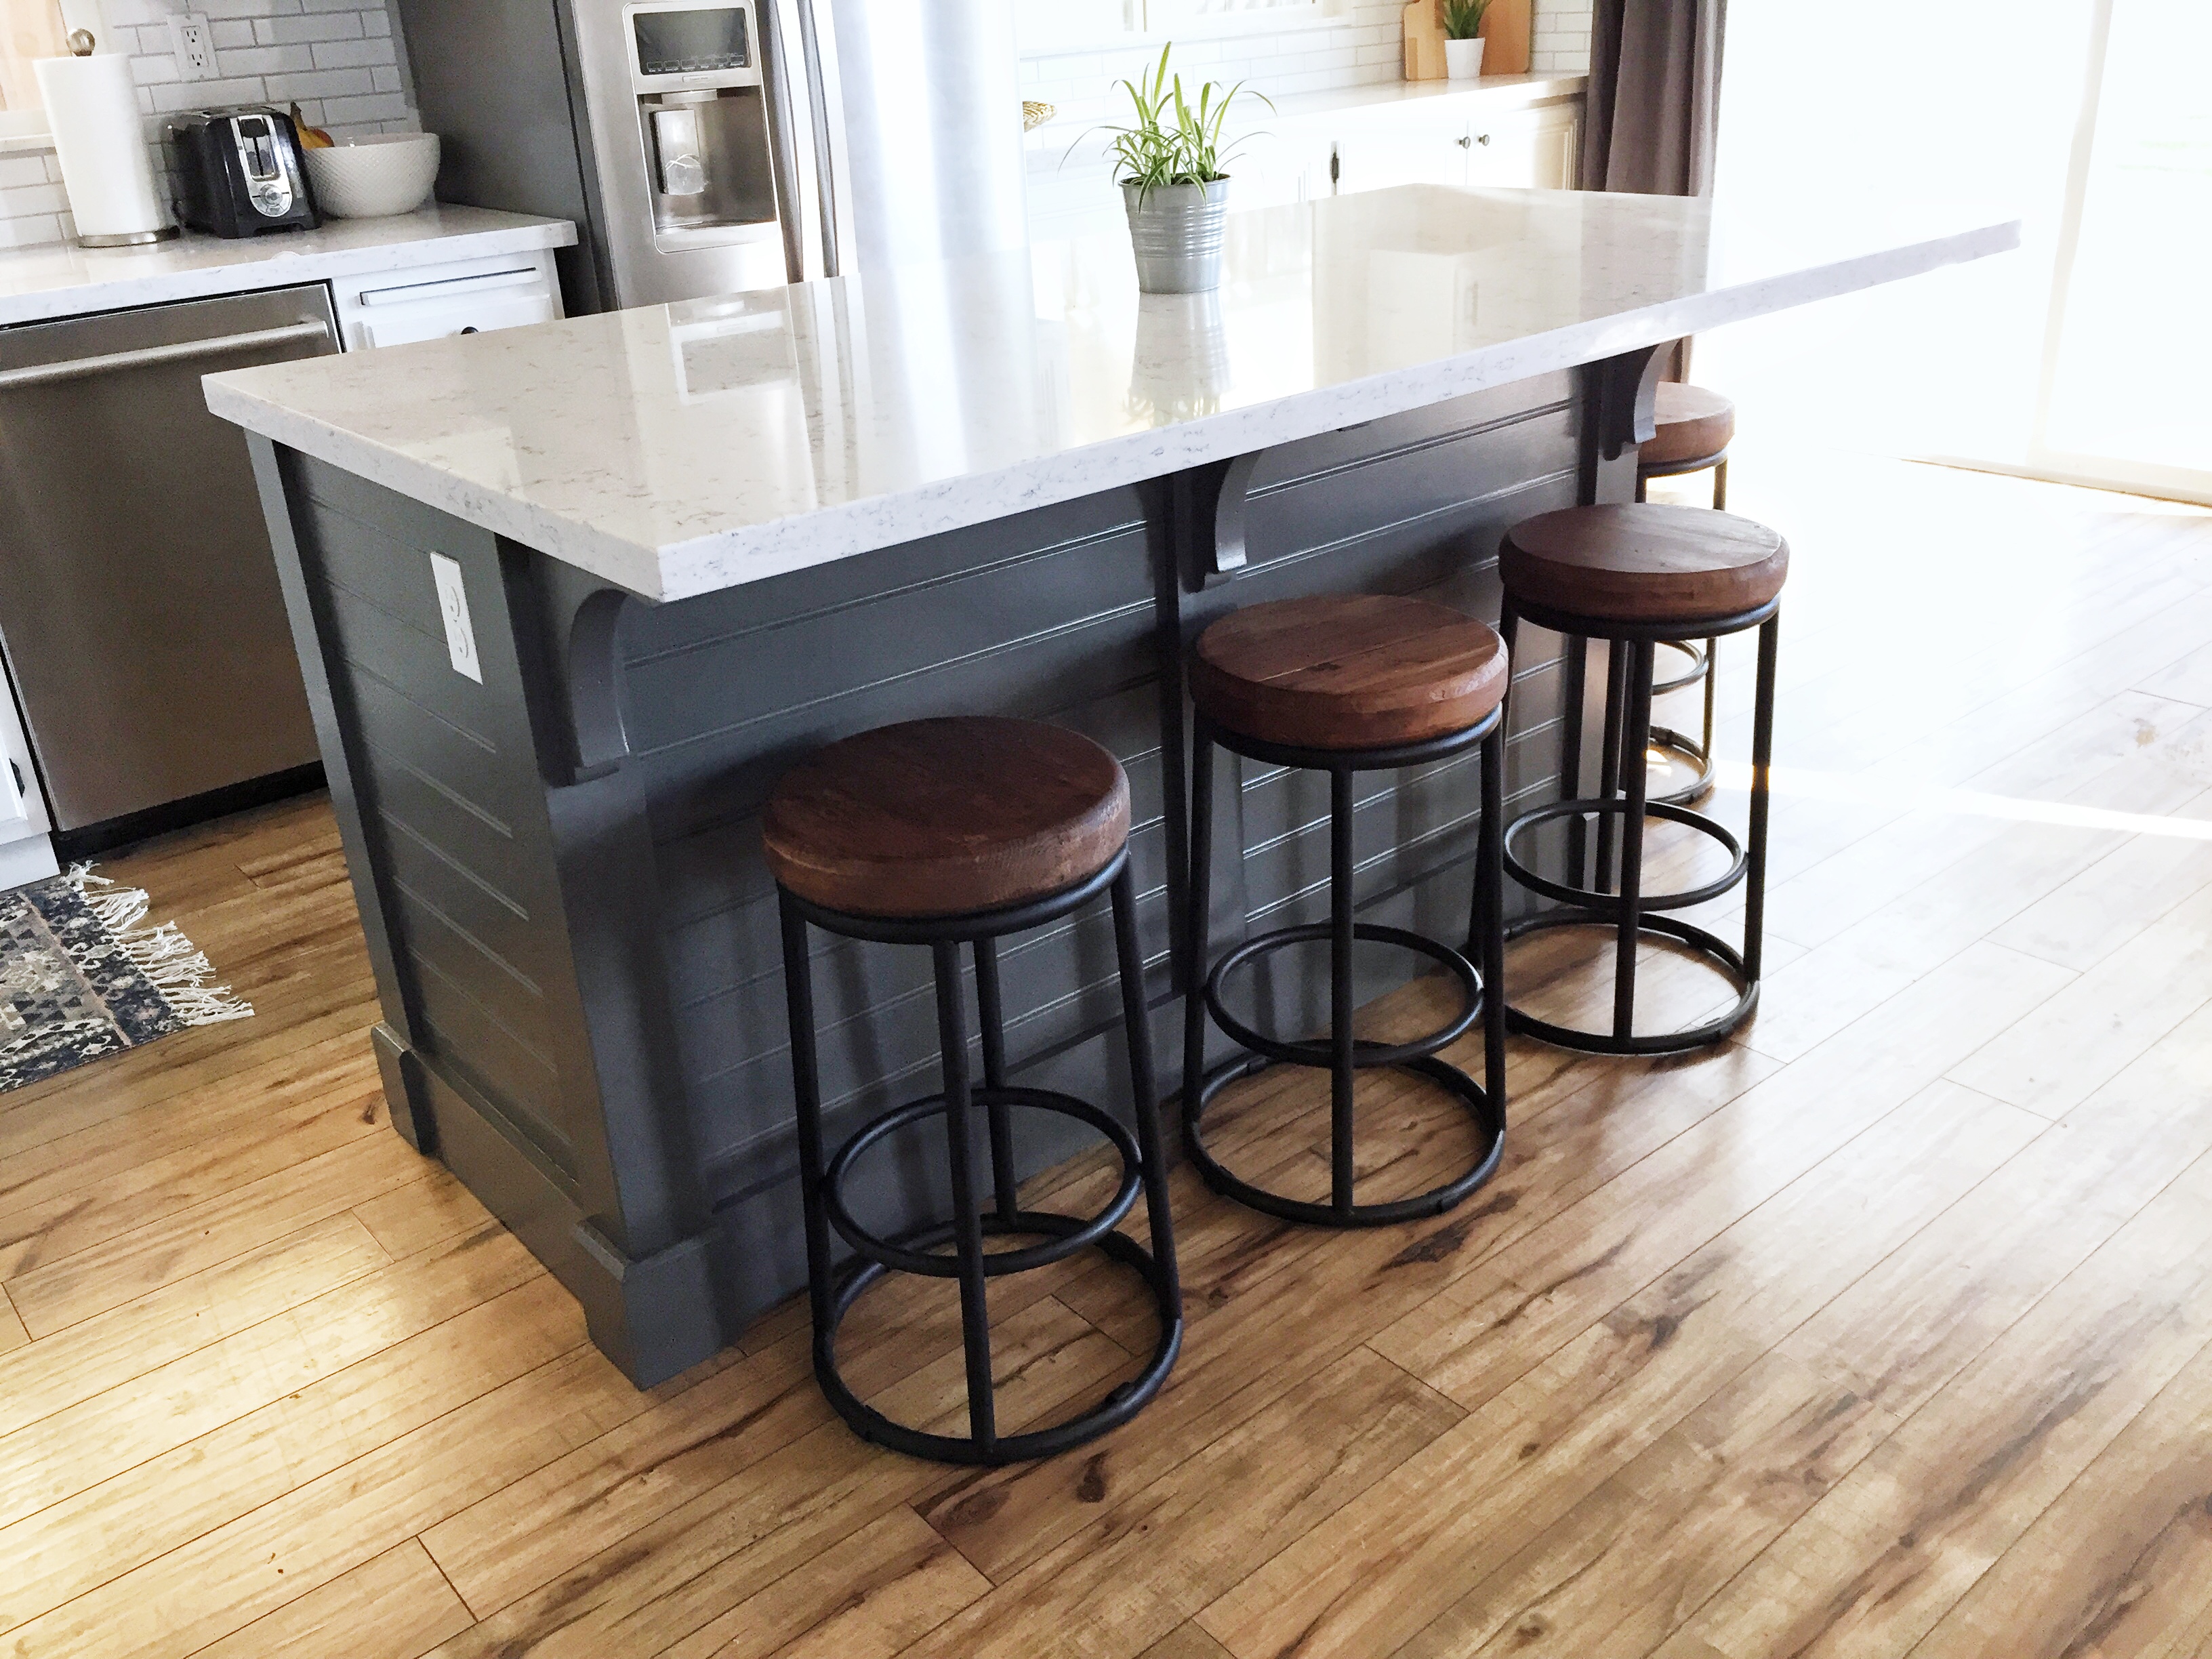
Dress it Up
 Now that your table has been transformed into a functional kitchen island, it's time to add some finishing touches to make it feel like a cohesive part of your kitchen. Dress it up with some bar stools or chairs that complement the paint color and style of your table. You can also add decorative elements like a centerpiece or kitchen-themed decor to make it a focal point in your kitchen.
In conclusion,
turning a table into a kitchen island
is a creative and practical solution for maximizing space and functionality in your kitchen. With the right table, paint, and additional features, you can create a stylish and functional kitchen island that fits your unique design aesthetic. So why settle for a traditional kitchen island when you can repurpose a table and make it your own?
Now that your table has been transformed into a functional kitchen island, it's time to add some finishing touches to make it feel like a cohesive part of your kitchen. Dress it up with some bar stools or chairs that complement the paint color and style of your table. You can also add decorative elements like a centerpiece or kitchen-themed decor to make it a focal point in your kitchen.
In conclusion,
turning a table into a kitchen island
is a creative and practical solution for maximizing space and functionality in your kitchen. With the right table, paint, and additional features, you can create a stylish and functional kitchen island that fits your unique design aesthetic. So why settle for a traditional kitchen island when you can repurpose a table and make it your own?