Are you looking to upgrade your kitchen with a new sink? A top mount kitchen sink is a popular choice for many homeowners due to its easy installation process and versatile design. In this article, we will guide you through the steps of installing a top mount kitchen sink, as well as provide helpful tips and tricks to ensure a successful installation.Top Mount Kitchen Sink Installation


Top Mount Kitchen Sink Installation


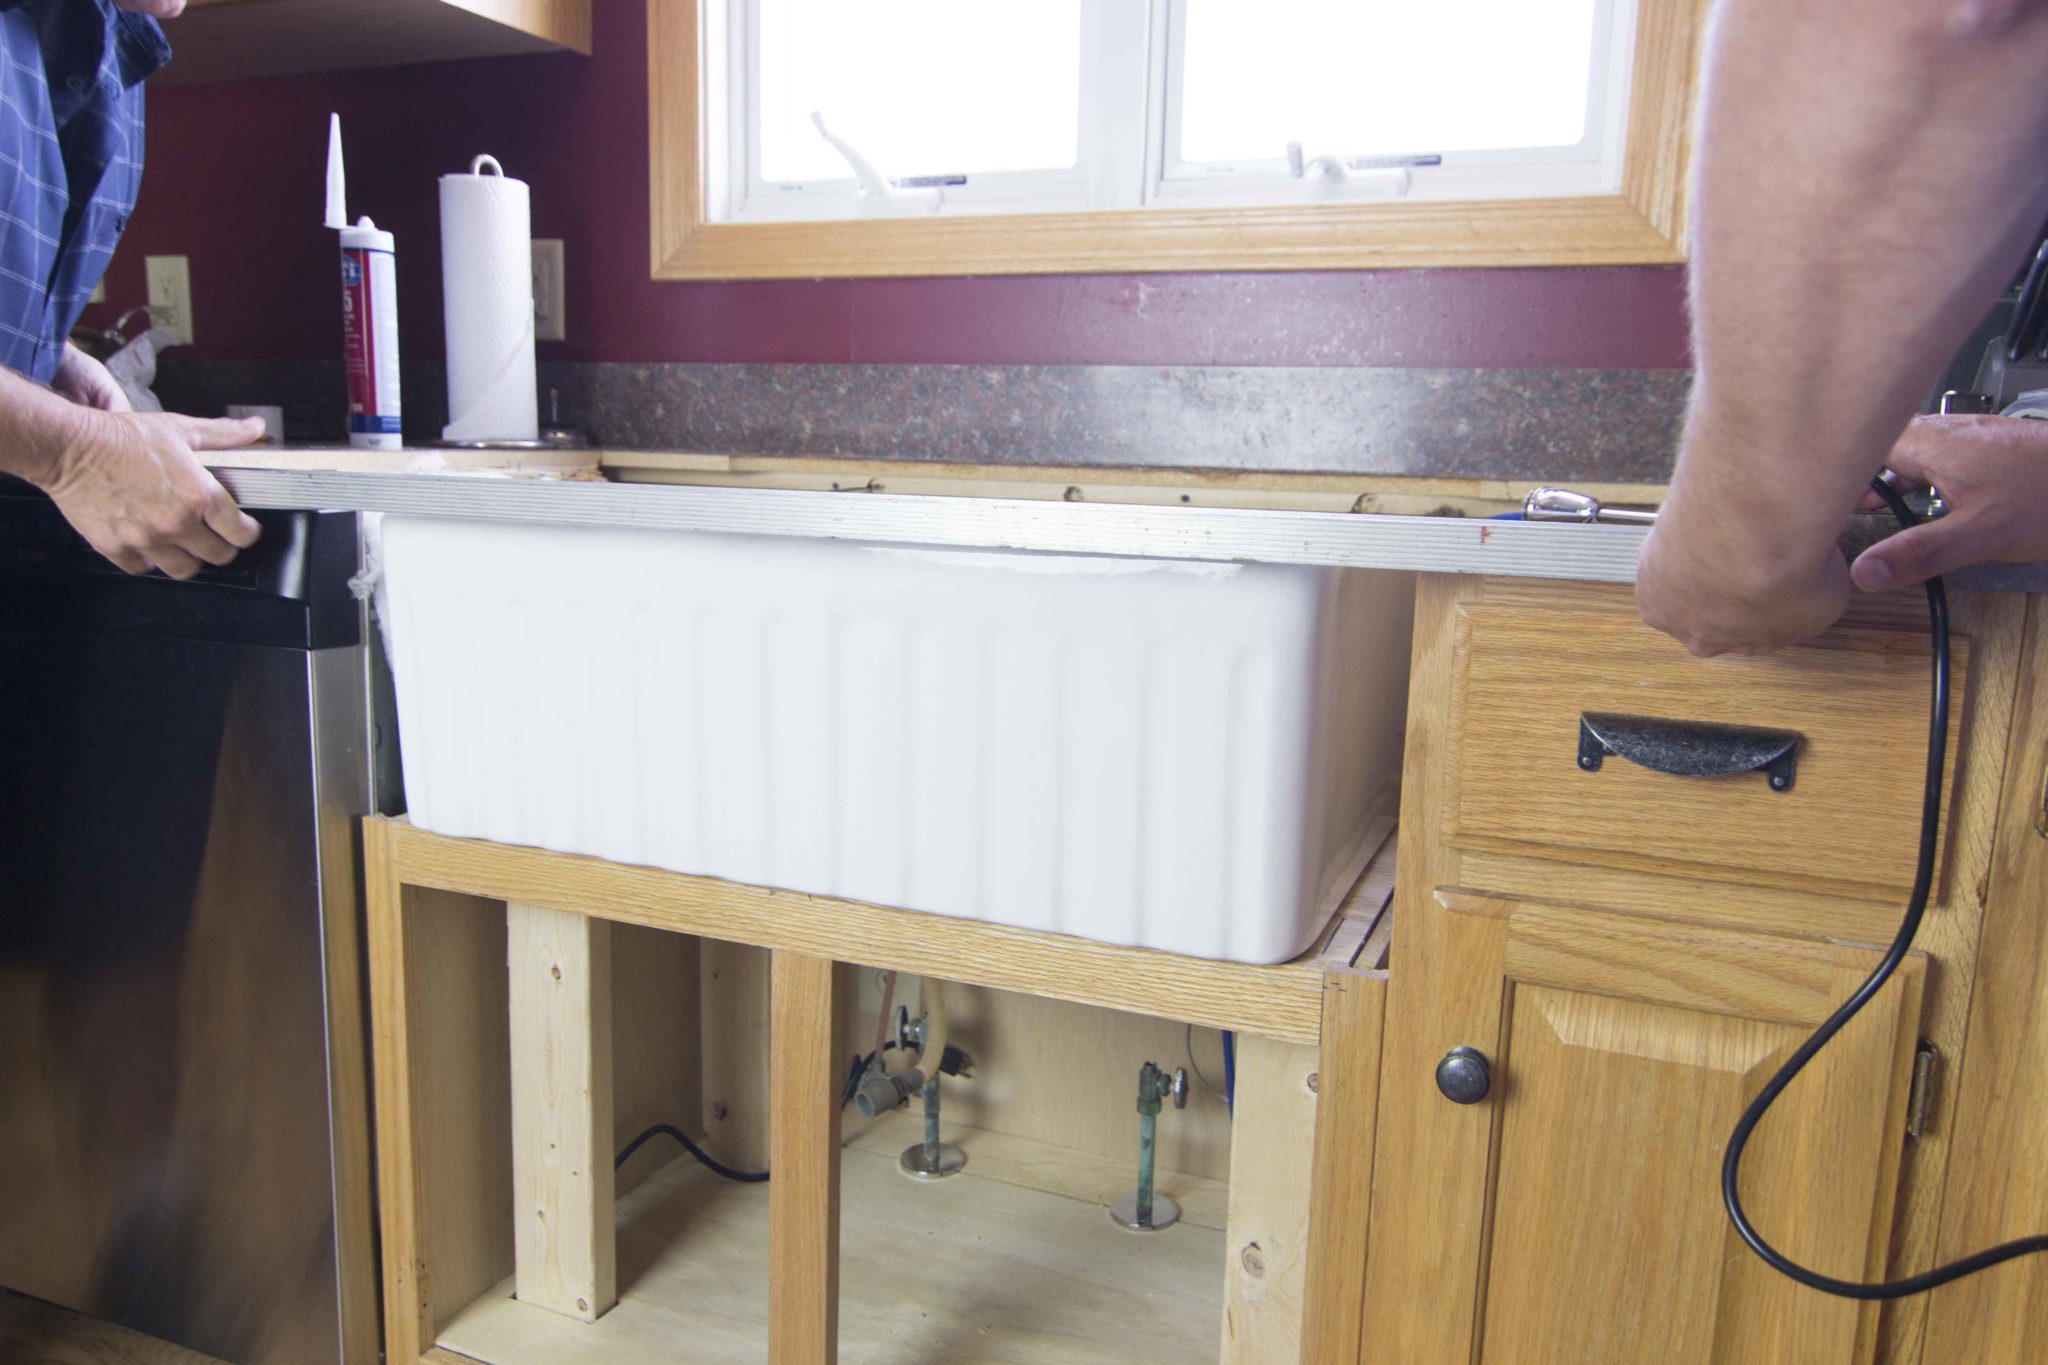
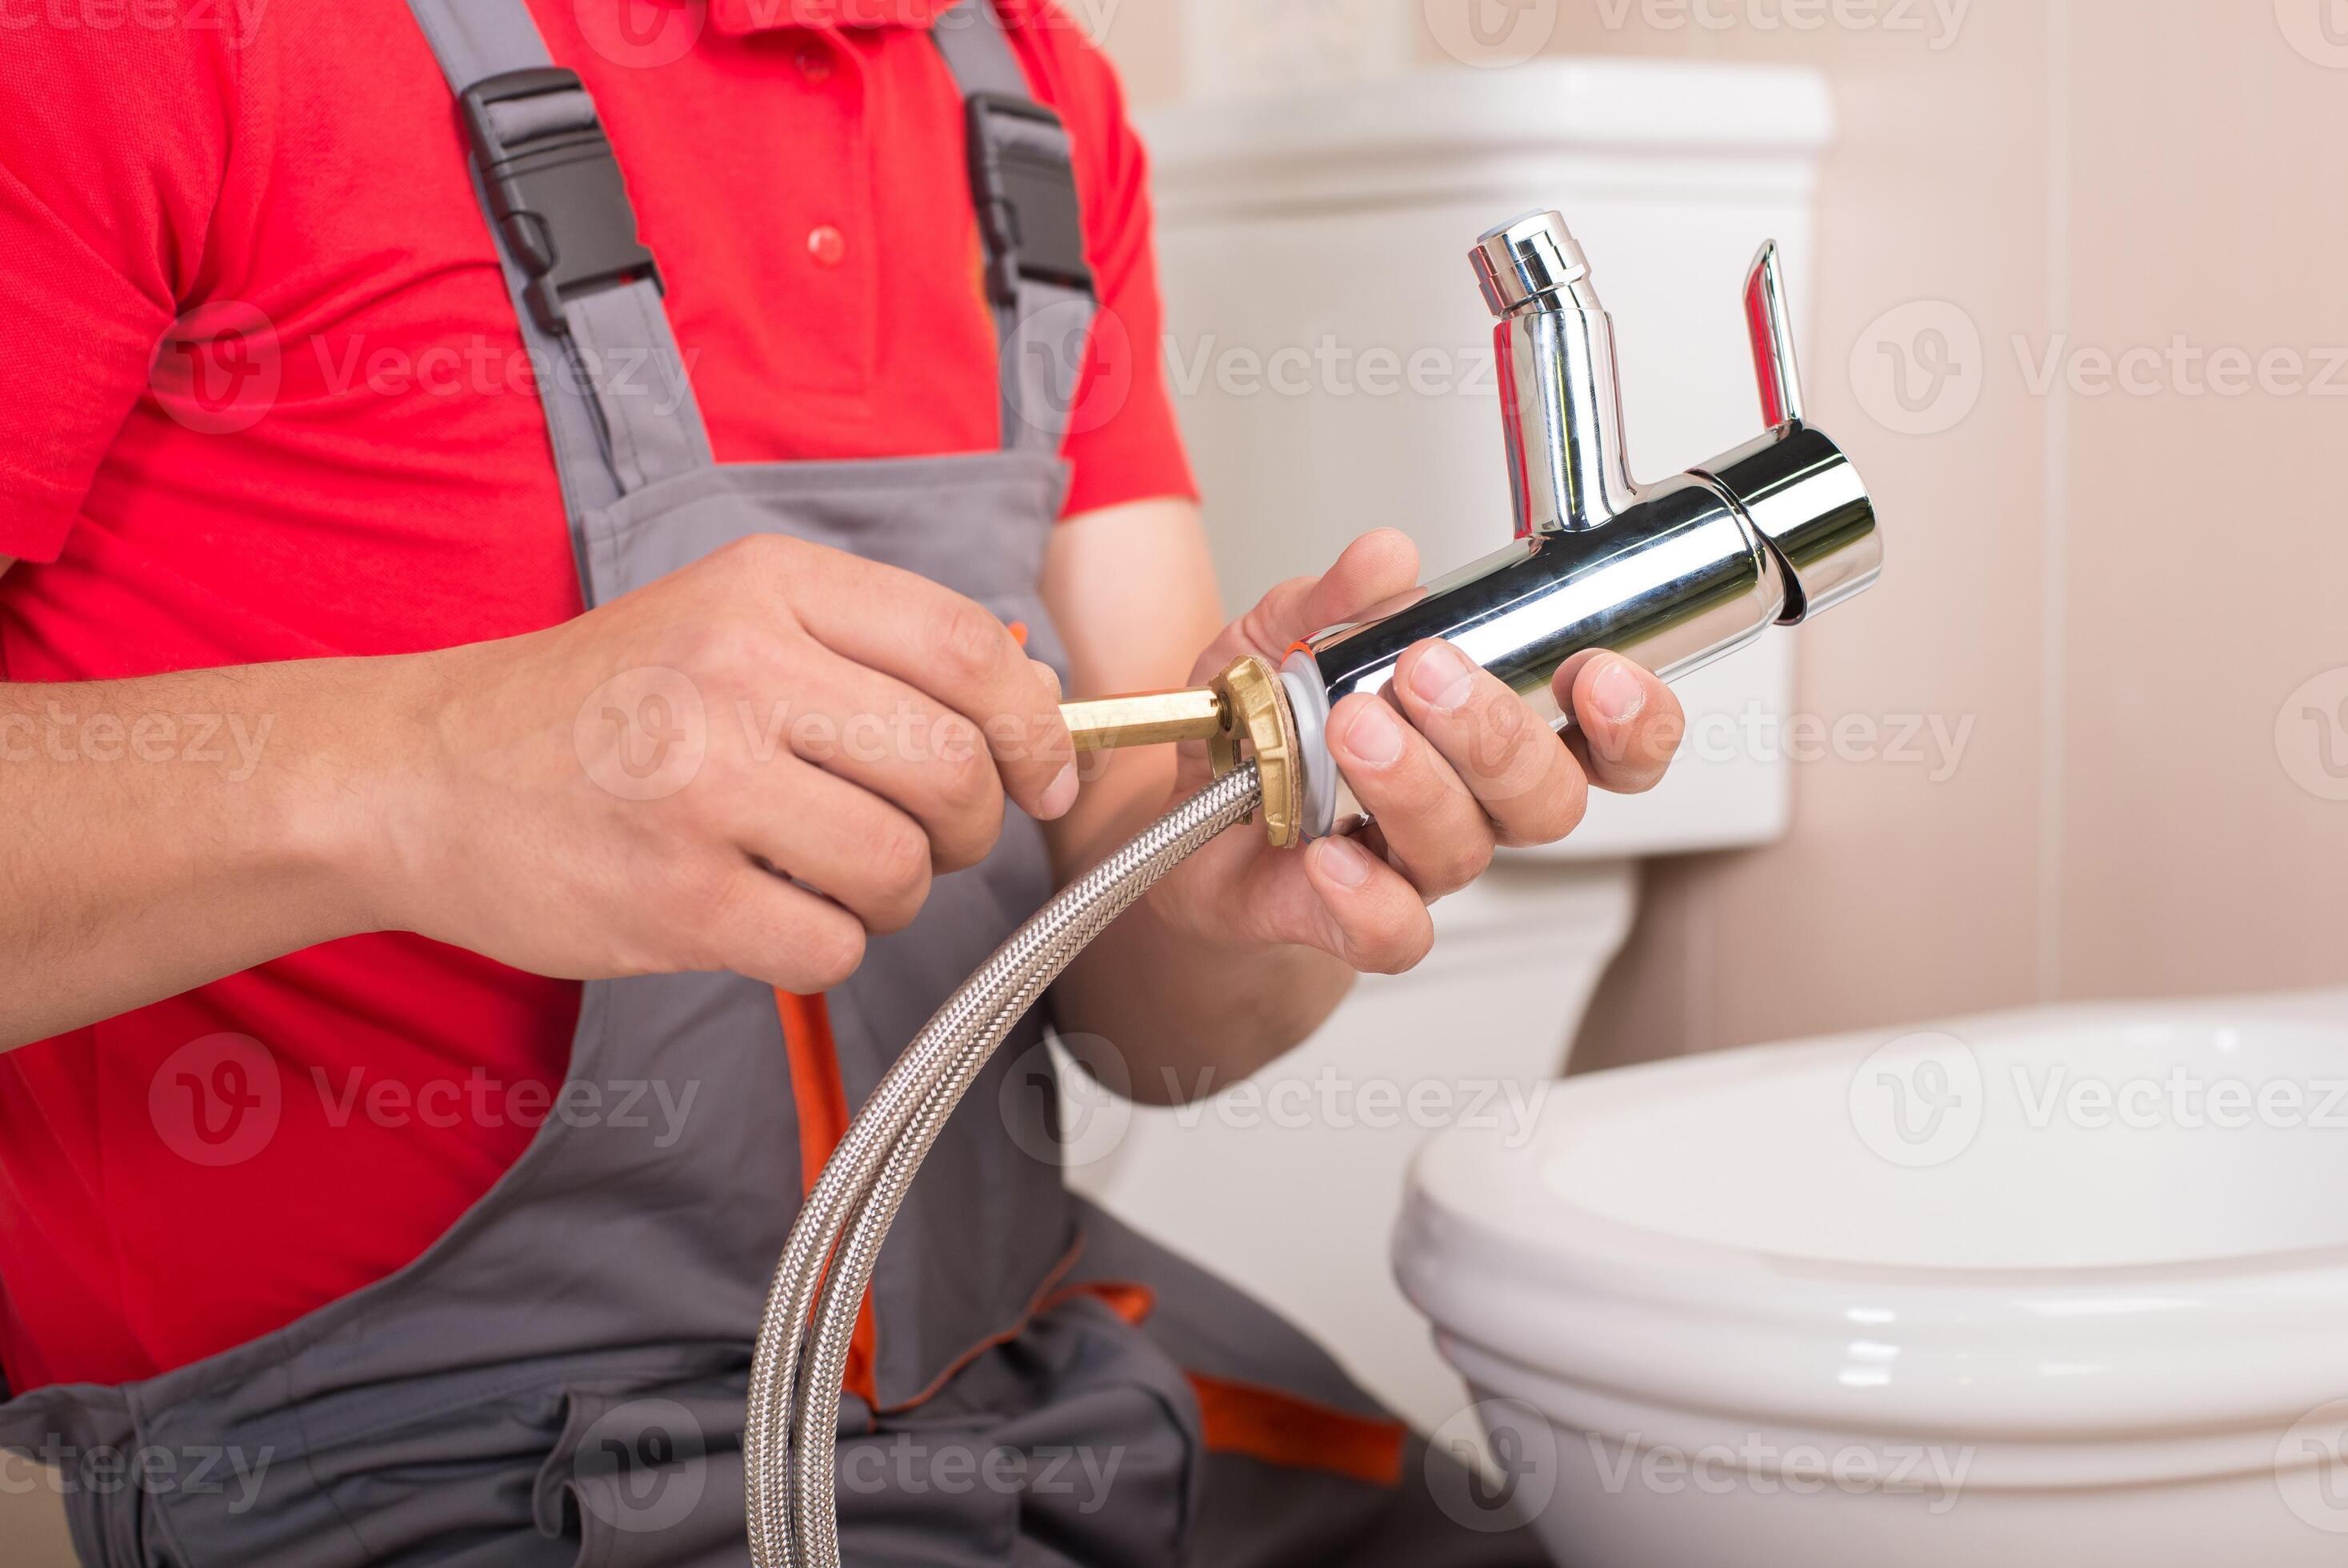
The first step in installing a top mount kitchen sink is to gather all the necessary tools and materials. You will need a drill, adjustable wrench, plumber's putty, silicone caulk, and a screwdriver. Make sure to read the manufacturer's instructions as well, as they may have specific tools or materials recommended for their product. Next, turn off the water supply to your sink and disconnect the plumbing. This includes the water supply lines, drain pipes, and garbage disposal (if applicable). Once everything is disconnected, remove the old sink and clean the area thoroughly. Now, it's time to install the new top mount sink. Apply a thin layer of plumber's putty around the edge of the sink hole. This will create a watertight seal between the sink and the countertop. Carefully place the sink into the hole, making sure it is centered and level. Once the sink is in place, secure it by tightening the mounting clips underneath. These clips will hold the sink in place and ensure it doesn't move or shift. Use the adjustable wrench to tighten the clips, but be careful not to overtighten as it can cause damage to the sink. Next, connect the water supply lines and drain pipes using the appropriate fittings. Be sure to use Teflon tape on all threaded connections to prevent leaks. Once everything is connected, turn the water supply back on and check for any leaks. If there are no leaks, you can move on to the next step.How to Install a Top Mount Kitchen Sink


How to Install a Top Mount Kitchen Sink


If you are a handy homeowner, you may want to take on the challenge of installing a top mount kitchen sink yourself. While it may seem daunting, with the right tools and instructions, it can be a manageable DIY project. One important thing to keep in mind is to measure your sink and countertop carefully before starting the installation. This will ensure that you have the right size sink for your countertop and that it fits properly. Another tip for DIY top mount kitchen sink installation is to have a helper. This will make the installation process much easier, especially when it comes to lifting and positioning the sink.DIY Top Mount Kitchen Sink Installation


DIY Top Mount Kitchen Sink Installation

:no_upscale()/cdn.vox-cdn.com/uploads/chorus_asset/file/19495086/drain_0.jpg)


For a more detailed guide on installing a top mount kitchen sink, follow these step-by-step instructions: Step 1: Gather all necessary tools and materials. Step 2: Turn off water supply and disconnect plumbing. Step 3: Remove old sink and clean area. Step 4: Apply plumber's putty around the edge of the sink hole. Step 5: Place sink into the hole and secure with mounting clips. Step 6: Connect water supply lines and drain pipes. Step 7: Turn water supply back on and check for leaks. Step 8: Finish with silicone caulk around the edges of the sink.Step-by-Step Guide for Top Mount Kitchen Sink Installation


Step-by-Step Guide for Top Mount Kitchen Sink Installation


Here are a few tips to keep in mind when installing a top mount kitchen sink: Measure carefully: Take accurate measurements of your sink and countertop to ensure a proper fit. Use a helper: Having an extra set of hands can make the installation process much easier. Don't overtighten: Be careful not to overtighten the mounting clips as it can cause damage to the sink. Read the instructions: Always follow the manufacturer's instructions for the specific sink you are installing.Top Mount Kitchen Sink Installation Tips


Top Mount Kitchen Sink Installation Tips


The tools needed for a top mount kitchen sink installation may vary depending on the manufacturer's instructions. However, here are some of the basic tools you may need: Drill - for making holes in the countertop for the faucet and other fixtures. Adjustable wrench - for tightening mounting clips and other fittings. Screwdriver - for securing the mounting clips and other fixtures. Plumber's putty - for creating a watertight seal between the sink and countertop. Silicone caulk - for sealing the edges of the sink once it is installed.Tools Needed for Top Mount Kitchen Sink Installation


Tools Needed for Top Mount Kitchen Sink Installation


/how-to-install-a-sink-drain-2718789-hero-24e898006ed94c9593a2a268b57989a3.jpg)


The cost of installing a top mount kitchen sink can vary depending on the sink's size, material, and your location. On average, the cost can range from $200 to $500, including labor and materials. If you are installing the sink yourself, the cost will be lower, but keep in mind that you may need to purchase additional tools and materials.Top Mount Kitchen Sink Installation Cost
Top Mount Kitchen Sink Installation Cost


Here are some common mistakes to avoid when installing a top mount kitchen sink: Not measuring properly: Accurate measurements are crucial for a proper fit. Overtightening: As mentioned earlier, overtightening can cause damage to the sink. Not following instructions: Always follow the manufacturer's instructions for the specific sink you are installing. Skipping the silicone caulk: Skipping this step can lead to water leakage and damage to your countertop.Common Mistakes to Avoid in Top Mount Kitchen Sink Installation
Common Mistakes to Avoid in Top Mount Kitchen Sink Installation


If you prefer visual instructions, there are many video tutorials available online that can guide you through the top mount kitchen sink installation process. These videos can be helpful for visual learners or for those who prefer a more hands-on approach to learning.Top Mount Kitchen Sink Installation Video Tutorial


Top Mount Kitchen Sink Installation Video Tutorial


While installing a top mount kitchen sink yourself can be a rewarding and cost-effective option, it's always best to leave it to the professionals if you are not confident in your DIY skills. Professional installation services have the experience and tools needed to ensure a successful and efficient installation. In conclusion, installing a top mount kitchen sink is a manageable DIY project with the right tools, instructions, and precautions. By following the tips and steps outlined in this article, you can have a new top mount kitchen sink installed in no time. Happy renovating!Professional Top Mount Kitchen Sink Installation Services


Professional Top Mount Kitchen Sink Installation Services


Why Choose a Top Mount Kitchen Sink for Your Home
Maximizing Space and Functionality
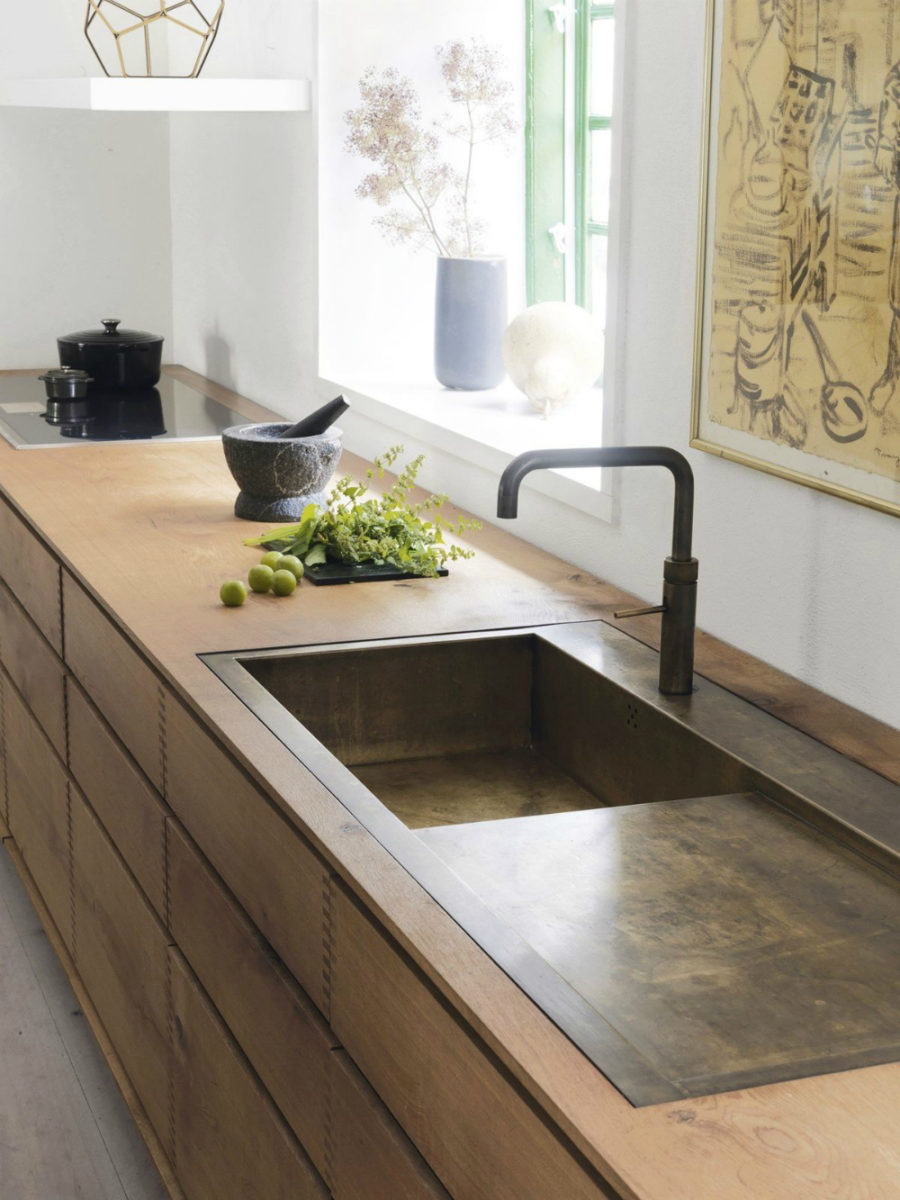
 When it comes to designing your dream kitchen, every little detail matters. One important decision to make is the type of kitchen sink to install. While there are various options available, a top mount kitchen sink offers many benefits that make it a popular choice among homeowners.
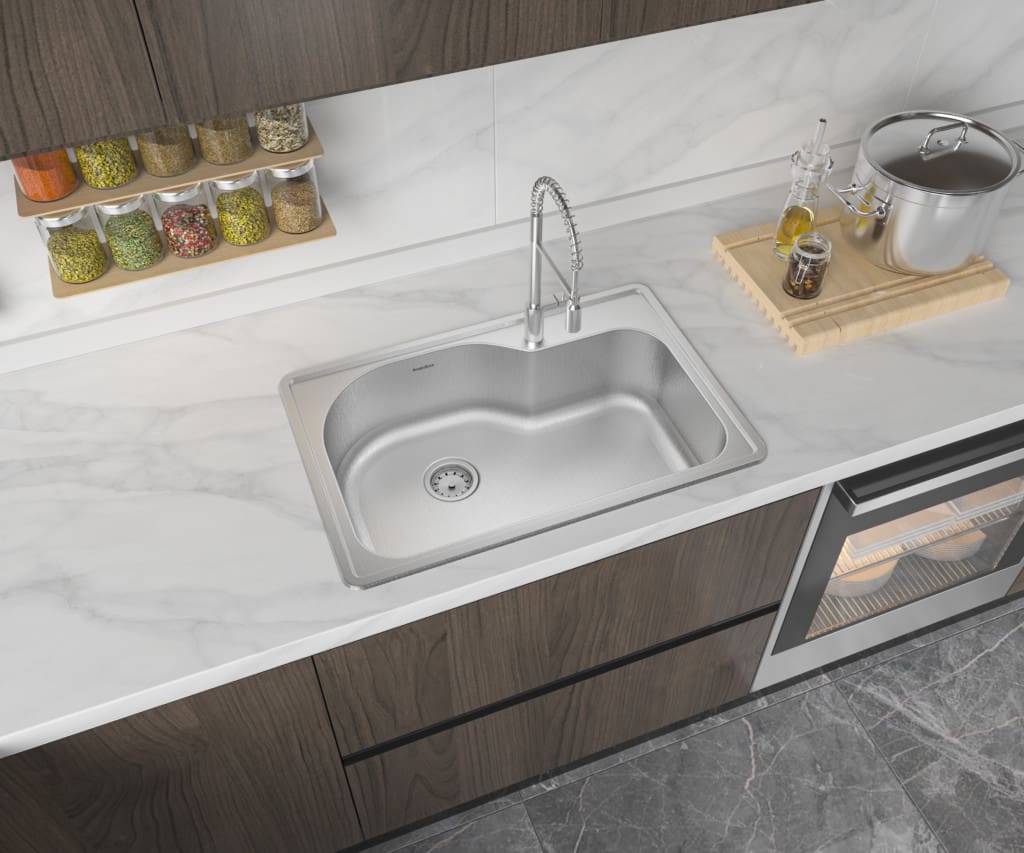
Top mount kitchen sinks
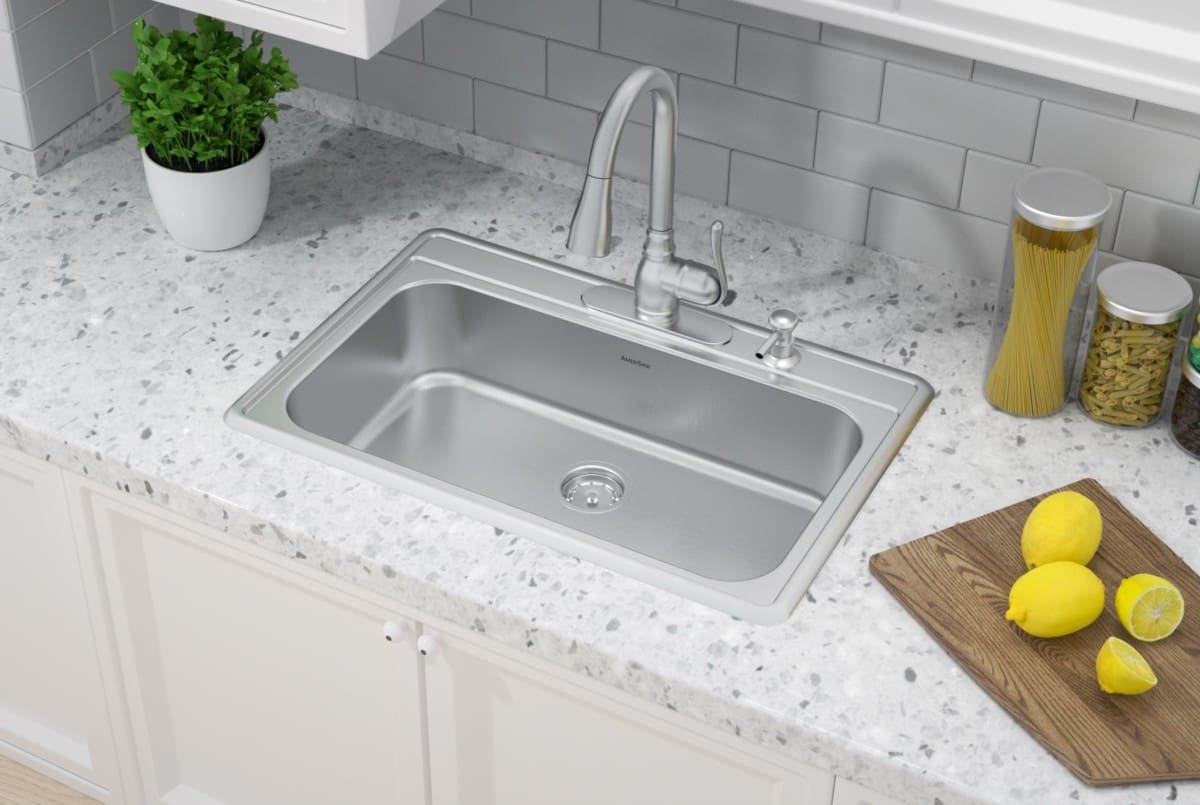
are installed from above the counter, with the edges of the sink resting on the countertop. This creates a rim or lip around the sink, hence the name "top mount." This design allows for easy installation and is a great option for both new construction and remodeling projects. But why exactly should you choose a top mount kitchen sink for your home?
One of the main reasons is to maximize space and functionality.
Top mount sinks
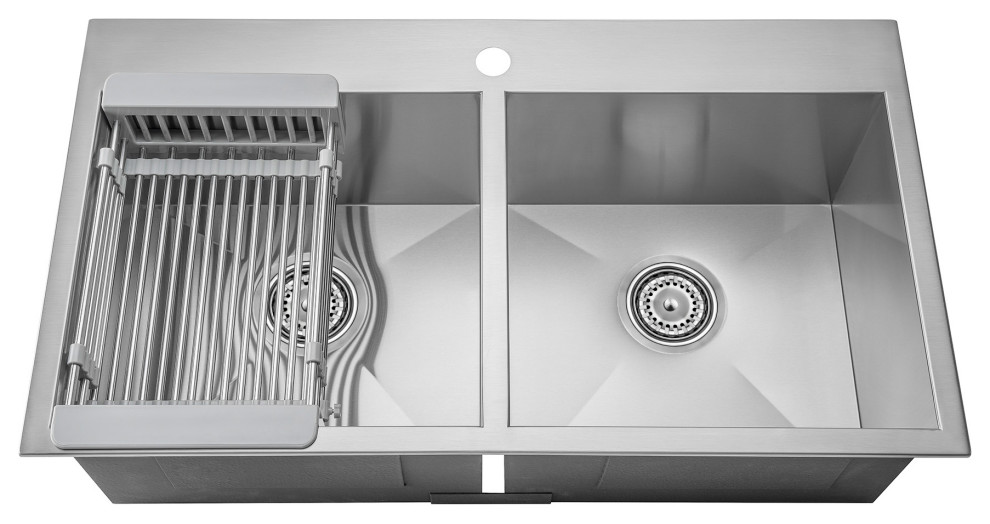
are typically larger in size, providing more room for washing and rinsing dishes. The raised edges also prevent water from spilling onto the countertop, making it easier to clean up and maintain. Additionally, the rim provides a designated area for placing dish soap and sponges, keeping your sink area organized and clutter-free.
When it comes to designing your dream kitchen, every little detail matters. One important decision to make is the type of kitchen sink to install. While there are various options available, a top mount kitchen sink offers many benefits that make it a popular choice among homeowners.
Top mount kitchen sinks
are installed from above the counter, with the edges of the sink resting on the countertop. This creates a rim or lip around the sink, hence the name "top mount." This design allows for easy installation and is a great option for both new construction and remodeling projects. But why exactly should you choose a top mount kitchen sink for your home?
One of the main reasons is to maximize space and functionality.
Top mount sinks
are typically larger in size, providing more room for washing and rinsing dishes. The raised edges also prevent water from spilling onto the countertop, making it easier to clean up and maintain. Additionally, the rim provides a designated area for placing dish soap and sponges, keeping your sink area organized and clutter-free.
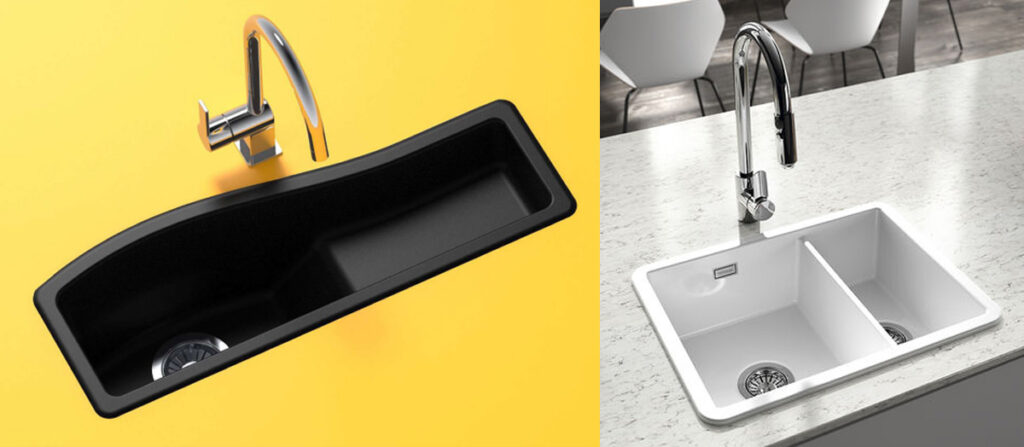
Cost-Effective and Versatile
 Another advantage of
top mount kitchen sinks
is their affordability. They are typically less expensive than other types of sinks such as undermount or farmhouse sinks. This makes them a great option for those on a budget or looking to save money on their kitchen renovation. Furthermore, top mount sinks can be installed on any type of countertop material, including laminate, granite, and quartz. This versatility makes them a practical choice for any kitchen design.
Another advantage of
top mount kitchen sinks
is their affordability. They are typically less expensive than other types of sinks such as undermount or farmhouse sinks. This makes them a great option for those on a budget or looking to save money on their kitchen renovation. Furthermore, top mount sinks can be installed on any type of countertop material, including laminate, granite, and quartz. This versatility makes them a practical choice for any kitchen design.
Easy Installation and Maintenance
 One of the biggest benefits of a
top mount kitchen sink
is its simple installation process. Unlike undermount sinks, which require precise cutting and sealing of the countertop, top mount sinks can be easily installed without any special tools or skills. This makes it a great DIY project for those who are handy around the house.
In terms of maintenance, top mount sinks are also a practical choice. The raised edges prevent water and food particles from getting trapped underneath, making it easier to clean and preventing the growth of bacteria. Plus, with proper care and maintenance, a top mount kitchen sink can last for many years to come.
One of the biggest benefits of a
top mount kitchen sink
is its simple installation process. Unlike undermount sinks, which require precise cutting and sealing of the countertop, top mount sinks can be easily installed without any special tools or skills. This makes it a great DIY project for those who are handy around the house.
In terms of maintenance, top mount sinks are also a practical choice. The raised edges prevent water and food particles from getting trapped underneath, making it easier to clean and preventing the growth of bacteria. Plus, with proper care and maintenance, a top mount kitchen sink can last for many years to come.
Conclusion
 In conclusion, a top mount kitchen sink offers a great combination of style, functionality, and affordability. It maximizes space, is versatile, easy to install, and simple to maintain. So, if you're looking to upgrade your kitchen sink, consider choosing a top mount sink for a beautiful and functional addition to your home.