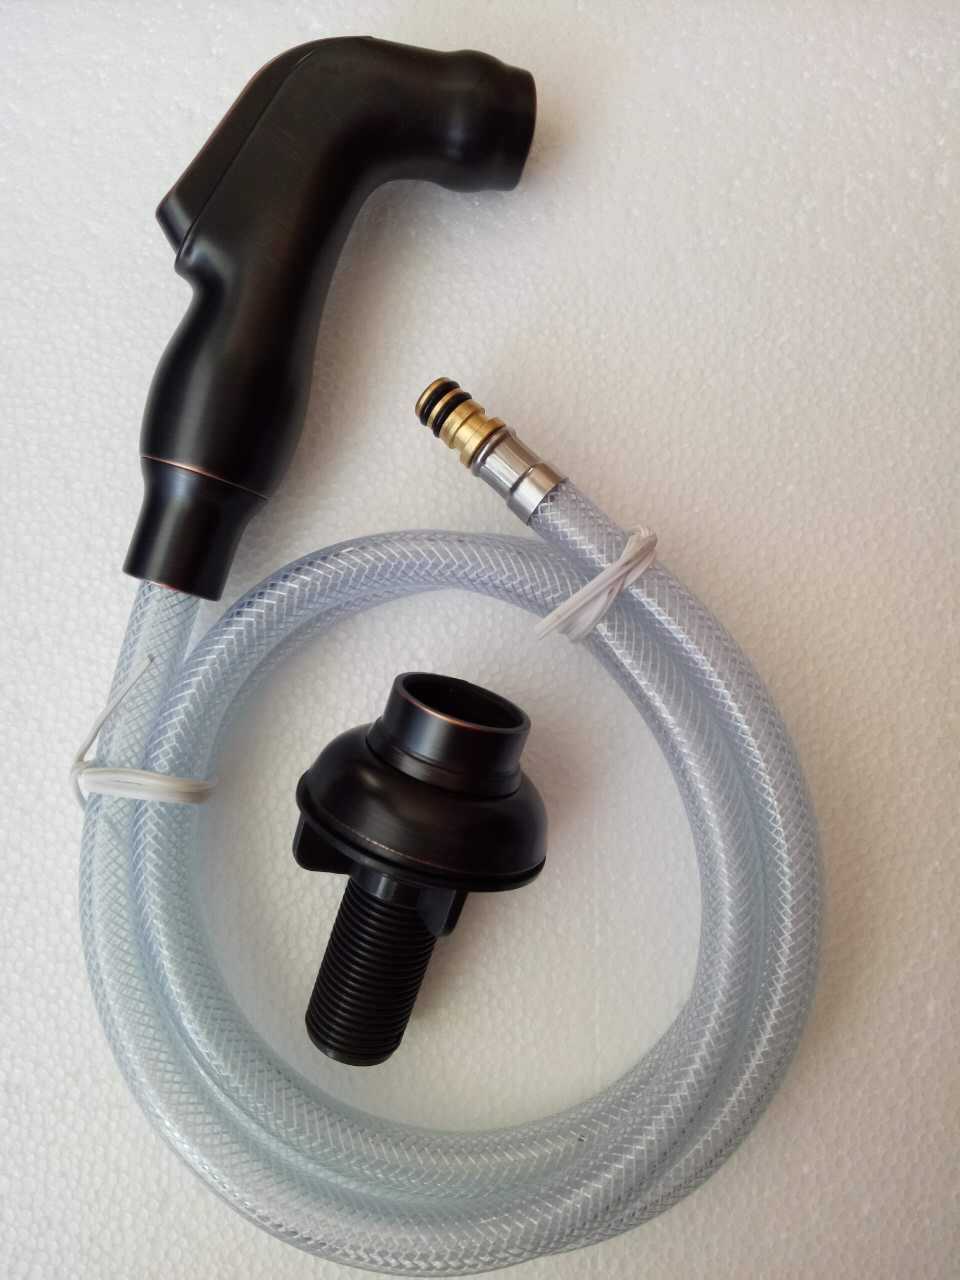
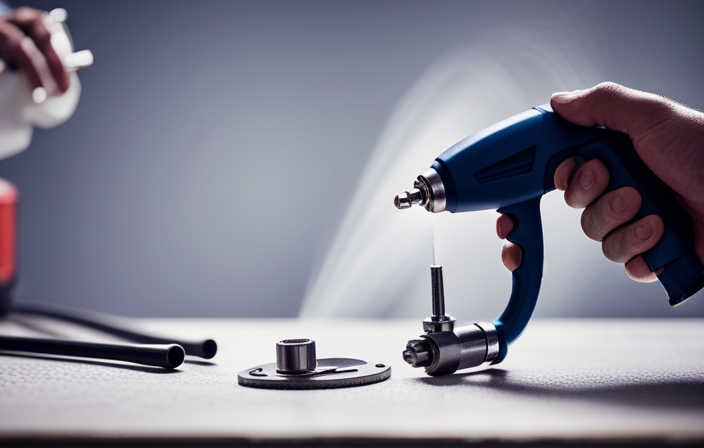
A kitchen sink sprayer nozzle is an essential tool for any busy household. It helps to make washing dishes and cleaning up easier and more efficient. However, over time, the nozzle may become clogged or damaged, and you may need to disassemble it for cleaning or repair. In this article, we will guide you through the process of disassembling a kitchen sink sprayer nozzle, step-by-step.How to Disassemble a Kitchen Sink Sprayer Nozzle
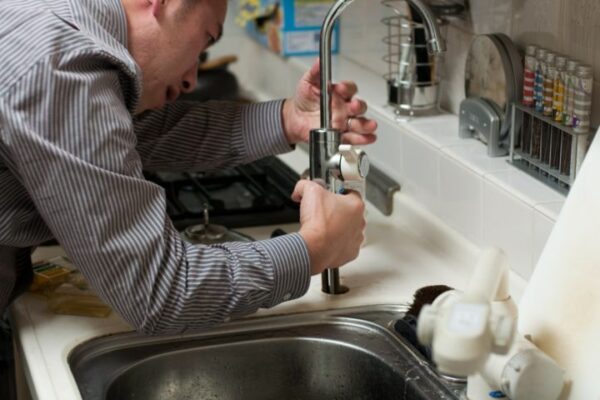
Taking apart a kitchen sink sprayer nozzle may seem like a daunting task, but with the right tools and knowledge, it can be a simple and straightforward process. Follow these steps to successfully disassemble your sprayer nozzle: Step 1: Gather your tools Before you begin, make sure you have all the necessary tools for the job. These may include pliers, a screwdriver, and a small brush for cleaning. It's also a good idea to have a towel or cloth on hand to clean up any water or debris that may come out during the disassembly process. Step 2: Shut off the water supply The first and most important step is to shut off the water supply to your kitchen sink. This will prevent any water from spraying out and making a mess while you are working. Look for the shut-off valves under the sink and turn them clockwise to shut off the water flow. Step 3: Remove the sprayer head Next, you will need to remove the sprayer head from the hose. Most sprayer heads can be easily twisted off by hand, but if yours is stuck, you can use pliers to loosen it. Be careful not to damage the threads on the hose or the sprayer head while doing this. Step 4: Disassemble the sprayer head Once you have removed the sprayer head, you can begin to disassemble it. Look for any screws or clips that may be holding the head together and remove them. Then, gently pull the head apart, being careful not to lose any small parts that may fall out. Step 5: Clean the parts Now that you have the sprayer head disassembled, you can clean each part thoroughly. Use a small brush to remove any debris or buildup from the nozzle and other components. You can also soak the parts in warm, soapy water for a deeper clean. Step 6: Inspect for damage While you have the sprayer head apart, take the time to inspect each part for any damage or wear and tear. Look for cracks, holes, or other signs of damage that may need to be addressed before reassembling the nozzle. Step 7: Reassemble the sprayer head Once you have cleaned and inspected all the parts, it's time to put the sprayer head back together. Follow the same steps in reverse, making sure all the parts fit together correctly and any screws or clips are secure. Step 8: Reattach the sprayer head to the hose With the sprayer head reassembled, you can now reattach it to the hose. Make sure the threads are lined up correctly and gently twist the head onto the hose. If it feels tight or difficult to twist, you may need to use pliers again, but be careful not to damage the threads. Step 9: Turn the water supply back on Once everything is reassembled, you can turn the water supply back on. Test the sprayer nozzle to make sure it is working correctly and adjust the water pressure if necessary.Step-by-Step Guide to Taking Apart a Kitchen Sink Sprayer Nozzle
If you prefer a visual guide, you can also find many helpful DIY tutorials online for removing and disassembling a kitchen sink sprayer nozzle. These tutorials may include step-by-step videos or images to make the process even easier to follow.Removing a Kitchen Sink Sprayer Nozzle: A DIY Tutorial
Here are a few additional tips and tricks to keep in mind when disassembling a kitchen sink sprayer nozzle: - Use a toothbrush or small brush to clean hard-to-reach areas of the sprayer head.Disassembling a Kitchen Sink Sprayer Nozzle: Tips and Tricks
- If the sprayer head is stuck, try using a lubricant such as WD-40 to loosen it.
- Take pictures as you disassemble the nozzle to help you remember how to put it back together.
- If your sprayer nozzle is damaged beyond repair, consider replacing it with a new one instead of trying to fix it.
When it comes to disassembling a kitchen sink sprayer nozzle, there are a few important things to keep in mind: - Always turn off the water supply before attempting to remove the sprayer head.Kitchen Sink Sprayer Nozzle Disassembly: What You Need to Know
- Be gentle when using tools to avoid damaging the sprayer head or hose.
- Take your time and follow the steps carefully to avoid making any mistakes.
- If you are unsure about any part of the process, consult a professional plumber.
Disassembling a kitchen sink sprayer nozzle may seem like a daunting task, but with the right tools and knowledge, it can be a simple and easy process. By following our step-by-step guide and tips, you can quickly and successfully take apart your sprayer nozzle for cleaning or repair.Easy Ways to Take Apart a Kitchen Sink Sprayer Nozzle
While disassembling a kitchen sink sprayer nozzle is a relatively simple process, there are a few common mistakes that you should avoid: - Forgetting to shut off the water supply before removing the sprayer head.Disassembling a Kitchen Sink Sprayer Nozzle: Common Mistakes to Avoid
- Using too much force and causing damage to the sprayer head or hose.
- Losing small parts during the disassembly process.
- Rushing through the steps and making mistakes.
To summarize, here are the step-by-step instructions for disassembling a kitchen sink sprayer nozzle: Step 1: Gather your toolsStep-by-Step Instructions for Disassembling a Kitchen Sink Sprayer Nozzle
Step 2: Shut off the water supply
Step 3: Remove the sprayer head
Step 4: Disassemble the sprayer head
Step 5: Clean the parts
Step 6: Inspect for damage
Step 7: Reassemble the sprayer head
Step 8: Reattach the sprayer head to the hose
Step 9: Turn the water supply back on
If you're looking for a quick and easy way to take apart a kitchen sink sprayer nozzle, follow these simple steps: Step 1: Shut off the water supplyHow to Take Apart a Kitchen Sink Sprayer Nozzle in 5 Simple Steps
Step 2: Remove the sprayer head
Step 3: Clean the parts
Step 4: Inspect for damage
Step 5: Reassemble and reattach the sprayer head
If you encounter any problems during the disassembly process, here are some troubleshooting tips to help you out: - If the sprayer head is stuck, try using pliers to twist it off gently. With these tips and our step-by-step guide, you can confidently disassemble your kitchen sink sprayer nozzle and keep it in good working condition. Remember to always take your time and be gentle when handling the parts to avoid causing any damage. And if you encounter any difficulties, don't hesitate to seek help from a professional. Happy disassembling!Disassembling a Kitchen Sink Sprayer Nozzle: Troubleshooting Common Issues
- If the sprayer nozzle is clogged, soak it in warm, soapy water for a few minutes before cleaning.
- If you notice any damage while inspecting the parts, consider replacing the sprayer nozzle instead of trying to fix it.
- If you are unsure about any part of the process, consult a professional plumber.
How to Disassemble a Kitchen Sink Sprayer Nozzle

Step 1: Gather Your Tools
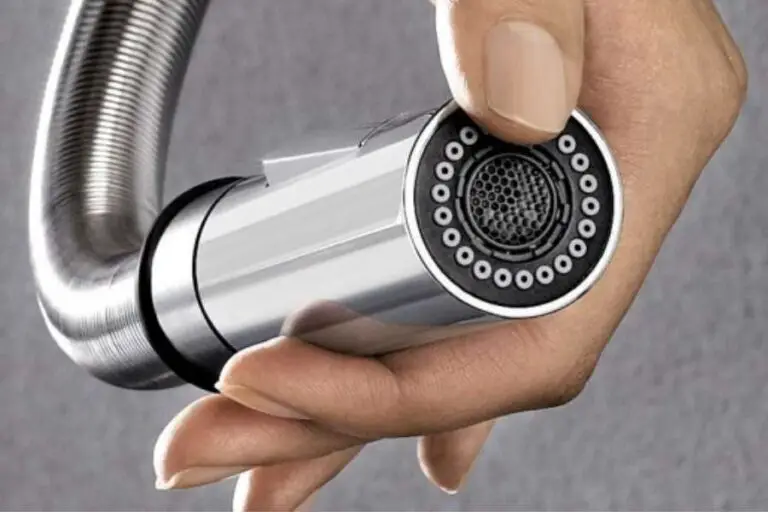 Before you begin the process of disassembling your kitchen sink sprayer nozzle, it is important to gather all the necessary tools. This will save you time and prevent any frustration during the process. You will need a pair of pliers, a screwdriver, a cloth, and a small bowl or container to hold the small parts.
Step 2: Turn off the Water Supply
 Before starting any work on your sink sprayer nozzle, make sure to turn off the water supply. This will prevent any water from spraying out and getting you wet. The water supply can usually be turned off by twisting the valve located under the sink.
Step 3: Remove the Sprayer Head
 Next, you will need to remove the sprayer head from the hose. To do this, simply twist the sprayer head counterclockwise until it comes off. If the sprayer head is stuck, you can use pliers to help loosen it. Be careful not to damage the sprayer head while using the pliers.
Step 4: Take Apart the Nozzle
 With the sprayer head removed, you can now take apart the nozzle. Use a screwdriver to remove the screws holding the nozzle together. Once the screws are removed, carefully separate the different parts of the nozzle and place them in the small bowl or container. Make sure to keep track of the order in which the parts are removed, as you will need to reassemble them in the same order later.
Step 5: Clean the Parts
 Now that the nozzle is disassembled, it is a good time to clean all the parts. Use a cloth to wipe away any dirt or debris that may have accumulated. You can also use a small brush to clean any hard-to-reach areas. Make sure to dry the parts thoroughly before reassembling them.
Step 6: Reassemble the Nozzle
 Once the parts are clean and dry, you can reassemble the nozzle. Make sure to put the parts back together in the same order that you took them apart. Use the screwdriver to reattach the screws and make sure they are tight.
Step 7: Reattach the Sprayer Head
 With the nozzle reassembled, it is time to reattach the sprayer head to the hose. Simply twist the sprayer head back onto the hose in a clockwise direction. Use the pliers to make sure it is securely attached.
Step 8: Turn on the Water Supply
 Finally, turn the water supply back on and test your sprayer nozzle to make sure it is working properly. If there are any issues, you may need to disassemble the nozzle again and make sure all the parts are properly aligned and tightened.
Congratulations, you have successfully disassembled and cleaned your kitchen sink sprayer nozzle! With regular maintenance and cleaning, your sprayer nozzle should continue to function properly for years to come.

