If you're looking to give your living room a new and stylish look, tiling the walls is a great option. Not only is it a durable and practical choice, but it also adds a touch of elegance and sophistication to your space. However, tiling a living room wall may seem like a daunting task for those who have never done it before. But with the right tools and some basic knowledge, you can easily achieve a professional-looking finish. Follow this step-by-step guide to learn how to tile your living room walls like a pro.Tiling a Living Room Wall: A Step-by-Step Guide


Tiling a Living Room Wall: A Step-by-Step Guide


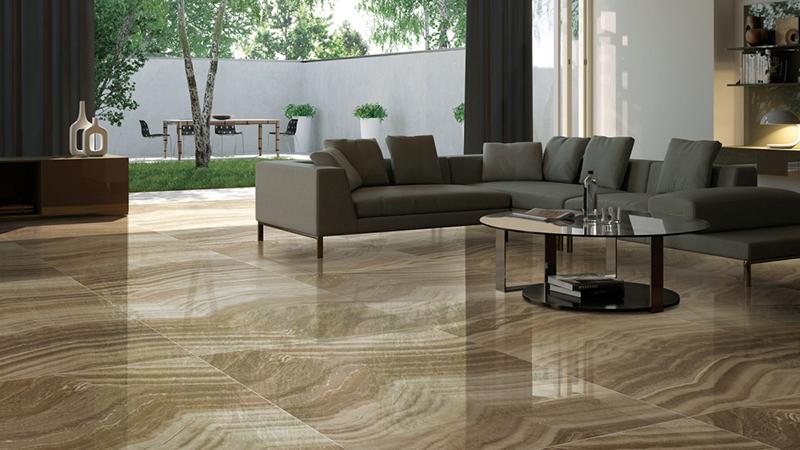

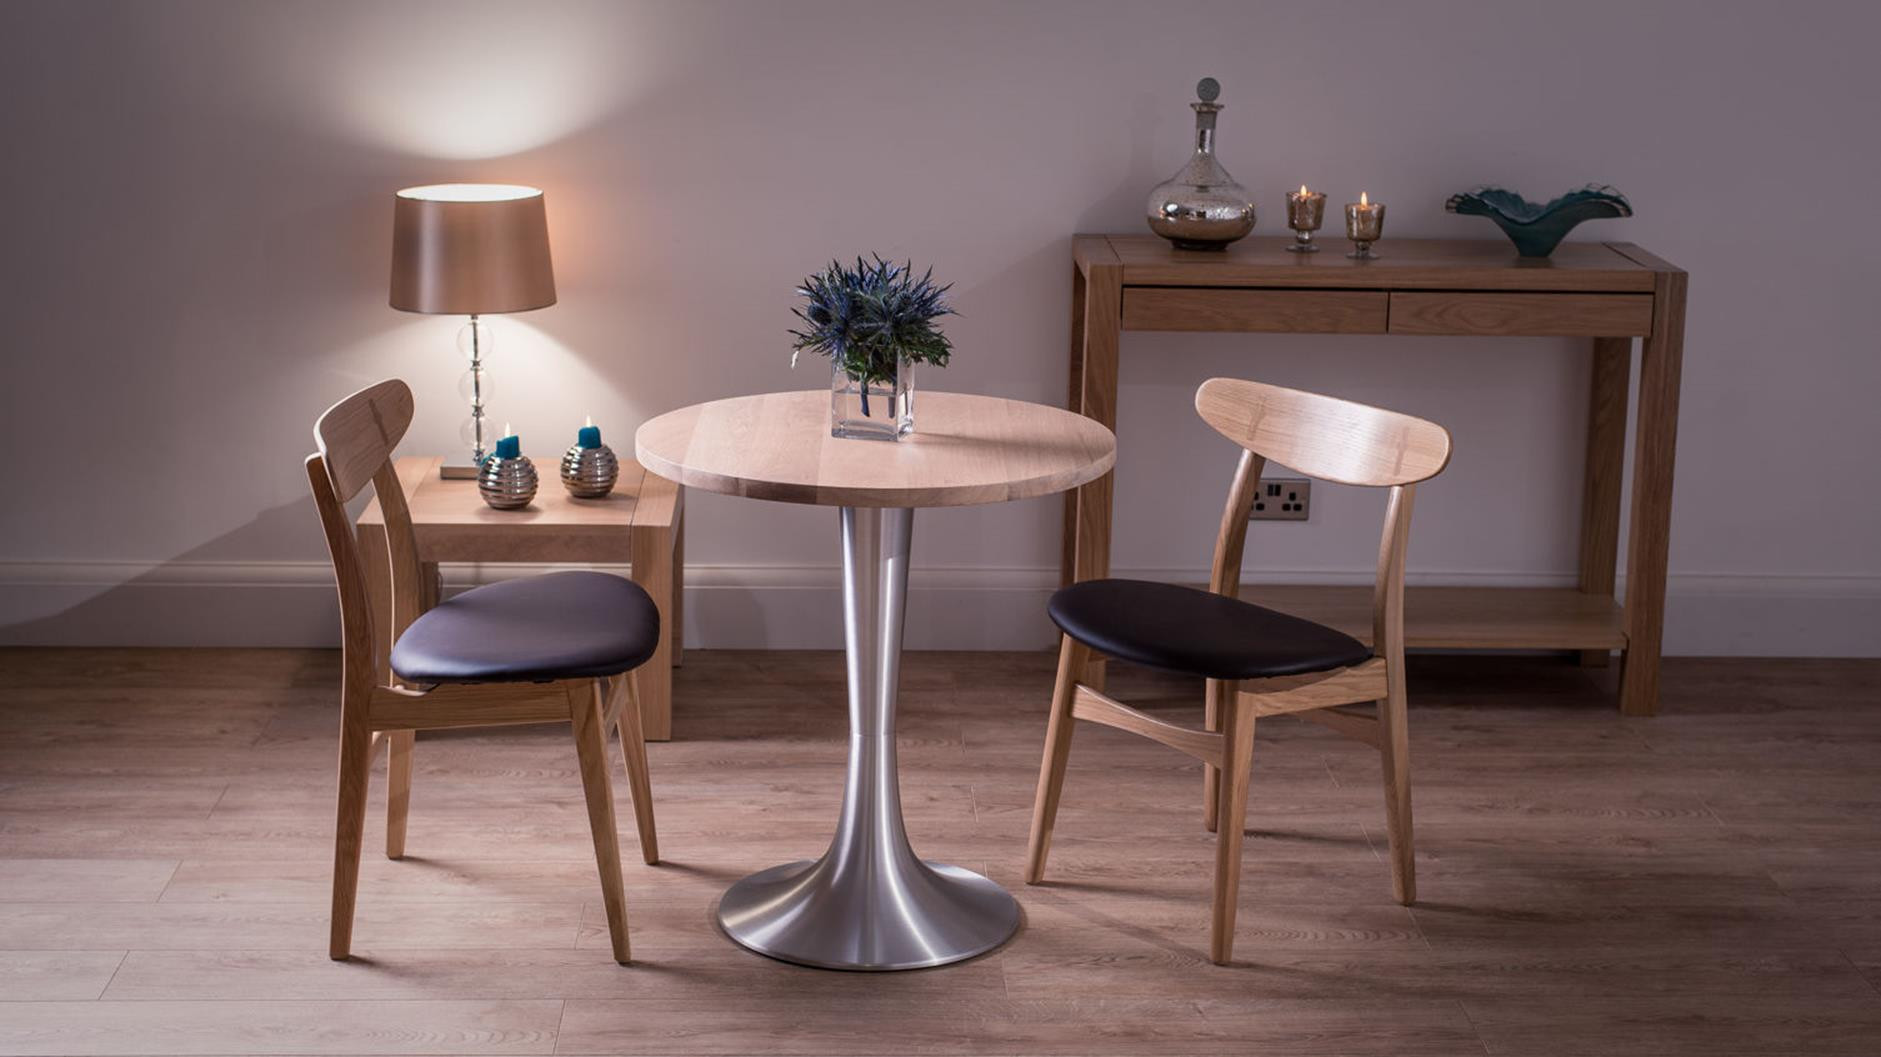
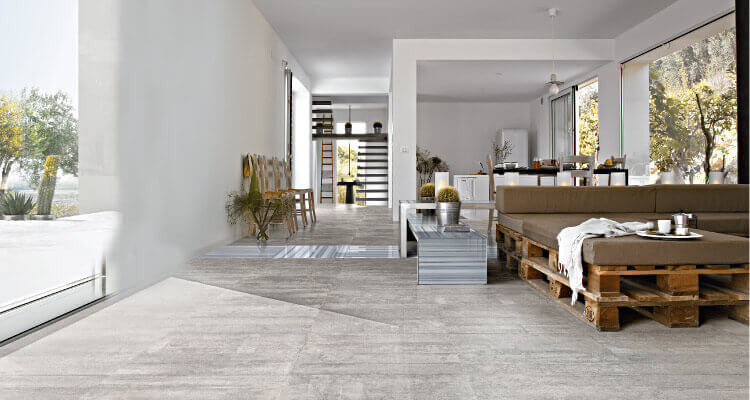
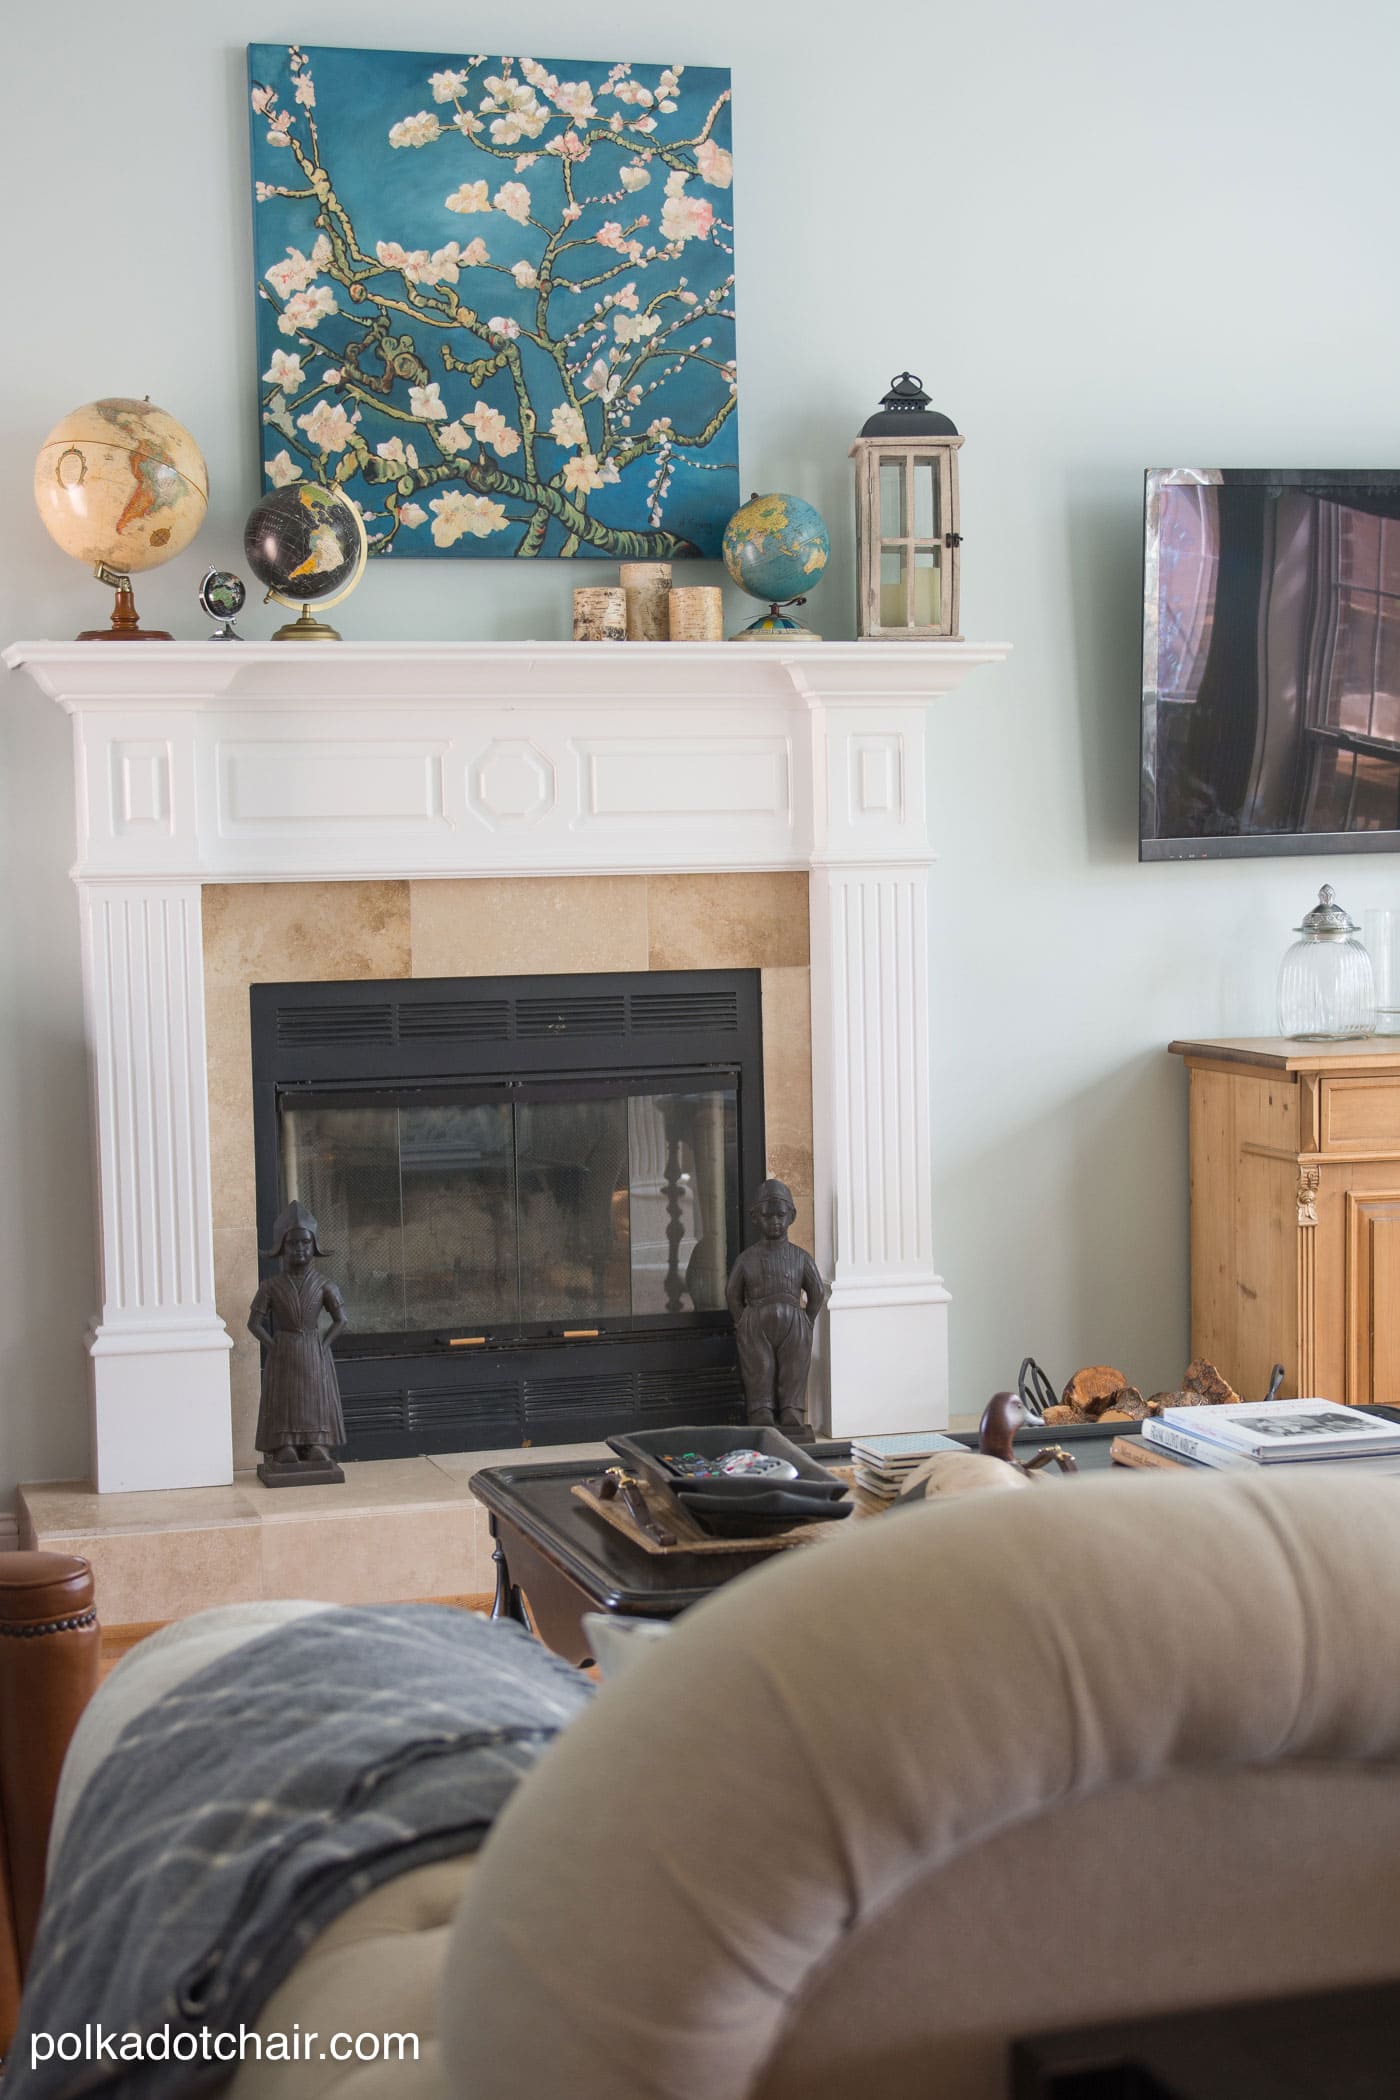
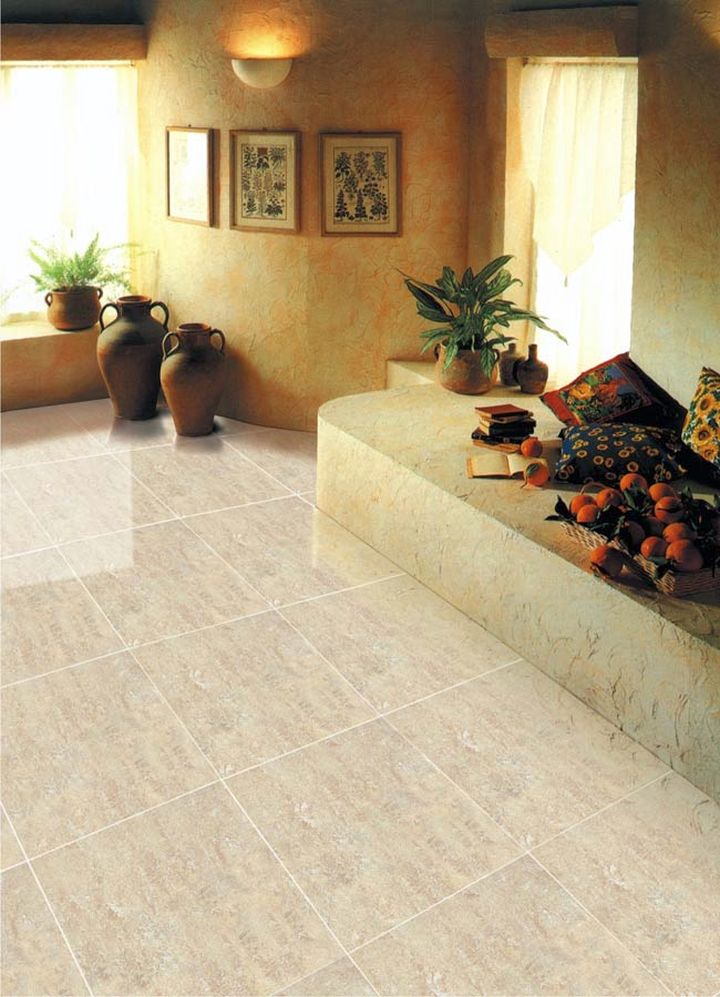
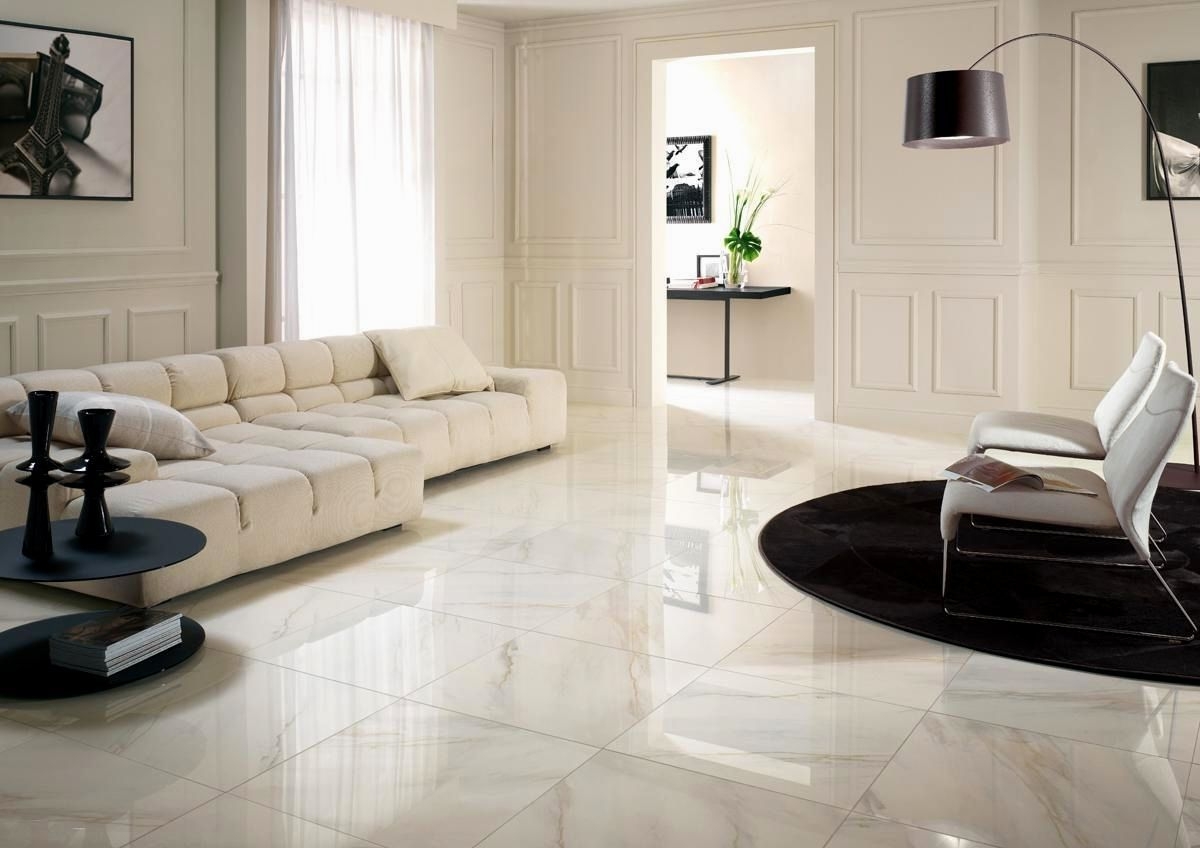
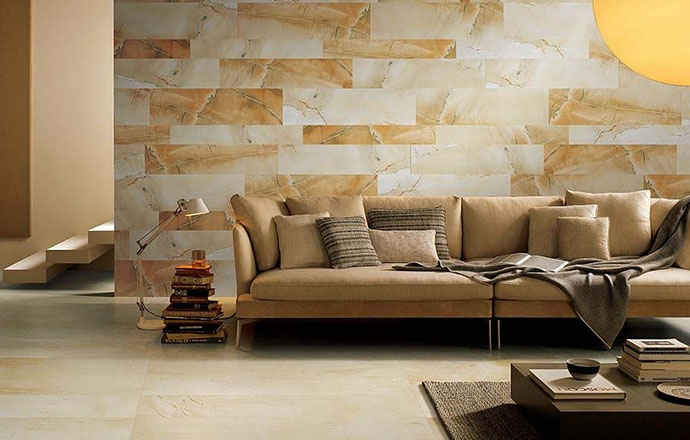
The first step in tiling your living room walls is choosing the right tiles. There are various options available in the market, such as ceramic, porcelain, natural stone, and glass tiles. Consider the overall theme and style of your living room and choose tiles that complement it. If you're going for a modern look, opt for sleek and glossy tiles, while for a more traditional feel, go for textured or patterned tiles. Also, consider the size and color of the tiles to ensure it fits well with your living room's dimensions and color scheme.How to Choose the Right Tiles for Your Living Room Walls


How to Choose the Right Tiles for Your Living Room Walls


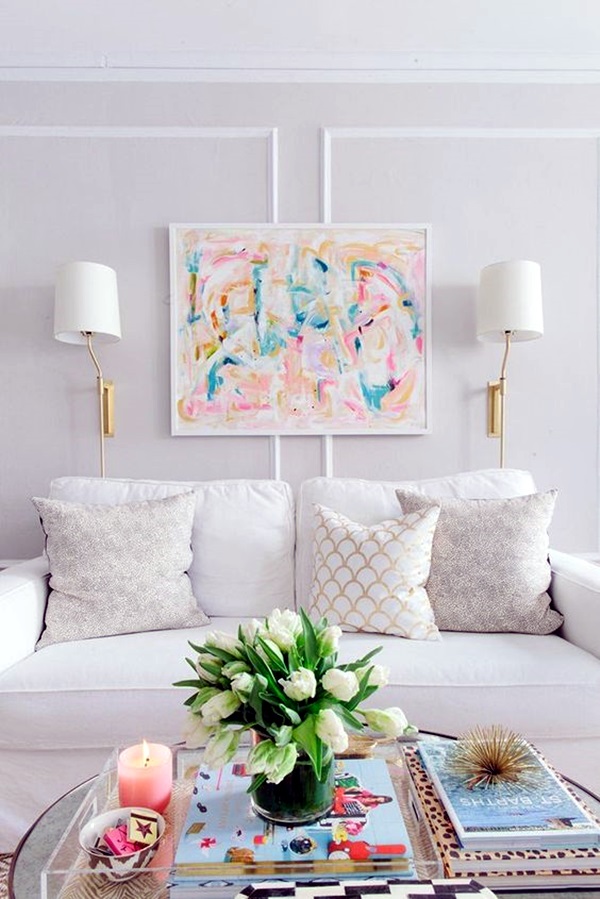
Tiling your living room walls not only adds aesthetic value but also has numerous practical benefits. Tiles are water-resistant, making them an ideal choice for areas prone to moisture, such as living rooms with large windows or near the kitchen. They are also easy to clean and maintain, making them a suitable option for busy households. Additionally, tiling your living room walls can increase the value of your home and make it more appealing to potential buyers.The Benefits of Tiling Your Living Room Walls

The Benefits of Tiling Your Living Room Walls


When it comes to tiling your living room walls, you have two options – doing it yourself or hiring a professional. While DIY may seem like a cost-effective option, it requires the right skills and tools to achieve a flawless finish. If you're a beginner, it's best to leave the job to the experts to avoid any costly mistakes. However, if you have experience and feel confident in your tiling abilities, you can save some money by doing it yourself.DIY vs Hiring a Professional for Tiling Living Room Walls


DIY vs Hiring a Professional for Tiling Living Room Walls


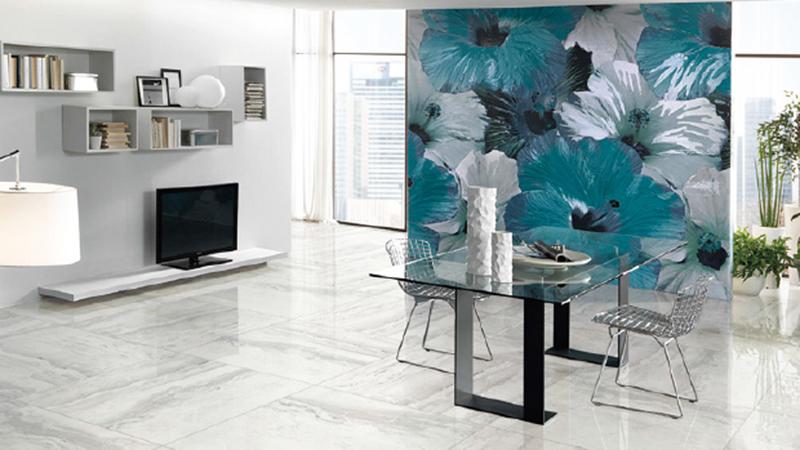
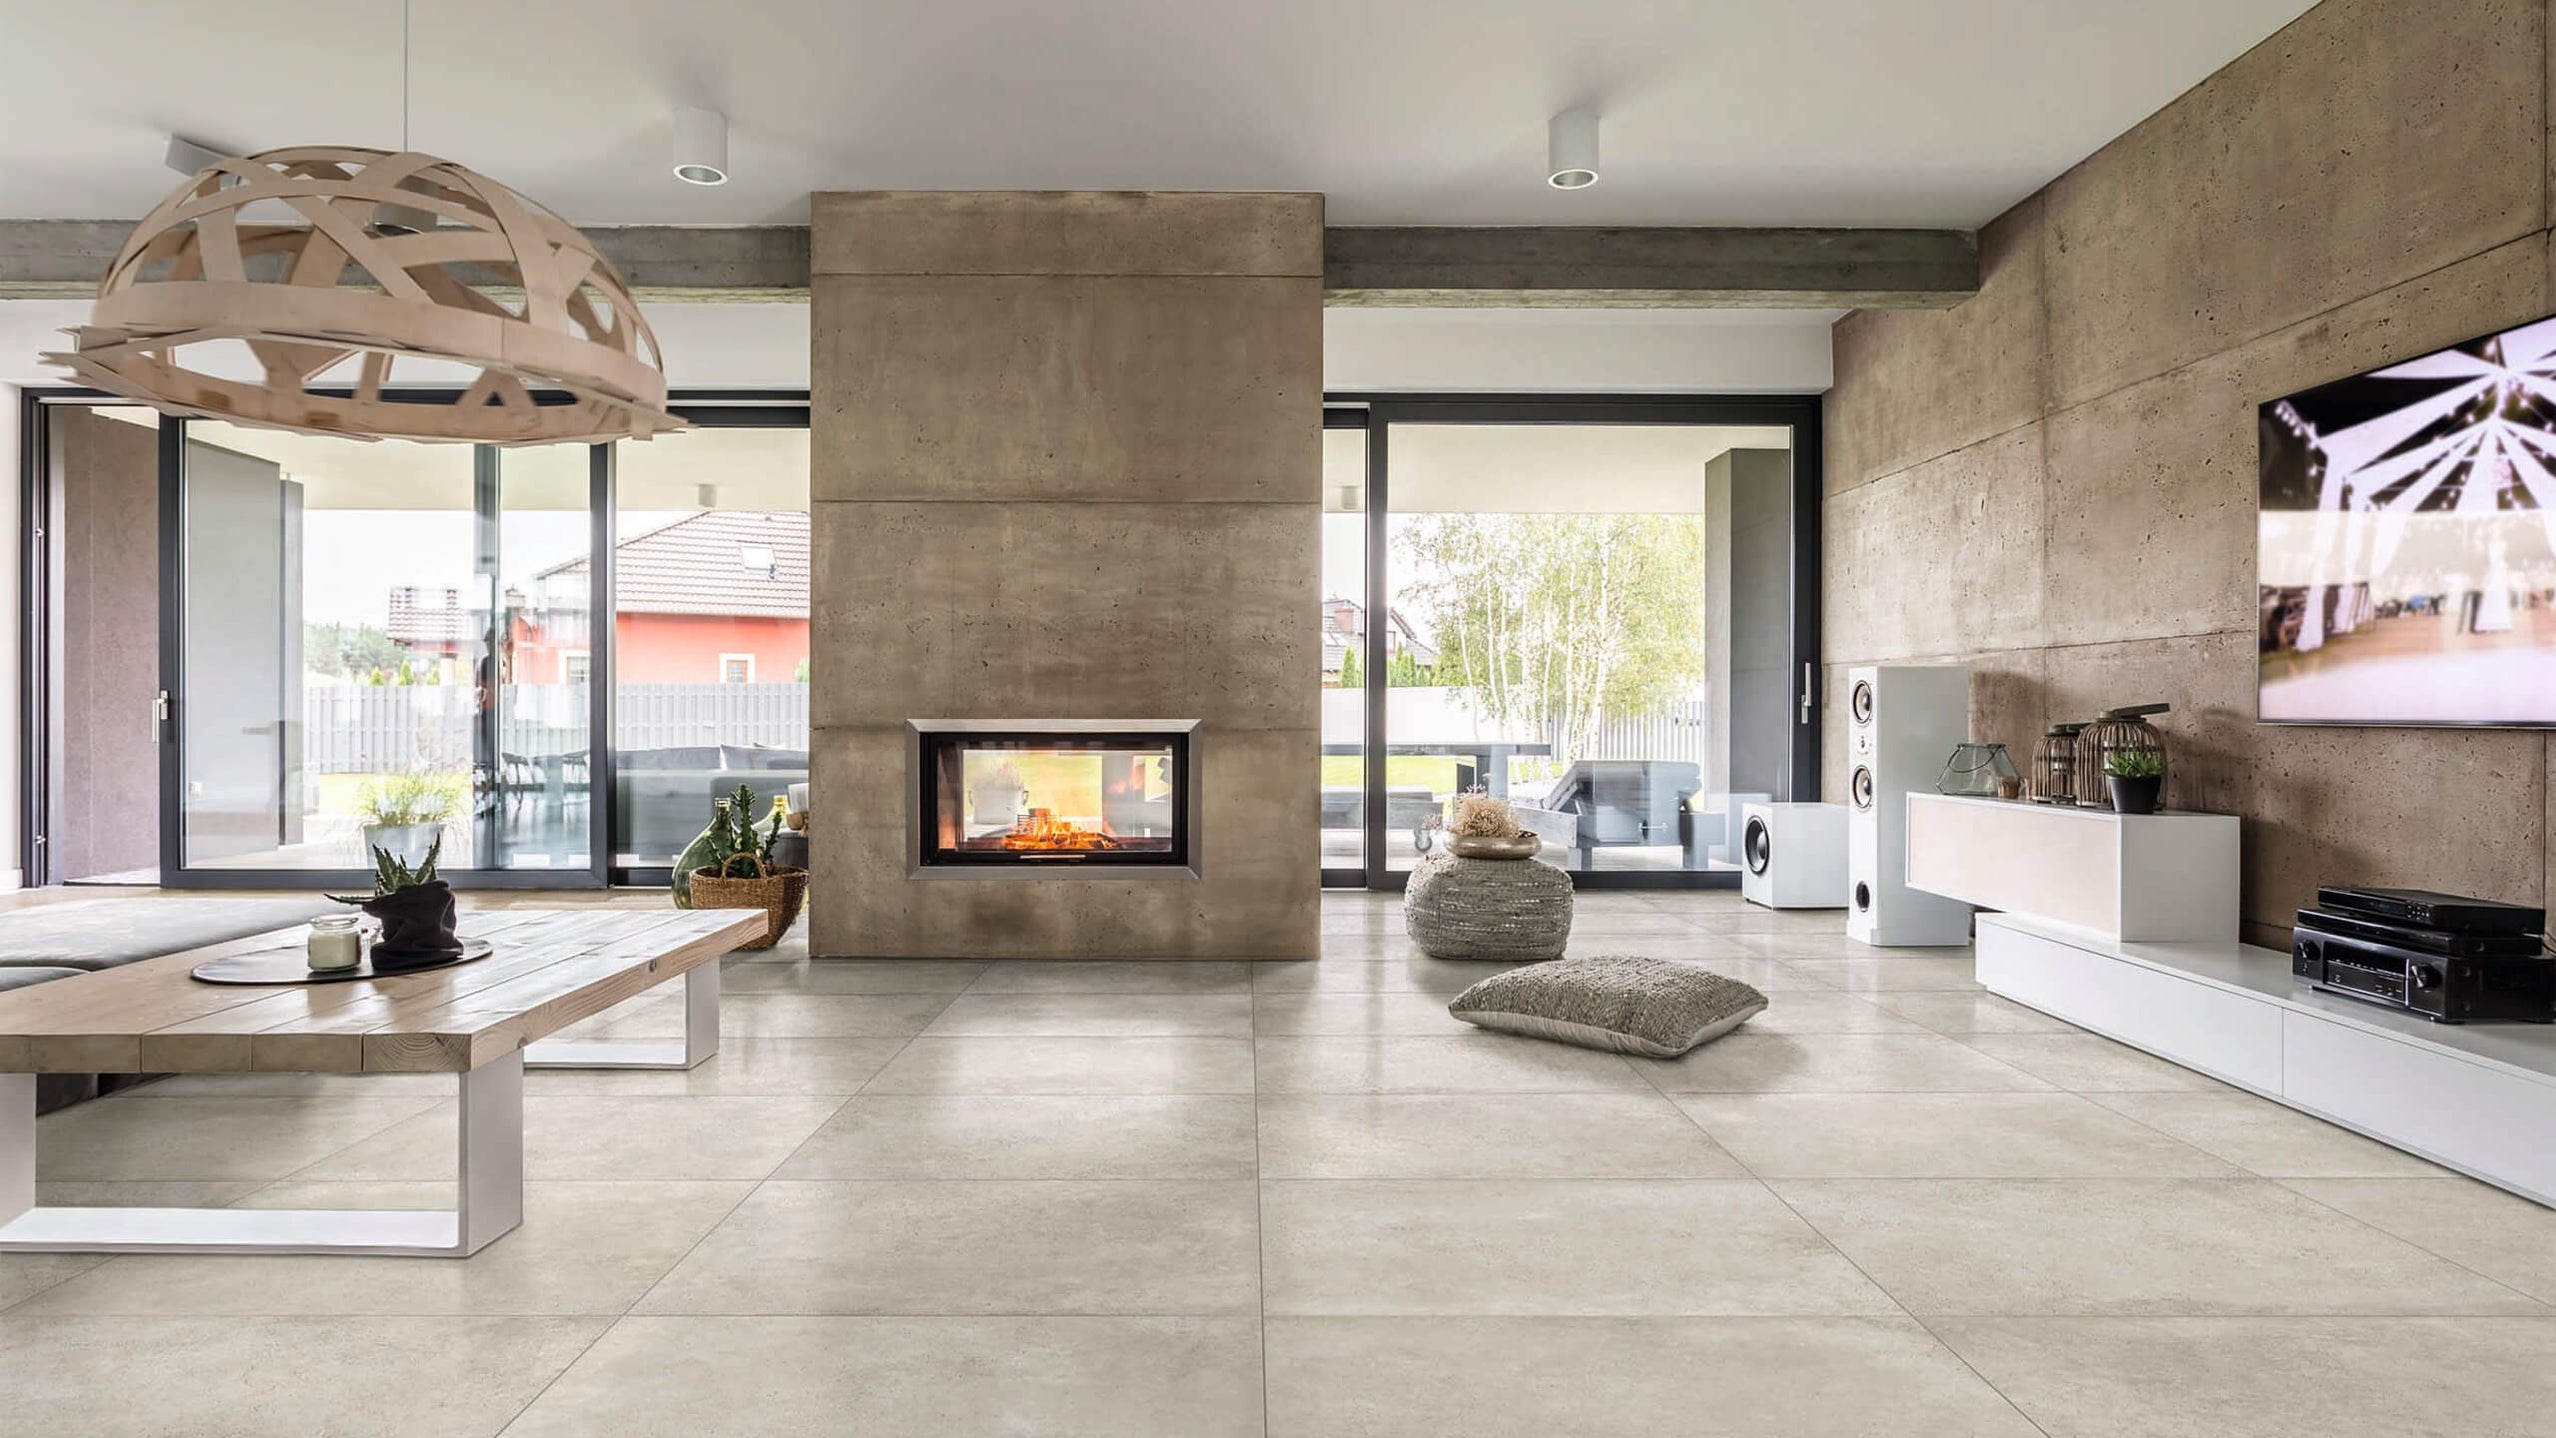
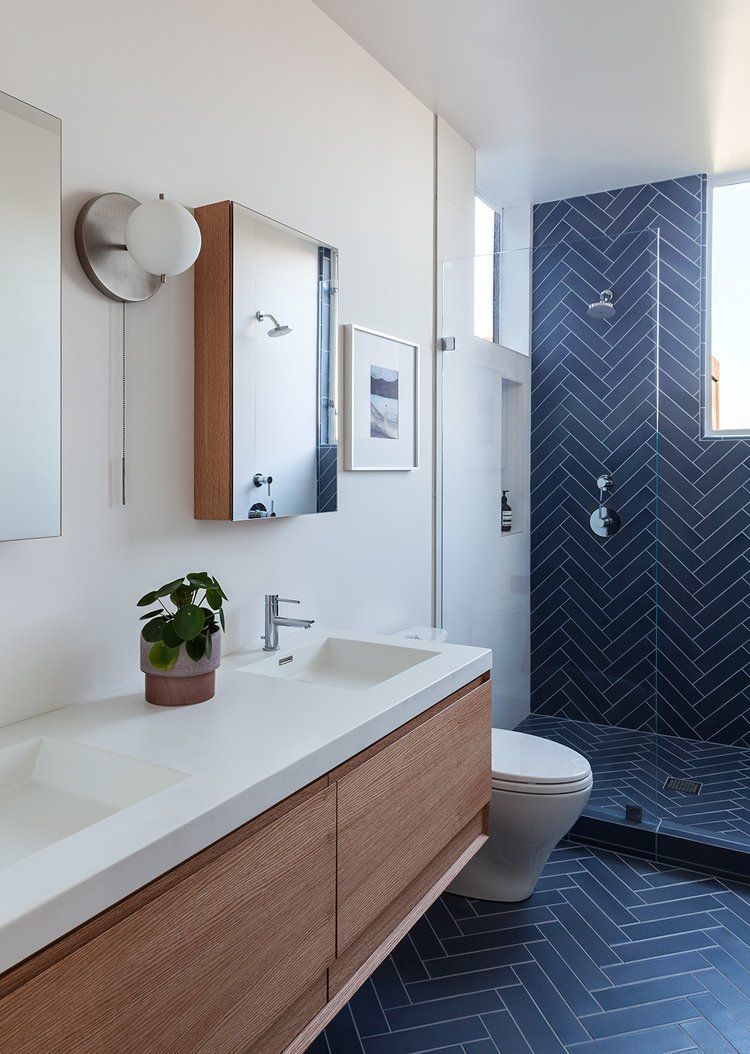
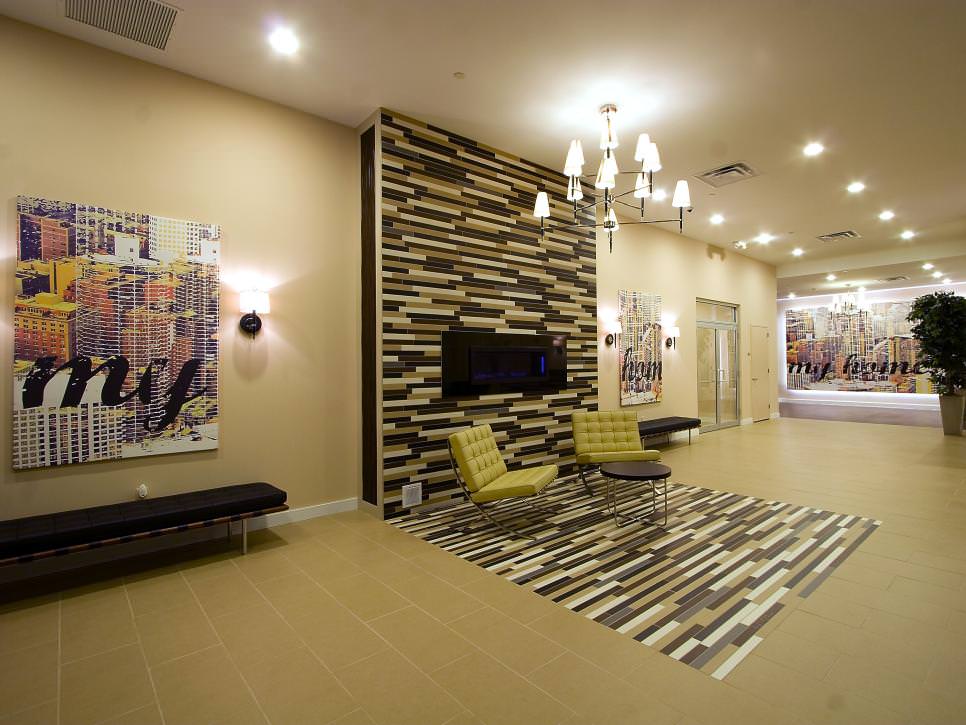
The pattern you choose for your living room walls can make a significant impact on the overall look and feel of the space. Some popular patterns for tiling living room walls include herringbone, subway, and basketweave. These patterns add texture and depth to the walls, creating a visually appealing and unique design. You can also mix and match different tile patterns to create a statement wall in your living room.Top Tiling Patterns for Living Room Walls

Top Tiling Patterns for Living Room Walls


Proper preparation is essential for a successful tiling project. Start by cleaning the walls thoroughly to remove any dirt, debris, or grease. If the walls are painted, sand them down lightly to create a rough surface for the tile adhesive to adhere to. Next, measure and mark the center point of the wall and use a level and chalk line to create a guideline for your tiles. It's also crucial to repair any cracks or holes in the walls before tiling.How to Prep Your Living Room Walls for Tiling


How to Prep Your Living Room Walls for Tiling


To achieve a professional-looking finish, you'll need the right tools for the job. Some essential tools for tiling living room walls include a notched trowel, tile cutter, grout float, and a tile spacer. You may also need a tile saw or wet saw if the tiles require cutting. It's essential to have all the tools ready and within reach before starting the tiling process to avoid any interruptions.The Best Tools for Tiling Your Living Room Walls


The Best Tools for Tiling Your Living Room Walls
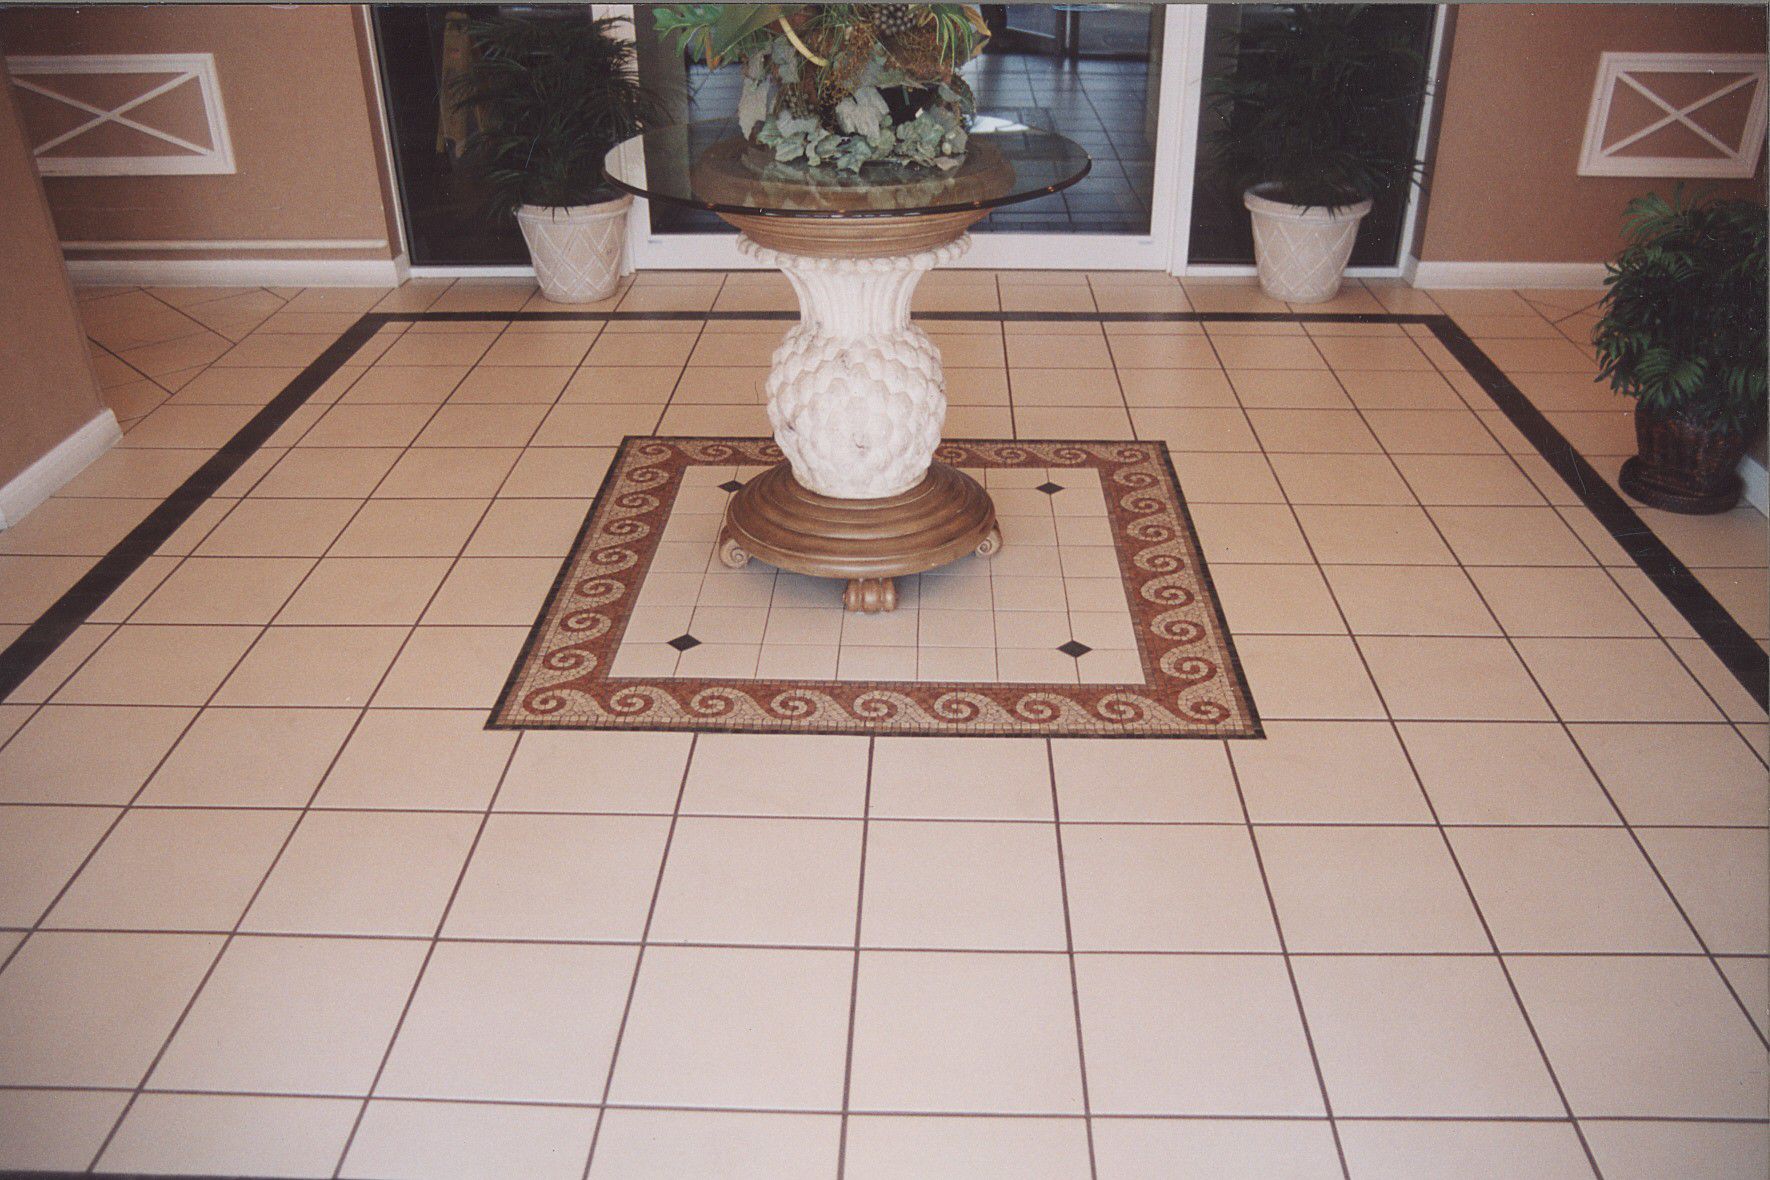
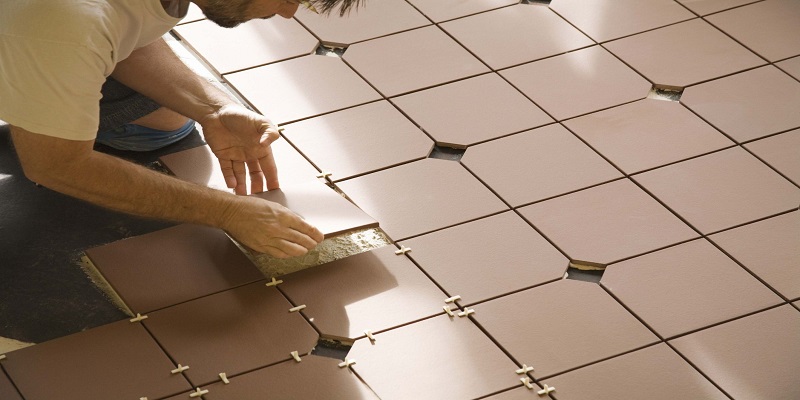
/construction-site-tile-floor-488952556-5887d0735f9b58bdb3846ccc.jpg)

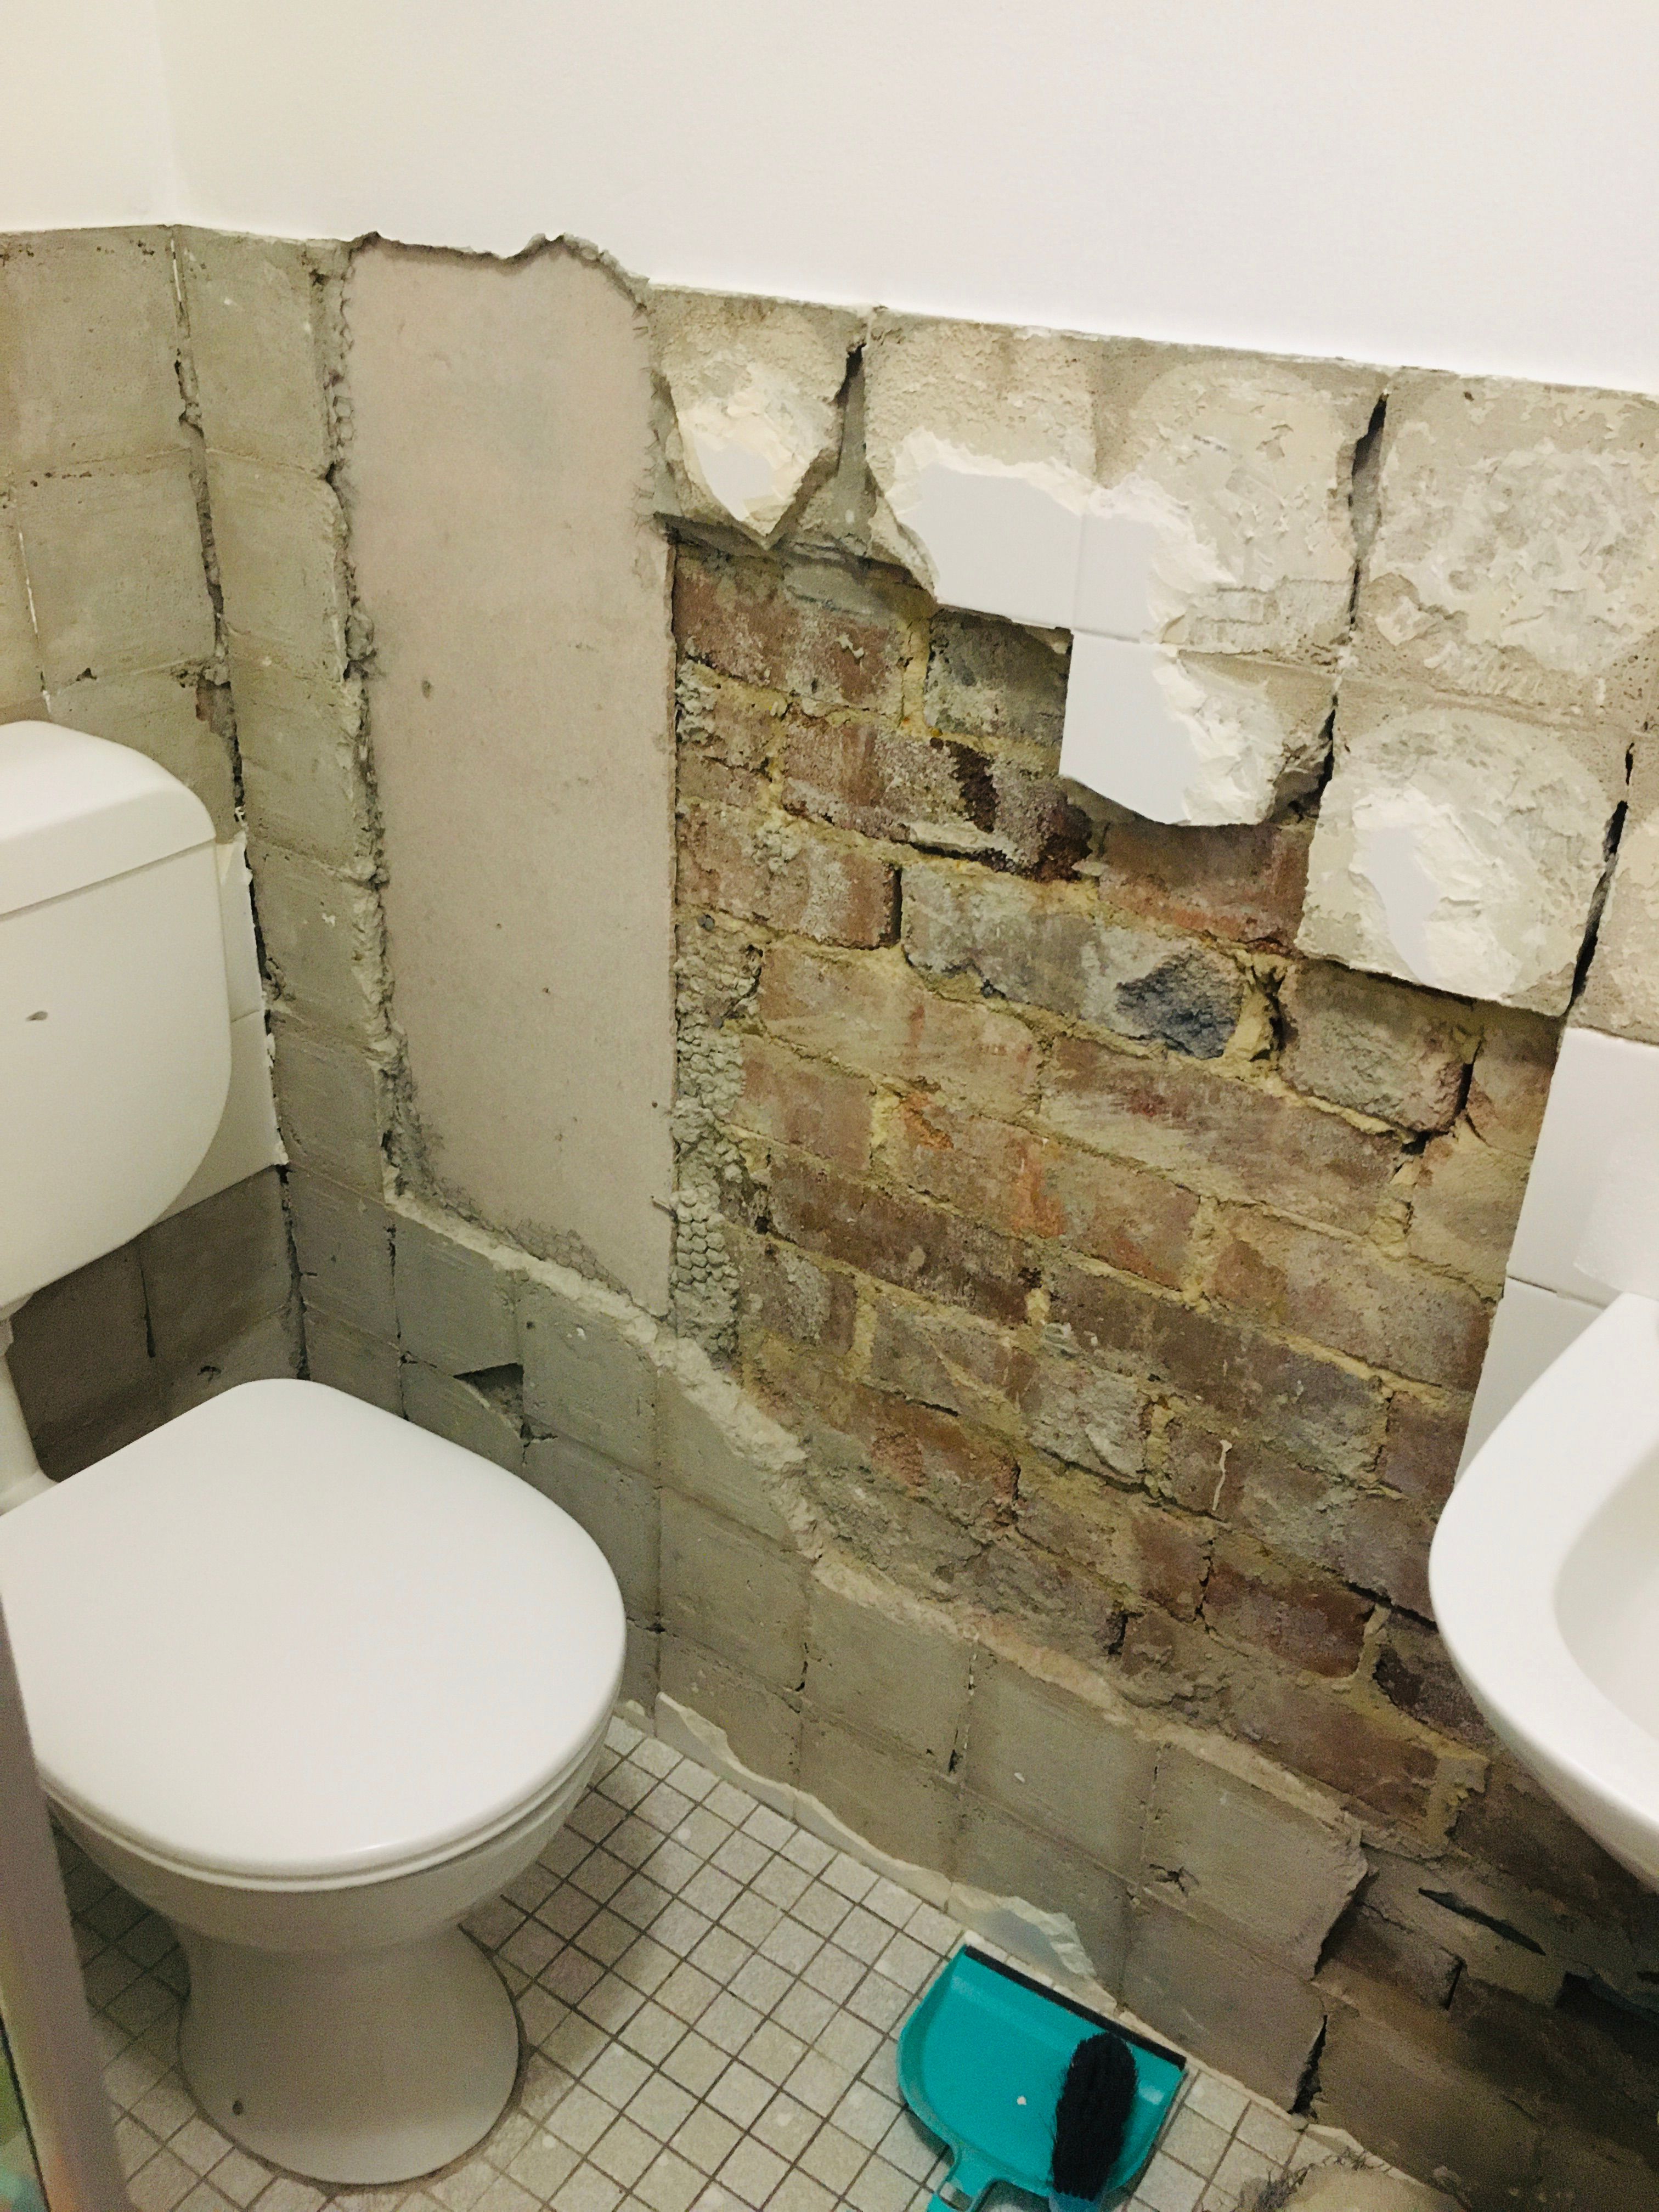
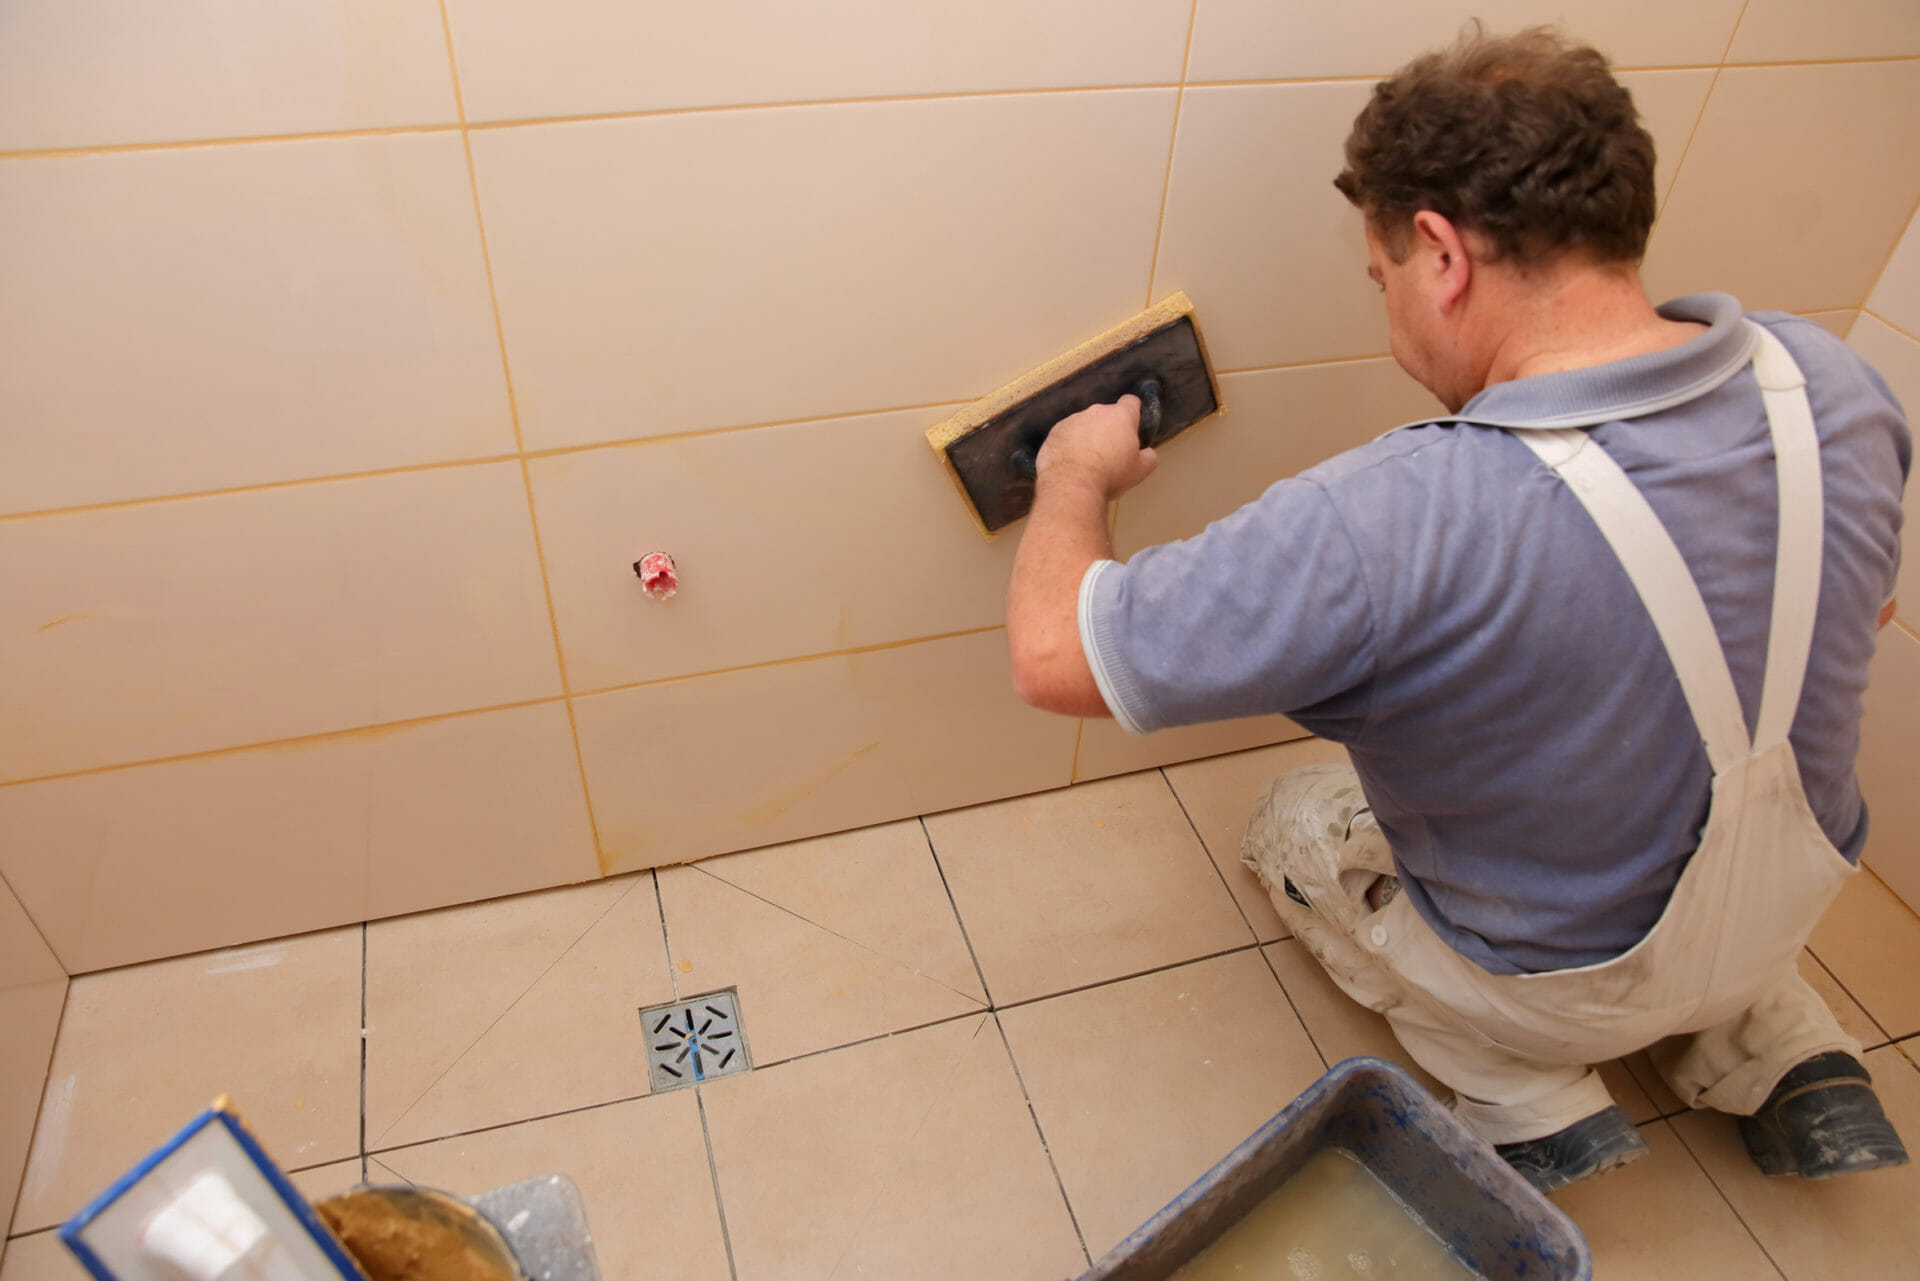
/Workman-Tiling-a-Shower-499630724-56a4a1a33df78cf7728353cc.jpg)
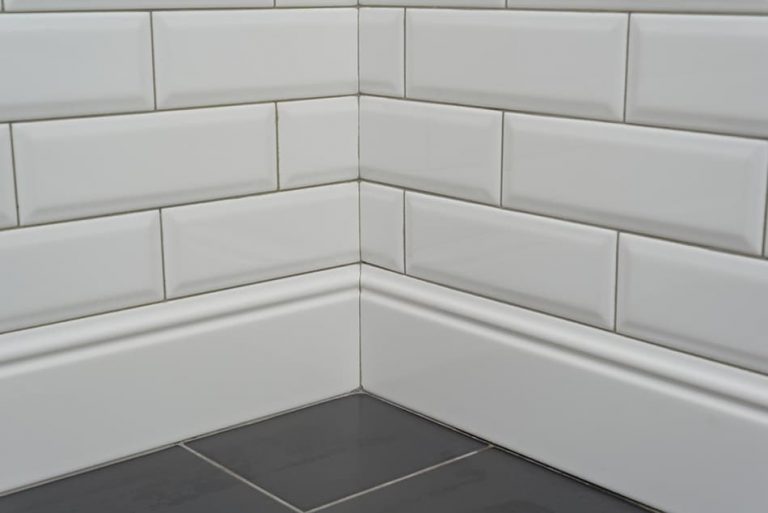
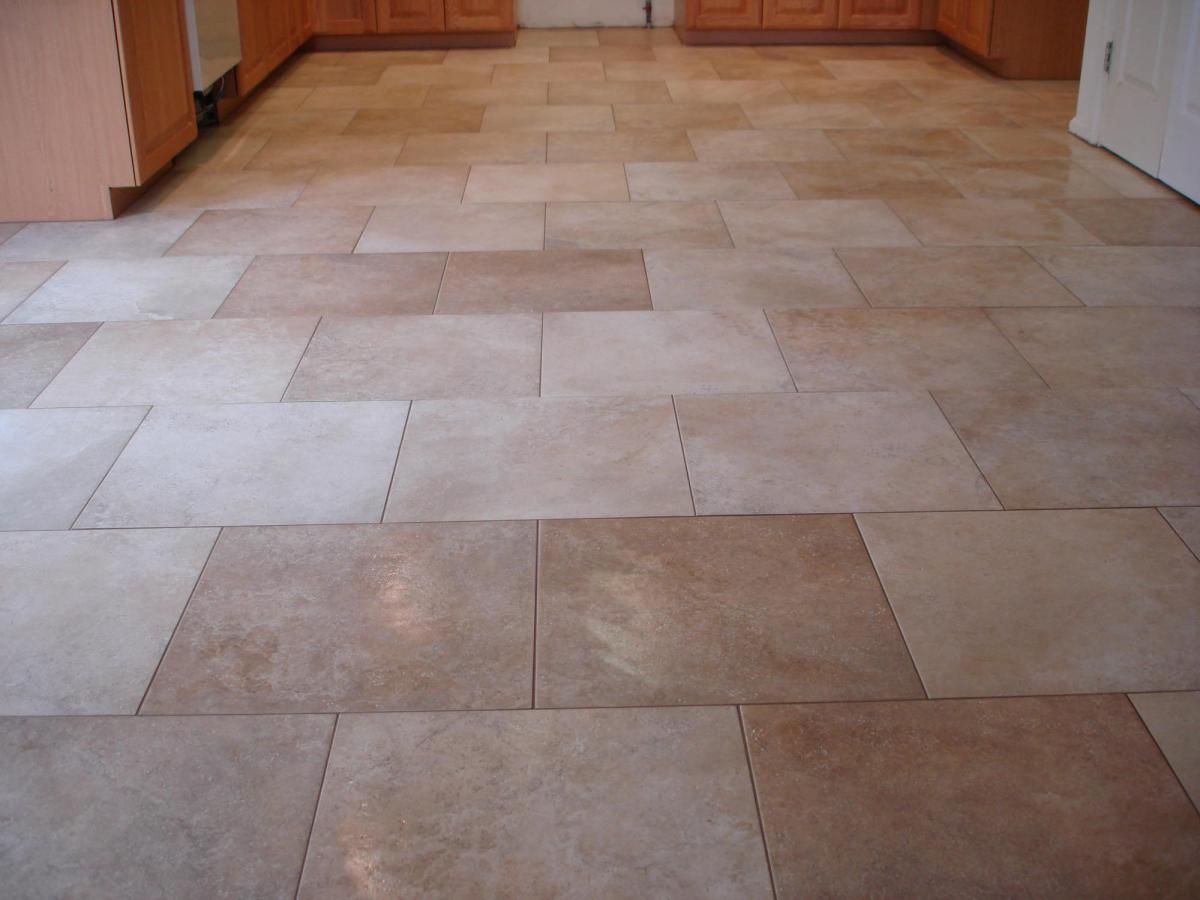
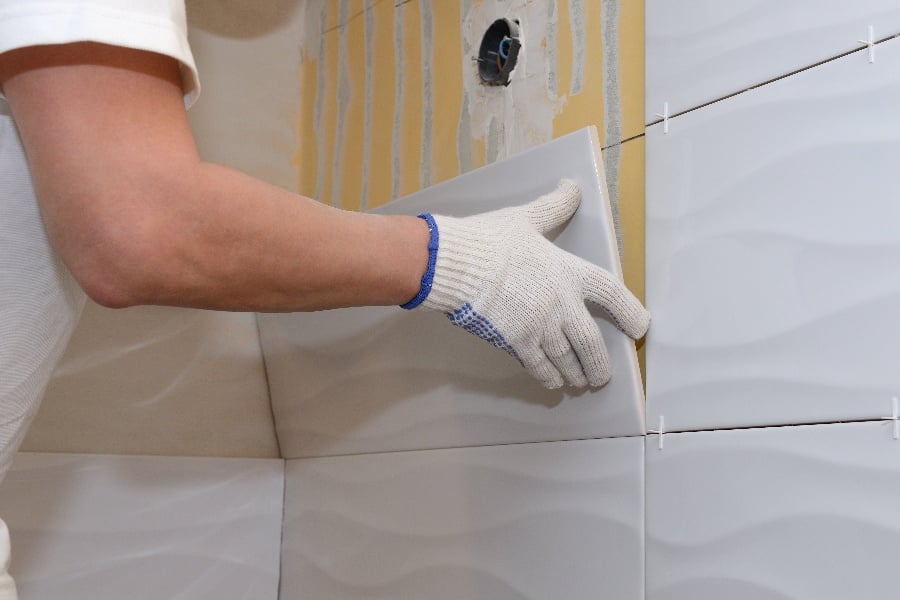
When cutting tiles, make sure to measure and mark accurately to avoid any mistakes. Use a manual tile cutter for straight cuts and a wet saw for curved or angled cuts. Before installing the tiles, spread a layer of tile adhesive on the wall using a notched trowel, and then press the tiles firmly into place. Use tile spacers to ensure even spacing between the tiles. It's also essential to constantly check the level and make any adjustments as needed.Tips for Cutting and Installing Tiles on Living Room Walls


Tips for Cutting and Installing Tiles on Living Room Walls


After the tiles are installed, allow the adhesive to dry for at least 24 hours before grouting. Mix the grout according to the manufacturer's instructions and use a grout float to spread it over the tiles. Make sure to fill in all the gaps and then wipe off any excess grout with a damp sponge. Once the grout is dry, apply a sealant to protect the tiles from stains and water damage. Reapply the sealant every few years to maintain the tiles' durability.How to Grout and Seal Your Living Room Wall Tiles


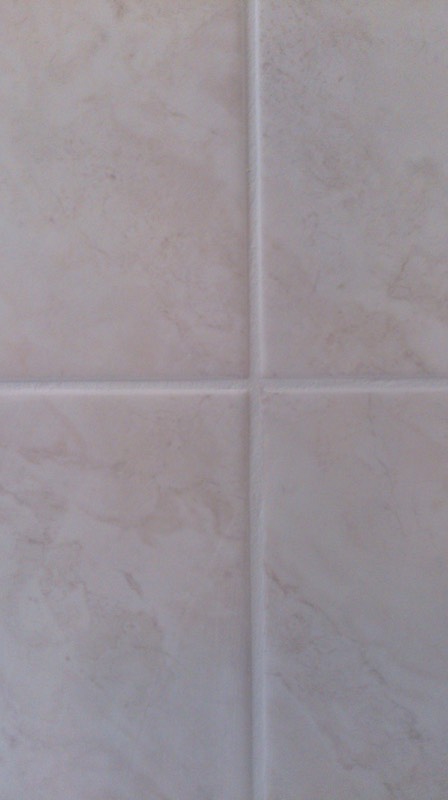
How to Grout and Seal Your Living Room Wall Tiles


Tiled living room walls are relatively low maintenance, but it's essential to clean them regularly to keep them looking their best. Use a mild, non-abrasive cleaner and a soft cloth to wipe down the tiles. Avoid using harsh chemicals or abrasive tools that can damage the tiles' surface. If you notice any dirt or grime buildup, use a grout brush to clean the grout lines. Regular maintenance will ensure that your tiled living room walls look beautiful for years to come.Maintaining and Cleaning Tiled Living Room Walls


Maintaining and Cleaning Tiled Living Room Walls
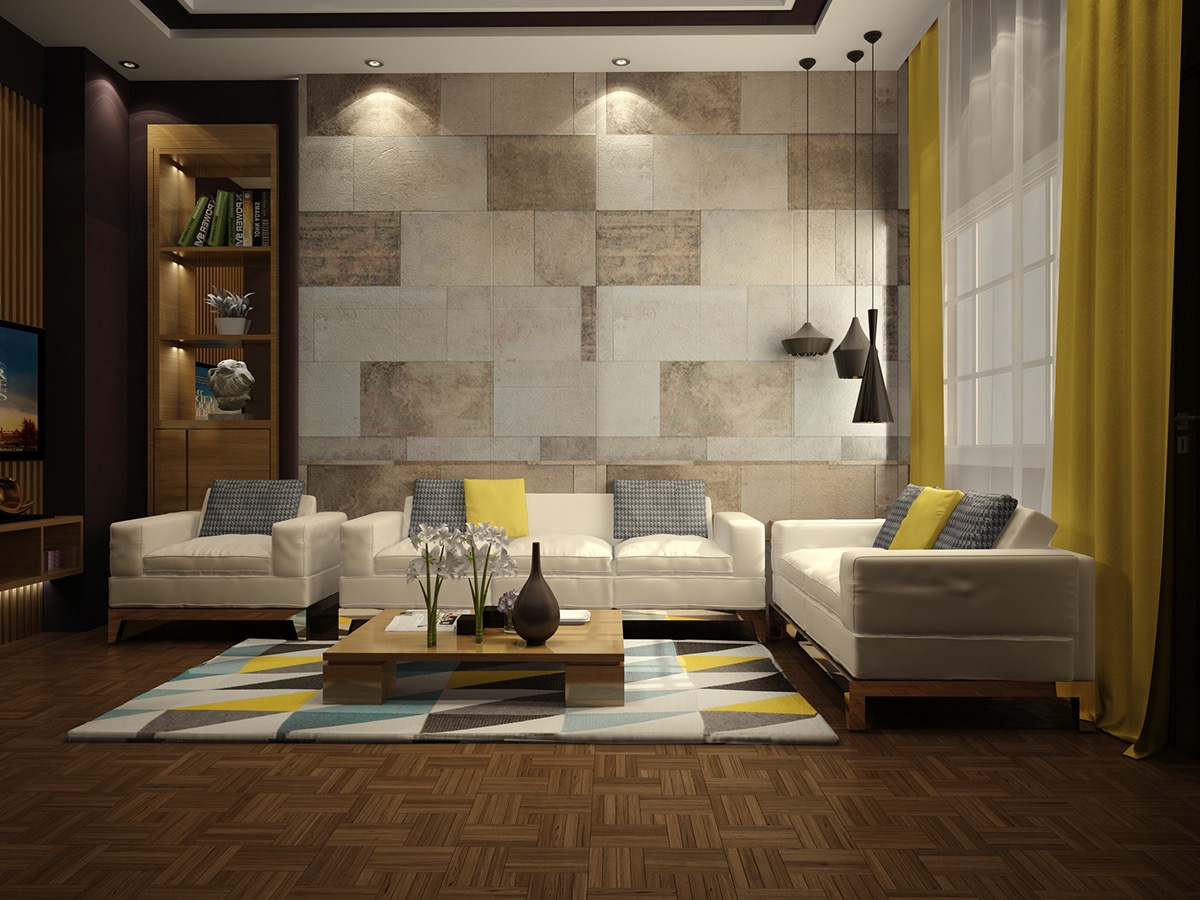

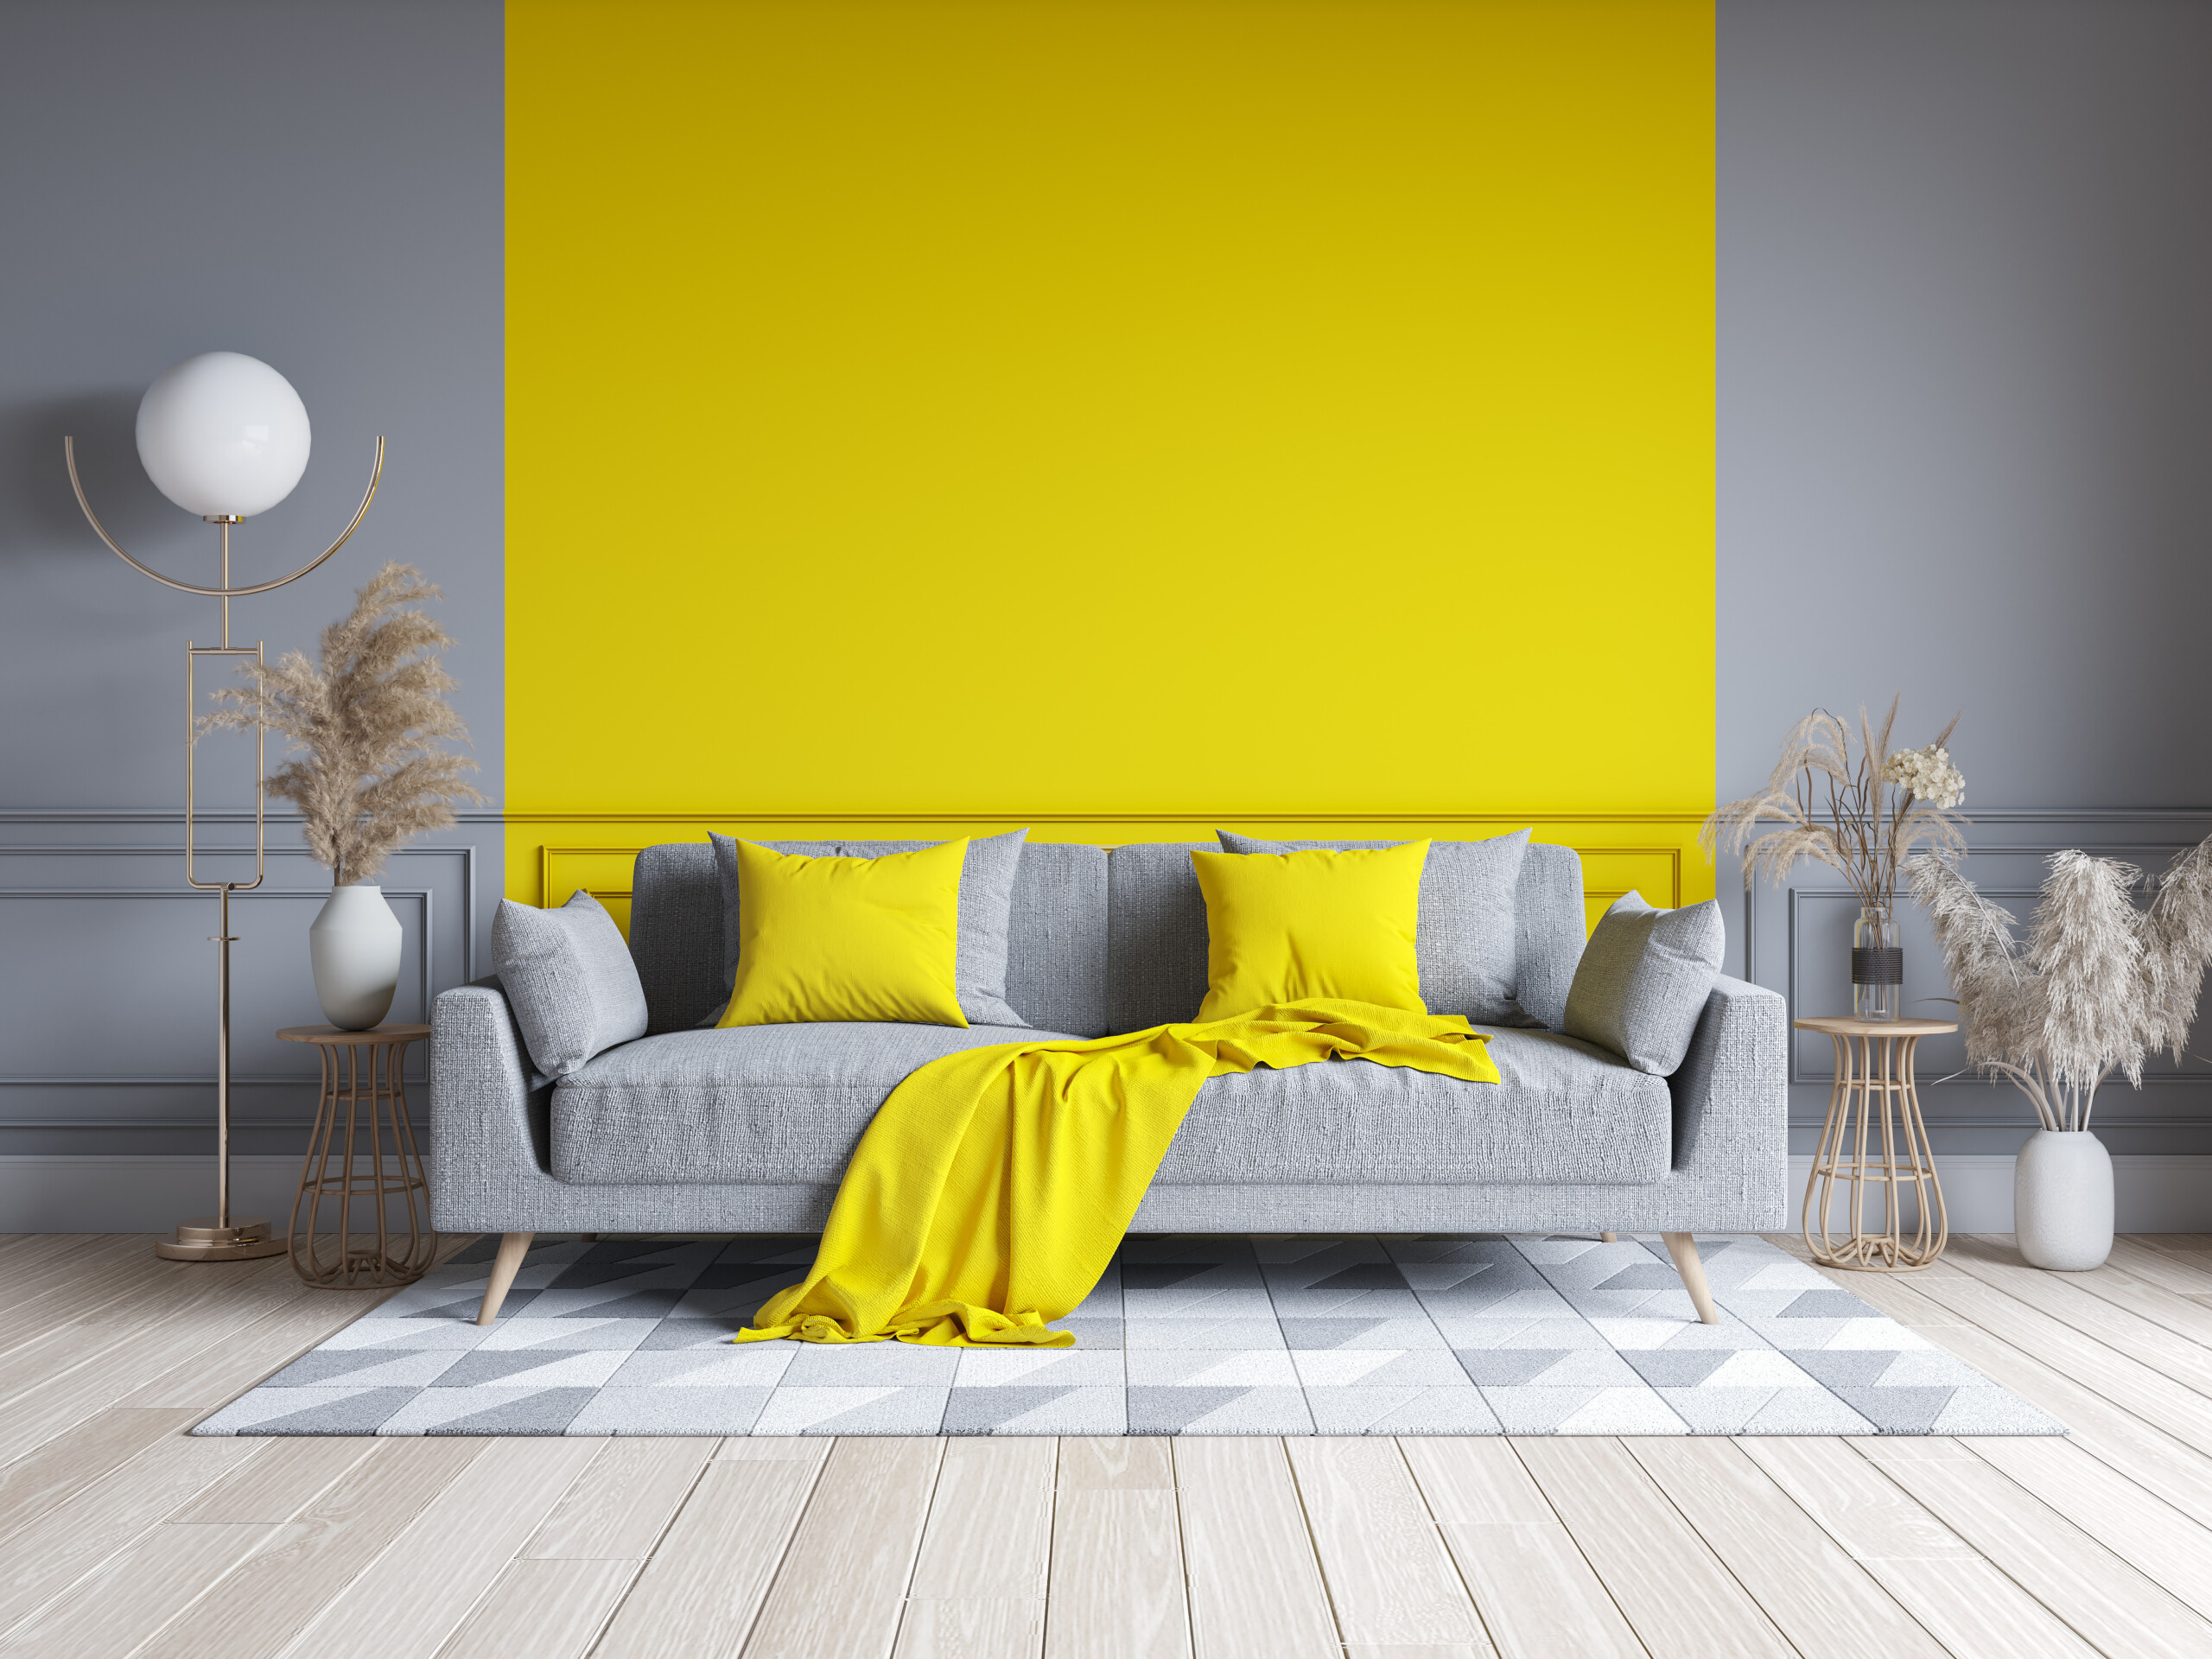
/iStock-531913142-58bede5f5f9b58af5c5e9603.jpg)

Tiling Living Room Walls: An Essential Element in House Design
The Importance of Tiling in House Design
 When it comes to designing a house, tiling is often overlooked but it is actually a crucial element in creating a cohesive and stylish space. Tiling not only adds aesthetic appeal to a room but also serves functional purposes such as protecting walls from moisture and stains. In the living room, where we spend most of our time, tiling can make a huge impact in elevating the overall look and feel of the space.
Choosing the Right Tile for Your Living Room Walls
 When selecting tiles for your living room walls, there are several factors to consider. The first and most important is the material of the tile.
Ceramic and porcelain
tiles are popular choices for living rooms as they are durable, easy to maintain, and come in a variety of designs and colors.
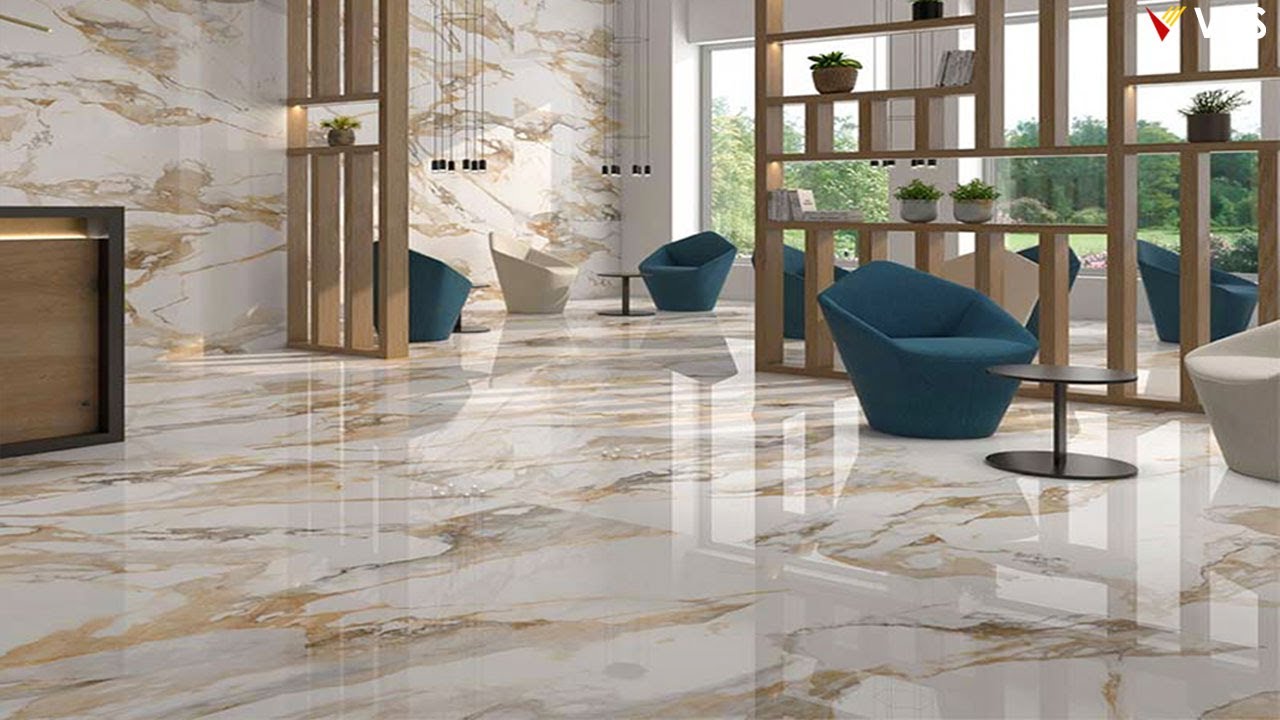
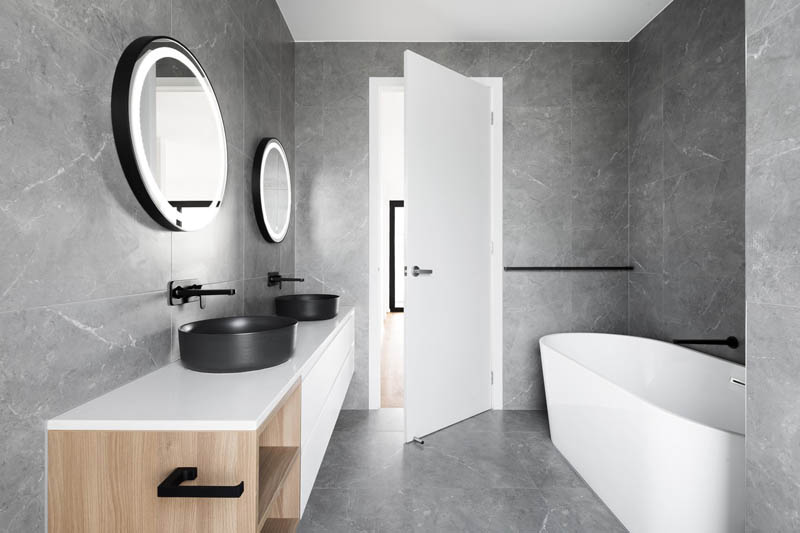
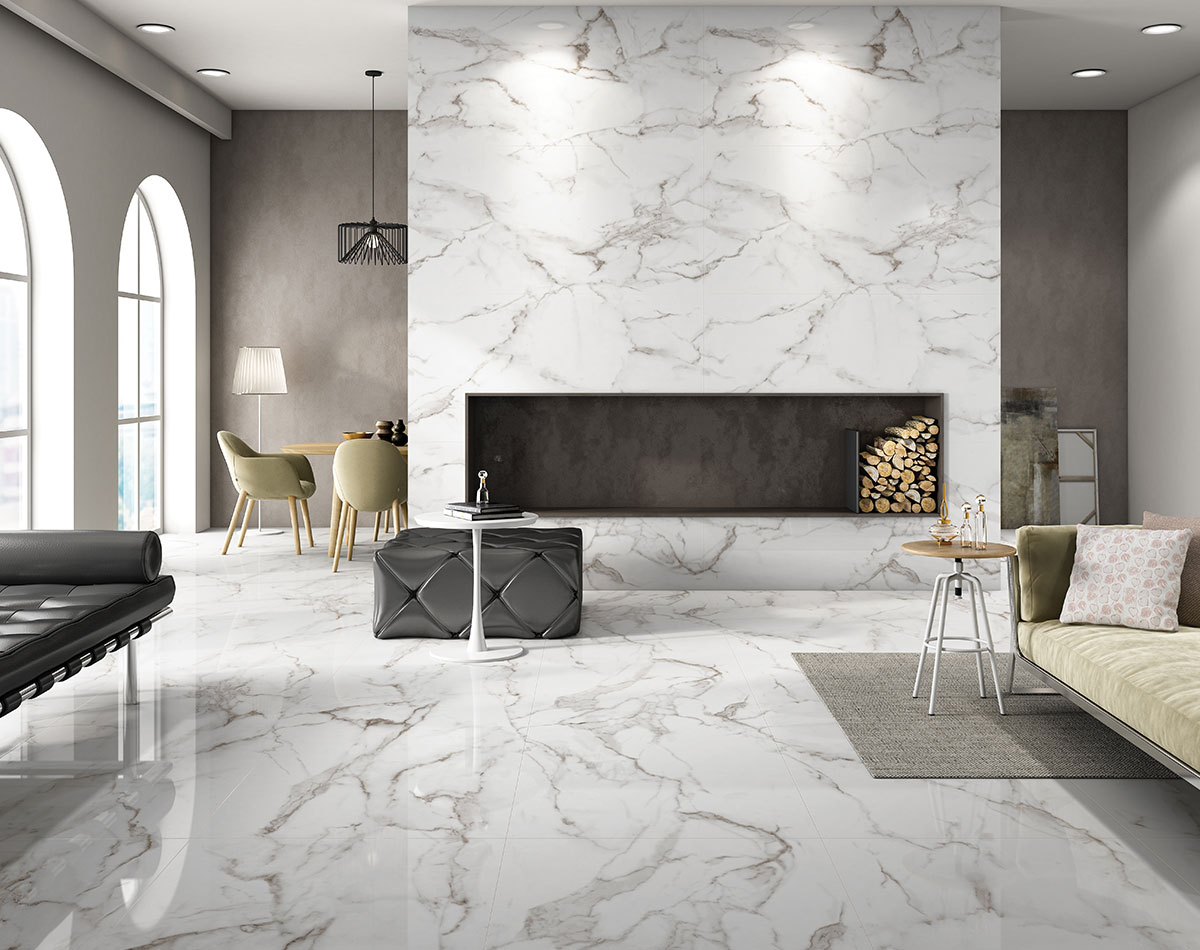
Natural stone
tiles, such as marble and slate, add a luxurious and sophisticated touch to a living room but require more maintenance and can be more costly.
When selecting tiles for your living room walls, there are several factors to consider. The first and most important is the material of the tile.
Ceramic and porcelain
tiles are popular choices for living rooms as they are durable, easy to maintain, and come in a variety of designs and colors.
Natural stone
tiles, such as marble and slate, add a luxurious and sophisticated touch to a living room but require more maintenance and can be more costly.
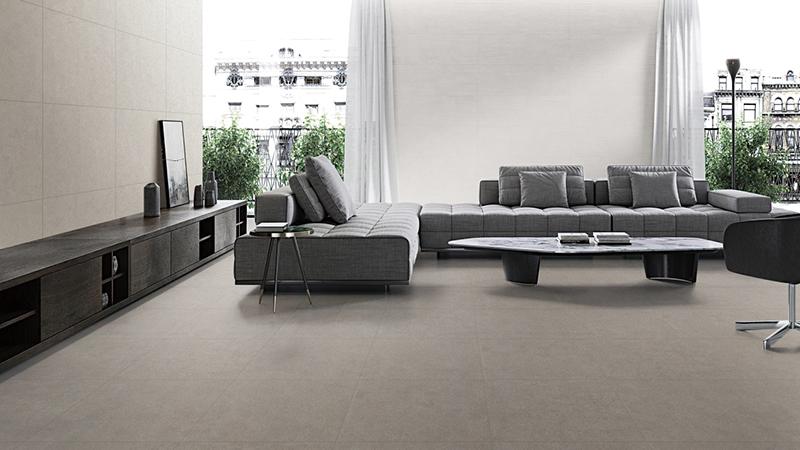
Designing with Tiles: Tips and Tricks
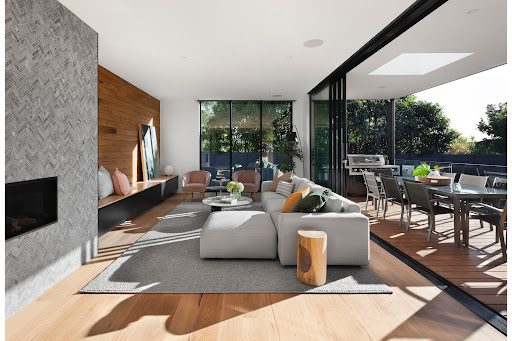
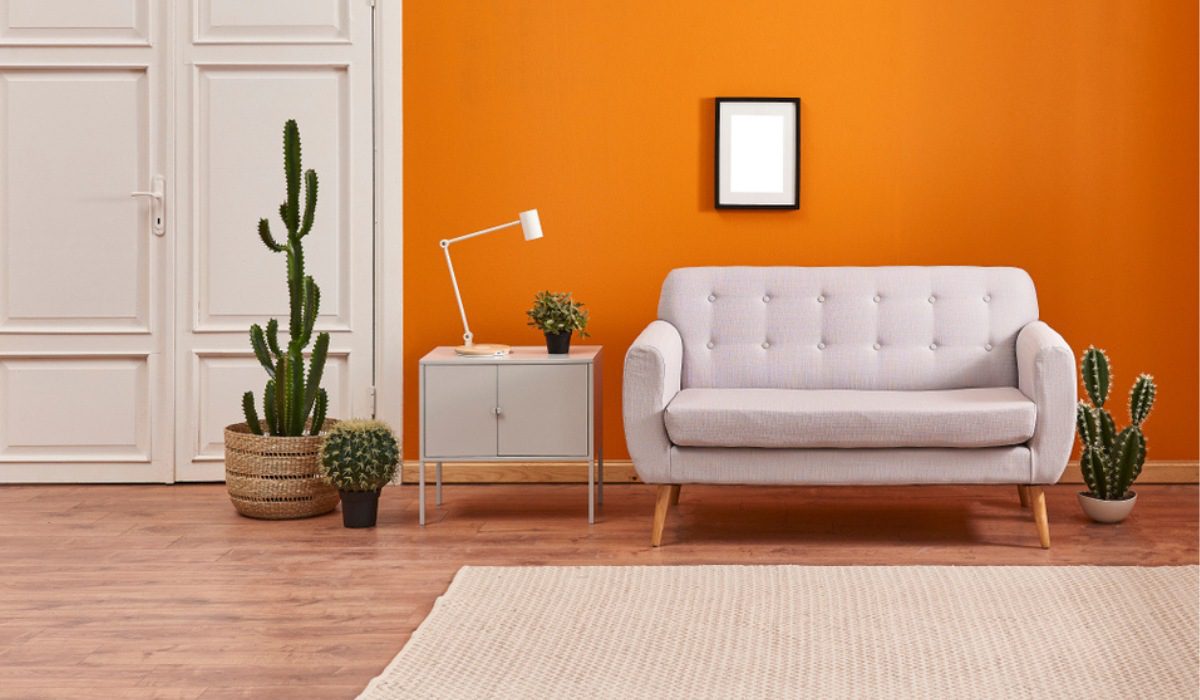
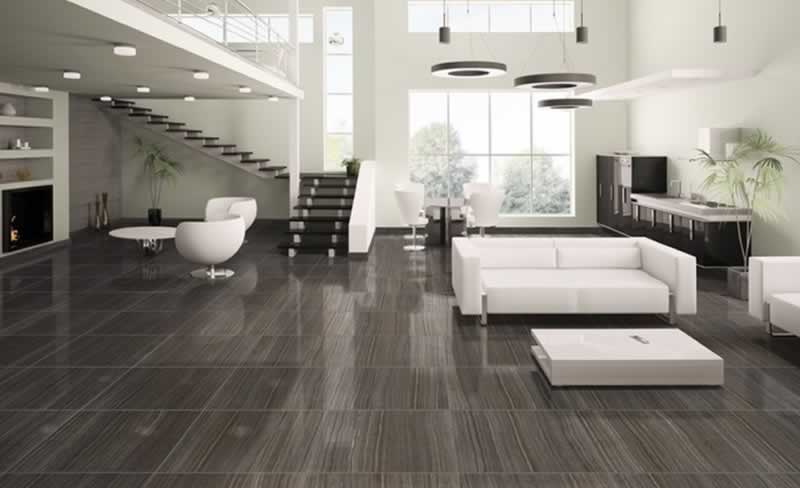
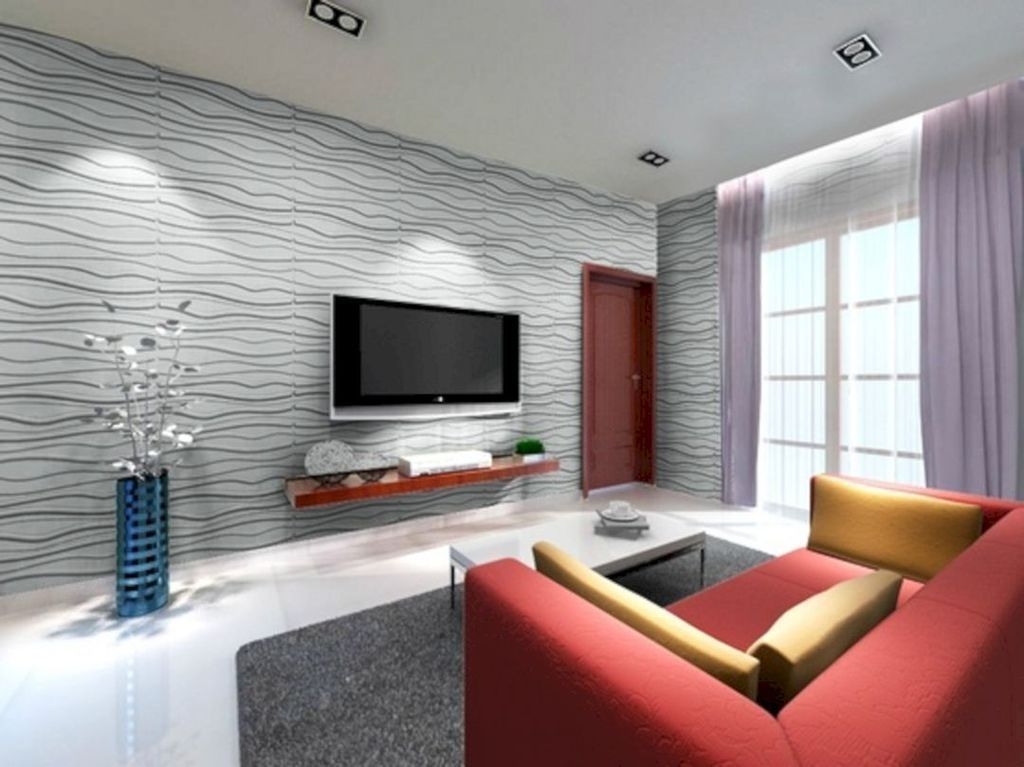
 Tiles can be used in a variety of ways to add interest and character to your living room walls. For a modern and sleek look, consider using large format tiles with a glossy finish. To create a cozy and inviting atmosphere, opt for textured tiles with warm colors. Mixing and matching different tile patterns and sizes can also add visual interest and depth to your living room walls.
Expert Installation for a Flawless Finish
 While tiling may seem like a simple task, it is best left to the professionals to ensure a flawless and long-lasting finish. Professional tile installers have the expertise and equipment to properly prepare the walls and install the tiles with precision. This will not only save you time and effort but also ensure that your living room walls look impeccable.
Transform Your Living Room with Tiling
 In conclusion, tiling is an essential element in house design, especially when it comes to the living room walls. Choosing the right tile, utilizing design techniques, and seeking professional installation can completely transform your living room and add value to your home. So, don't underestimate the power of tiling and make it a priority in your next house design project.