Are you looking to give your living room a fresh new look? One of the most effective ways to do so is by tiling your living room floor. Not only does it add a touch of elegance and style, but it is also durable and easy to maintain. If you're thinking of taking on this DIY project, here are 10 tips to help you achieve a professionally tiled living room floor. Tiling a living room floor:

Tiling a living room floor:


If you've never tiled a floor before, it may seem like a daunting task. However, with the right tools and techniques, it can be a straightforward process. The first step is to measure your living room and calculate the amount of tiles you'll need. It's always a good idea to buy a few extra tiles in case of any mishaps. Next, prepare the floor by cleaning and removing any debris or old flooring. Lastly, mark the center of the room and start tiling from there, working your way outwards. How to tile a living room floor:


How to tile a living room floor
/21-mohawk_industries_13898_29-56a2fca95f9b58b7d0cffee1.jpg)


When it comes to tiling your living room floor, there are a few things to keep in mind to ensure a successful project. Firstly, make sure you choose the right type of tiles for your living room. Porcelain, ceramic, and natural stone tiles are all excellent options. Secondly, always use a tile adhesive recommended for the type of tiles you're using. And lastly, take your time and work in small sections to avoid the adhesive drying too quickly. Living room floor tiling tips:

Living room floor tiling tips


Tiling your living room floor can be a fun and rewarding DIY project. Not only will you save money on installation costs, but you'll also have the satisfaction of completing the project yourself. To make the process even smoother, make sure you have all the necessary tools beforehand, such as a tile cutter, trowel, and grout float. And remember, don't be afraid to ask for help from a friend or family member if needed. DIY living room floor tiling:


DIY living room floor tiling


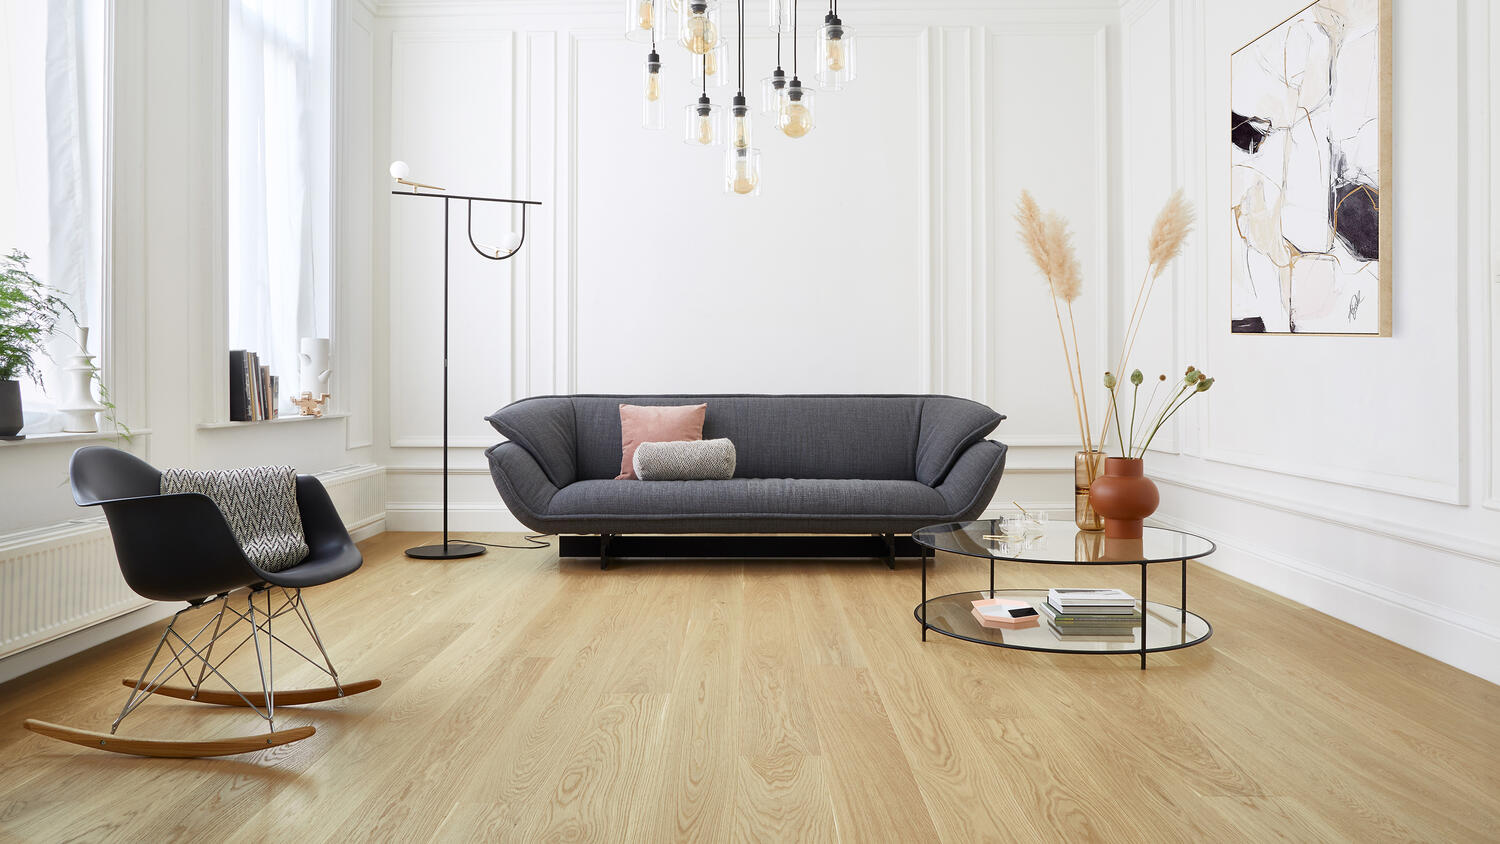
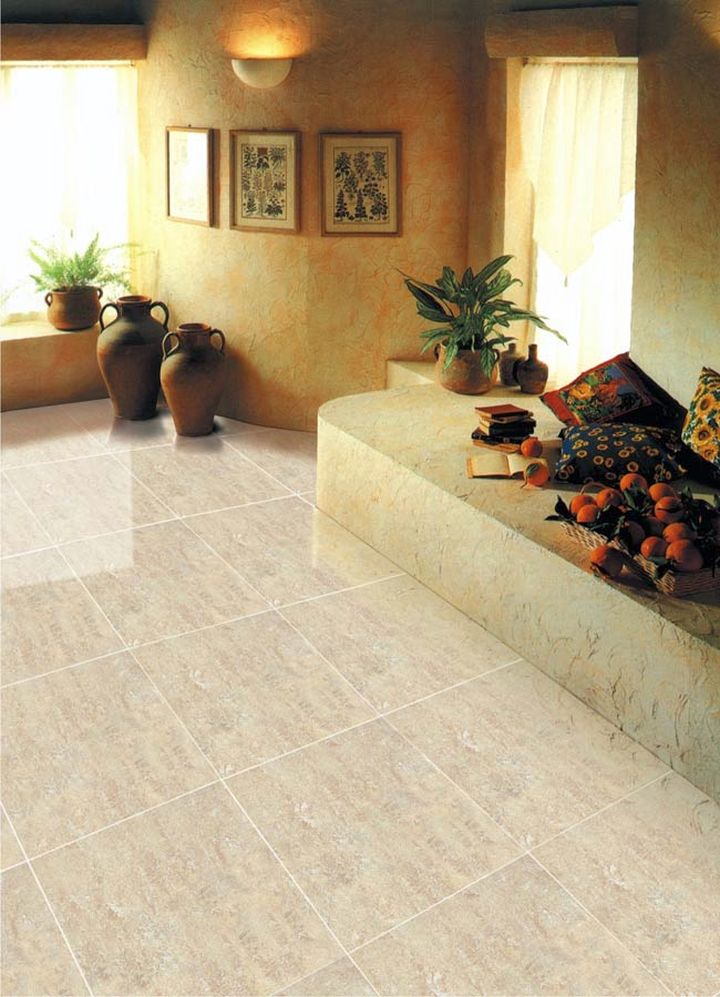
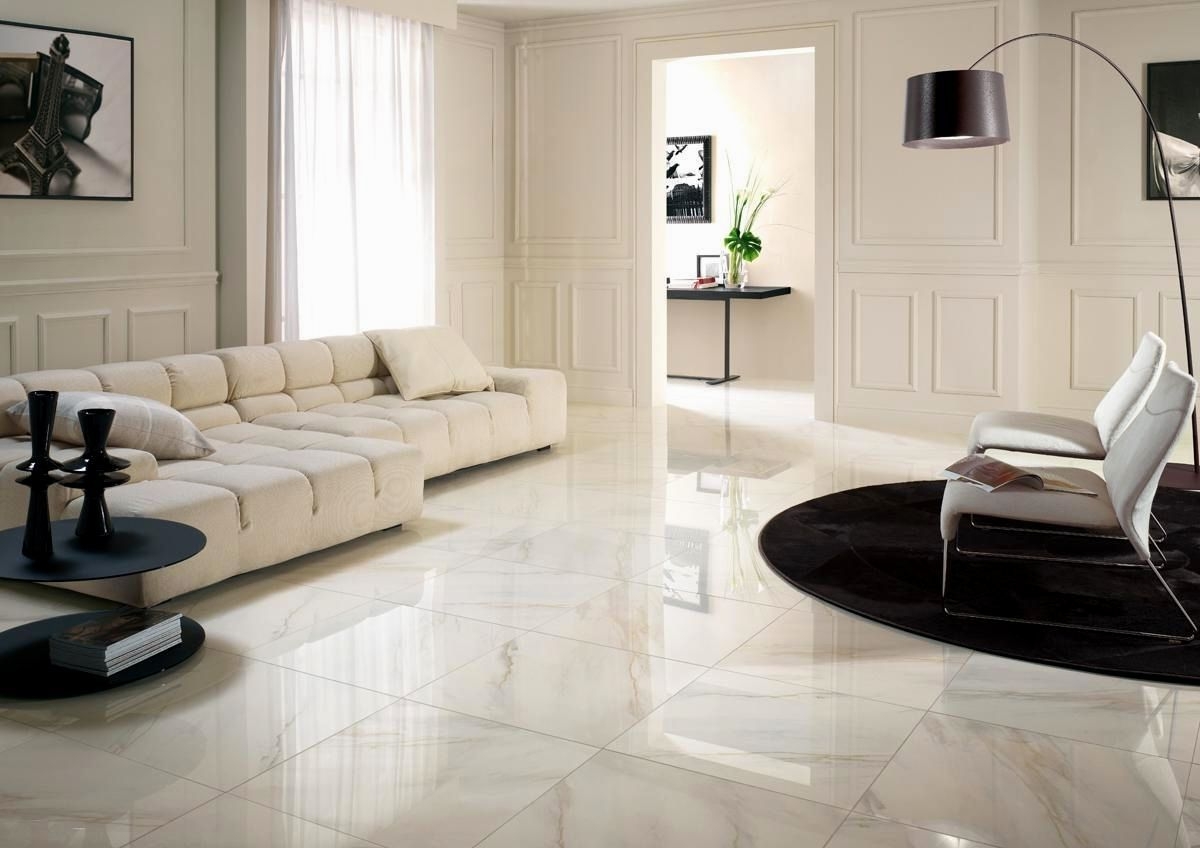
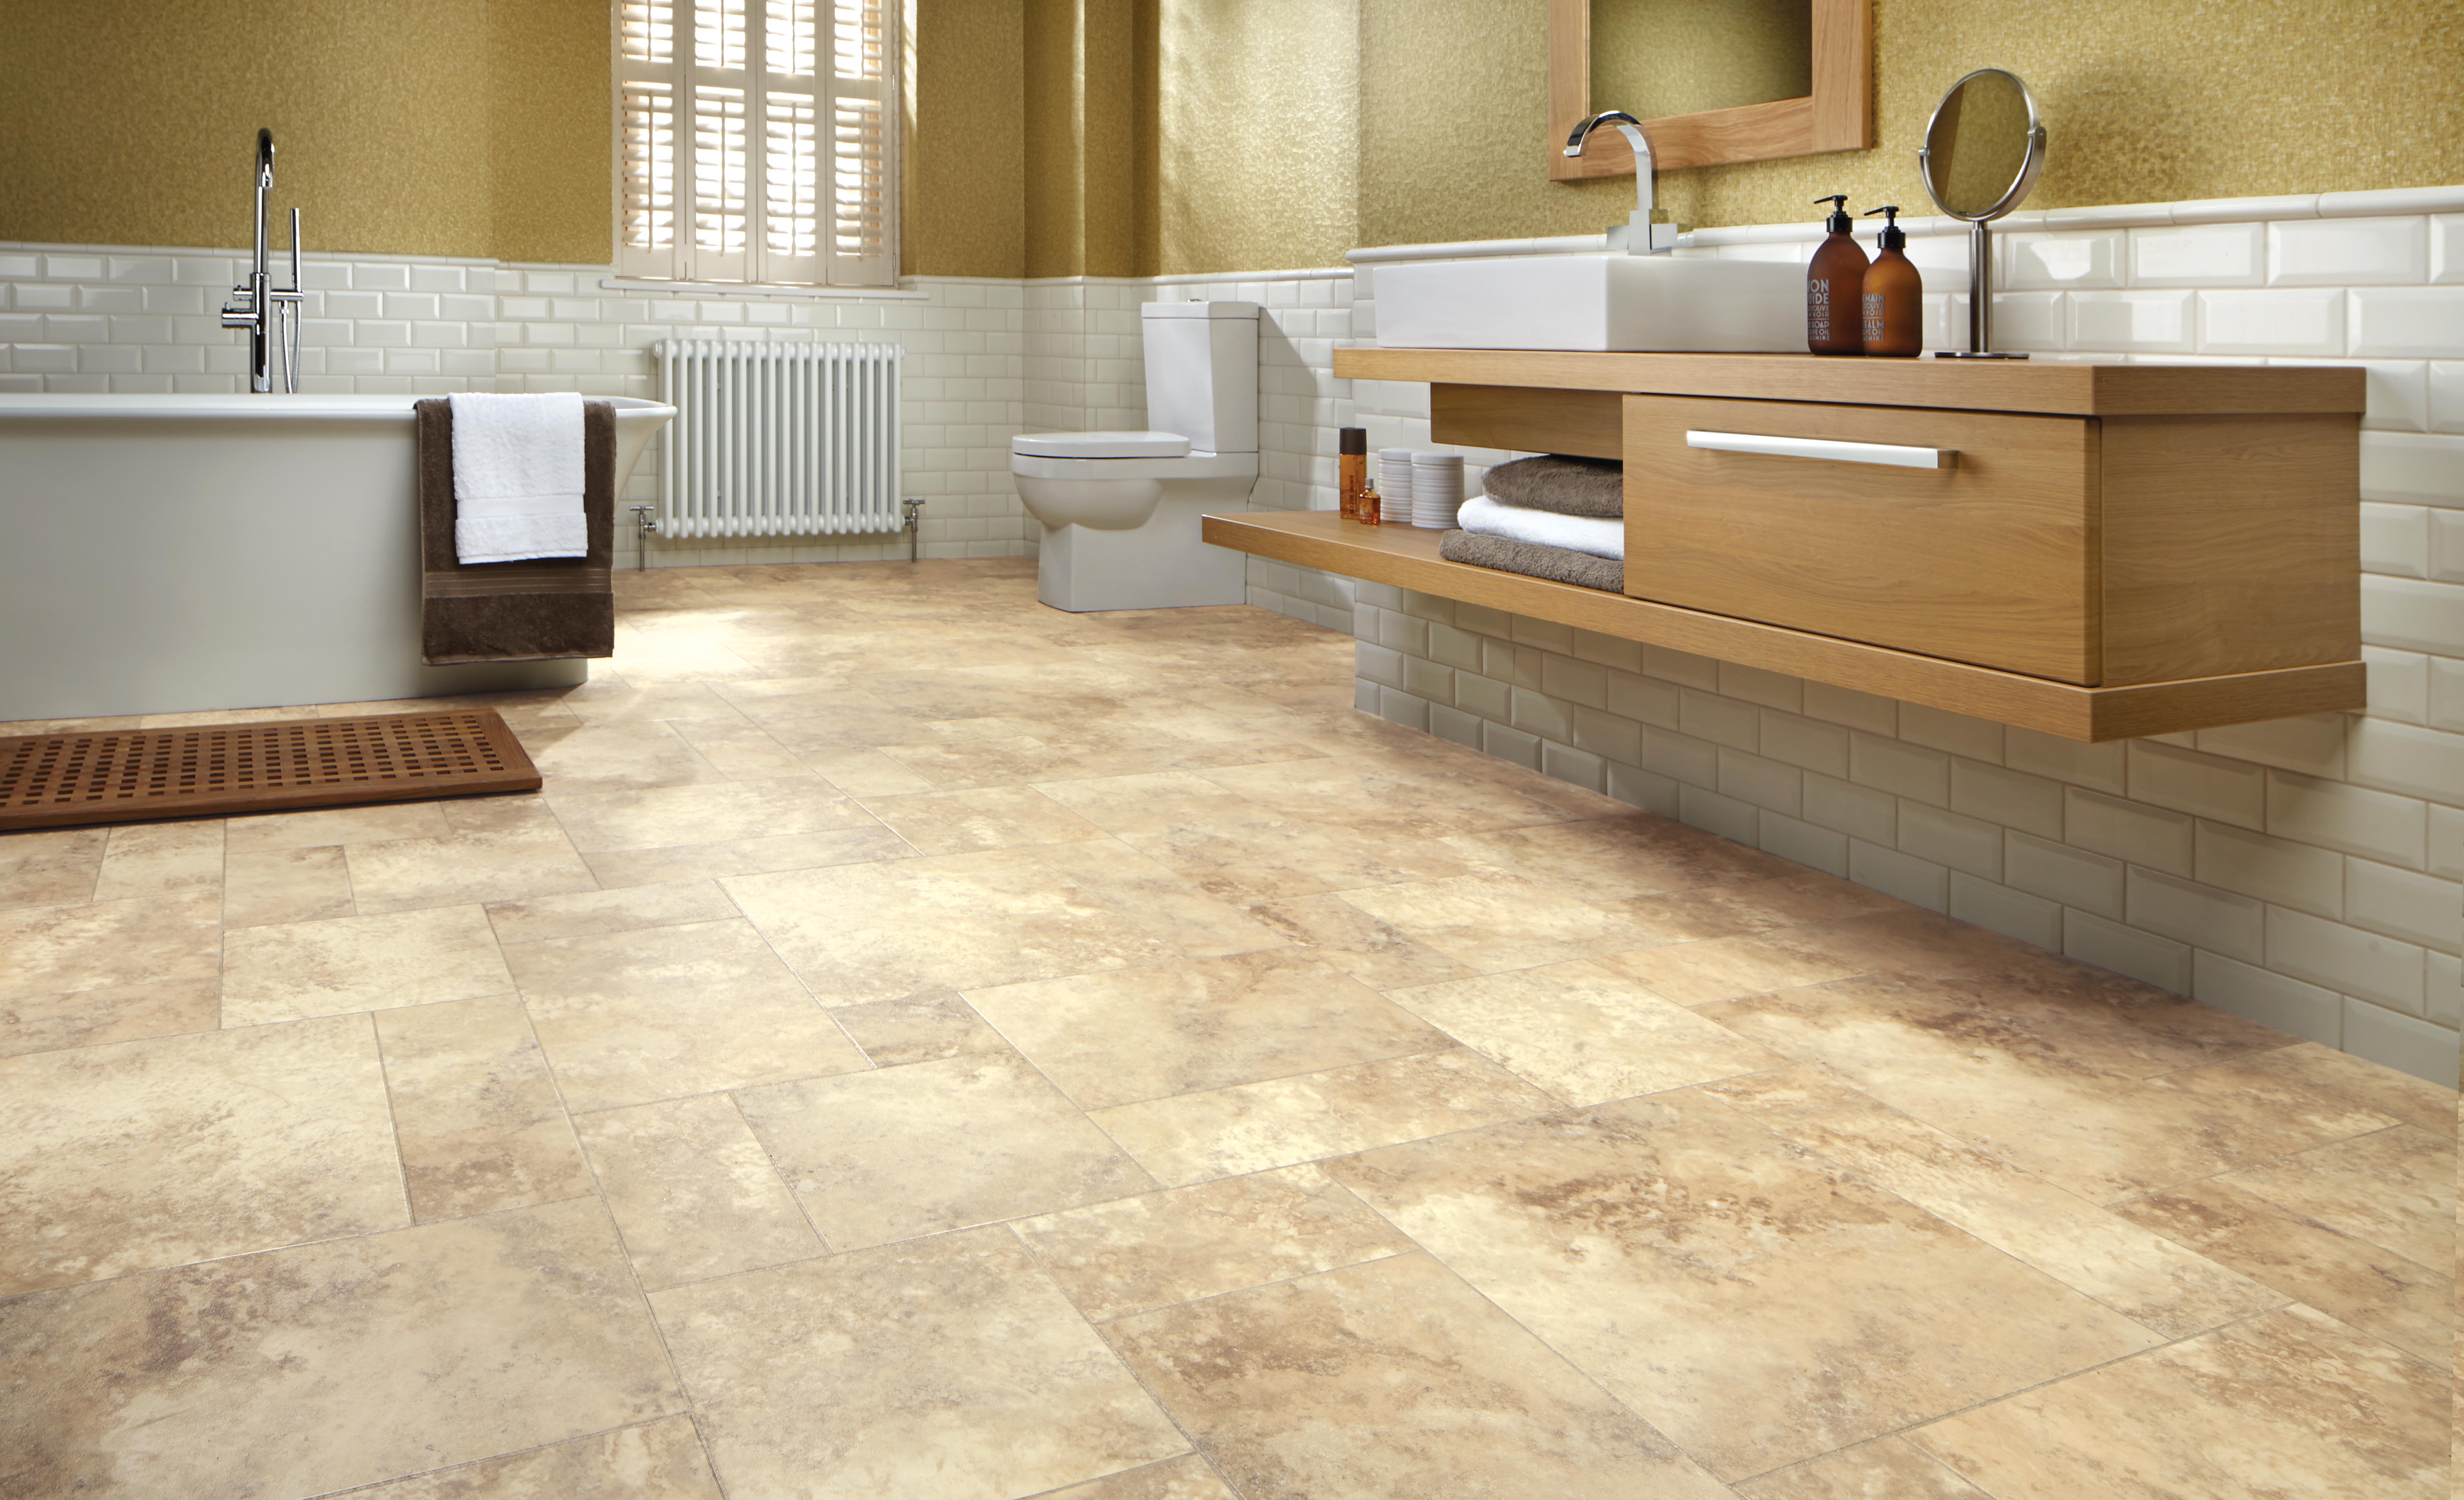
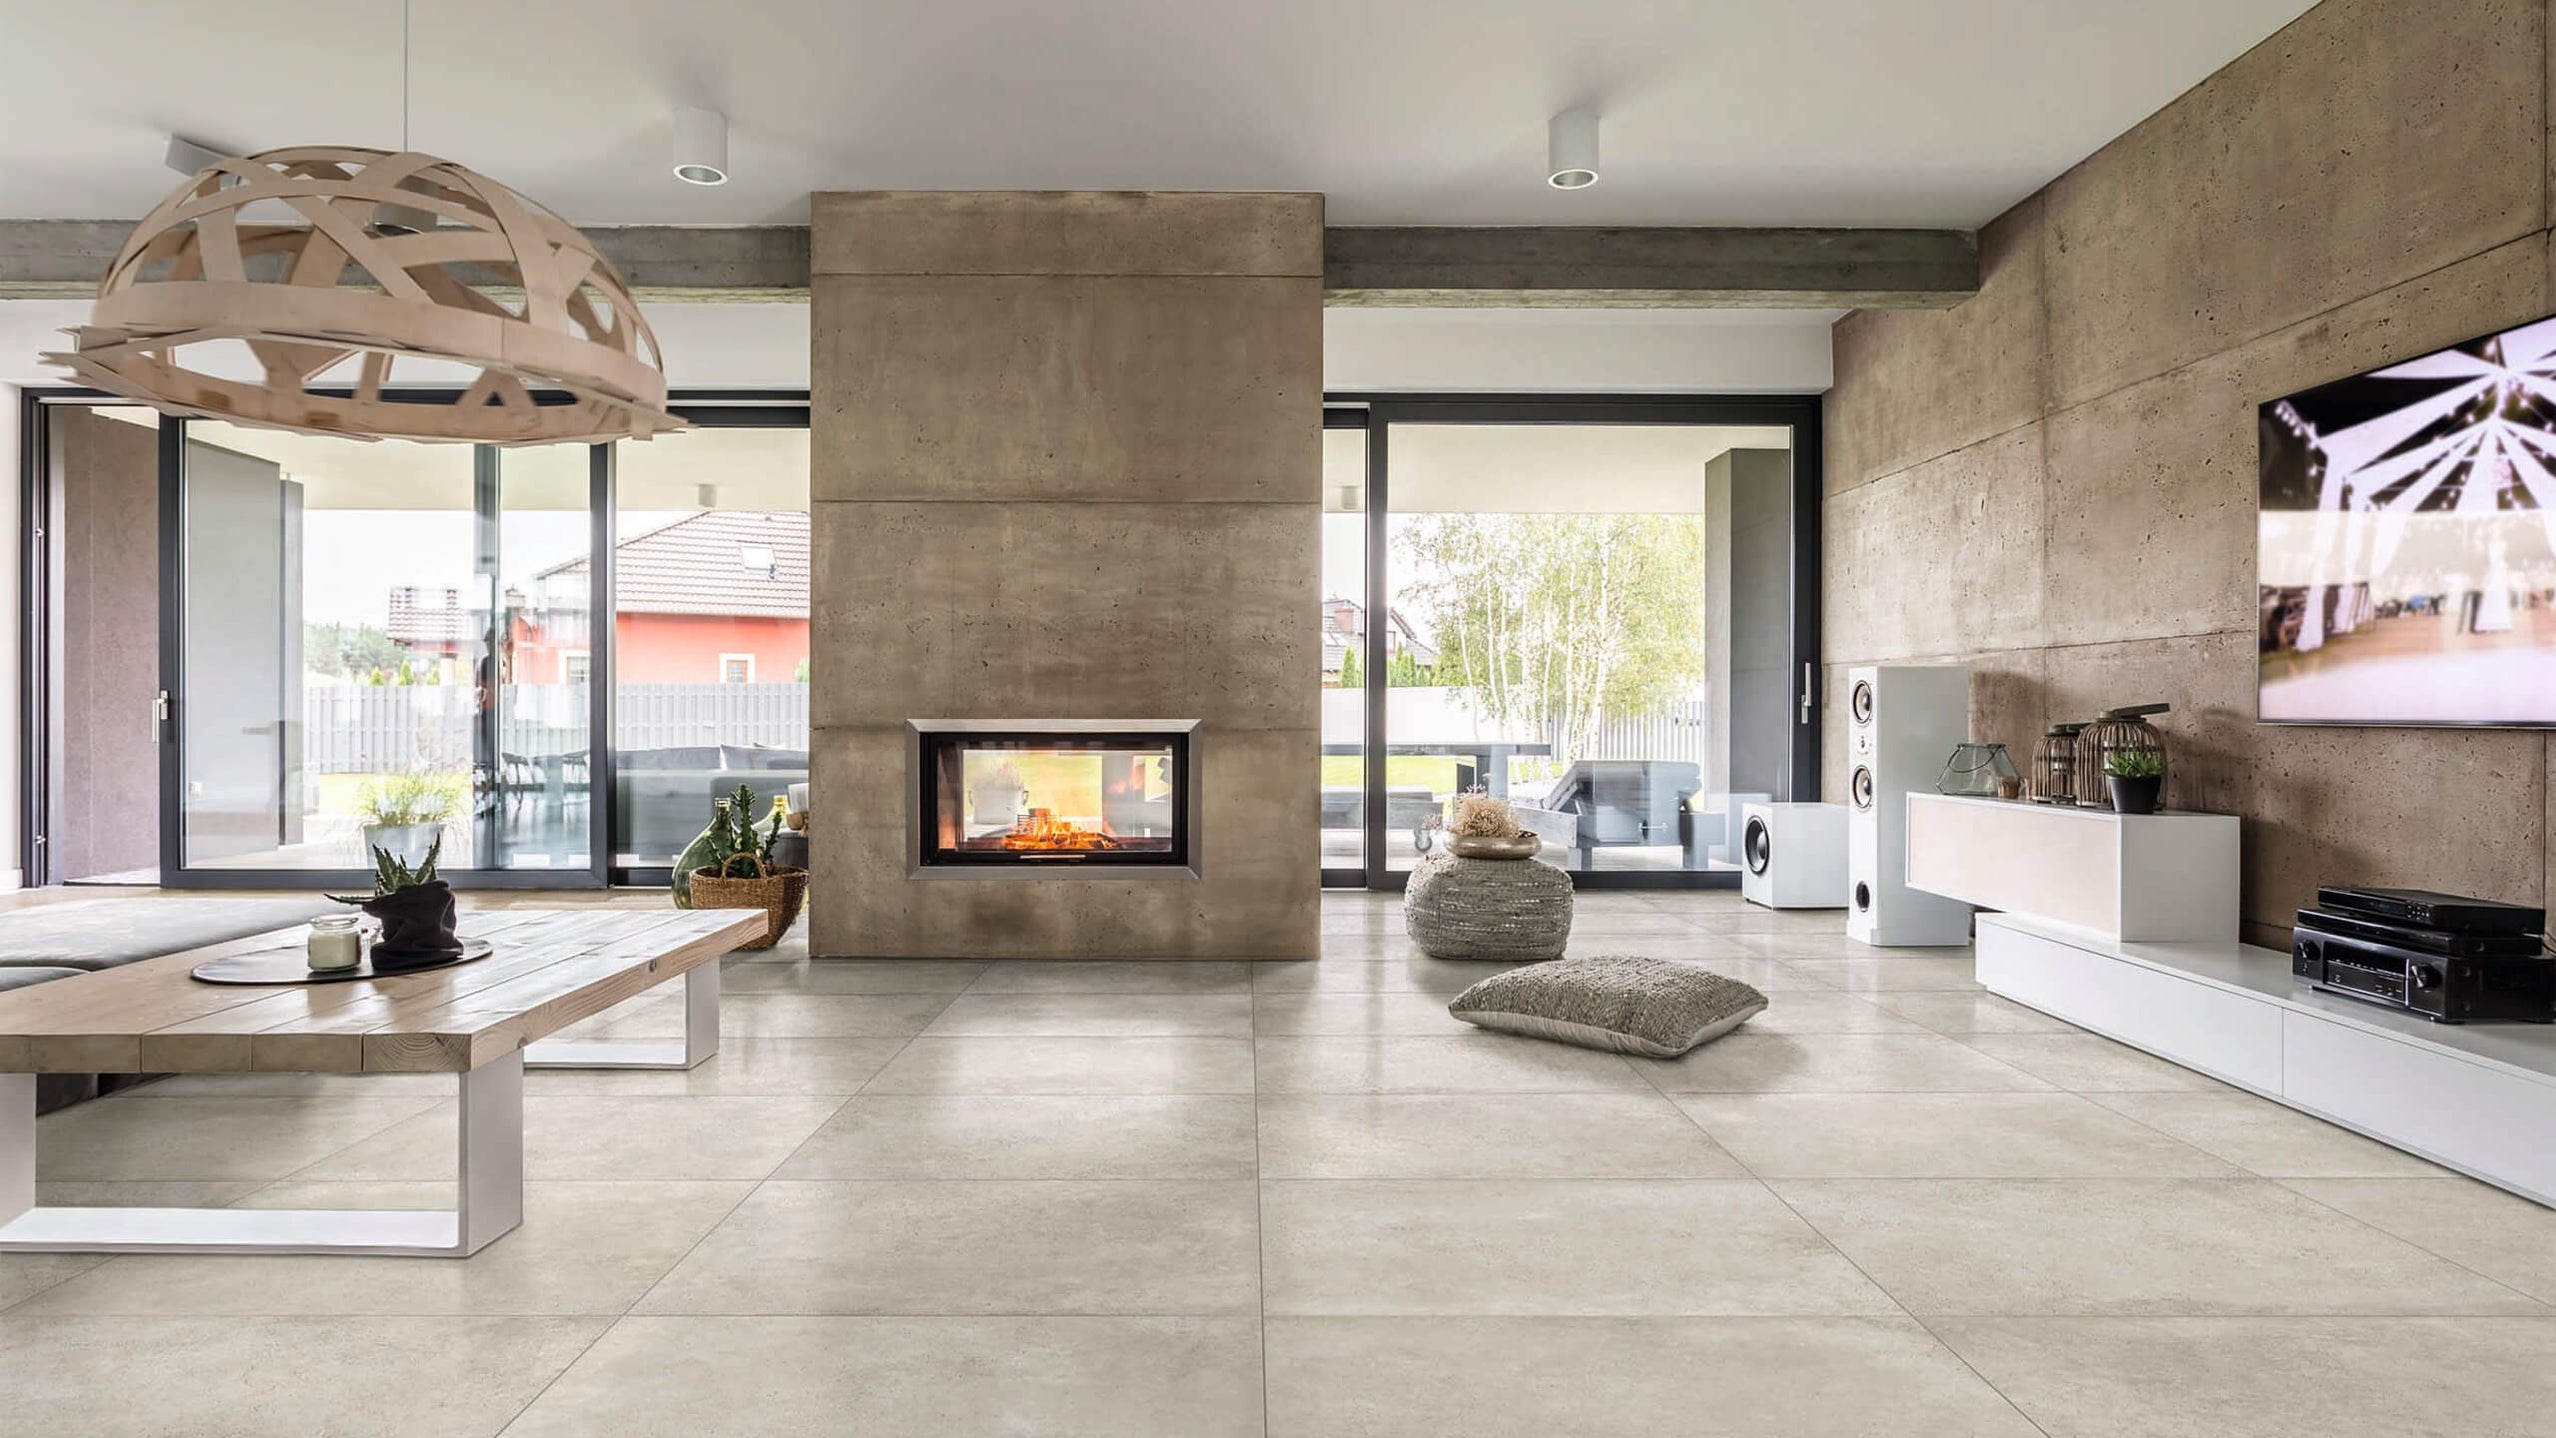
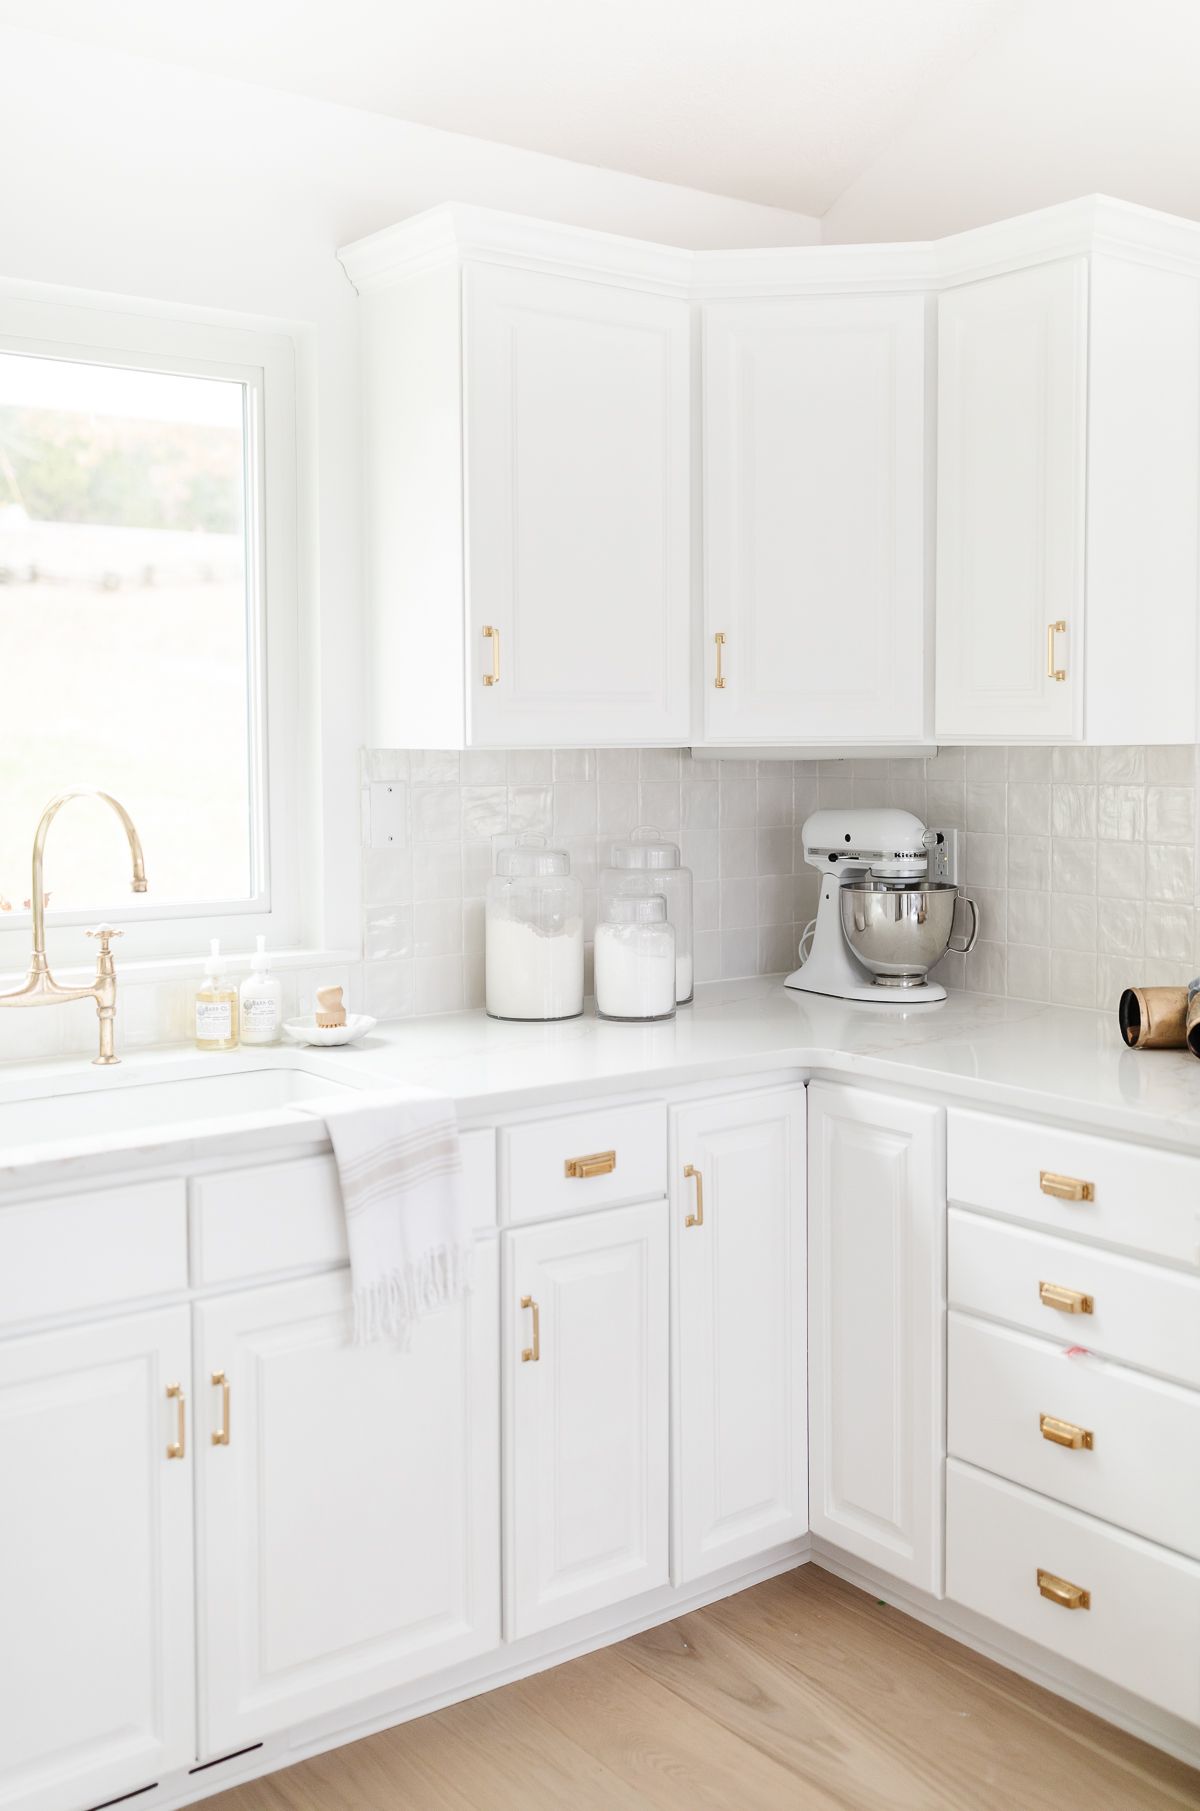
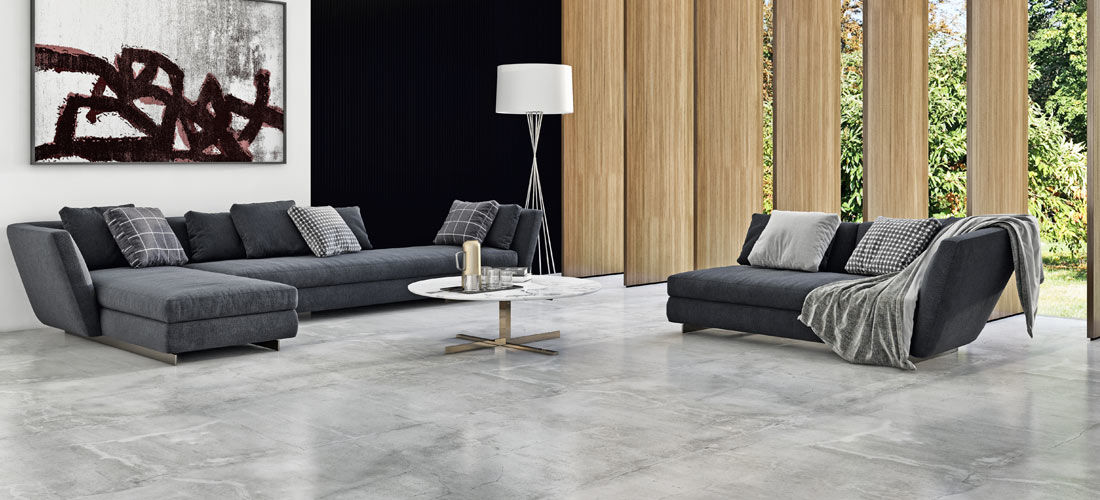
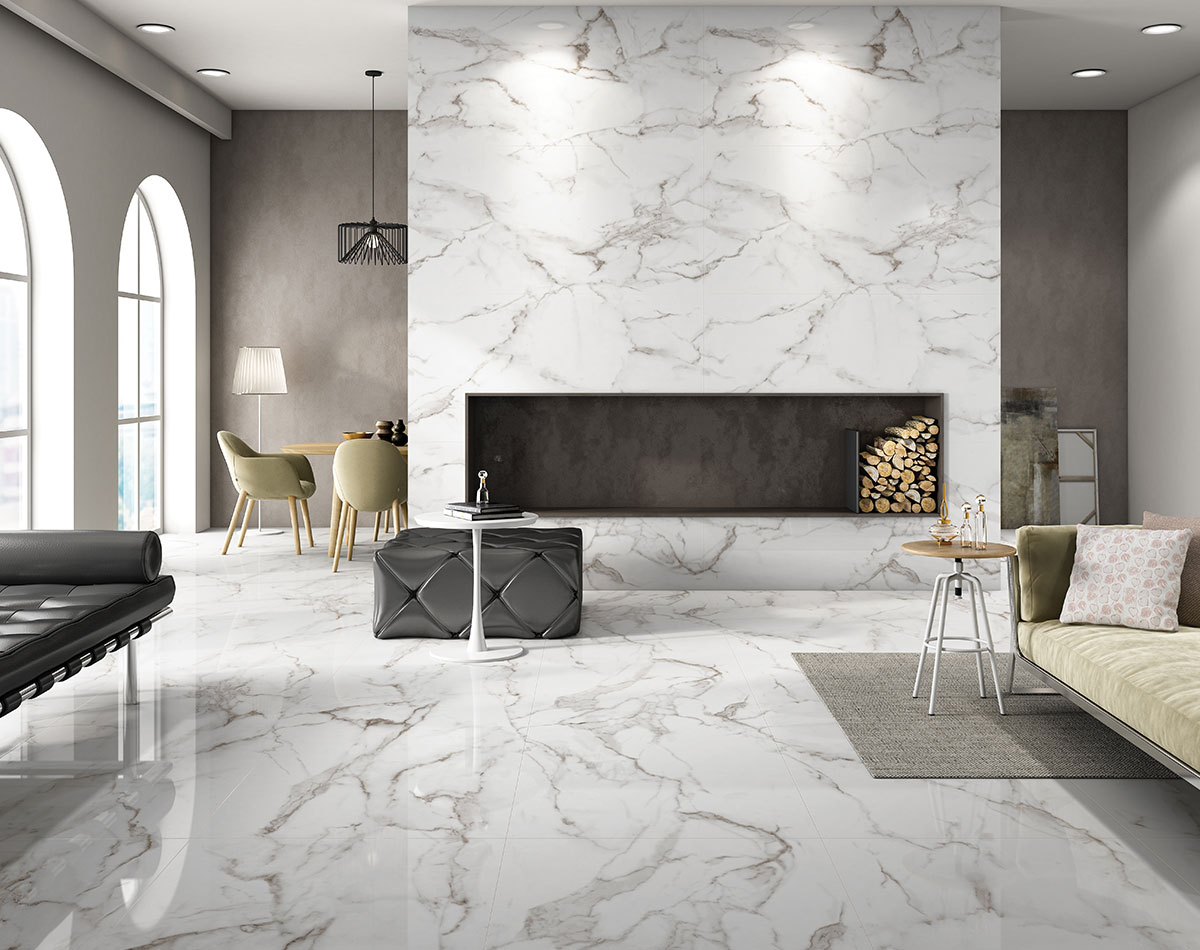
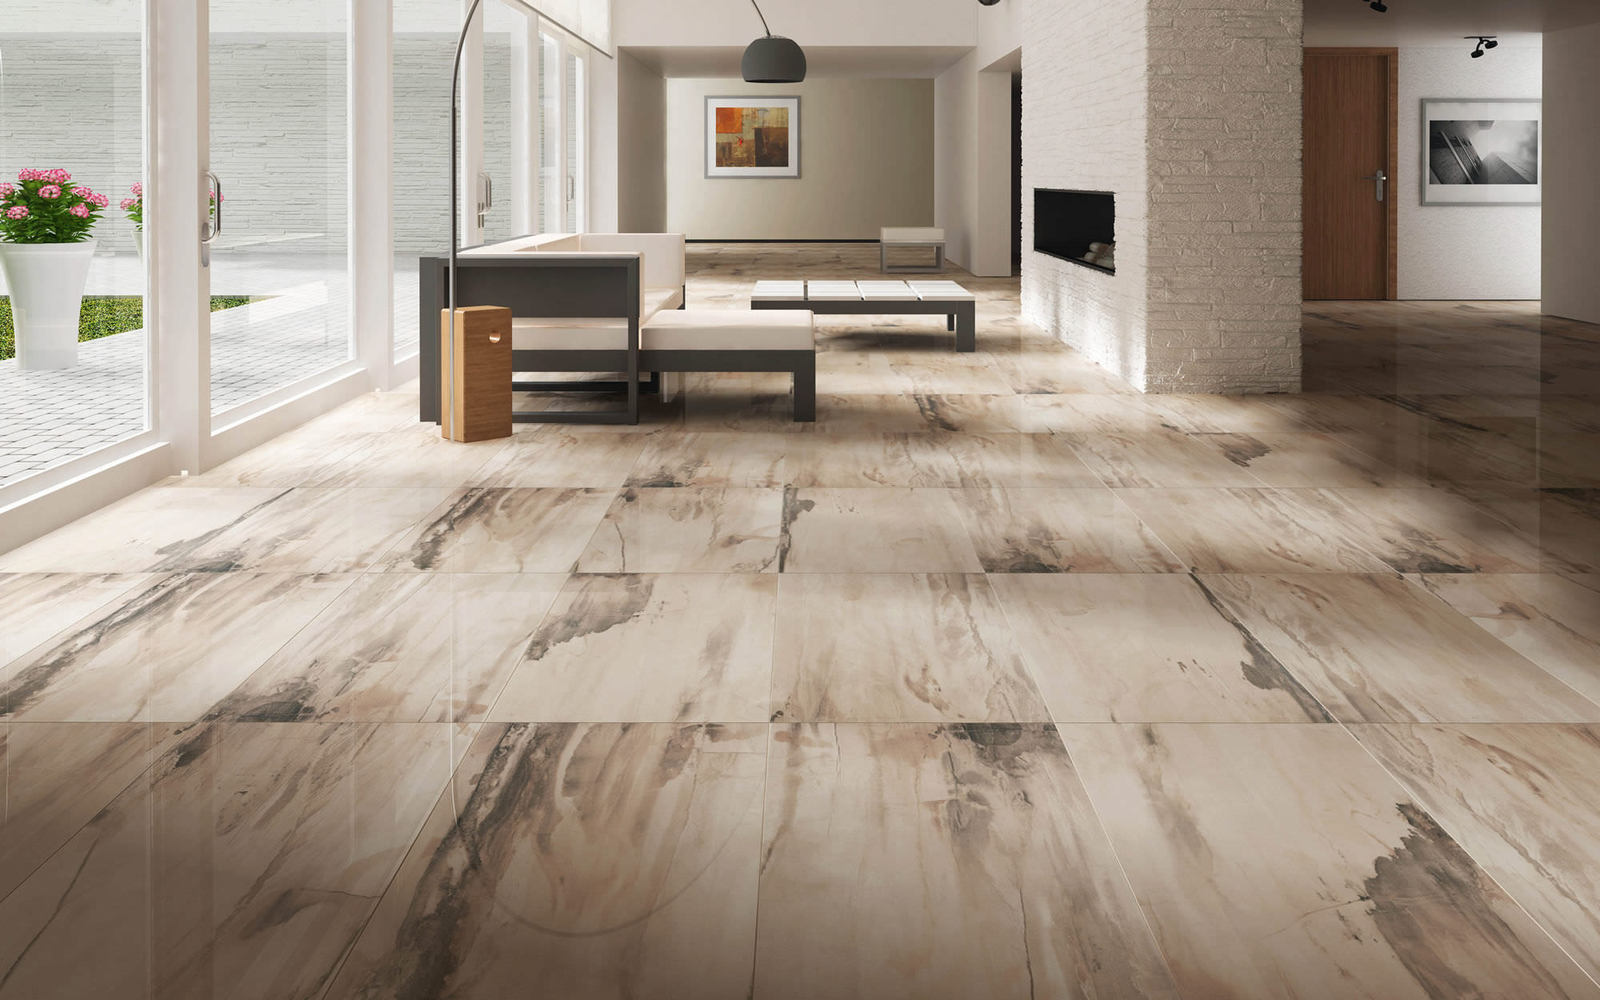
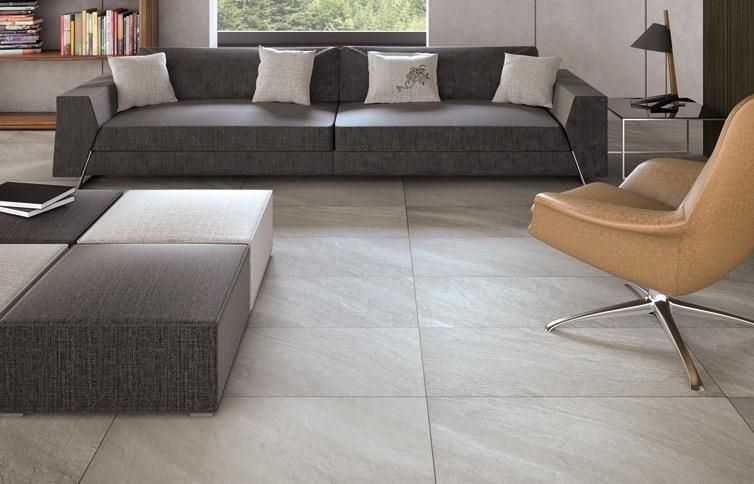
There are endless options available when it comes to choosing tiles for your living room floor. However, some of the most popular and durable choices include porcelain, ceramic, and natural stone. Porcelain tiles are known for their strength and low maintenance, making them perfect for high traffic areas like a living room. Ceramic tiles offer a wide range of design options, while natural stone tiles add a touch of luxury and elegance to any space. Best tiles for living room floor:


Best tiles for living room floor


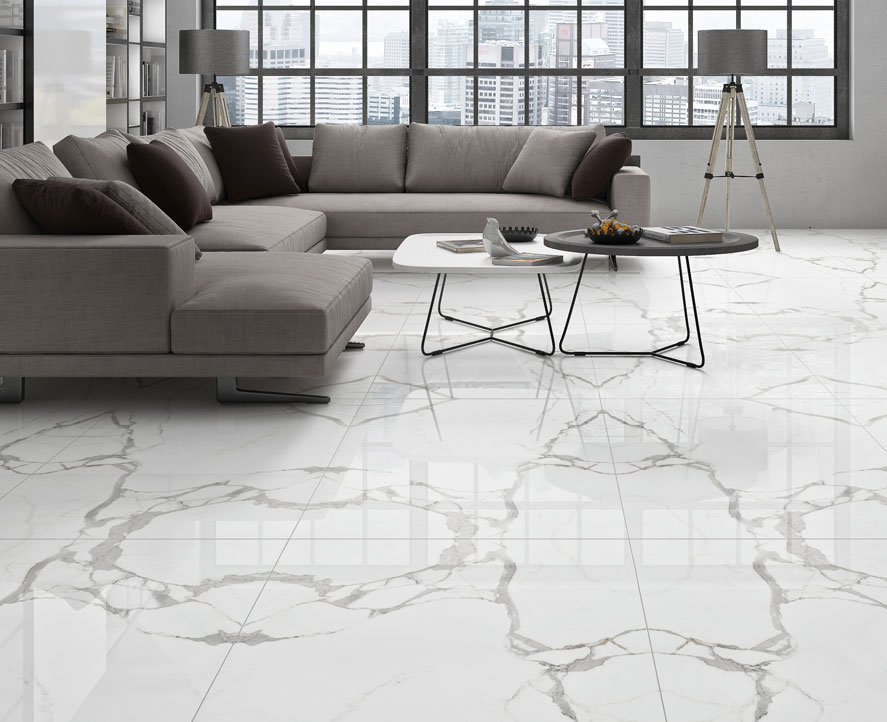


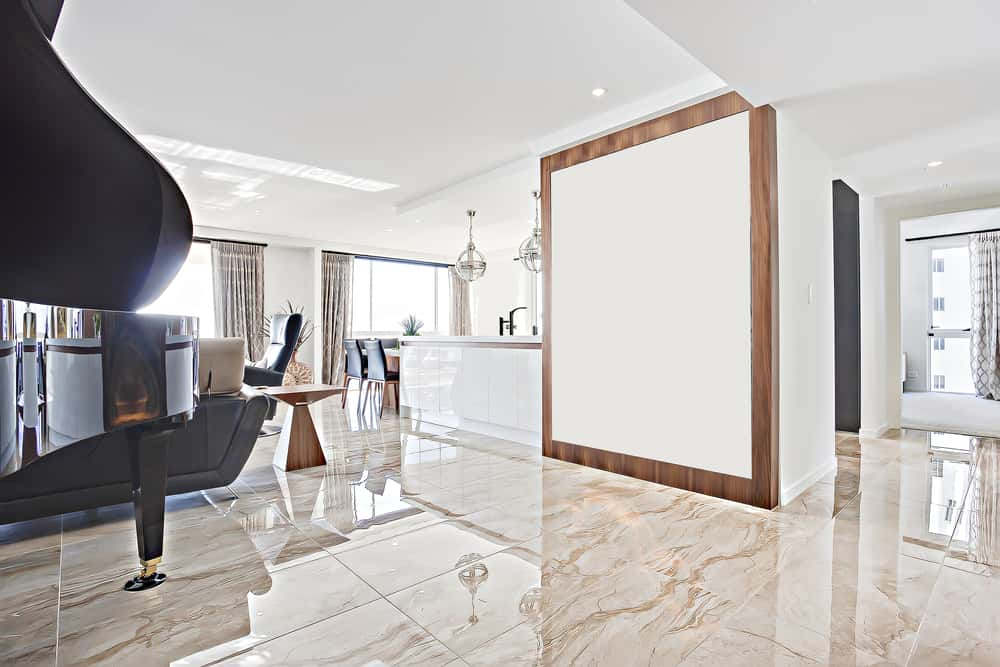
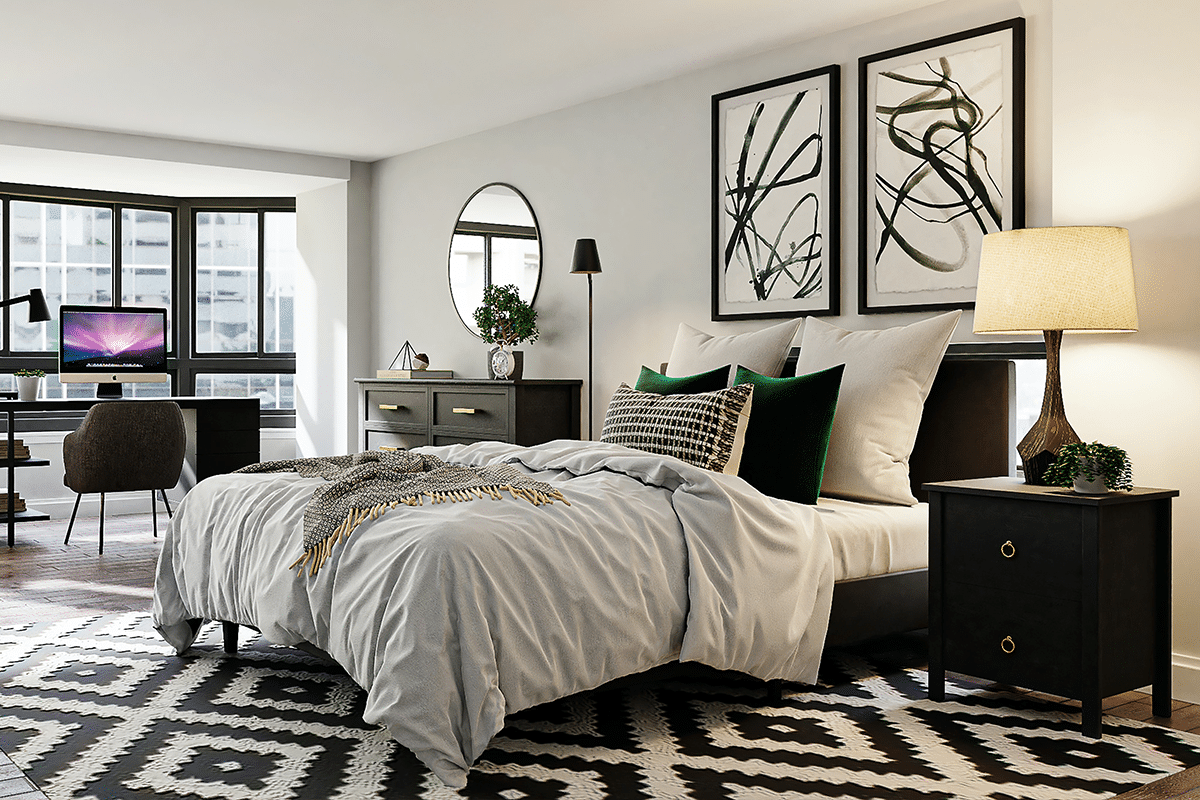
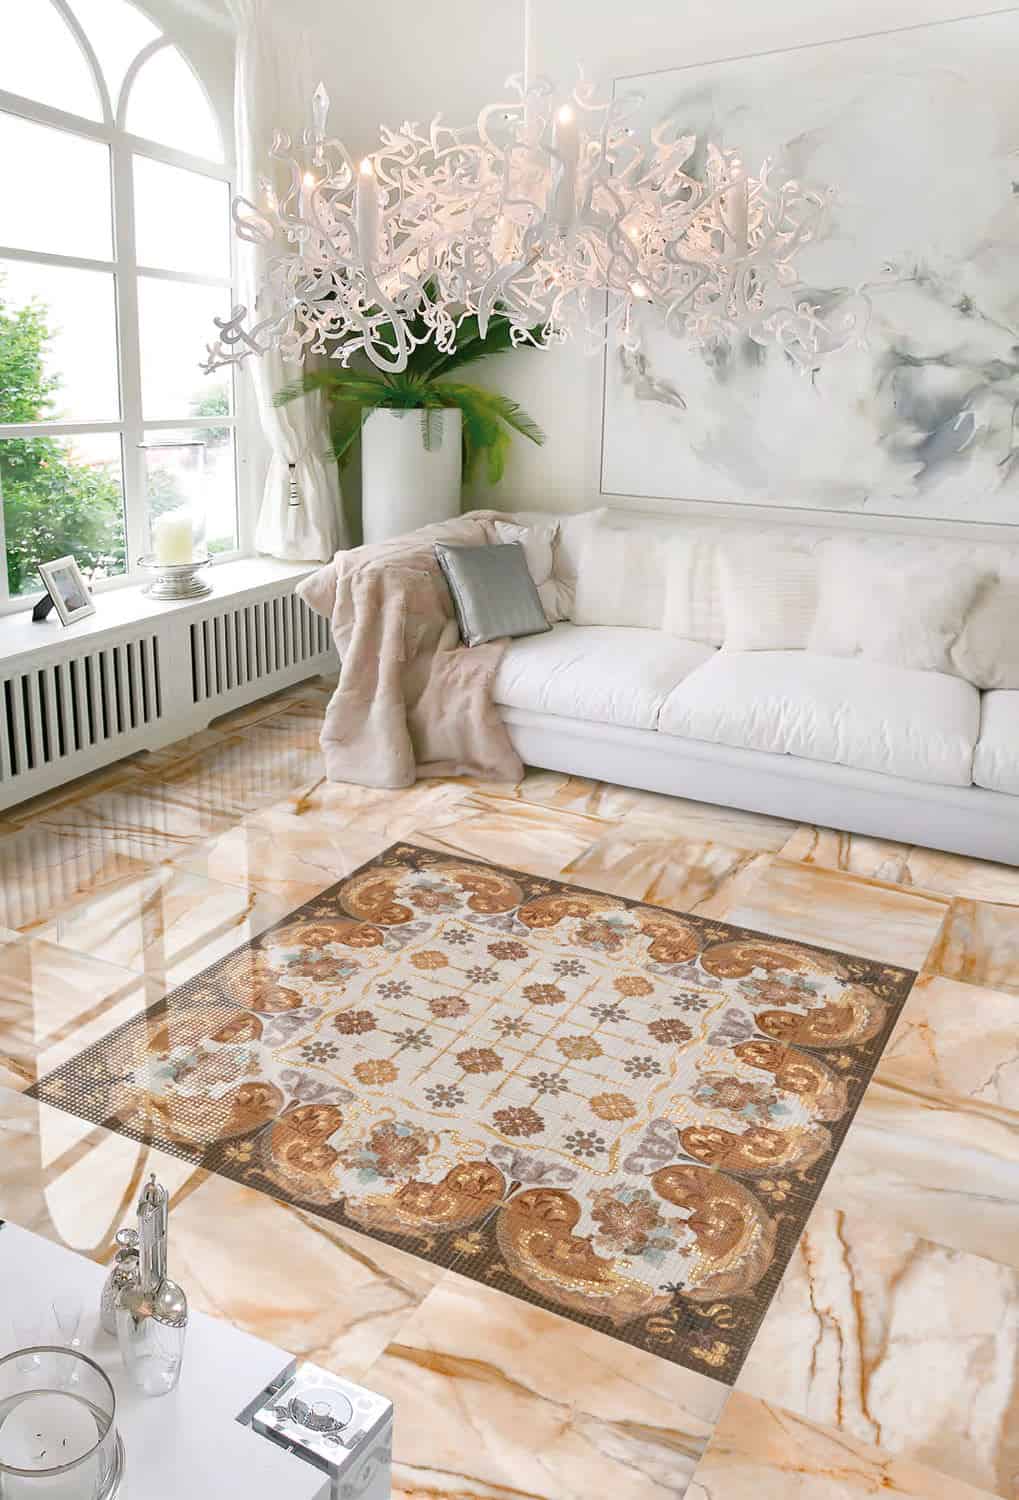
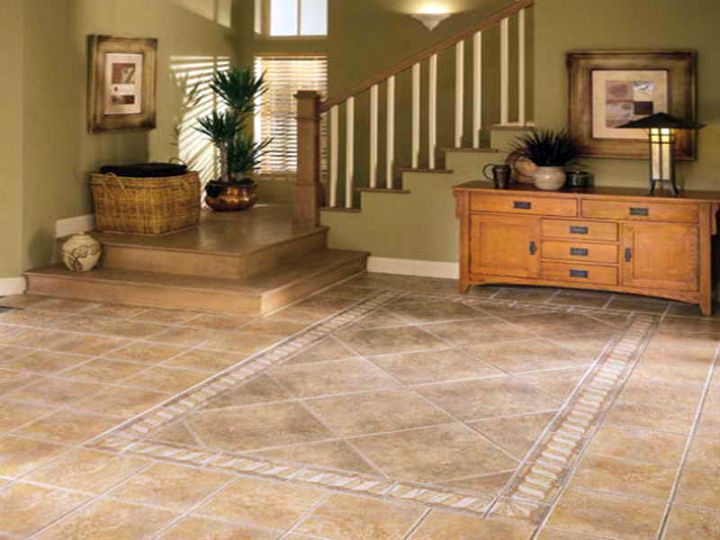
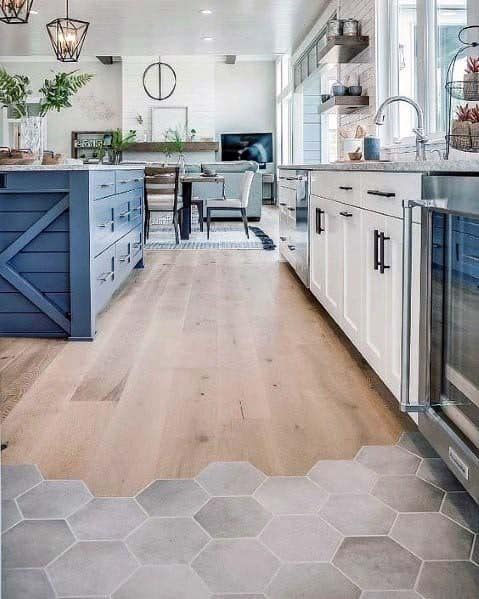
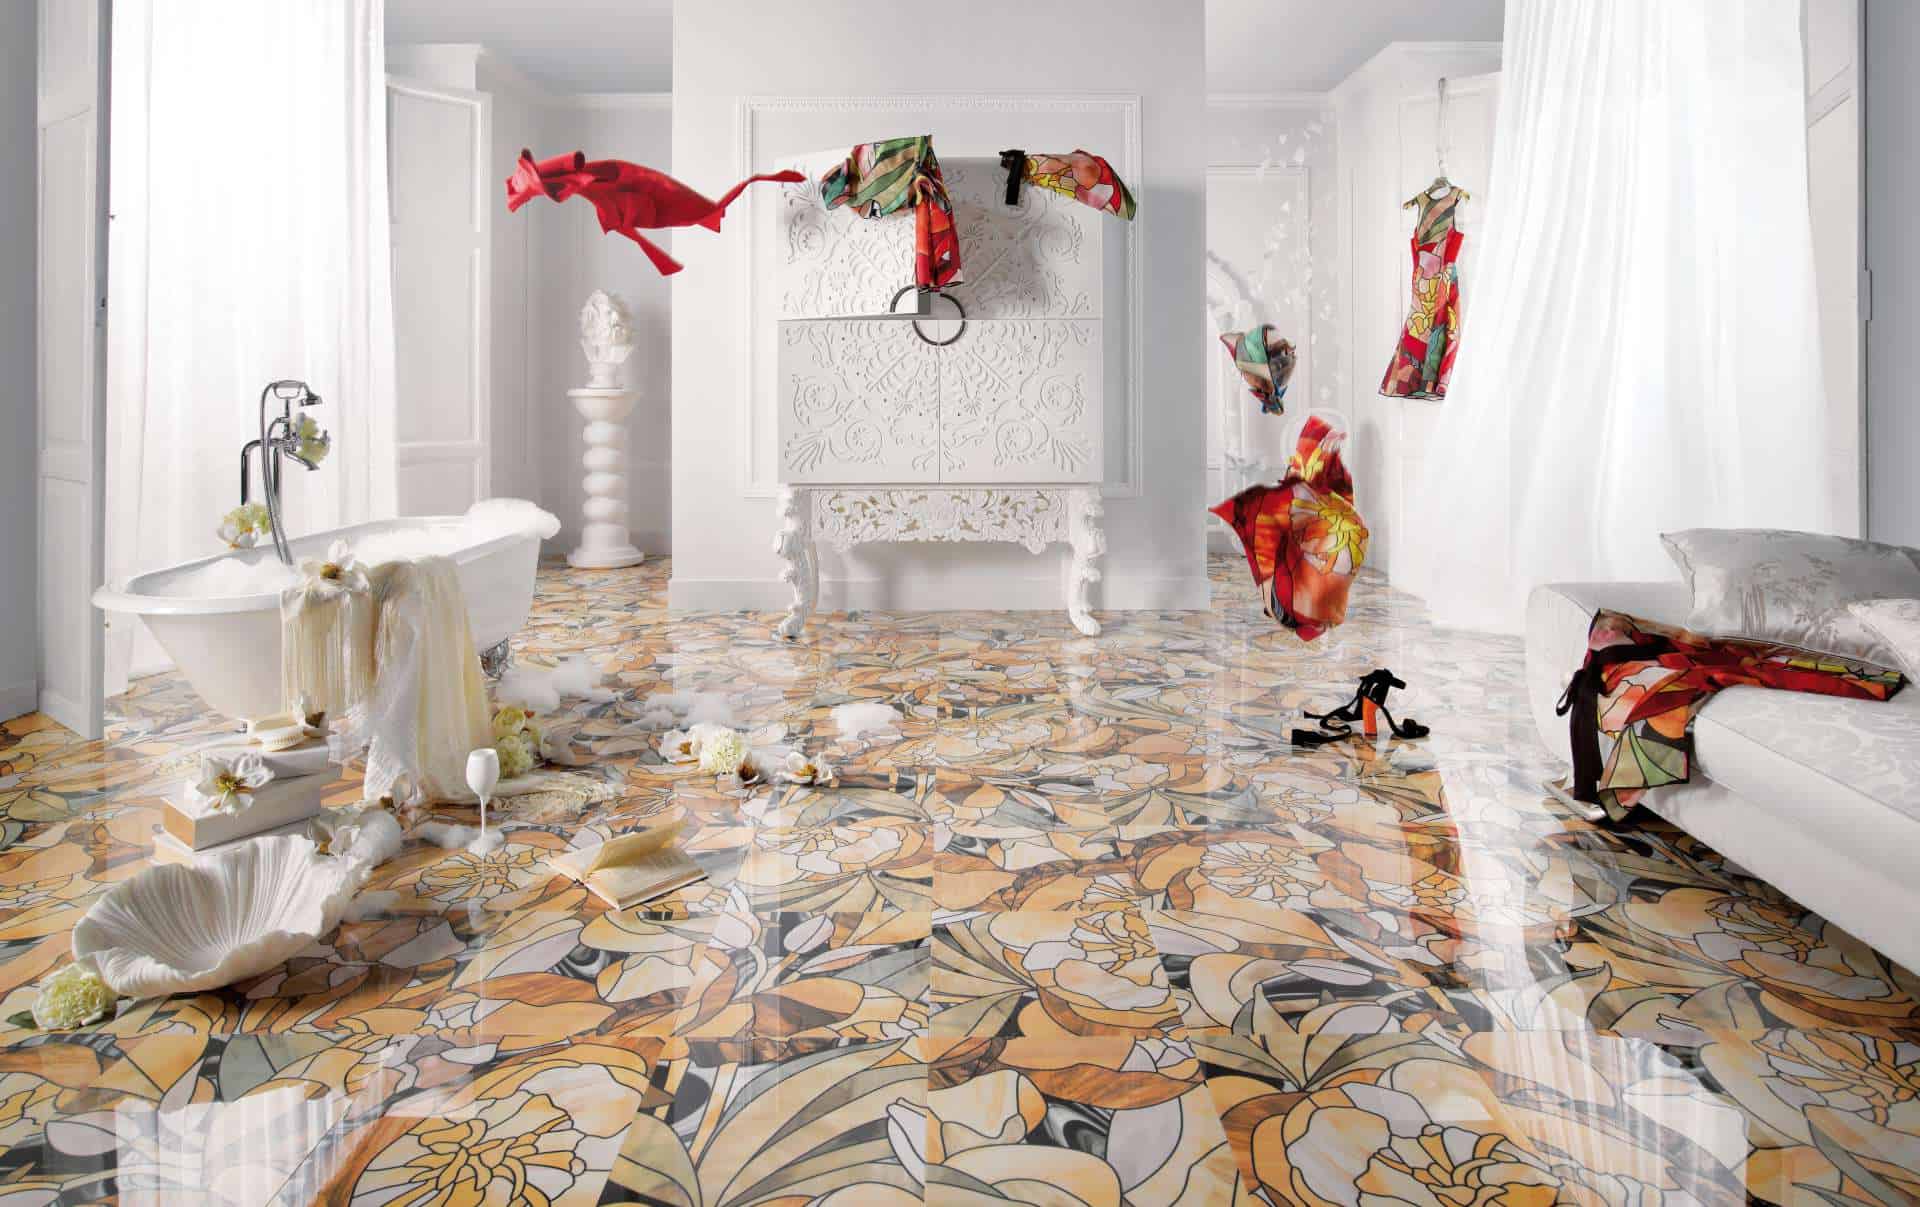
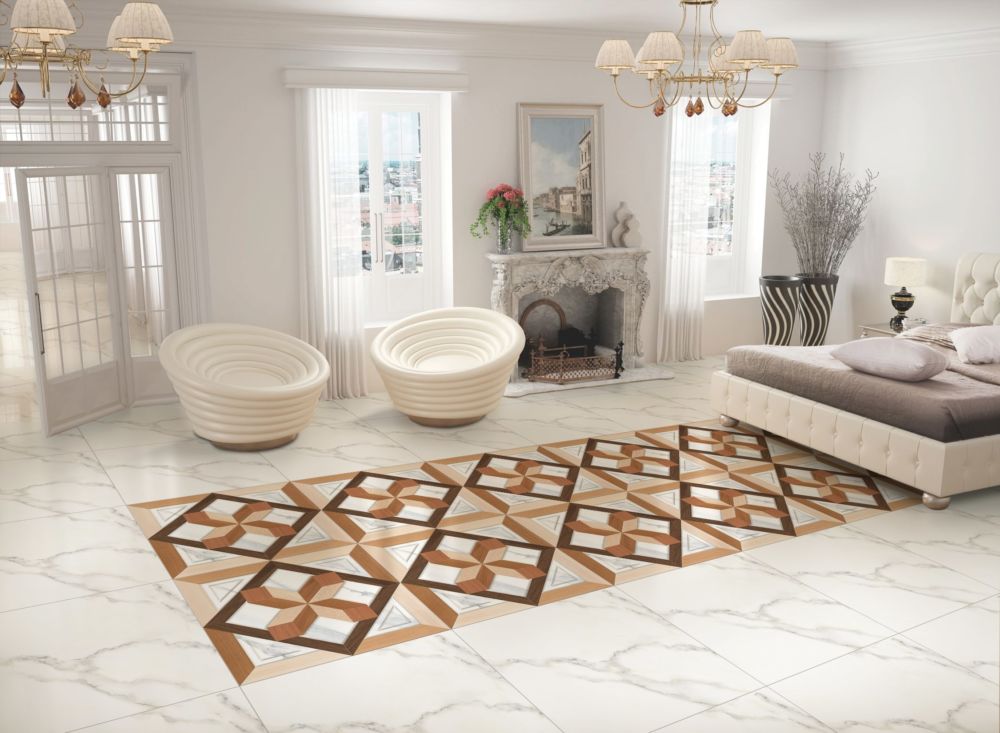
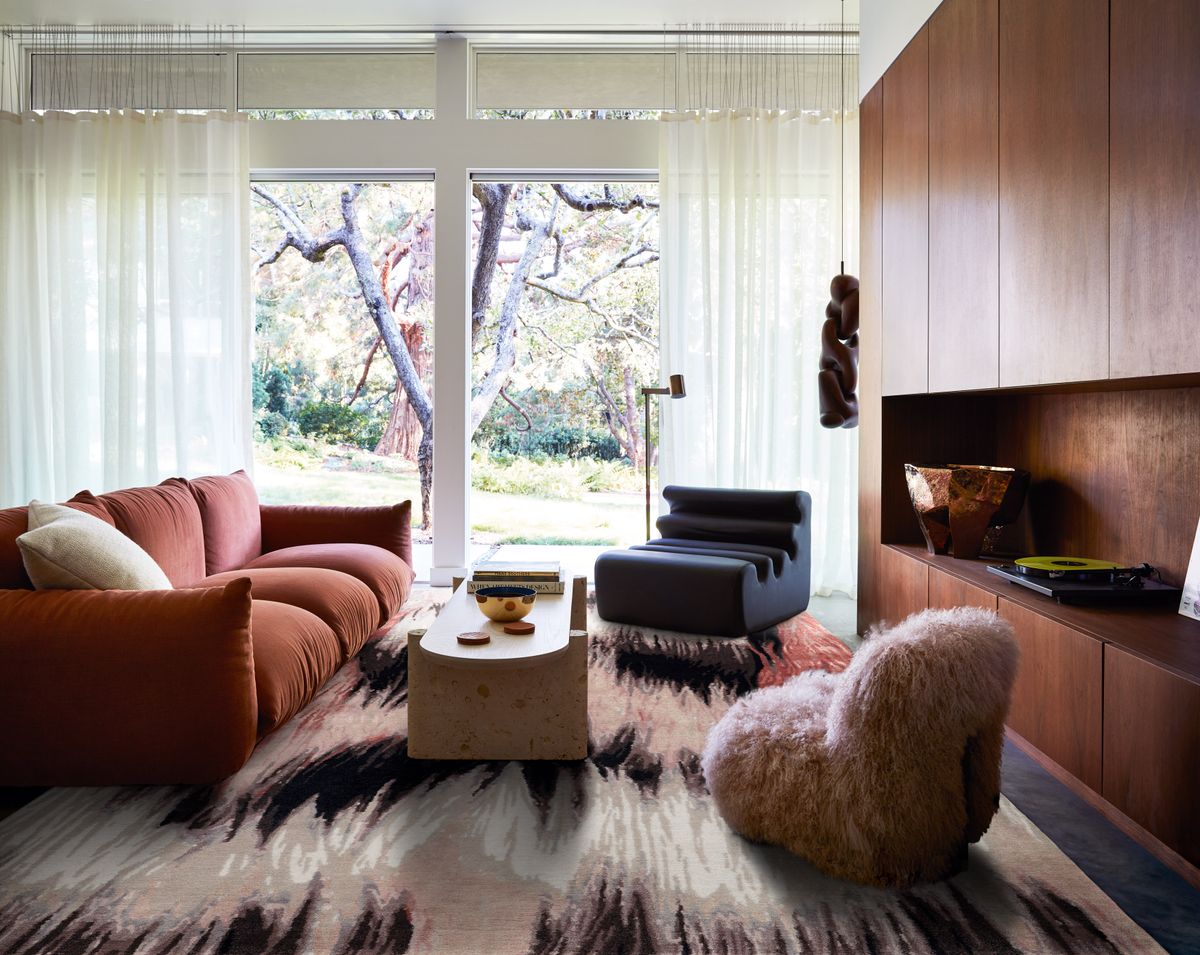
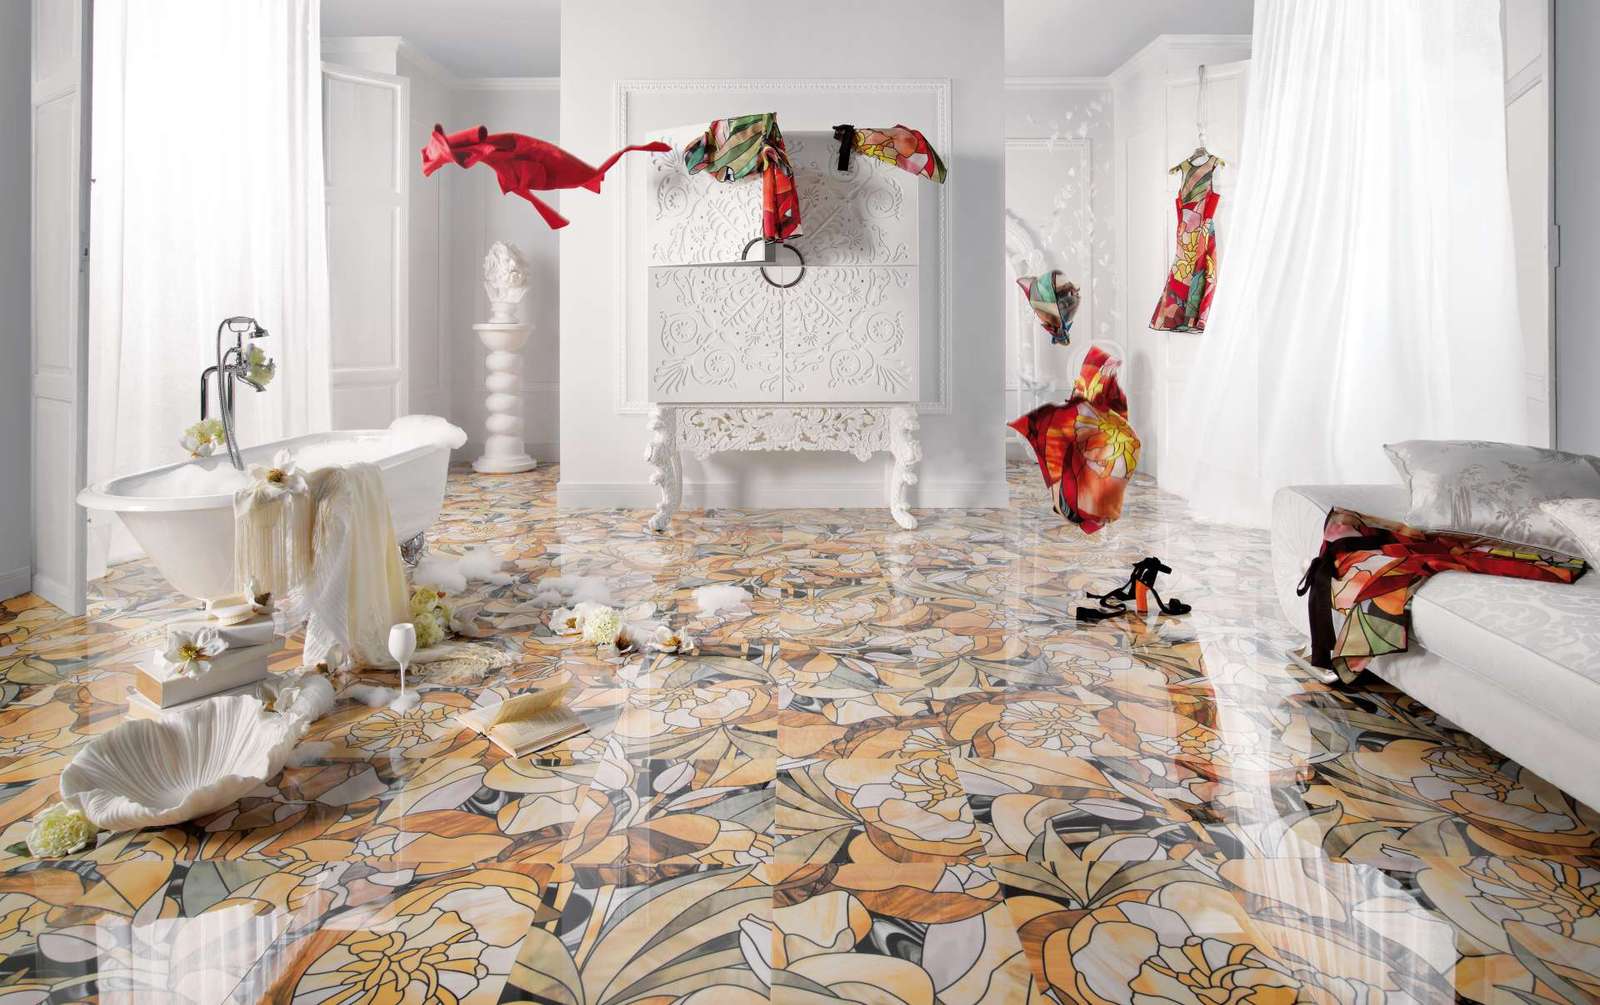
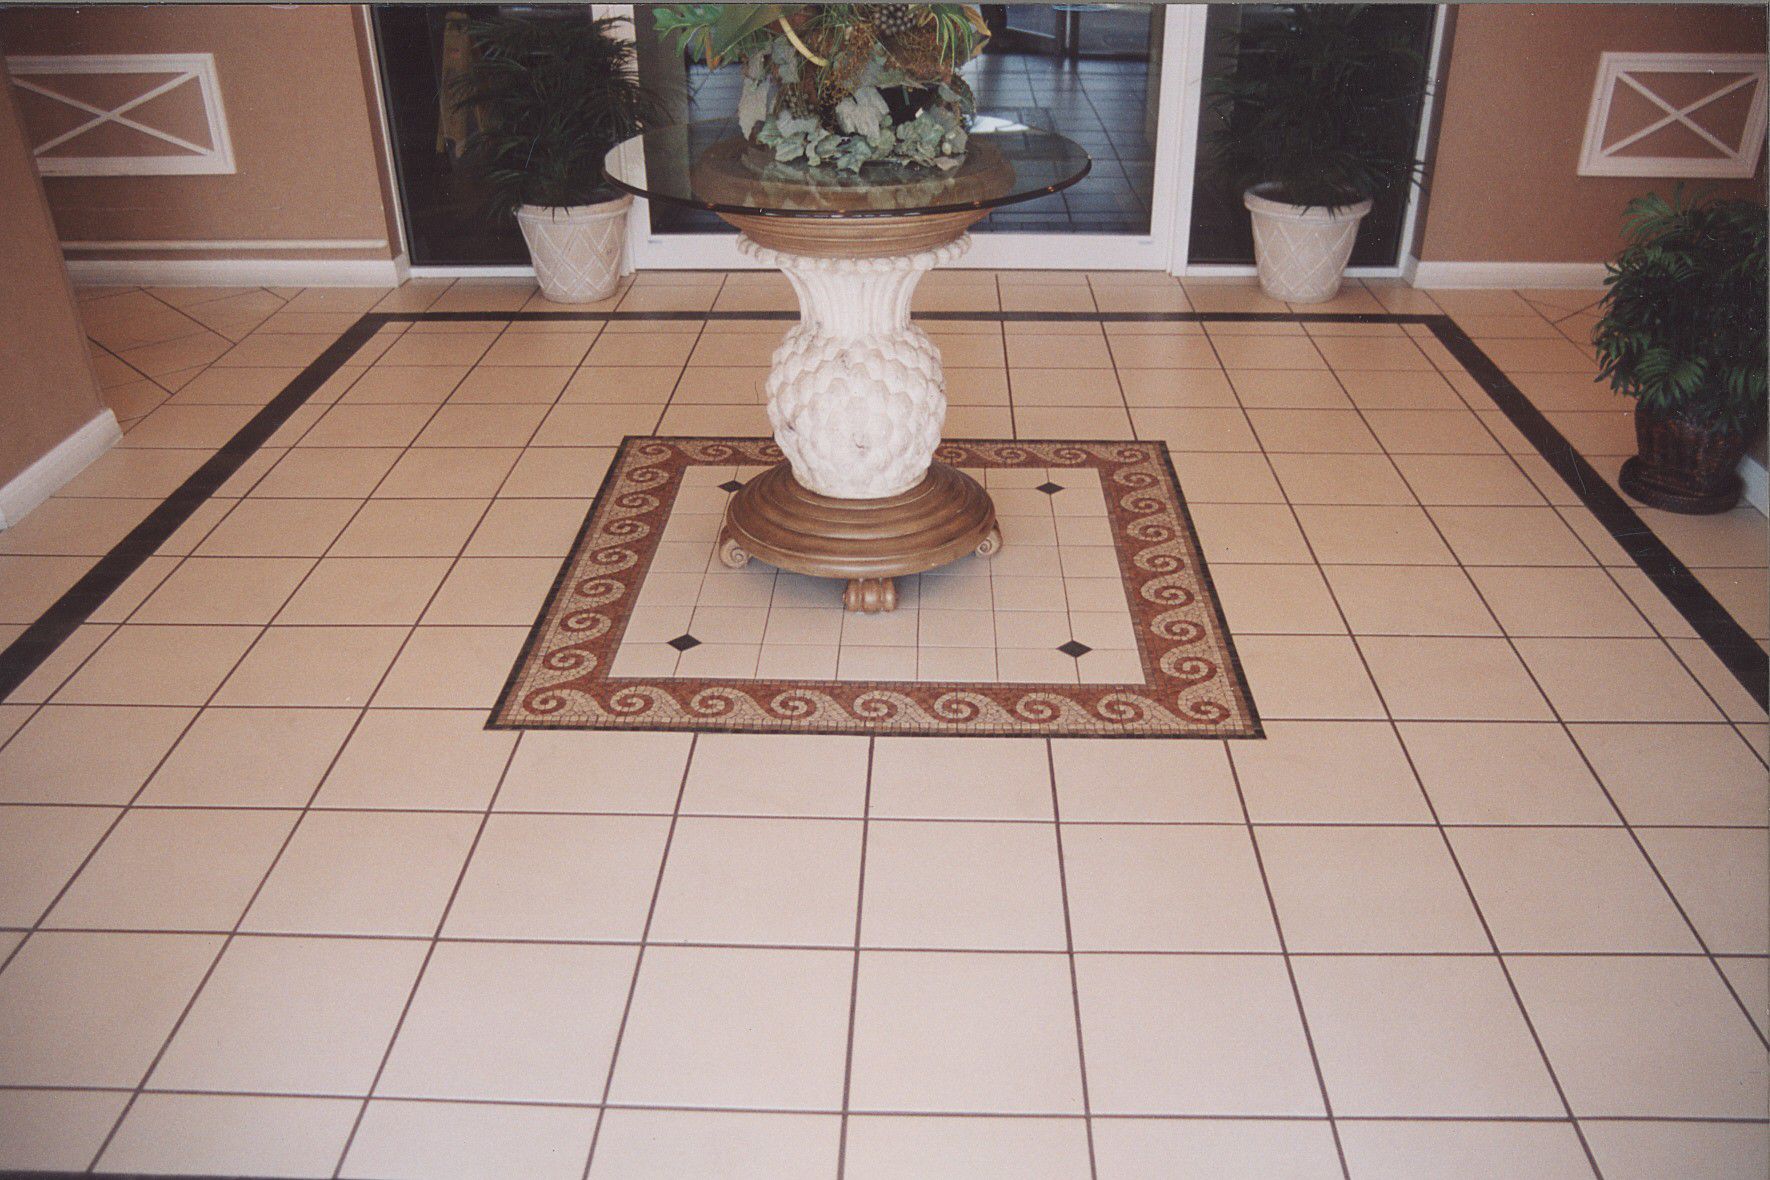
The design possibilities for living room floor tiles are endless. You can opt for a classic and timeless look with neutral-colored tiles, or make a statement with bold and patterned tiles. Another trend that has gained popularity is creating a focal point with a different tile design in the center of the room. You can also play with different tile sizes and layouts to create a unique and personalized look. Living room floor tile design ideas:


Living room floor tile design ideas


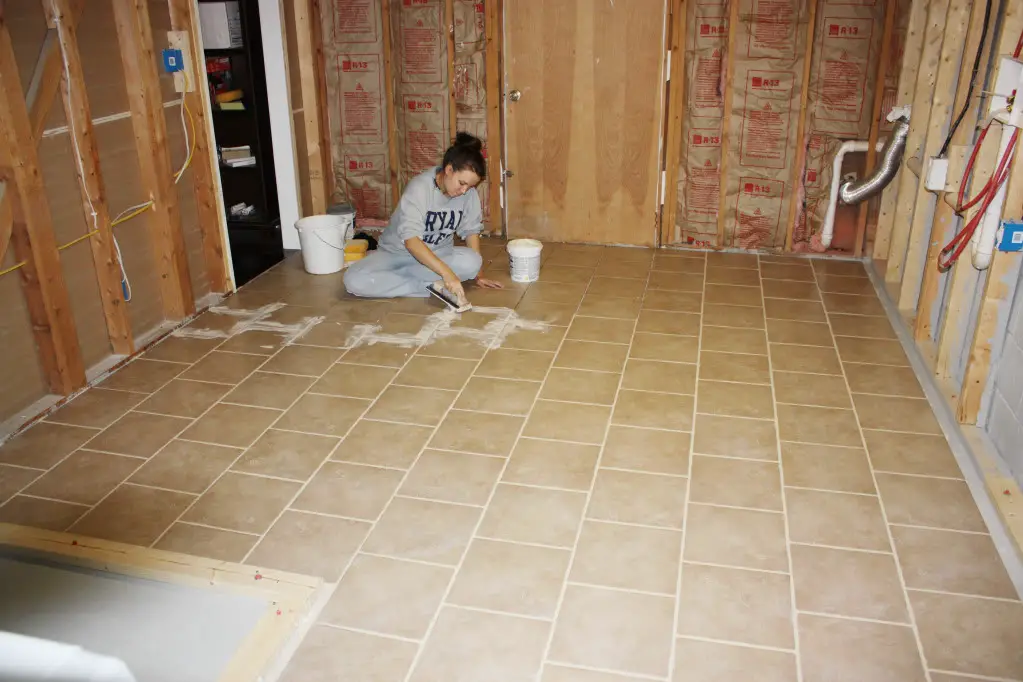
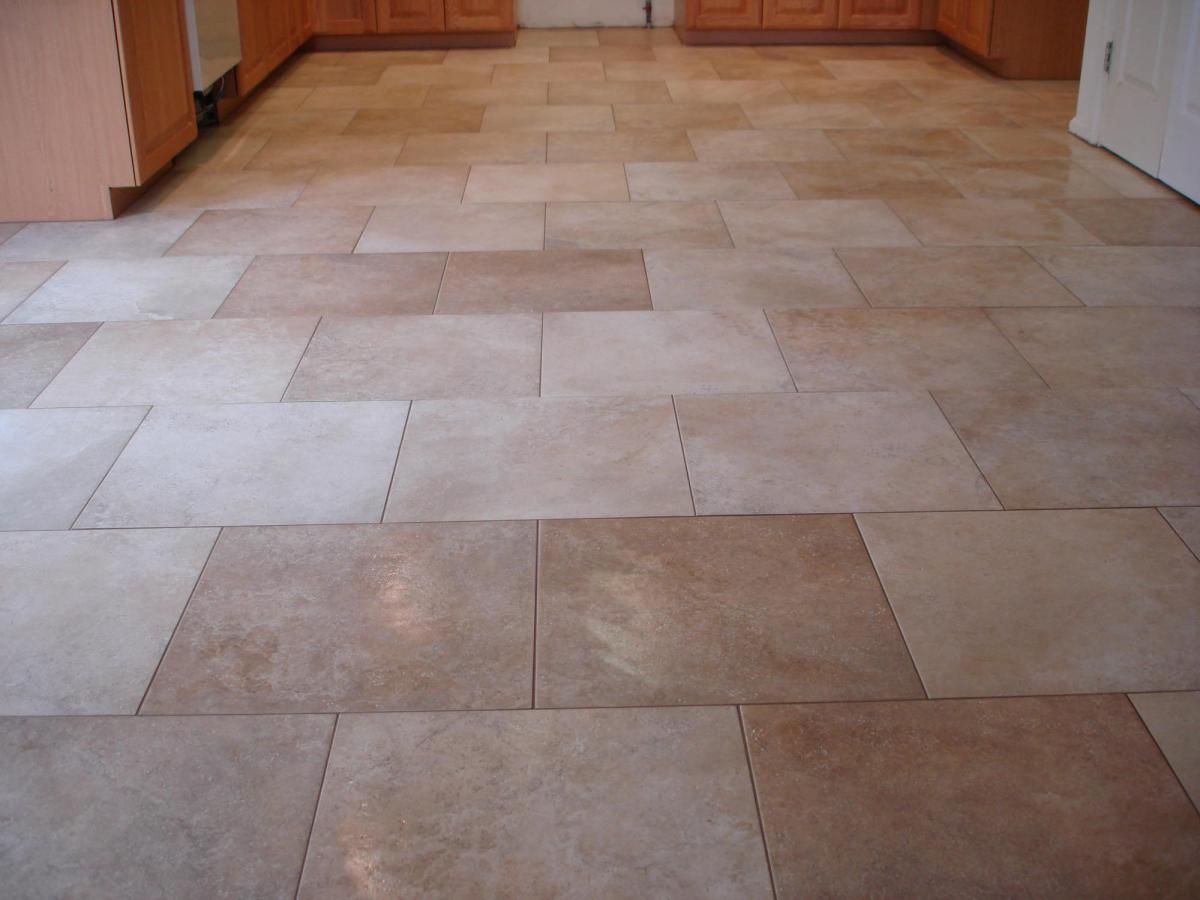
Here is a step-by-step guide to tiling your living room floor: Step 1: Measure and calculate the amount of tiles needed. Step 2: Prepare the floor by cleaning and removing any debris or old flooring. Step 3: Mark the center of the room and start tiling from there. Step 4: Apply tile adhesive using a trowel and lay the tiles, leaving a small gap between each tile. Step 5: Cut tiles to fit around edges and corners using a tile cutter. Step 6: Allow the tiles to set for 24 hours. Step 7: Apply grout using a grout float, making sure to fill all the gaps between tiles. Step 8: Wipe off excess grout with a damp sponge. Step 9: Allow grout to dry for 24 hours. Step 10: Seal the grout to protect it from stains and water damage. Step-by-step guide to tiling a living room floor:


Step-by-step guide to tiling a living room floor


While tiling a living room floor may seem like a simple task, there are some common mistakes that you should avoid to ensure a successful project. One of the most significant mistakes is not preparing the floor properly, which can lead to tiles cracking or shifting. Another mistake is not using the right adhesive for the type of tiles you're using, resulting in tiles not adhering properly. Lastly, not using spacers to leave a gap between tiles can cause them to crack over time. Living room floor tiling mistakes to avoid:


Living room floor tiling mistakes to avoid


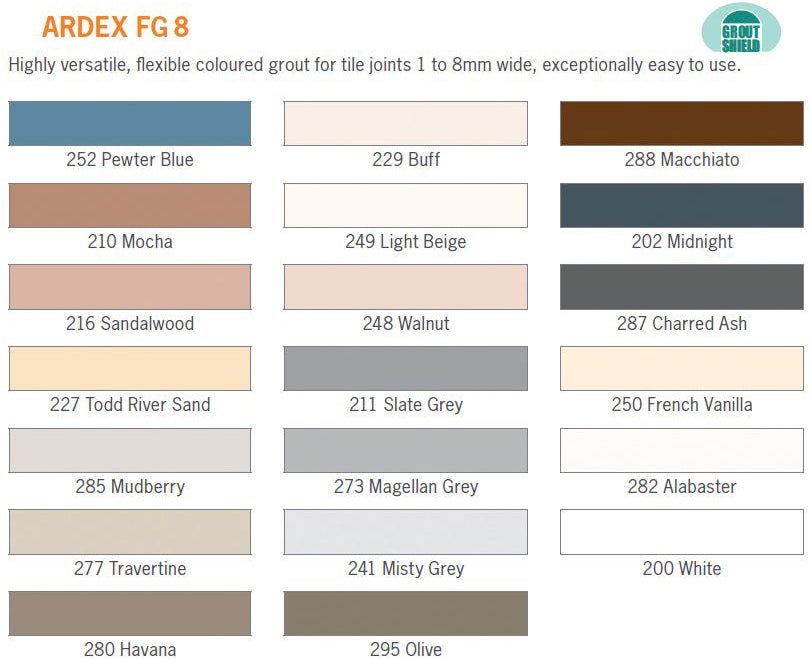
Grout may seem like a minor detail, but it plays a crucial role in the overall look and durability of your living room floor tiles. When choosing grout, consider the color and size of the tiles, as well as the level of traffic in the room. A darker grout color can hide dirt and stains better, while a lighter color can make a room appear more spacious. Also, make sure to use a grout sealant to protect your grout from stains and water damage. Choosing the right grout for your living room floor tiles:


Choosing the right grout for your living room floor tiles


Proper preparation is key to a successful tiling project. Before you start tiling, make sure the floor is clean, dry, and level. Remove any old flooring and fill in any cracks or holes with a floor leveler. If you're tiling over a concrete floor, make sure to use a primer to help the adhesive bond better. Taking the time to prepare the floor properly will ensure that your tiles will lay flat and adhere correctly. Now that you have all the tips and tricks for tiling your living room floor, it's time to get started on your project. Remember to take your time, plan and measure carefully, and don't be afraid to ask for help if needed. With a little patience and hard work, you'll have a beautifully tiled living room floor that will elevate the look of your entire space. How to prepare your living room floor for tiling:


How to prepare your living room floor for tiling


Tiling a Living Room Floor: A Guide to Elevating Your House Design
Why Choose Tiling?
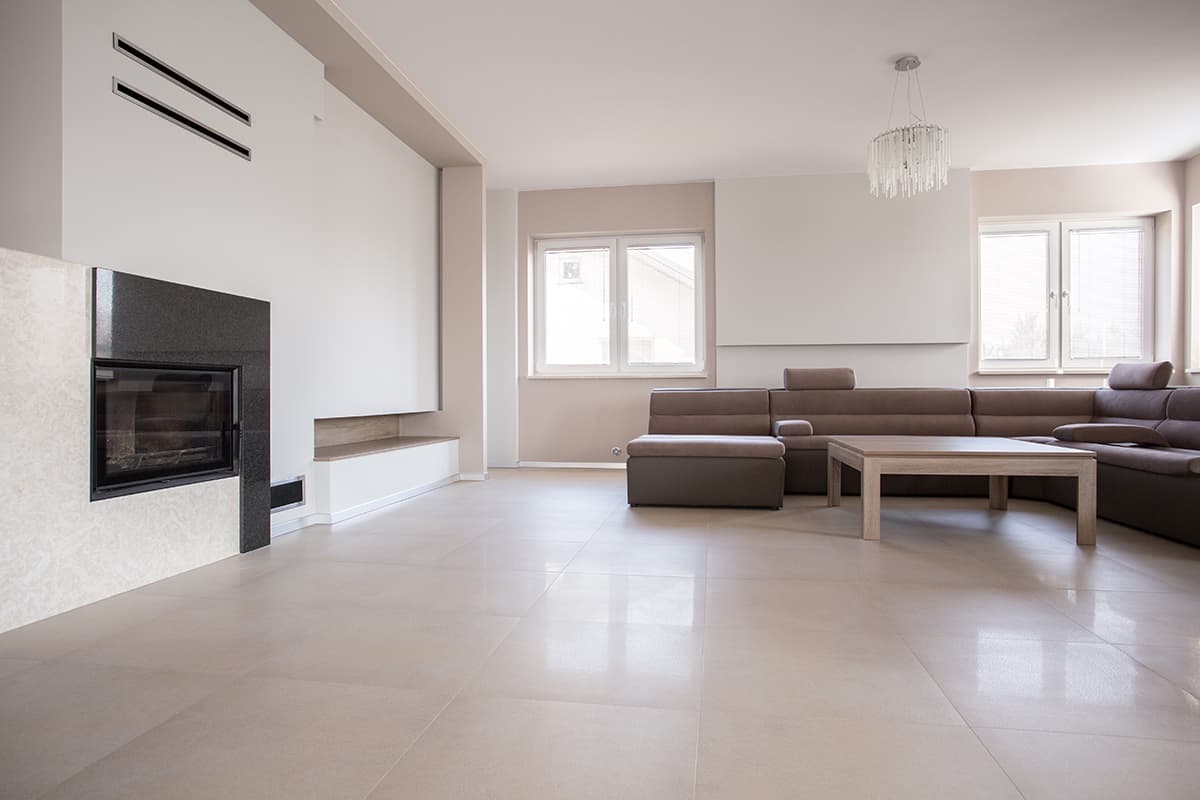
 When it comes to house design, the flooring is an essential element that can truly make or break the overall aesthetic. Tiling is a popular choice for many homeowners, as it offers a wide range of benefits. First and foremost, tiles are known for their durability and longevity, making them a long-term investment for your home. They are also easy to clean and maintain, making them a practical choice for high-traffic areas like living rooms. Moreover, tiles come in various colors, patterns, and textures, allowing you to customize and elevate your house design according to your personal style.
Preparing for Tiling
 Before you start tiling your living room floor, it is crucial to prepare the space properly. This includes clearing the room of any furniture, rugs, and debris. It would also be best to repair any existing damage or unevenness on the subfloor to ensure a smooth and even surface for tiling. Additionally, make sure to gather all the necessary tools and materials before beginning the tiling process. This includes tiles, tile adhesive, trowel, spacers, grout, and a tile cutter.
Tiling Process
 Now that you have prepared the space, it's time to start tiling your living room floor. Begin by applying a layer of tile adhesive on the subfloor using a trowel, making sure to spread it evenly. Then, place the first tile at the center of the room and press it firmly into the adhesive. Use tile spacers to ensure even spacing between each tile. Continue placing tiles following your desired pattern, and use a tile cutter to cut tiles to fit along the edges of the room. Once all the tiles are in place, allow the adhesive to dry completely before proceeding to the next step.
Grouting and Finishing
 After the adhesive has dried, remove the tile spacers and start applying grout using a grout float. Make sure to work the grout into the spaces between the tiles, removing any excess with a damp sponge. Once the grout has dried, use a dry cloth to buff any remaining haze on the tiles. Finally, replace any furniture or décor in the living room and enjoy your newly tiled floor.
In Conclusion
 Tiling a living room floor is a fantastic way to elevate your house design and add a touch of elegance and durability. With proper preparation and the right techniques, you can achieve a professional-looking finish that will last for years to come. So why wait? Transform your living room today with the timeless beauty of tiles.