A thick bead of caulk for bathroom sink is an essential part of any bathroom renovation or maintenance project. This durable sealant is used to fill in gaps and cracks around the sink, preventing water from seeping in and causing damage. But not all caulk is created equal, and using the wrong type or applying it incorrectly can lead to problems down the line. In this article, we'll discuss everything you need to know about choosing and applying the best thick bead of caulk for your bathroom sink.Thick Bead of Caulk for Bathroom Sink


Thick Bead of Caulk for Bathroom Sink

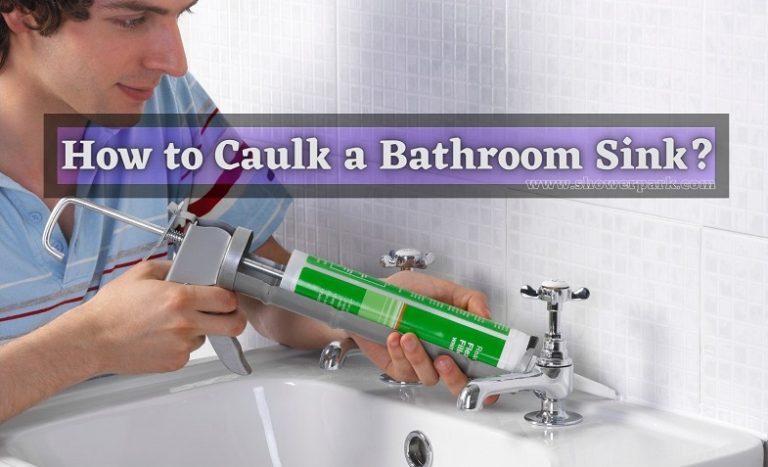


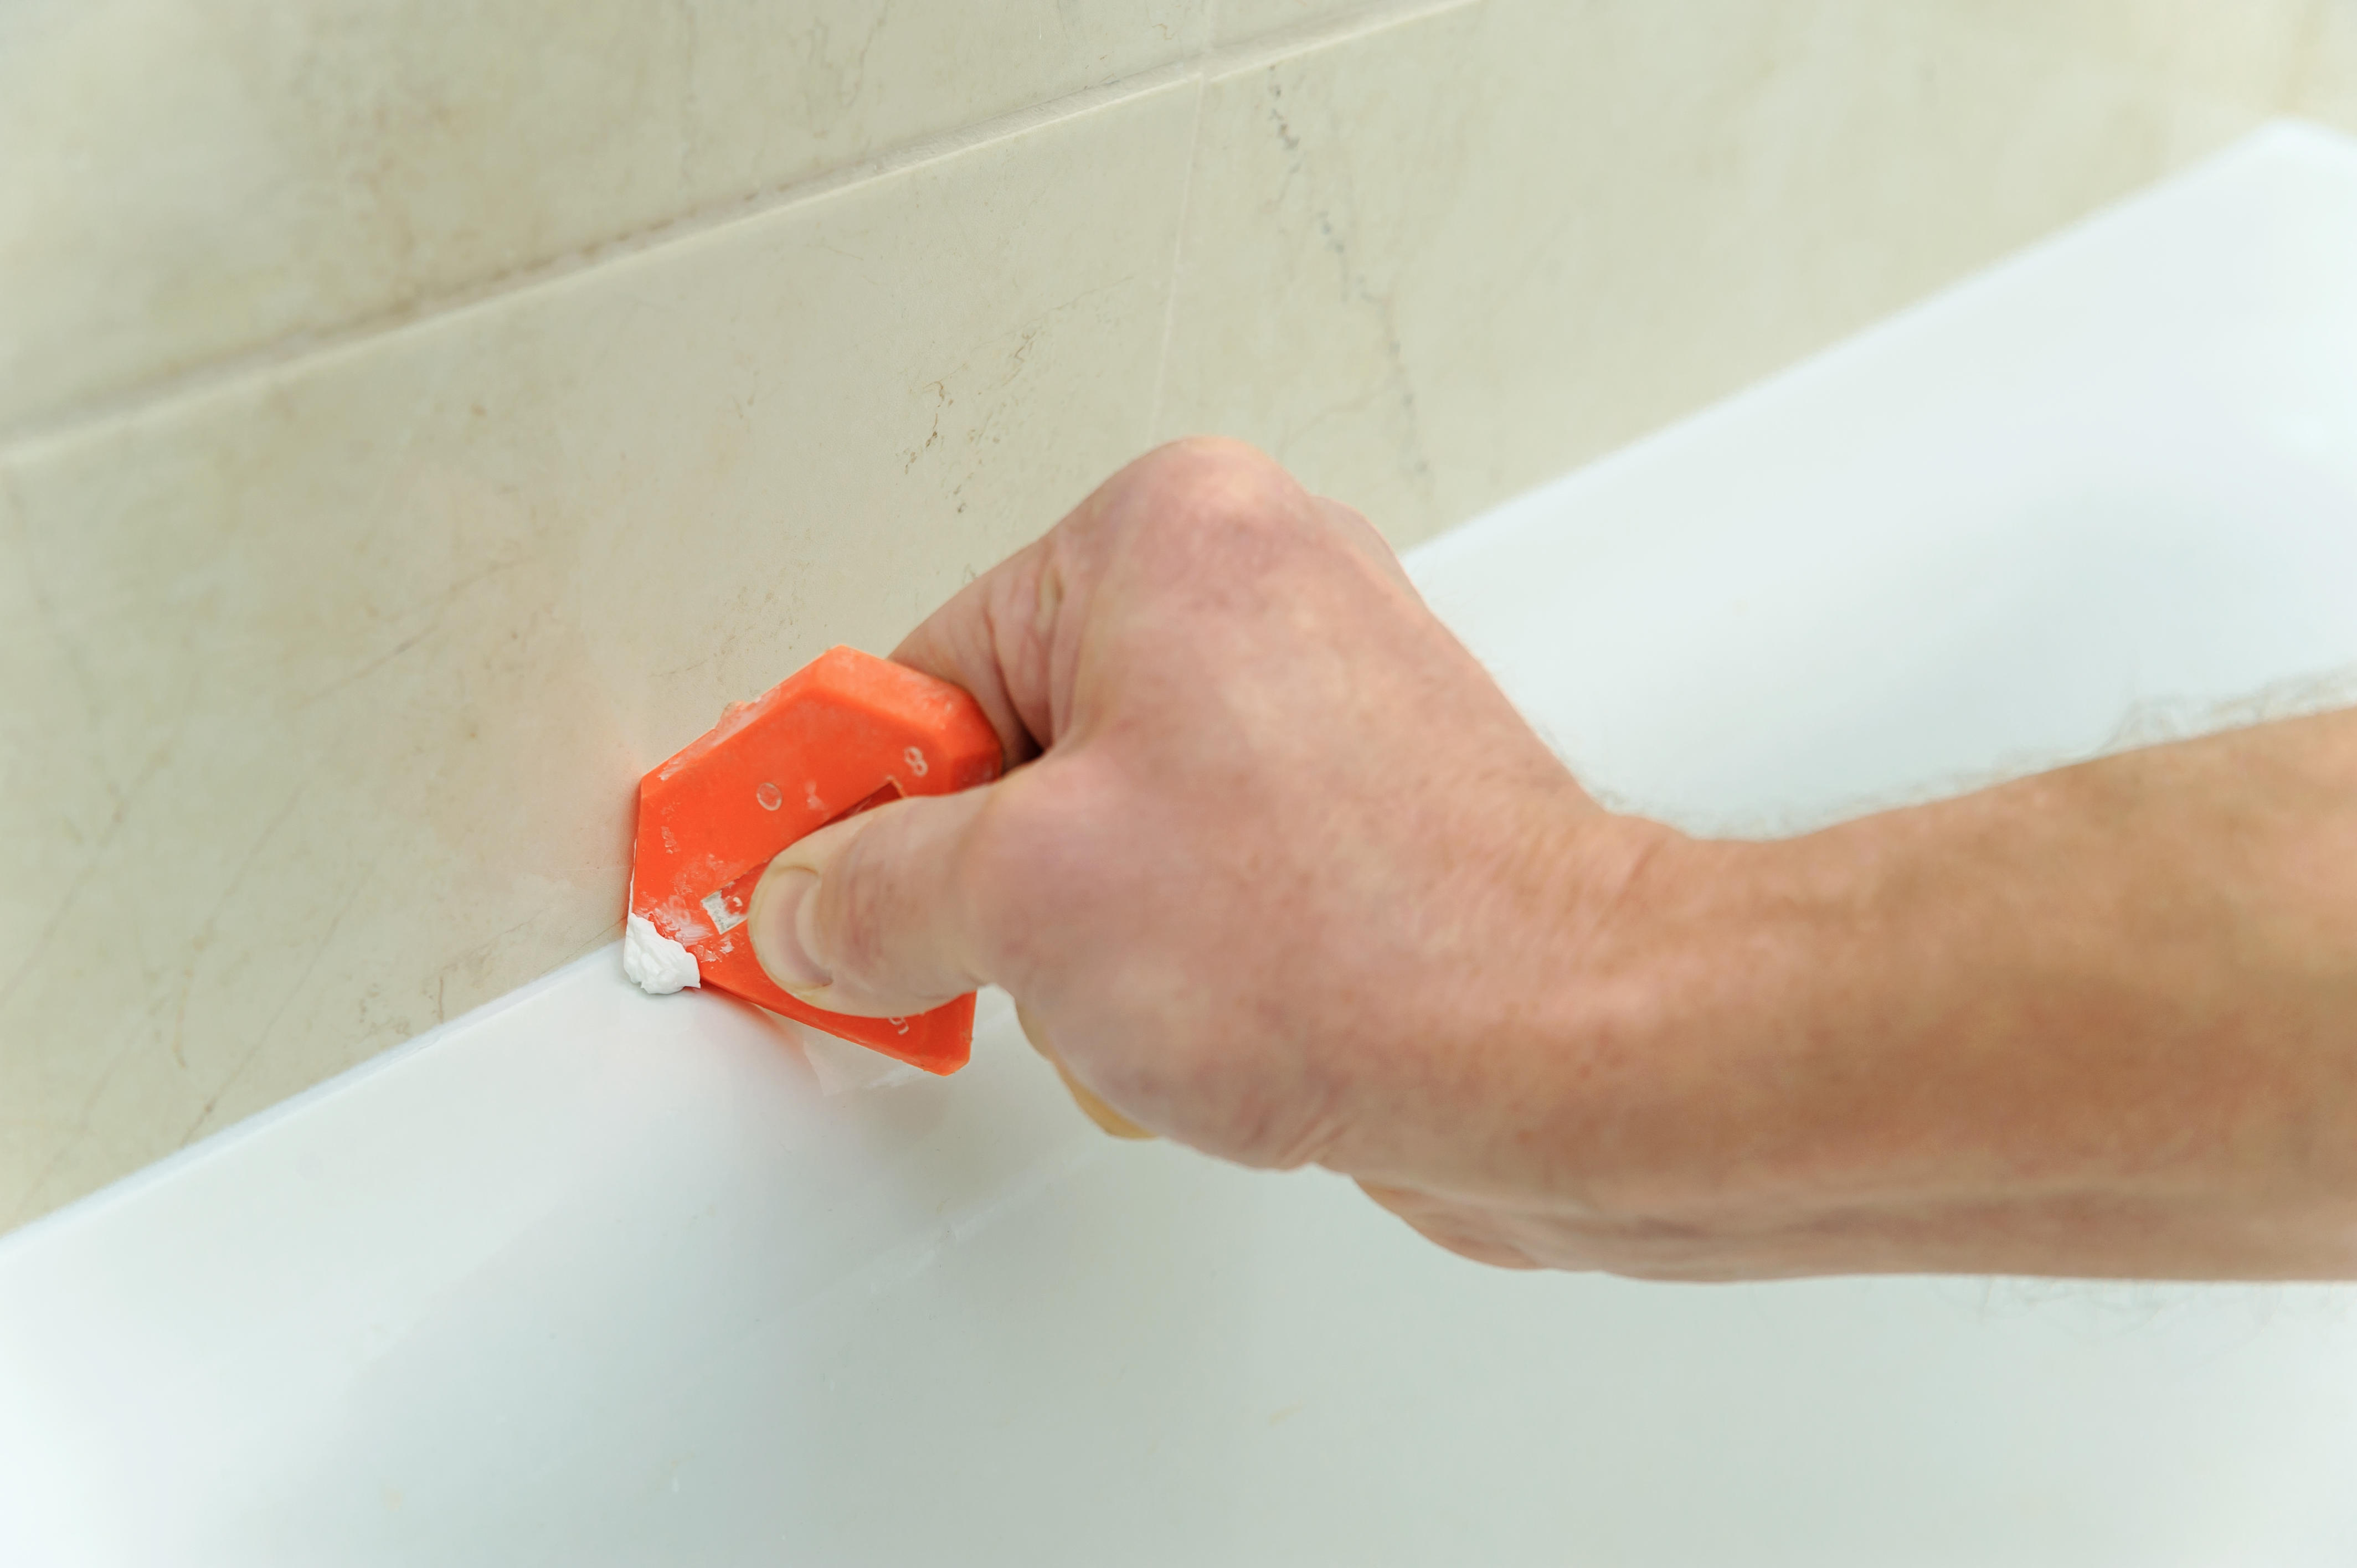
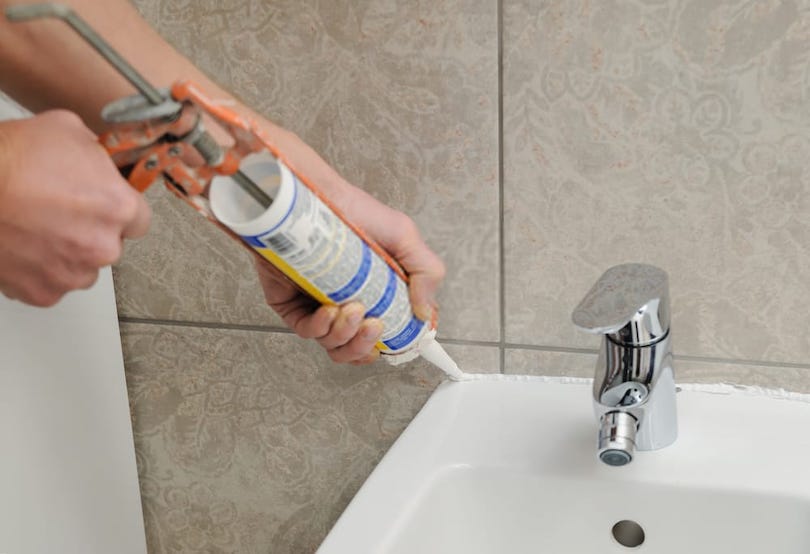
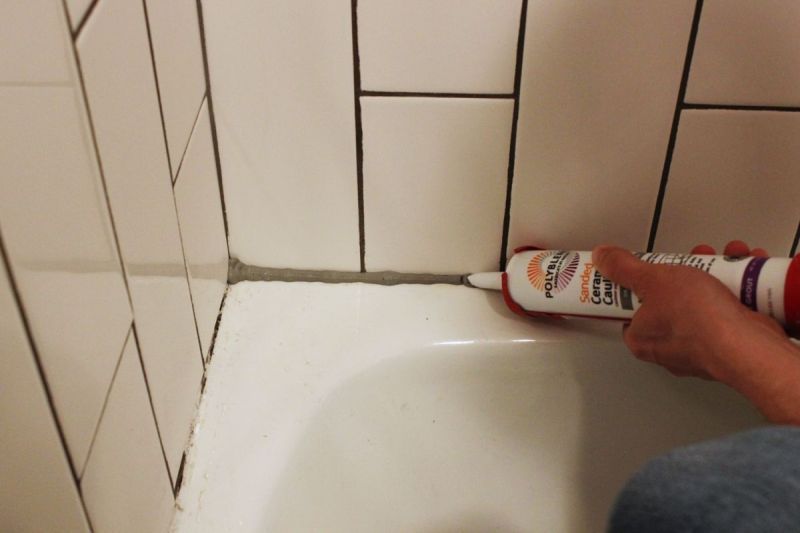
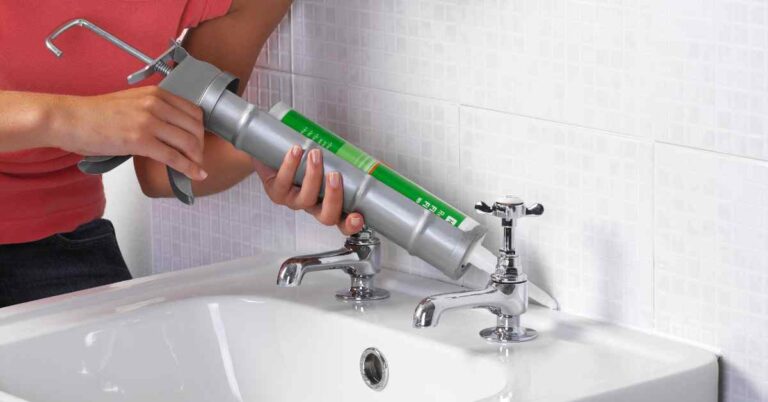
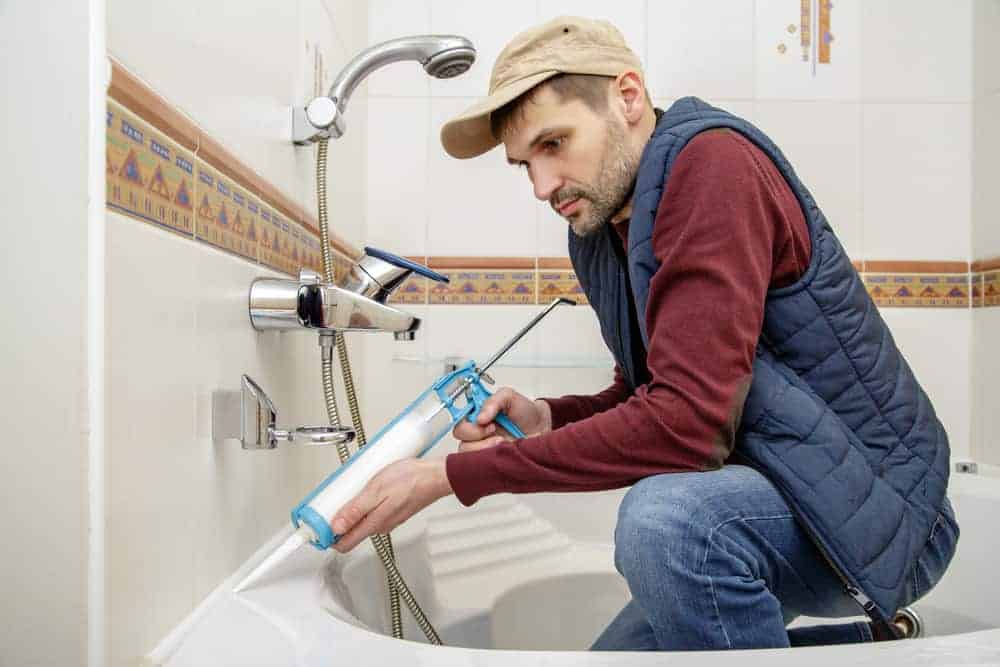
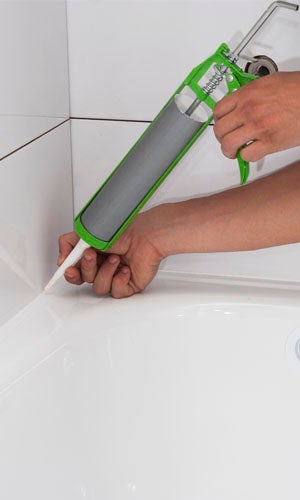
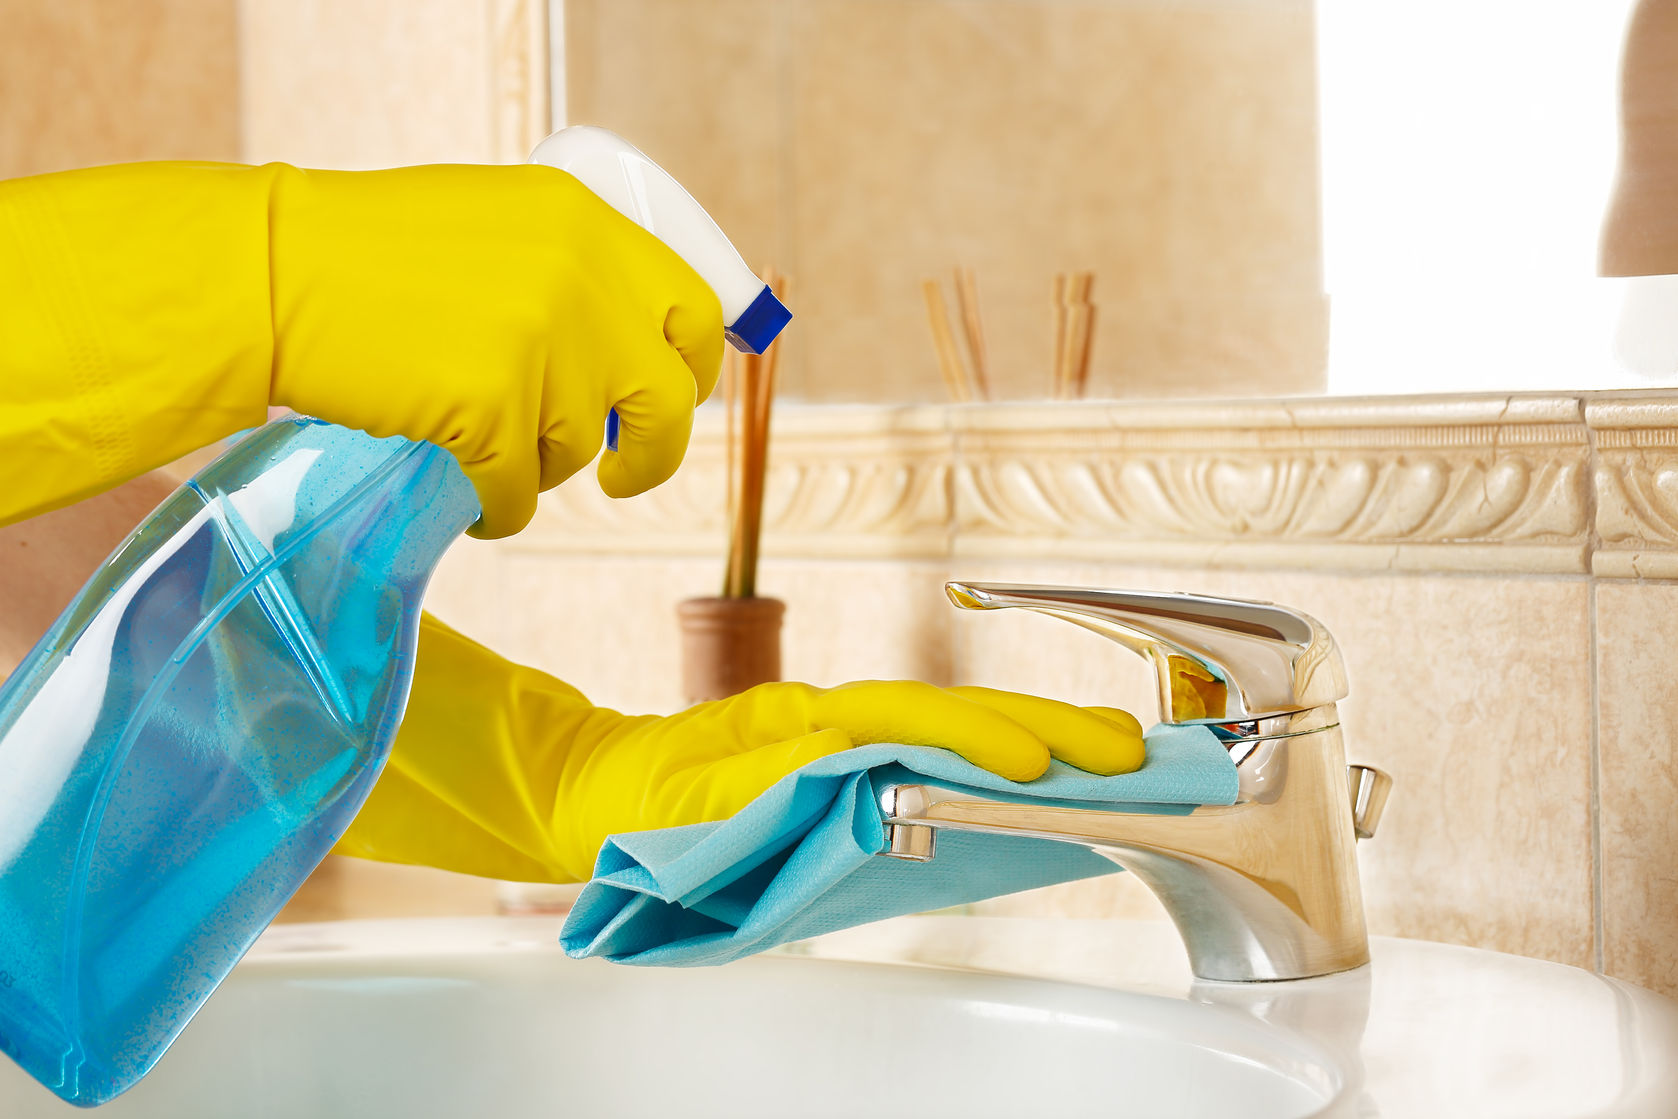
When it comes to applying caulk for bathroom sink, there are a few key steps to follow to ensure a smooth and effective application: Step 1: Choose the right caulk for your project. Look for a waterproof and mold-resistant caulk that is specifically designed for use in bathrooms. Step 2: Prepare the area by cleaning and drying the surface around the sink. Remove any old caulk or debris that may prevent the new caulk from adhering properly. Step 3: Cut the tip of the caulk tube at a 45-degree angle, then insert it into a caulking gun. Step 4: Start at one end of the sink and slowly squeeze the trigger to apply a thick, even bead of caulk along the edge of the sink. Use a steady hand and apply consistent pressure for a smooth result. Step 5: Once the caulk is applied, use a wet finger or a caulk smoothing tool to smooth out the bead and remove any excess caulk. Step 6: Allow the caulk to dry for at least 24 hours before using the sink or exposing it to water.How to Apply a Thick Bead of Caulk for Bathroom Sink


How to Apply a Thick Bead of Caulk for Bathroom Sink


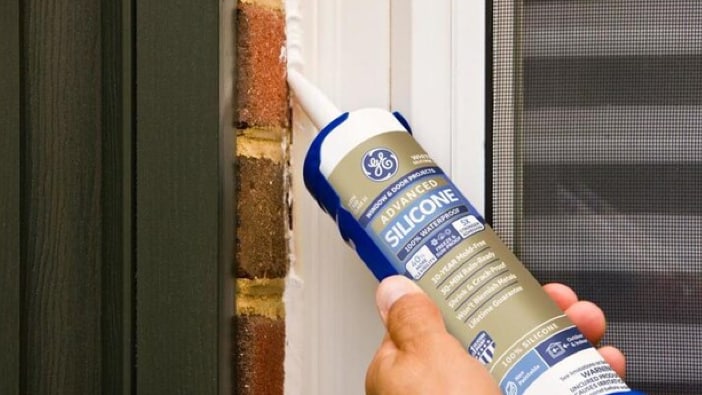
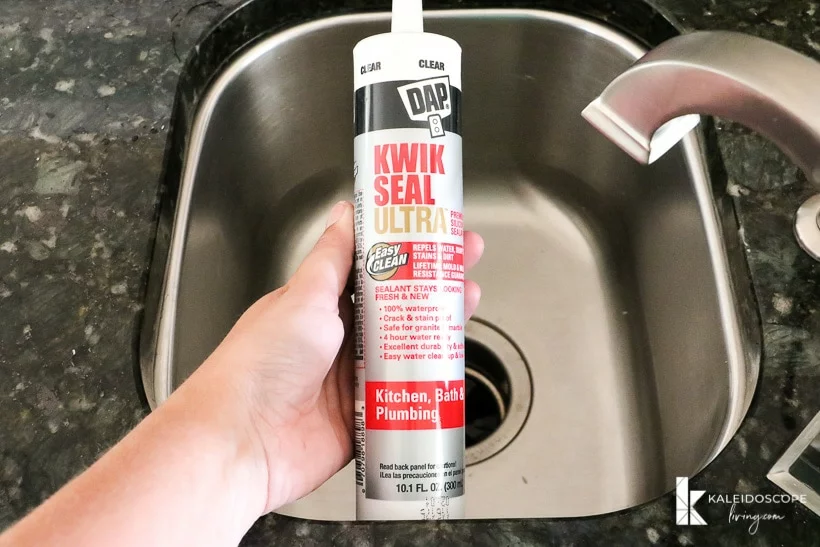
The best caulk for bathroom sink is one that is waterproof, mold and mildew resistant, and can adhere to a variety of surfaces. Look for silicone caulk, which is known for its durability and flexibility. Some popular options include GE Silicone II Kitchen & Bath Caulk, Dap 100% Silicone Sealant, and Loctite Polyseamseal Tub & Tile Adhesive Caulk.Best Caulk for Bathroom Sink


Best Caulk for Bathroom Sink


If you need to remove a thick bead of caulk from your bathroom sink, the process is relatively straightforward: Step 1: Use a caulk softener, such as Goo Gone Caulk Remover or 3M Caulk Remover, to loosen the caulk and make it easier to remove. Step 2: Carefully scrape away the softened caulk using a caulk removal tool or a plastic putty knife. Be sure to work slowly and gently to avoid damaging the surface of the sink. Step 3: Once the majority of the caulk is removed, use a clean cloth and rubbing alcohol to clean any leftover residue. Step 4: Allow the area to dry completely before applying new caulk.How to Remove Thick Bead of Caulk from Bathroom Sink


How to Remove Thick Bead of Caulk from Bathroom Sink
:max_bytes(150000):strip_icc()/how-to-remove-old-caulk-1824827-01-3d0370c59e124dbbaa6560c68bab111c.jpg)
:max_bytes(150000):strip_icc()/how-to-remove-old-caulk-1824827-hero-4863fcf5169e426da8f822429ed46301.jpg?strip=all)
:max_bytes(150000):strip_icc()/caulking-the-bathroom-187091313-a22e0cfc811d4ed6870673079cf17bbf.jpg)
Here are a few additional tips to keep in mind when applying a thick bead of caulk for your bathroom sink: - Clean and dry the surface thoroughly before applying caulk to ensure proper adhesion. - Use a caulk smoothing tool or a wet finger to create a smooth and even bead. - Don't skimp on the amount of caulk you use. A thick bead will provide better protection against water and moisture. - Work in small sections and smooth out the caulk as you go for the best results.Tips for Applying a Thick Bead of Caulk for Bathroom Sink


Tips for Applying a Thick Bead of Caulk for Bathroom Sink


With so many options available, it can be overwhelming to choose the right caulk for your bathroom sink. Here are some factors to consider when making your decision: - Look for a caulk specifically designed for use in bathrooms, as these are more resistant to water and mold. - Consider the type of sink and the material it is made of. Some caulk may not adhere well to certain surfaces. - Read reviews and do your research to find a caulk that has a good reputation for durability and ease of use. - Consider the color of the caulk and choose one that will blend in seamlessly with your sink and bathroom decor.How to Choose the Right Caulk for Bathroom Sink


How to Choose the Right Caulk for Bathroom Sink


Here is a step-by-step guide to help you apply a thick bead of caulk for your bathroom sink: - Gather all necessary materials, including caulk, a caulking gun, a caulk smoothing tool, and a damp cloth. - Clean and dry the area around the sink. - Cut the tip of the caulk tube at a 45-degree angle. - Insert the caulk tube into the caulking gun and squeeze the trigger to start applying the caulk. - Use a steady hand and consistent pressure to apply a thick bead of caulk along the edge of the sink. - Use a caulk smoothing tool or a wet finger to smooth out the bead and remove any excess caulk. - Allow the caulk to dry for at least 24 hours before using the sink or exposing it to water.Step-by-Step Guide for Applying a Thick Bead of Caulk for Bathroom Sink


Step-by-Step Guide for Applying a Thick Bead of Caulk for Bathroom Sink


To ensure a successful caulk application for your bathroom sink, be sure to avoid these common mistakes: - Not properly preparing the area by cleaning and drying it before applying caulk. - Using the wrong type of caulk for your sink or bathroom. - Applying too little or too much caulk, which can lead to gaps or a messy appearance. - Not smoothing out the caulk properly, which can result in an uneven or bumpy surface.Common Mistakes to Avoid When Applying Caulk for Bathroom Sink


Common Mistakes to Avoid When Applying Caulk for Bathroom Sink


If you accidentally apply too much caulk or make a mess during the application process, don't worry. Here's how to clean up excess caulk from your bathroom sink: Step 1: Use a damp cloth to wipe away any wet caulk that has not yet dried. Step 2: Once the caulk has dried, use a caulk remover or rubbing alcohol to soften and remove the excess caulk. Step 3: Use a plastic putty knife or a caulk removal tool to gently scrape away any remaining caulk. Step 4: Wipe down the area with a clean cloth and allow it to dry completely before applying new caulk.How to Clean Up Excess Caulk from Bathroom Sink


How to Clean Up Excess Caulk from Bathroom Sink


Using a thick bead of caulk for your bathroom sink offers several benefits, including: - Protection against water damage and mold growth. - A smooth and seamless appearance around the sink. - Increased durability and longevity of the sink and surrounding area. - Easy maintenance and clean-up.Benefits of Using a Thick Bead of Caulk for Bathroom Sink


Benefits of Using a Thick Bead of Caulk for Bathroom Sink
The Importance of a Thick Bead of Caulk for Your Bathroom Sink

Properly Sealing Your Bathroom Sink
 When it comes to designing the perfect bathroom, there are many important factors to consider. From the color scheme to the fixtures, every detail plays a crucial role in achieving the desired look and functionality. One area that is often overlooked is the
bathroom sink
. While it may seem like a small detail, the
caulk
used around the edges of your bathroom sink can make a big difference in both appearance and functionality.
When it comes to designing the perfect bathroom, there are many important factors to consider. From the color scheme to the fixtures, every detail plays a crucial role in achieving the desired look and functionality. One area that is often overlooked is the
bathroom sink
. While it may seem like a small detail, the
caulk
used around the edges of your bathroom sink can make a big difference in both appearance and functionality.
Why a Thick Bead of Caulk is Necessary
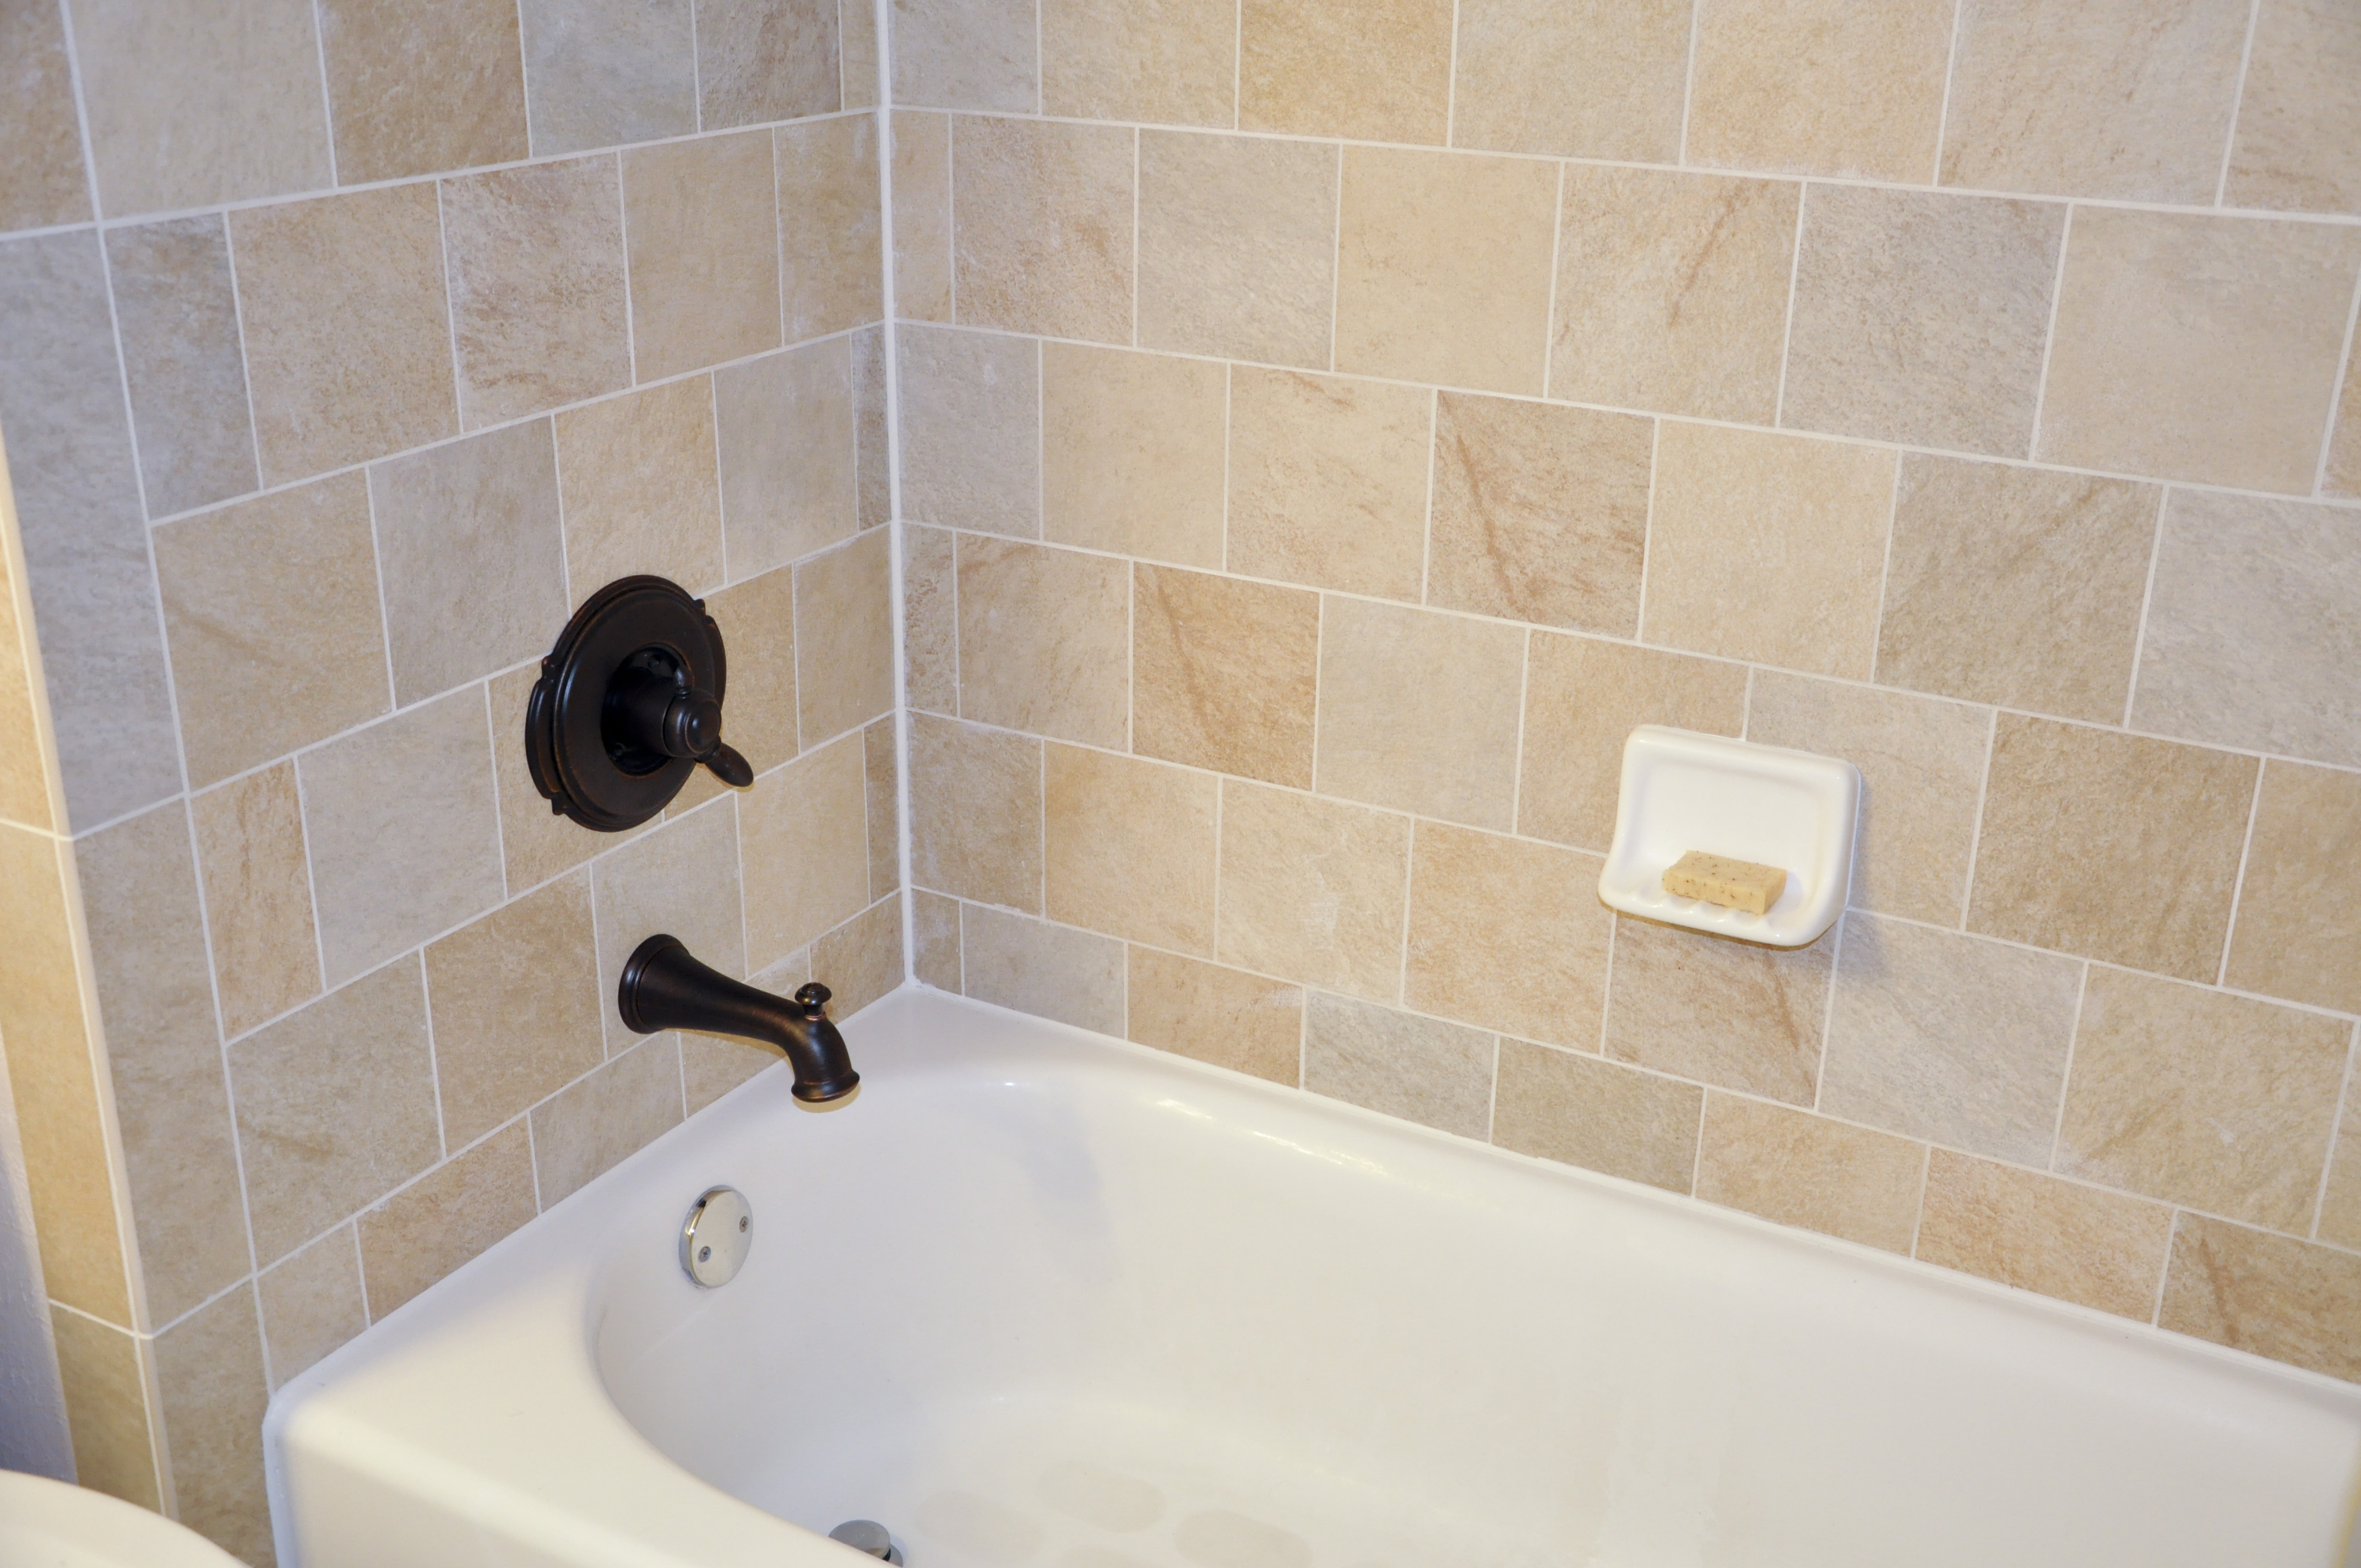
 A thick bead of caulk around your bathroom sink is essential for several reasons. First and foremost, it provides a watertight seal, preventing any water from leaking out and causing damage to your vanity or floor. Without a proper seal, water can seep into crevices and cause mold and mildew to grow, leading to costly repairs and potential health hazards.
Secondly, a thick bead of caulk adds stability to your bathroom sink. It helps to hold the sink in place and prevents any movement or shifting. This is especially important for undermount sinks that are attached from below the countertop. Without a secure seal, the sink may become loose over time, causing potential damage and inconvenience.
A thick bead of caulk around your bathroom sink is essential for several reasons. First and foremost, it provides a watertight seal, preventing any water from leaking out and causing damage to your vanity or floor. Without a proper seal, water can seep into crevices and cause mold and mildew to grow, leading to costly repairs and potential health hazards.
Secondly, a thick bead of caulk adds stability to your bathroom sink. It helps to hold the sink in place and prevents any movement or shifting. This is especially important for undermount sinks that are attached from below the countertop. Without a secure seal, the sink may become loose over time, causing potential damage and inconvenience.
The Aesthetic Benefits of a Thick Bead of Caulk
 In addition to its practical purposes, a thick bead of caulk can also enhance the overall look of your bathroom sink. It provides a clean and finished look, hiding any gaps or imperfections between the sink and countertop. With a variety of caulk colors available, you can choose one that matches your sink or complements your overall bathroom design.
How to Properly Apply a Thick Bead of Caulk
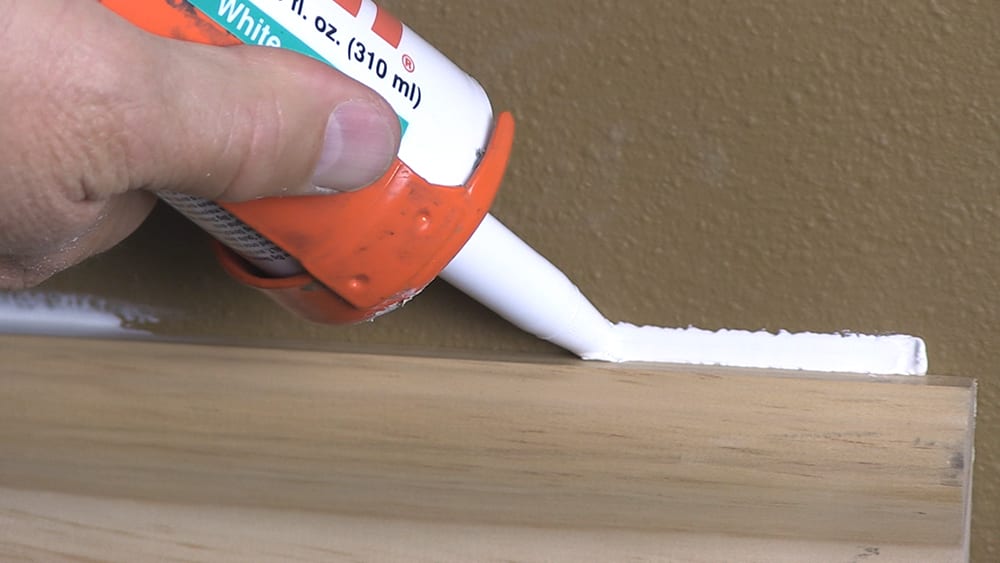 To ensure the best results and maximum effectiveness, it is important to properly apply a thick bead of caulk around your bathroom sink. Start by cleaning the area thoroughly and removing any old caulk. Next, apply a thin layer of caulk to the edges of the sink and press it firmly into place. Then, using a caulk gun, apply a thick bead of caulk along the edges of the sink, smoothing it out with a caulk finishing tool or your finger. Finally, wipe away any excess caulk and allow it to dry completely before using the sink.
In conclusion, while it may seem like a small detail, a
thick bead of caulk
is an important element in designing the perfect bathroom. From its practical purposes of preventing water damage and providing stability, to its aesthetic benefits of creating a clean and finished look, caulk is an essential component in any bathroom sink installation. By following the proper application techniques, you can ensure a secure and visually appealing seal for your bathroom sink.
To ensure the best results and maximum effectiveness, it is important to properly apply a thick bead of caulk around your bathroom sink. Start by cleaning the area thoroughly and removing any old caulk. Next, apply a thin layer of caulk to the edges of the sink and press it firmly into place. Then, using a caulk gun, apply a thick bead of caulk along the edges of the sink, smoothing it out with a caulk finishing tool or your finger. Finally, wipe away any excess caulk and allow it to dry completely before using the sink.
In conclusion, while it may seem like a small detail, a
thick bead of caulk
is an important element in designing the perfect bathroom. From its practical purposes of preventing water damage and providing stability, to its aesthetic benefits of creating a clean and finished look, caulk is an essential component in any bathroom sink installation. By following the proper application techniques, you can ensure a secure and visually appealing seal for your bathroom sink.