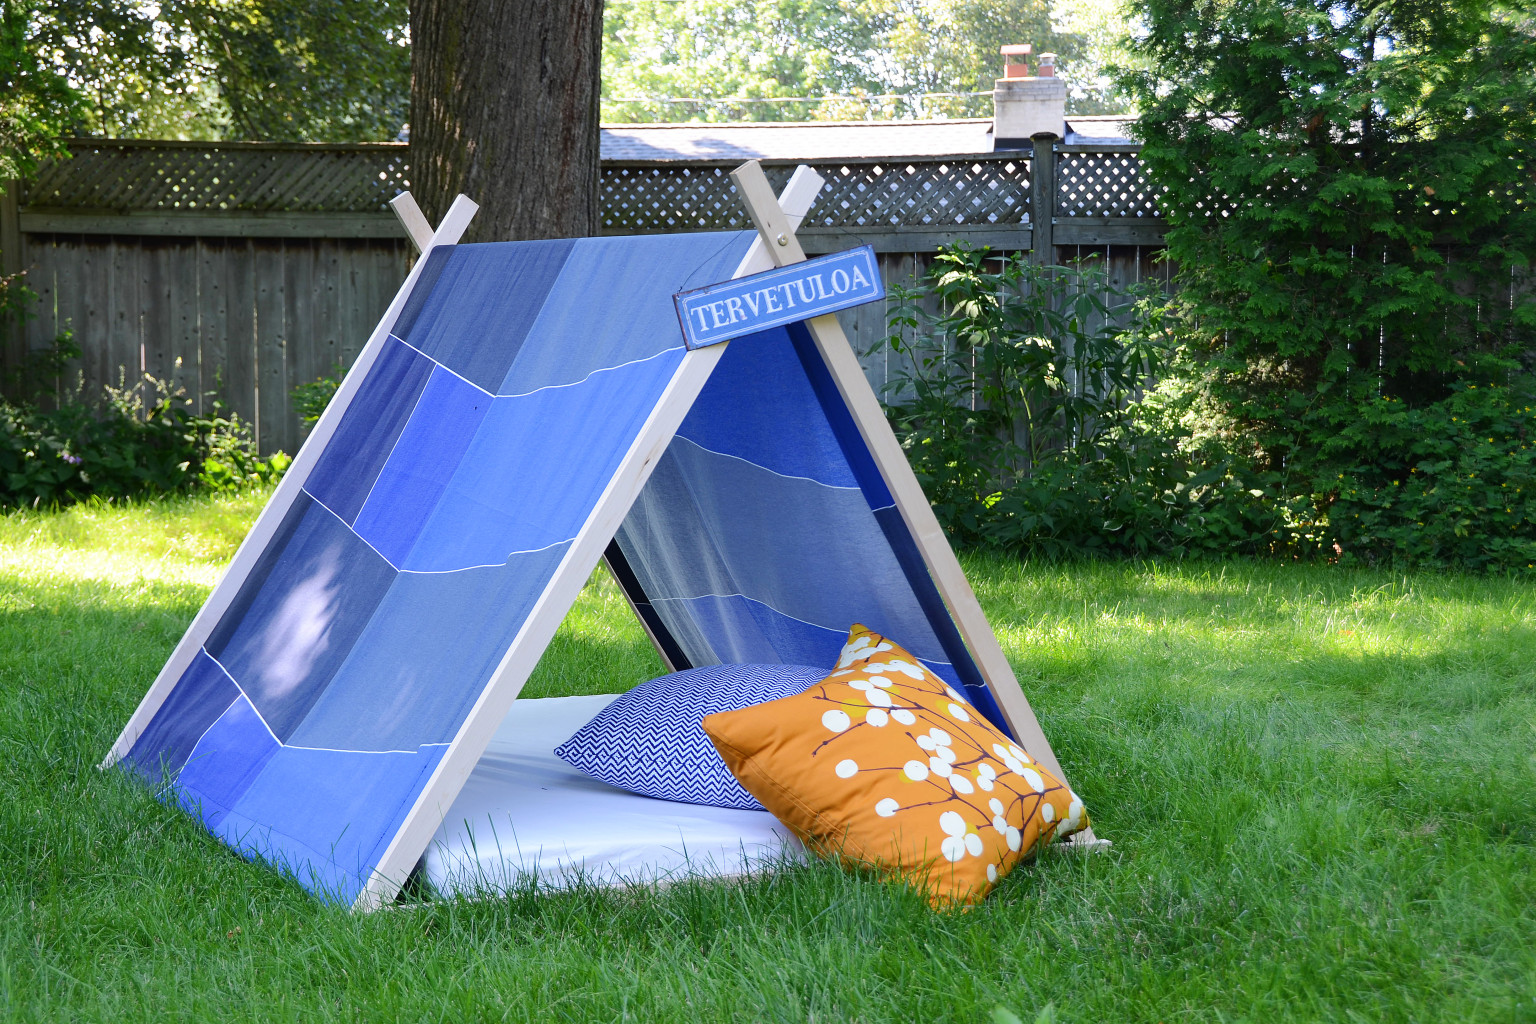
How to Make a DIY Tent Air Mattress
Are you tired of sleeping on uncomfortable and expensive air mattresses when camping or backpacking? Why not try making your own DIY tent air mattress? Not only is it cost-effective, but you can also customize it to your liking. Here's a step-by-step guide on how to make your very own DIY tent air mattress.


How to Make a DIY Tent Air Mattress


DIY Tent Air Mattress Ideas
Before we dive into the tutorial, let's explore some creative and unique DIY tent air mattress ideas. You can use different materials such as foam, pool noodles, or even a hammock to create your air mattress. You can also add features like pockets for storage or a built-in pillow for added comfort. Let your imagination run wild and come up with a design that suits your needs and preferences.


DIY Tent Air Mattress Ideas


DIY Tent Air Mattress Tutorial
Now, let's get started on making your DIY tent air mattress. First, gather all the necessary materials. This includes a tarp, foam or pool noodles, a waterproof fabric, and a sewing kit. You can also use a hot glue gun if you prefer.


DIY Tent Air Mattress Tutorial


DIY Tent Air Mattress Instructions
1. Lay out your tarp on a flat surface and cut it to your desired size. Make sure to leave some extra fabric on the sides for sewing.
2. Lay the foam or pool noodles on top of the tarp and cut them to the same size as the tarp.
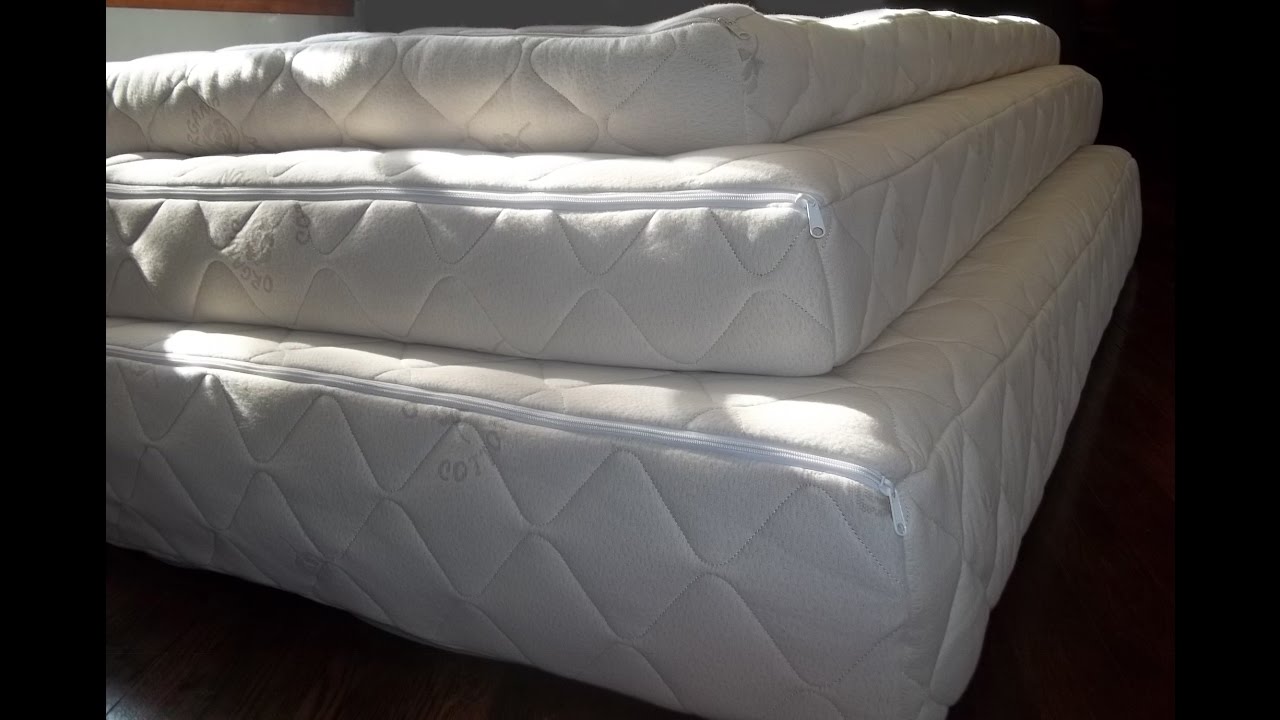
3. If you're using foam, you can stack multiple layers to create a thicker mattress.
4. Place the waterproof fabric on top of the foam or pool noodles, and fold the extra tarp fabric over it.
5. Sew the edges of the tarp fabric together, enclosing the foam or pool noodles and the waterproof fabric inside.


DIY Tent Air Mattress Instructions


DIY Tent Air Mattress Materials
For this project, you'll need a tarp, foam or pool noodles, waterproof fabric, and a sewing kit. If you want to add features like pockets or a built-in pillow, you can also gather those materials.


DIY Tent Air Mattress Materials


DIY Tent Air Mattress Steps
1. Cut the tarp to your desired size.
2. Cut the foam or pool noodles to the same size as the tarp.
3. Stack multiple layers of foam if using.
4. Place waterproof fabric on top of the foam or noodles.
5. Fold the tarp fabric over and sew the edges together.


DIY Tent Air Mattress Steps

DIY Tent Air Mattress Tips
1. If you prefer, you can use a hot glue gun instead of sewing to secure the edges of the tarp fabric.
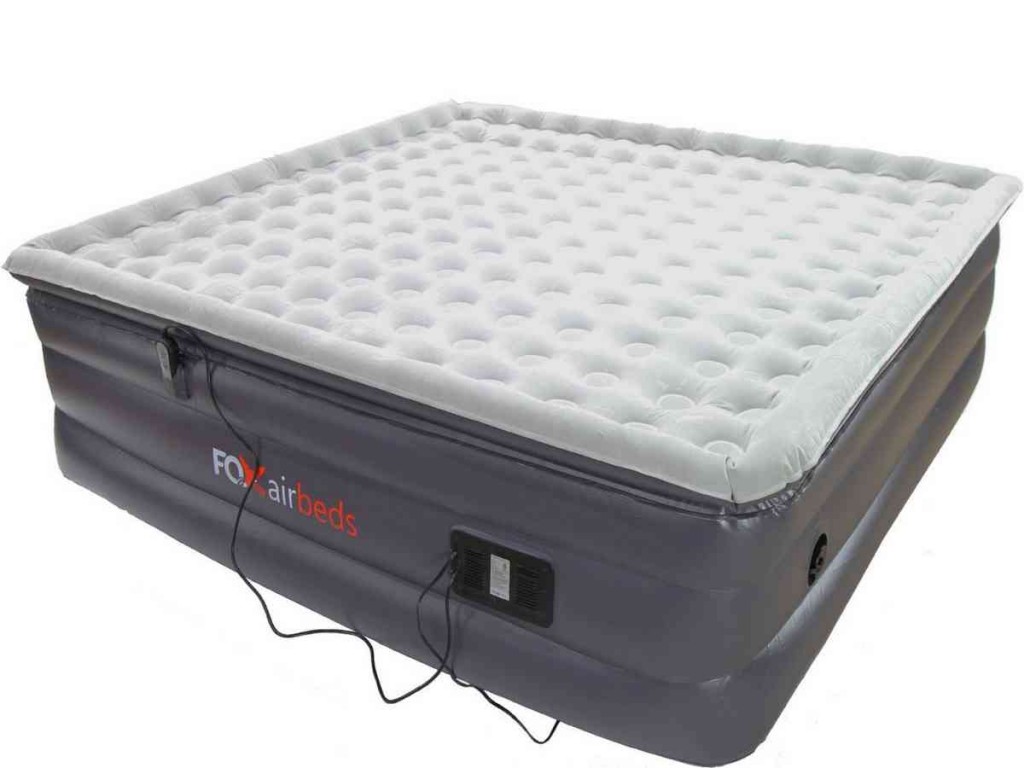
2. Don't have a tarp? You can also use an old inflatable mattress as the base for your DIY tent air mattress.
3. Add a layer of fabric or a sleeping bag on top of the waterproof fabric for extra cushioning and warmth.
4. If you plan on using your DIY tent air mattress for backpacking, make sure to choose lightweight materials.
5. Test out your DIY tent air mattress at home before taking it on your camping or backpacking trip.


DIY Tent Air Mattress Tips
DIY Tent Air Mattress Hacks
1. Save space in your tent by using a double-sided tape to secure your DIY tent air mattress to the floor.
2. Use a fitted sheet to cover your DIY tent air mattress for added comfort and to keep it in place.
3. Add a few drops of essential oils to the foam or pool noodles for a relaxing and refreshing scent while you sleep.
4. If you're camping in colder weather, place a layer of reflective material between the foam and the waterproof fabric to help insulate your body heat.
5. Use a mesh laundry bag to store and transport your DIY tent air mattress.


DIY Tent Air Mattress Hacks
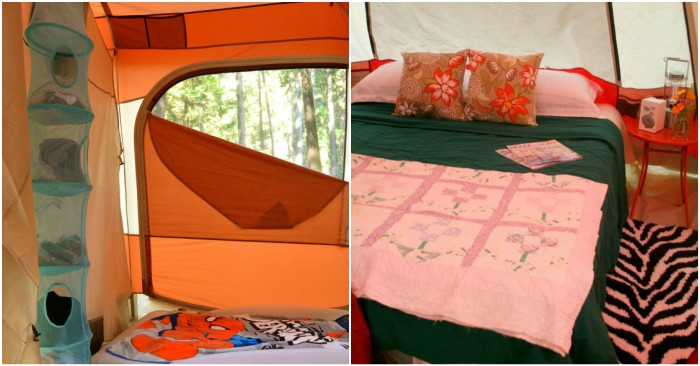


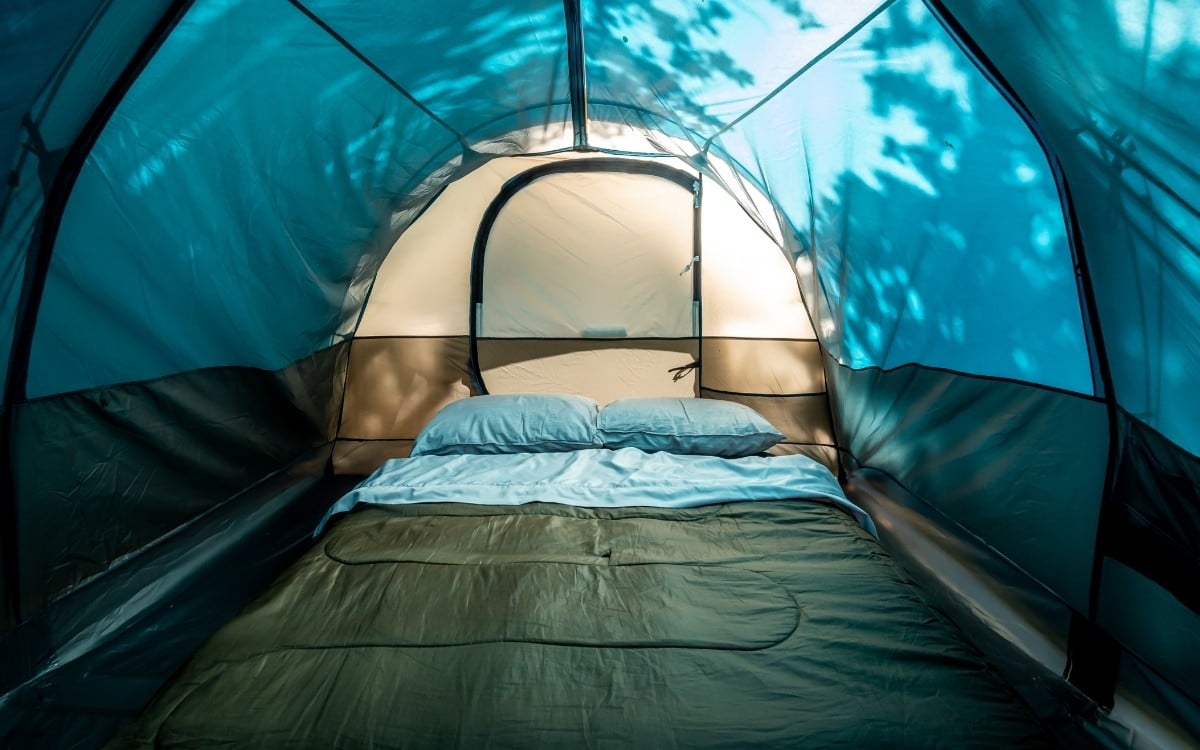
DIY Tent Air Mattress for Camping
Camping can be a fun and adventurous experience, but it can quickly turn into a nightmare if you don't get a good night's sleep. With your DIY tent air mattress, you'll have a comfortable and personalized sleeping surface wherever you choose to camp. Plus, it's easy to pack and transport, making it the perfect addition to your camping gear.


DIY Tent Air Mattress for Camping


DIY Tent Air Mattress for Backpacking
Backpacking often involves long hikes and carrying heavy gear, so it's essential to keep your gear as lightweight as possible. With your DIY tent air mattress, you can have a comfortable sleeping surface without adding too much weight to your pack. Plus, you can customize it to fit your backpacking needs, such as using lightweight materials or adding straps for easy carrying.


DIY Tent Air Mattress for Backpacking


Creating a Comfortable Campsite with a DIY Tent Air Mattress

Why Choose a DIY Tent Air Mattress?
 When it comes to camping, comfort is key. A good night's sleep is crucial for an enjoyable outdoor experience, and a tent air mattress can make all the difference. Not only does it provide cushioning and support for your body, but it also helps to insulate you from the cold ground. While there are many options available for purchasing a tent air mattress, making your own can be a fun and cost-effective way to personalize your camping experience.
Materials You Will Need
 To create your own DIY tent air mattress, you will need a few materials that are easily accessible and affordable. These include:
- A large tarp or sturdy fabric
- A sewing machine or needle and thread
-
Elastic
-
Scissors
-
Measuring tape
-
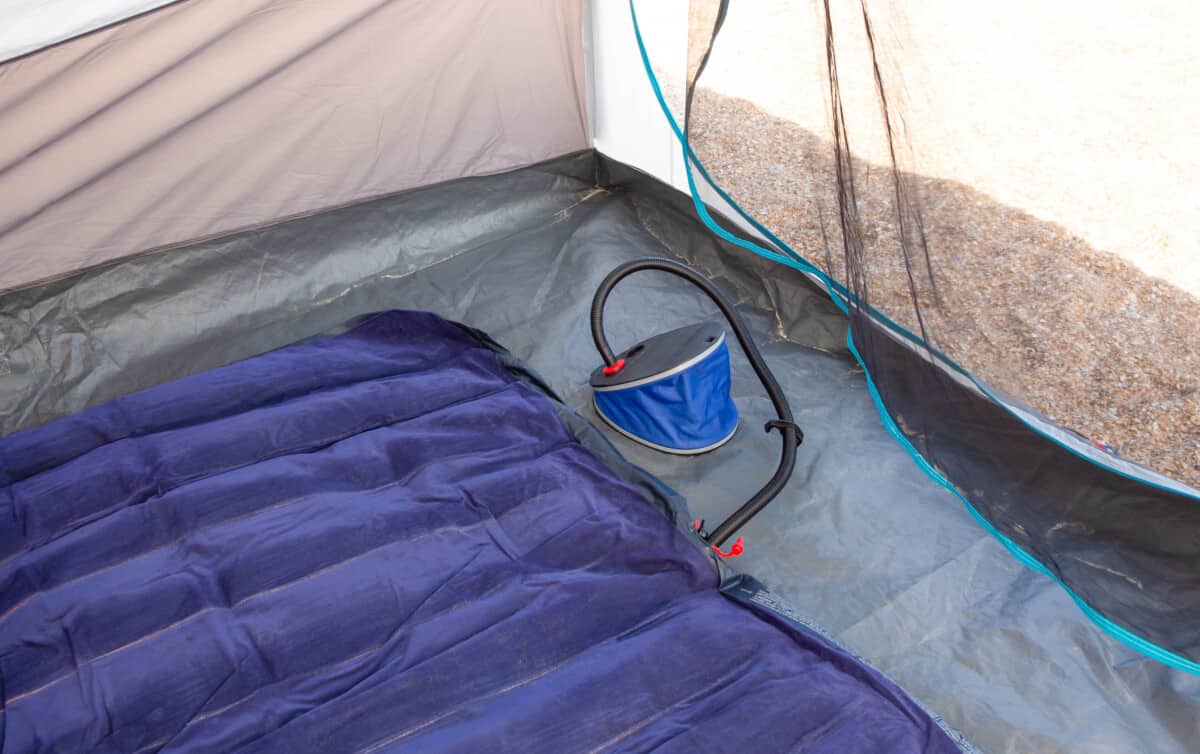
Air mattress pump
To create your own DIY tent air mattress, you will need a few materials that are easily accessible and affordable. These include:
- A large tarp or sturdy fabric
- A sewing machine or needle and thread
-
Elastic
-
Scissors
-
Measuring tape
-
Air mattress pump
Step-by-Step Guide
 Now that you have gathered all the necessary materials, it's time to get down to business. Follow these simple steps to create your very own tent air mattress:
Step 1:
Start by measuring the size of your tent floor. This will give you an idea of how big your air mattress should be.
Step 2:
Cut your tarp or fabric to the desired size. Make sure to leave an extra two inches on all sides for seam allowance.
Step 3:
Lay the fabric flat and fold over one inch of the edge. Sew along the edge to create a hem. Repeat this on all four sides.
Step 4:
Measure and cut strips of
elastic
that are slightly longer than the width of your air mattress.
Step 5:
Pin the
elastic
strips to the corners of your fabric, on the underside. Make sure to leave a few inches of the
elastic
hanging off the sides for easy attachment to the air mattress.
Step 6:
Sew the
elastic
in place, stretching it slightly as you sew to ensure it will fit snugly around the corners of your air mattress.
Step 7:
Once the
elastic
is securely attached, flip the fabric over and you have your very own DIY tent air mattress cover!
Step 8:
Use the air mattress pump to inflate your air mattress and place it inside the cover.
Now that you have gathered all the necessary materials, it's time to get down to business. Follow these simple steps to create your very own tent air mattress:
Step 1:
Start by measuring the size of your tent floor. This will give you an idea of how big your air mattress should be.
Step 2:
Cut your tarp or fabric to the desired size. Make sure to leave an extra two inches on all sides for seam allowance.
Step 3:
Lay the fabric flat and fold over one inch of the edge. Sew along the edge to create a hem. Repeat this on all four sides.
Step 4:
Measure and cut strips of
elastic
that are slightly longer than the width of your air mattress.
Step 5:
Pin the
elastic
strips to the corners of your fabric, on the underside. Make sure to leave a few inches of the
elastic
hanging off the sides for easy attachment to the air mattress.
Step 6:
Sew the
elastic
in place, stretching it slightly as you sew to ensure it will fit snugly around the corners of your air mattress.
Step 7:
Once the
elastic
is securely attached, flip the fabric over and you have your very own DIY tent air mattress cover!
Step 8:
Use the air mattress pump to inflate your air mattress and place it inside the cover.
Additional Tips and Considerations
 -
Choose a fabric that is durable and water-resistant
to ensure your air mattress stays dry and protected from the elements.
-
Double or triple stitch
the seams for added durability and to prevent any air leakage.
-
Consider adding a zipper
to one side of the cover for easy removal and cleaning.
-
Personalize your air mattress
by adding a fun pattern or design to the fabric using fabric paint or markers.
-
Test out your DIY tent air mattress
at home before heading out on your camping trip to make sure it fits properly and is comfortable to sleep on.
Now that you have all the necessary information and steps to create your own DIY tent air mattress, it's time to get crafting! Not only will this save you money, but it will also add a personal touch to your camping experience. So go ahead and enjoy a comfortable and cozy night's sleep in the great outdoors with your very own customized tent air mattress.
-
Choose a fabric that is durable and water-resistant
to ensure your air mattress stays dry and protected from the elements.
-
Double or triple stitch
the seams for added durability and to prevent any air leakage.
-
Consider adding a zipper
to one side of the cover for easy removal and cleaning.
-
Personalize your air mattress
by adding a fun pattern or design to the fabric using fabric paint or markers.
-
Test out your DIY tent air mattress
at home before heading out on your camping trip to make sure it fits properly and is comfortable to sleep on.
Now that you have all the necessary information and steps to create your own DIY tent air mattress, it's time to get crafting! Not only will this save you money, but it will also add a personal touch to your camping experience. So go ahead and enjoy a comfortable and cozy night's sleep in the great outdoors with your very own customized tent air mattress.

/Pedestal-Sink-184112687-56a4a0eb3df78cf77283522e.jpg)