How to Remove a Kitchen Sink Drain
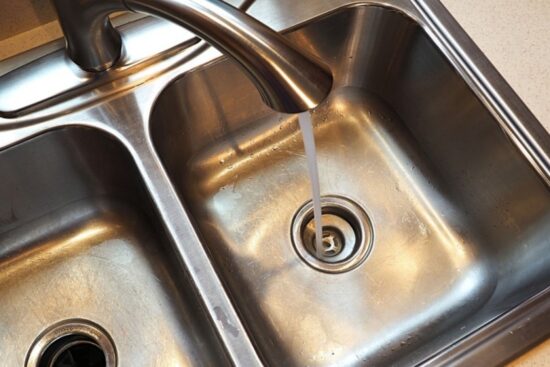
Removing a kitchen sink drain may seem like a daunting task, but with the right tools and a few simple steps, it can be done easily. Whether you need to replace a faulty drain or simply want to give your sink a deep clean, here is a step-by-step guide on how to remove a kitchen sink drain.


How to Remove a Kitchen Sink Drain


How to Replace a Kitchen Sink Drain
If your kitchen sink drain is leaking or damaged, it may be time to replace it. To do this, you will first need to remove the old drain. This can be done by following the steps outlined below.


How to Replace a Kitchen Sink Drain

/how-to-install-a-sink-drain-2718789-hero-b5b99f72b5a24bb2ae8364e60539cece.jpg)


DIY Kitchen Sink Drain Removal
Removing a kitchen sink drain can be done as a DIY project, but it is important to have the right tools and follow the correct steps to avoid damaging your sink or pipes. Here is a guide on how to remove a kitchen sink drain on your own.


DIY Kitchen Sink Drain Removal


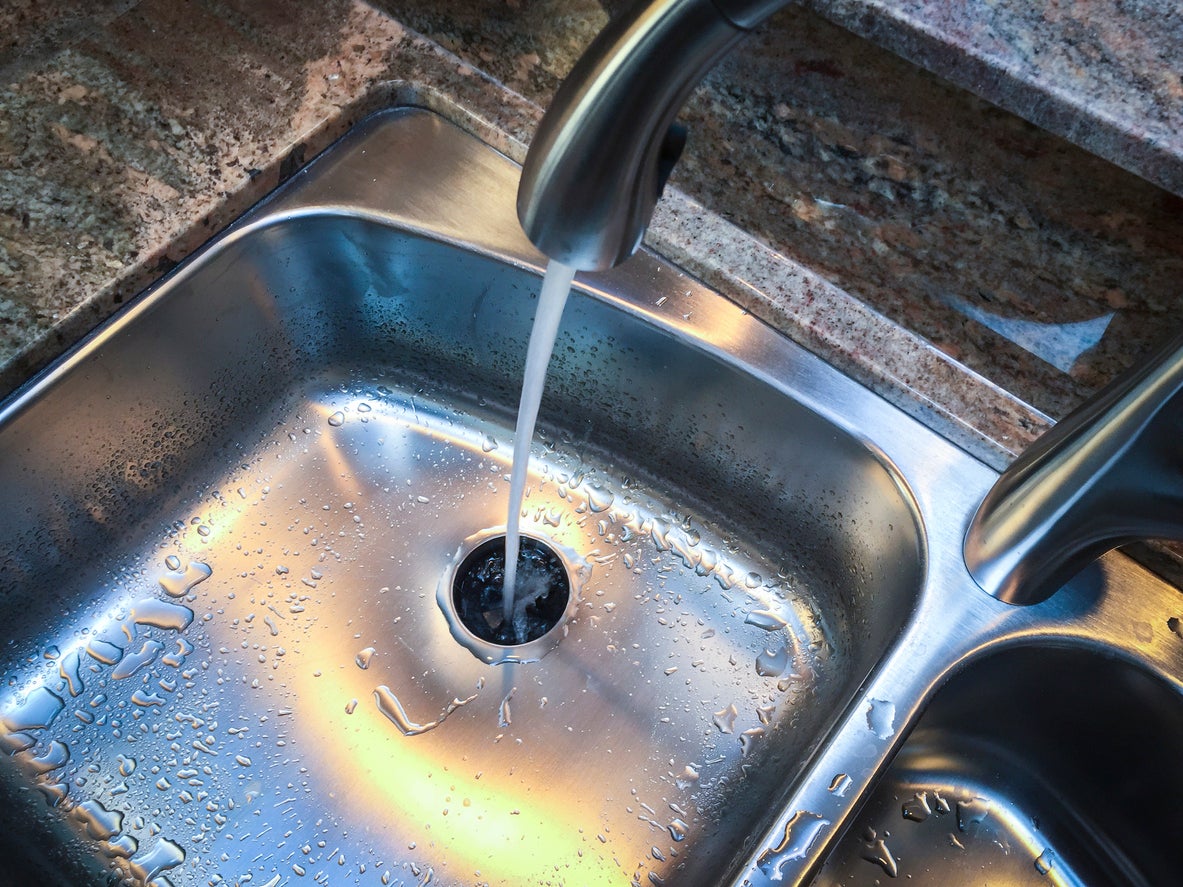
Removing a Clogged Kitchen Sink Drain
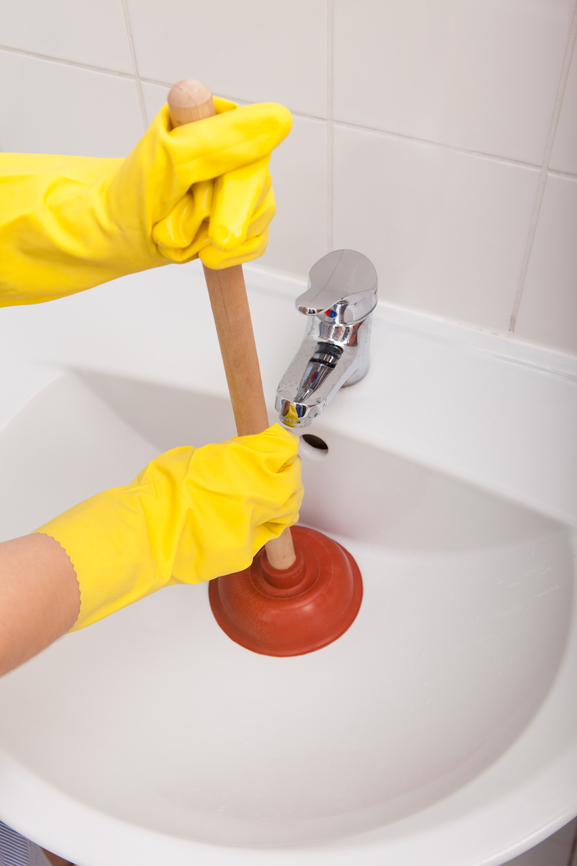
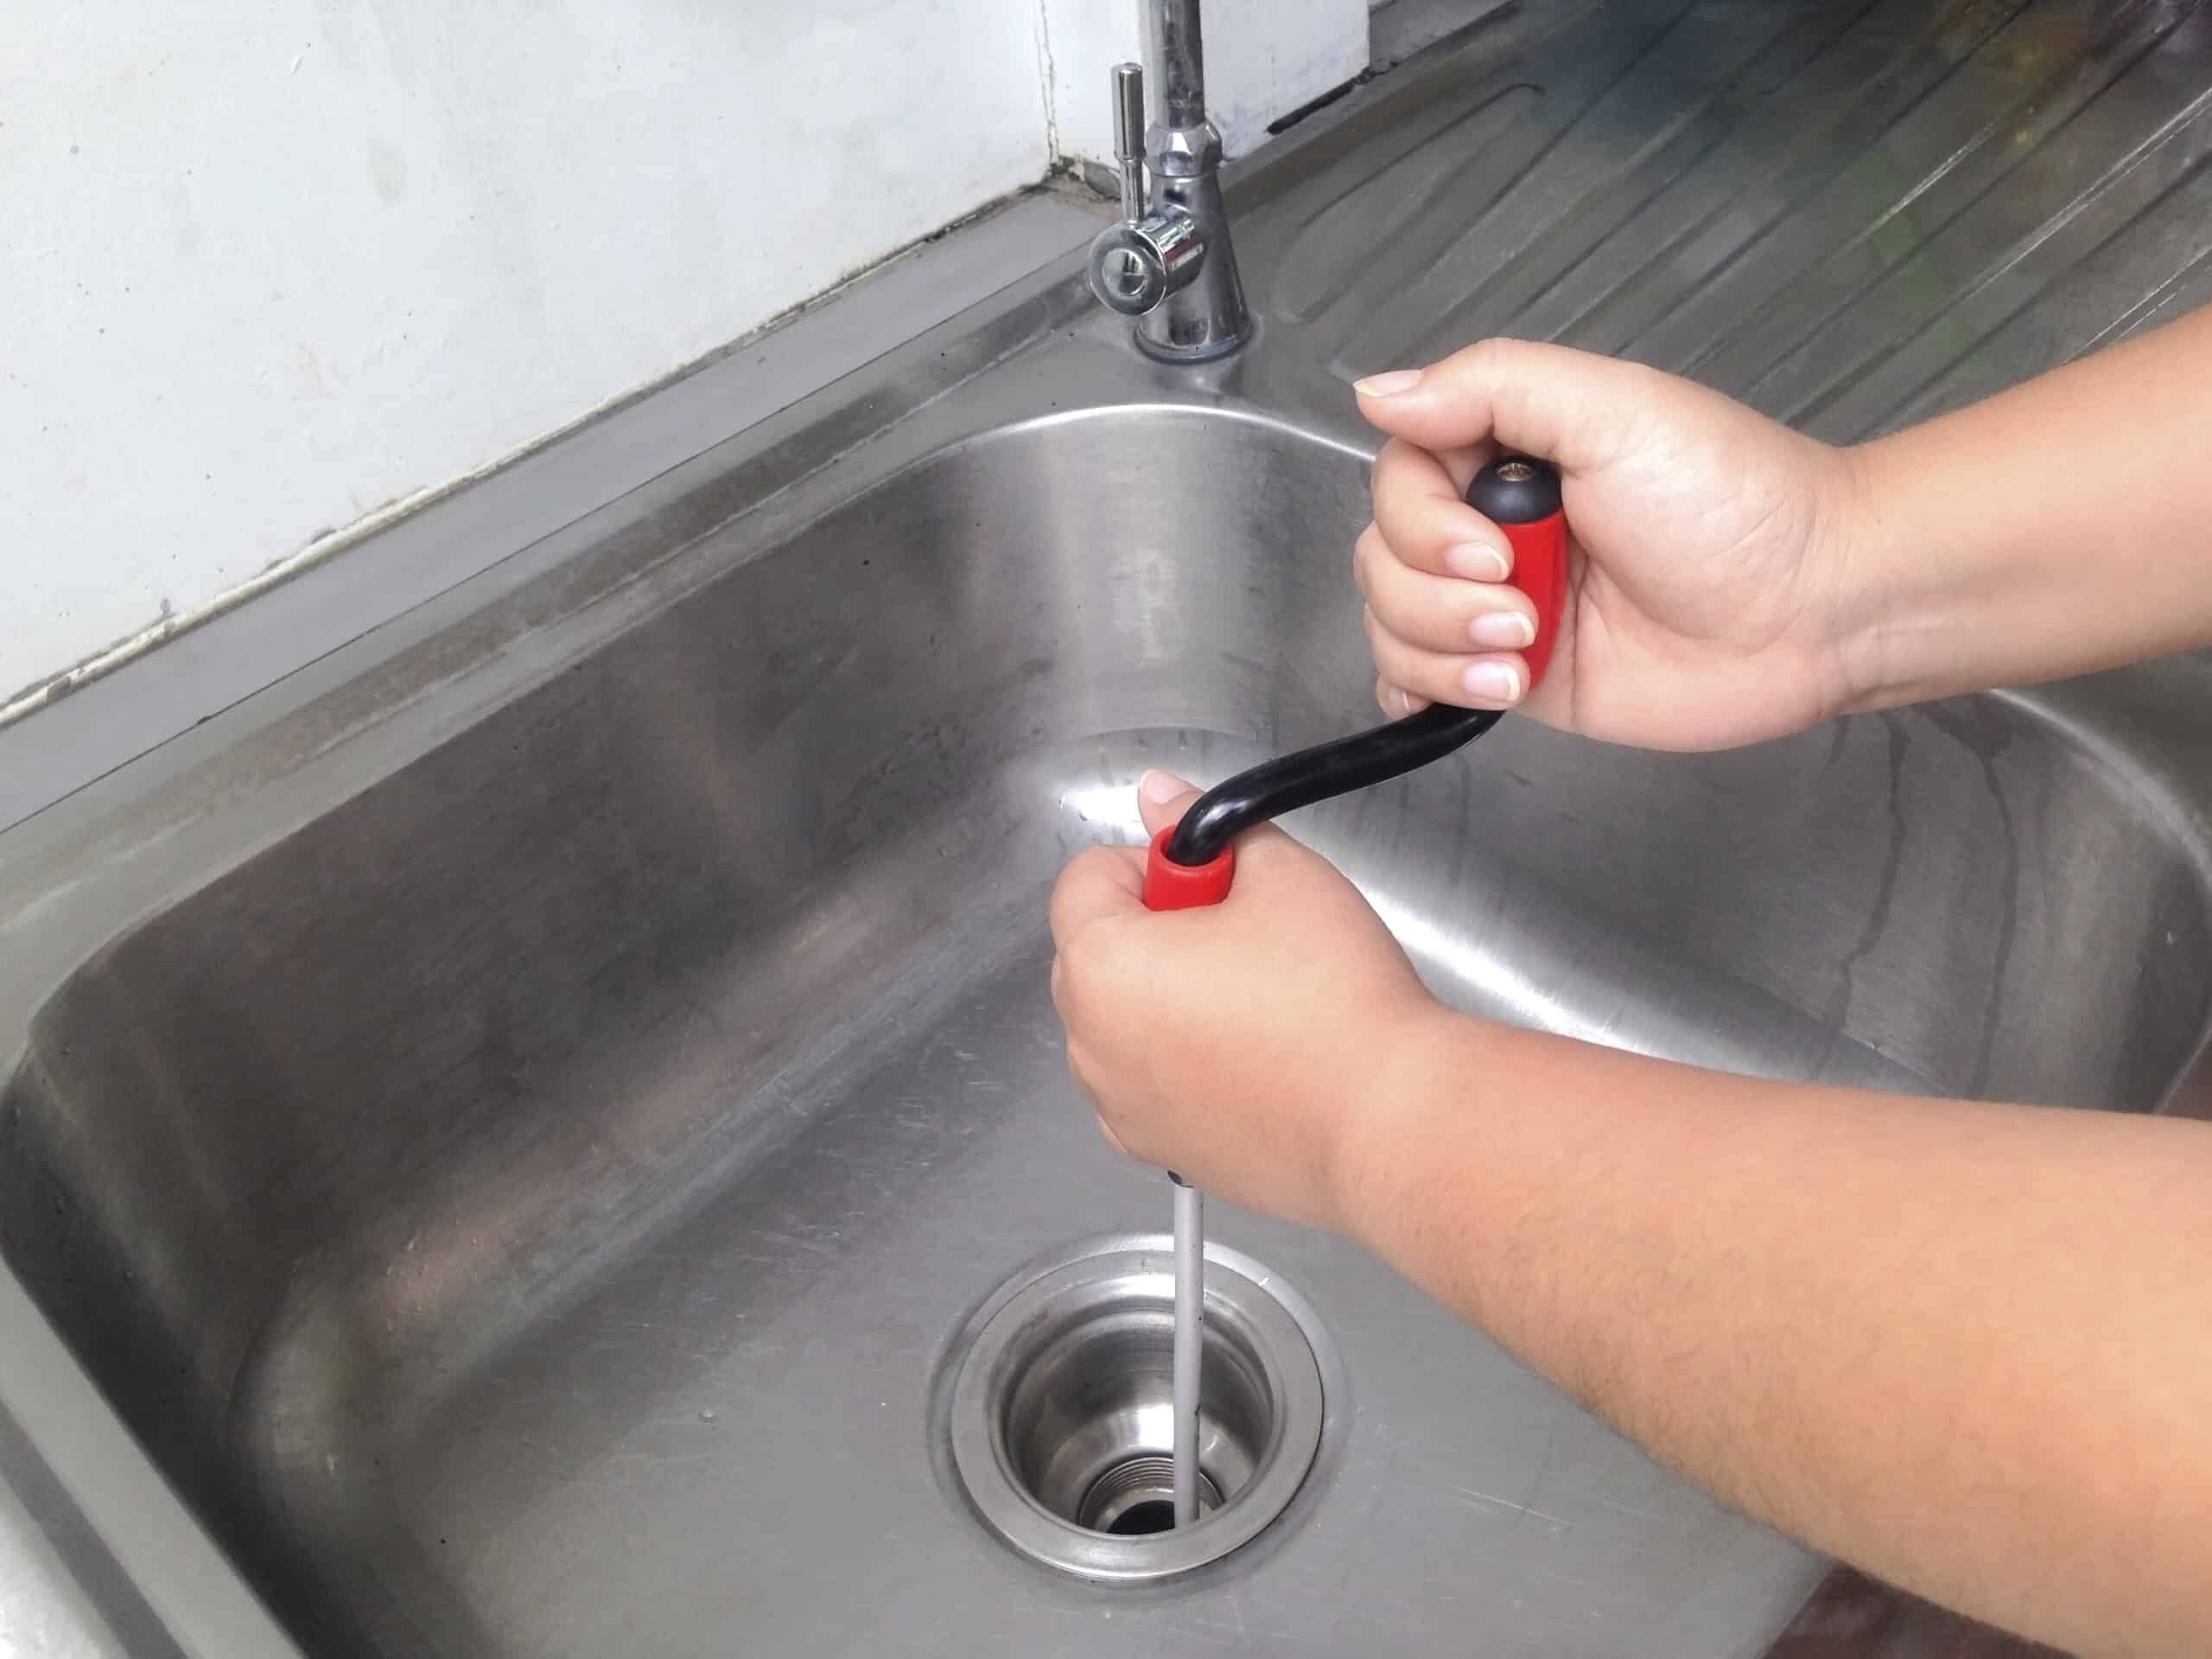
A clogged kitchen sink drain can be a major inconvenience, and sometimes the only way to fully clear the blockage is to remove the drain itself. Here is how to do it without causing any damage.


Removing a Clogged Kitchen Sink Drain


Step-by-Step Guide for Removing a Kitchen Sink Drain
If you are new to DIY projects, removing a kitchen sink drain may seem complicated. However, with this step-by-step guide, you can easily remove your old drain and replace it with a new one.


Step-by-Step Guide for Removing a Kitchen Sink Drain


Tools Needed for Removing a Kitchen Sink Drain
Before you start the process of removing a kitchen sink drain, it is important to have all the necessary tools on hand. These may include a bucket, pliers, a screwdriver, and a putty knife.


Tools Needed for Removing a Kitchen Sink Drain


Removing a Kitchen Sink Drain with a Pop-Up Stopper
If your sink has a pop-up stopper, the process of removing the drain may be a bit different. Here is how to remove a kitchen sink drain with a pop-up stopper.


Removing a Kitchen Sink Drain with a Pop-Up Stopper


Removing a Kitchen Sink Drain with a Basket Strainer
Another common type of kitchen sink drain is the basket strainer. If your sink has this type of drain, here is how you can remove it with ease.


Removing a Kitchen Sink Drain with a Basket Strainer


Removing a Kitchen Sink Drain with a Garbage Disposal
For kitchen sinks with a garbage disposal, removing the drain can be a bit more complicated. Follow these steps to safely remove the drain without damaging your disposal unit.


Removing a Kitchen Sink Drain with a Garbage Disposal


:max_bytes(150000):strip_icc()/kitchen-sink-171366298-5841b8de3df78c0230af5814.jpg)
/how-to-install-a-sink-drain-2718789-hero-24e898006ed94c9593a2a268b57989a3.jpg)

Tips for Removing a Kitchen Sink Drain without Damaging Pipes
When removing a kitchen sink drain, it is important to be careful not to damage the pipes underneath. Here are some helpful tips to keep in mind to avoid any mishaps.
With these simple steps and tips, you can easily remove a kitchen sink drain and replace it with a new one. Remember to always be cautious and have the necessary tools on hand to make the process smoother. Now that you know how to remove a kitchen sink drain, it's time to get to work and give your sink a fresh new look.


Tips for Removing a Kitchen Sink Drain without Damaging Pipes


How to Properly Take Out a Kitchen Sink Drain

An Essential Step in Designing your Dream Kitchen

When it comes to designing your dream kitchen, every detail matters. From the color of the walls to the type of appliances, every decision contributes to the overall look and functionality of your kitchen. One important aspect that often gets overlooked is the kitchen sink drain. A properly functioning drain is crucial for keeping your sink and countertops clean and free from clogs. In this guide, we will walk you through the steps of taking out a kitchen sink drain to ensure your kitchen is designed to perfection.
Step 1: Gather Your Tools

Before you begin, make sure you have all the necessary tools on hand. You will need a pair of pliers, a drain wrench, a bucket, and a sponge. It is also helpful to have a flashlight and a towel nearby. Kitchen sink drains can vary in design, so it is important to know what type you have before starting. If you are unsure, consult your sink's manual or contact a professional.
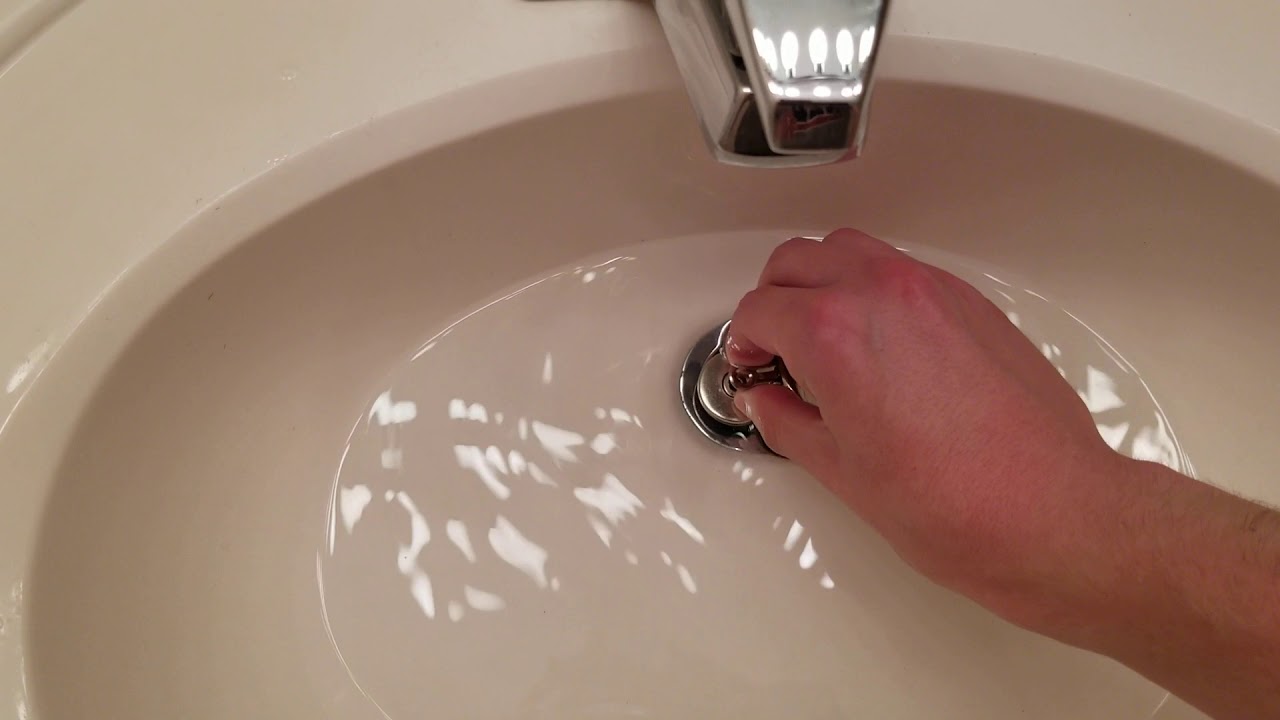
Step 2: Remove the Drain Cover

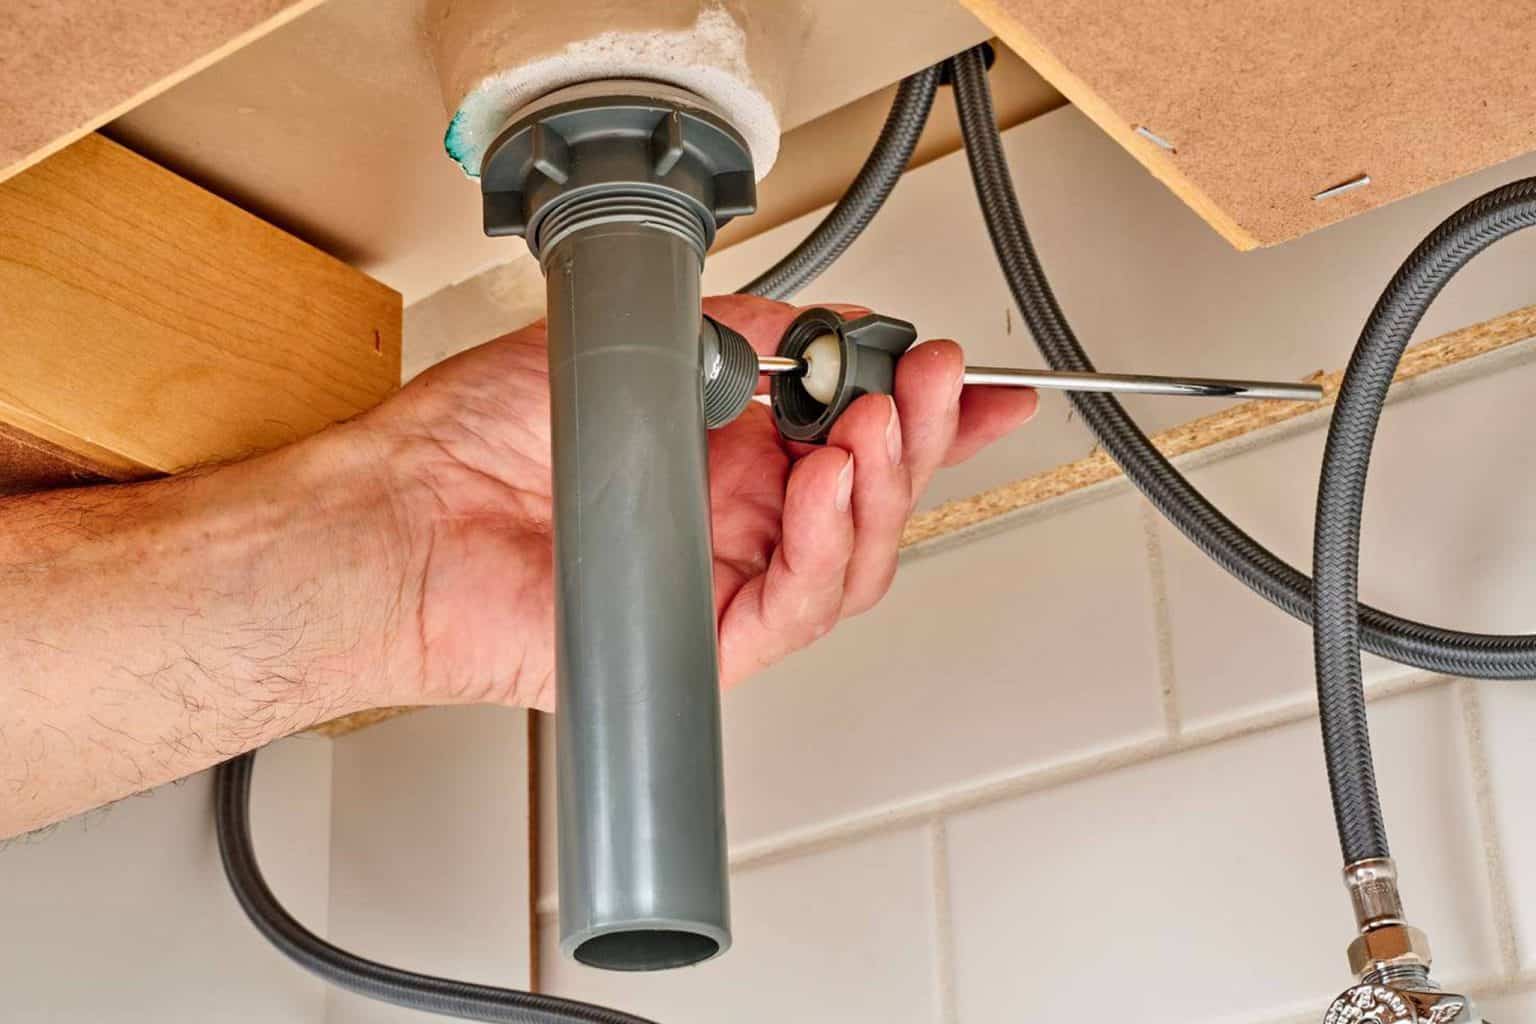
Using your pliers, carefully remove the drain cover by turning it counterclockwise. Be sure to place a towel over the drain to prevent any small parts from falling in. If your sink has a pop-up drain, you will need to remove the pivot rod by unscrewing the nut at the back of the drain.
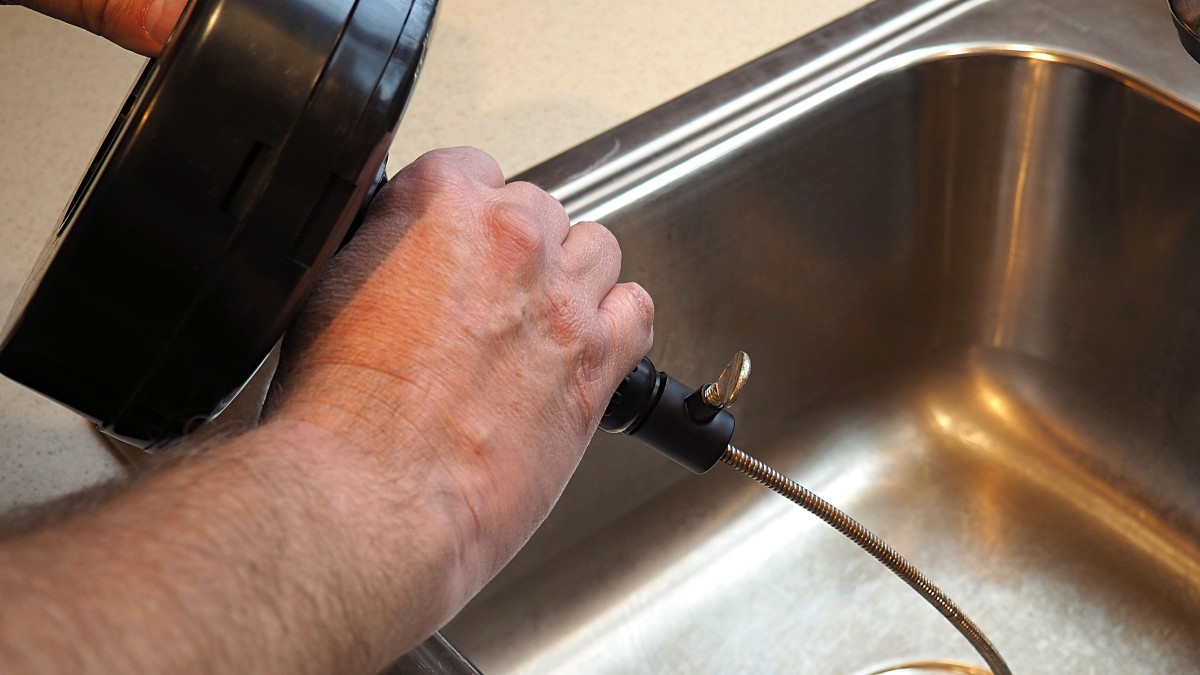
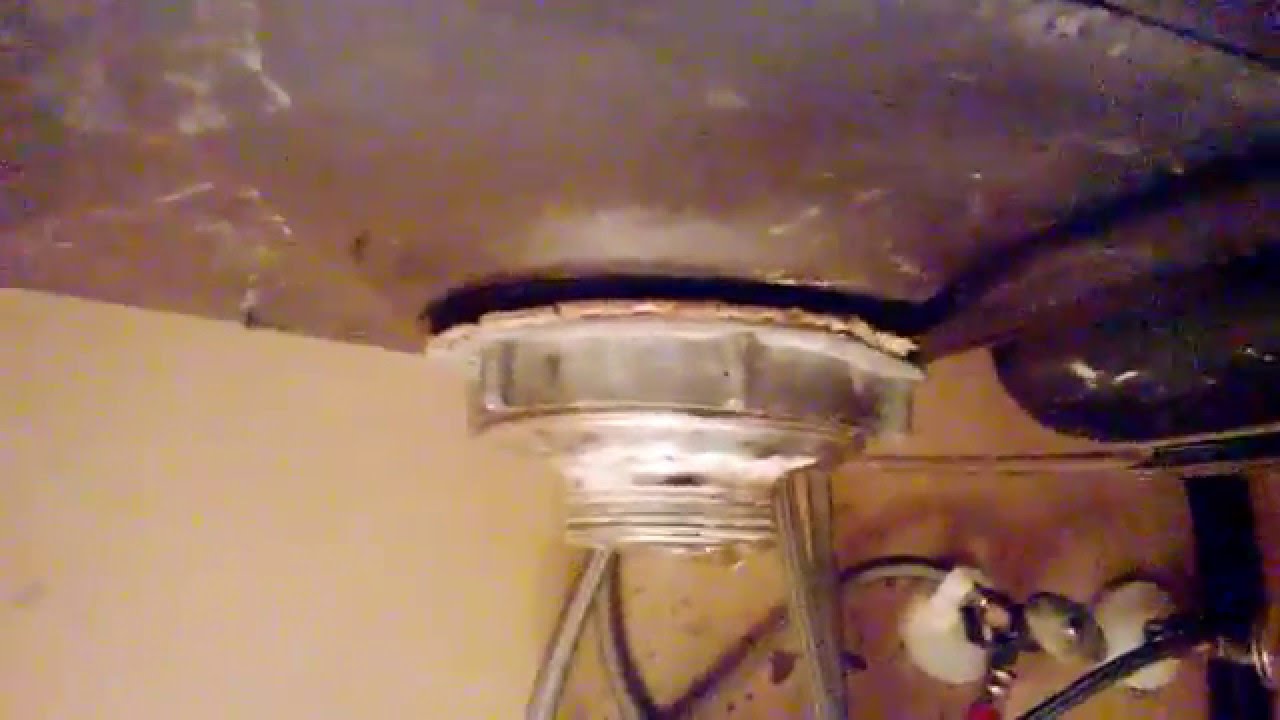
Step 3: Loosen the Locknut
:max_bytes(150000):strip_icc()/how-to-install-a-sink-drain-2718789-hero-24e898006ed94c9593a2a268b57989a3.jpg)
Next, use your drain wrench to loosen the locknut that holds the drain in place. This may require some force, so be sure to use a firm grip and turn the wrench in a counterclockwise motion. Once the locknut is removed, you should be able to pull the drain out of the sink.
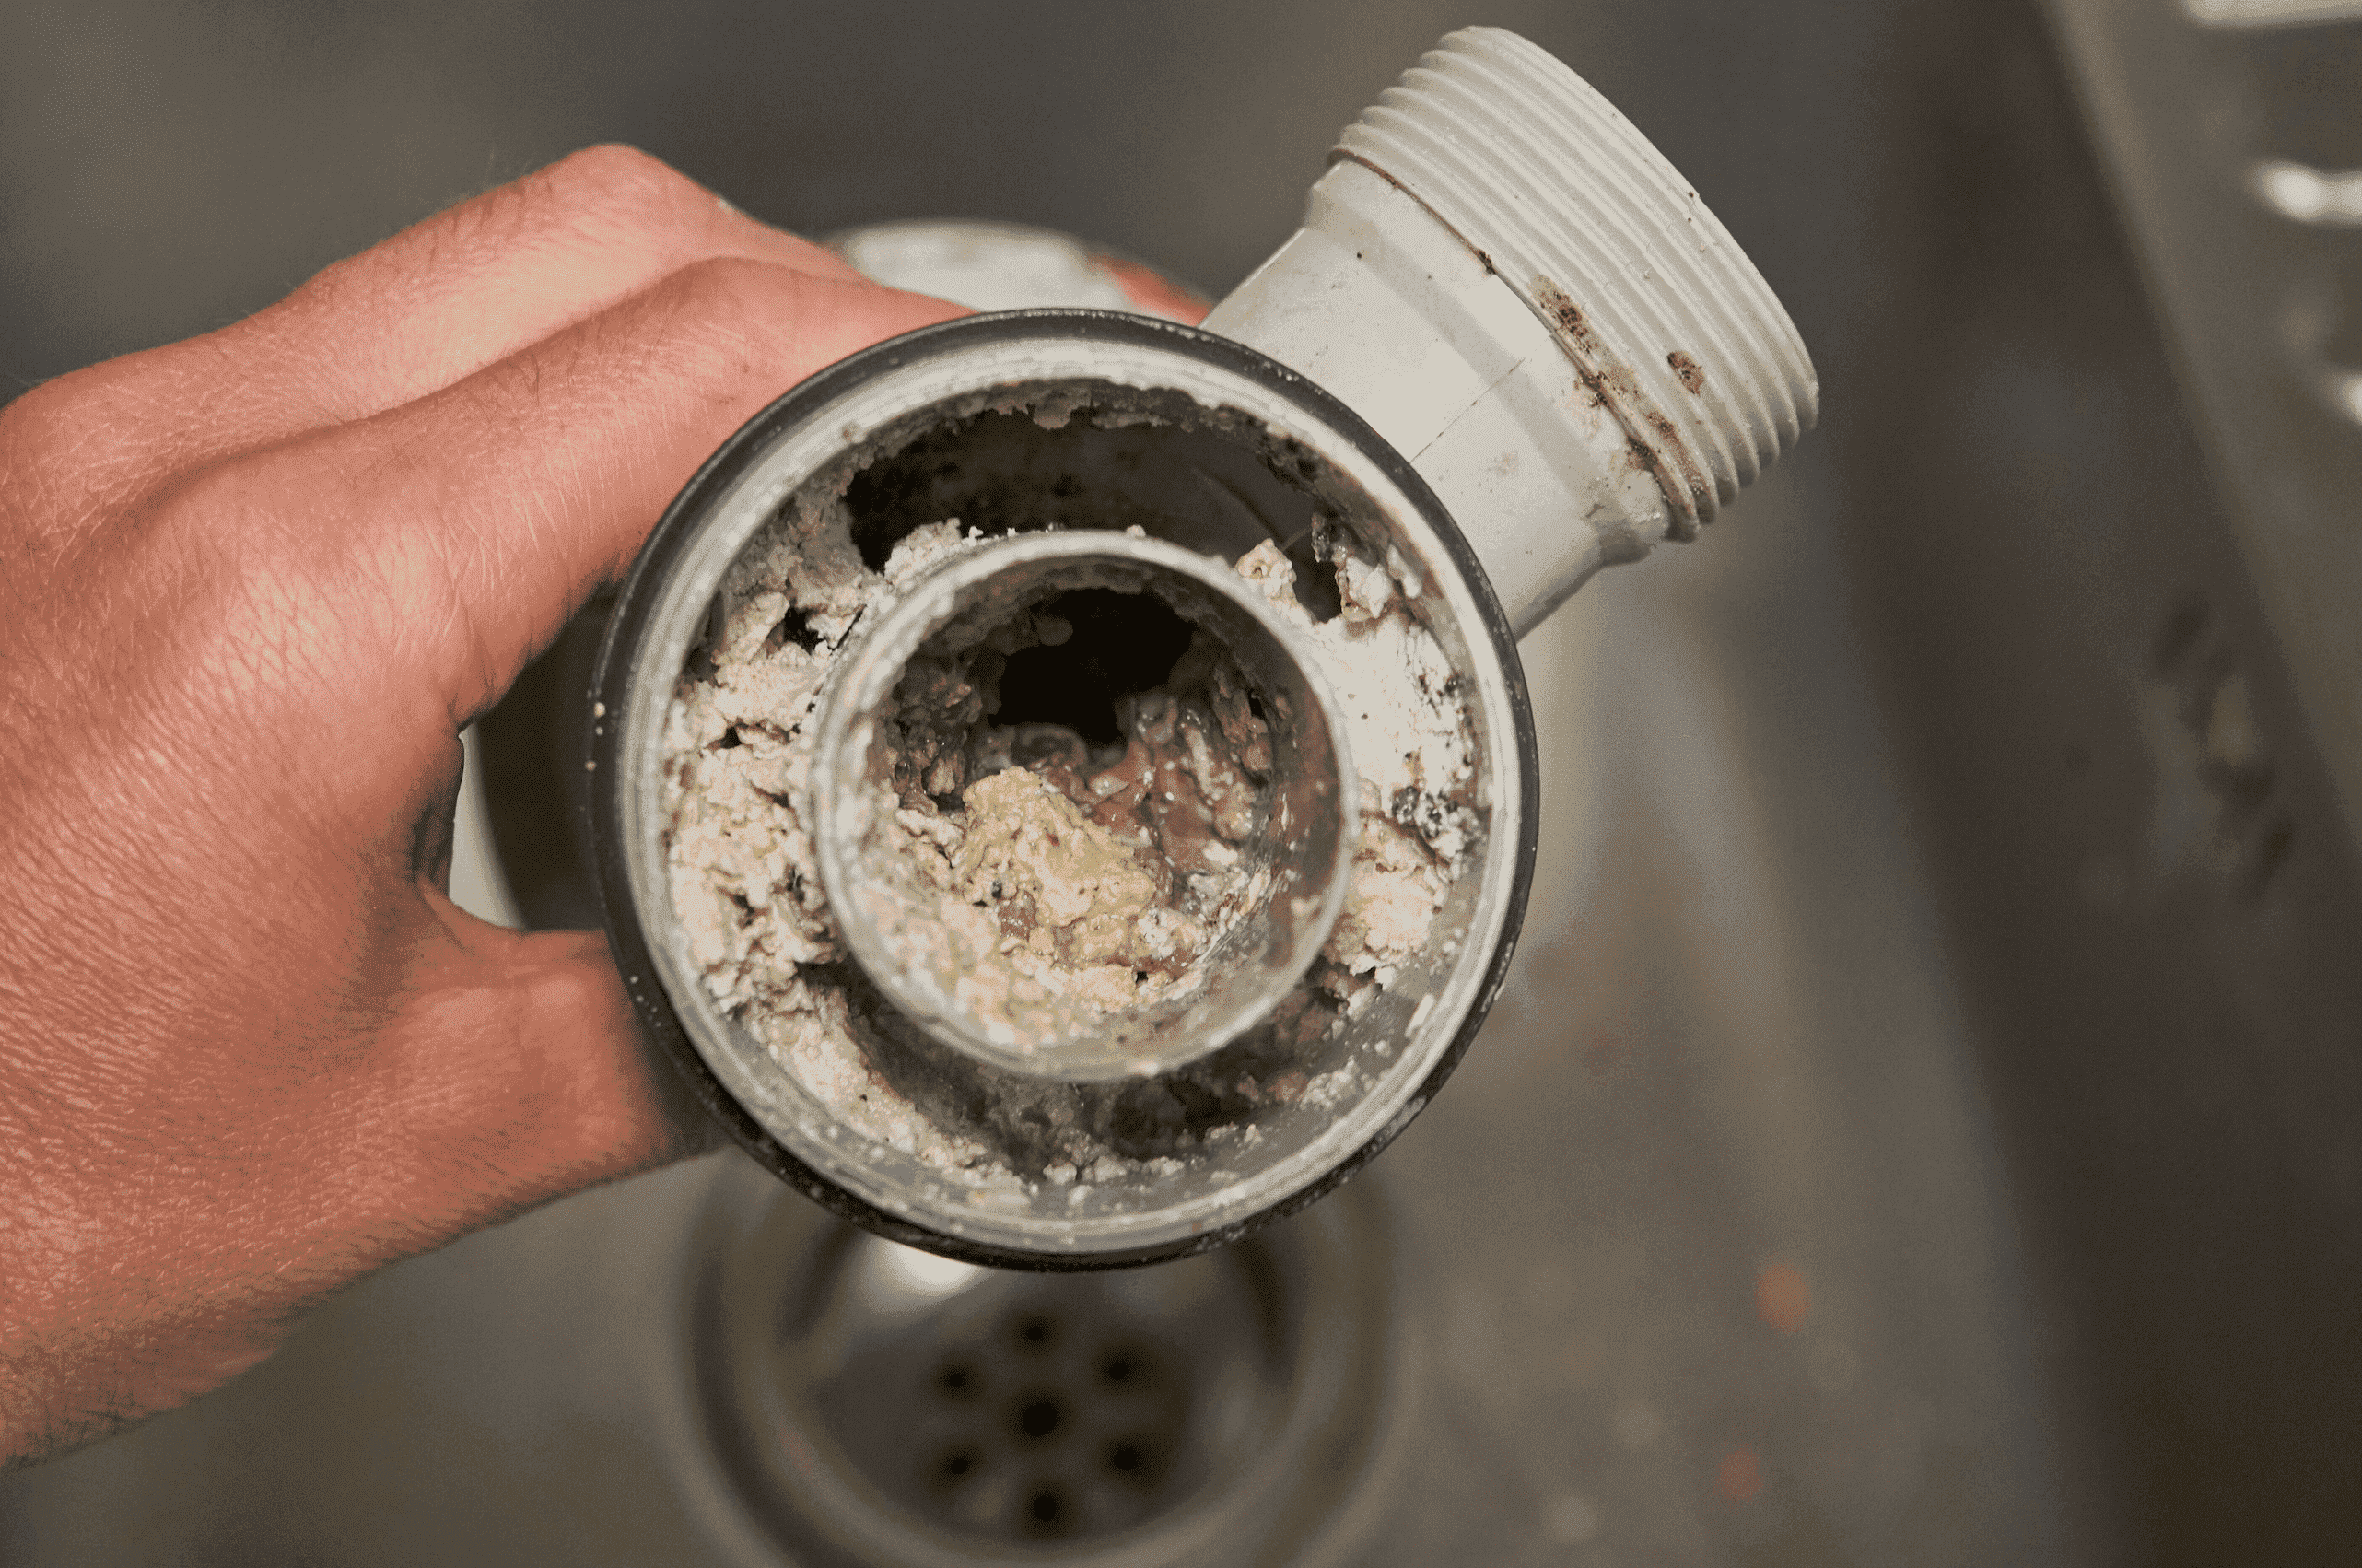
Step 4: Clean and Inspect the Drain

With the drain removed, use a sponge to clean any debris or buildup around the opening. This is also a good time to inspect the drain for any cracks or damage. If the drain is damaged, it is best to replace it before moving on.
Step 5: Replace the Drain
Once the drain is cleaned and inspected, it is time to replace it. Place the new drain in the opening and secure it with the locknut, using your drain wrench to tighten it in a clockwise direction. If your sink has a pop-up drain, be sure to reattach the pivot rod and tighten the nut.
Step 6: Test the Drain
With the drain in place, turn on the water and let it run for a few minutes to ensure there are no leaks. If there are any leaks, tighten the locknut or pivot rod as needed. Once you are satisfied with the results, replace the drain cover and give your sink a final wipe down.
By following these simple steps, you can easily take out a kitchen sink drain and ensure your kitchen is not only aesthetically pleasing, but also functional. Remember to always use caution when working with plumbing and consult a professional if you are unsure or encounter any issues. With a properly functioning drain, your dream kitchen will be complete and ready for use.