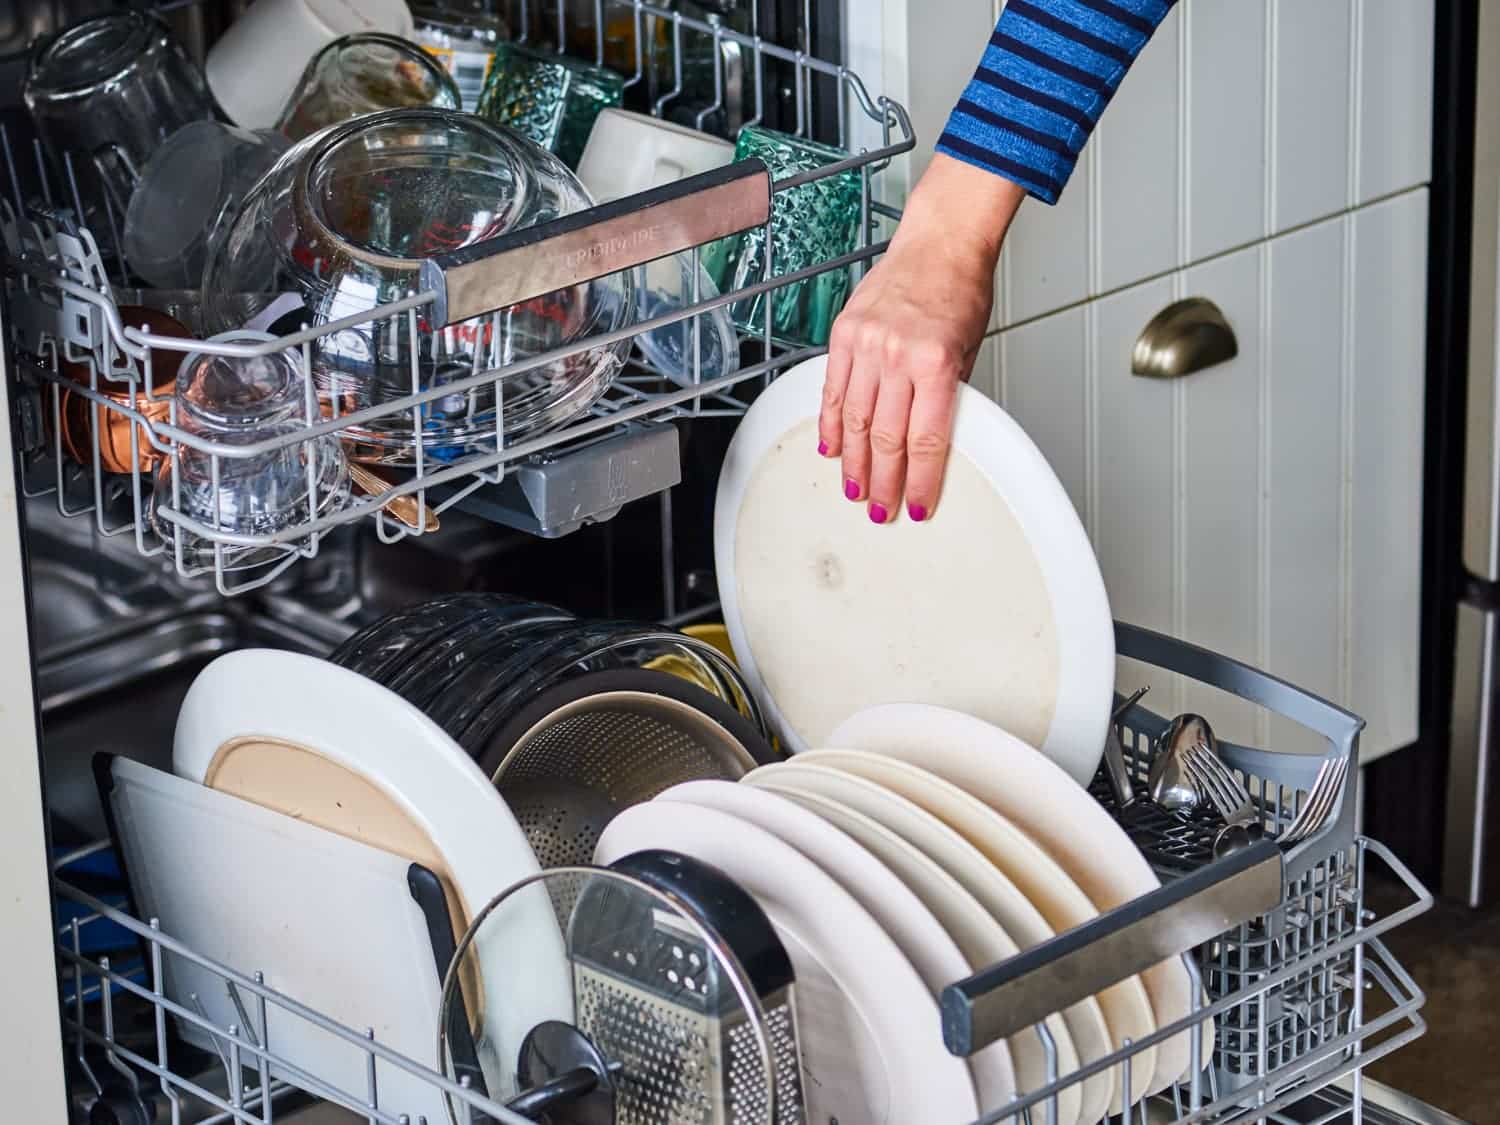
Are you looking to upgrade your kitchen with a new sink? Installing a Sterling kitchen sink can add both functionality and style to your space. With their wide range of designs and durable materials, Sterling sinks are a popular choice among homeowners. However, installing a kitchen sink can be a daunting task for those who have never done it before. In this guide, we will walk you through the steps of a successful Sterling kitchen sink installation.1. Sterling Kitchen Sink Installation Guide


1. Sterling Kitchen Sink Installation Guide


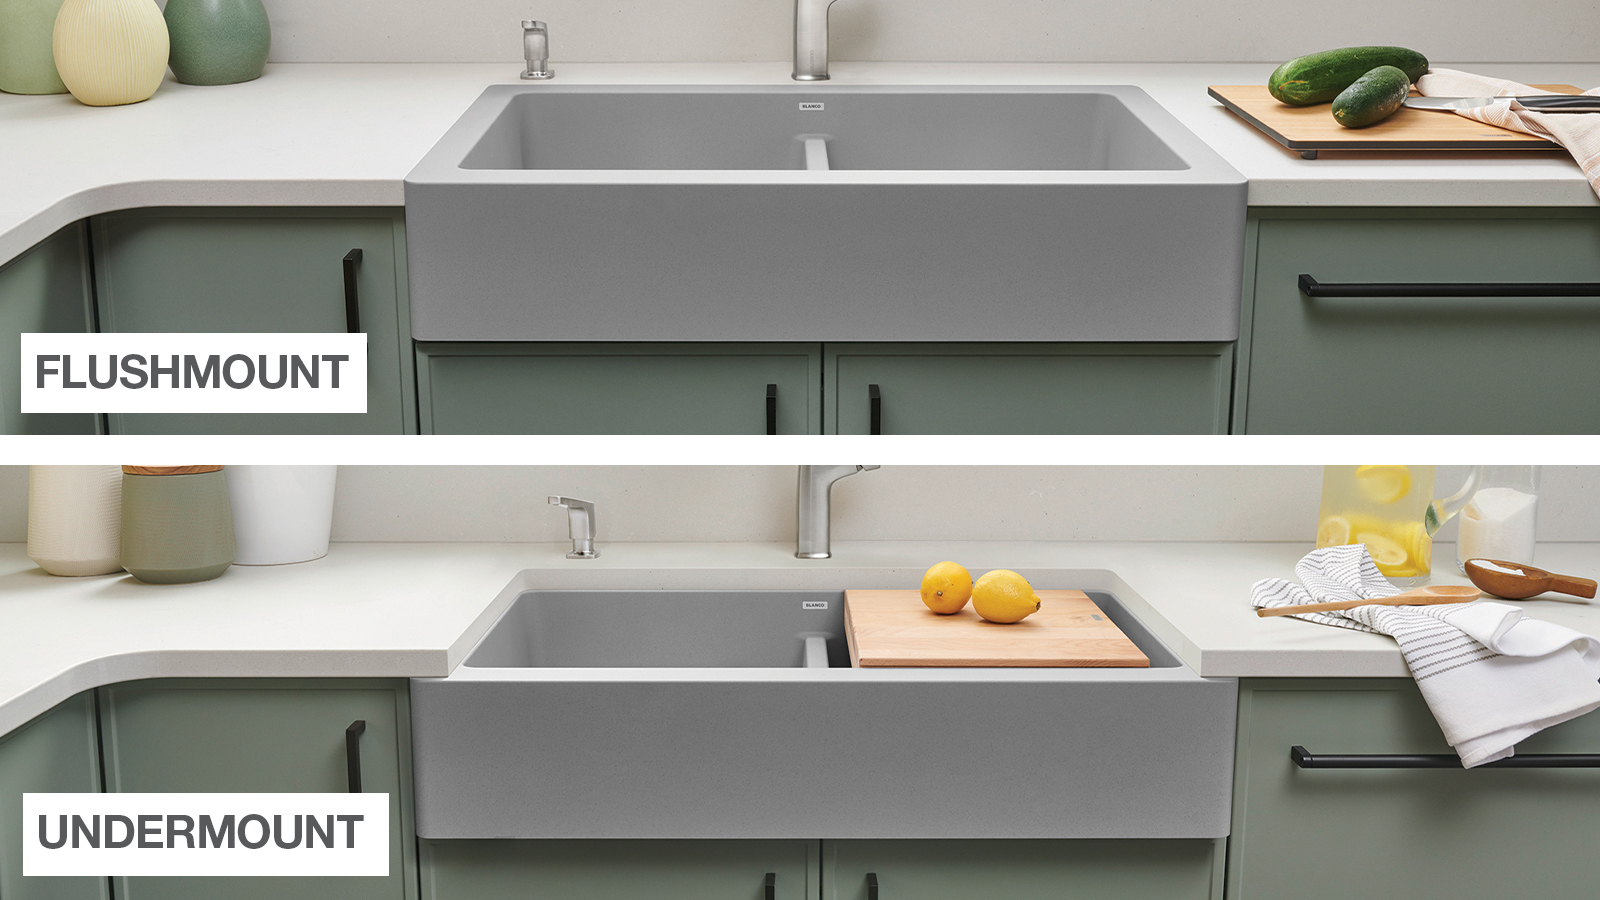
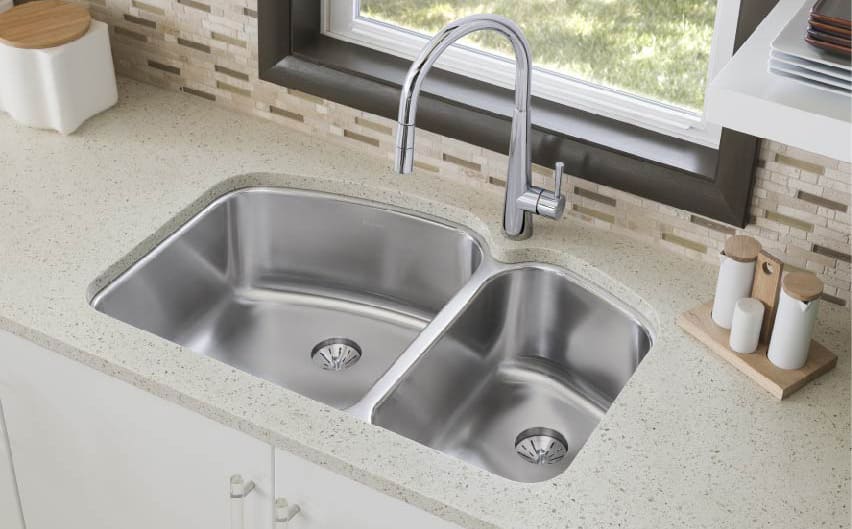
The first step in installing a Sterling kitchen sink is to choose the right sink for your needs. Sterling offers a variety of sink styles including top mount, undermount, and farmhouse sinks. Consider the size of your kitchen and the type of countertop you have when making your selection. Once you have your sink, gather all the necessary tools and materials. This may include a drill, screwdriver, plumber's putty, and silicone caulk. Make sure to read the manufacturer's instructions carefully before beginning the installation process.2. How to Install a Sterling Kitchen Sink


2. How to Install a Sterling Kitchen Sink


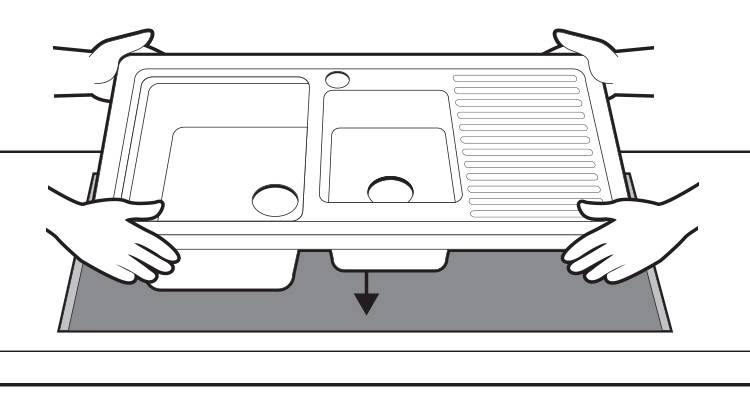
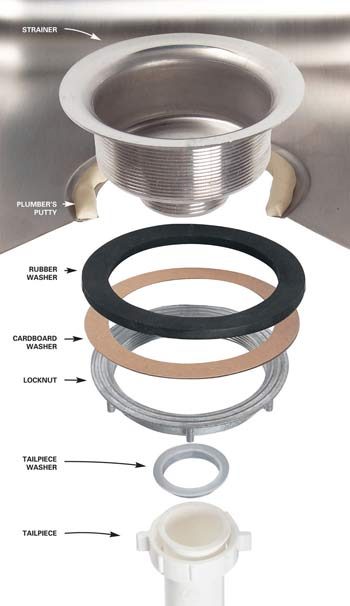
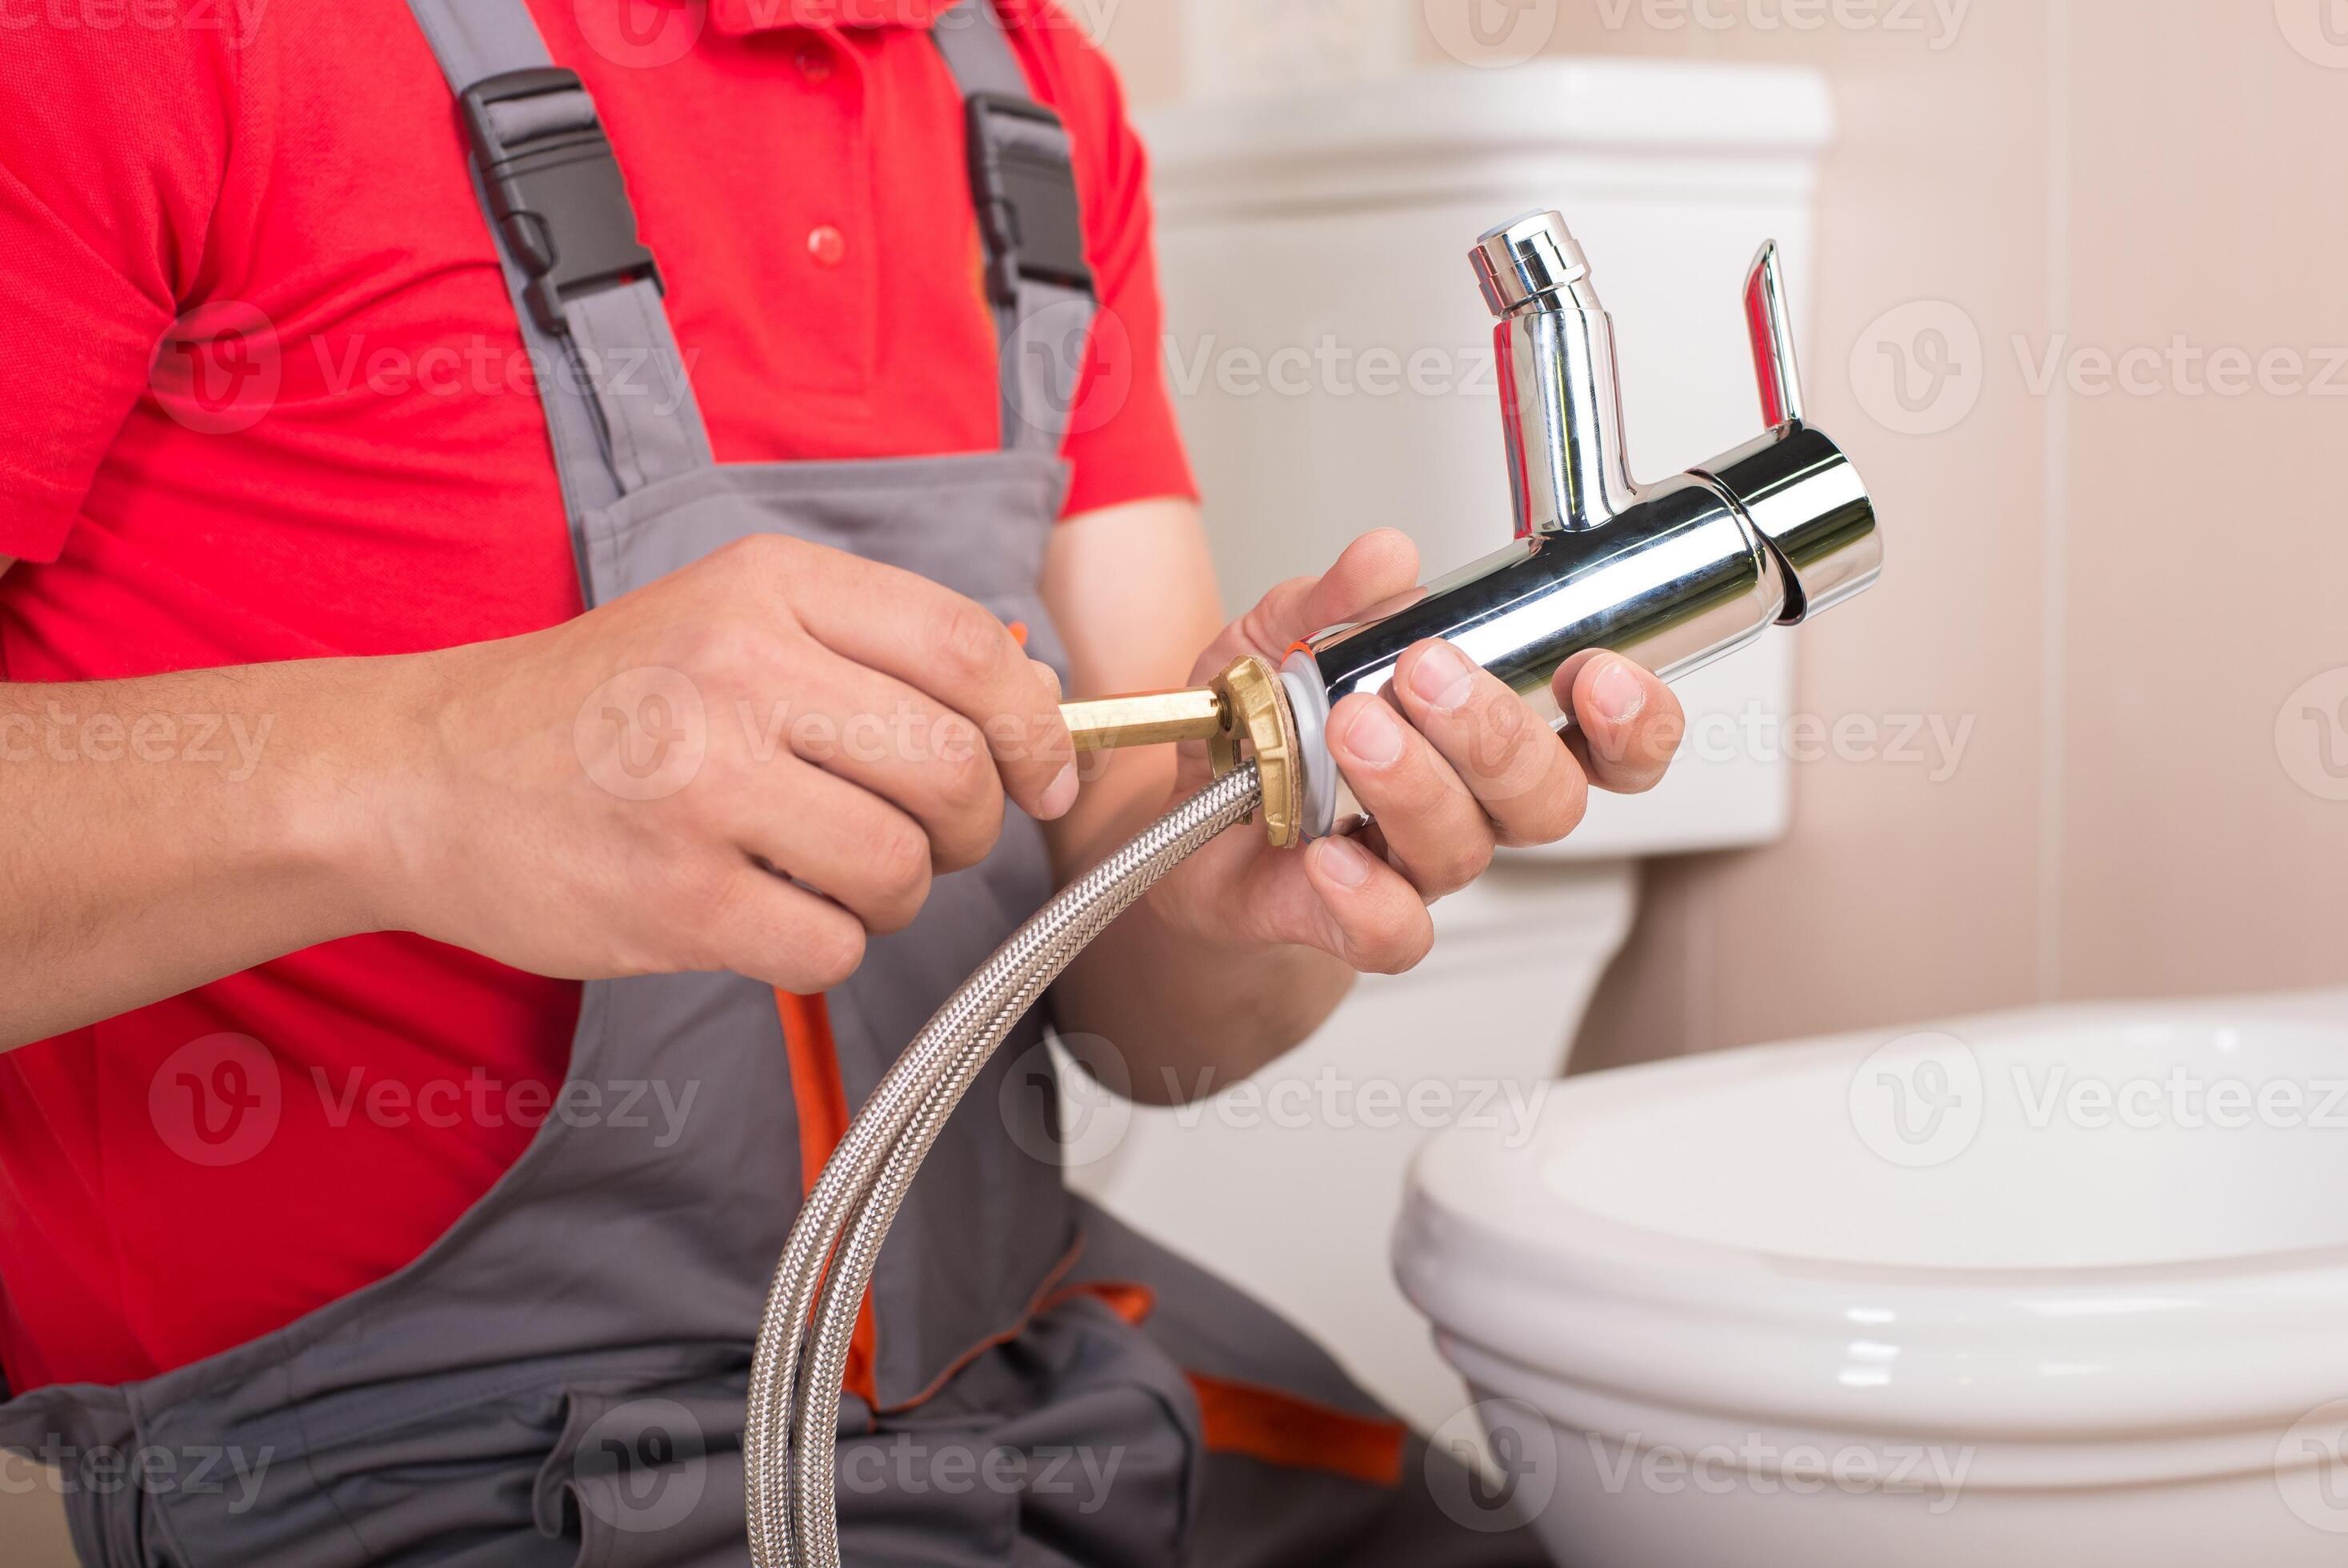
Step 1: Start by turning off the water supply to your kitchen. This can usually be done by turning off the shut-off valves under the sink. Step 2: Next, remove the old sink and disconnect any plumbing or garbage disposal that may be attached to it. Step 3: If you are installing an undermount sink, you will need to cut a hole in the countertop to fit the sink. Use the manufacturer's template to mark the cutout and carefully cut along the lines. Step 4: Place the sink into the countertop cutout and secure it in place with clips or brackets, depending on the type of sink you have. Step 5: If you are installing a top mount sink, place the sink on top of the countertop and use a pencil to trace the outline of the sink. Remove the sink and apply a bead of silicone caulk along the traced line. Step 6: Carefully place the sink back onto the silicone caulk and press down firmly to secure it in place. Step 7: Next, attach the plumbing and garbage disposal to the sink according to the manufacturer's instructions. Step 8: Apply plumber's putty to the edges of the sink and press them firmly onto the countertop to create a watertight seal. Step 9: Finally, turn the water supply back on and check for any leaks. If everything looks good, you can now use your new Sterling kitchen sink!3. Step-by-Step Instructions for Installing a Sterling Kitchen Sink


3. Step-by-Step Instructions for Installing a Sterling Kitchen Sink


Tip 1: Always read the manufacturer's instructions carefully before beginning the installation process. Tip 2: Make sure to have all the necessary tools and materials before starting the installation to avoid any delays. Tip 3: Enlist the help of a friend or family member to make the installation process easier. Tip 4: When installing a top mount sink, use a multi-tool to cut the hole in the countertop for a precise and clean cut.4. Tips for a Successful Sterling Kitchen Sink Installation


4. Tips for a Successful Sterling Kitchen Sink Installation


/how-to-install-a-sink-drain-2718789-hero-24e898006ed94c9593a2a268b57989a3.jpg)


Mistake 1: Not turning off the water supply before beginning the installation process. Mistake 2: Not using the manufacturer's template when cutting the countertop for an undermount sink. Mistake 3: Skipping the step of applying plumber's putty to create a watertight seal. Mistake 4: Not checking for leaks after turning the water supply back on.5. Common Mistakes to Avoid When Installing a Sterling Kitchen Sink


5. Common Mistakes to Avoid When Installing a Sterling Kitchen Sink


Tools: Drill, screwdriver, multi-tool, tape measure, and pliers. Materials: Plumbers putty, silicone caulk, and sink clips or brackets.6. Tools and Materials Needed for a Sterling Kitchen Sink Installation


6. Tools and Materials Needed for a Sterling Kitchen Sink Installation


If you are not confident in your DIY skills, it may be best to hire a professional to install your Sterling kitchen sink. A professional will have the necessary tools and experience to ensure a successful and efficient installation. However, if you are comfortable with DIY projects and have the necessary tools, installing a Sterling kitchen sink can be a rewarding and cost-saving experience.7. Hiring a Professional vs. DIY Sterling Kitchen Sink Installation


7. Hiring a Professional vs. DIY Sterling Kitchen Sink Installation
/washing-fresh-asparagus-in-the-kitchen-sink--518962978-5a960501ae9ab8003749ee74.jpg)

:max_bytes(150000):strip_icc()/Basic-kitchen-sink-types-1821207_color_rev-0b539306b9ef4236a136624ad2a89a4c.jpg)

Issue 1: The sink is not sitting flush against the countertop. Solution: Check to make sure the sink is properly secured with clips or brackets. If it is still not sitting flush, use a level to make adjustments. Issue 2: There is a leak after turning the water supply back on. Solution: Check all connections and make sure they are tight and properly sealed. If the leak persists, you may need to hire a professional to re-install the sink.8. Troubleshooting Common Issues During a Sterling Kitchen Sink Installation


8. Troubleshooting Common Issues During a Sterling Kitchen Sink Installation


To properly seal your Sterling kitchen sink, apply a bead of plumber's putty around the edges of the sink before placing it onto the countertop. Then, use silicone caulk to seal the edges of the sink to the countertop. This will prevent any water from leaking into the cabinet below.9. How to Properly Seal a Sterling Kitchen Sink


9. How to Properly Seal a Sterling Kitchen Sink


To keep your Sterling kitchen sink looking like new, make sure to clean it regularly with a mild cleaner and non-abrasive sponge. Avoid using harsh chemicals or abrasive materials as they can damage the sink's finish. Also, remember to wipe down the sink after each use to prevent water stains and build-up. Now that you have successfully installed your Sterling kitchen sink, you can enjoy its functionality and beauty for years to come!10. Maintaining and Caring for Your Newly Installed Sterling Kitchen Sink


10. Maintaining and Caring for Your Newly Installed Sterling Kitchen Sink


The Importance of a Proper Sterling Kitchen Sink Installation
:no_upscale()/cdn.vox-cdn.com/uploads/chorus_asset/file/19495086/drain_0.jpg)
Maximizing Functionality and Aesthetics
 When it comes to designing a kitchen, every detail matters. From the layout and color scheme to the appliances and fixtures, each element plays a crucial role in creating a functional and visually appealing space. In this regard, the
sterling kitchen sink
is often overlooked, but it is, in fact, one of the most important features of any kitchen. Not only does it serve as a primary workspace for food preparation and cleanup, but it also contributes to the overall design aesthetic of the room.
When it comes to designing a kitchen, every detail matters. From the layout and color scheme to the appliances and fixtures, each element plays a crucial role in creating a functional and visually appealing space. In this regard, the
sterling kitchen sink
is often overlooked, but it is, in fact, one of the most important features of any kitchen. Not only does it serve as a primary workspace for food preparation and cleanup, but it also contributes to the overall design aesthetic of the room.
Choosing the Right Sink
 There are numerous options available when it comes to selecting a kitchen sink, and the
sterling
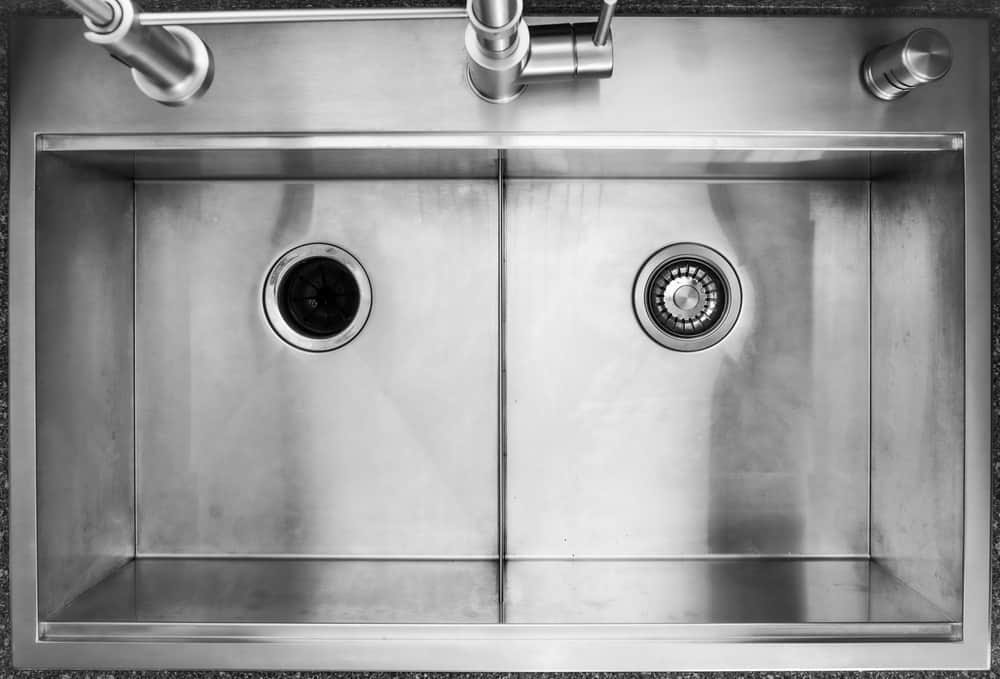
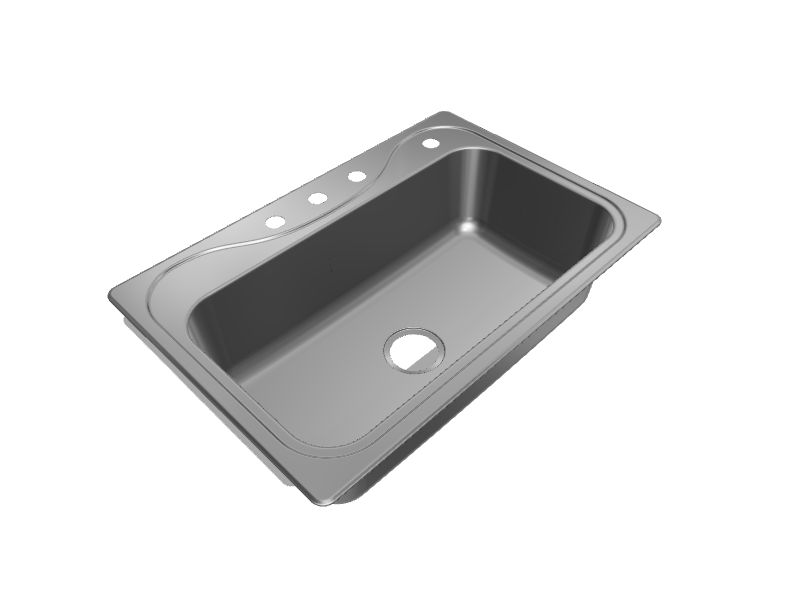
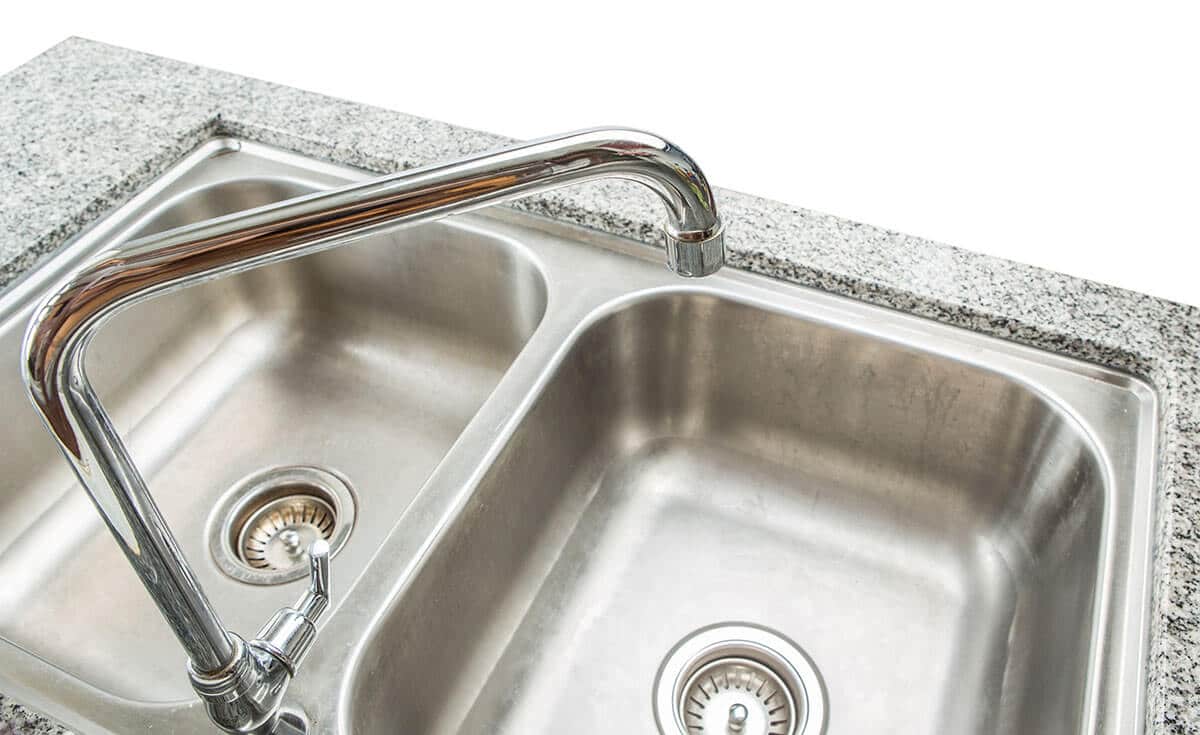
brand offers a wide range of choices. It is essential to consider the size, material, and style of the sink to ensure it fits seamlessly into your kitchen design. For instance, a large family may benefit from a double-basin sink, while a smaller household may opt for a single-basin sink with a built-in drying rack. The material of the sink also plays a role in both functionality and aesthetics. Stainless steel is a popular choice for its durability and modern look, while a porcelain sink can add a touch of elegance to a traditional kitchen.
There are numerous options available when it comes to selecting a kitchen sink, and the
sterling
brand offers a wide range of choices. It is essential to consider the size, material, and style of the sink to ensure it fits seamlessly into your kitchen design. For instance, a large family may benefit from a double-basin sink, while a smaller household may opt for a single-basin sink with a built-in drying rack. The material of the sink also plays a role in both functionality and aesthetics. Stainless steel is a popular choice for its durability and modern look, while a porcelain sink can add a touch of elegance to a traditional kitchen.
The Importance of Proper Installation
 A
sterling kitchen sink
is an investment that should last for many years, and proper installation is crucial to its longevity. A poorly installed sink can lead to leaks, which can cause damage to your cabinets and countertops. It can also affect the functionality of the sink, making it difficult to use for daily tasks. Professional installation ensures that the sink is properly secured and sealed, avoiding any potential issues down the line.
A
sterling kitchen sink
is an investment that should last for many years, and proper installation is crucial to its longevity. A poorly installed sink can lead to leaks, which can cause damage to your cabinets and countertops. It can also affect the functionality of the sink, making it difficult to use for daily tasks. Professional installation ensures that the sink is properly secured and sealed, avoiding any potential issues down the line.
Conclusion
 In conclusion, a
sterling kitchen sink
is an essential element in any kitchen design. It not only serves as a functional workspace but also adds to the overall aesthetic of the room. Careful consideration should be taken when choosing the right sink for your kitchen, and professional installation is necessary to ensure its proper functionality and longevity. With the right sink and installation, you can create a beautiful and functional kitchen that meets all your needs.
In conclusion, a
sterling kitchen sink
is an essential element in any kitchen design. It not only serves as a functional workspace but also adds to the overall aesthetic of the room. Careful consideration should be taken when choosing the right sink for your kitchen, and professional installation is necessary to ensure its proper functionality and longevity. With the right sink and installation, you can create a beautiful and functional kitchen that meets all your needs.