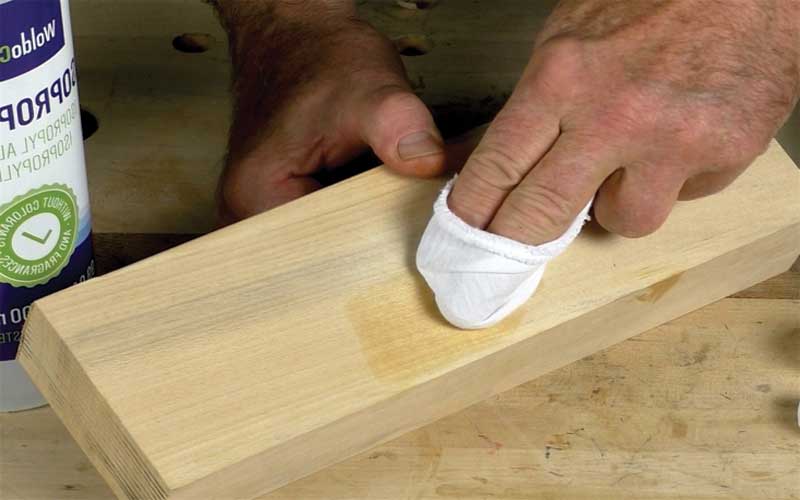
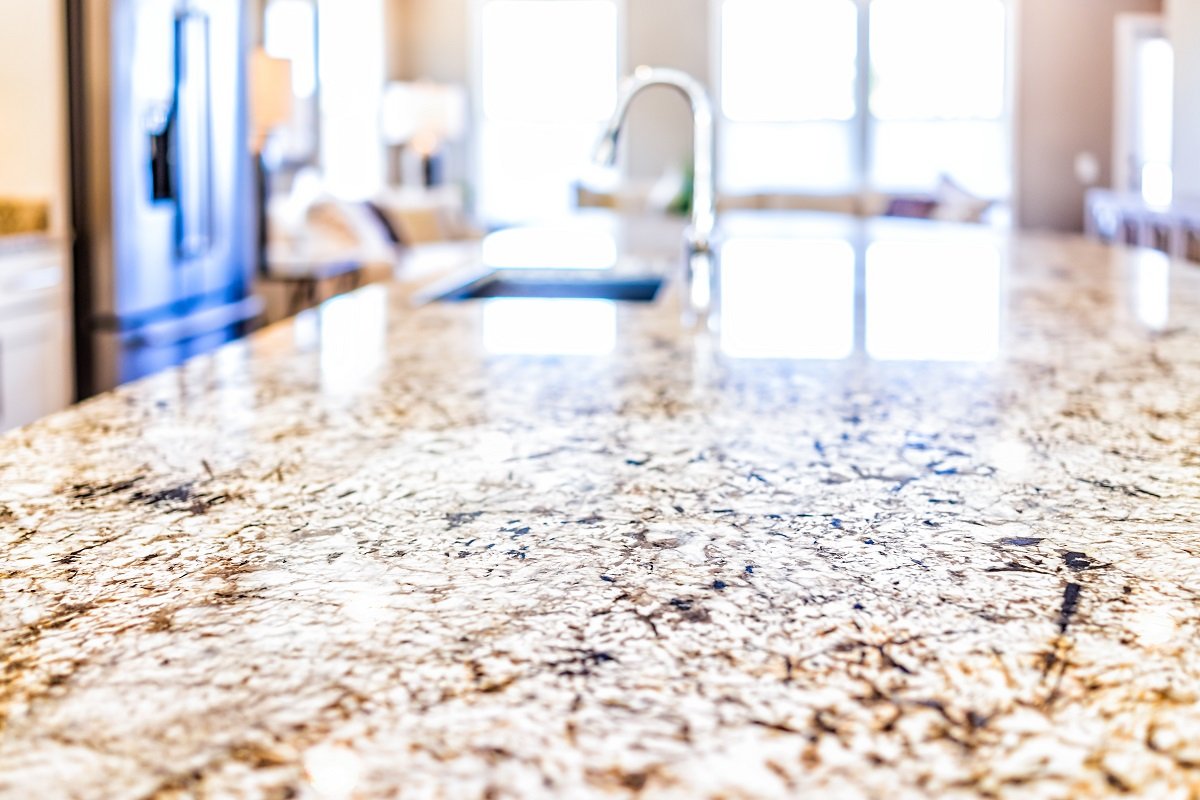
Before beginning the process of chalk painting your kitchen table, it's important to clean it thoroughly. Use a mild soap and water to remove any dirt, grime, or grease that may have accumulated on the surface. Make sure to dry the table completely before moving on to the next step.1. Clean the table thoroughly
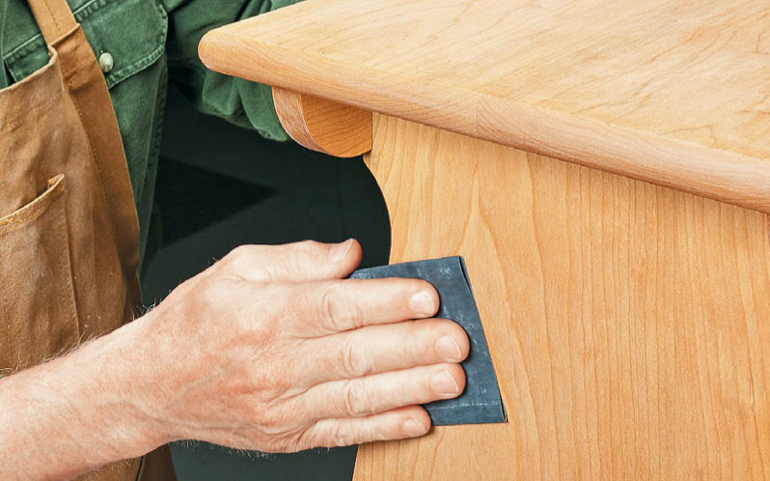
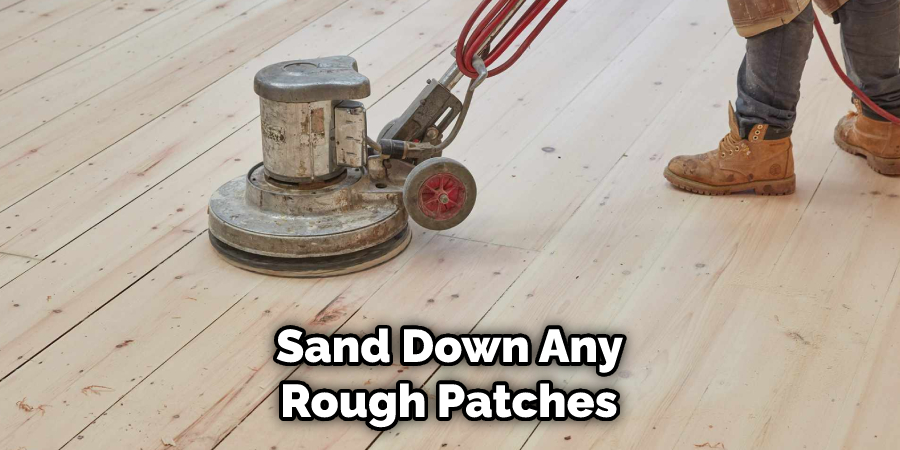
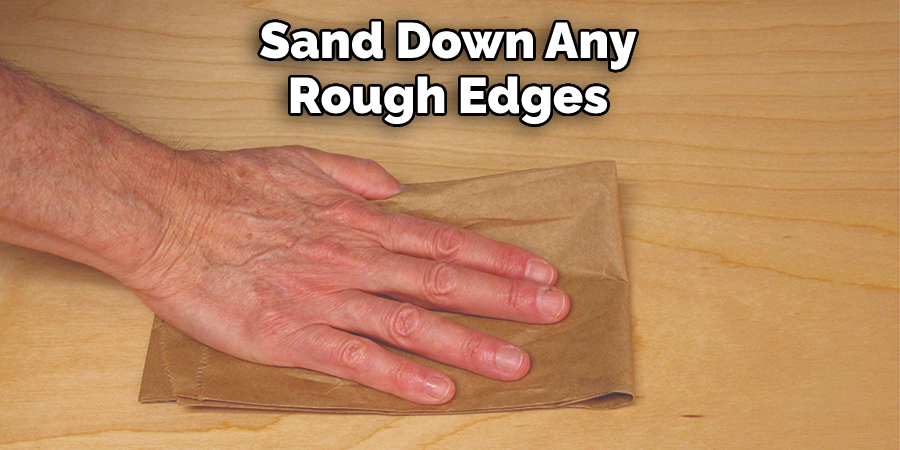
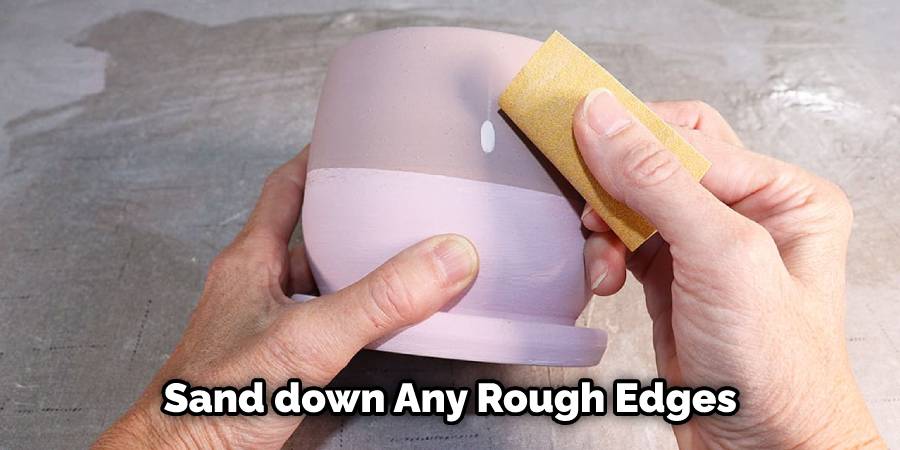
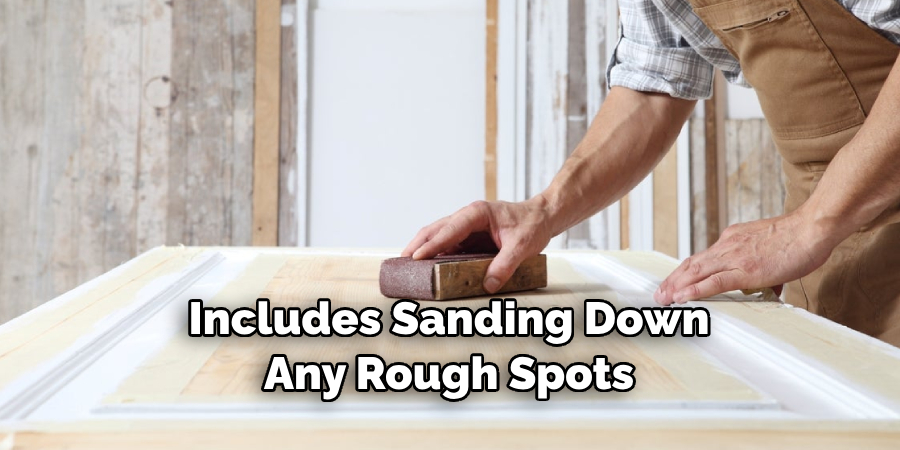
If your kitchen table has any rough spots or imperfections, now is the time to sand them down. Use a fine-grit sandpaper to smooth out any rough edges or uneven surfaces. This will ensure that your chalk paint goes on smoothly and evenly.2. Sand down any rough spots or imperfections
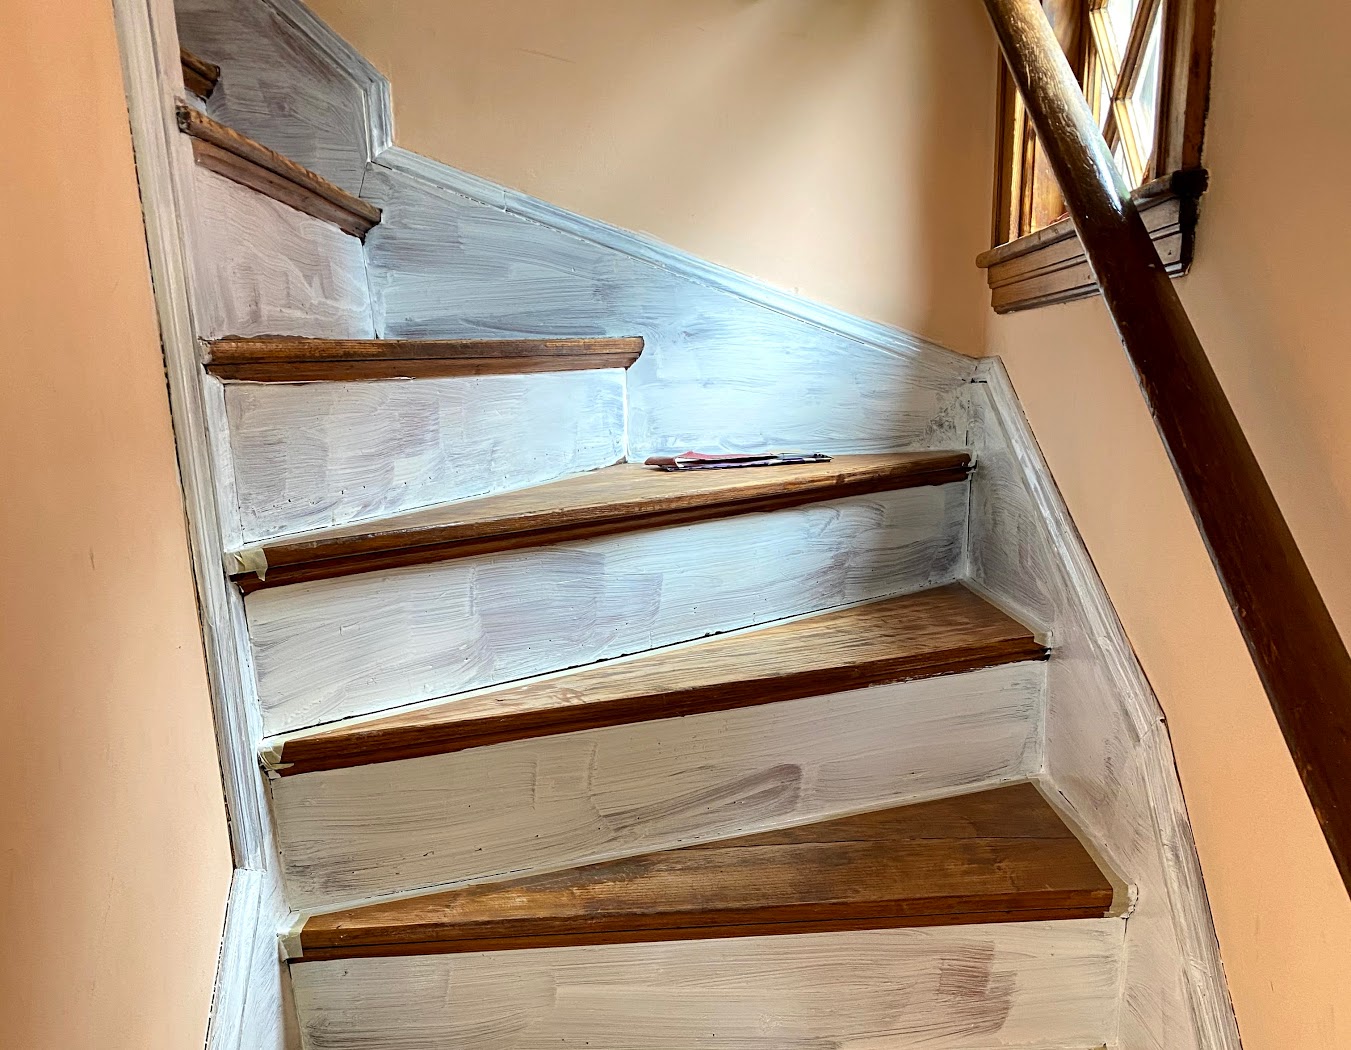
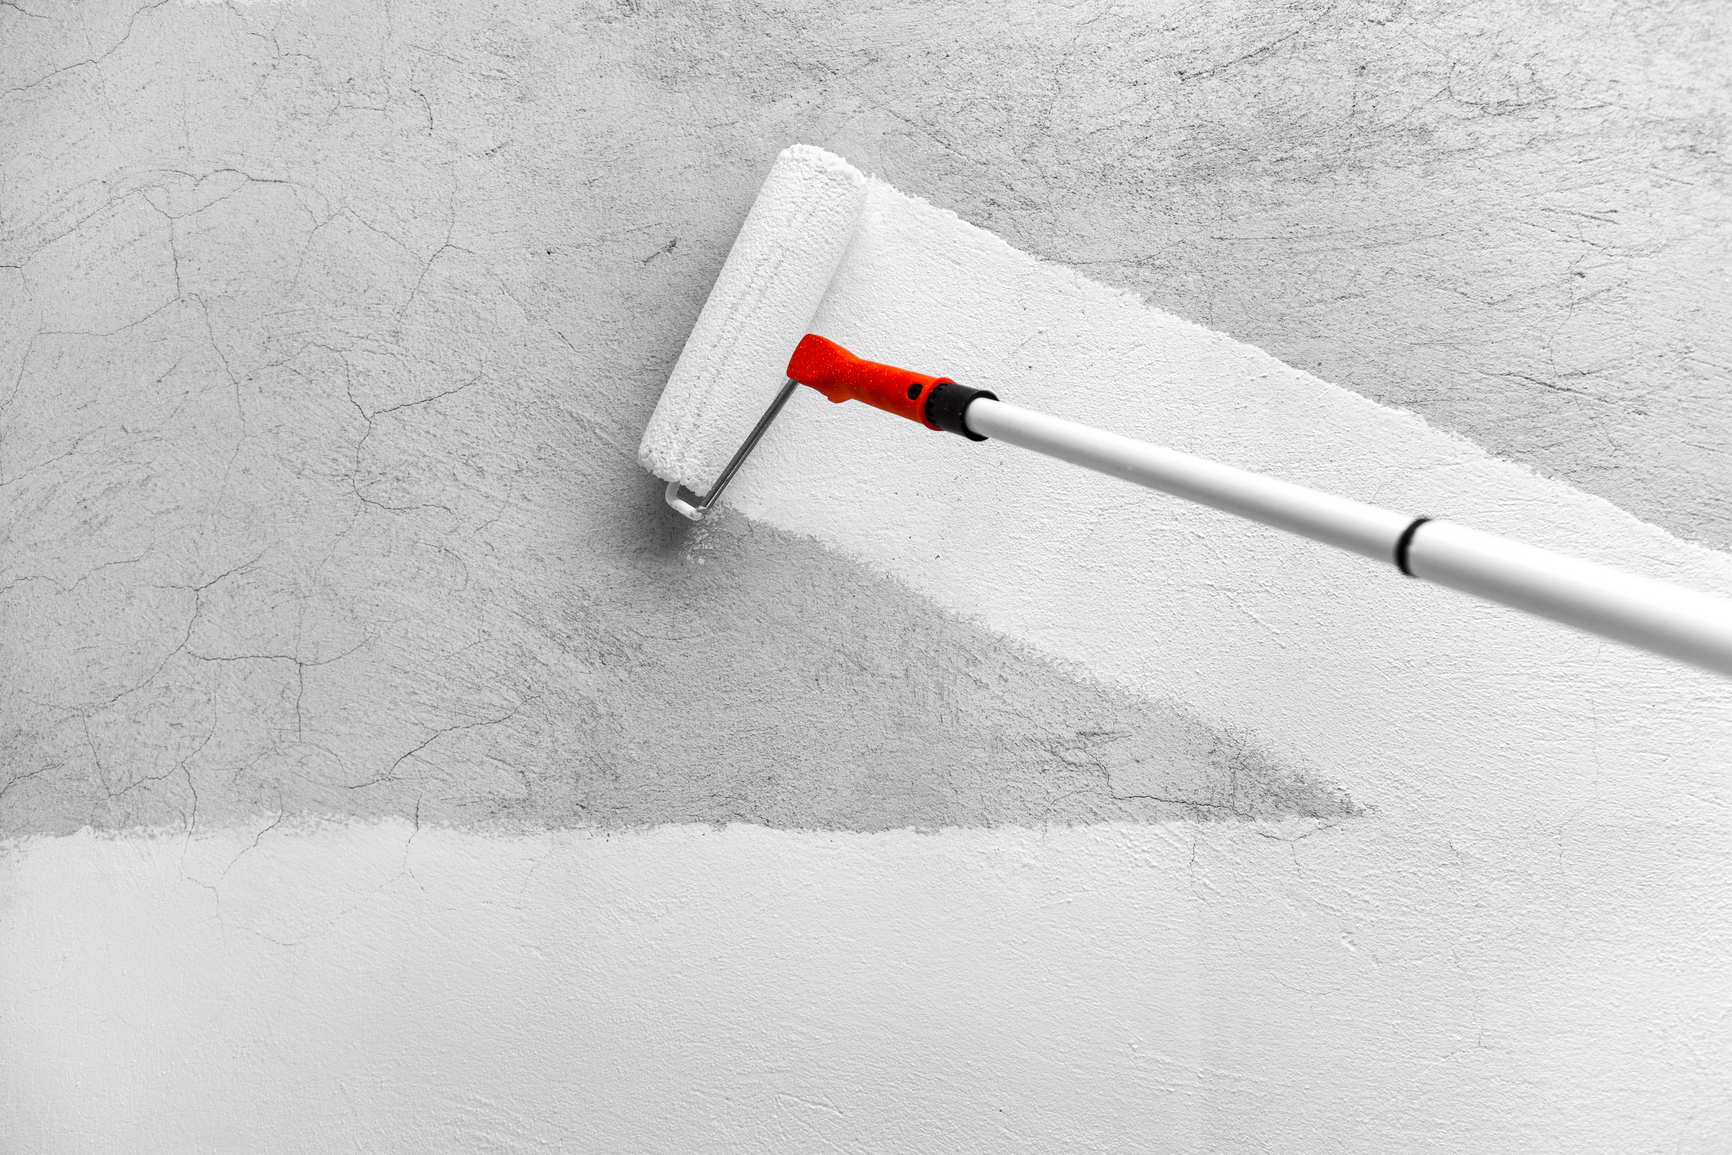
Primer is an important step in the chalk painting process. It helps the paint adhere better to the surface and provides a smoother finish. Choose a primer that is specifically designed for use with chalk paint. Apply a thin, even layer of primer to the entire surface of the table and let it dry completely.3. Apply a coat of primer
This step is crucial in ensuring that your chalk paint has a good base to adhere to. Make sure to let the primer dry completely before moving on to the next step. This can take anywhere from 1-2 hours, depending on the type of primer and the humidity in the room.4. Let the primer dry completely
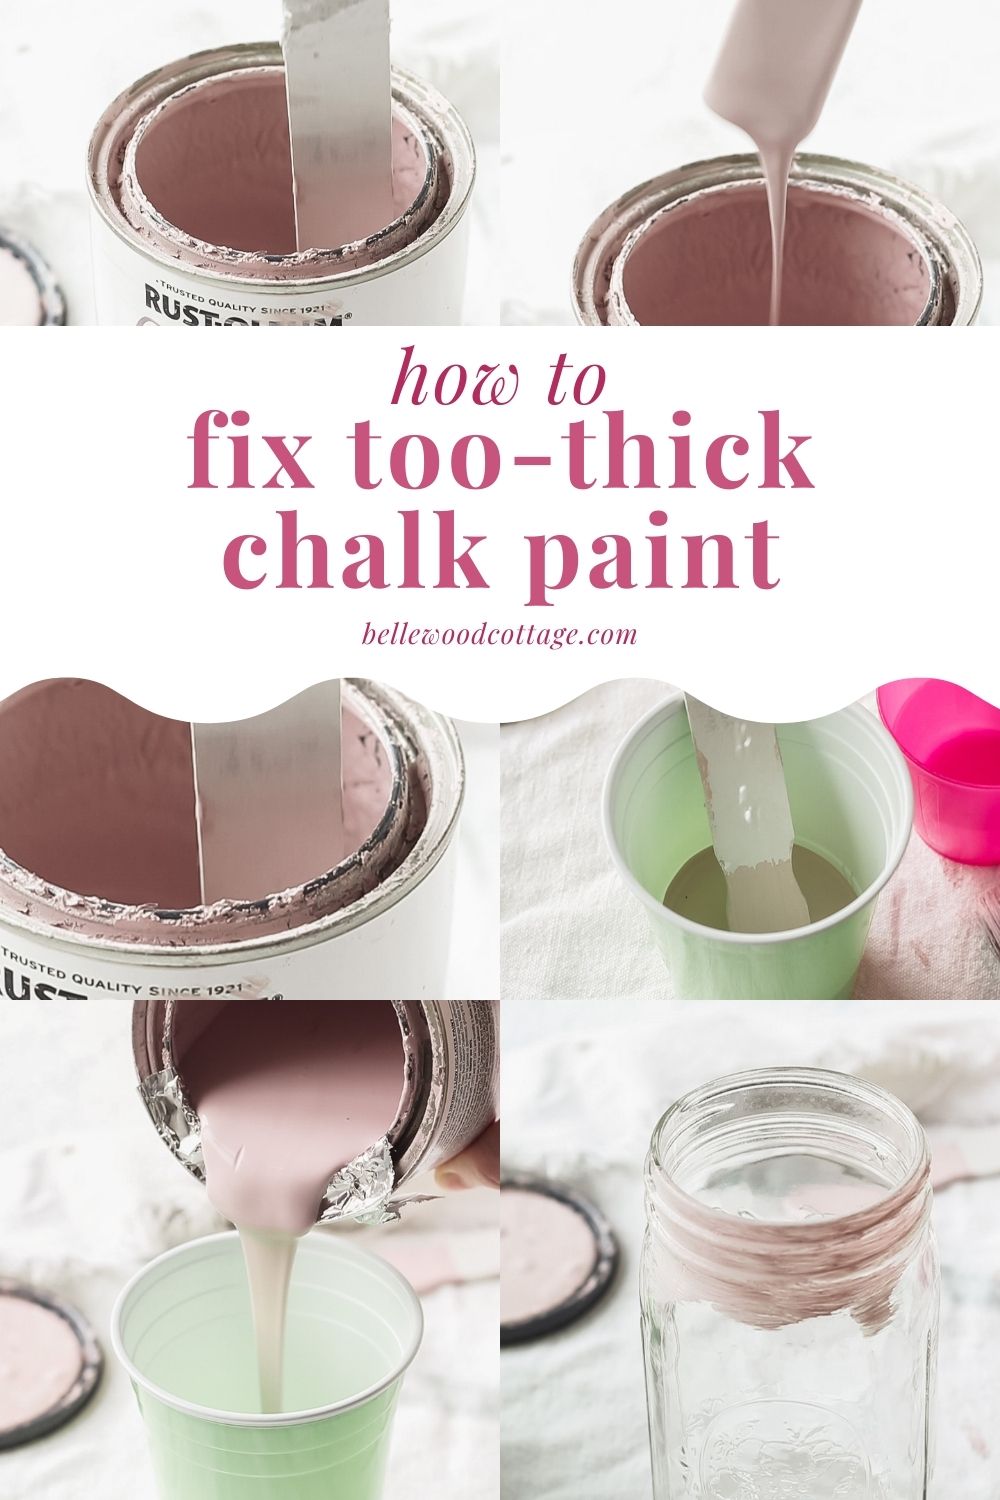
Chalk paint is typically sold as a powder that needs to be mixed with water before use. Follow the instructions on the package to mix your paint to the desired consistency. If you want a thicker paint, use less water, and if you want a thinner paint, use more water. It's always a good idea to mix a little more paint than you think you'll need, just in case.5. Mix your chalk paint according to instructions
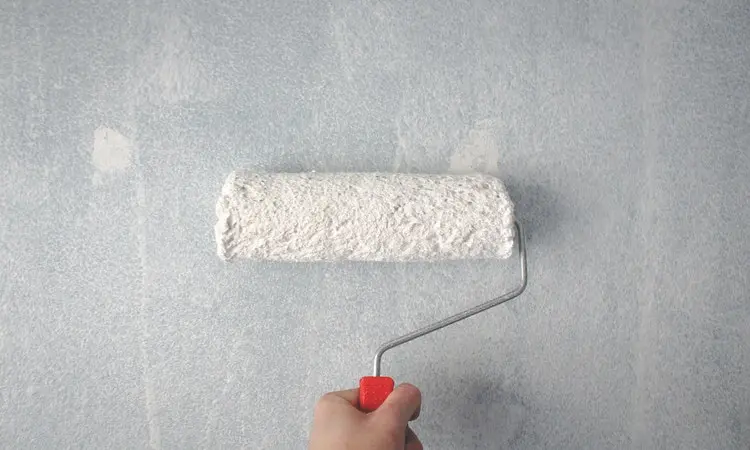
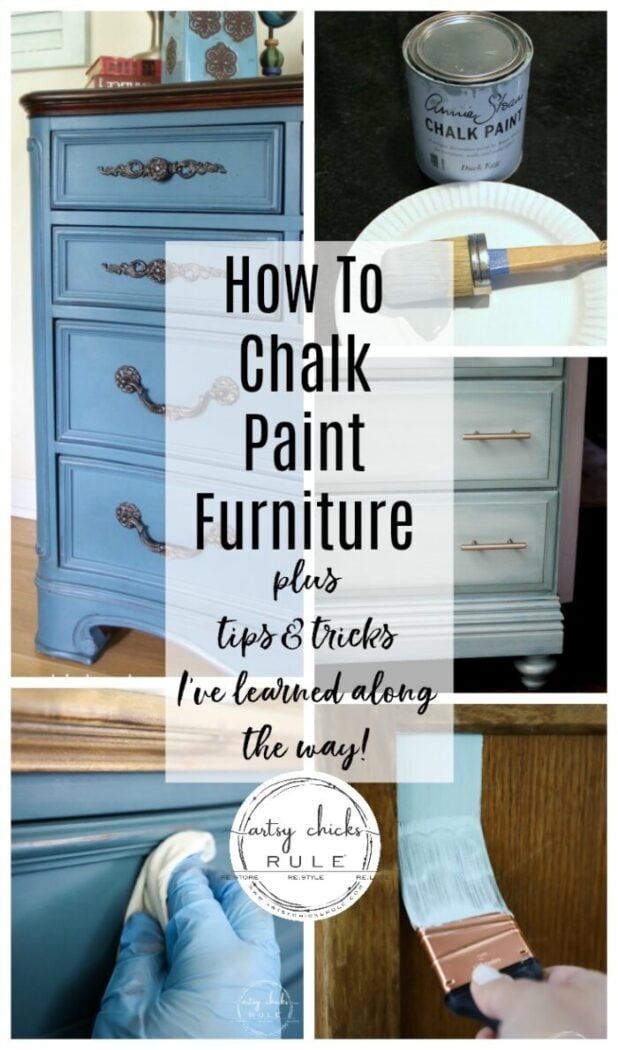
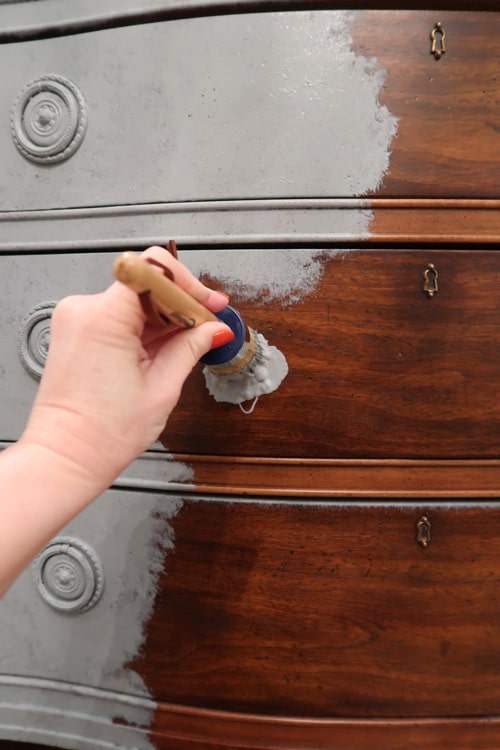
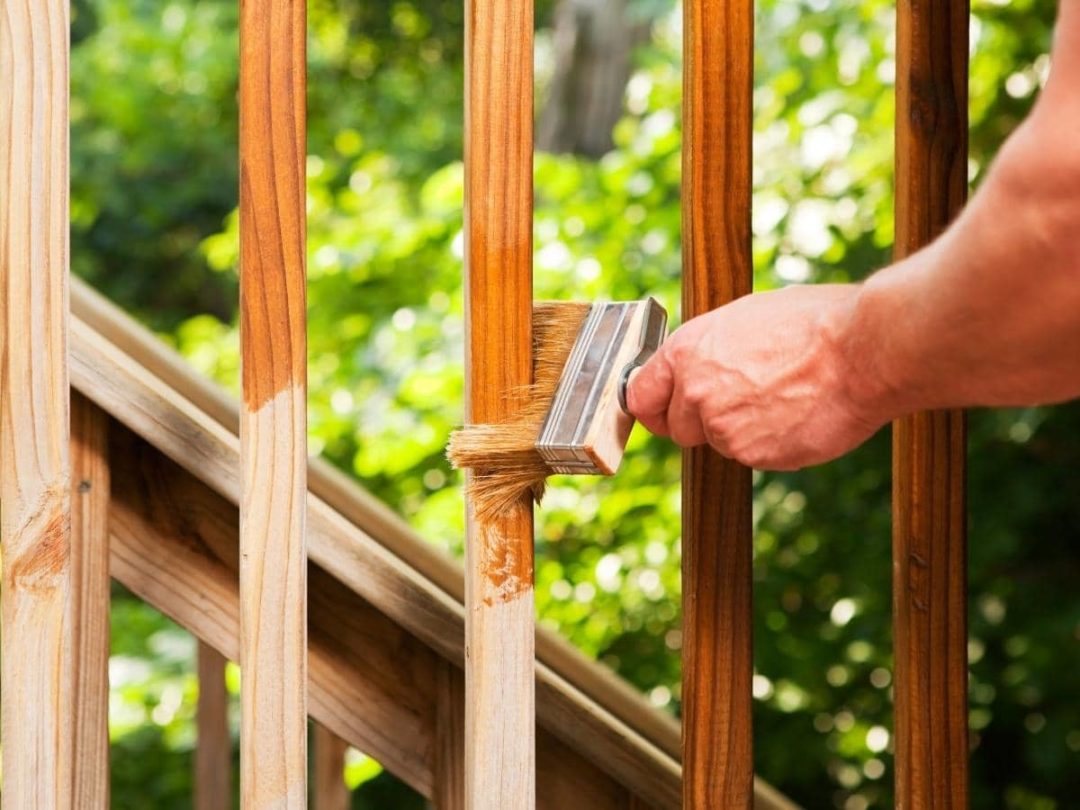
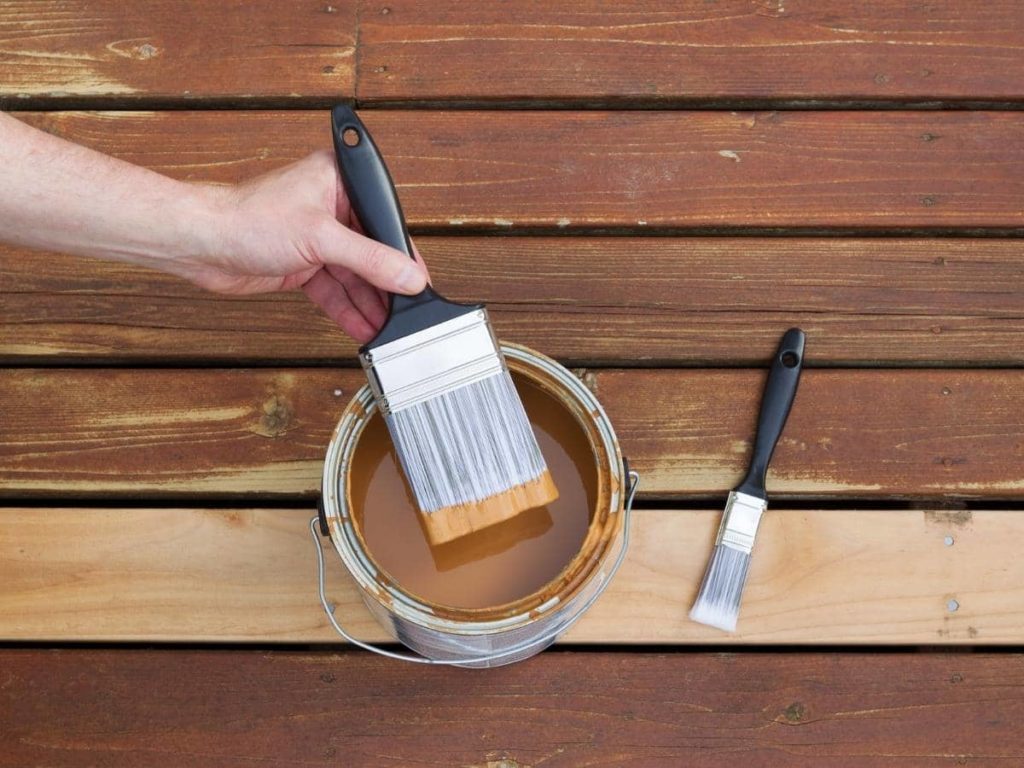
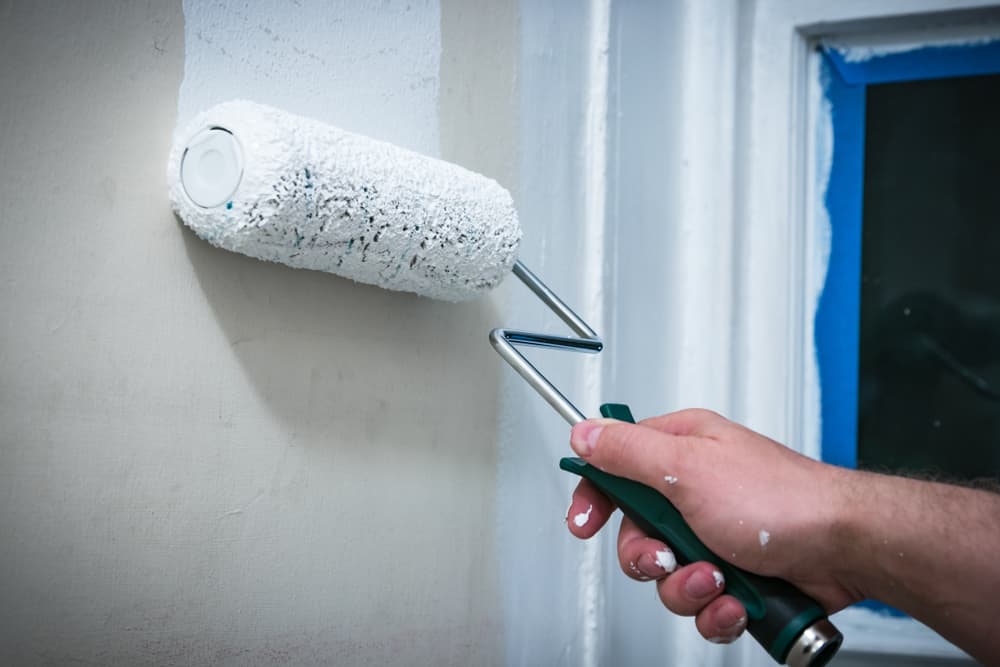
Using a paintbrush or a roller, apply the first coat of chalk paint to the table. Make sure to cover the entire surface evenly. The first coat may look streaky or uneven, but don't worry, this is normal. Let the first coat dry completely before moving on to the next step.6. Apply the first coat of chalk paint
Just like with the primer, it's important to let the first coat of chalk paint dry completely before moving on. This may take 1-2 hours depending on the humidity and the thickness of your paint. You can use a fan to speed up the drying process if you're in a rush.7. Let the first coat dry completely
Once the first coat is completely dry, it's time to apply a second coat of chalk paint. This will help to even out the color and give your table a more solid and smooth finish. Apply the second coat in the same manner as the first, making sure to cover the entire surface evenly.8. Apply a second coat of chalk paint
Just like before, make sure to let the second coat of chalk paint dry completely before moving on. This may take another 1-2 hours. If you're using a dark color of chalk paint, you may need to apply a third coat for full coverage.9. Let the second coat dry completely
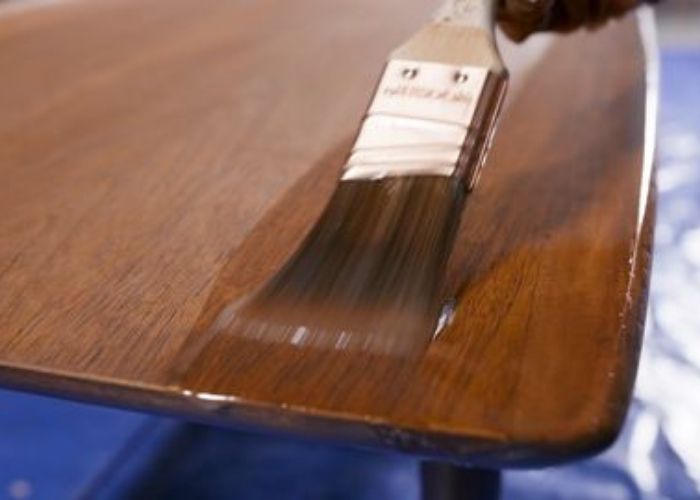
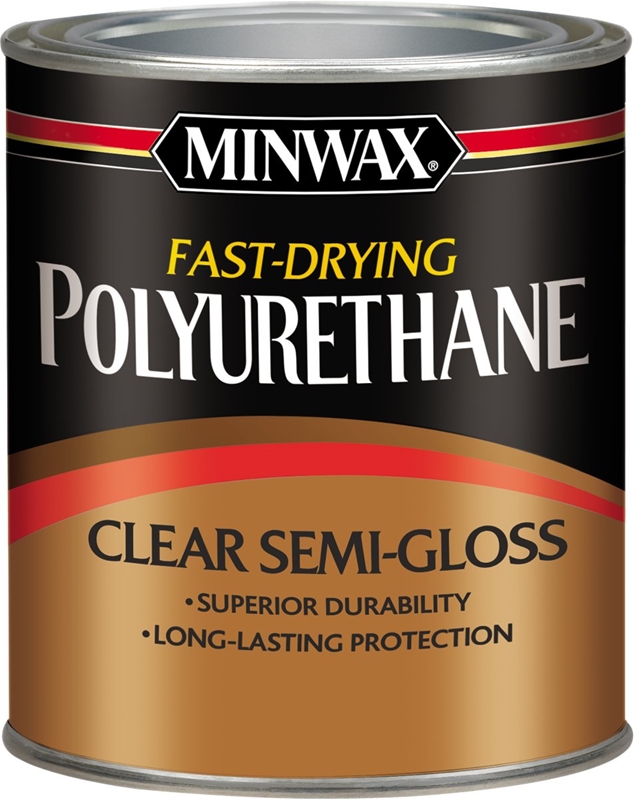
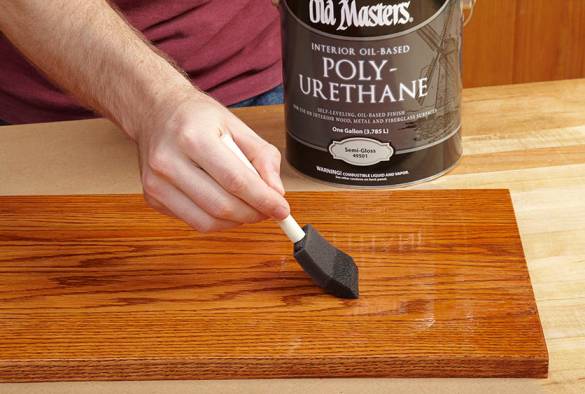
To protect your newly chalk painted kitchen table, it's important to seal it with a clear wax or polyurethane. This will help to protect the paint from scratches and stains. Apply the sealer according to the instructions on the package, and make sure to cover the entire surface of the table. Let it dry completely before using your table. Now, you have successfully completed the top 10 main steps to chalk paint your kitchen table! Your table should now have a beautiful, matte finish that will add a touch of charm to your kitchen. With proper care, your chalk painted table will last for years to come. Remember to always clean your table with a damp cloth and avoid using harsh chemicals or abrasive sponges. This will help to maintain the integrity and beauty of your chalk paint finish. Happy painting!10. Seal the table with a clear wax or polyurethane
How to Achieve a Beautifully Chalk Painted Kitchen Table

Adding Finishing Touches
 Now that you have completed the first steps of prepping and painting your kitchen table with chalk paint, it's time to add those finishing touches to really make it stand out.
One key element in achieving a beautifully chalk painted kitchen table is distressing.
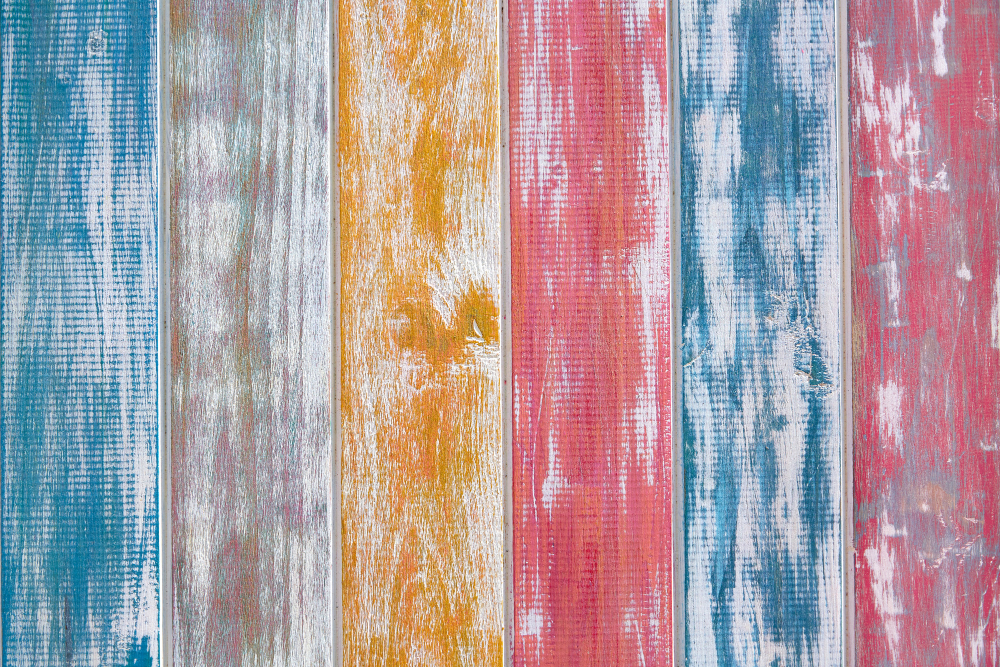
This technique adds a vintage and rustic charm to your furniture. To distress your table, lightly sand the edges and corners with a fine-grit sandpaper. This will expose the original wood color and create a worn look.
Another way to add character to your table is by stenciling a design onto the surface.
This can be done by using a pre-made stencil or creating your own. Simply place the stencil on the table and use a small paintbrush to carefully fill in the design with a complementary color. This will add a unique and personalized touch to your kitchen table.
Sealing and Protecting
Final Thoughts
 Now that you know the steps to achieving a beautifully chalk painted kitchen table, it's time to put them into action. Remember to always properly prepare your surface, use high-quality chalk paint, and add those personal touches to make it your own. With a little bit of creativity and patience, you can transform any old kitchen table into a stunning piece of furniture that will be the envy of all your guests. Happy painting!




















:max_bytes(150000):strip_icc()/order-for-dish-washing-1900439-10-4e8fe318734043228c4b71a2543f44f8.jpg)


