Staining your kitchen table is a great way to give it a fresh new look and protect it from daily wear and tear. However, the process can seem daunting, especially if you have never stained furniture before. But don't worry, with the right tools and techniques, you can easily achieve a beautiful stained kitchen table. In this article, we will guide you through the steps of staining your kitchen table and provide some helpful tips to ensure a successful project.How to Stain a Kitchen Table


How to Stain a Kitchen Table


Staining your kitchen table yourself is not only a cost-effective option but also a fun and rewarding DIY project. Not to mention, you have complete control over the color and finish of your table. Before you begin, make sure to gather all the necessary materials such as sandpaper, stain, and protective finish. You can also choose to use a traditional brush or a foam brush for application, whichever you find more comfortable. Now, let's get started on staining your kitchen table!DIY Kitchen Table Staining


DIY Kitchen Table Staining


Step 1: Sand and Clean the Table - Before you start staining, you need to sand down the surface of your kitchen table. This will remove any existing finish and allow the stain to penetrate the wood. Make sure to sand in the direction of the grain and wipe away any dust or debris with a damp cloth. Step 2: Apply the Stain - Using a brush or foam brush, apply the stain in long, even strokes, following the direction of the grain. Make sure to work in small sections to prevent the stain from drying too quickly. Step 3: Wipe Away Excess Stain - After applying the stain, use a clean cloth to wipe away any excess stain. This will help create a more even finish. Step 4: Repeat for Desired Color - If you want a darker color, you can repeat the staining process once the first coat has dried completely. Just be sure to wipe away any excess stain before it dries. Step 5: Apply Protective Finish - Once the stain has dried completely, it's time to apply a protective finish. This will help seal the stain and protect your kitchen table from spills and scratches. You can choose from a variety of finishes such as polyurethane, varnish, or wax.Step-by-Step Guide for Staining a Kitchen Table


Step-by-Step Guide for Staining a Kitchen Table


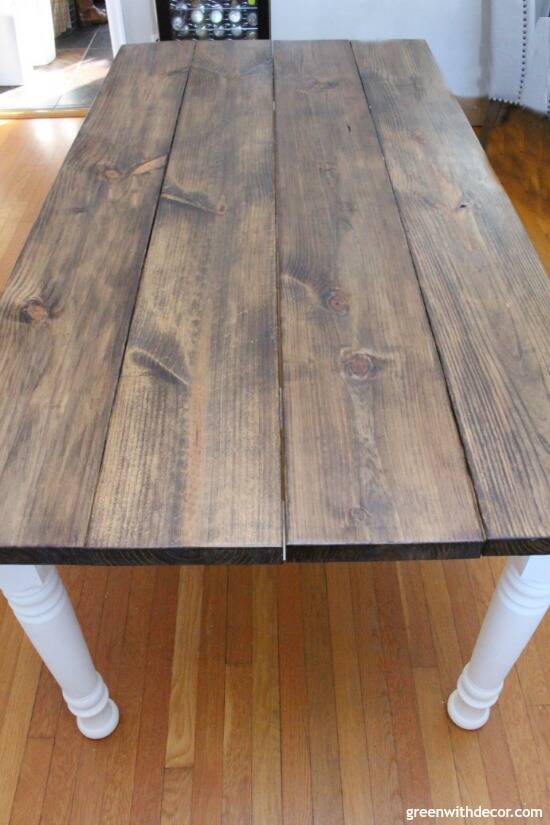
When it comes to choosing the best stain for your kitchen table, it ultimately depends on your personal preference and the type of wood your table is made of. However, some popular stain options for kitchen tables include dark walnut, golden oak, and ebony. These colors provide a beautiful, rich finish that will enhance the natural beauty of your wood.Best Stains for Kitchen Tables


Best Stains for Kitchen Tables


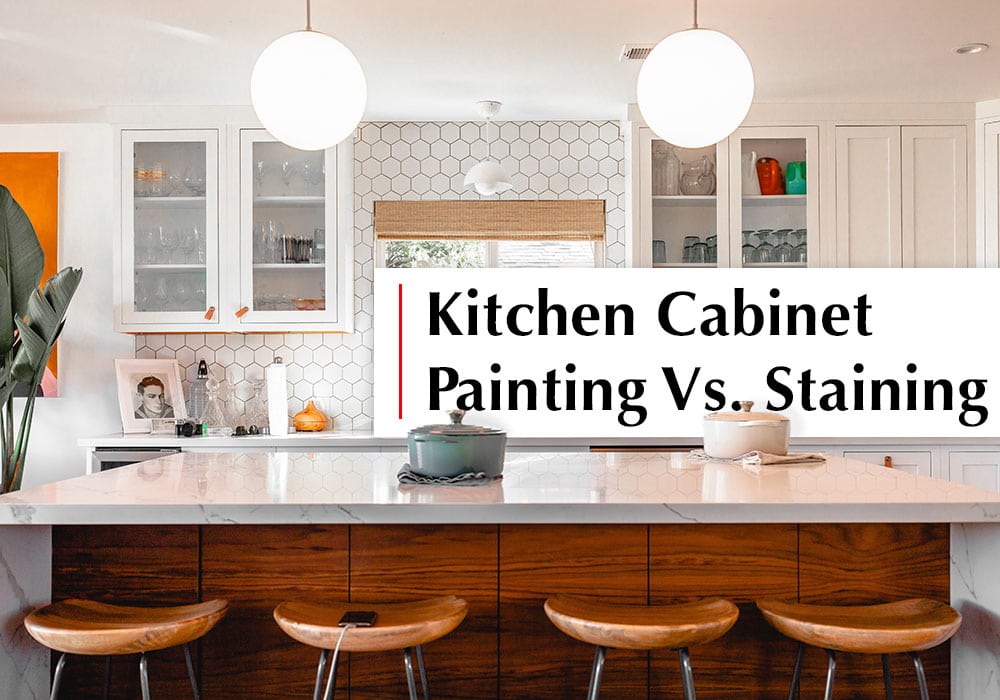
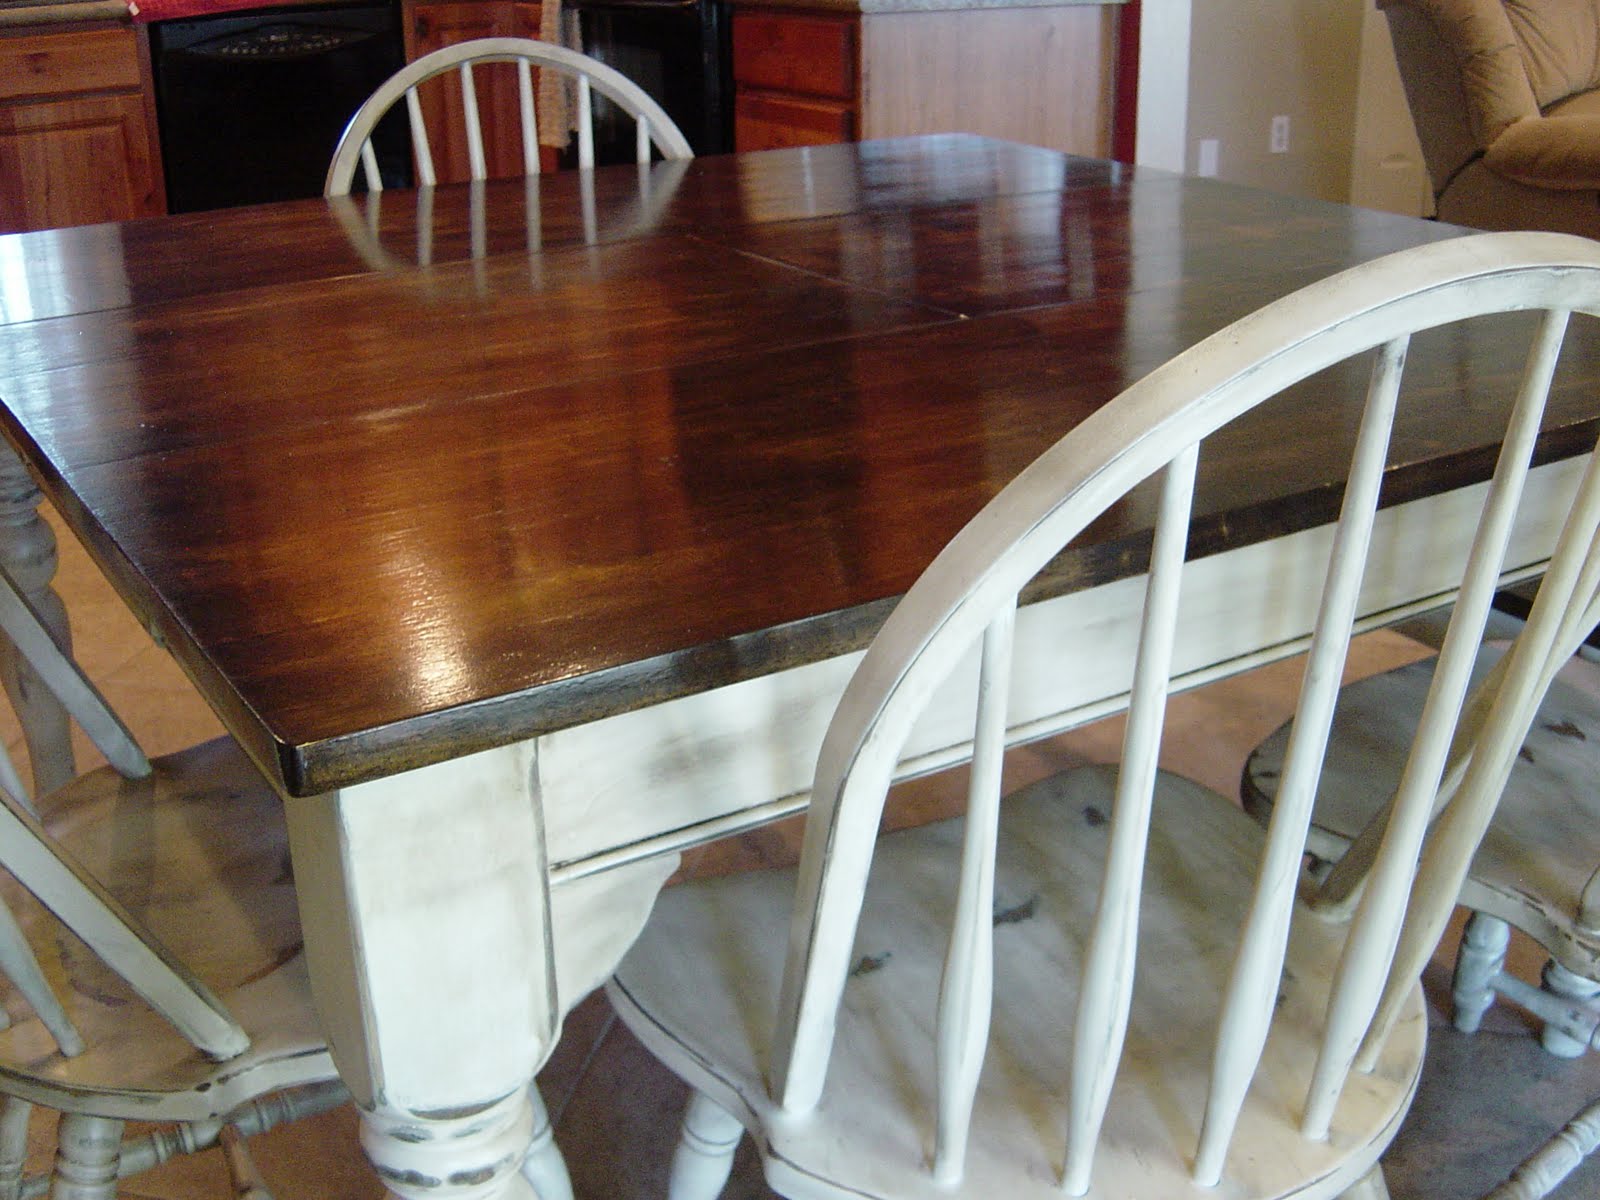
While painting your kitchen table may seem like a simpler option, staining offers a more natural and elegant look. Staining also allows the wood grain to show through, adding depth and character to your table. Additionally, stain tends to be more durable and long-lasting compared to paint, which can chip and peel over time.Staining vs Painting a Kitchen Table


Staining vs Painting a Kitchen Table


Here are some additional tips to keep in mind when staining your kitchen table:Tips for Staining a Kitchen Table


Tips for Staining a Kitchen Table


Before you begin your kitchen table staining project, there are a few things you should know:Staining a Kitchen Table: What You Need to Know


Staining a Kitchen Table: What You Need to Know


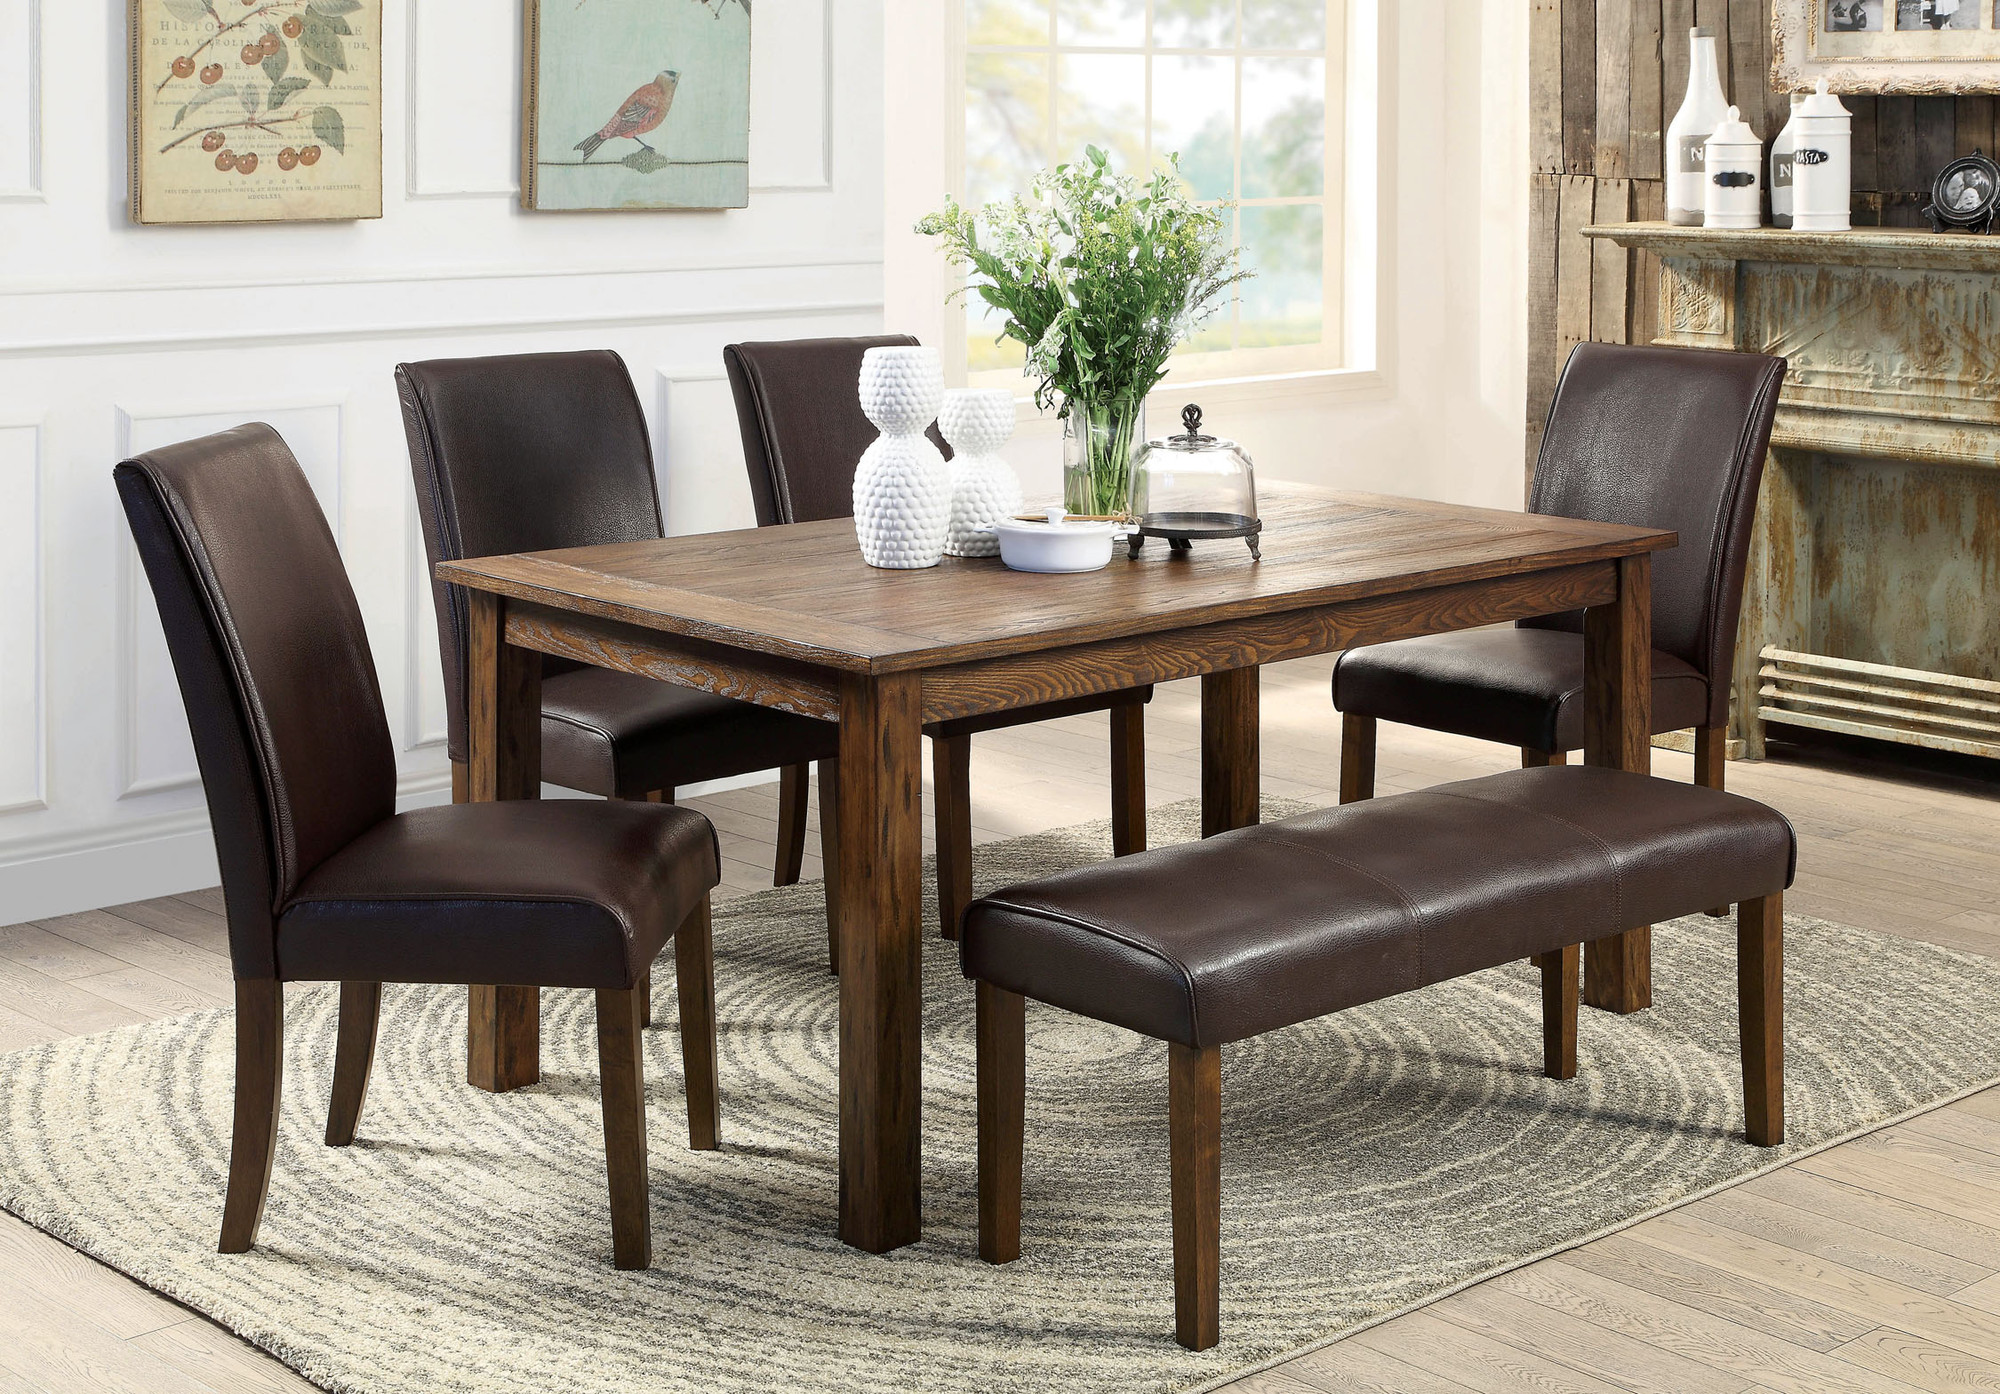
Staining a wooden kitchen table is a great way to enhance its natural beauty and protect it from everyday use. However, it's important to note that different types of wood may react differently to stain. For example, softer woods like pine may absorb stain more quickly, while harder woods like oak may require more coats for a darker color. Be sure to do some research on the type of wood your table is made of before beginning the staining process.Staining a Wooden Kitchen Table

Staining a Wooden Kitchen Table


Properly preparing your kitchen table for staining is crucial for a successful project. Here are some steps to follow:How to Prep Your Kitchen Table for Staining

How to Prep Your Kitchen Table for Staining


Staining a kitchen table may seem simple, but there are some common mistakes to avoid for a successful project:Common Mistakes When Staining a Kitchen Table


Common Mistakes When Staining a Kitchen Table


Revamp Your Kitchen Table with a Fresh Stain

Transform Your Space with a Simple DIY Project
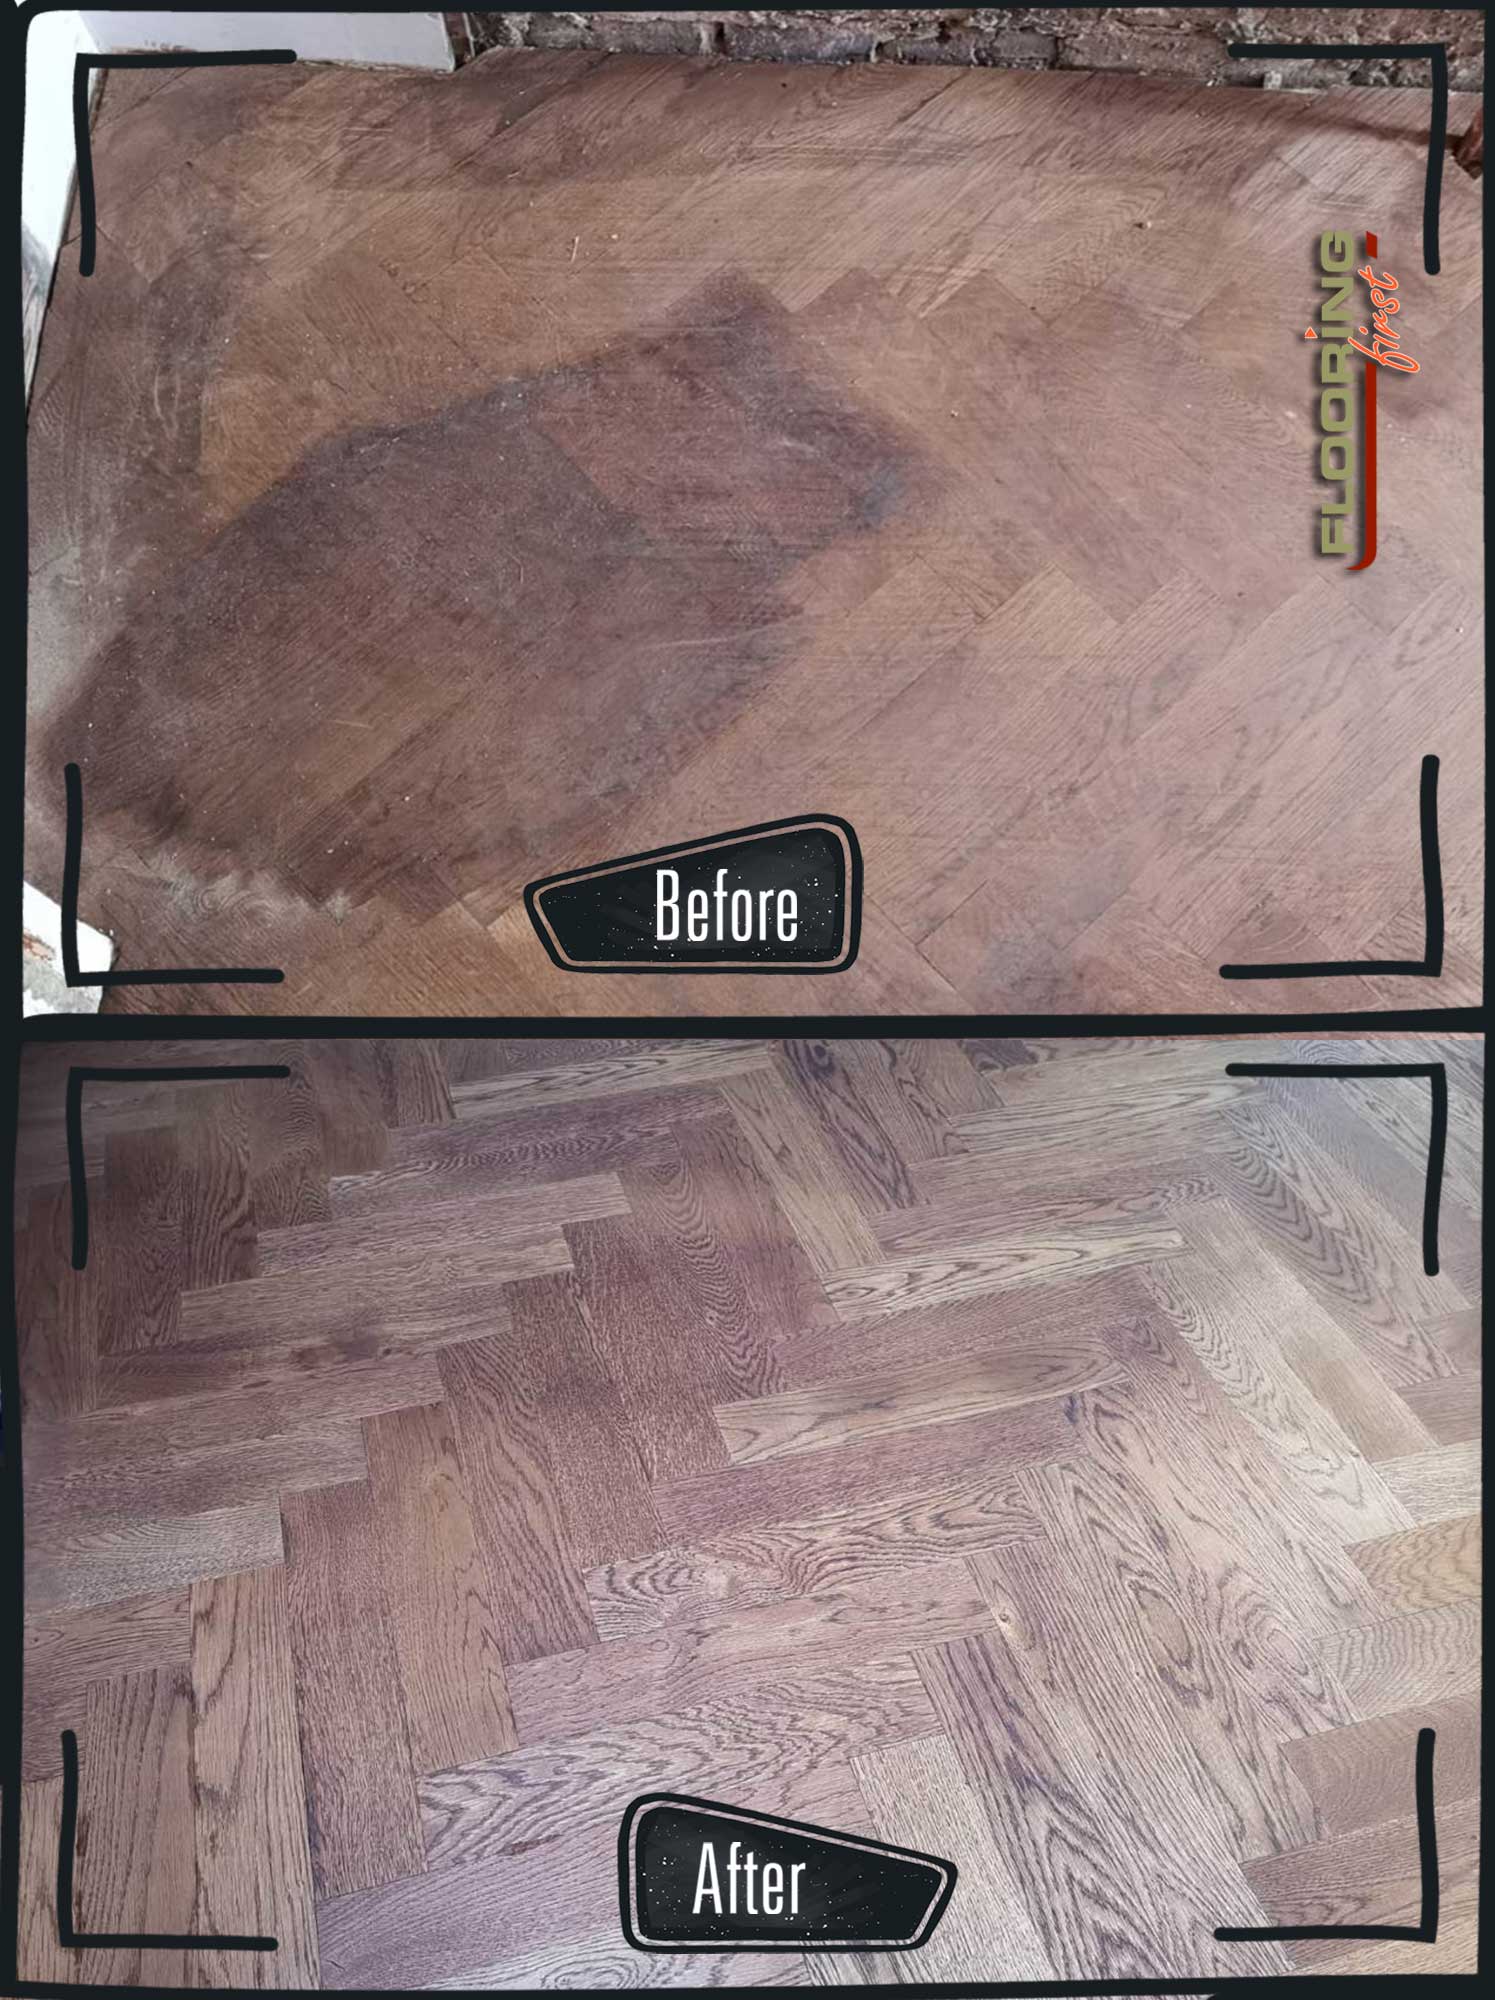
 Are you tired of looking at your dull and worn-out kitchen table? Are you on a budget and looking for a way to spruce up your space without breaking the bank? Look no further than a fresh stain for your kitchen table. This simple DIY project can completely transform the look of your kitchen and add a touch of elegance to your home design.
The Power of Staining
 Staining is a technique that involves changing the color or tone of wood by applying a tinted solution. It not only enhances the natural beauty of the wood but also provides a protective layer to prevent damage from spills, scratches, and other wear and tear. By staining your kitchen table, you can give it a new lease on life and make it the focal point of your kitchen.
Staining Your Kitchen Table: Step-by-Step Guide
Staining is a technique that involves changing the color or tone of wood by applying a tinted solution. It not only enhances the natural beauty of the wood but also provides a protective layer to prevent damage from spills, scratches, and other wear and tear. By staining your kitchen table, you can give it a new lease on life and make it the focal point of your kitchen.
Staining Your Kitchen Table: Step-by-Step Guide
Step 1: Preparation
 Before diving into staining, make sure to prepare your kitchen table properly. Start by removing any existing finish using sandpaper or a chemical stripper. Then, clean the surface with a wood cleaner to remove any dirt and grime. Make sure to also cover the surrounding area with a drop cloth to avoid any accidental staining.
Step 2: Choose Your Stain
 There are various types of stains available in the market, such as oil-based, water-based, and gel stains. Each has its own unique properties, so make sure to read the instructions carefully and choose the one that best suits your needs. You can also mix different stains to achieve a custom color.
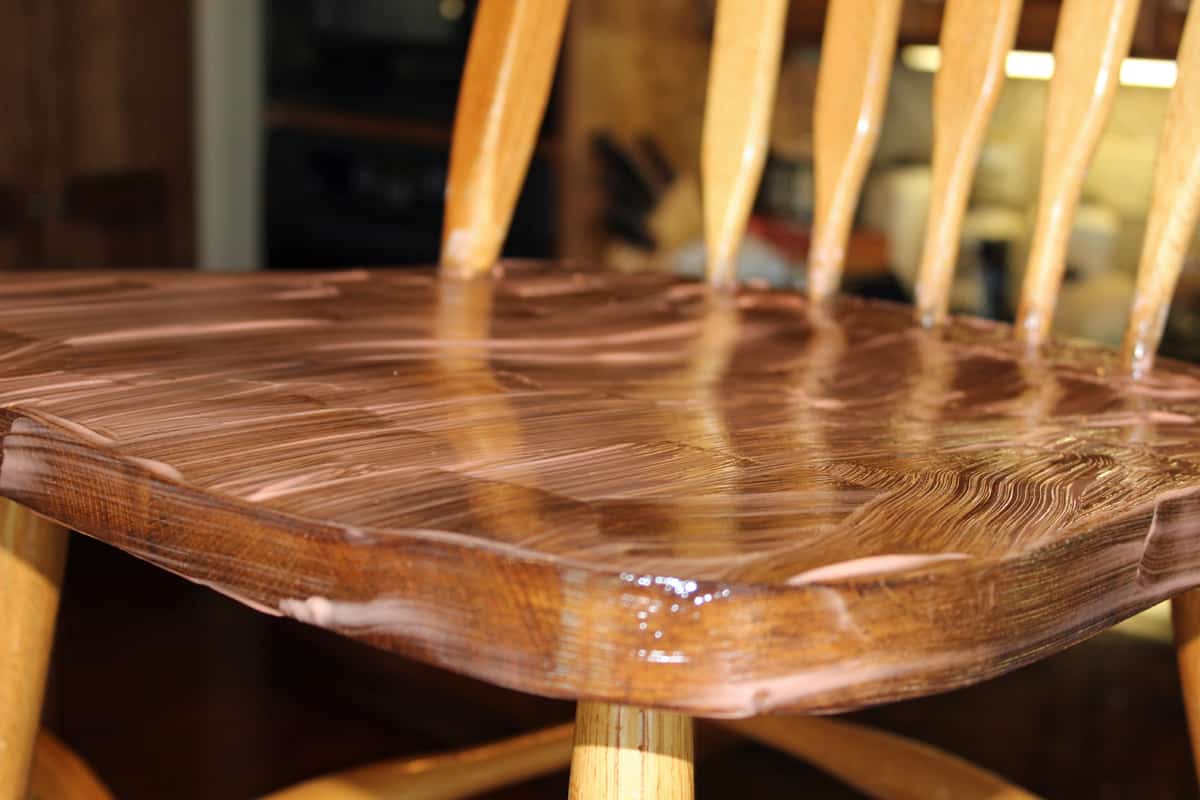
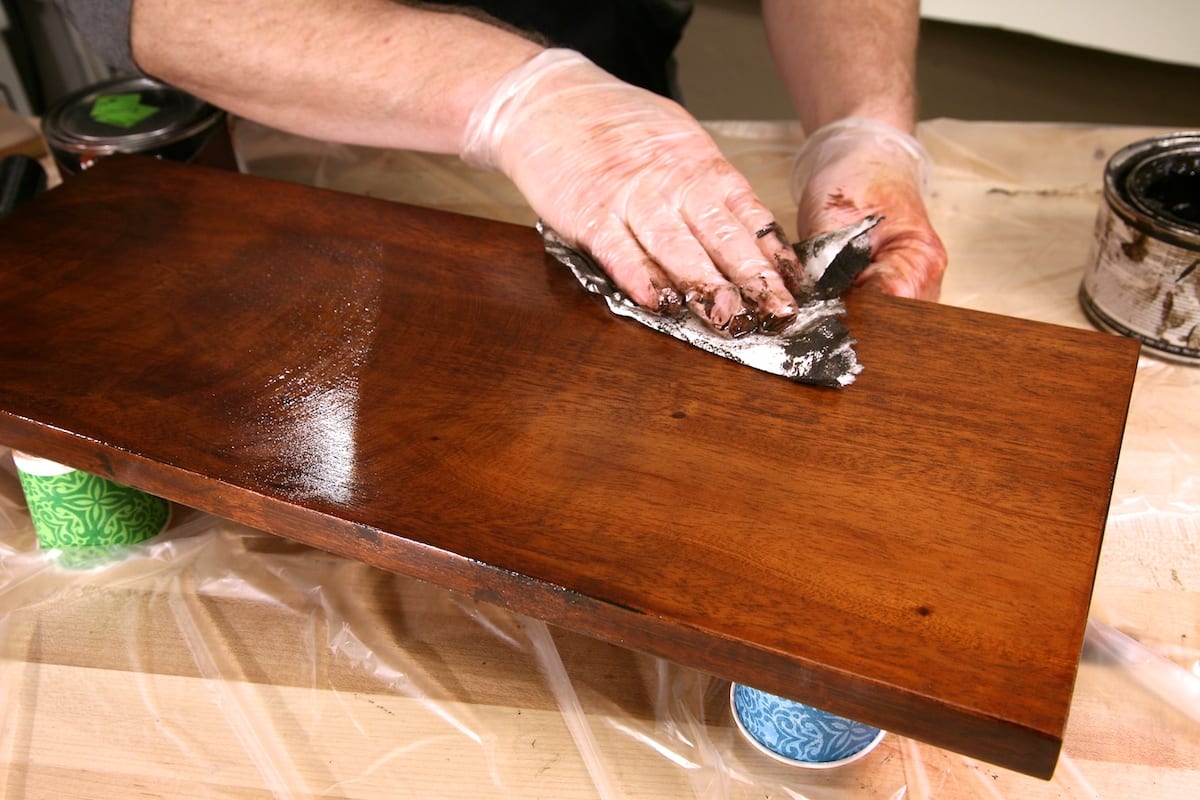
Step 3: Apply the Stain
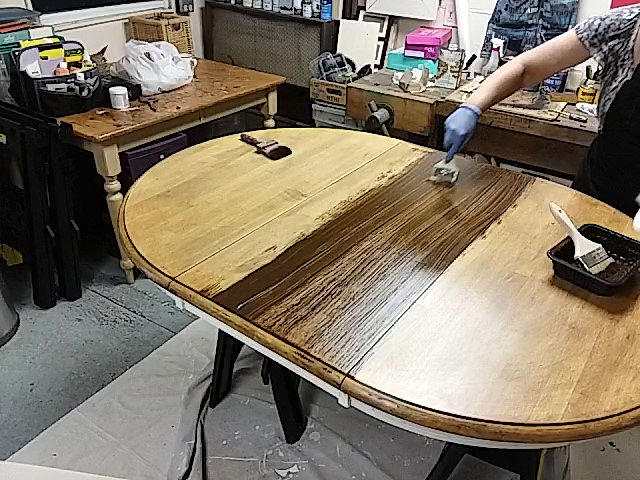 Using a brush or a rag, apply the stain evenly in the direction of the wood grain. Make sure to work in small sections and wipe off any excess stain with a clean cloth. For a darker finish, you can apply multiple coats, but make sure to let each coat dry completely before applying the next one.
Step 4: Seal the Stain
 To protect your newly stained kitchen table, you will need to apply a sealant. This will also give it a glossy finish. There are many options available, from polyurethane to wax, so make sure to choose the one that best fits your needs. Apply it in thin, even coats, and let it dry completely before using your table.
Transform Your Kitchen with a Fresh Stain Today
In just a few simple steps, you can revamp your kitchen table and give your space a whole new look. Staining is a cost-effective and easy way to upgrade your home design and add value to your property. So, why wait? Head to your nearest hardware store, pick up a stain, and transform your kitchen table today!
To protect your newly stained kitchen table, you will need to apply a sealant. This will also give it a glossy finish. There are many options available, from polyurethane to wax, so make sure to choose the one that best fits your needs. Apply it in thin, even coats, and let it dry completely before using your table.
Transform Your Kitchen with a Fresh Stain Today
In just a few simple steps, you can revamp your kitchen table and give your space a whole new look. Staining is a cost-effective and easy way to upgrade your home design and add value to your property. So, why wait? Head to your nearest hardware store, pick up a stain, and transform your kitchen table today!
HTML Code:
<Revamp Your Kitchen Table with a Fresh Stain>

<Transform Your Space with a Simple DIY Project>
 <p>Are you tired of looking at your dull and worn-out kitchen table? Are you on a budget and looking for a way to spruce up your space without breaking the bank? Look no further than a fresh stain for your kitchen table. This simple DIY project can completely transform the look of your kitchen and add a touch of elegance to your home design.</p>
<The Power of Staining>
 <p>Staining is a technique that involves changing the color or tone of wood by applying a tinted solution. It not only enhances the natural beauty of the wood but also provides a protective layer to prevent damage from spills, scratches, and other wear and tear. By staining your kitchen table, you can give it a new lease on life and make it the focal point of your kitchen.</p>
<b><Staining Your Kitchen Table: Step-by-Step Guide></b>
<p>Staining is a technique that involves changing the color or tone of wood by applying a tinted solution. It not only enhances the natural beauty of the wood but also provides a protective layer to prevent damage from spills, scratches, and other wear and tear. By staining your kitchen table, you can give it a new lease on life and make it the focal point of your kitchen.</p>
<b><Staining Your Kitchen Table: Step-by-Step Guide></b>
<Step 1: Preparation>
 <p>Before diving into staining, make sure to prepare your kitchen table properly. Start by removing any existing finish using sandpaper or a chemical stripper. Then, clean the surface with a wood cleaner to remove any dirt and grime. Make sure to also cover the surrounding area with a drop cloth to avoid any accidental staining.</p>
<Step 2: Choose Your Stain>
 <p>There are various types of stains available in the market, such as oil-based, water-based, and gel stains. Each has its own unique properties, so make sure to read the