Spray painting your bathroom vanity can be an easy and cost-effective way to give your bathroom a fresh new look. Whether you're tired of the outdated color or just want to add a pop of color to your space, spray painting is a great option. Here's how to do it: 1. Clear the Space: Start by removing all items from the bathroom vanity and any surrounding areas. This will ensure that they don't get accidentally sprayed with paint. 2. Clean the Vanity: Use a mild cleaner and a lint-free cloth to thoroughly clean the vanity. Make sure to remove any dirt, grime, or residue that may prevent the paint from adhering properly. 3. Sand the Surface: Use a fine-grit sandpaper to lightly sand the surface of the vanity. This will help the paint to adhere better and create a smoother finish. 4. Prep the Vanity: Use painter's tape to cover any areas that you don't want to be painted, such as the edges of the vanity top or the inside of drawers. 5. Choose Your Paint: When it comes to spray painting a bathroom vanity, it's important to choose the right type of paint. Look for a paint specifically designed for use on cabinets or furniture, as these will have a durable finish that can withstand moisture and frequent use. 6. Practice Your Technique: Before you start painting the vanity, it's a good idea to practice your spraying technique on a piece of cardboard. This will help you get a feel for the spray pattern and ensure that you don't end up with any drips or runs on your vanity. 7. Start Painting: Once you feel comfortable with the spray paint, begin painting your vanity in even, light coats. It's better to do multiple thin coats than one thick coat, as this will help prevent drips and create a smoother finish. 8. Allow to Dry: After each coat, allow the vanity to dry completely before adding another coat. This will usually take about 15-20 minutes, but be sure to check the instructions on your paint can for specific drying times. 9. Add a Topcoat: For added durability, you may want to add a clear topcoat to your vanity. This will help protect the paint from chipping or peeling and make it easier to clean. 10. Reassemble: Once the paint is completely dry, remove the painter's tape and reassemble your vanity. Now you can enjoy your newly spray painted bathroom vanity!How to Spray Paint a Bathroom Vanity


How to Spray Paint a Bathroom Vanity


Looking to give your bathroom a makeover without breaking the bank? Consider spray painting your bathroom vanity for a budget-friendly and DIY approach. Here's how to achieve a beautiful new look for your vanity: 1. Choose a Color: The first step in your DIY bathroom vanity makeover is choosing a color for your vanity. You can go bold with a bright color or stick to a classic white or gray for a more subtle change. 2. Remove Hardware: Before you start painting, remove all hardware from your vanity, such as knobs and drawer pulls. This will make it easier to paint and give you a more professional-looking finish. 3. Clean and Sand: Thoroughly clean your vanity and lightly sand the surface to help the paint adhere better. 4. Prime: If your vanity has a glossy or dark finish, it's a good idea to use a primer before painting. This will help prevent the original color from showing through and give you a better base for your paint. 5. Paint: Using a can of spray paint, start painting your vanity in even, light coats. Make sure to cover all surfaces and use multiple coats if needed for complete coverage. 6. Let it Dry: Allow the paint to dry completely before adding any topcoat or reattaching hardware. This will usually take about 24 hours, but be sure to check the instructions on your paint can for specific drying times. 7. Add a Clear Coat: For added durability, you may want to add a clear topcoat to your vanity. This will help protect the paint from chipping or peeling and make it easier to clean. 8. Reattach Hardware: Once the paint is dry, reattach all hardware to your vanity and admire your DIY bathroom vanity makeover!DIY Bathroom Vanity Makeover with Spray Paint


DIY Bathroom Vanity Makeover with Spray Paint


A simple coat of paint can completely transform the look of your bathroom vanity. And with spray paint, the process is quick and easy. Here's how to achieve a stunning transformation for your vanity: 1. Choose a Metallic Finish: For a unique and modern look, consider using a metallic spray paint for your bathroom vanity. This can add a touch of glamour and sophistication to your space. 2. Remove Hardware: As with any spray painting project, it's important to remove all hardware from your vanity before painting. This will ensure a smooth and professional-looking finish. 3. Clean and Sand: Clean your vanity and lightly sand the surface to help the paint adhere better. 4. Paint in Even Coats: Using a can of metallic spray paint, start painting your vanity in even, light coats. Make sure to cover all surfaces and use multiple coats if needed for complete coverage. 5. Let it Dry: Allow the paint to dry completely before adding any topcoat or reattaching hardware. This will usually take about 24 hours, but be sure to check the instructions on your paint can for specific drying times. 6. Add a Clear Coat: For added durability, you may want to add a clear topcoat to your vanity. This will help protect the paint from chipping or peeling and make it easier to clean. 7. Reattach Hardware: Once the paint is dry, reattach all hardware to your vanity and see the stunning transformation of your bathroom vanity!Transform Your Bathroom Vanity with Spray Paint


Transform Your Bathroom Vanity with Spray Paint


Spray painting your bathroom vanity may seem daunting, but with the right steps, you can achieve a professional-looking finish. Here's a step-by-step guide to help you along the way: 1. Gather Materials: Start by gathering all the necessary materials, including painter's tape, sandpaper, cleaner, spray paint, and a clear topcoat (if desired). 2. Prep the Space: Clear the area around your vanity and cover any surfaces that you don't want to get painted. 3. Remove Hardware: Before you start painting, remove all hardware from your vanity, such as knobs and drawer pulls. 4. Clean and Sand: Thoroughly clean your vanity and lightly sand the surface to help the paint adhere better. 5. Prime (if needed): If your vanity has a glossy or dark finish, it's a good idea to use a primer before painting. 6. Practice Your Technique: Before you start painting the vanity, it's a good idea to practice your spraying technique on a piece of cardboard. 7. Paint: Using a can of spray paint, start painting your vanity in even, light coats. Make sure to cover all surfaces and use multiple coats if needed for complete coverage. 8. Let it Dry: Allow the paint to dry completely before adding any topcoat or reattaching hardware. 9. Add a Clear Coat: For added durability, you may want to add a clear topcoat to your vanity. 10. Reattach Hardware: Once the paint is dry, reattach all hardware to your vanity and enjoy your newly spray painted bathroom vanity!Step-by-Step Guide to Spray Painting Your Bathroom Vanity


Step-by-Step Guide to Spray Painting Your Bathroom Vanity


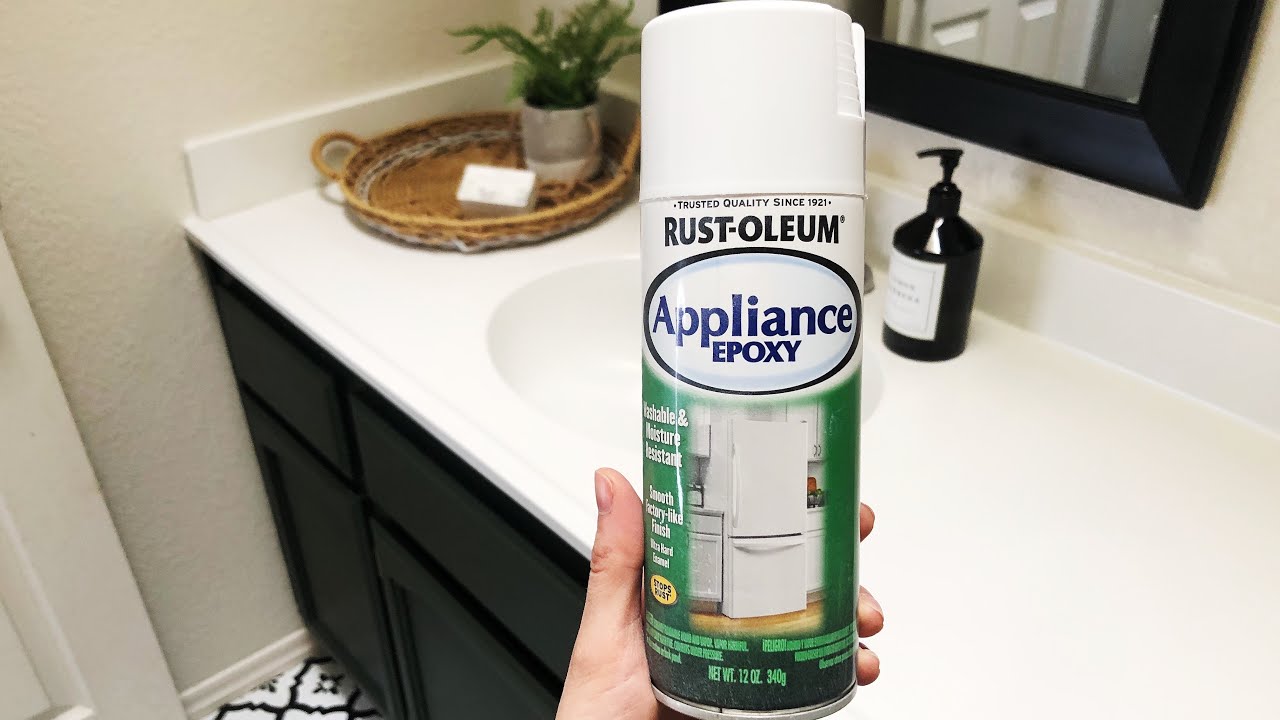
When it comes to spray painting a bathroom vanity, it's important to choose the right type of paint. Here are some of the best spray paints for bathroom vanities: Rust-Oleum Cabinet Transformations - This spray paint is specifically designed for cabinets and furniture, making it a great option for bathroom vanities. It has a durable finish that can withstand moisture and frequent use. Krylon Dual Superbond - This spray paint is designed to bond to difficult surfaces, making it a good choice for bathroom vanities that may have a glossy or dark finish. Valspar Cabinet Enamel - This spray paint has a smooth, durable finish and is resistant to water and household chemicals, making it a good choice for bathroom vanities. Rust-Oleum Universal All Surface Spray Paint - This spray paint can be used on a variety of surfaces, including wood, metal, and plastic, making it a versatile option for bathroom vanities. Krylon ColorMaster - This spray paint has a smooth, durable finish and comes in a wide range of colors, making it a great choice for customizing your bathroom vanity.Best Spray Paint for Bathroom Vanity


Best Spray Paint for Bathroom Vanity

Spray painting a bathroom vanity may seem simple, but there are a few tips and tricks that can help you achieve a professional-looking finish: Choose the Right Paint - Make sure to choose a spray paint specifically designed for use on cabinets or furniture, as these will have a durable finish that can withstand moisture and frequent use. Prep the Surface - Thoroughly clean and lightly sand the surface of your vanity before painting to help the paint adhere better. Practice Your Technique - Before you start painting your vanity, practice your spraying technique on a piece of cardboard to get a feel for the spray pattern and ensure a smooth finish. Use Light Coats - It's better to do multiple thin coats than one thick coat to prevent drips and create a smoother finish. Let it Dry Completely - Allow the paint to dry completely between coats and before adding any topcoat or reattaching hardware. Add a Clear Coat - For added durability, consider adding a clear topcoat to your vanity to protect the paint from chipping or peeling.Tips for a Professional-Looking Spray Painted Bathroom Vanity


Tips for a Professional-Looking Spray Painted Bathroom Vanity


When it comes to spray painting your bathroom vanity, there are a few dos and don'ts to keep in mind: Do choose a spray paint specifically designed for use on cabinets or furniture. Do thoroughly clean and lightly sand the surface of your vanity before painting. Do practice your spraying technique before starting on your vanity. Do use light coats and allow the paint to dry completely between coats. Do consider adding a clear topcoat for added durability. Don't rush the process - allow the paint to dry completely before adding any topcoat or reattaching hardware. Don't use regular spray paint meant for outdoor use on your bathroom vanity. Don't skip the prep work - cleaning and sanding the surface is essential for a professional-looking finish.Spray Painting Your Bathroom Vanity: Dos and Don'ts


Spray Painting Your Bathroom Vanity: Dos and Don'ts


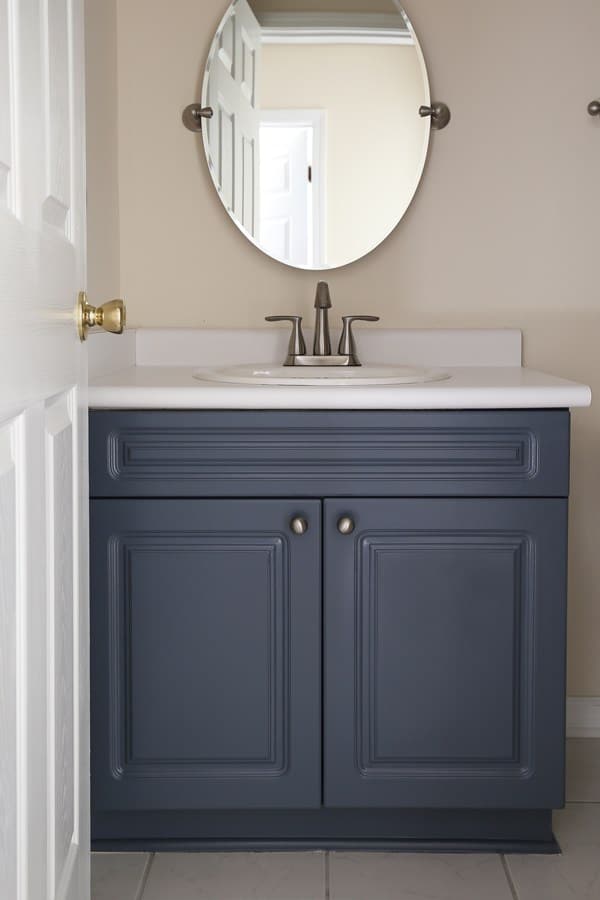
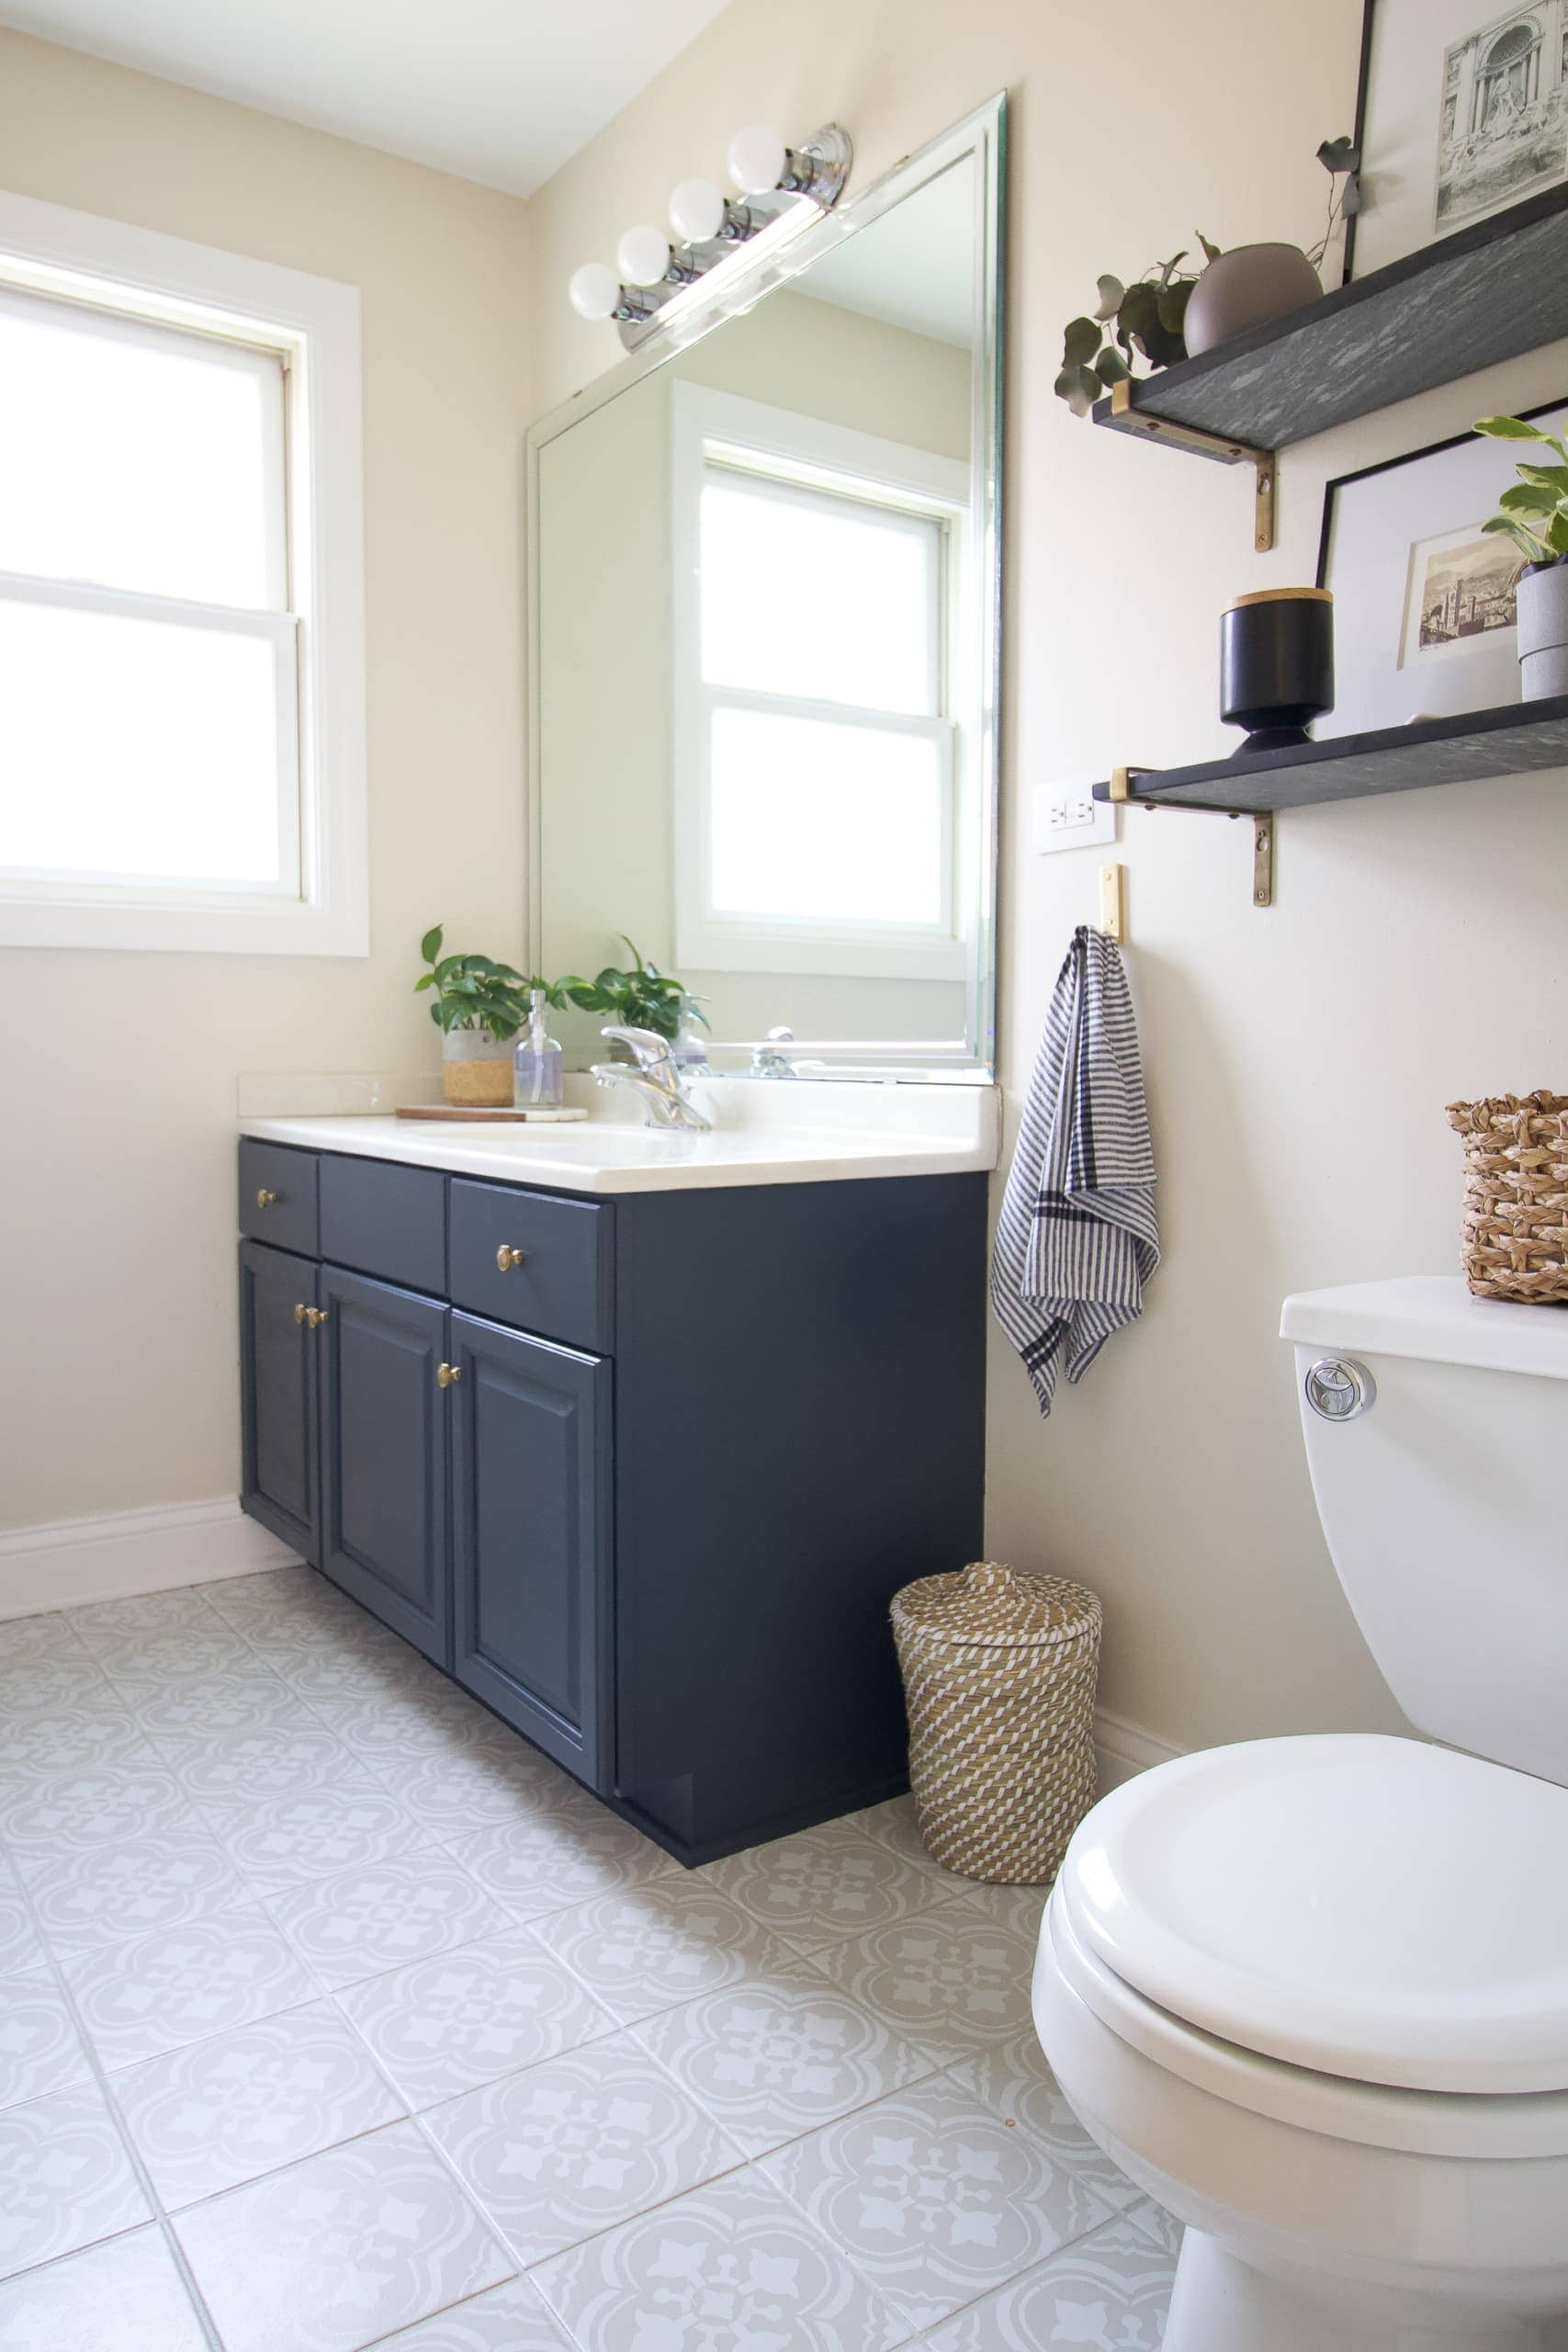
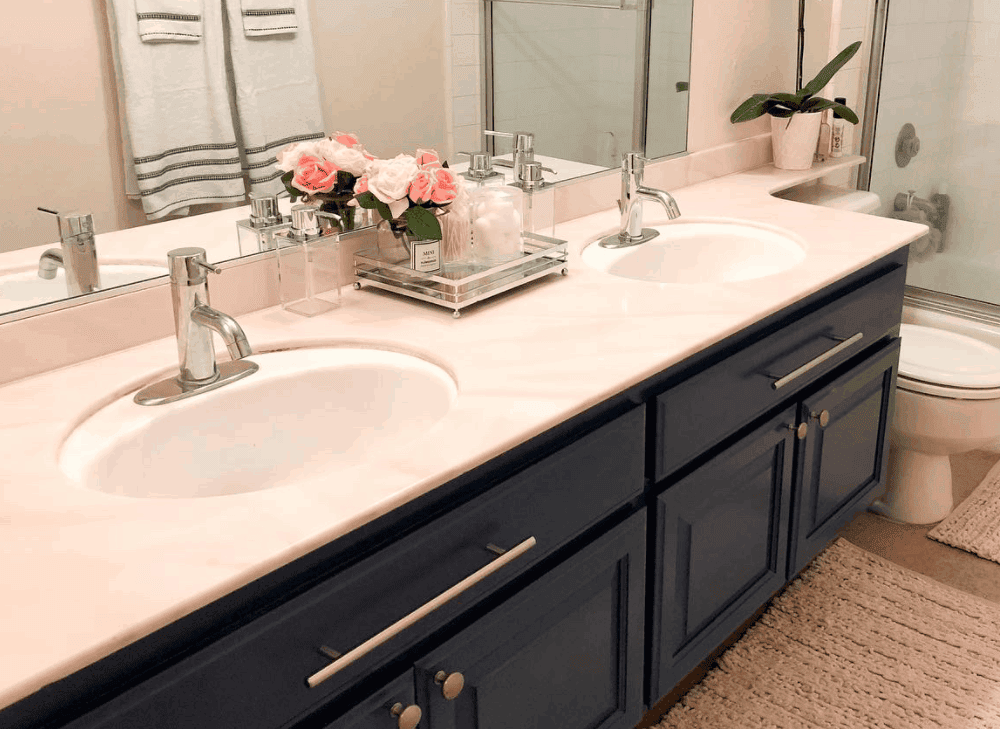
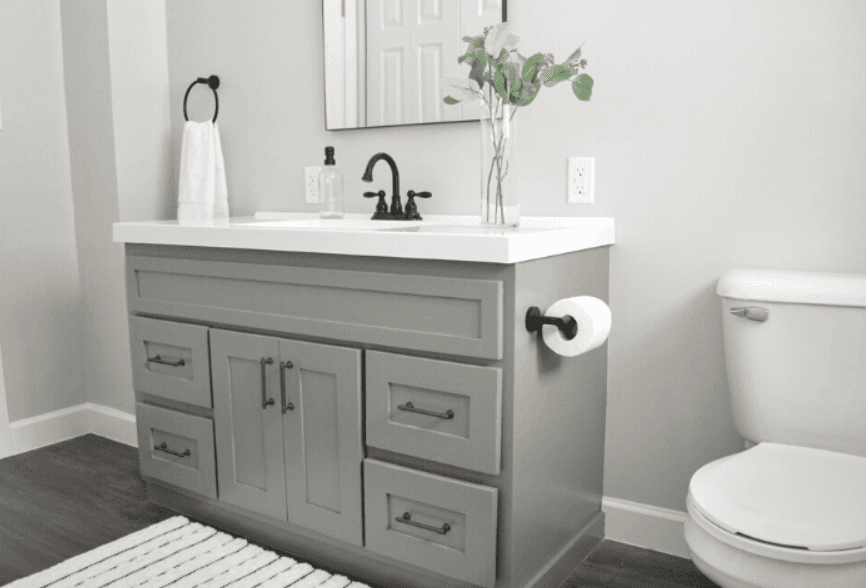
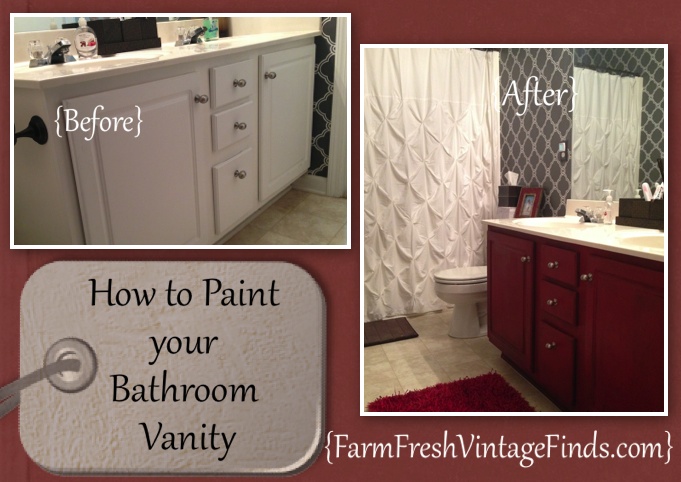
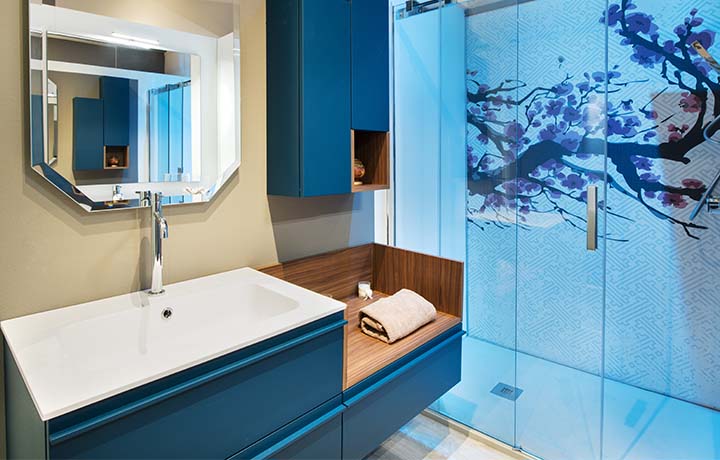
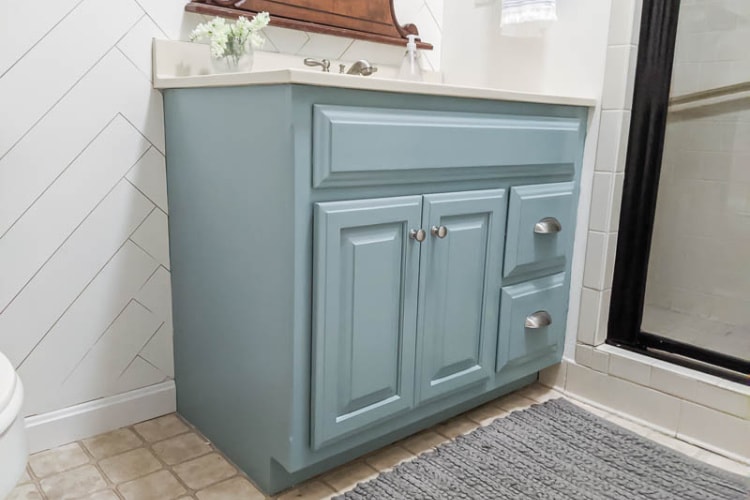
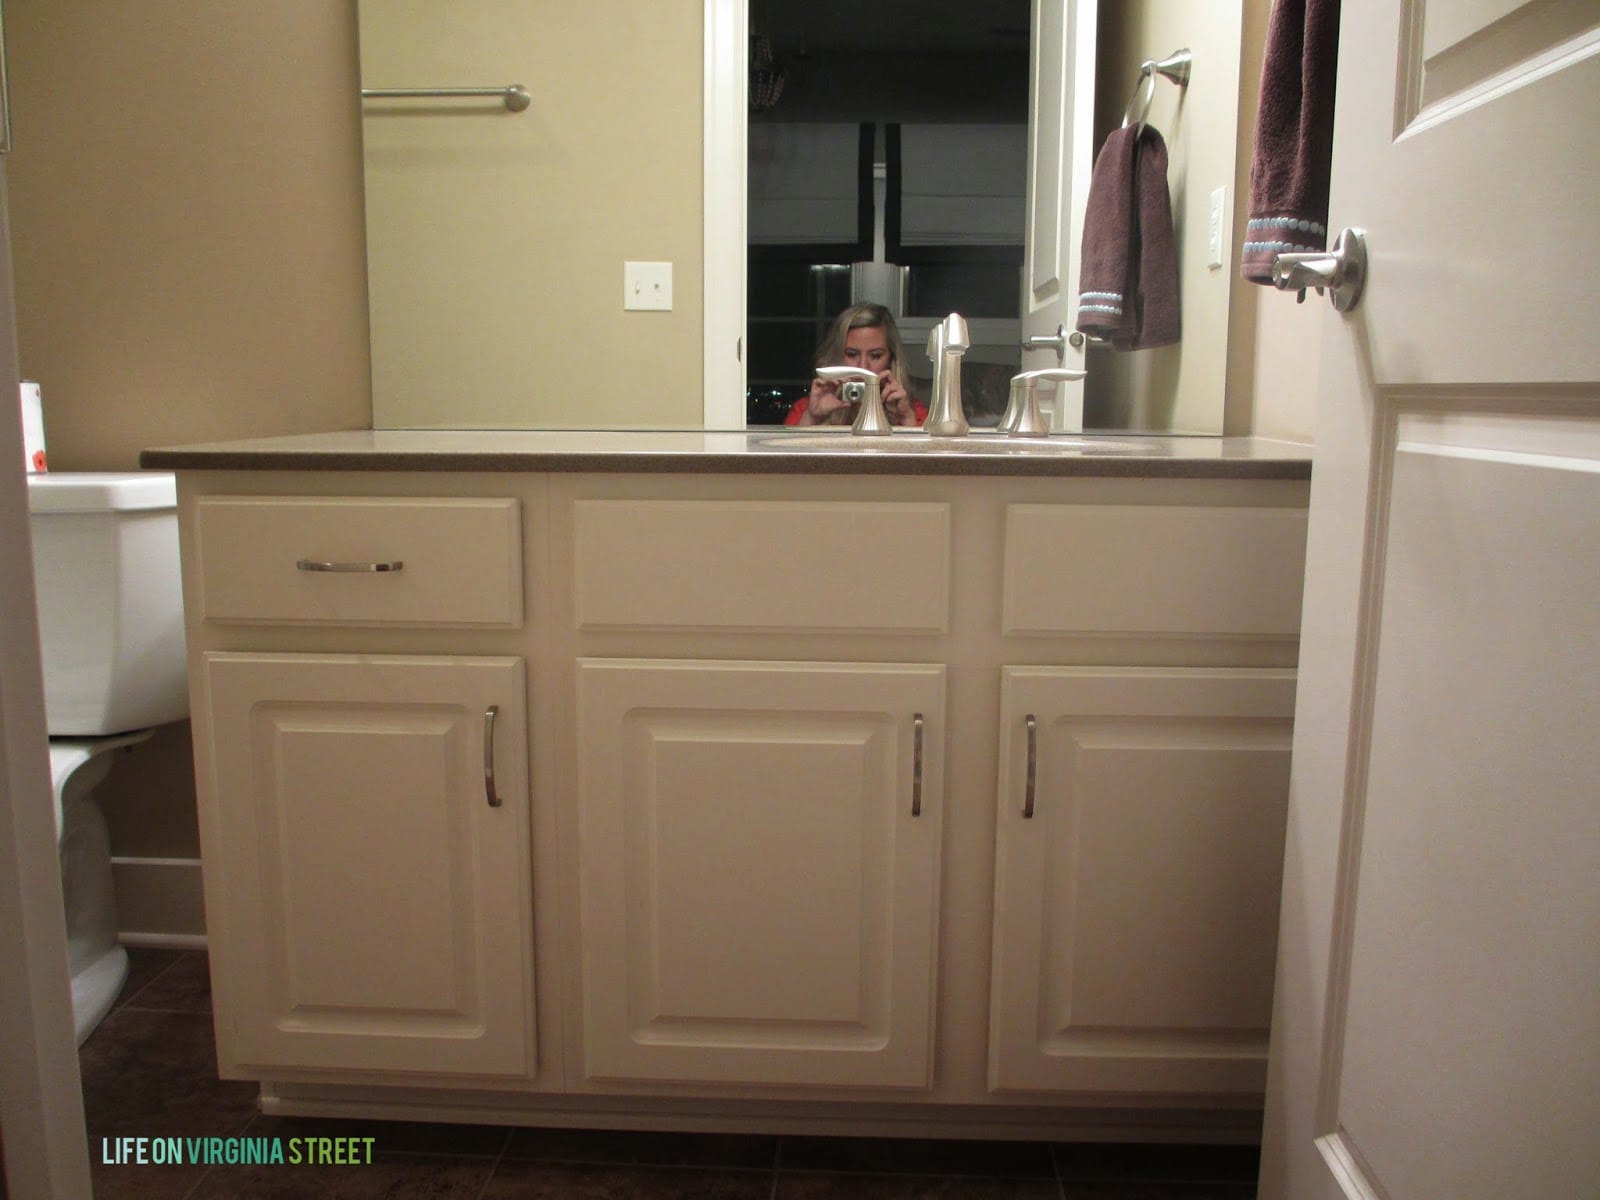
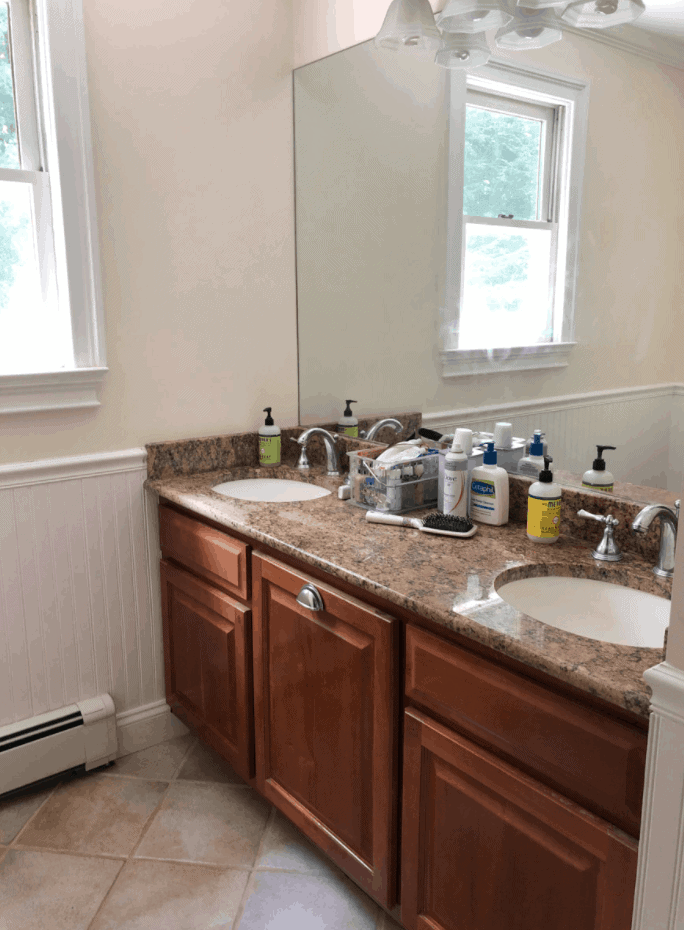
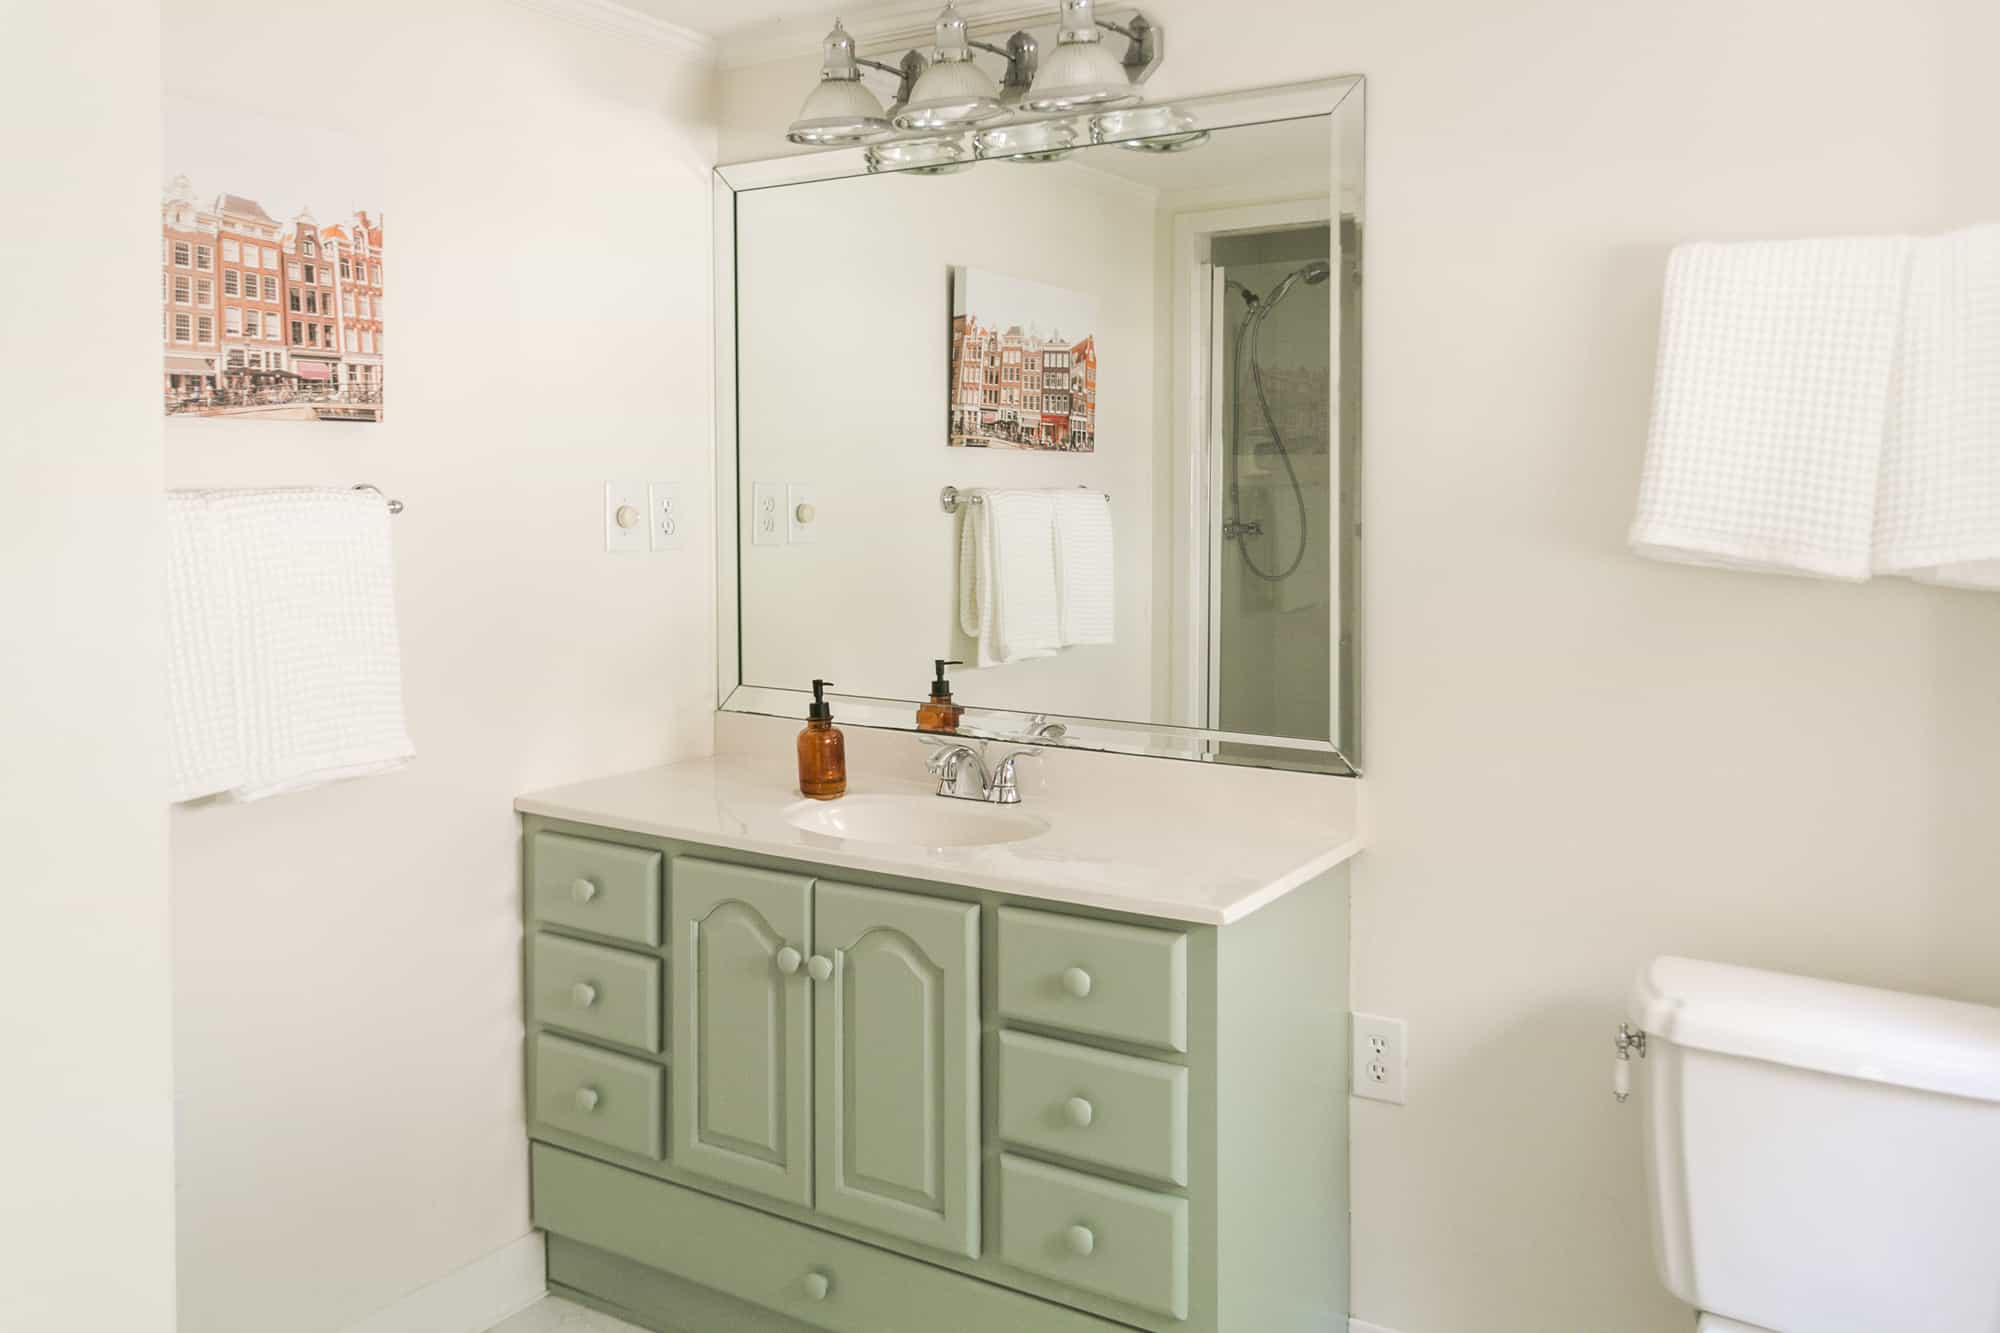
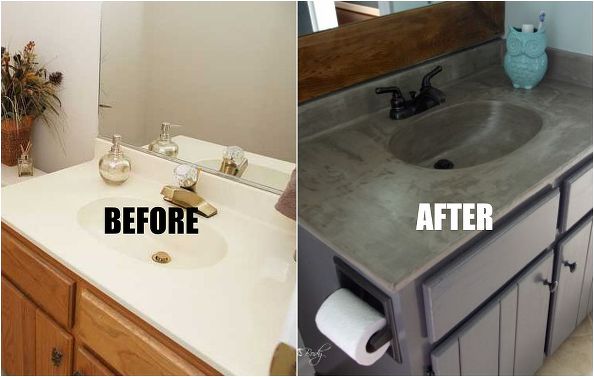
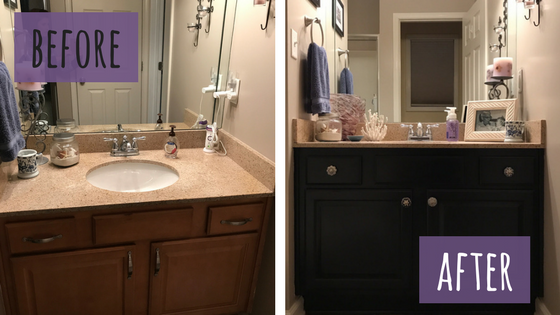
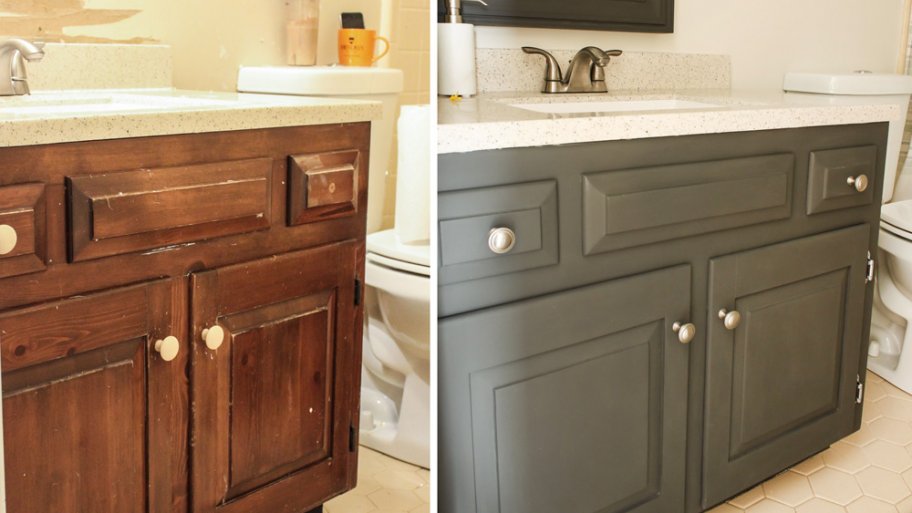
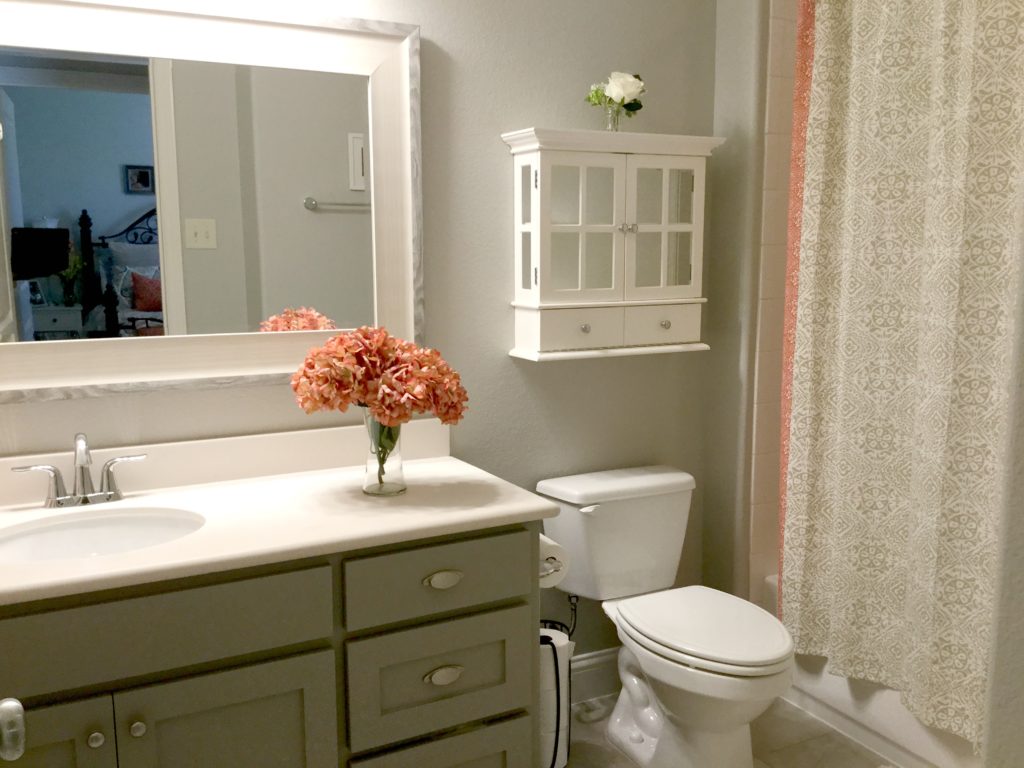
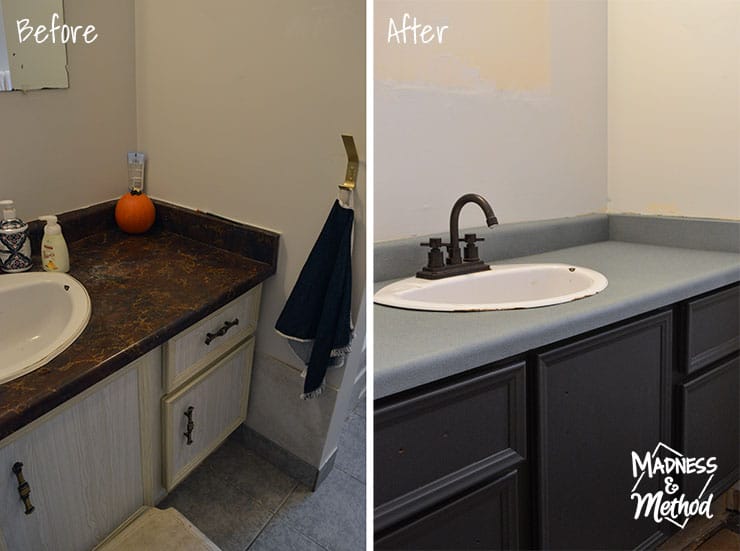
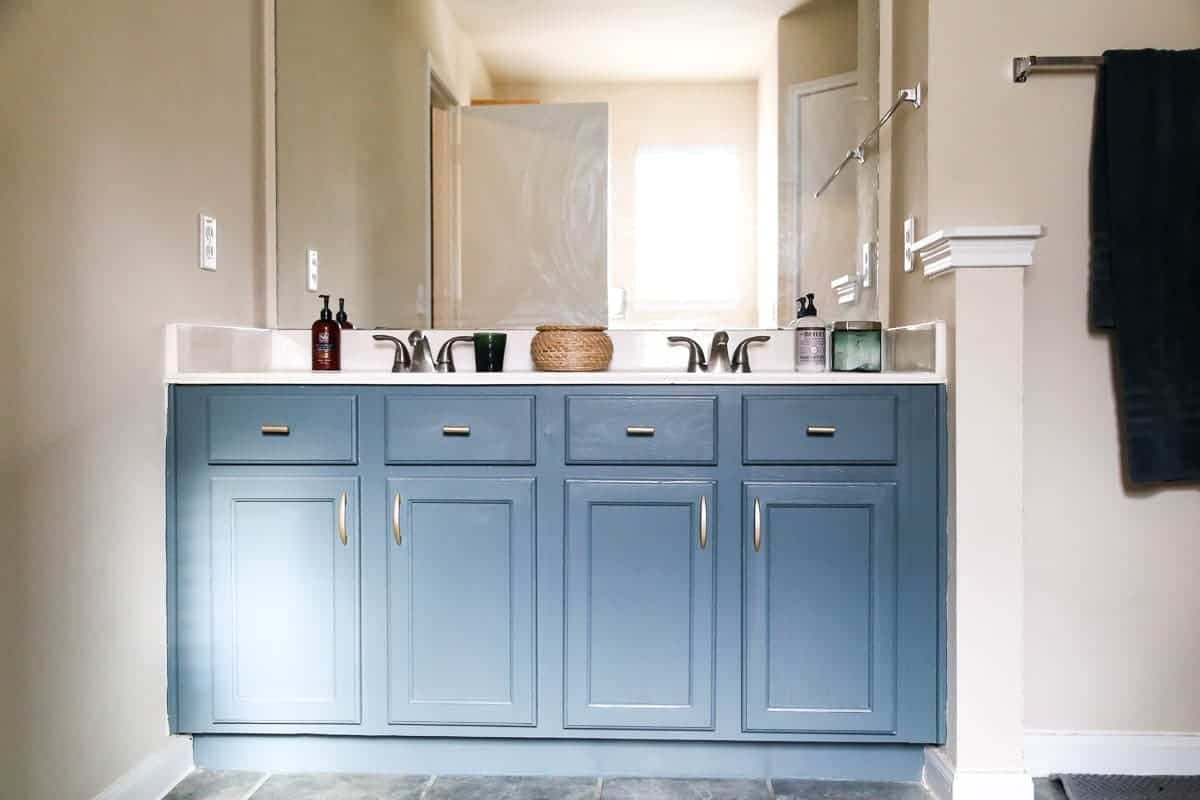
Still not sure if spray painting your bathroom vanity is worth the effort? Take a look at these impressive before and after transformations: Before: A dated, dark wood bathroom vanity. After: A modern, bright white bathroom vanity that looks like new! Before: A plain, boring white bathroom vanity. After: A stunning, bold blue bathroom vanity that adds a pop of color to the space. Before: A drab, old bathroom vanity with chipped paint. After: A fresh, clean-looking bathroom vanity with a crisp white finish.Before and After: Spray Painted Bathroom Vanity


Before and After: Spray Painted Bathroom Vanity


If you're looking to update your bathroom on a budget, spray painting your vanity is a great option. Here's why: Cost-Effective - Spray paint is relatively inexpensive, making it a budget-friendly option for updating your bathroom vanity. No Need to Replace - Instead of spending money on a new vanity, spray painting can give your current one a fresh new look for a fraction of the cost. Quick and Easy - With the right tools and techniques, spray painting your bathroom vanity can be a quick and easy project that can be completed in a weekend. Customizable - Spray paint comes in a variety of colors and finishes, so you can easily customize your bathroom vanity to match your personal style. DIY-Friendly - You don't need to be a professional painter to achieve a great result with spray paint. With a little bit of practice and the right instructions, anyone can do it!Budget-Friendly Bathroom Vanity Update: Spray Paint Edition


Budget-Friendly Bathroom Vanity Update: Spray Paint Edition


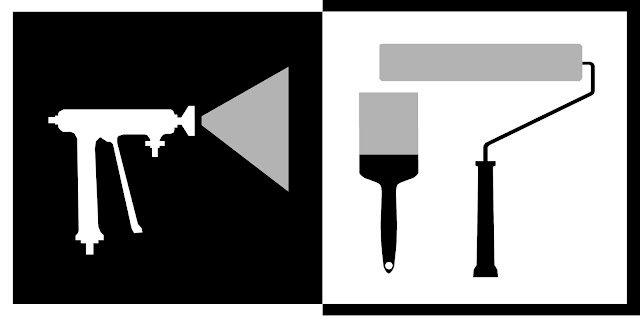
When it comes to painting your bathroom vanity, you may be wondering if spray painting or traditional painting is the better option. Here are some factors to consider: Time and Effort - Spray painting can be quicker and easier than traditional painting, as it doesn't require brushes or rollers and can cover surfaces more evenly.Spray Painting vs. Traditional Painting for Bathroom Vanities


Spray Painting vs. Traditional Painting for Bathroom Vanities


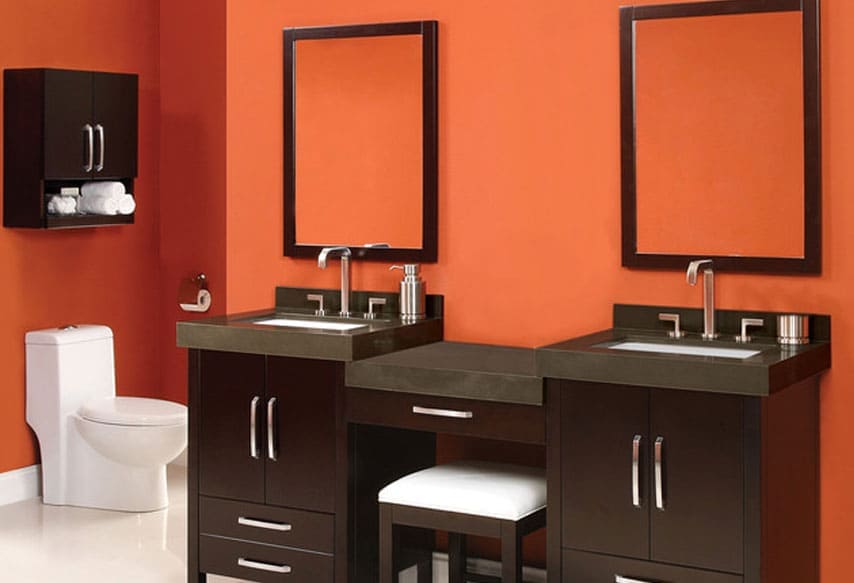
Spray Painting A Bathroom Vanity: Adding a Pop of Color to Your Bathroom Design

Why Choose Spray Painting?
 If you're looking to give your bathroom a fresh new look, one of the easiest and most cost-effective ways to do so is by
spray painting
your
bathroom vanity
. Not only does it allow for a quick and easy transformation, but it also gives you the opportunity to add a
pop of color
to your bathroom design. With a wide variety of spray paint colors to choose from, the possibilities are endless when it comes to creating a unique and personalized look for your bathroom.
If you're looking to give your bathroom a fresh new look, one of the easiest and most cost-effective ways to do so is by
spray painting
your
bathroom vanity
. Not only does it allow for a quick and easy transformation, but it also gives you the opportunity to add a
pop of color
to your bathroom design. With a wide variety of spray paint colors to choose from, the possibilities are endless when it comes to creating a unique and personalized look for your bathroom.
Preparing Your Bathroom Vanity
 Before you begin the
spray painting
process, it's important to properly prepare your
bathroom vanity
. This includes removing all hardware, such as handles and knobs, as well as any drawers or doors. Thoroughly clean and sand the surface of your vanity to ensure that the
spray paint
will adhere properly. Use a
primer
specifically designed for
bathroom surfaces
to create a smooth and durable base for your paint.
Before you begin the
spray painting
process, it's important to properly prepare your
bathroom vanity
. This includes removing all hardware, such as handles and knobs, as well as any drawers or doors. Thoroughly clean and sand the surface of your vanity to ensure that the
spray paint
will adhere properly. Use a
primer
specifically designed for
bathroom surfaces
to create a smooth and durable base for your paint.
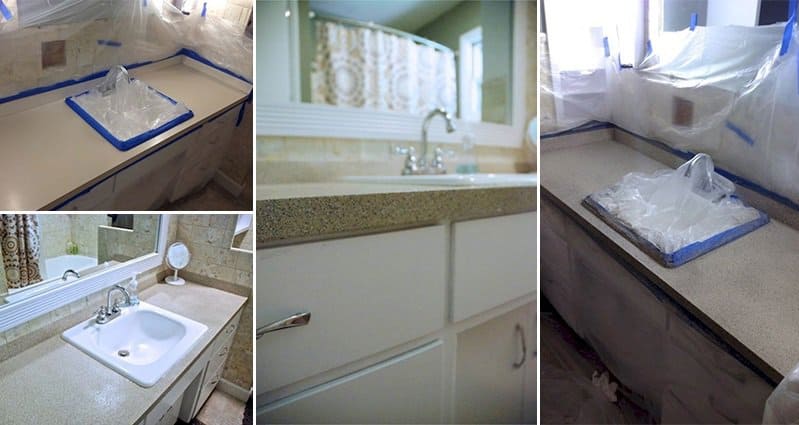
The Spray Painting Process
 Once your vanity is prepped and ready to go, it's time to start
spray painting
. Begin by
masking off
any areas that you don't want to be painted, such as the walls or floor.
Shake
the spray paint can vigorously for a few minutes to ensure that the paint is well-mixed. Begin painting in a
back and forth motion
, holding the can about 6-8 inches away from the surface. It's important to use light and even coats to prevent
drips
and
runs
. Allow each coat to dry completely before applying the next one.
Once your vanity is prepped and ready to go, it's time to start
spray painting
. Begin by
masking off
any areas that you don't want to be painted, such as the walls or floor.
Shake
the spray paint can vigorously for a few minutes to ensure that the paint is well-mixed. Begin painting in a
back and forth motion
, holding the can about 6-8 inches away from the surface. It's important to use light and even coats to prevent
drips
and
runs
. Allow each coat to dry completely before applying the next one.
Finishing Touches
 Once you have achieved your desired color and coverage, it's time to add the finishing touches to your
spray painted bathroom vanity
. Reattach any hardware that you removed, and consider adding a
protective topcoat
to seal and protect your new paint job. This will also make it easier to clean your vanity in the future.
Once you have achieved your desired color and coverage, it's time to add the finishing touches to your
spray painted bathroom vanity
. Reattach any hardware that you removed, and consider adding a
protective topcoat
to seal and protect your new paint job. This will also make it easier to clean your vanity in the future.
Transforming Your Bathroom Design
 By
spray painting
your bathroom vanity, you can easily and affordably transform the entire look and feel of your bathroom. Whether you choose a bold and vibrant color or a subtle and neutral tone, this simple DIY project allows you to add your own personal touch to your bathroom design. So go ahead, grab some
spray paint
and give your bathroom vanity a fresh new look!
By
spray painting
your bathroom vanity, you can easily and affordably transform the entire look and feel of your bathroom. Whether you choose a bold and vibrant color or a subtle and neutral tone, this simple DIY project allows you to add your own personal touch to your bathroom design. So go ahead, grab some
spray paint
and give your bathroom vanity a fresh new look!