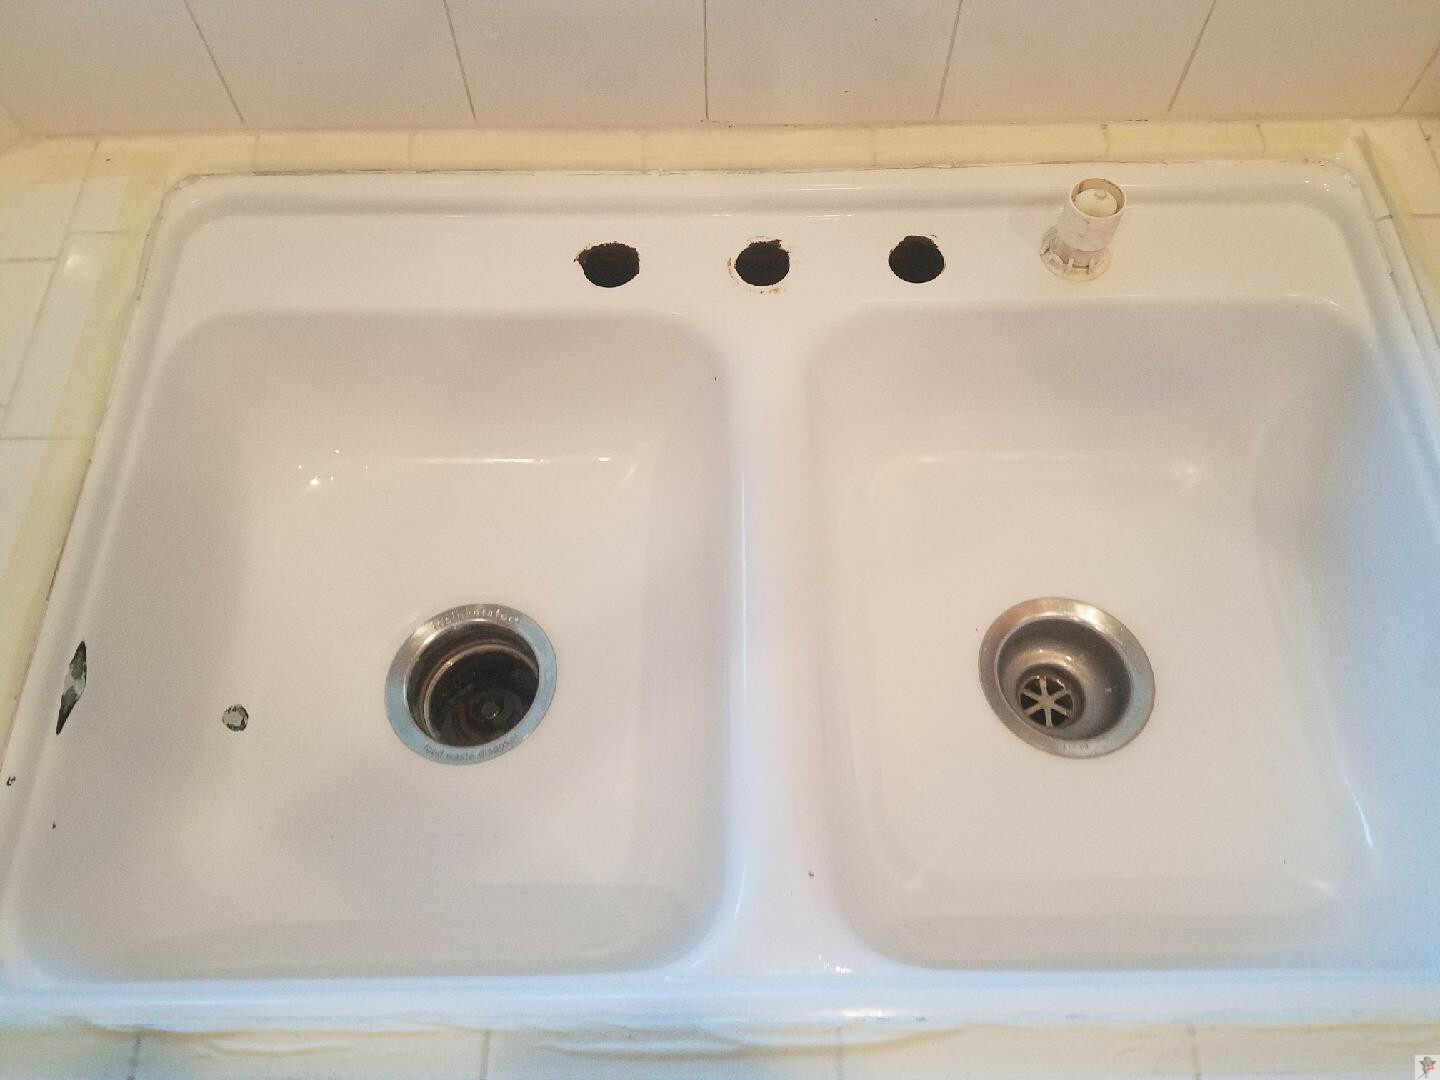
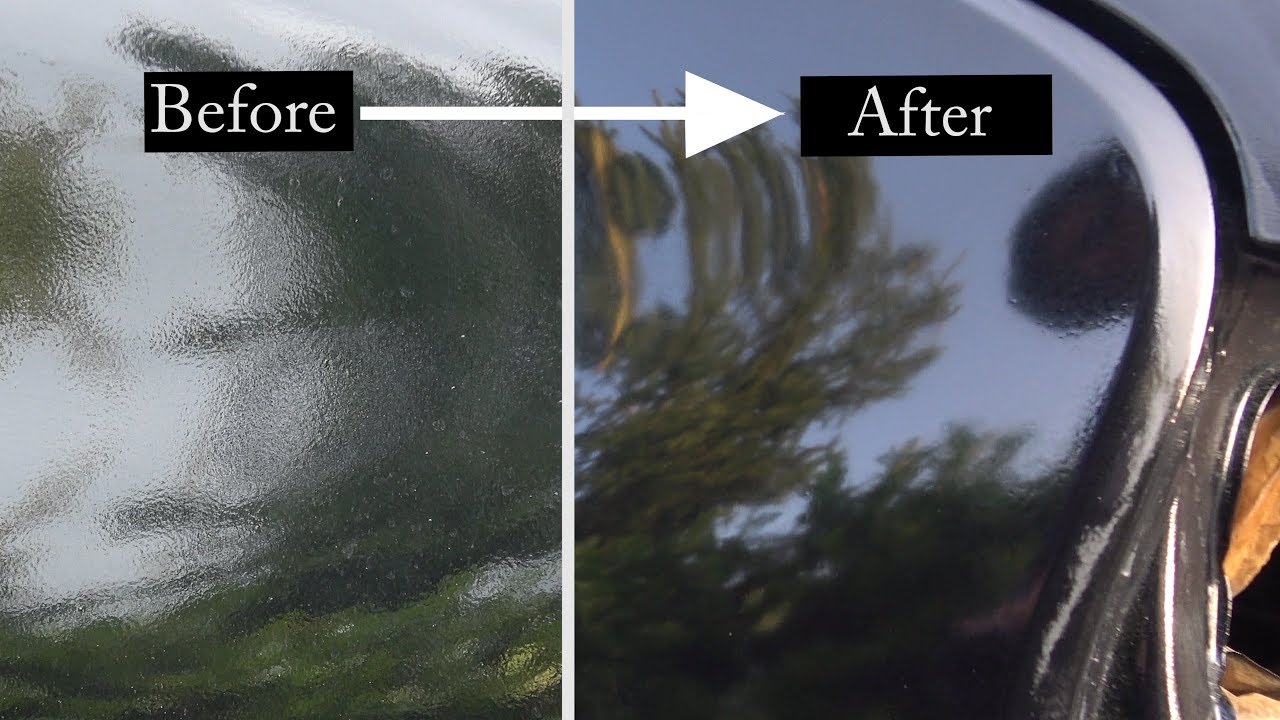
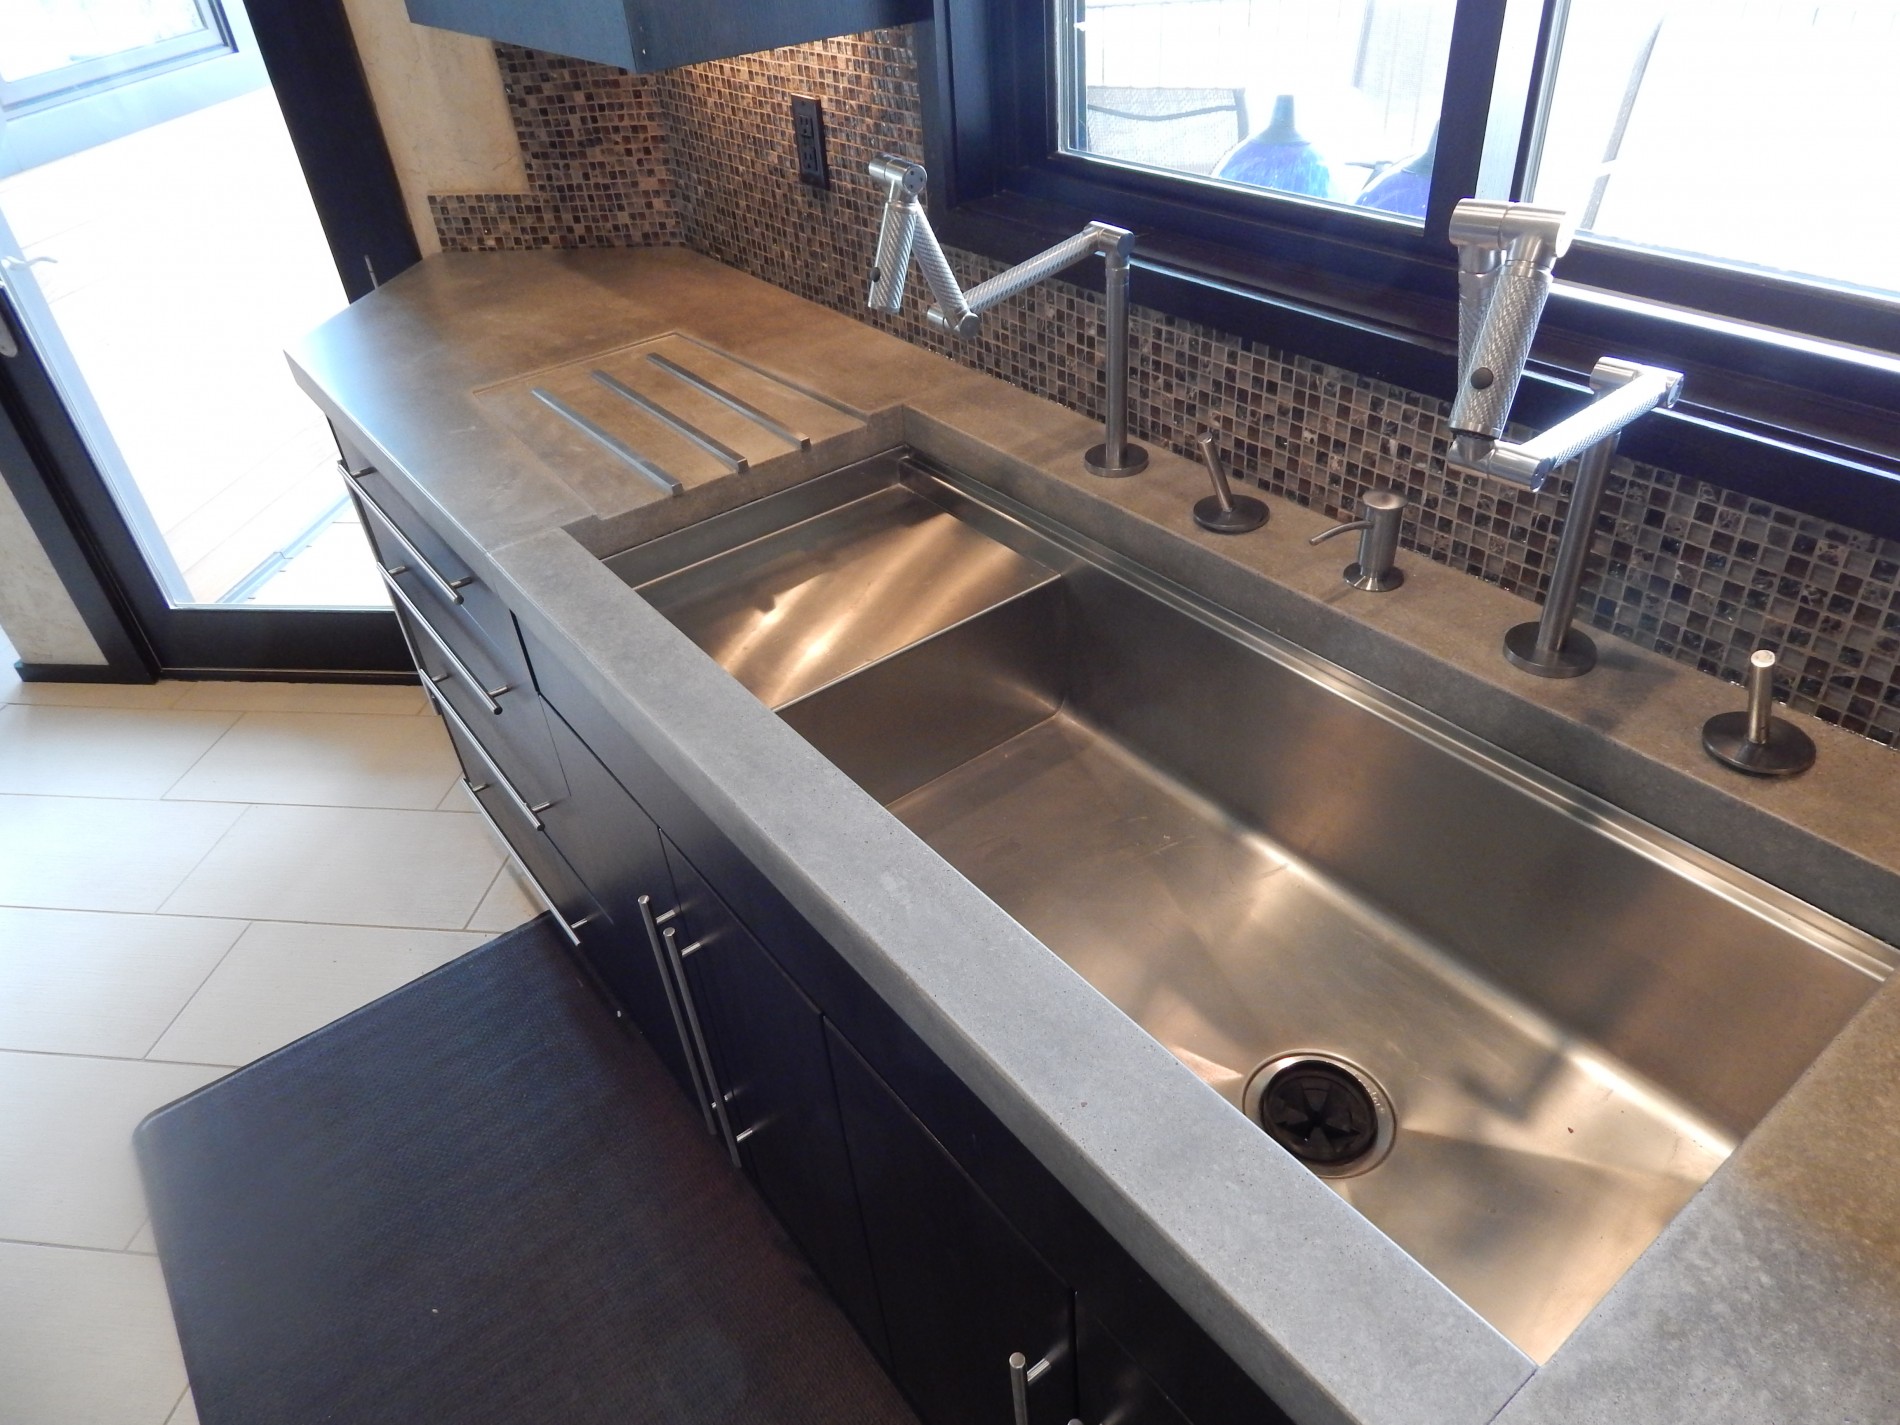
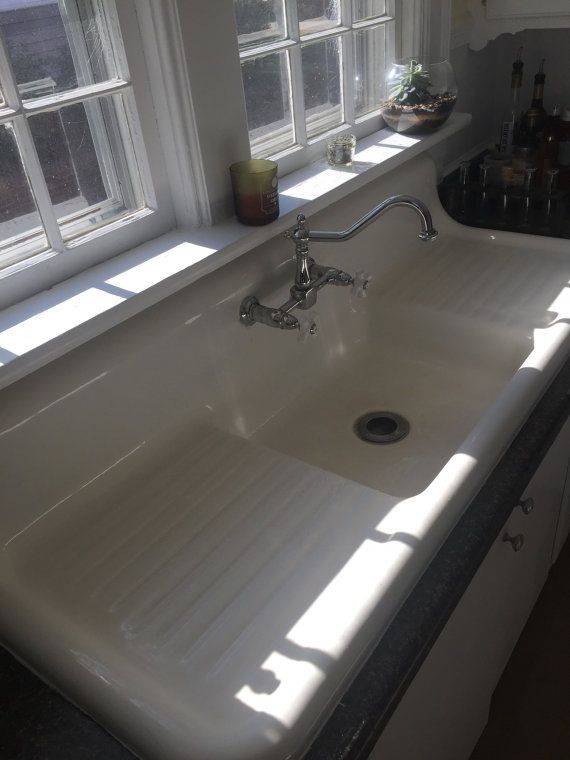
How to Spray Clear Coat on a Kitchen Sink
Spraying clear coat on a kitchen sink may seem like a daunting task, but with the right materials and techniques, it can be a simple and cost-effective way to give your sink a fresh and shiny look. Clear coating not only adds a protective layer to your sink, but it also helps to restore its original shine and luster. Here are the steps to follow for a successful clear coat application on your kitchen sink.


How to Spray Clear Coat on a Kitchen Sink


/25089301983_c5145fe85d_o-58418ef15f9b5851e5f392b5.jpg)


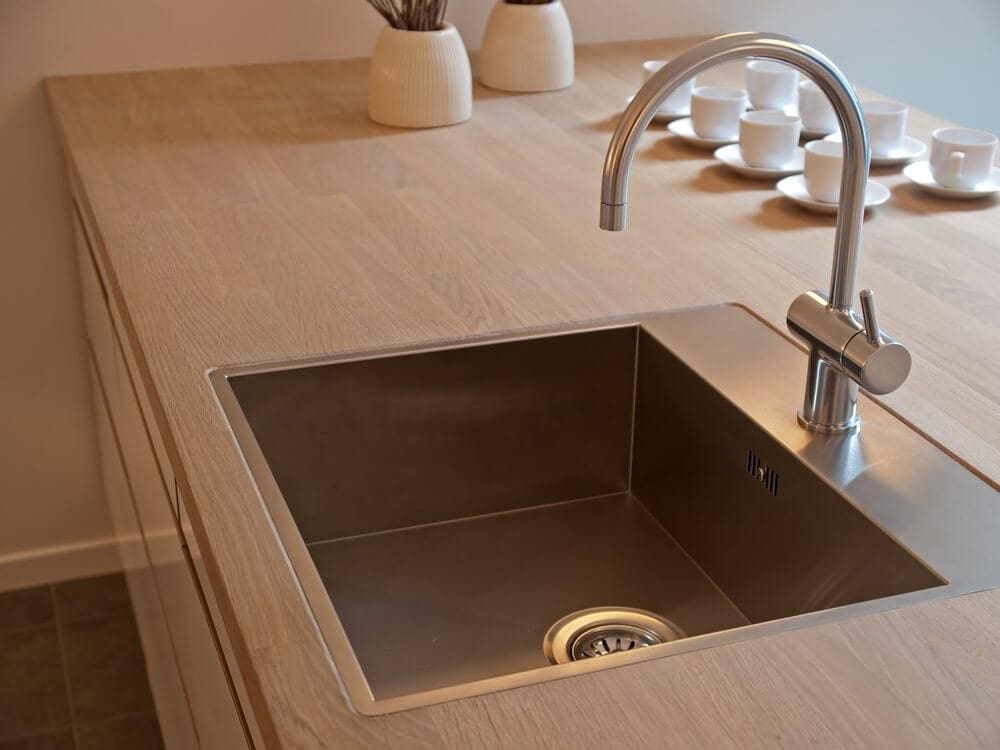
How to Apply Clear Coat to a Kitchen Sink
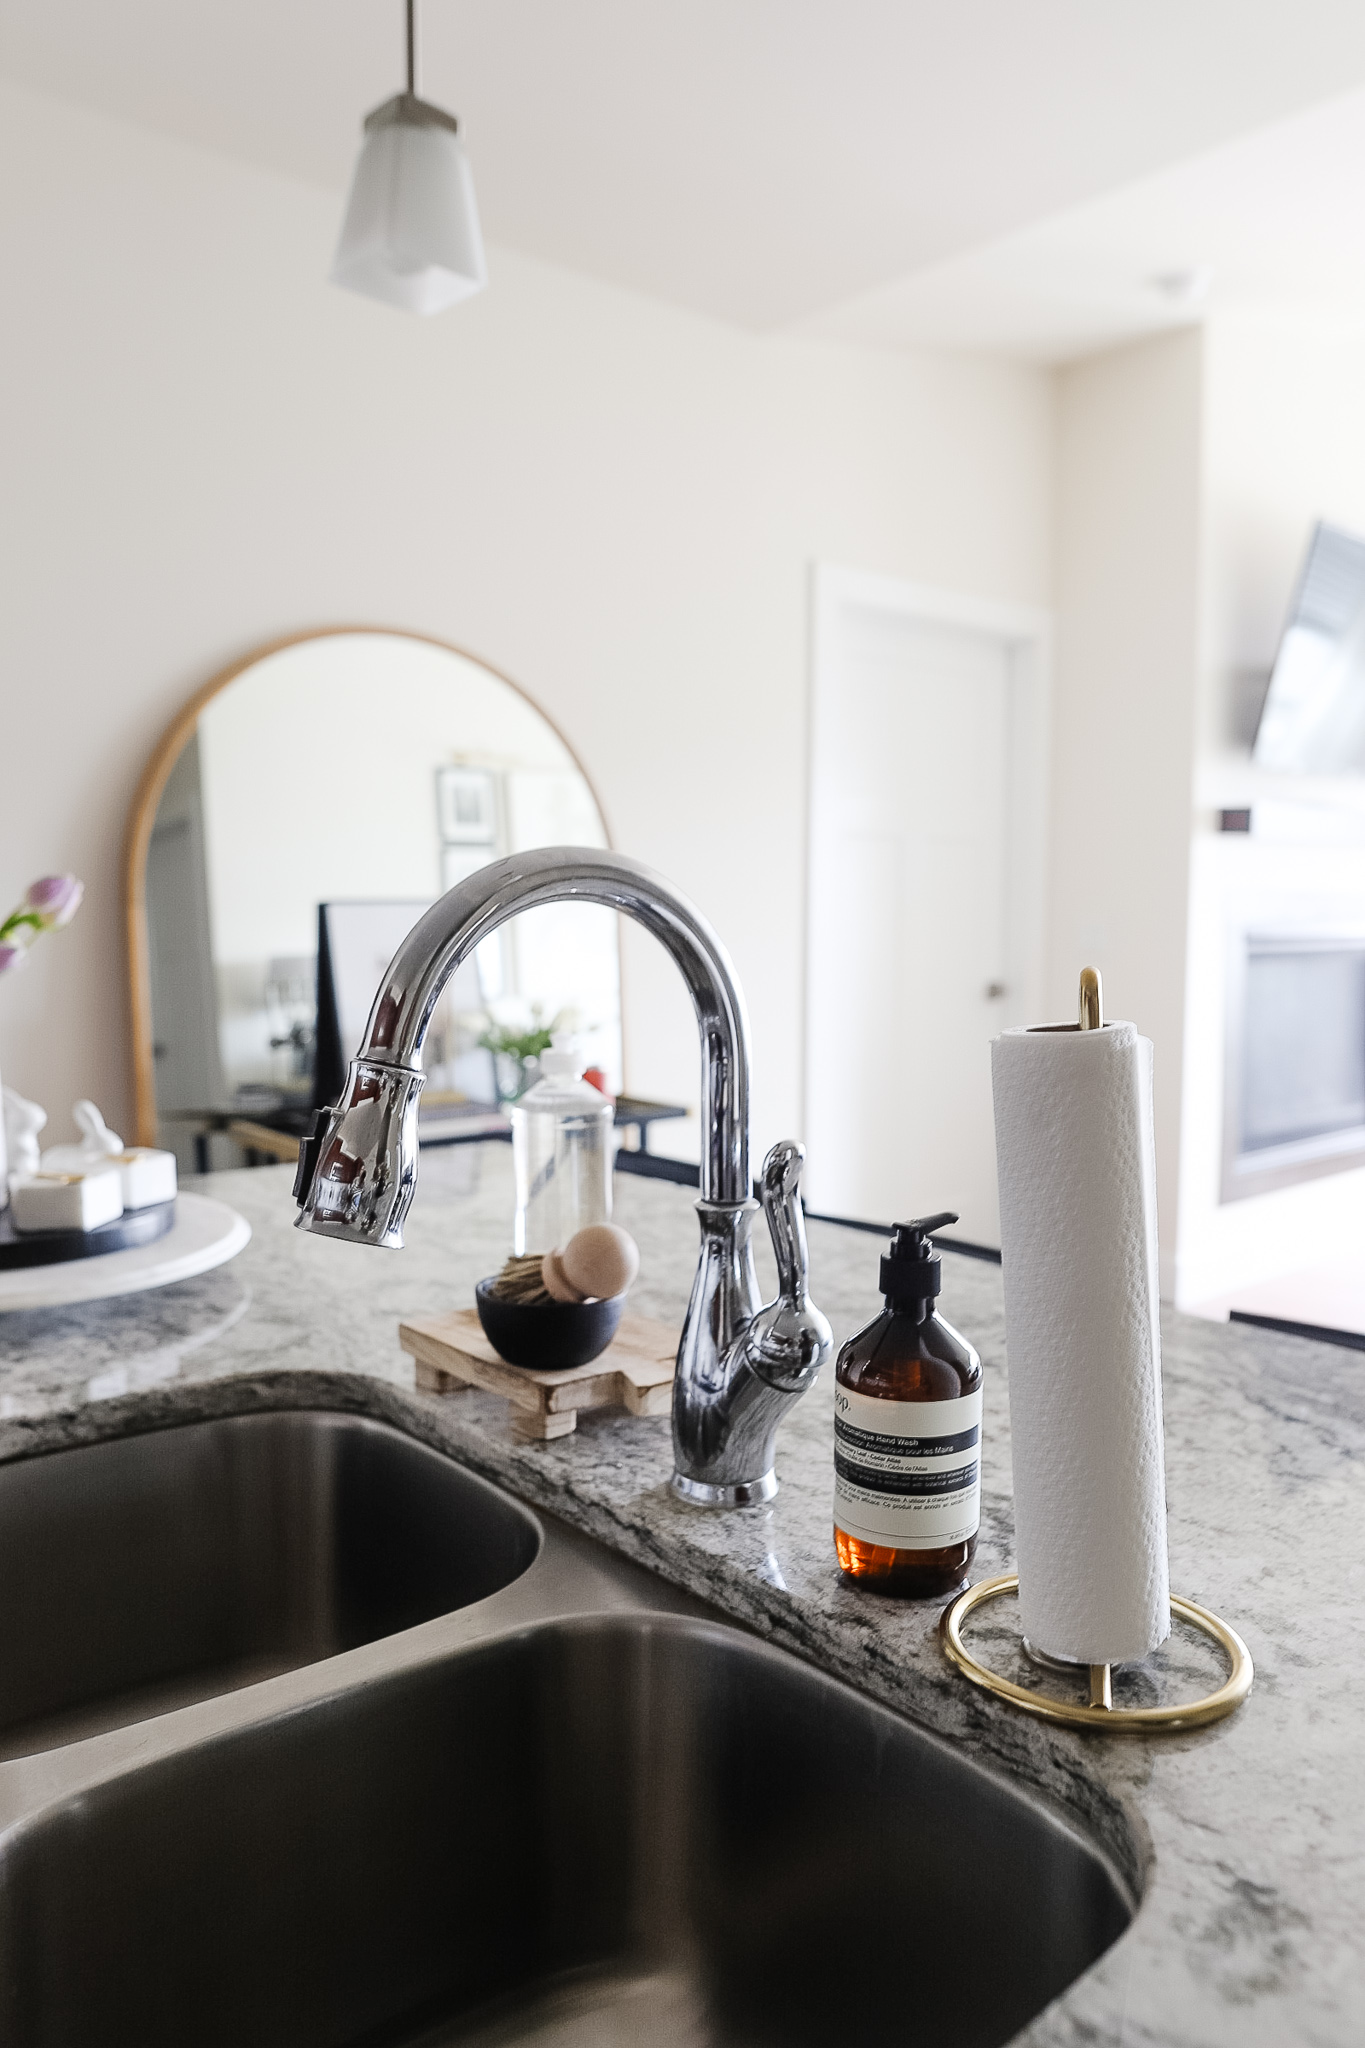
Before getting started, it's important to gather all the necessary materials. You will need a clear coat spray, sandpaper, a clean cloth, and a sink cleaner. It's important to choose a high-quality clear coat that is specifically designed for use on sinks to ensure long-lasting results. Begin by thoroughly cleaning your sink with the sink cleaner and wiping it dry with a clean cloth.


How to Apply Clear Coat to a Kitchen Sink


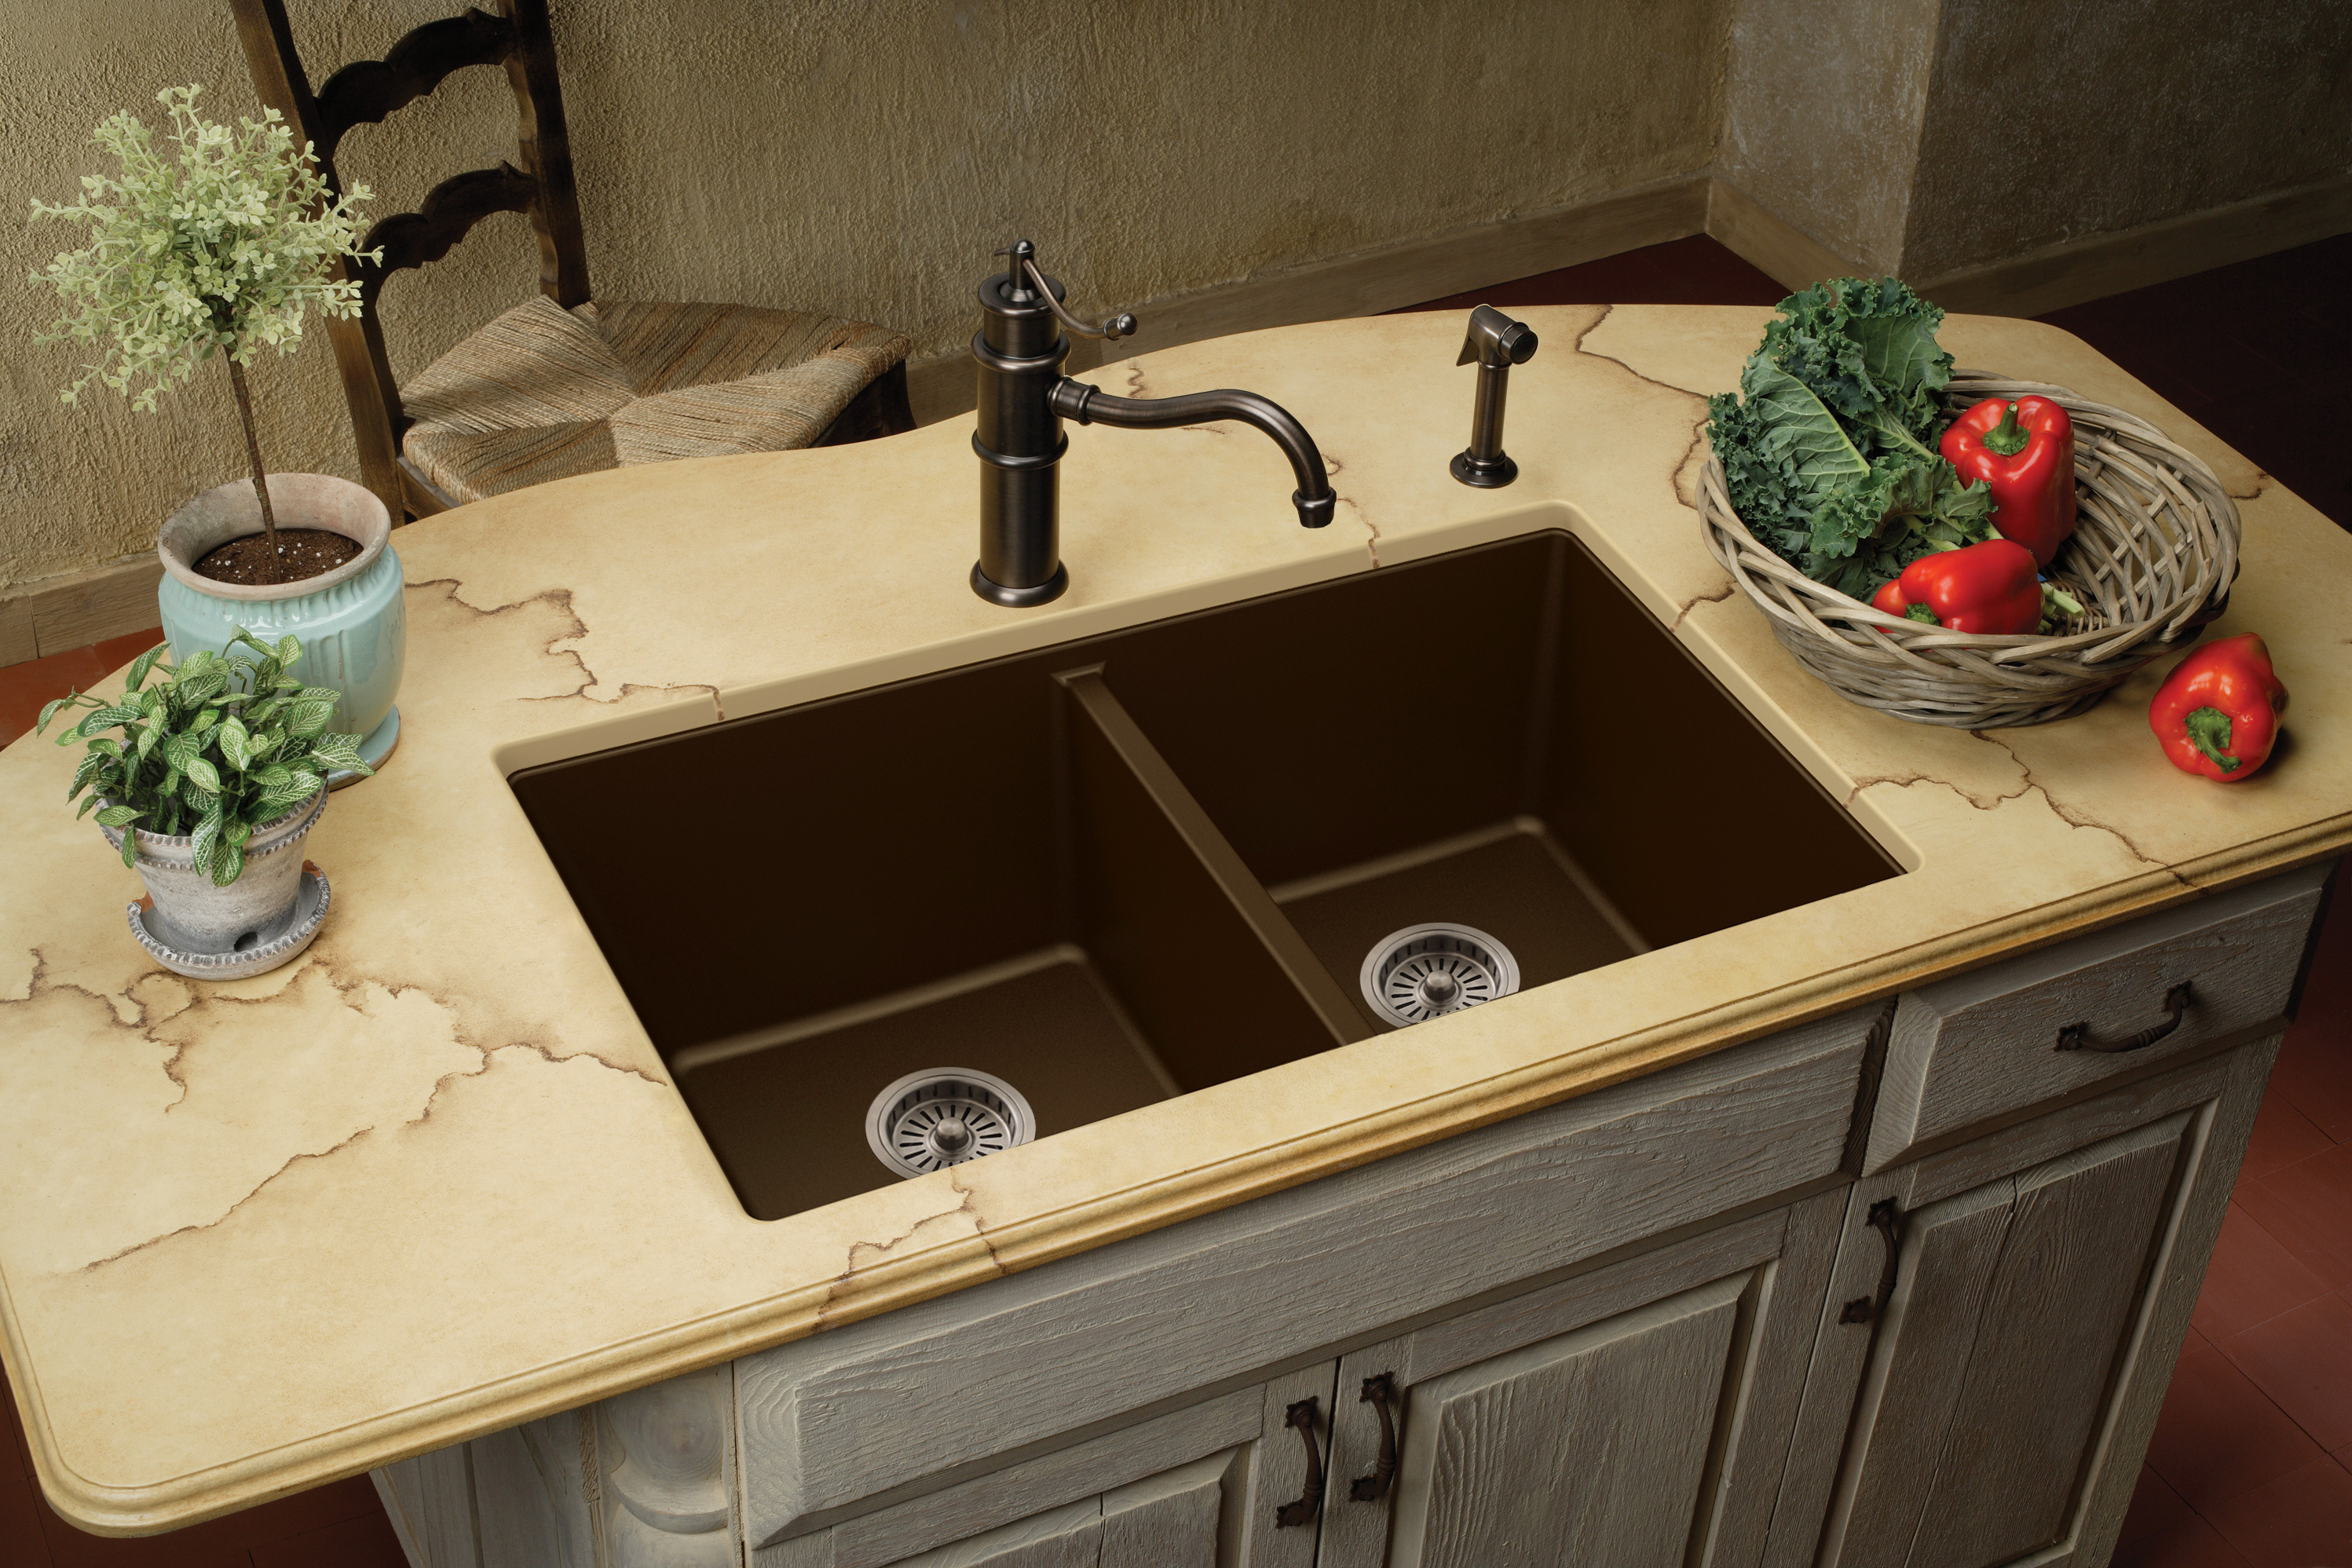
DIY Kitchen Sink Clear Coat
If you're on a budget or prefer a more hands-on approach, you can create your own DIY clear coat for your kitchen sink. Mix equal parts of polyurethane and mineral spirits and stir well. Make sure to use a high-quality polyurethane and mineral spirits for the best results. Apply the mixture to your sink using a clean cloth or sponge, making sure to cover all areas evenly. Let it dry for at least 24 hours before using the sink.


DIY Kitchen Sink Clear Coat


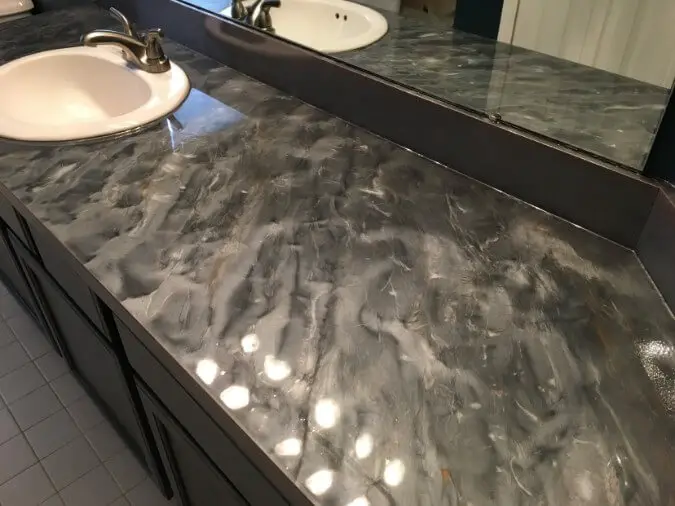
Clear Coat for Kitchen Sink Refinishing
Clear coating is an excellent option for refinishing an old or dull kitchen sink. It not only adds a protective layer but also restores the sink's original shine and color. If your sink has scratches or stains, sanding it down with fine-grit sandpaper before applying the clear coat can help to achieve a smoother and more even finish.


Clear Coat for Kitchen Sink Refinishing


Best Clear Coat for Kitchen Sink
Choosing the right clear coat for your kitchen sink is crucial for long-lasting results. Look for clear coats that are specifically designed for use on sinks and are heat and water-resistant. Some clear coats also offer protection against stains and scratches, making them a great option for high-traffic sinks.


Best Clear Coat for Kitchen Sink


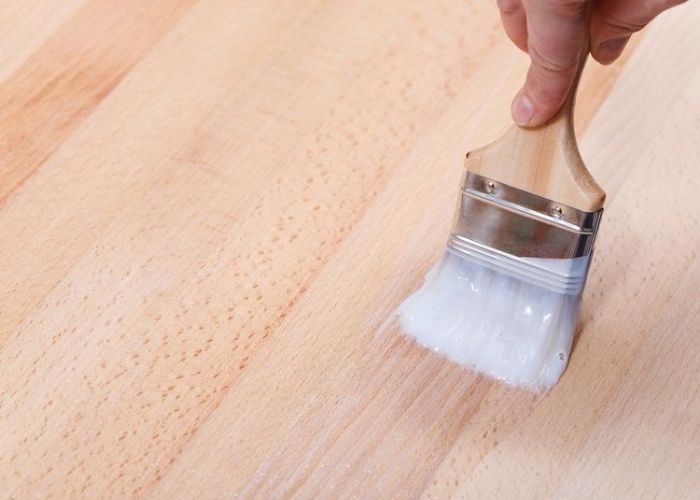
Steps for Spraying Clear Coat on a Kitchen Sink
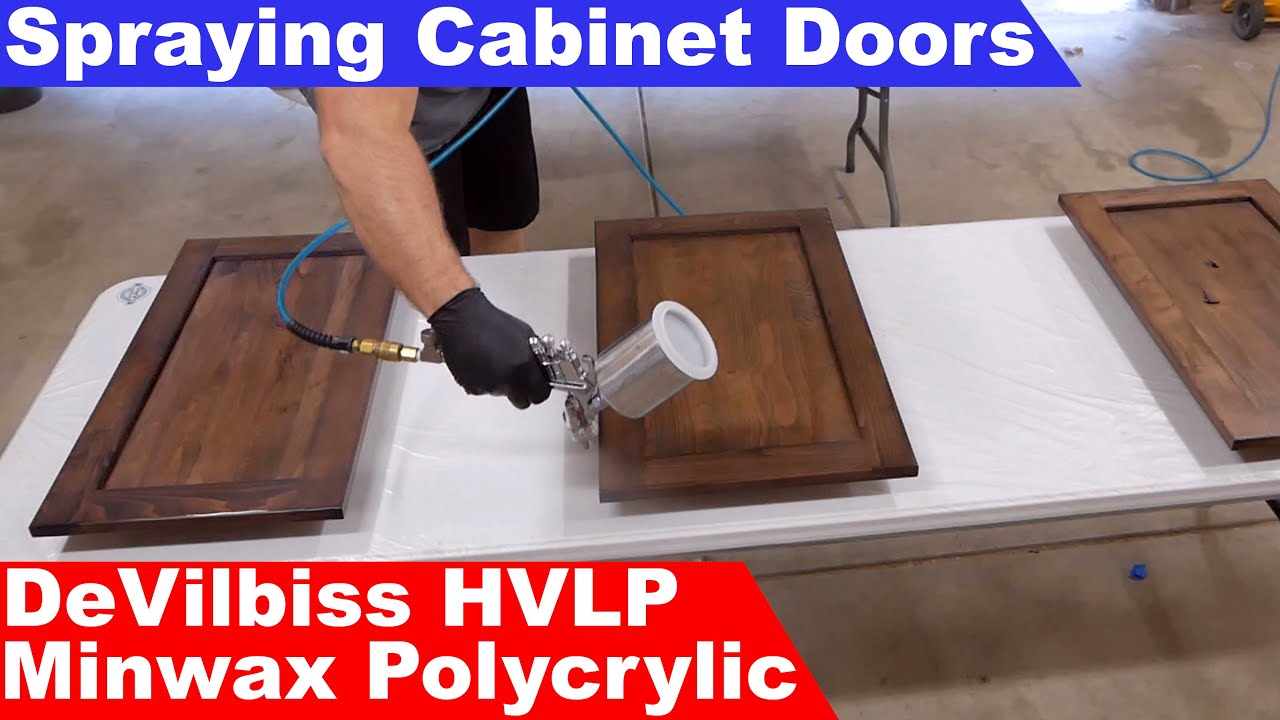
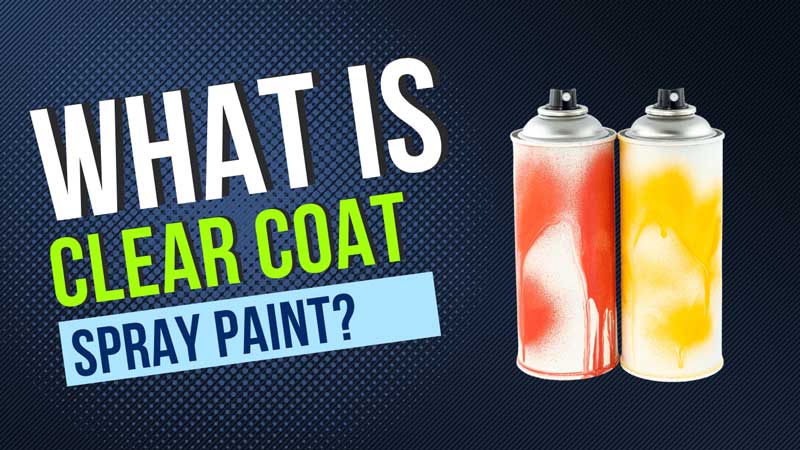
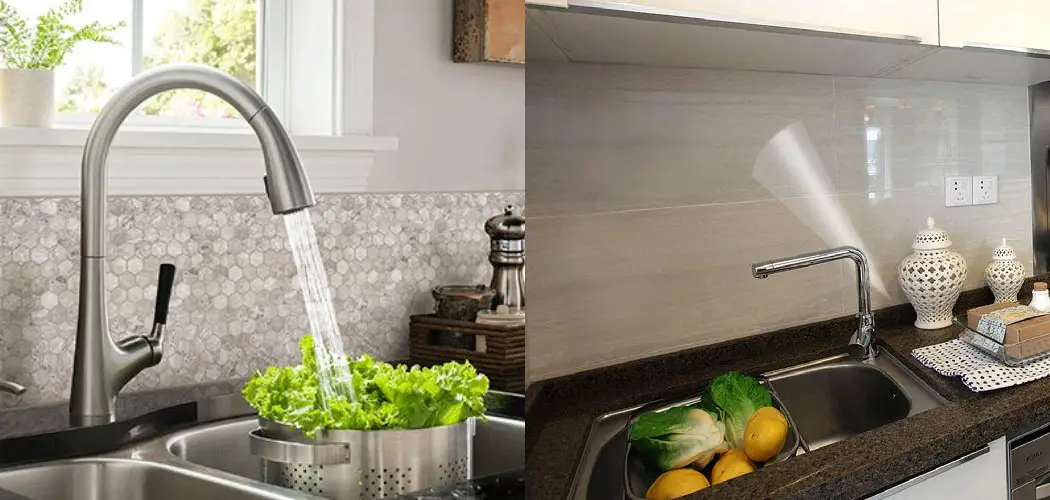
Now that you have all the necessary materials, it's time to start spraying the clear coat on your kitchen sink. Begin by shaking the can well and holding it approximately 6-8 inches away from the sink. Make sure to wear a mask and gloves to protect yourself from the fumes and chemicals. Start spraying in a back and forth motion, making sure to cover all areas evenly. Apply multiple thin coats rather than one thick coat for a smoother and more durable finish. Let the clear coat dry for at least 24 hours before using the sink.


Steps for Spraying Clear Coat on a Kitchen Sink


Clear Coat Spray Paint for Kitchen Sink
If your sink has a unique color or finish, you can opt for a clear coat spray paint that matches the sink's original color. This option not only adds a protective layer but also helps to maintain the sink's original look. Make sure to choose a spray paint that is specifically designed for use on sinks and is heat and water-resistant.


Clear Coat Spray Paint for Kitchen Sink


Tips for Clear Coating a Kitchen Sink
1. Prepare the sink: Before applying the clear coat, make sure your sink is clean and dry. Remove any debris or stains and sand down any imperfections.
2. Choose the right clear coat: As mentioned before, it's important to choose a clear coat that is specifically designed for use on sinks and offers heat and water resistance.
3. Apply multiple thin coats: This will ensure a smoother and more even finish and make the clear coat more durable.
4. Let it dry completely: It's important to let the clear coat dry for at least 24 hours before using the sink. This will ensure that the coating is fully cured and will last longer.
5. Maintain the sink: To keep your sink looking shiny and new, make sure to avoid using abrasive cleaners and scrubbers, and clean it regularly with a mild dish soap and a soft cloth.


Tips for Clear Coating a Kitchen Sink


How to Protect Your Kitchen Sink with Clear Coat
Clear coating your kitchen sink not only adds a protective layer but also helps to maintain its original shine and color. With proper maintenance and care, the clear coat can last for years, protecting your sink from stains, scratches, and heat damage.


How to Protect Your Kitchen Sink with Clear Coat


Clear Coat Options for Kitchen Sink Restoration
If your kitchen sink is looking dull and worn out, clear coating can be a cost-effective and easy way to restore its original shine and luster. Whether you choose a store-bought clear coat or a DIY option, make sure to follow the steps carefully for a successful and long-lasting clear coat application.

Clear Coat Options for Kitchen Sink Restoration


Why You Should Consider Clear Coating Your Kitchen Sink

Enhance the Look and Durability of Your Sink

If you're looking to give your kitchen a sleek and modern look, one area you may not have considered is your sink. While many homeowners focus on upgrading their cabinets and countertops, the sink is often overlooked. However, with the simple addition of a clear coat, you can transform your sink into a stunning centerpiece of your kitchen.
Clear coating your kitchen sink can enhance its look and durability. The clear coat provides a glossy finish that adds a touch of elegance to your sink, making it stand out in your kitchen. Additionally, the clear coat acts as a protective layer, preventing scratches and stains from damaging the surface of your sink.
Quick and Easy Application

One of the great things about clear coating your kitchen sink is that it is a quick and easy process. You can easily do it yourself with just a few tools and materials. First, clean your sink thoroughly to remove any dirt and grime. Then, lightly sand the surface to ensure the clear coat will adhere properly. Once the surface is smooth, apply the clear coat evenly using a spray can. Allow it to dry for the recommended time, and voila! Your sink will have a brand new, glossy finish.
Affordable Alternative to Replacing Your Sink

If your sink is starting to show signs of wear and tear, you may be considering replacing it altogether. However, this can be a costly and time-consuming endeavor. Clear coating your sink is a more affordable alternative that can give your sink a fresh new look without breaking the bank. In fact, the cost of clear coat spray is significantly less than buying a new sink, and the application process is much quicker and easier.
Consider clear coating your kitchen sink as a simple yet effective way to upgrade your kitchen. Not only will it enhance the look and durability of your sink, but it is also a cost-effective and easy DIY project. Your kitchen will thank you for this stylish and practical addition.