If you've noticed your mattress topper starting to sink in the middle, it's time to take action. A sinking mattress topper can lead to discomfort and a lack of support for your body, which can affect your sleep quality. But fear not, there are DIY solutions to fix this issue without having to spend money on a new topper. Follow these easy steps to bring your sinking mattress topper back to life.How to Fix a Sinking Mattress Topper


How to Fix a Sinking Mattress Topper


Before you begin, it's important to identify the cause of the sinking. In most cases, it's due to the filling inside the topper shifting and settling in one area. This can happen over time with regular use, or it could be a sign that your topper is not high quality. Regardless, you can fix it yourself with these simple DIY methods.DIY Mattress Topper Repair


DIY Mattress Topper Repair


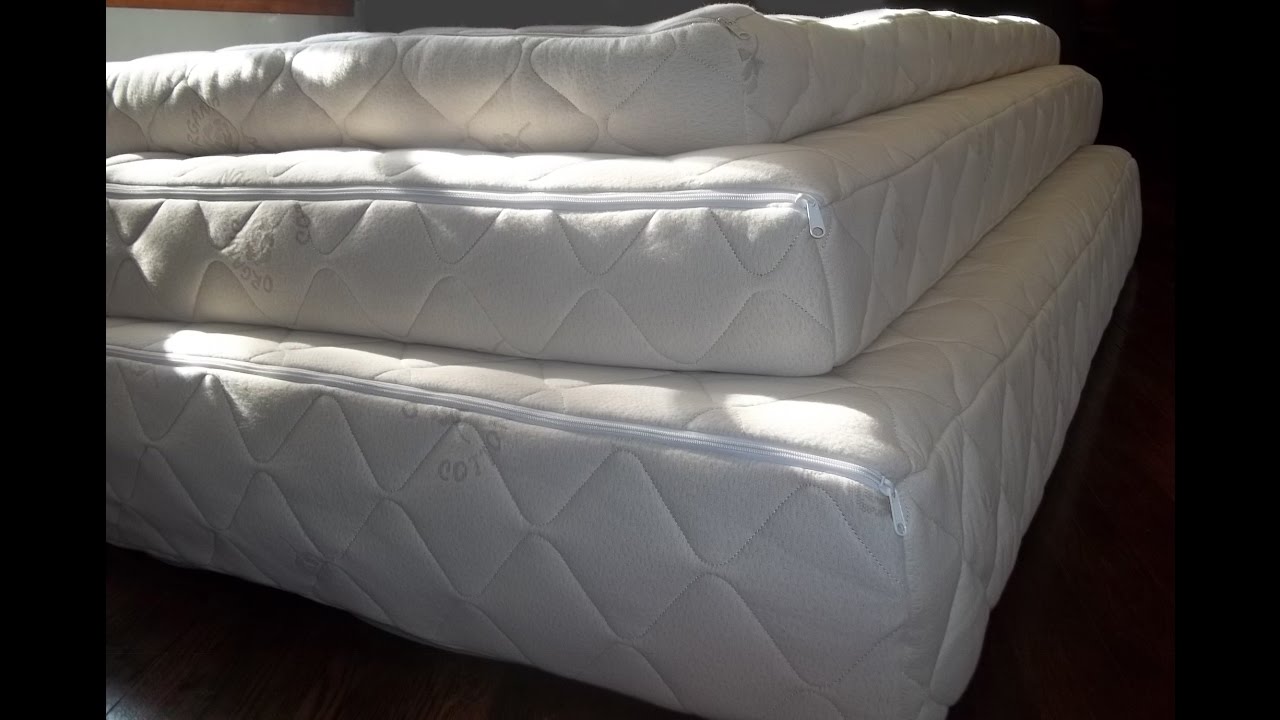


The easiest and most effective way to fix a sinking mattress topper is to add more filling. You can purchase additional filling from a craft store or online, depending on the type of filling your topper has. Carefully unzip the topper and add the filling evenly throughout, focusing on the areas where it has sunk the most. Be sure not to overfill, as this can make the topper too firm and uncomfortable.Easy DIY Mattress Topper Fix


Easy DIY Mattress Topper Fix


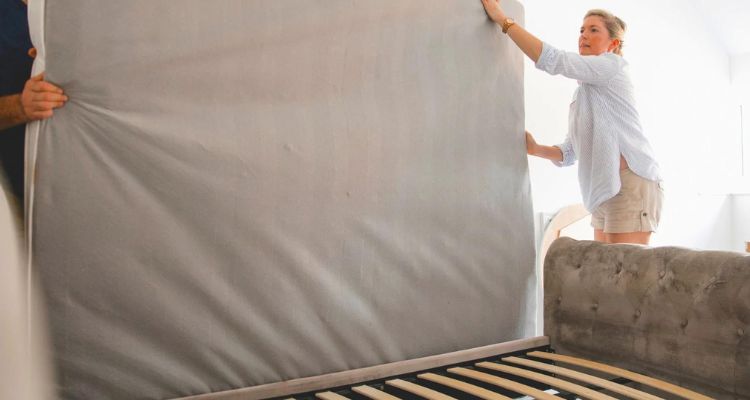
If you don't want to add more filling, you can also provide additional support to your topper. One way to do this is by using a piece of plywood cut to the size of your topper. Place it in between your mattress and the topper to provide a flat and solid surface for the topper to rest on. This will help distribute your weight evenly and prevent any sinking.DIY Mattress Topper Support


DIY Mattress Topper Support


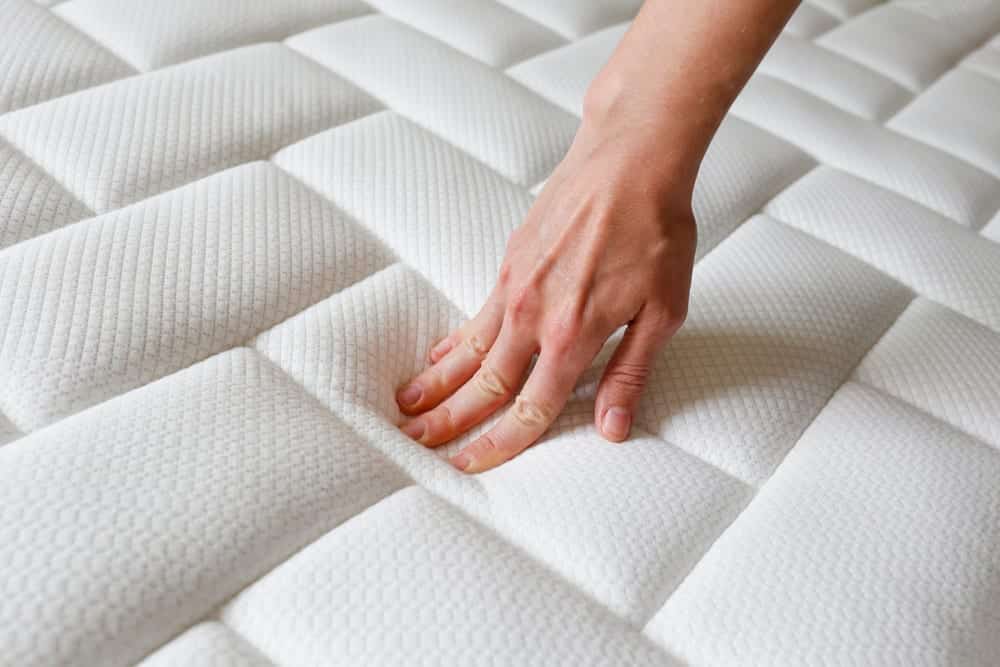
If your topper has started to sag in certain areas, you can reinforce those areas with some extra stitching. Use a needle and thread to sew through the topper and the cover, focusing on the areas that have sunk the most. This will help keep the filling in place and prevent further sinking.DIY Mattress Topper Reinforcement


DIY Mattress Topper Reinforcement
Another way to prevent your topper from sinking is by using mattress grippers. These are rubber pads that can be placed between the mattress and the topper to prevent them from slipping and sliding around. This will help keep your topper in place and prevent any further sinking.DIY Mattress Topper Stabilization

DIY Mattress Topper Stabilization

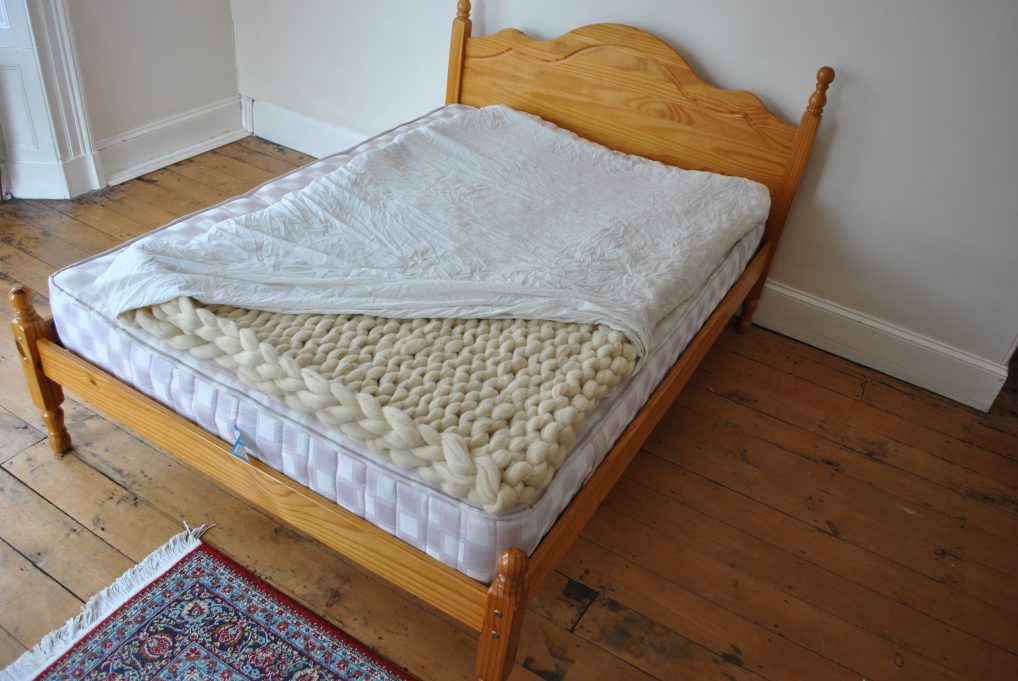
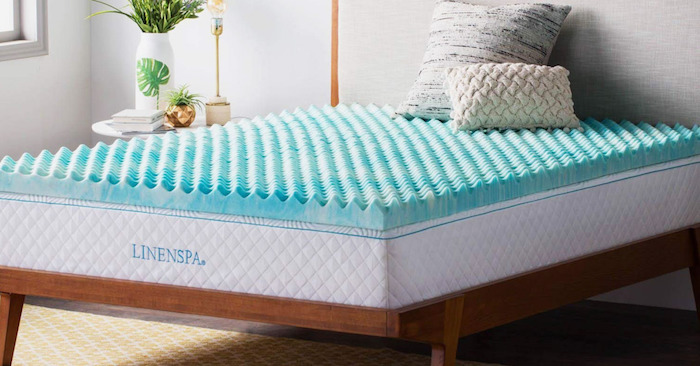
If your mattress topper is too soft and causing you to sink, you can also adjust the firmness level by adding a layer of memory foam or latex on top. This will provide a firmer surface for your body to rest on and prevent any sinking. You can also purchase a firmer topper and place it on top of your current one for added support.DIY Mattress Topper Firmness Adjustment


DIY Mattress Topper Firmness Adjustment

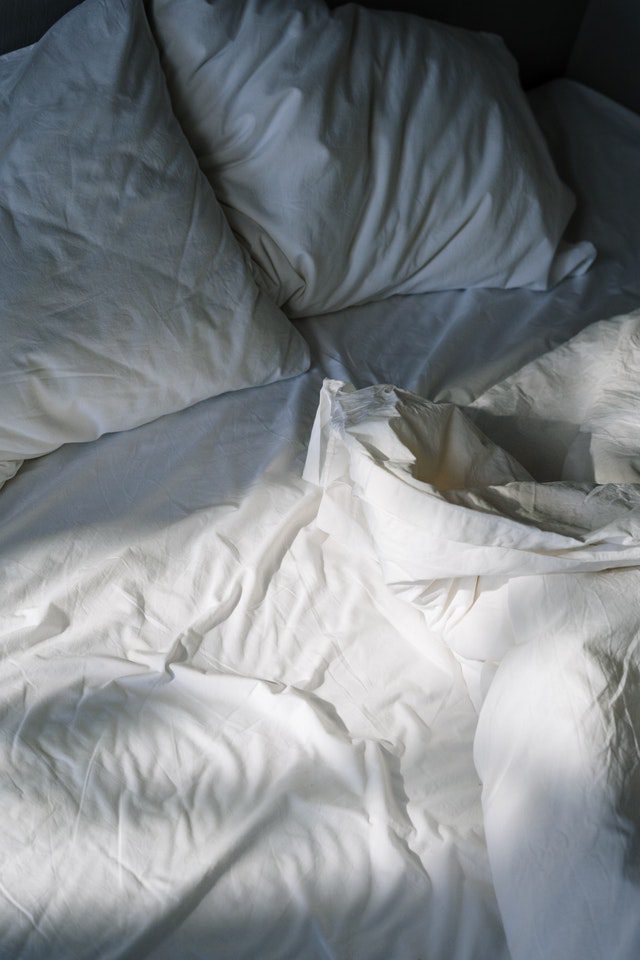
If your topper has started to sag in the middle, you can use rolled up towels or blankets to provide extra support. Place them in the middle of the topper, under the sheet, to create a small hill that will help keep your body supported and prevent any sinking. This is a temporary solution, but it can help until you have time to fix the sinking issue.DIY Mattress Topper Sagging Solution


DIY Mattress Topper Sagging Solution
/GettyImages-1206150622-1c297aabd4a94f72a2675fc509306457.jpg)

If you don't have the time or skills to sew your topper, there are other ways to prevent sinking without stitching. One option is to use an adhesive spray to keep the filling in place. Simply spray the adhesive on the top and bottom of the topper and press down to secure the filling. This will help prevent any shifting and sinking.DIY Mattress Topper Repair without Sewing

DIY Mattress Topper Repair without Sewing

If you need a quick fix for a sinking topper, try flipping it over. If your topper has a different filling on each side, you can rotate it and use the other side for a firmer and more supportive surface. This may not be a permanent solution, but it can help until you have time to properly repair or replace your topper.DIY Mattress Topper Quick Fix
DIY Mattress Topper Quick Fix

Sinking Mattress Topper DIY: An Affordable Solution to Improve Your Sleep

The Importance of a Good Mattress Topper
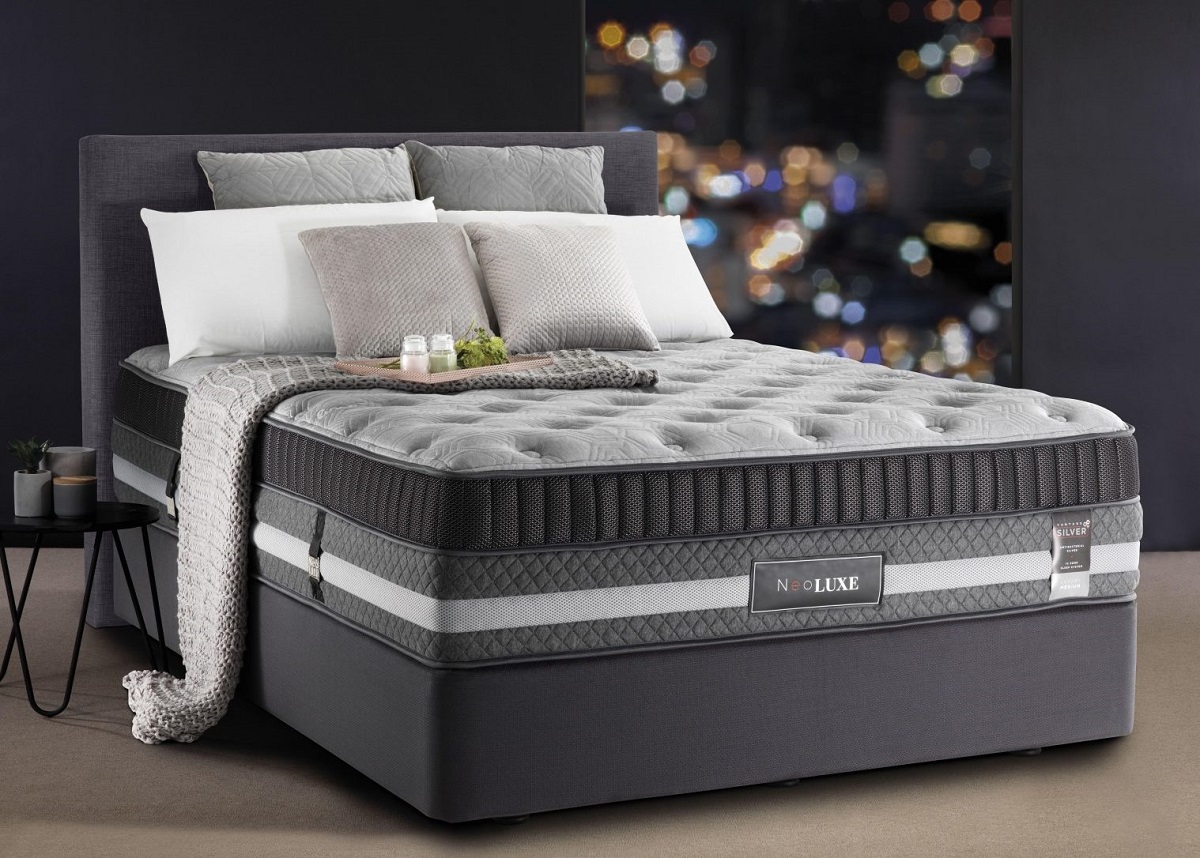
 When it comes to getting a good night's sleep, having a comfortable and supportive mattress is essential. However, over time, even the best mattresses can start to lose their firmness and support. This can lead to uncomfortable and disrupted sleep, causing a ripple effect on our overall health and well-being.
One cost-effective solution to this problem is investing in a mattress topper.
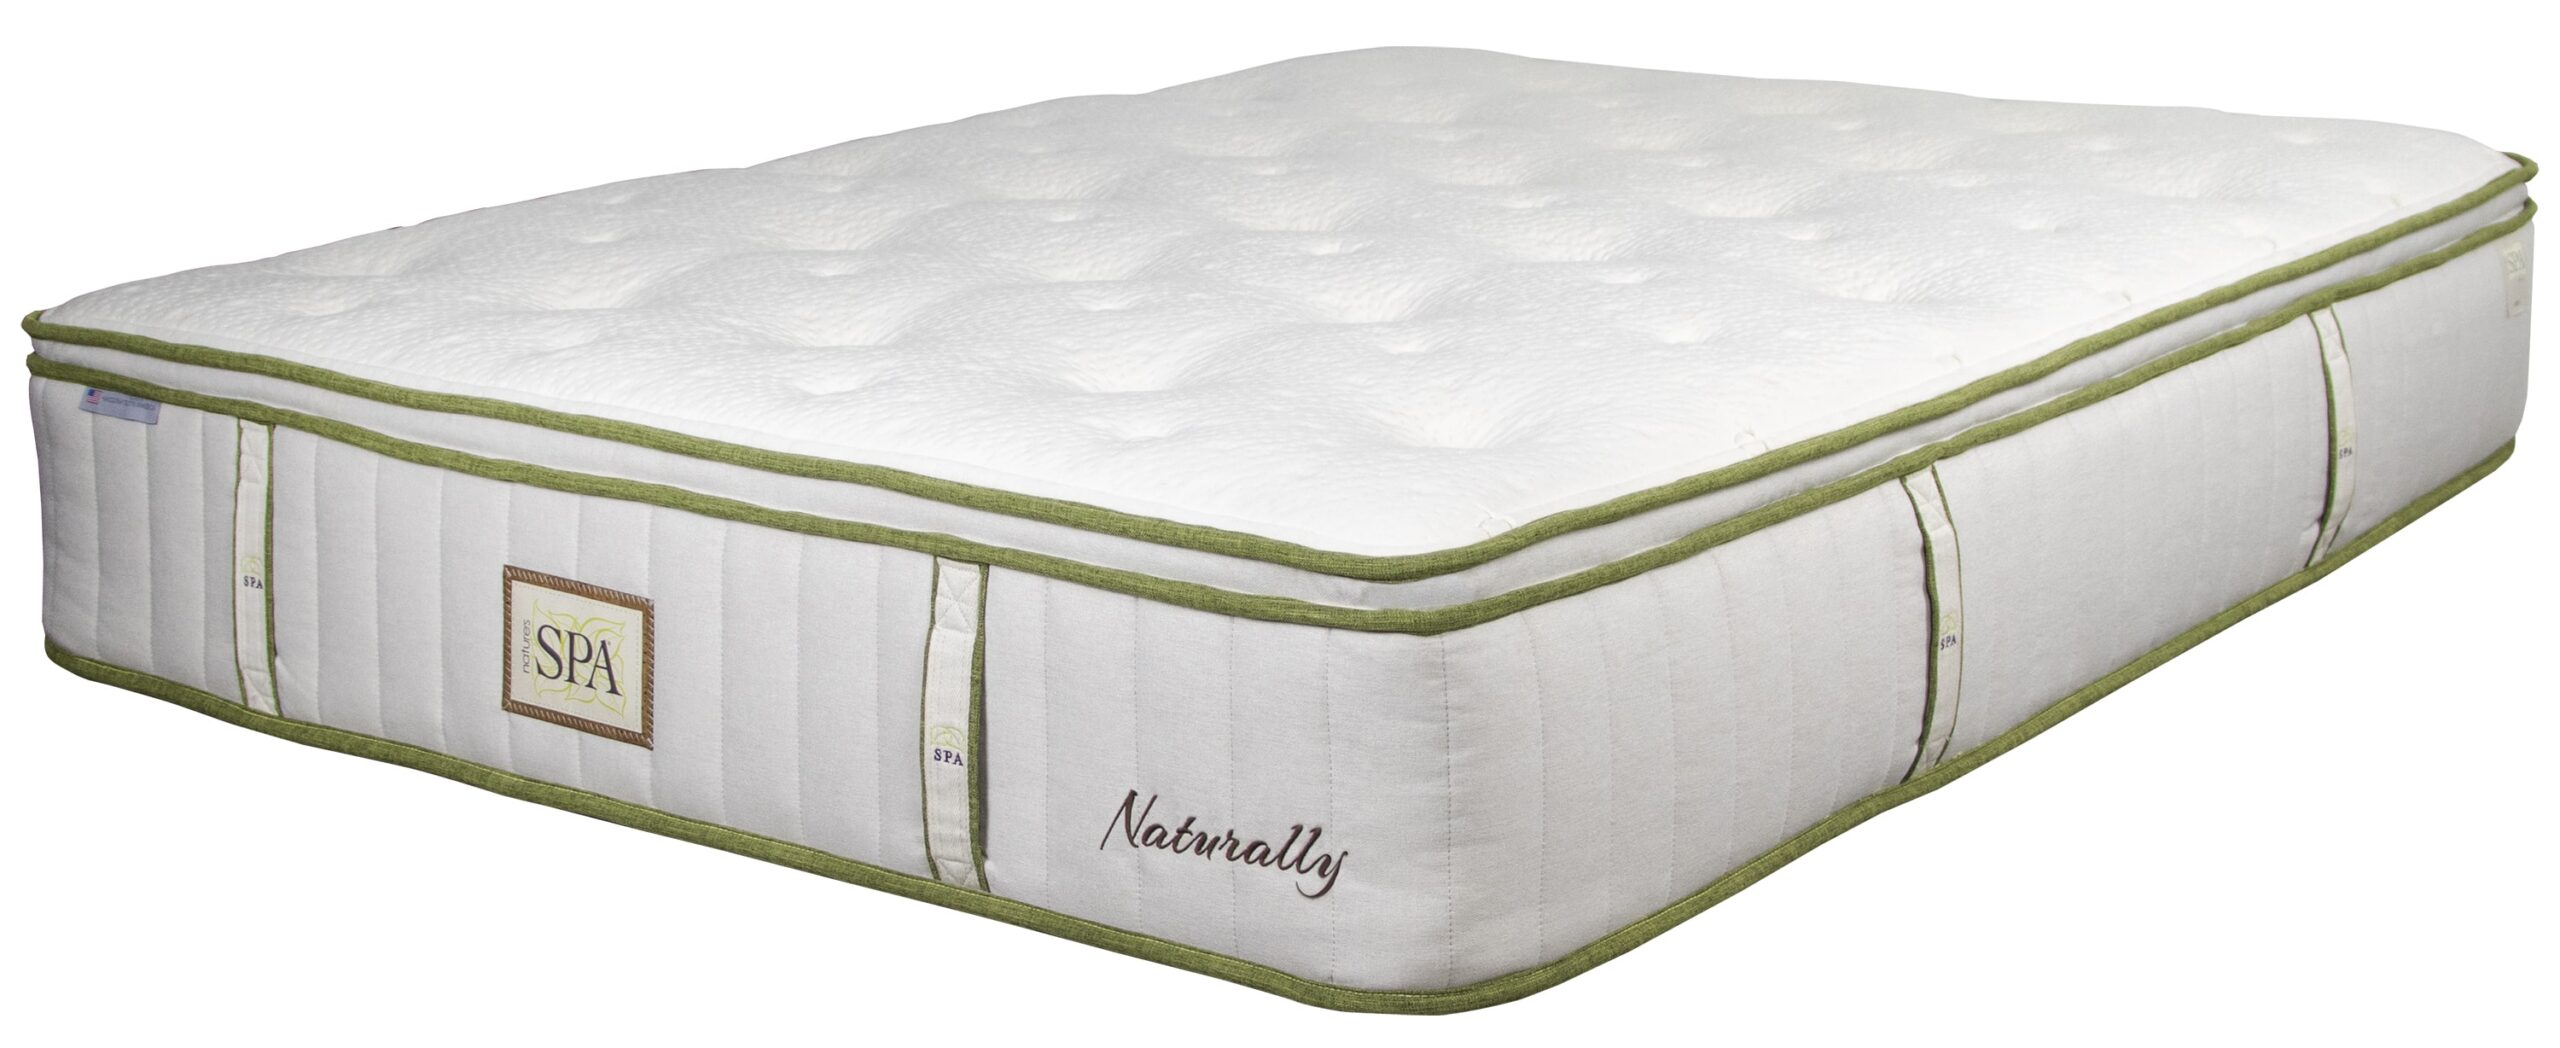
Mattress toppers
are a layer of cushioning that sits on top of your mattress to provide extra support and comfort. They can help improve the lifespan of your mattress and give it a new lease of life. However, not all mattress toppers are created equal. Over time, even the most expensive ones can start to
sink
and lose their effectiveness.
When it comes to getting a good night's sleep, having a comfortable and supportive mattress is essential. However, over time, even the best mattresses can start to lose their firmness and support. This can lead to uncomfortable and disrupted sleep, causing a ripple effect on our overall health and well-being.
One cost-effective solution to this problem is investing in a mattress topper.
Mattress toppers
are a layer of cushioning that sits on top of your mattress to provide extra support and comfort. They can help improve the lifespan of your mattress and give it a new lease of life. However, not all mattress toppers are created equal. Over time, even the most expensive ones can start to
sink
and lose their effectiveness.
The DIY Approach
 If you're tired of spending money on new mattress toppers every few years, why not try a
DIY
approach to fix your sinking mattress topper? Not only is it a cost-effective solution, but it also allows you to customize the topper to your specific needs.
Here's a step-by-step guide to creating your own sinking mattress topper fix:
If you're tired of spending money on new mattress toppers every few years, why not try a
DIY
approach to fix your sinking mattress topper? Not only is it a cost-effective solution, but it also allows you to customize the topper to your specific needs.
Here's a step-by-step guide to creating your own sinking mattress topper fix:
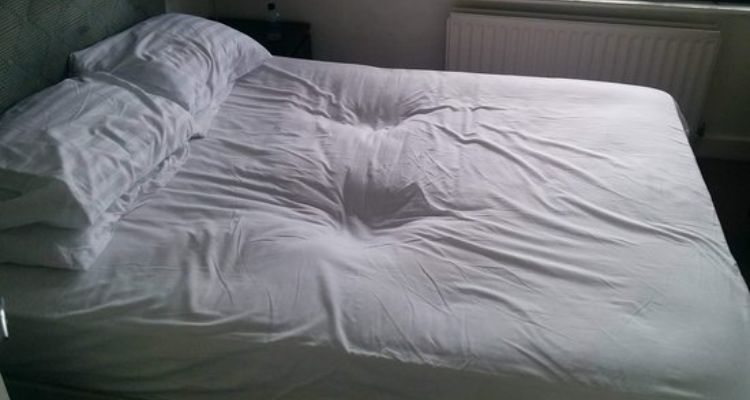
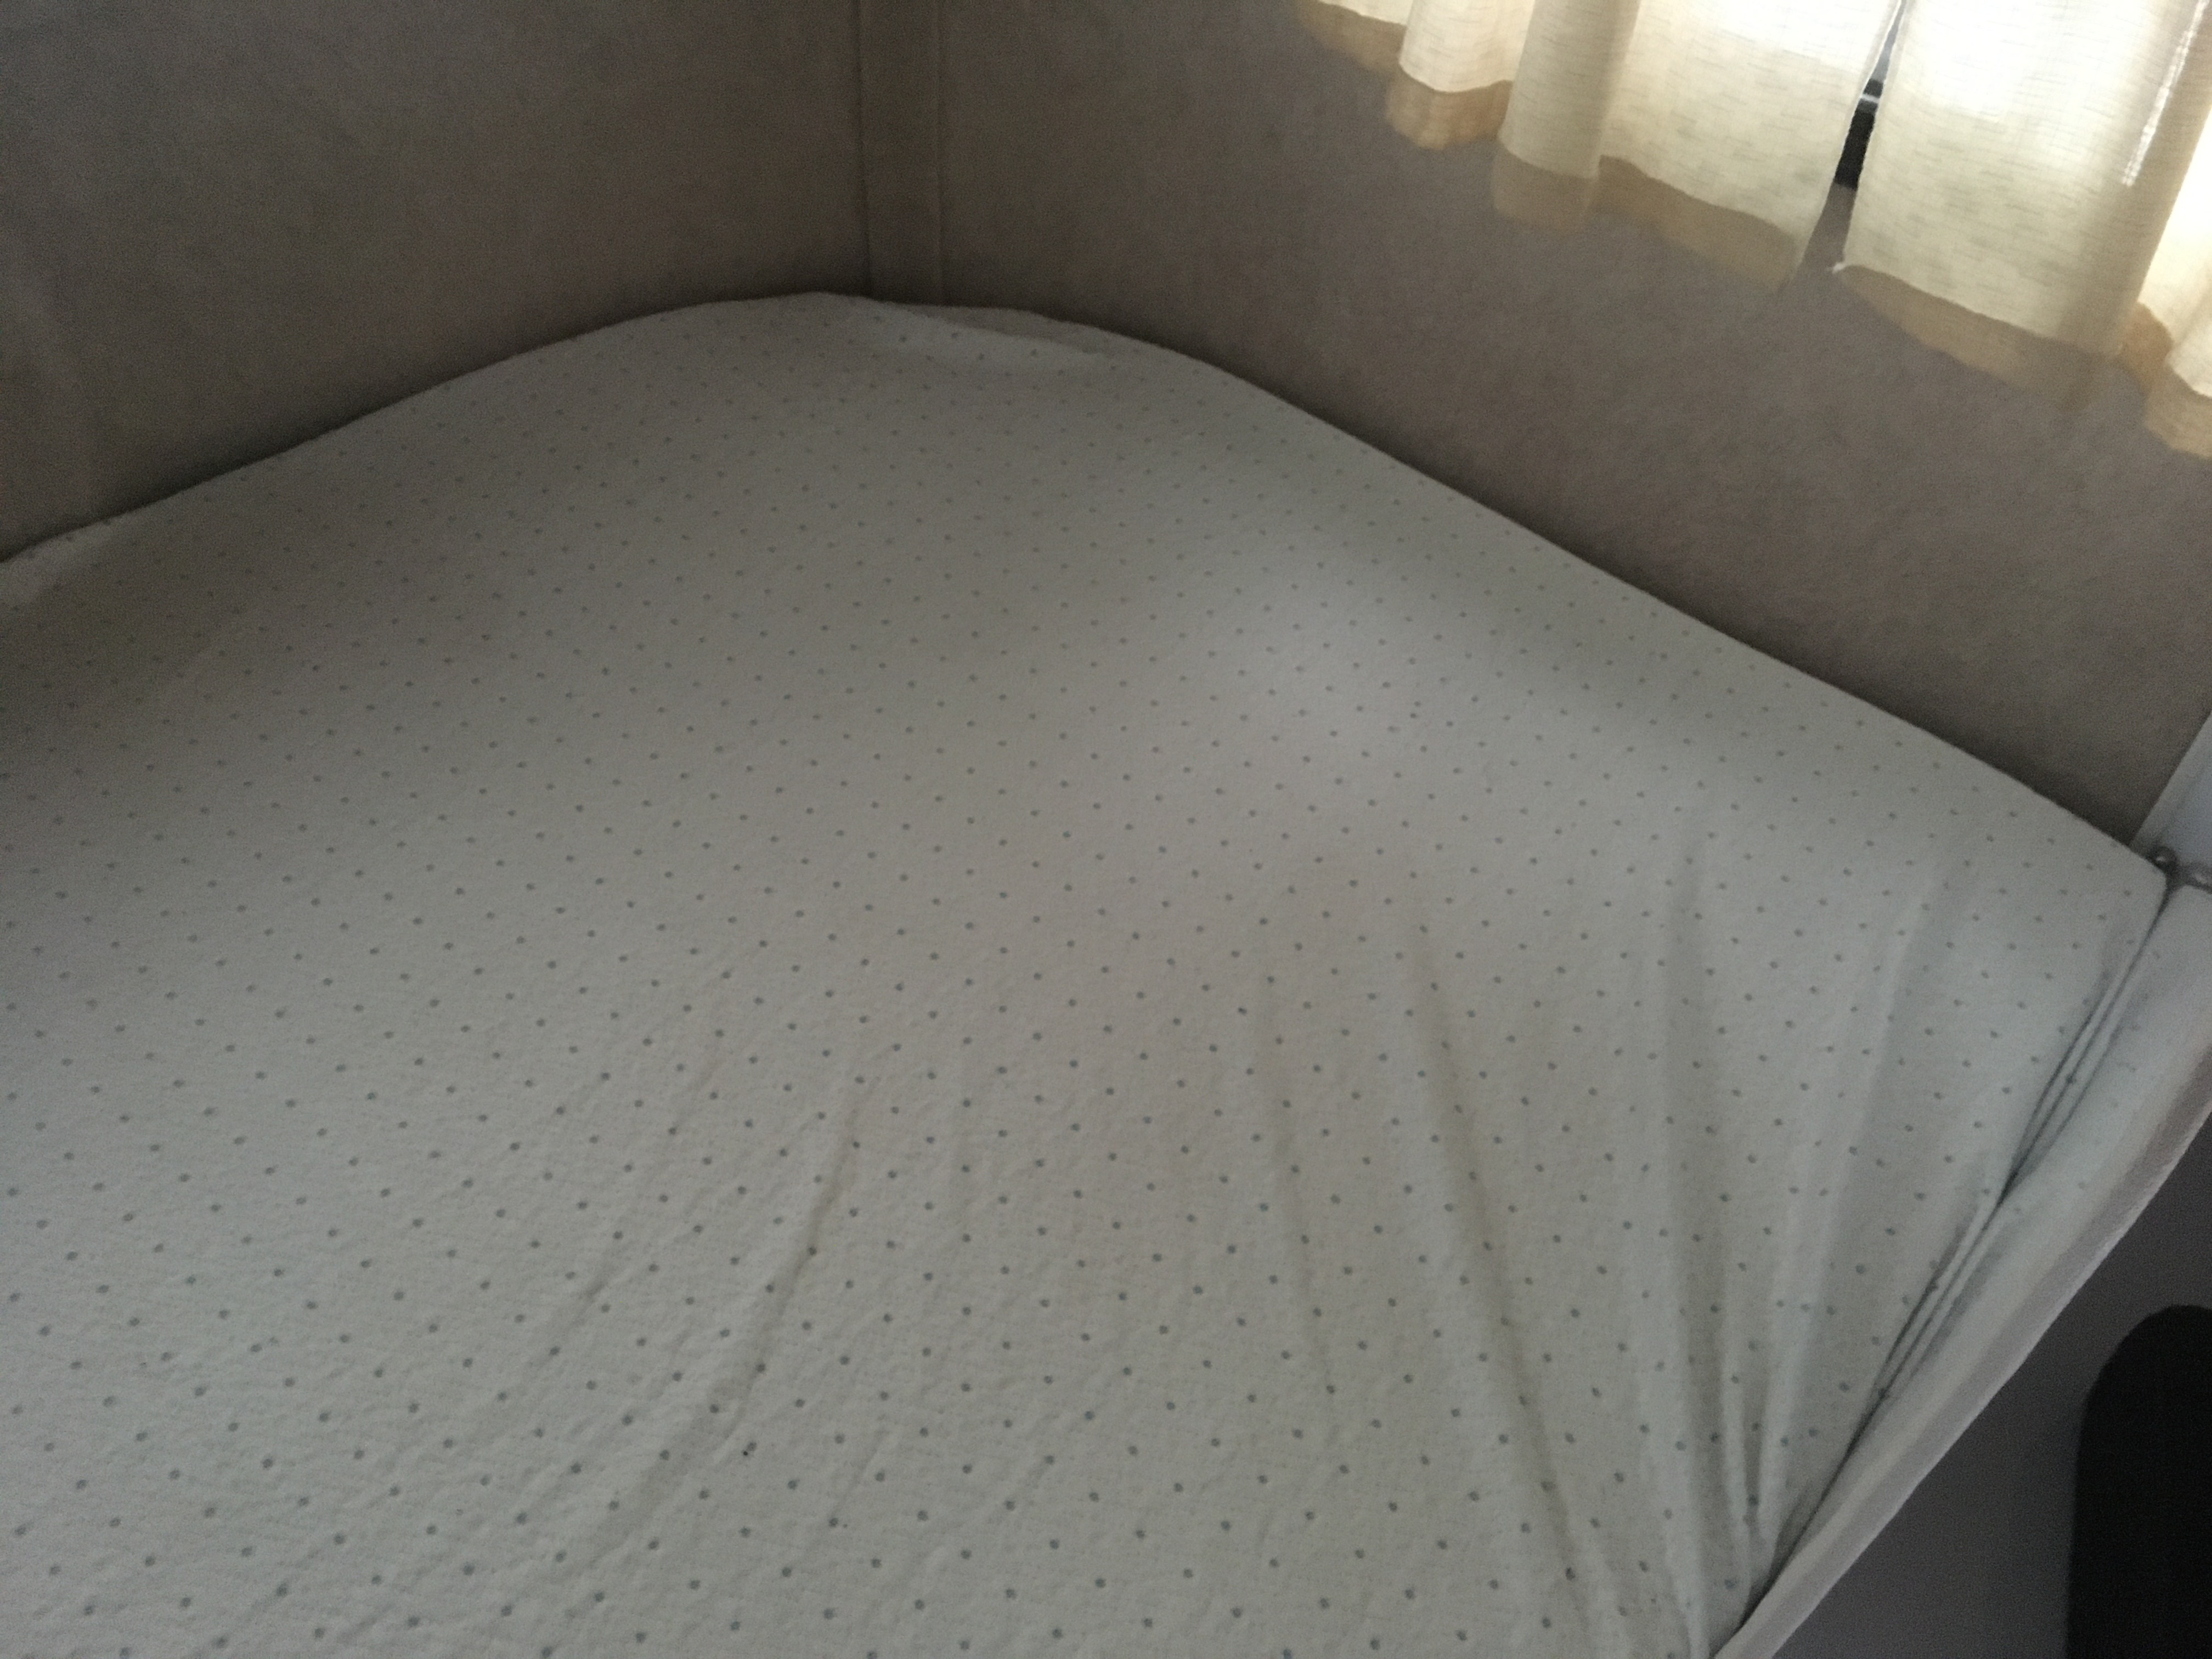
Step 1: Assess the Damage
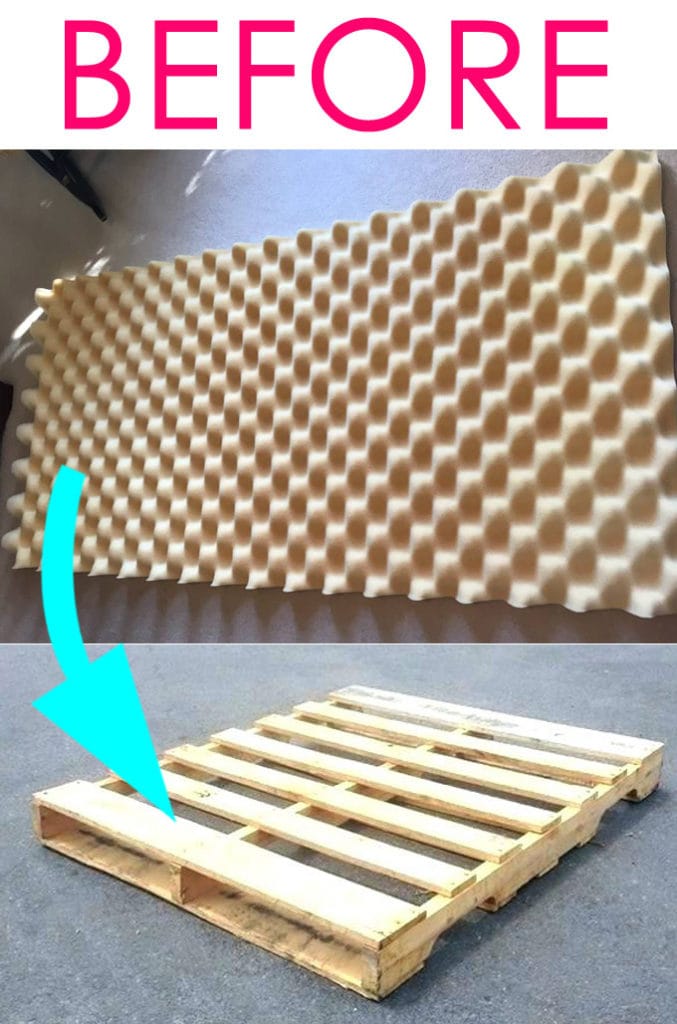
The first step is to assess the damage to your mattress topper. Is it sinking in one specific area or all over? This will determine the type of materials you will need for your fix.Step 2: Gather Your Materials
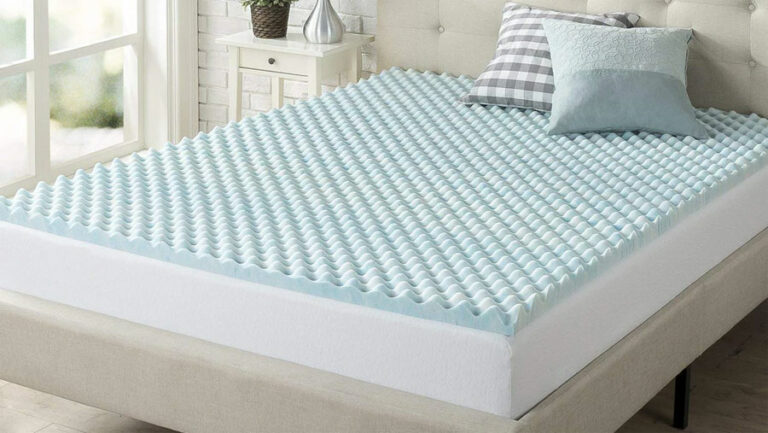
For this DIY project, you will need a few simple materials that you may already have lying around the house. These include a foam mattress topper, a sharp knife, and duct tape.Step 3: Cut the Foam
Using the sharp knife, cut the foam mattress topper into small strips. These strips will act as the filler for your sinking mattress topper.Step 4: Place the Filler
Place the foam strips underneath the sinking areas of your mattress topper. Start with a small amount and gradually add more until you've reached your desired level of support.Step 5: Secure with Duct Tape
Once you've placed the filler, use duct tape to secure it in place. This will prevent the foam from shifting around and provide a more stable base for your topper.Enjoy a Good Night's Sleep
 With your DIY sinking mattress topper fix, you can once again enjoy a comfortable and supportive sleep. Not only have you saved money, but you've also added a personal touch to your mattress topper. Remember to regularly check and replace the filler if needed, to maintain the support and comfort of your topper.
In conclusion, a sinking mattress topper doesn't have to mean the end of its usefulness. With a few simple materials and some basic DIY skills, you can easily fix your topper and improve your sleep without breaking the bank. Give this DIY project a try and see the difference it makes in your sleep quality.
With your DIY sinking mattress topper fix, you can once again enjoy a comfortable and supportive sleep. Not only have you saved money, but you've also added a personal touch to your mattress topper. Remember to regularly check and replace the filler if needed, to maintain the support and comfort of your topper.
In conclusion, a sinking mattress topper doesn't have to mean the end of its usefulness. With a few simple materials and some basic DIY skills, you can easily fix your topper and improve your sleep without breaking the bank. Give this DIY project a try and see the difference it makes in your sleep quality.