If you're planning on giving your kitchen a fresh coat of paint, it's important to properly prepare your walls before diving into the fun part. One of the biggest mistakes homeowners make when painting their kitchen walls is not properly cleaning and prepping them beforehand. This can result in a less-than-perfect paint job and even cause the paint to peel or chip over time. So before you break out the paintbrush, here's what you need to know about preparing problem walls for painting.
1. Preparing Walls for Painting: Problem Walls
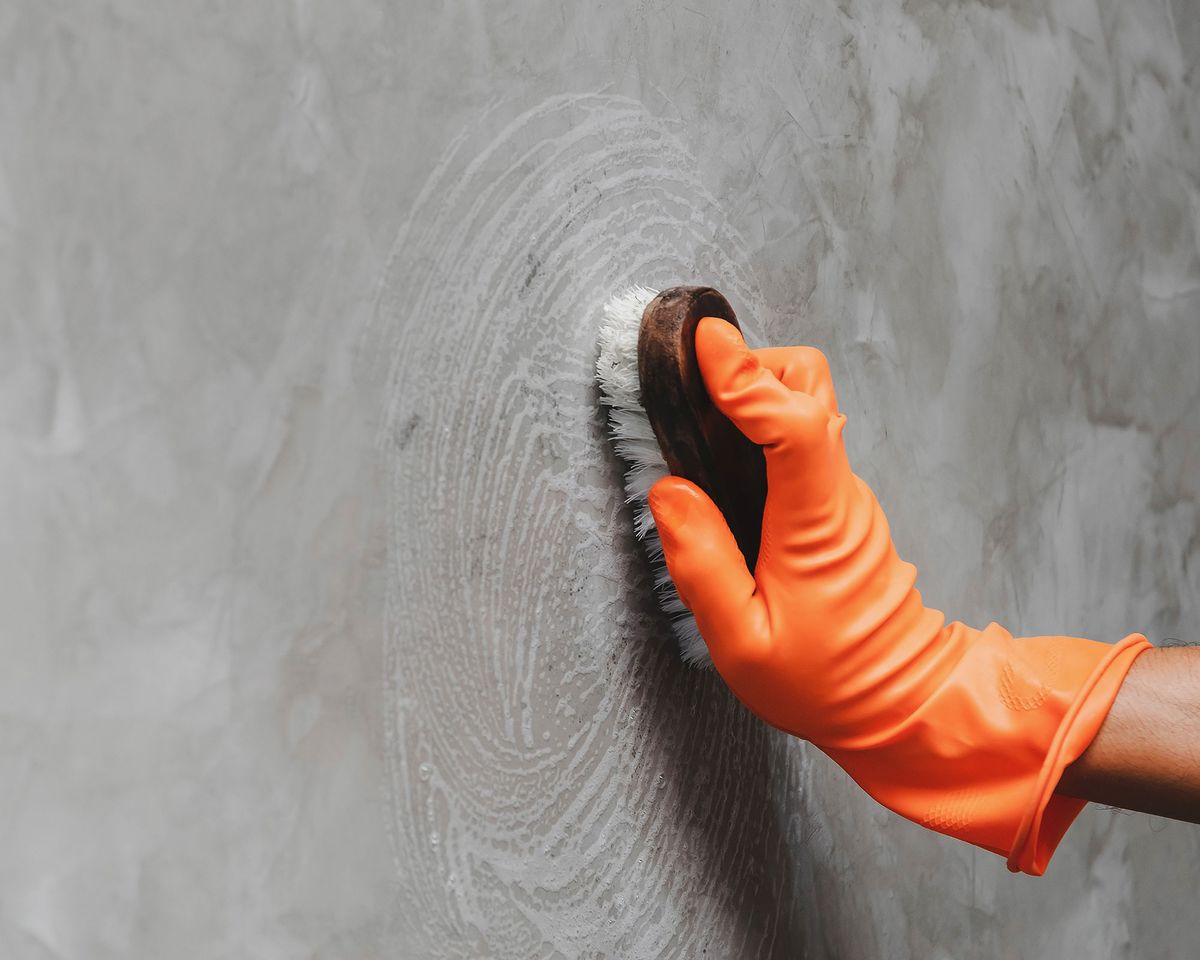
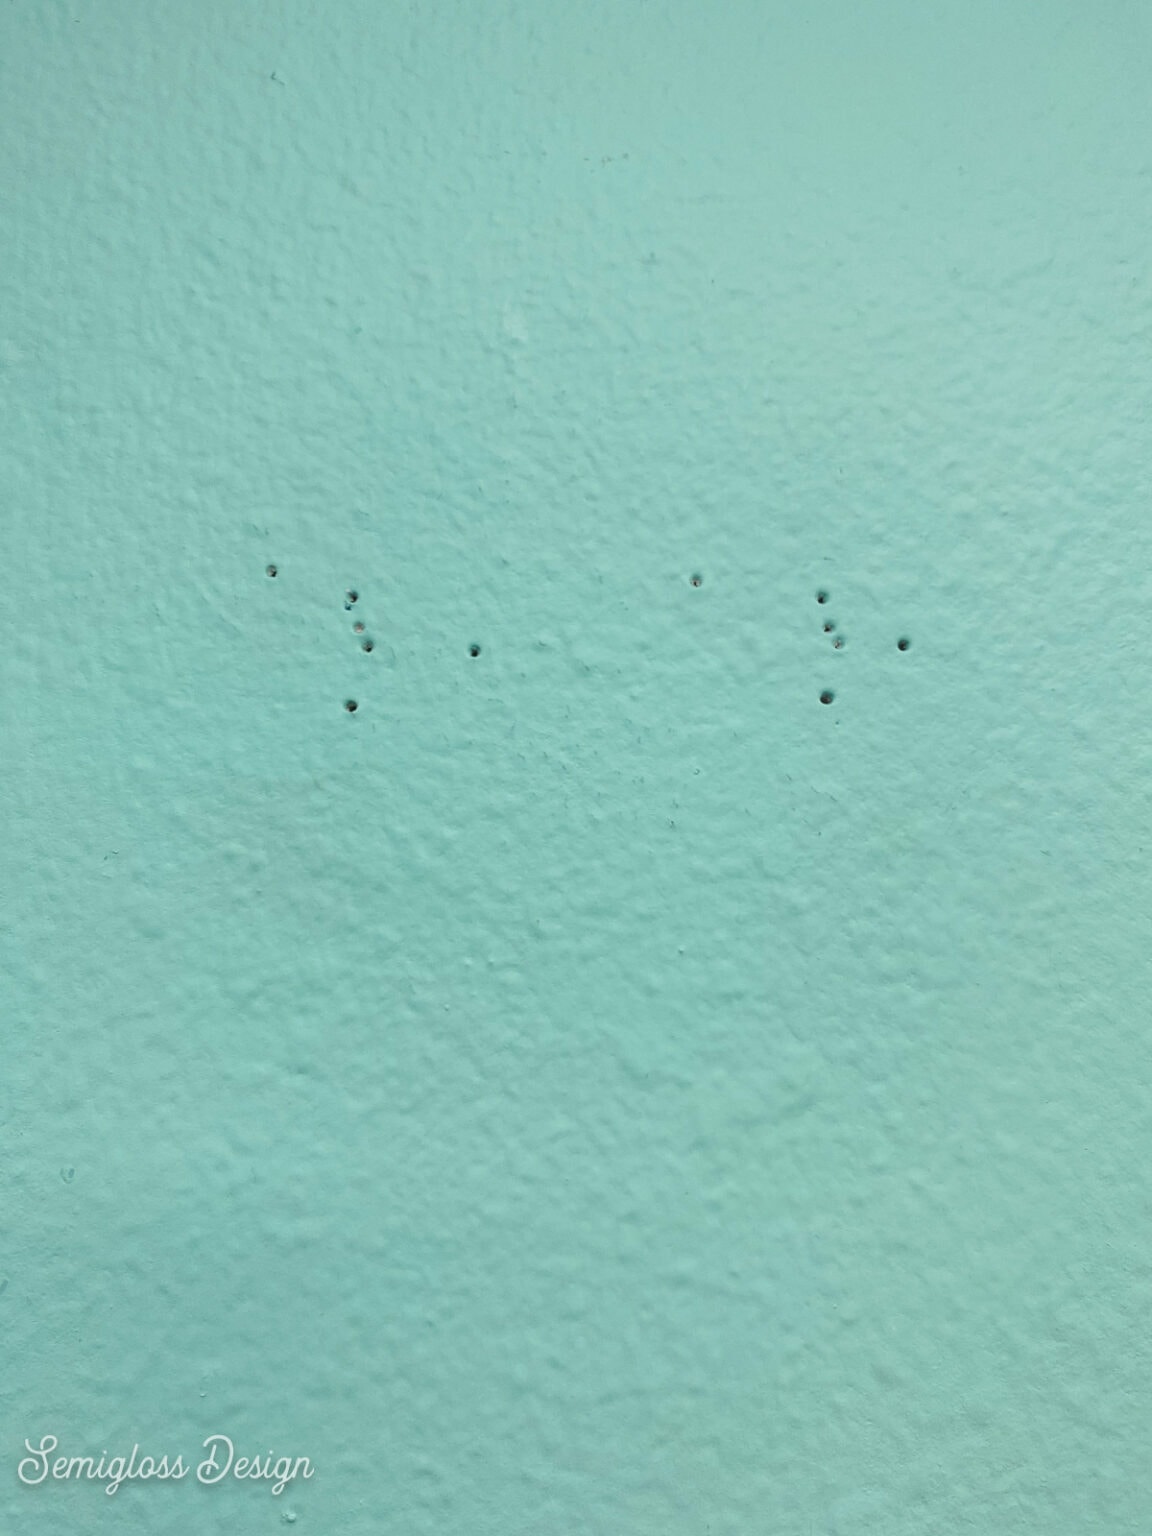
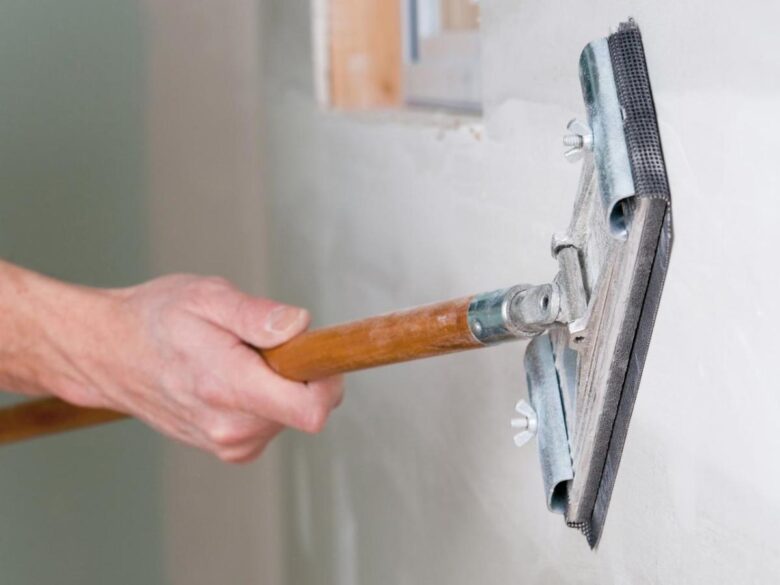
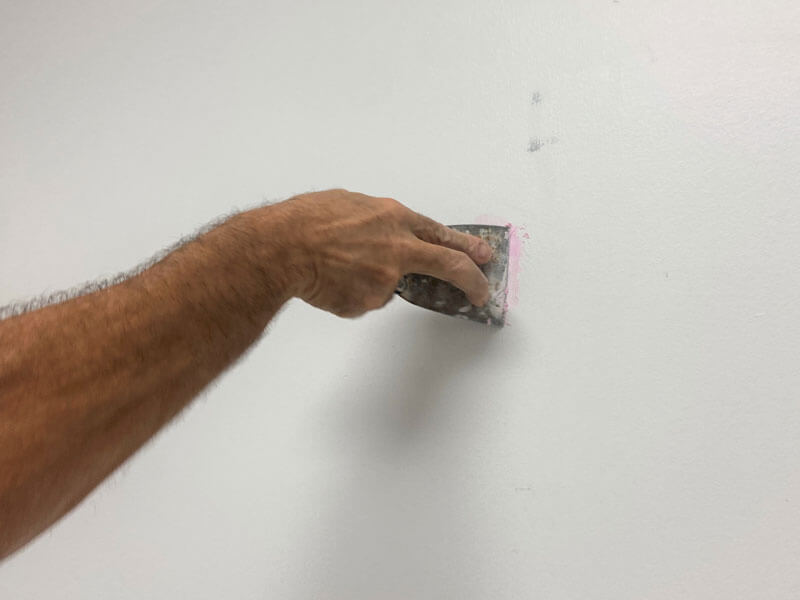
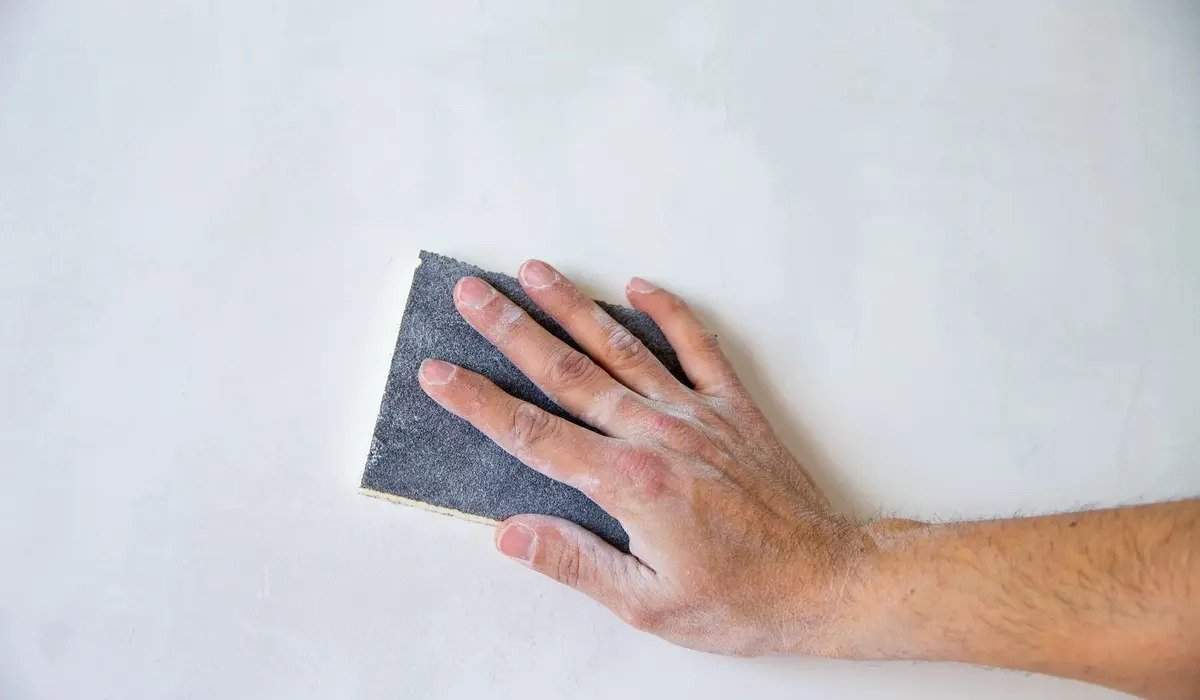
The first step in preparing your kitchen walls for painting is to thoroughly clean them. This may seem like a simple task, but it's important to make sure you get rid of any built-up grease, dirt, or grime. Use a mild cleaner and a sponge to gently scrub the walls, paying extra attention to any areas that may be particularly dirty. If you have any stubborn stains, you may need to use a stronger cleaner or even sand the area before painting. Once your walls are clean, it's time to fill in any holes or cracks with spackling compound. This will ensure that your walls have a smooth and even surface for painting. Use a putty knife to apply the compound and make sure to smooth it out as much as possible. Let it dry completely before lightly sanding the area to blend it in with the rest of the wall.2. How to Prepare Walls for Painting
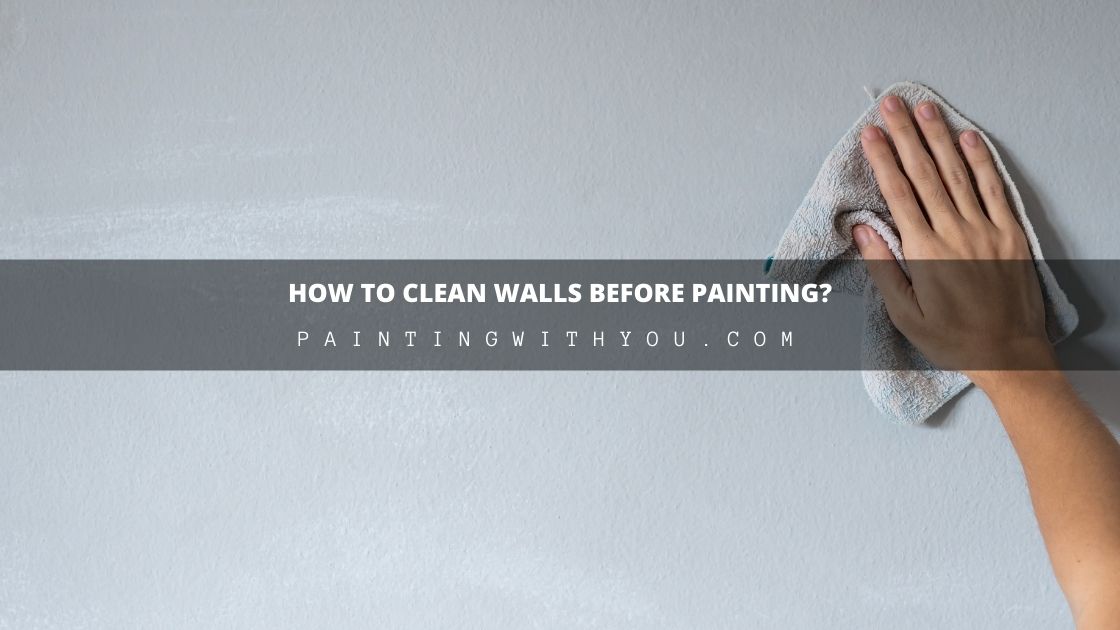
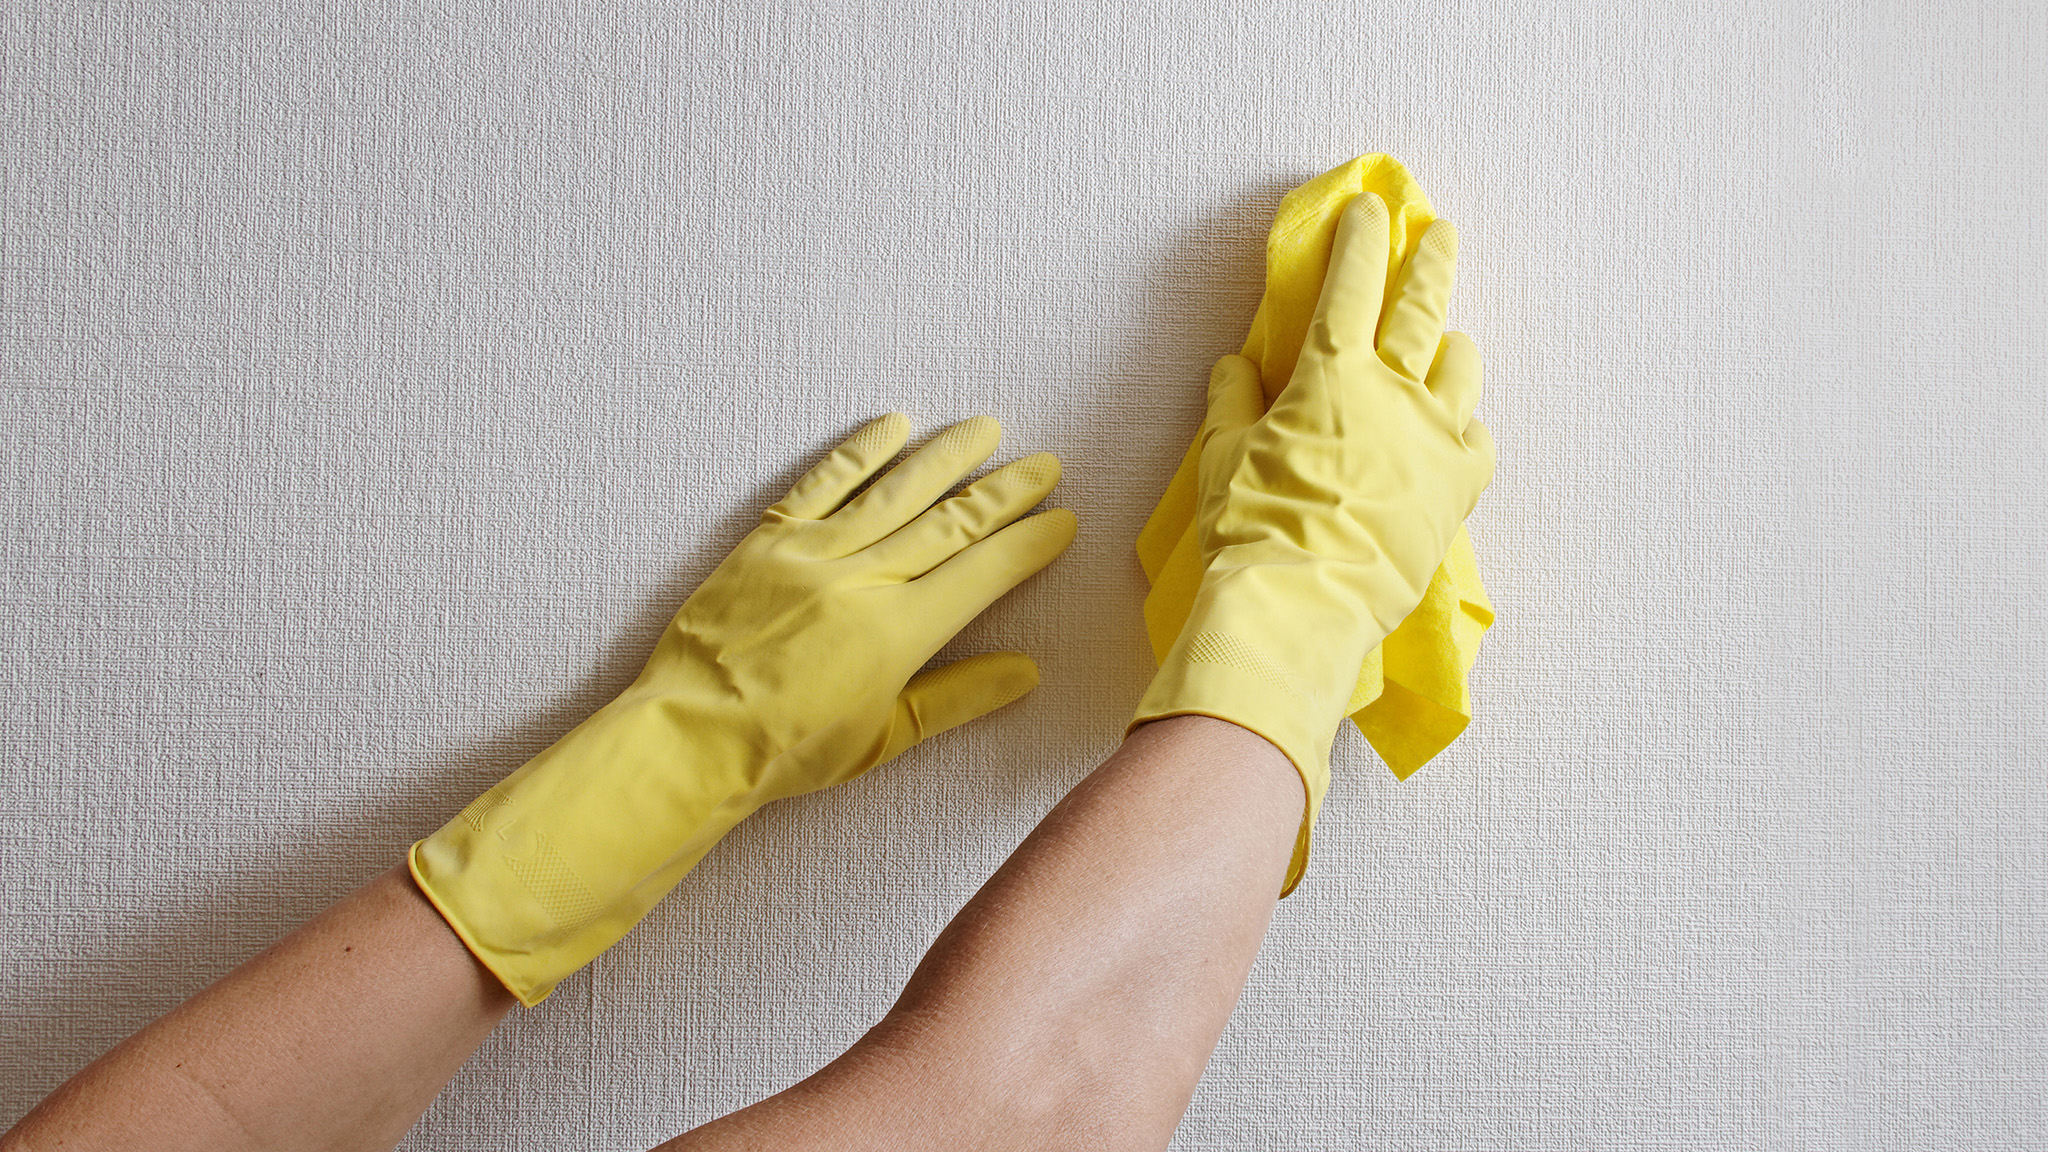
If you're wondering how to clean your walls before painting, there are a few options you can choose from. Some people swear by using a mixture of warm water and mild detergent, while others prefer to use a mixture of vinegar and water. Whichever method you choose, make sure to rinse the walls thoroughly with clean water afterwards to avoid leaving any residue behind. For tougher stains or areas with built-up grease, you may need to use a degreaser or a stronger cleaner. Make sure to follow the instructions carefully and test a small area first to avoid damaging your walls. And always make sure to wear gloves and protect your skin and eyes when using any harsh chemicals.3. How to Clean Walls Before Painting
Another important step in preparing your kitchen walls for painting is to properly protect any areas that won't be painted, such as cabinets, countertops, and floors. Use painter's tape to cover these areas and make sure it's pressed down firmly to prevent any paint from bleeding through. It's also a good idea to remove any outlet covers, light switch plates, and other fixtures from the walls before painting. This will make it easier to paint the walls evenly and will also prevent any paint from getting on these fixtures.4. How to Clean Walls Before Painting
After your walls are clean and prepped, it's time to prime them before painting. This is an important step that many people skip, but it can make a big difference in the overall look and longevity of your paint job. Primer helps to create a smooth and even surface for the paint to adhere to, and it also helps to cover up any imperfections in the walls. When choosing a primer, make sure to select one that is suitable for kitchen walls and is compatible with the type of paint you will be using. You may need to apply more than one coat of primer, especially if you have dark or heavily stained walls.5. How to Clean Walls Before Painting
Now that your walls are clean, prepped, and primed, it's finally time to start painting! Make sure to use a high-quality paint that is specifically designed for kitchens and is durable enough to withstand the heat, moisture, and grease that can be found in this room. It's also important to use the right tools, such as a roller or paintbrush, to ensure a smooth and even application. When painting, start at the top of the wall and work your way down, using long and even strokes. Make sure to paint in one direction and avoid going back over areas that have already been painted. This will help to prevent any visible brush or roller marks.6. How to Clean Walls Before Painting
Once you've finished painting, let the walls dry completely before removing the painter's tape and replacing any fixtures or outlet covers. If you notice any areas that need touch-ups, now is the time to do so. And finally, step back and admire your newly painted kitchen walls! Remember, proper preparation is key to achieving a professional-looking paint job that will last for years to come. So before you start painting your kitchen walls, make sure to follow these steps and take the time to properly clean and prep them. Trust us, your efforts will be well worth it in the end.7. How to Clean Walls Before Painting
Clean walls before painting is a phrase that may seem obvious, but it's often overlooked by homeowners who are eager to get their painting project started. By following these steps and properly cleaning your kitchen walls before painting, you'll be setting yourself up for success and ensuring a beautiful and long-lasting paint job.8. How to Clean Walls Before Painting
So, to answer the question of whether you should wash your kitchen walls before painting – the answer is a resounding yes. By taking the time to properly clean and prep your walls, you'll be ensuring a smooth and even paint application and a beautiful end result that you can be proud of.9. How to Clean Walls Before Painting
In summary, cleaning your kitchen walls before painting is crucial for achieving a professional-looking and long-lasting paint job. Make sure to thoroughly clean, prep, and prime your walls before painting, and use high-quality products and tools for the best results. And don't forget to protect any areas that won't be painted and take the time to properly clean up afterwards. Happy painting!10. How to Clean Walls Before Painting
Why Washing Your Kitchen Walls Before Painting is Important

The Importance of Proper Preparation
 When it comes to painting your kitchen walls, many people tend to overlook the importance of proper preparation. However, the reality is that
washing your kitchen walls before painting is an essential step in achieving a professional and long-lasting finish
. Not only does it help to remove any dirt, grease, and grime that may have accumulated over time, but it also ensures that the paint adheres properly to the surface, resulting in a smoother and more even application.
The Benefits of Washing Your Kitchen Walls
 One of the main benefits of washing your kitchen walls before painting is that
it helps to create a clean and smooth canvas for the paint to adhere to
. This is especially important if you are planning on using a light-colored paint, as any dirt or stains on the walls can show through and affect the overall appearance of the room. Additionally, washing your walls can also help to remove any bacteria or mold that may be present, ensuring a healthier and more hygienic environment.
Another advantage of washing your kitchen walls is that
it helps to remove any imperfections and bumps on the surface
. This is particularly important if you have textured walls, as the paint may not adhere properly to these areas if they are not cleaned beforehand. By washing your walls, you can smooth out any bumps or ridges, resulting in a more even and professional-looking finish.
The Proper Way to Wash Your Kitchen Walls
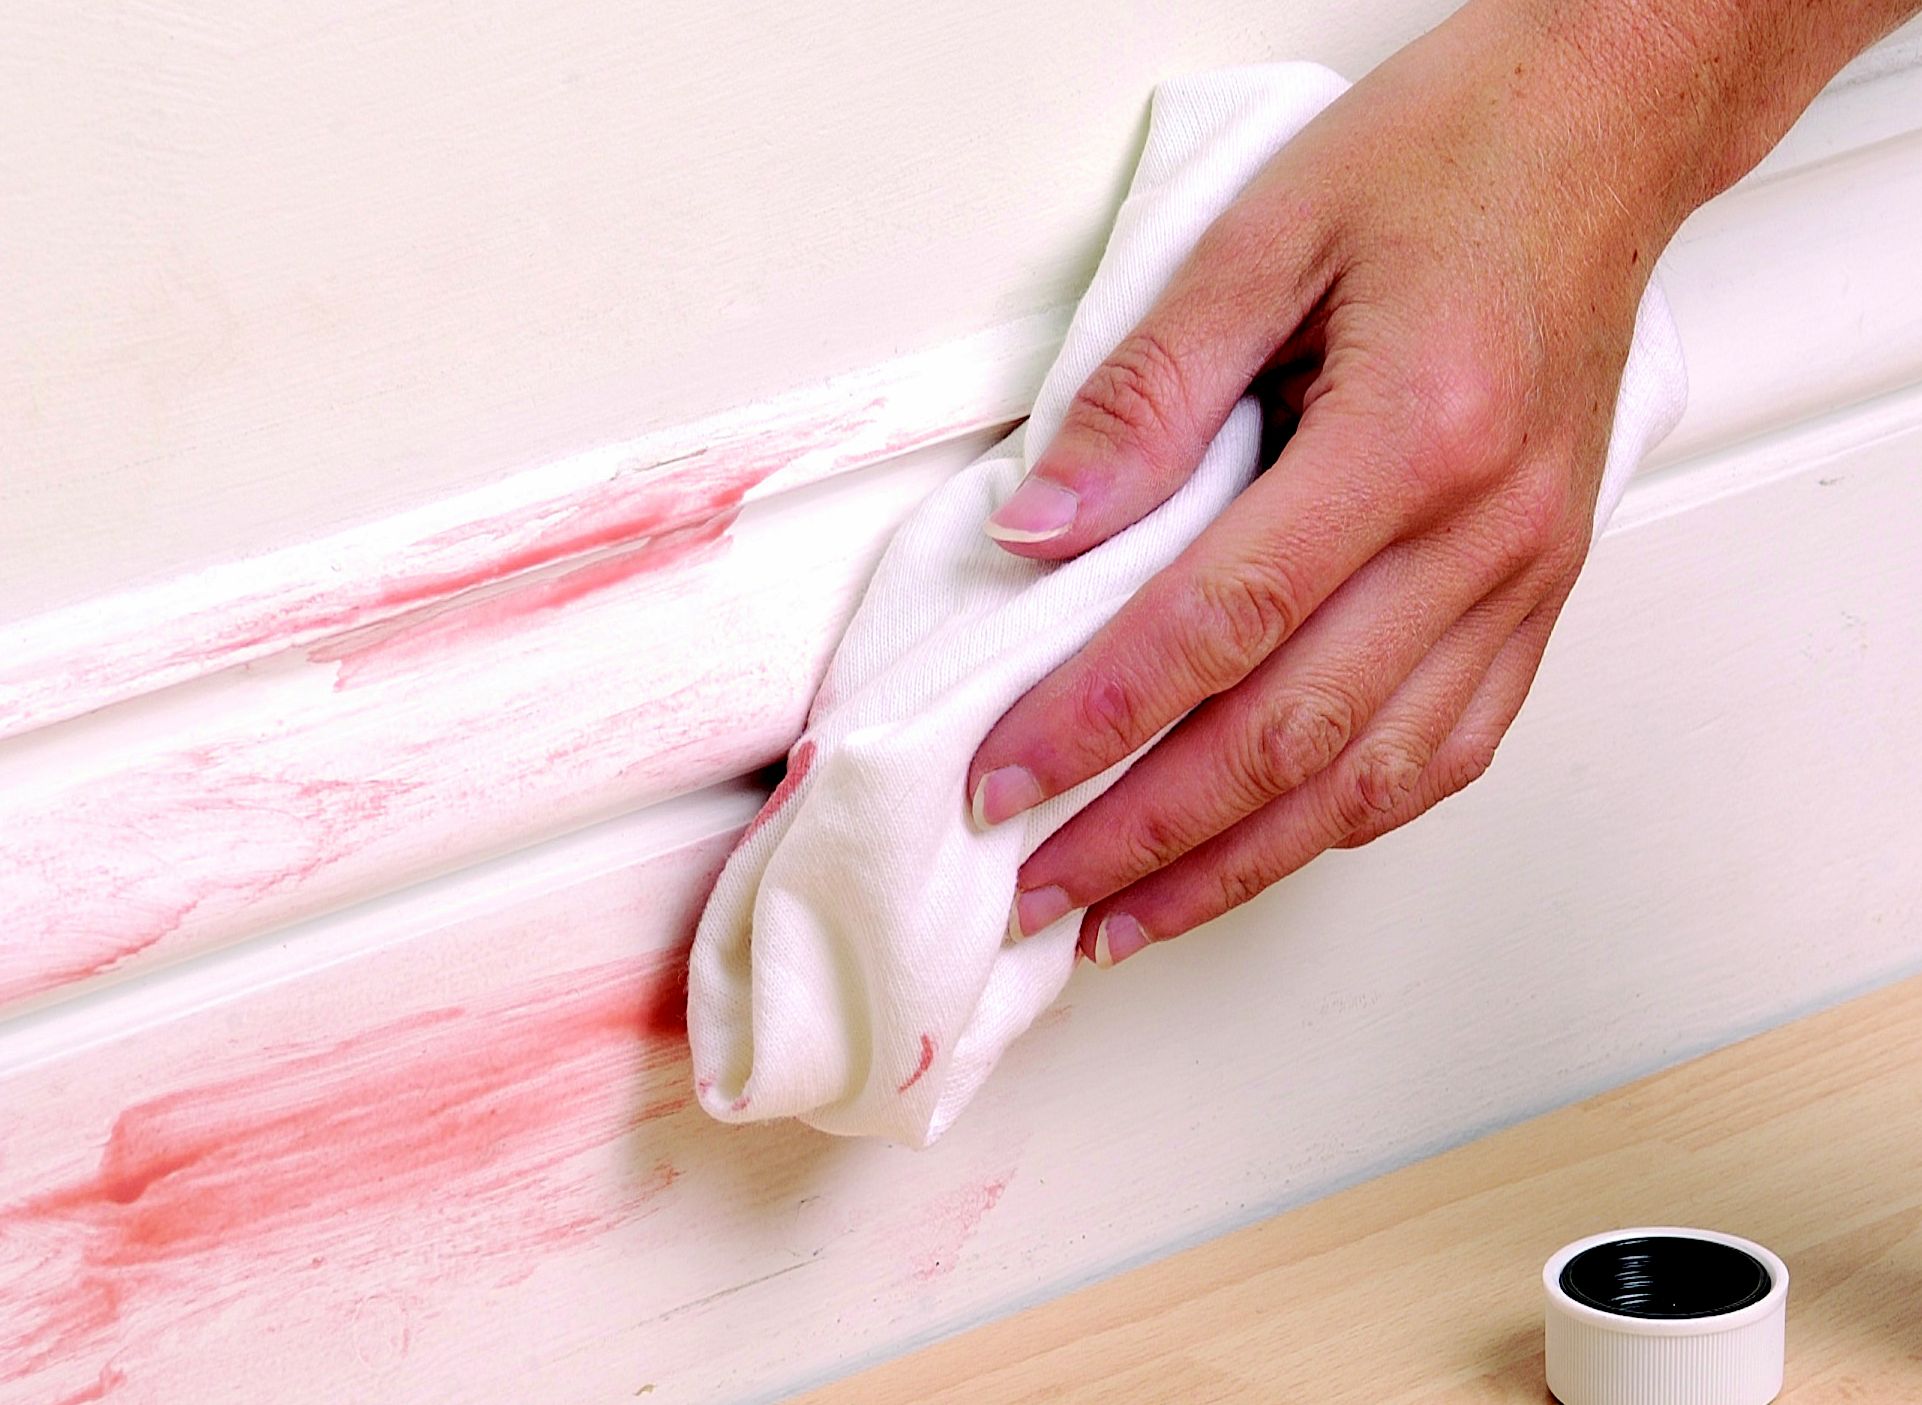
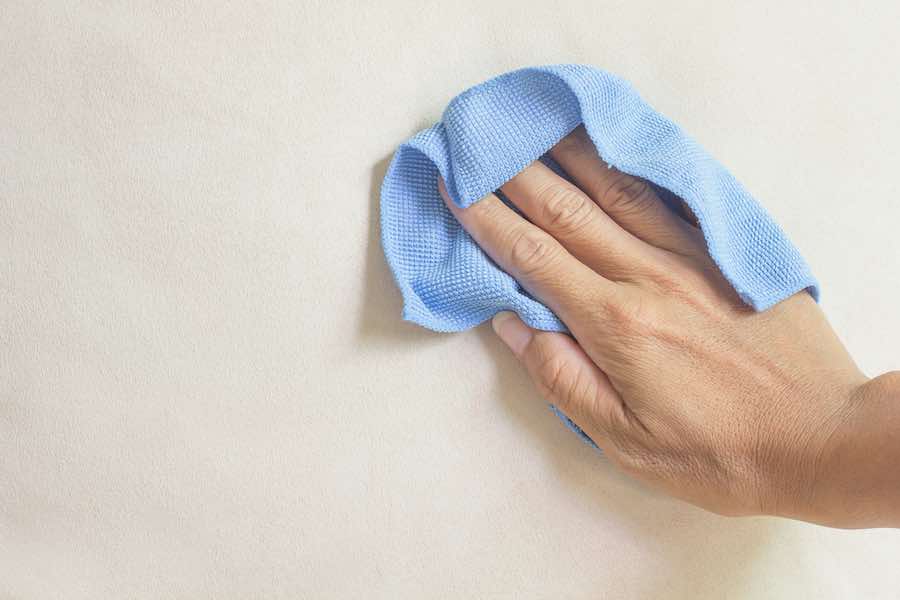
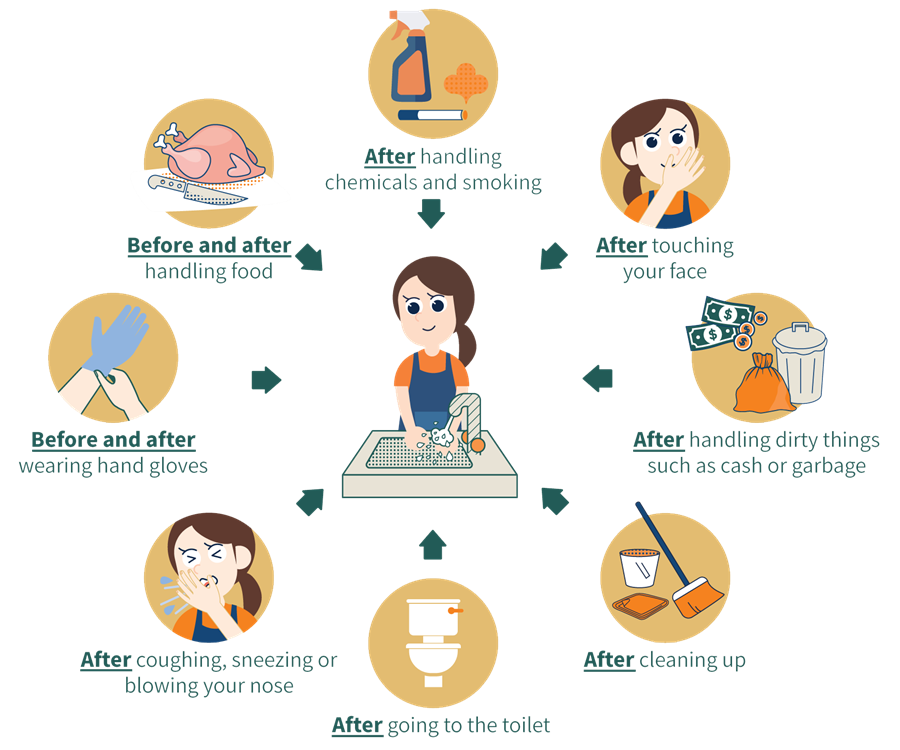 Now that you understand the importance of washing your kitchen walls before painting, it is essential to know the proper way to do it. Start by removing any loose debris, such as cobwebs or dust, using a duster or vacuum cleaner. Then, using a mild detergent and warm water,
scrub the walls gently with a soft sponge or cloth
. Be sure to rinse the walls thoroughly with clean water and allow them to dry completely before painting.
In conclusion,
washing your kitchen walls before painting is an essential step in achieving a professional and flawless finish
. Not only does it create a clean and smooth canvas for the paint to adhere to, but it also helps to remove any imperfections and bumps on the surface. By following the proper washing techniques, you can ensure that your kitchen walls are thoroughly prepped and ready for a fresh coat of paint.










:max_bytes(150000):strip_icc()/washing-interior-walls-2-b5cd3327c69944188f71d8c989ab021c.jpg)









.jpg)


