Setting up a kitchen sink may seem like a daunting task, but with the right tools and knowledge, it can be a relatively simple process. Whether you're looking to upgrade your current sink or installing a new one, following these steps will help you set up your kitchen sink like a pro.How to Set a Kitchen Sink


How to Set a Kitchen Sink


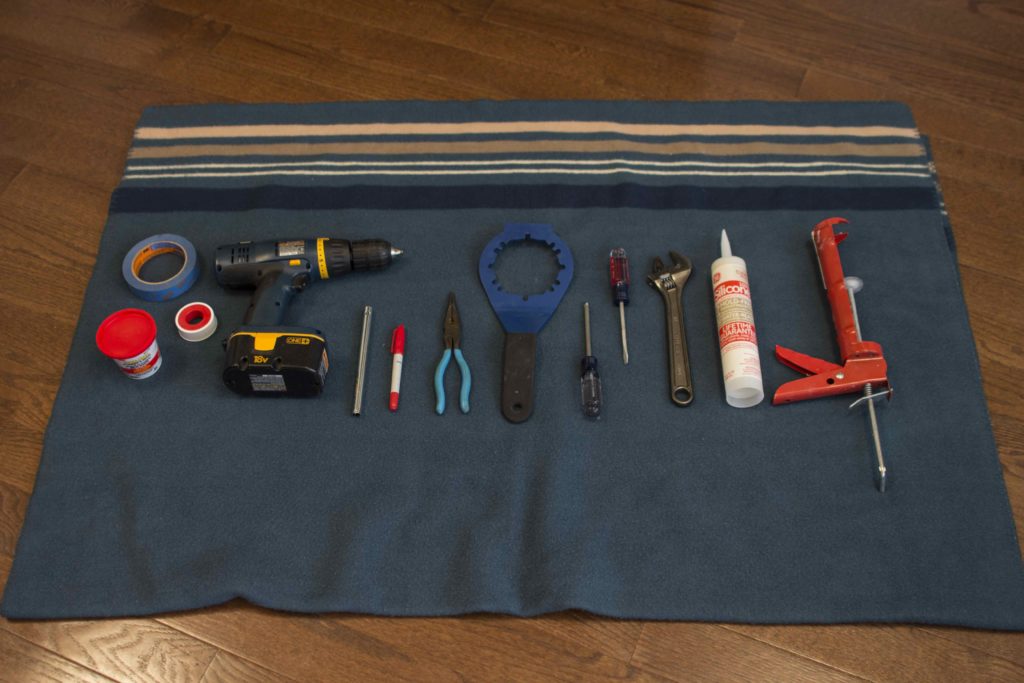
Before beginning the installation process, it's important to have all the necessary materials and tools on hand. This includes the sink, faucet, drain, plumber's putty, silicone sealant, and a wrench. Having everything ready to go will make the process much smoother and efficient.Setting Up a Kitchen Sink


Setting Up a Kitchen Sink


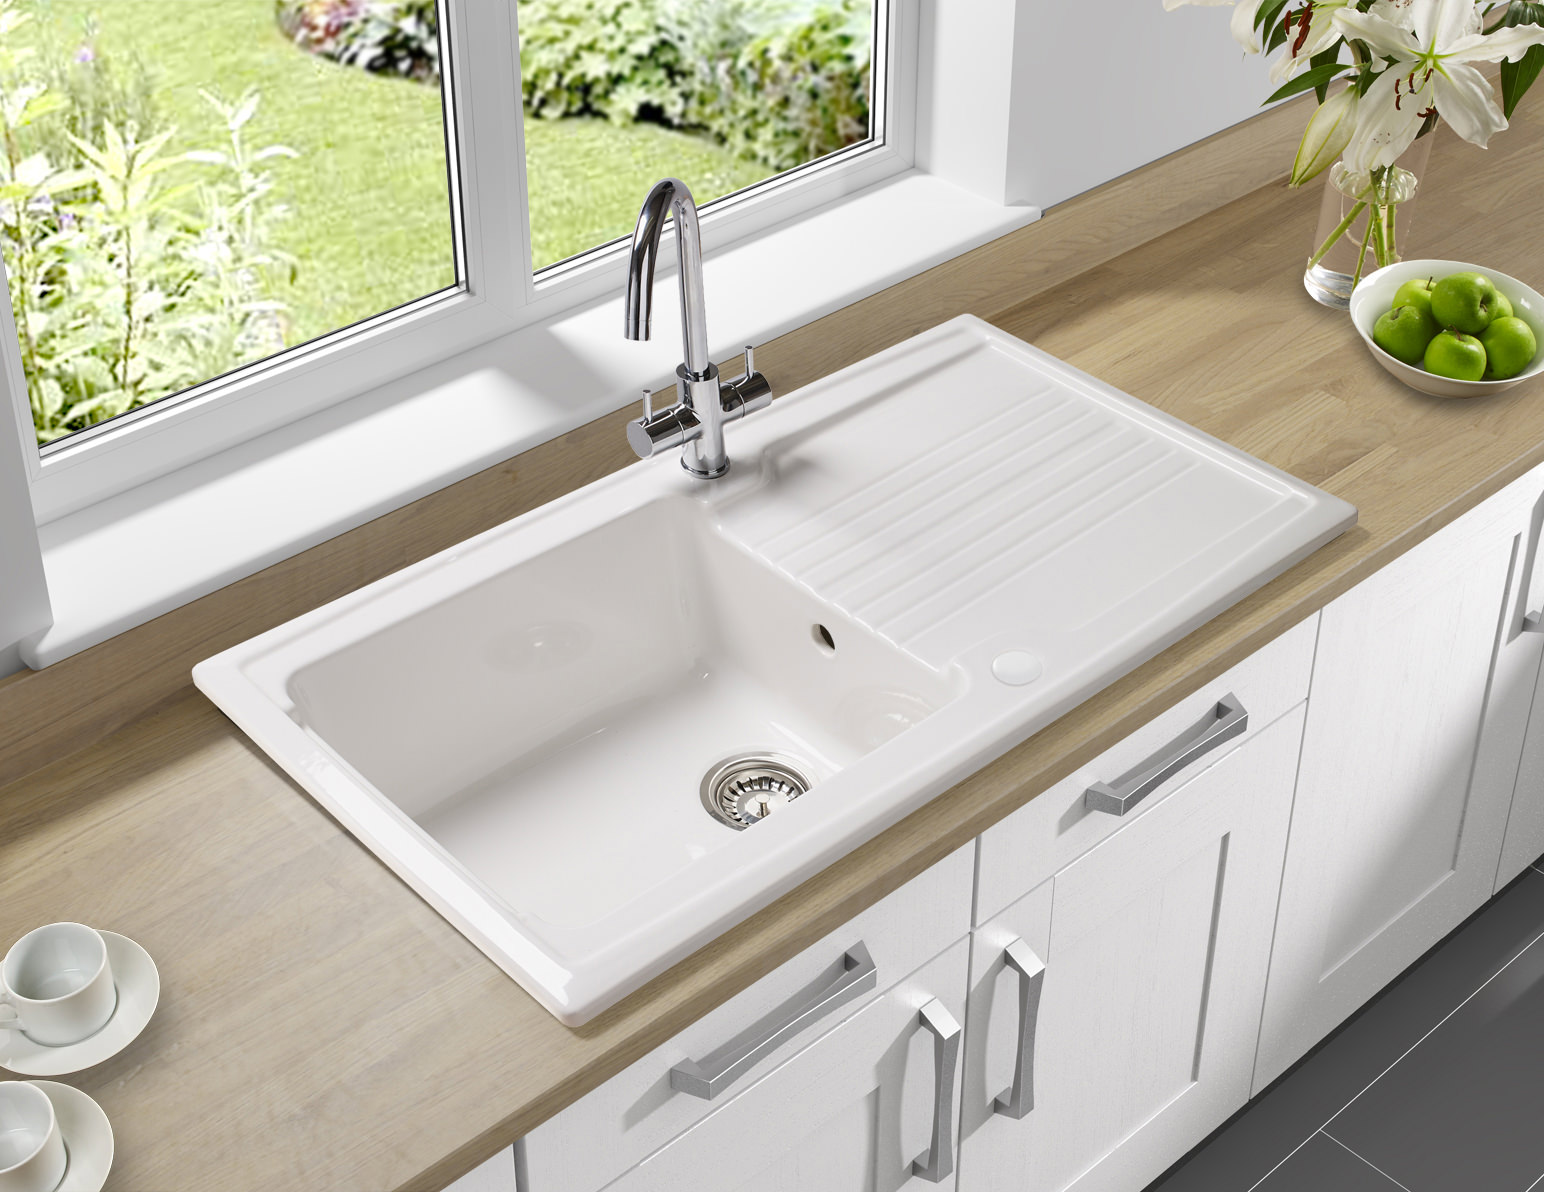
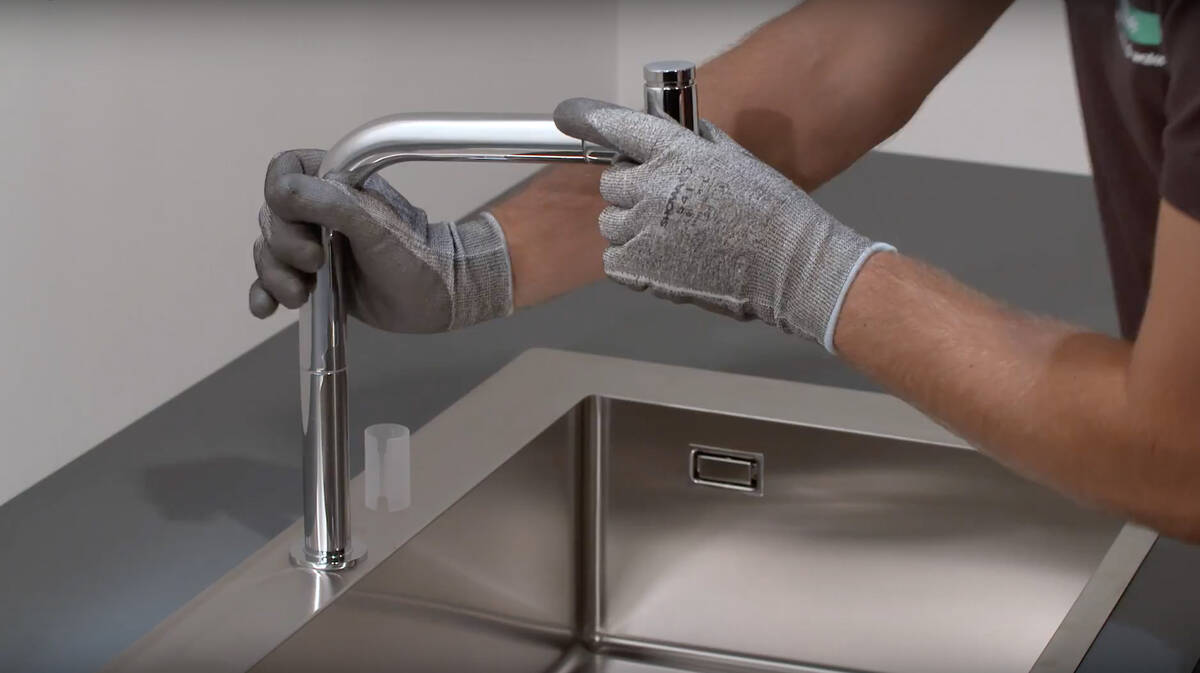
Step 1: Prepare the sink by cleaning the area where it will be installed and removing any old caulking or putty. This will ensure a clean and secure fit for the new sink. Step 2: Apply plumber's putty around the edges of the sink's drain opening. This will create a watertight seal when the sink is placed in the countertop. Step 3: Carefully lower the sink into the countertop opening, making sure it is centered and level. Use a level to double-check the sink's positioning. Step 4: Attach the mounting clips to the underside of the sink and tighten them with a wrench. This will secure the sink to the countertop. Step 5: Install the faucet by following the manufacturer's instructions. Make sure to use a wrench to tighten all connections. Step 6: Connect the drain to the sink by attaching the drain flange and tightening it with a wrench. Then, connect the P-trap and tighten all connections. Step 7: Apply a bead of silicone sealant around the edges of the sink where it meets the countertop. This will create a waterproof seal and prevent any leaks. Step 8: Turn on the water supply and check for any leaks. If everything looks good, you're ready to start using your new kitchen sink!Step-by-Step Guide for Setting a Kitchen Sink


Step-by-Step Guide for Setting a Kitchen Sink


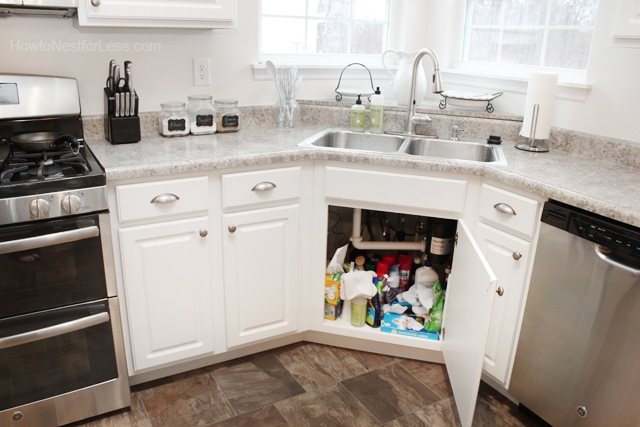
If you're looking to upgrade your current sink, it's important to properly uninstall the old one before installing the new one. This involves disconnecting the water supply and drain, removing any mounting clips, and carefully lifting the sink out of the countertop. Once the old sink is removed, you can follow the same steps as above to install the new one.Installing a Kitchen Sink


Installing a Kitchen Sink


While hiring a professional to install your kitchen sink is always an option, it can also be a fun and rewarding DIY project. With the right tools and instructions, you can save money and have the satisfaction of completing the installation yourself. Just make sure to carefully follow all safety precautions and guidelines.DIY Kitchen Sink Installation


DIY Kitchen Sink Installation


:no_upscale()/cdn.vox-cdn.com/uploads/chorus_asset/file/19495086/drain_0.jpg)


- Make sure to measure the sink and countertop opening before purchasing a new sink to ensure a proper fit. - Always use a level to check the sink's positioning and make adjustments as needed. - When applying plumber's putty or silicone sealant, make sure to wear gloves to protect your hands. - Double-check all connections before turning on the water supply to prevent leaks.Tips for Setting a Kitchen Sink

Tips for Setting a Kitchen Sink


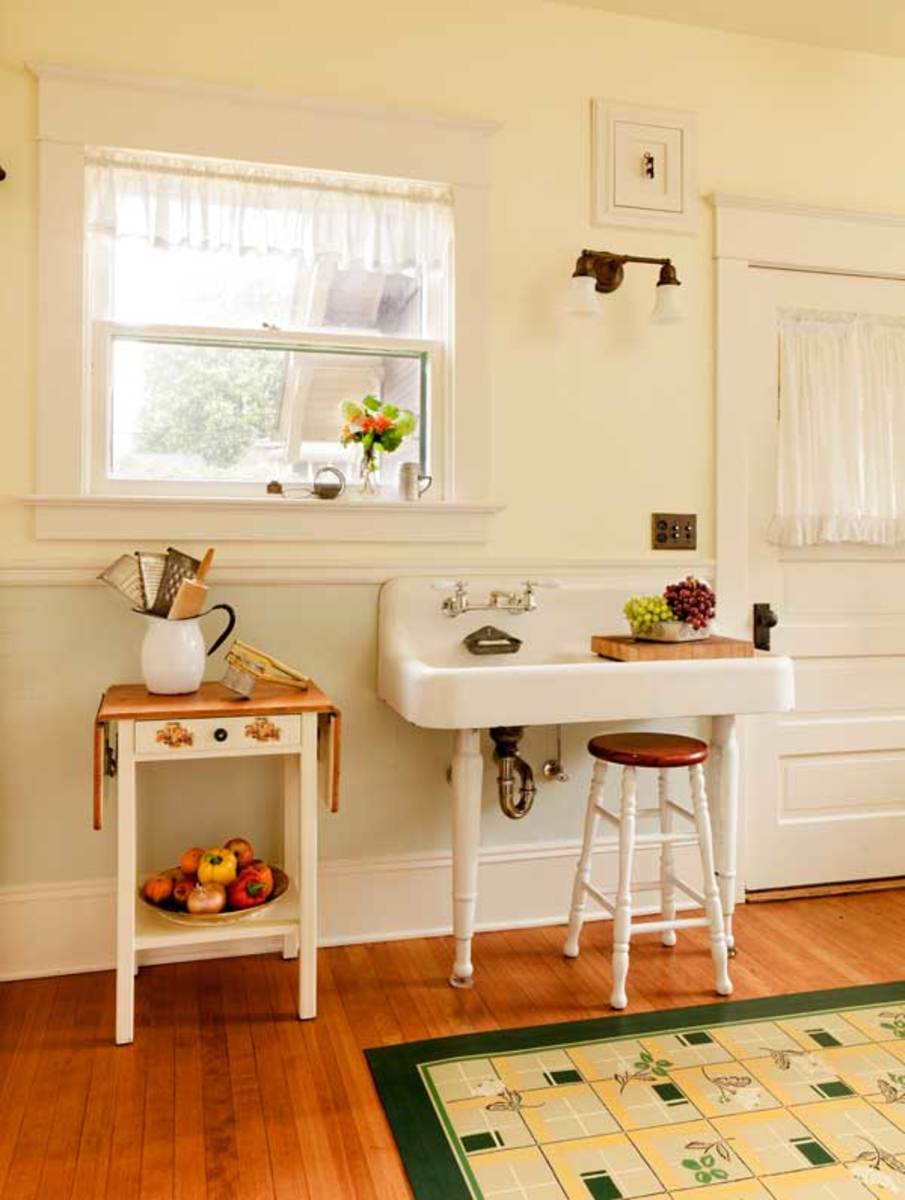
Properly setting a kitchen sink involves not only installing it correctly, but also ensuring it is securely attached and sealed to prevent any leaks or damage. Taking the time to properly set up your sink will save you from potential headaches and repairs in the future.Properly Setting a Kitchen Sink


Properly Setting a Kitchen Sink


- Not properly measuring the sink and countertop, resulting in a poor fit. - Forgetting to apply plumber's putty or silicone sealant, causing leaks and water damage. - Not double-checking all connections, leading to future leaks and repairs. - Rushing the installation process, resulting in an uneven or unstable sink.Common Mistakes When Setting a Kitchen Sink


Common Mistakes When Setting a Kitchen Sink


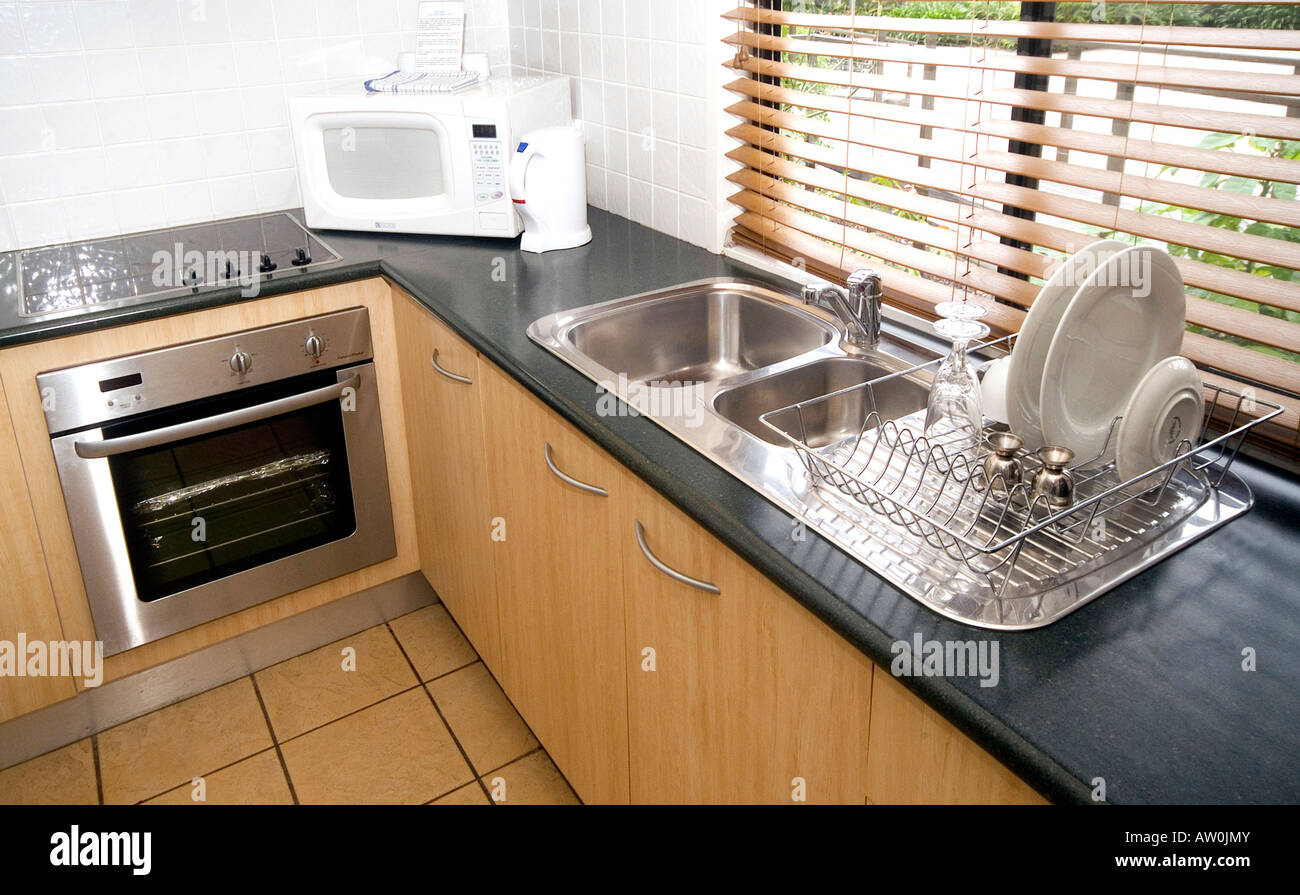
- Wrench - Level - Plumber's putty - Silicone sealant - ScrewdriverTools Needed for Setting a Kitchen Sink


Tools Needed for Setting a Kitchen Sink


- Follow the manufacturer's instructions for your specific sink and faucet. - Take your time and carefully measure and install the sink for the best results. - Use high-quality materials and tools for a secure and long-lasting installation. - Don't hesitate to seek professional help if you're unsure or uncomfortable with the installation process. Now that you know how to set a kitchen sink like a pro, you can confidently upgrade or install a new sink in your kitchen. Just remember to take your time, follow the steps carefully, and double-check all connections for a successful installation. Happy sink setting!Best Practices for Setting a Kitchen Sink


Best Practices for Setting a Kitchen Sink


Why Setting a Kitchen Sink is Vital for Your House Design

The Heart of the Kitchen
 When it comes to house design, the kitchen is often considered the heart of the home. It is where meals are prepared, memories are made, and friends and family gather. And at the center of this bustling space is the kitchen sink. A properly installed and functional sink is not only essential for daily tasks, but it can also greatly enhance the overall design and functionality of your kitchen.
Setting a kitchen sink is a crucial step in creating a well-designed and efficient kitchen. It involves carefully considering the layout, style, and materials of the sink to ensure it meets your needs and complements the rest of your kitchen. Whether you're building a new home or remodeling your existing kitchen, here are some important factors to keep in mind when setting a kitchen sink.
Layout and Functionality
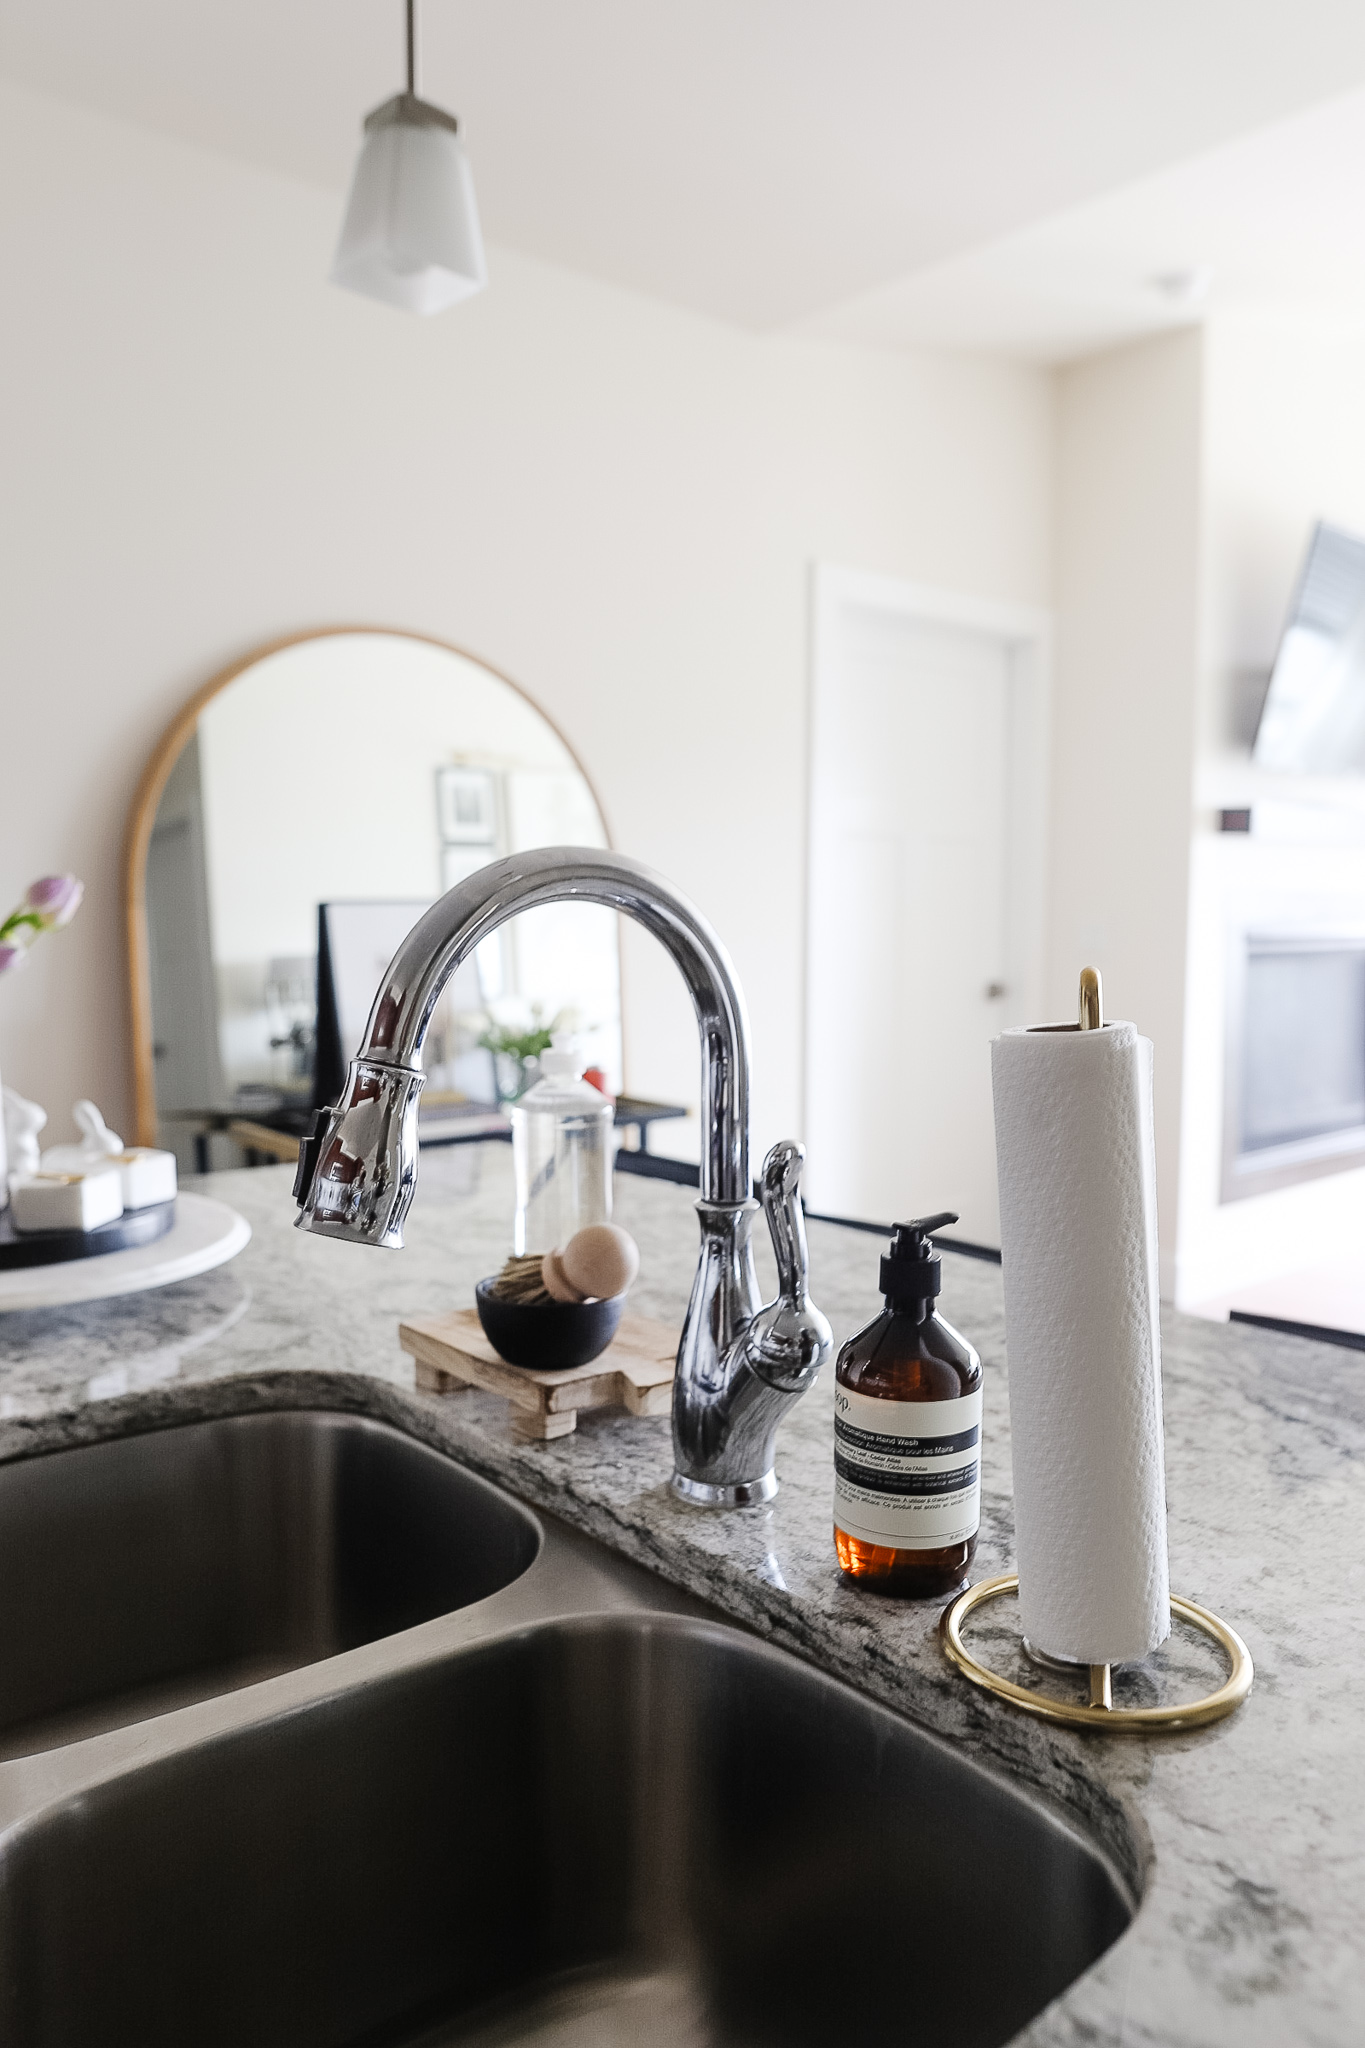
 The first thing to consider when setting a kitchen sink is the layout of your kitchen. The sink should be placed in a convenient location that allows for ease of use and efficient workflow. For example, if you frequently use the sink for food prep, it should be located near the stove and countertop space. If you have a dishwasher, it should be placed next to the sink for easy loading and unloading.
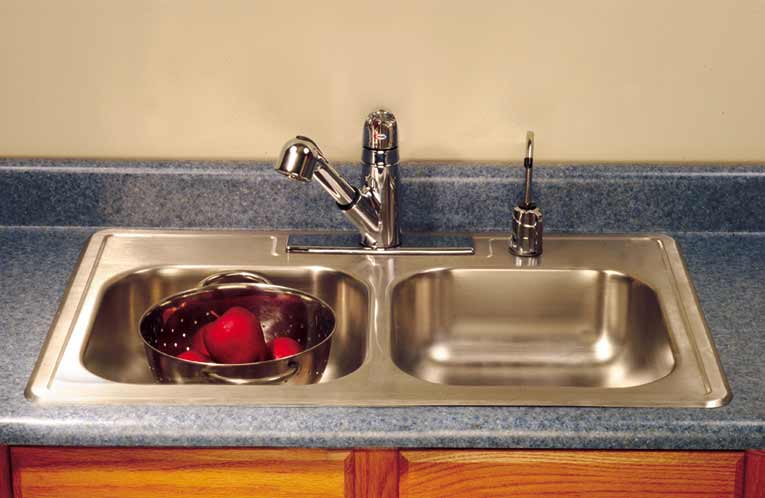
It's also important to consider the size and depth of the sink based on your needs and the size of your kitchen. A larger sink can accommodate larger pots and pans, while a deeper sink can prevent splashing and contain more dishes. Additionally, the shape of the sink should be chosen based on your preferred style and the design of your kitchen.
Materials and Style
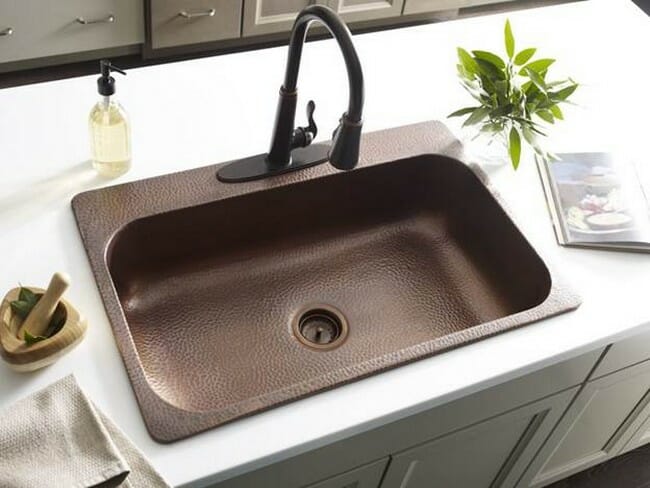
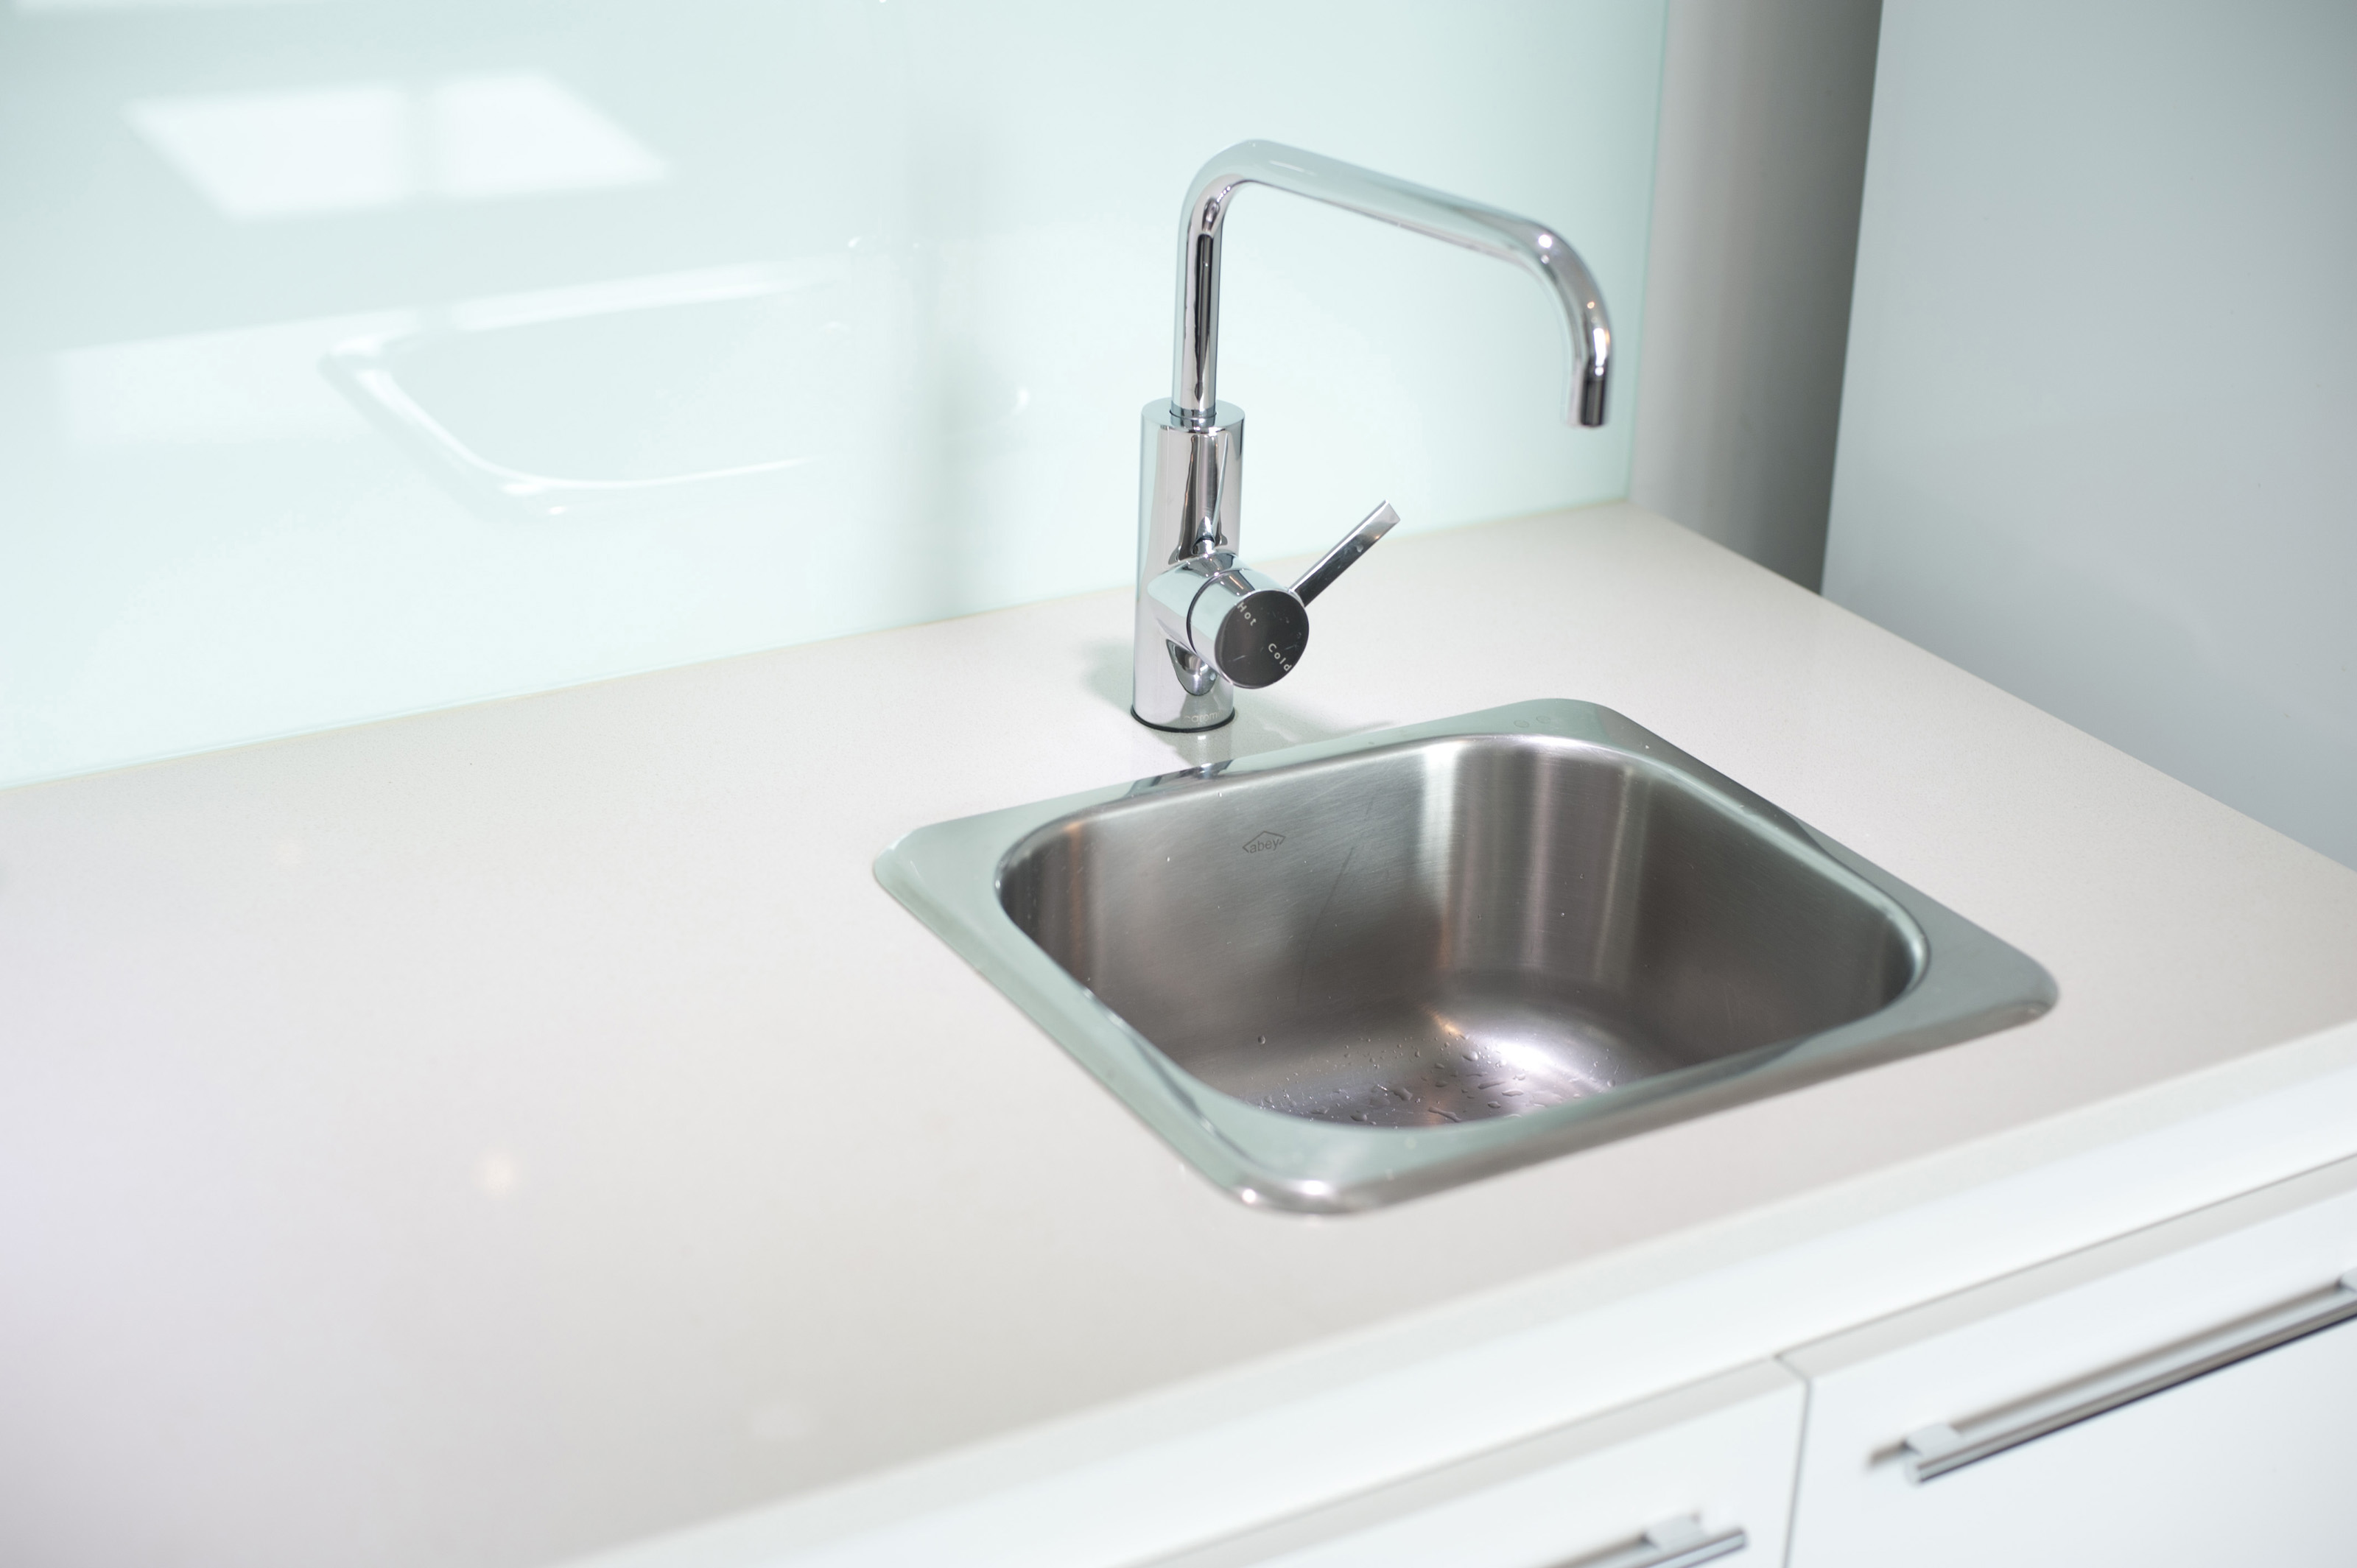
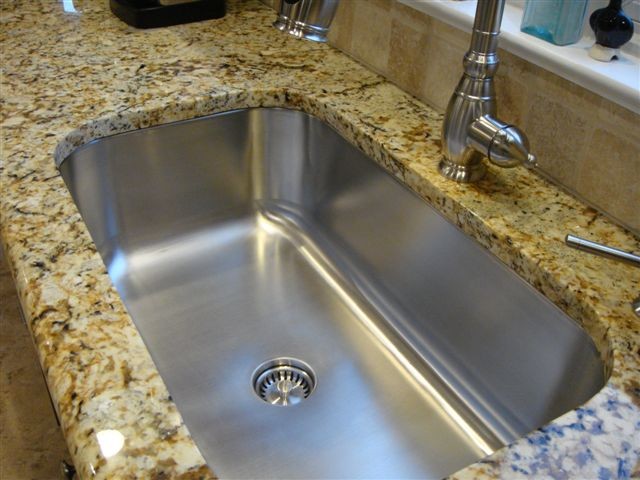
 Another key aspect of setting a kitchen sink is selecting the right materials and style. The sink should not only be aesthetically pleasing but also durable and functional. Stainless steel and granite composite sinks are popular choices for their durability and versatility.
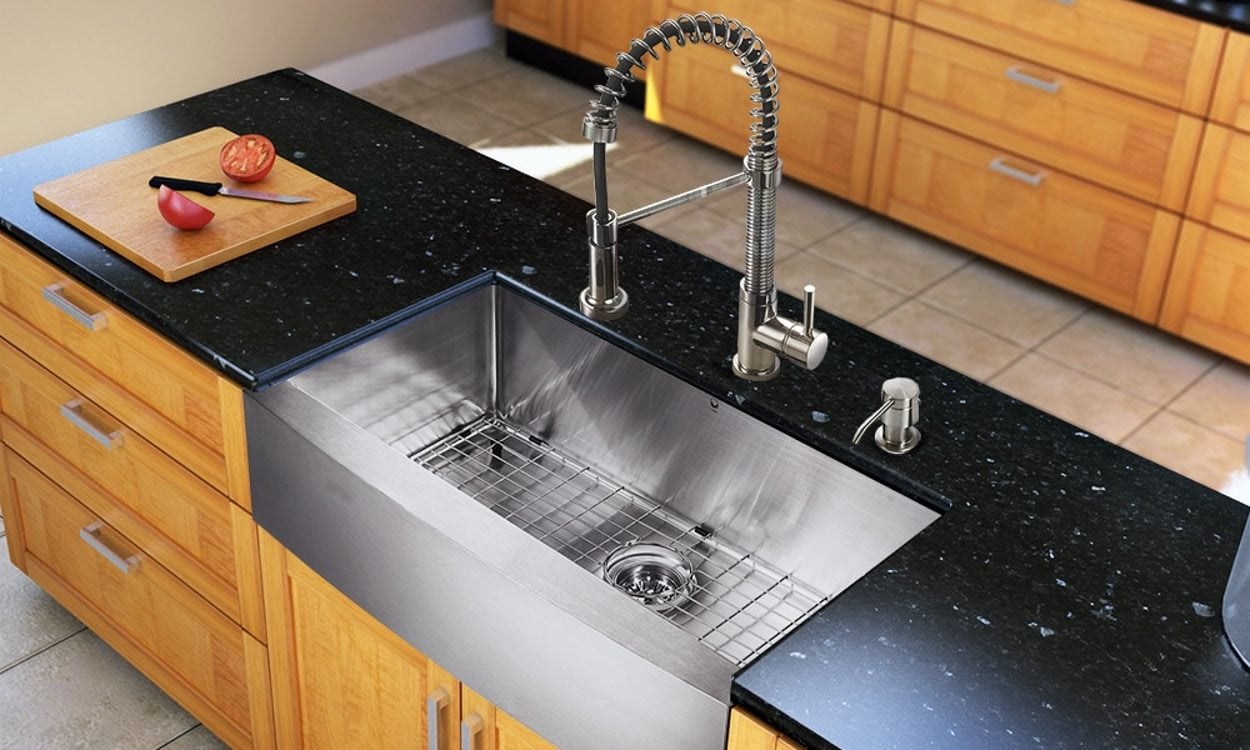
When it comes to style, you can choose from traditional undermount or drop-in sinks, or opt for a modern farmhouse or apron-front sink.
The material and style of your sink should complement the overall design of your kitchen and add to its visual appeal.
Another key aspect of setting a kitchen sink is selecting the right materials and style. The sink should not only be aesthetically pleasing but also durable and functional. Stainless steel and granite composite sinks are popular choices for their durability and versatility.
When it comes to style, you can choose from traditional undermount or drop-in sinks, or opt for a modern farmhouse or apron-front sink.
The material and style of your sink should complement the overall design of your kitchen and add to its visual appeal.
Professional Installation
 Finally, it's crucial to have your kitchen sink professionally installed to ensure it is properly fitted and sealed. This will prevent any leaks or damage to your cabinets and countertops. A professional installer can also make sure the sink is level and securely attached, providing peace of mind and avoiding any future issues.
Setting a kitchen sink may seem like a small detail, but it plays a significant role in the overall design and functionality of your kitchen. By carefully considering the layout, materials, and style of your sink, and having it professionally installed, you can create a beautiful and efficient kitchen that will be the heart of your home for years to come.