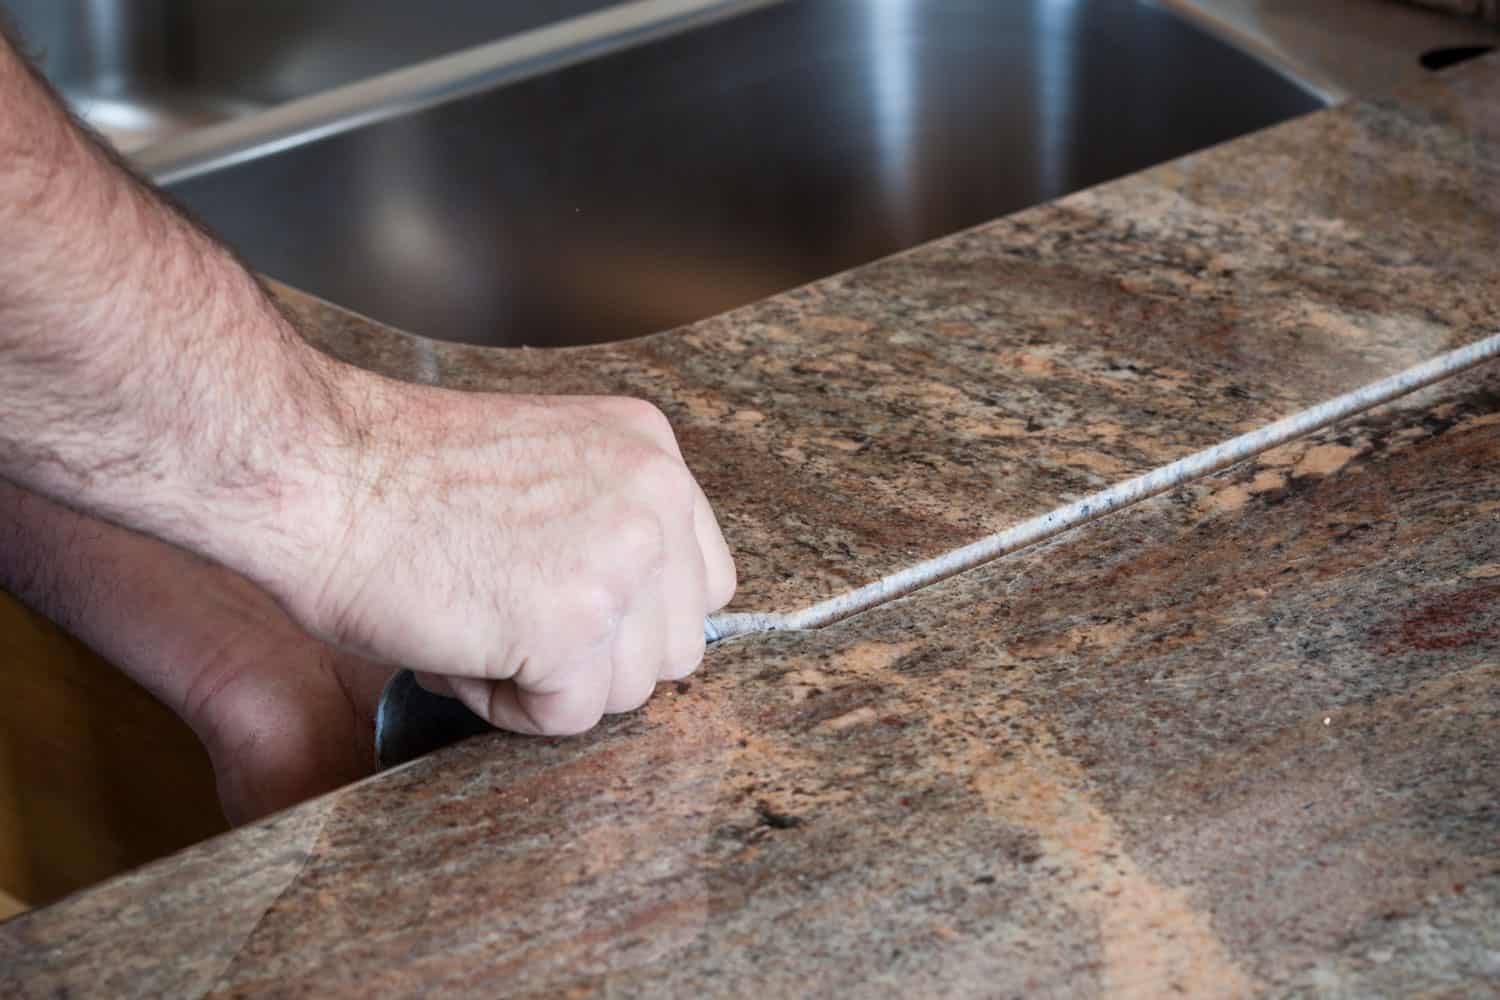
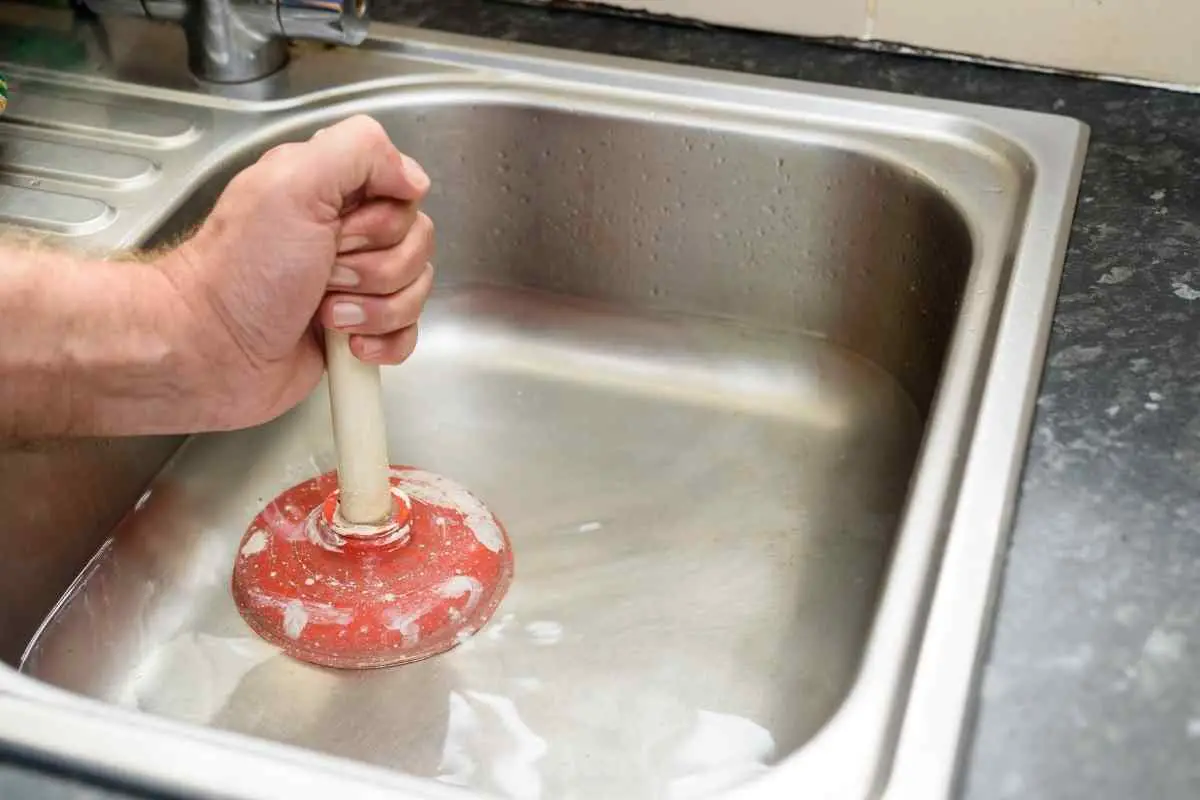
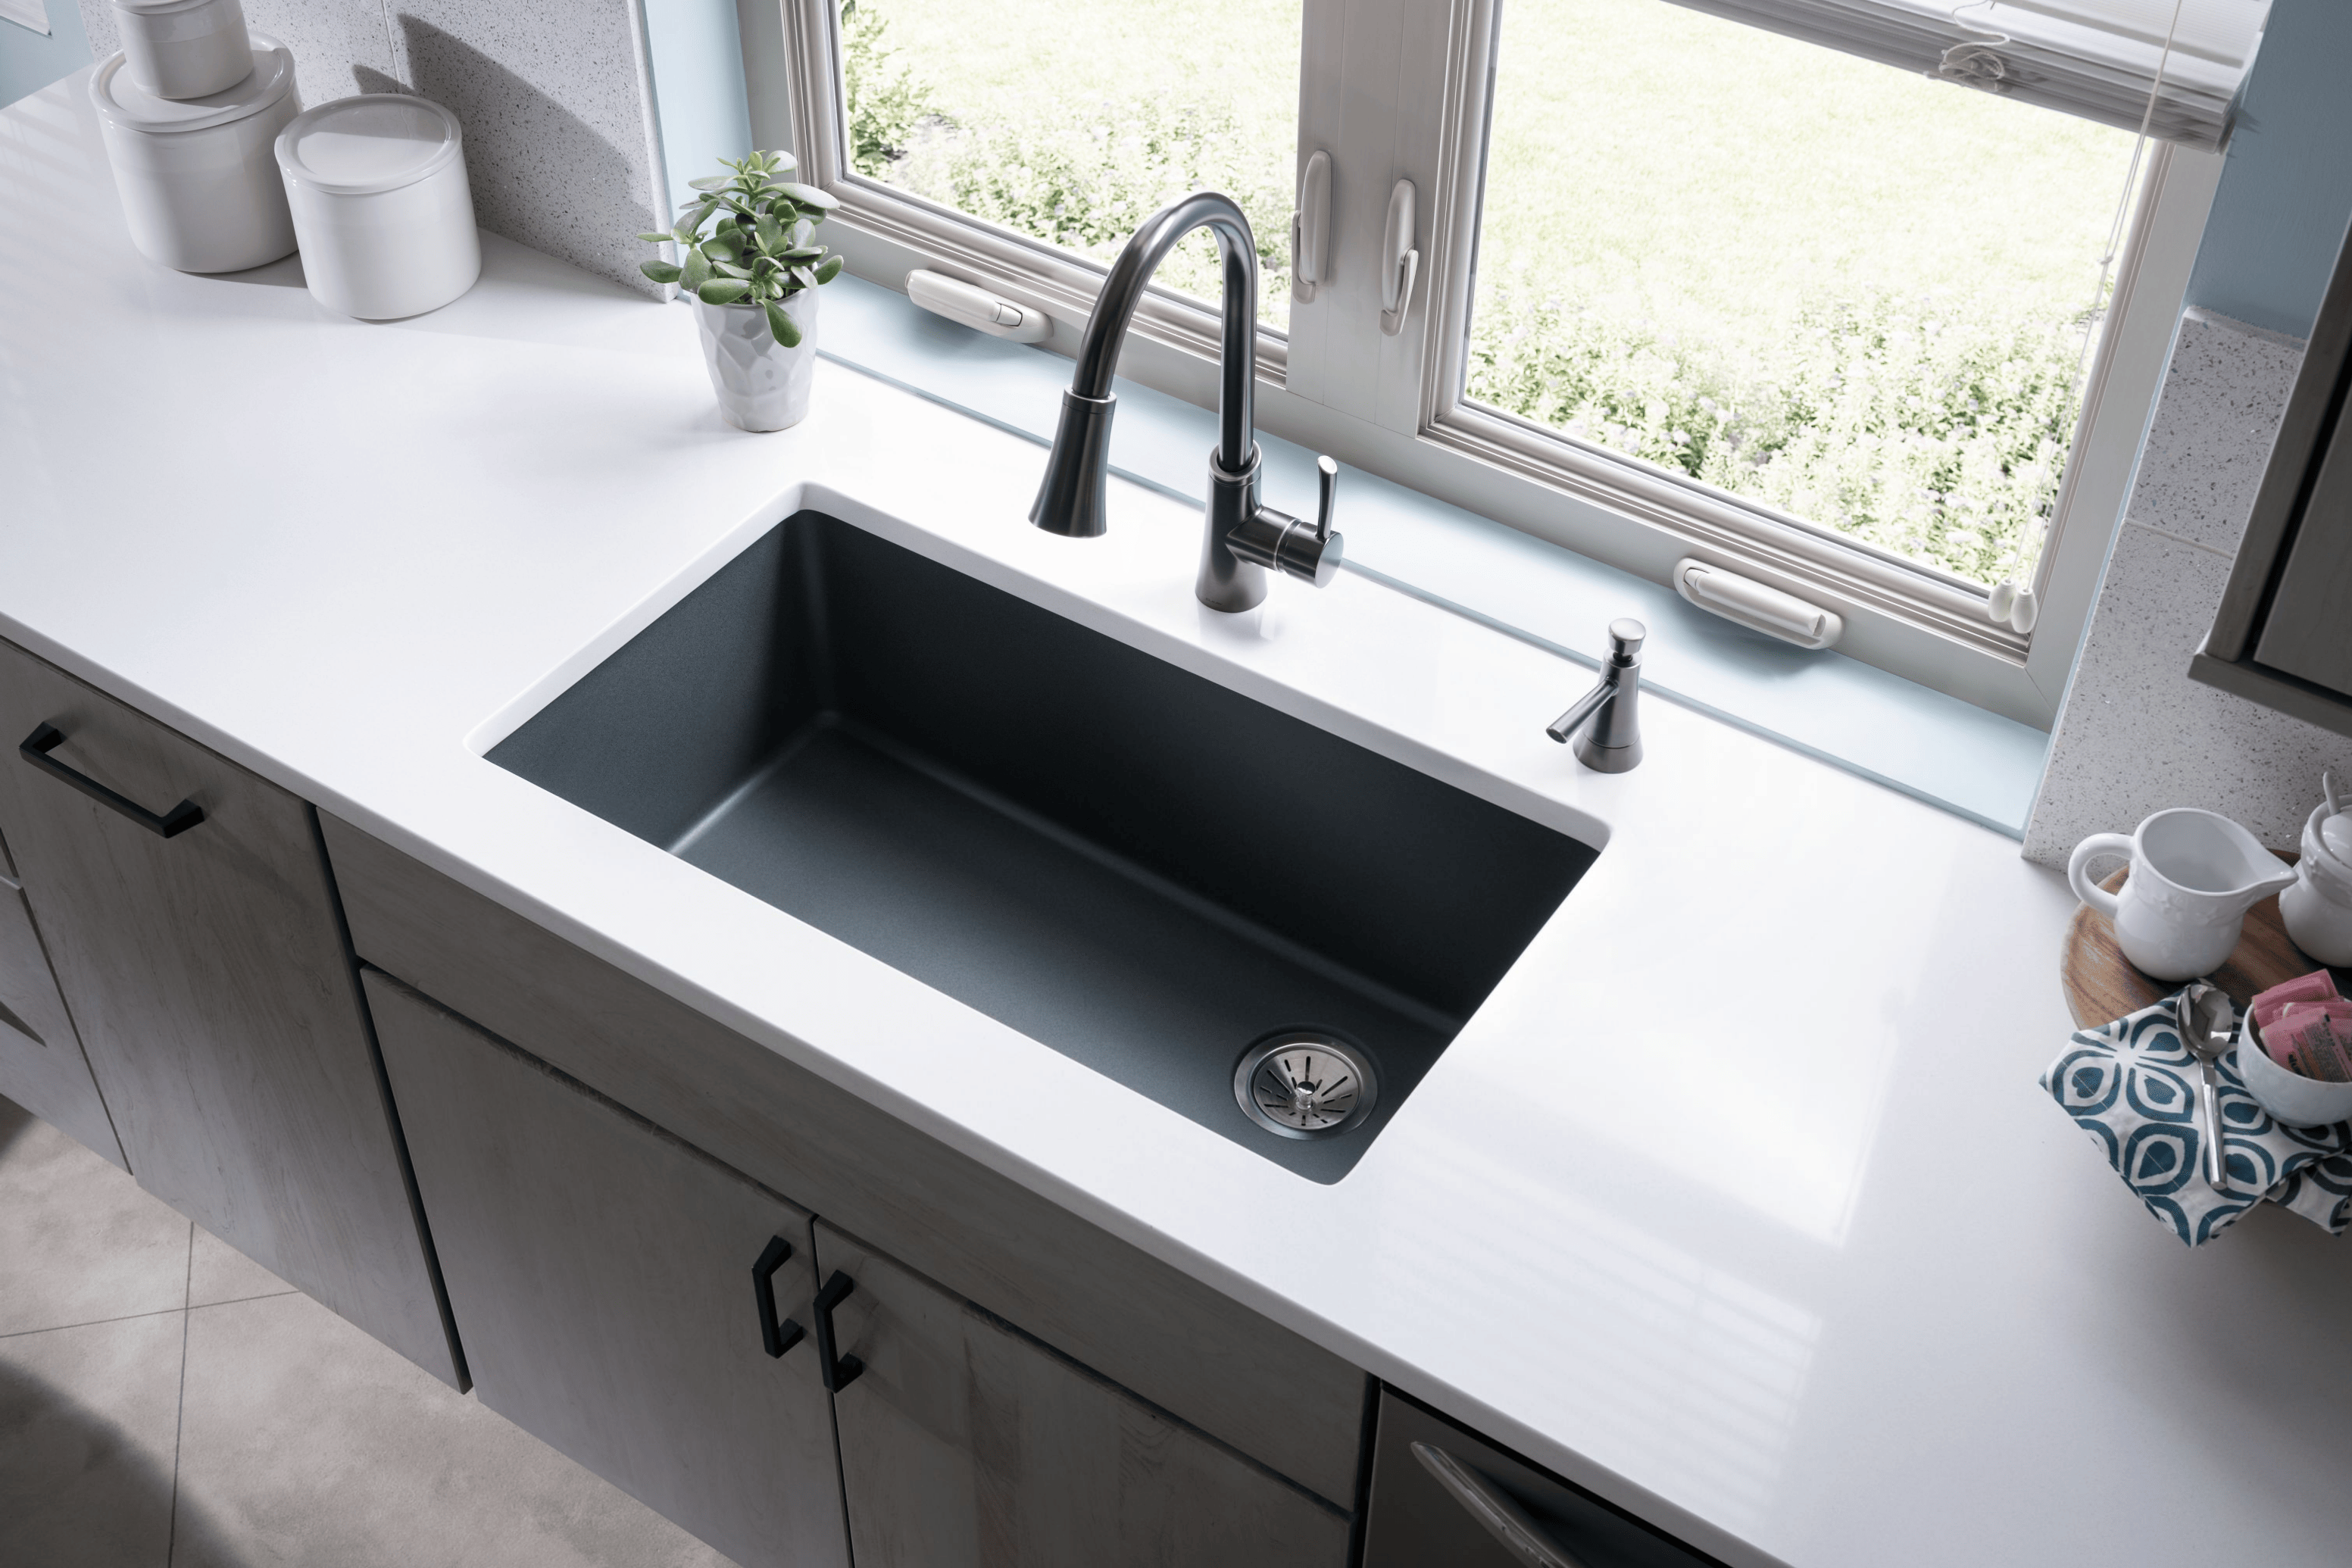
Is the seam at your kitchen sink causing you headaches? Don't worry, you're not alone. A seam is a common issue that many homeowners face with their kitchen sinks. But the good news is, it's not a problem that can't be fixed. In this article, we'll go over some easy and effective ways to fix a seam at the kitchen sink. First and foremost, you need to identify the location and cause of the seam. Is it at the edge of the sink where the countertop meets? Or is it in the middle of the sink? Is it due to old caulking or a cracked sink? Knowing the exact problem will help you determine the best solution. Once you've identified the issue, you can start fixing the seam. If it's a small seam caused by old caulking, you can easily fix it by removing the old caulk and applying a new one. Make sure to clean and dry the area thoroughly before applying the new caulk. Use a caulk gun for a neat application and smooth out the caulk with a damp finger or a caulk smoothing tool. Let it dry completely before using the sink again. If the seam is a bit more complicated, such as a cracked sink, you may need to use a patching kit. These kits come with instructions on how to mix and apply the patching material. Make sure to follow the instructions carefully for a successful repair. If you're not confident in fixing the seam yourself, it's best to call in a professional plumber. They have the expertise and tools to fix the seam quickly and effectively, saving you time and stress.1. How to Fix a Seam at the Kitchen Sink


1. How to Fix a Seam at the Kitchen Sink


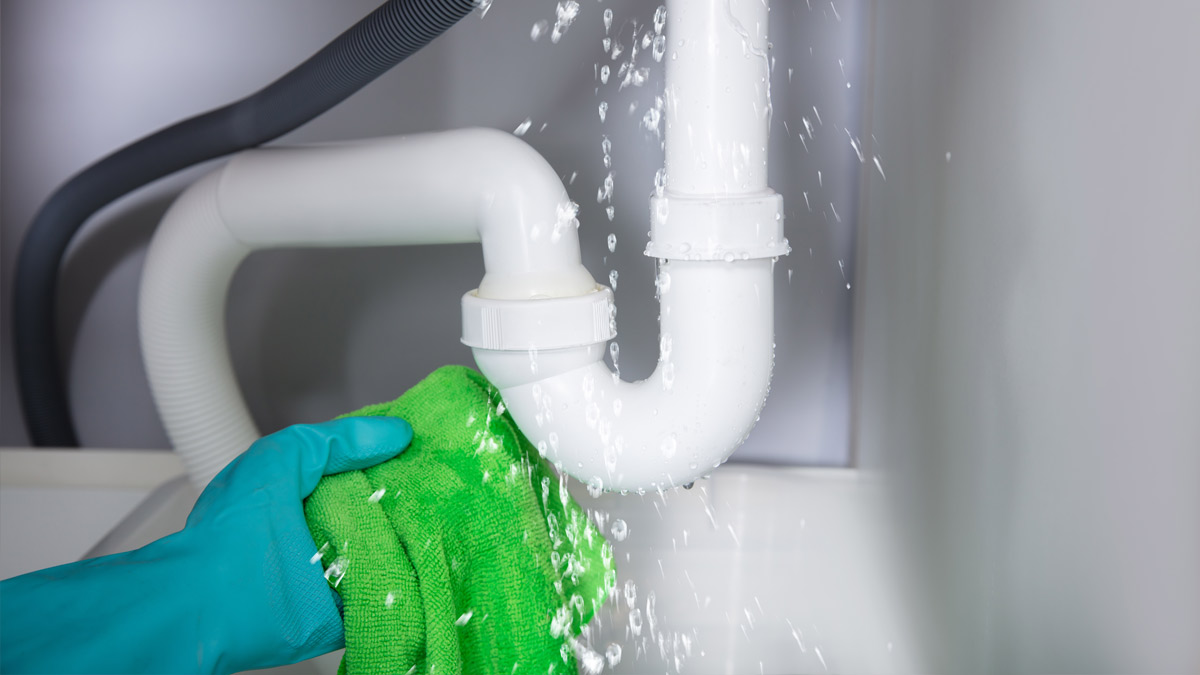
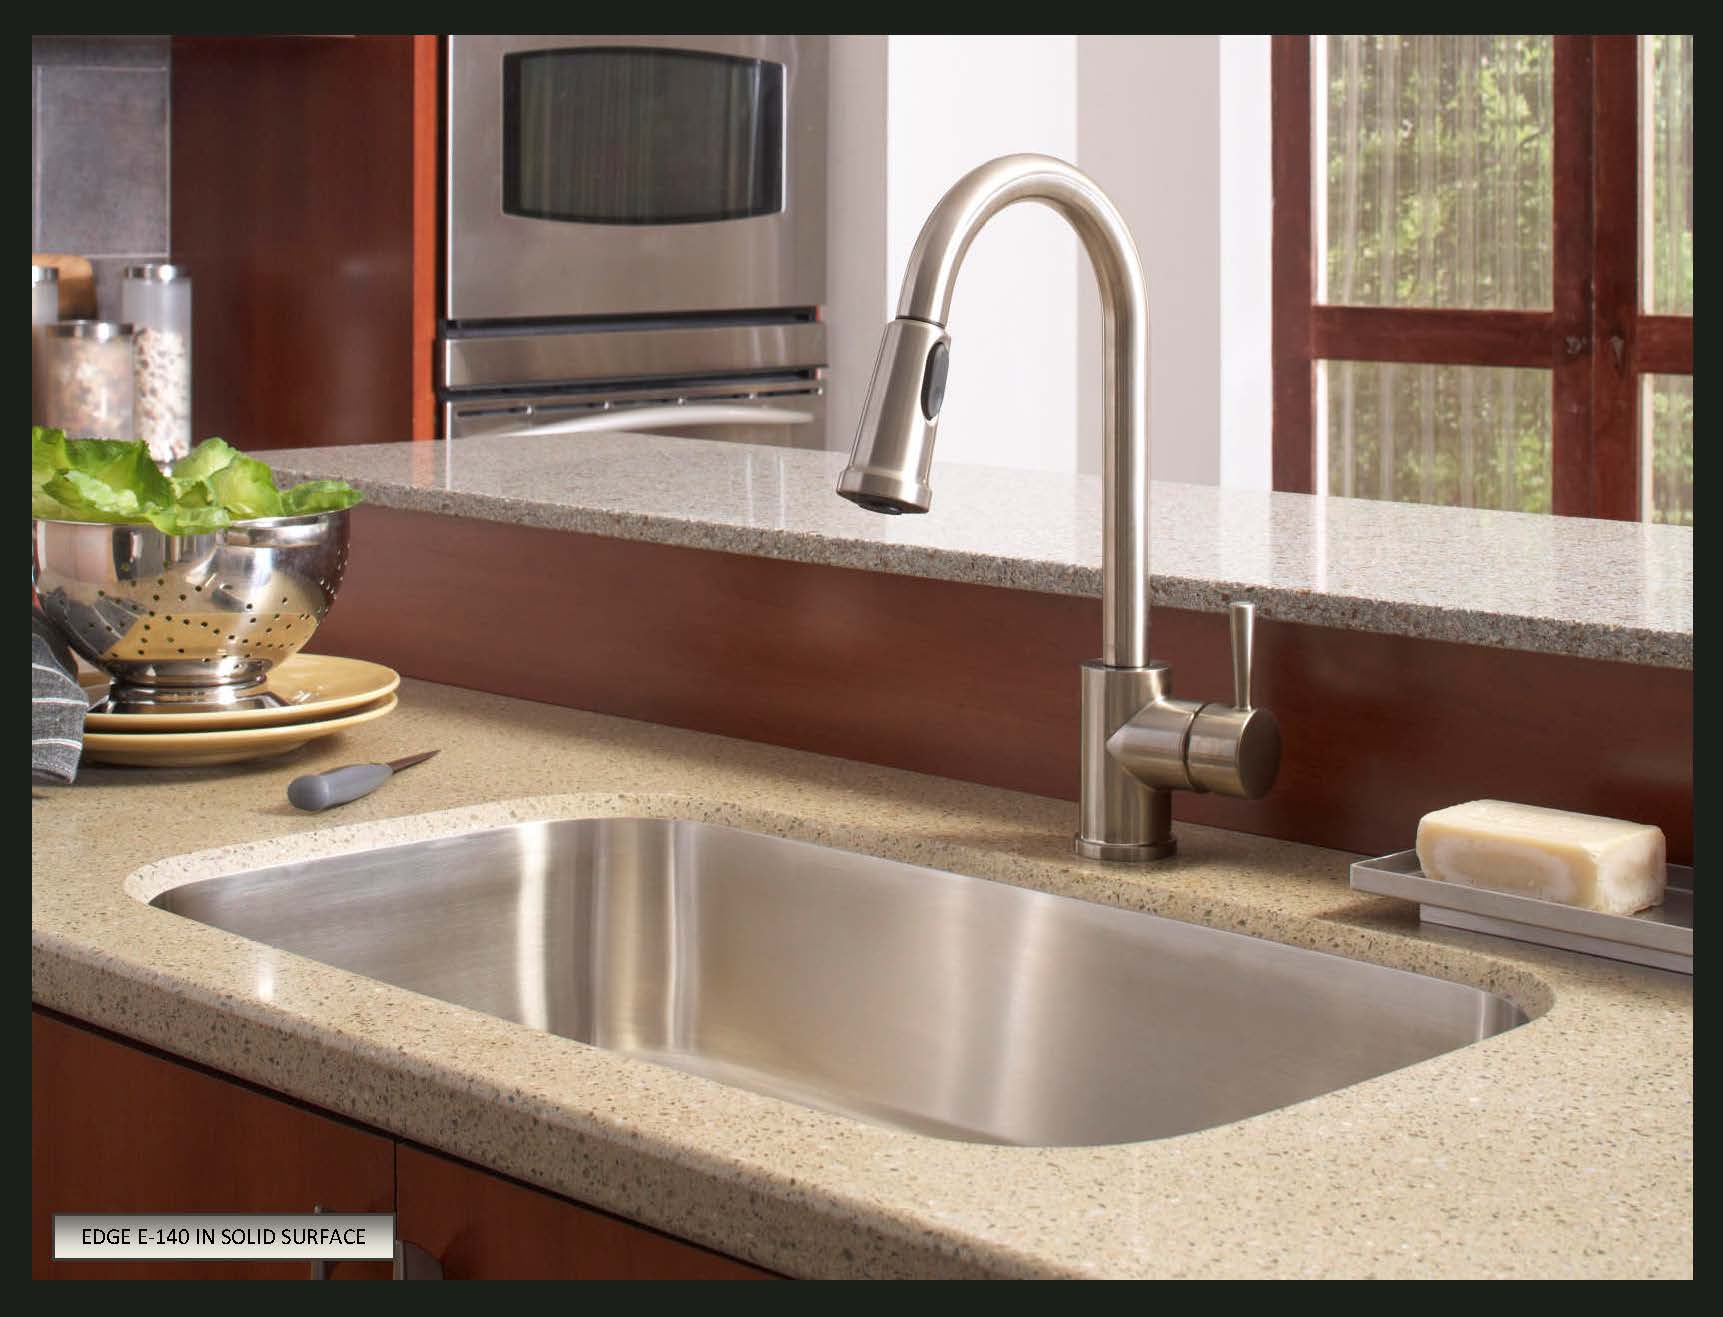
Understanding the common causes of a seam at the kitchen sink can help you prevent it from happening in the future. One of the main causes is water damage. Constant exposure to water can cause the caulking or sealant to deteriorate, leading to a seam. To prevent this, make sure to wipe down the sink and countertop regularly and fix any leaks immediately. Another cause is improper installation of the sink. If the sink is not securely attached to the countertop, it can shift and create a seam. This is more likely to happen with undermount sinks, so make sure to hire a professional for proper installation. Using harsh chemicals or scouring pads to clean the sink can also contribute to a seam. These can damage the caulk or sealant, causing it to break down and create a seam. Stick to gentle cleaners and soft cloths for cleaning your sink.2. Common Causes of a Seam at the Kitchen Sink


2. Common Causes of a Seam at the Kitchen Sink


_.jpg)

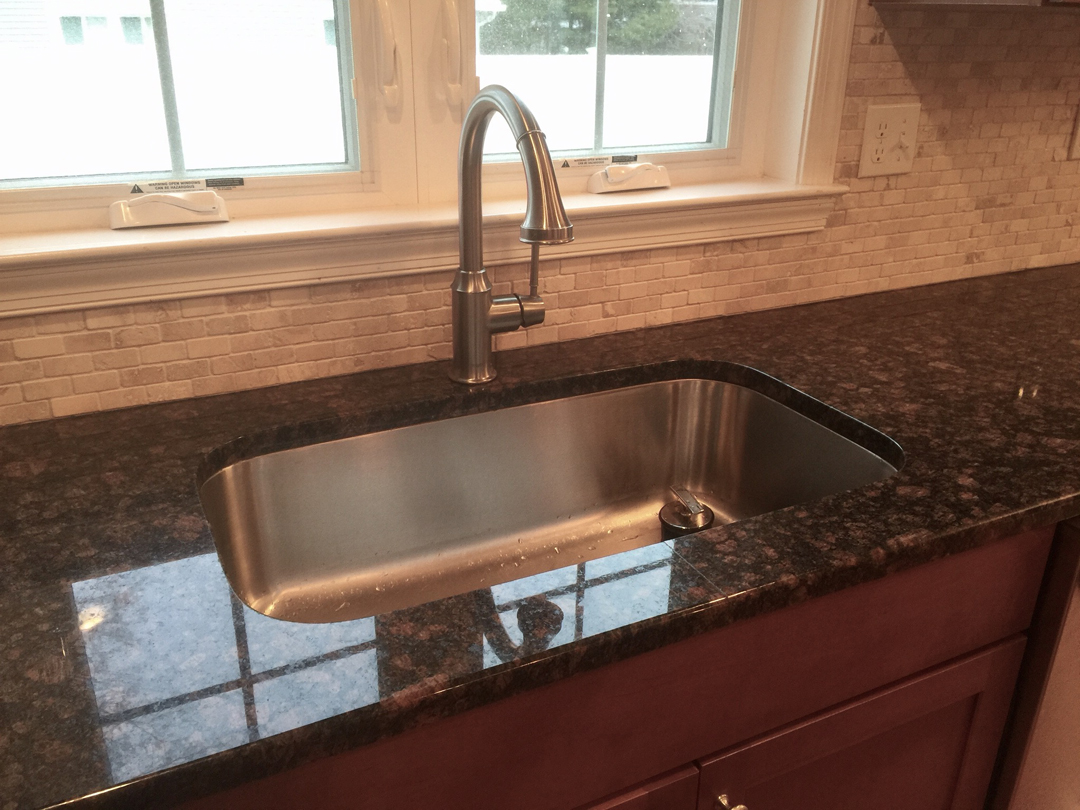
The best way to deal with a seam at the kitchen sink is to prevent it from happening in the first place. Here are some tips to help you keep your sink seam-free: Regular Maintenance: As mentioned before, regularly cleaning and drying your sink and countertop can prevent water damage and deterioration of the caulk or sealant. Use the Right Cleaners: Avoid using harsh chemicals or abrasive cleaners on your sink. Stick to gentle, non-abrasive cleaners to avoid damaging the caulk or sealant. Be Gentle: When using the sink, be mindful of how much force you're applying. Avoid slamming dishes or pots and pans onto the sink, as this can cause the sink to shift and create a seam. Fix Leaks Immediately: If you notice any leaks, fix them immediately to prevent water damage and the growth of mold or mildew, which can also lead to a seam.3. Tips for Preventing a Seam at the Kitchen Sink


3. Tips for Preventing a Seam at the Kitchen Sink


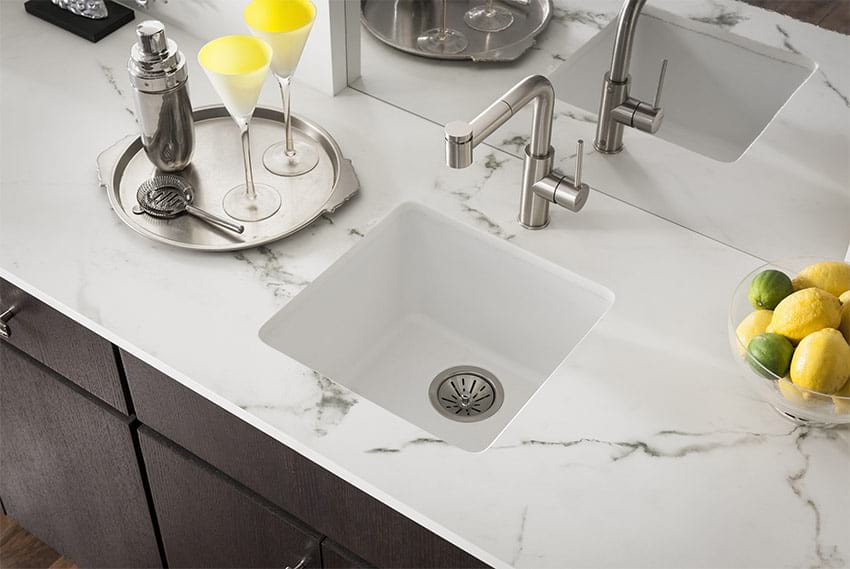
Sealing a seam at the kitchen sink is a simple process that can help prevent future issues. To seal a seam, you'll need caulk, a caulk gun, and a caulk smoothing tool. Follow these steps: Step 1: Clean and dry the area around the seam. Step 2: Apply a thin, continuous bead of caulk along the seam. Step 3: Use a caulk smoothing tool or your finger to smooth out the caulk and remove any excess. Step 4: Let the caulk dry completely before using the sink. It's important to note that not all caulk is suitable for use in a kitchen sink. Look for a caulk that specifically states it is safe for use in a kitchen or bathroom, and is mold and mildew resistant.4. How to Seal a Seam at the Kitchen Sink


4. How to Seal a Seam at the Kitchen Sink


If you're looking for the best products to repair a seam at the kitchen sink, consider these options: Clear Caulk: A clear caulk is a versatile option that can be used with any color sink or countertop. Color-Matched Caulk: For a seamless repair, consider using a caulk that matches the color of your sink or countertop. Patching Kit: If the seam is due to a cracked sink, a patching kit is an excellent option for a strong and durable repair. Plumber's Putty: Plumber's putty is a clay-like substance that can be used to seal small gaps or cracks in the sink.5. Best Products for Repairing a Seam at the Kitchen Sink


5. Best Products for Repairing a Seam at the Kitchen Sink


If you're a handy homeowner, you may want to try fixing the seam at your kitchen sink yourself. Here are some DIY solutions to consider: Caulk Removal: If the seam is caused by old or damaged caulking, you can easily remove it with a caulk removal tool or a razor blade. Caulk Reapplication: Once the old caulk is removed, follow the steps outlined in section 4 to reapply new caulk. Cracked Sink Repair: If the sink is cracked, you can use a patching kit or plumber's putty to repair it. Follow the instructions provided with the product for the best results.6. DIY Solutions for a Seam at the Kitchen Sink

6. DIY Solutions for a Seam at the Kitchen Sink


If you're not comfortable or skilled enough to fix the seam yourself, don't hesitate to seek professional help. A plumber or contractor can quickly and effectively repair the seam, saving you time and stress. They may also be able to identify and fix any underlying issues that may have caused the seam.7. Professional Services for Fixing a Seam at the Kitchen Sink


7. Professional Services for Fixing a Seam at the Kitchen Sink


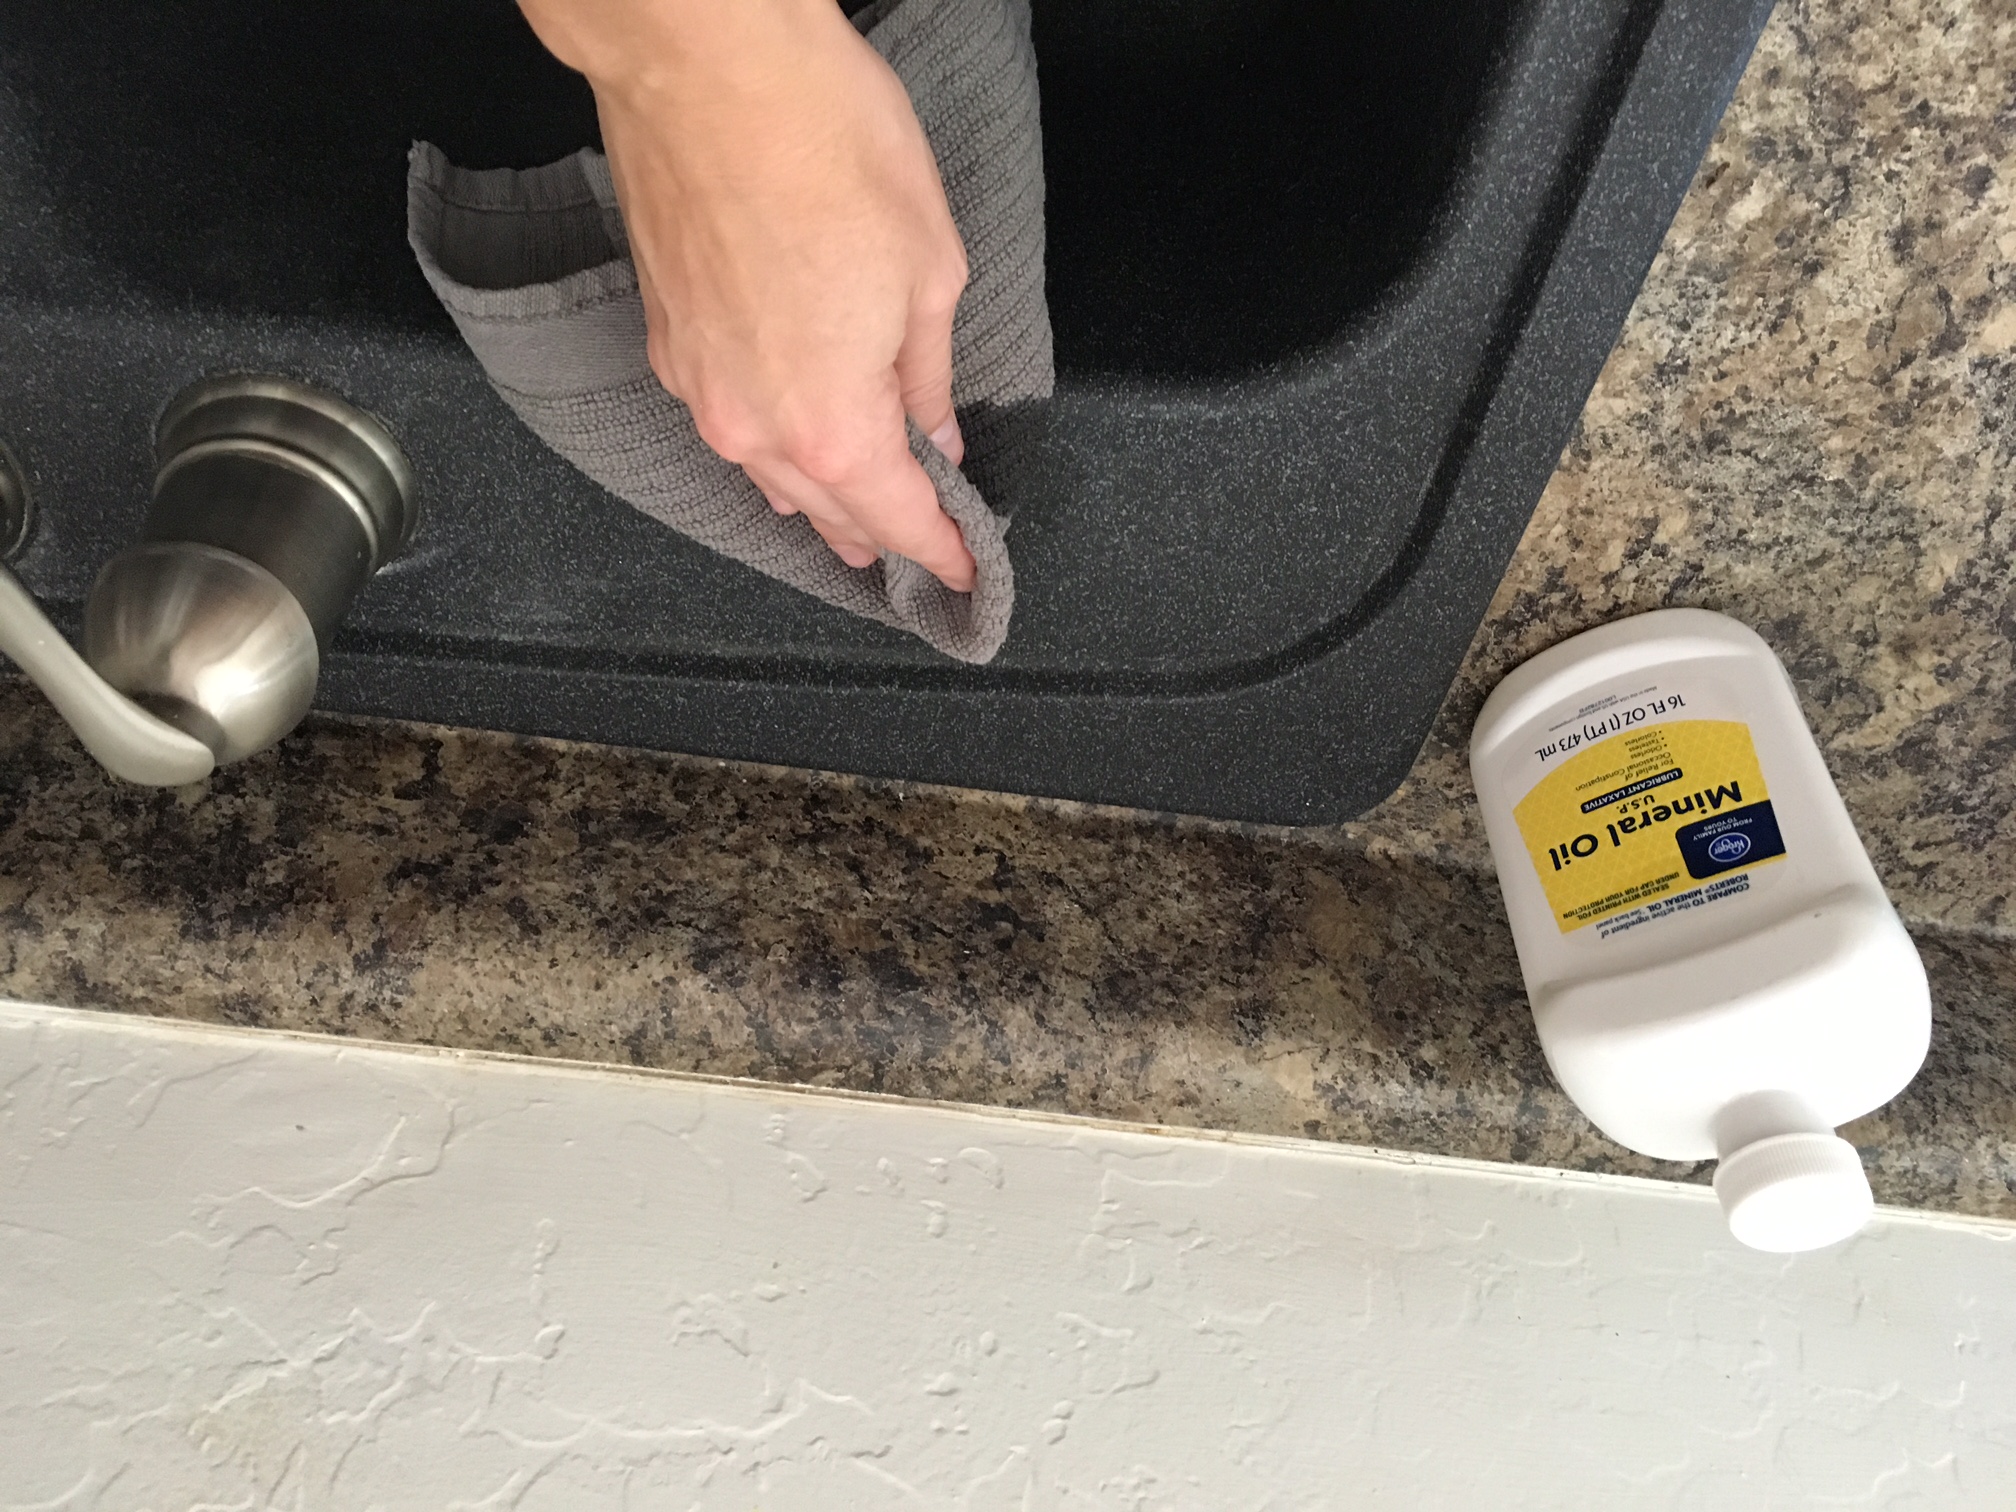
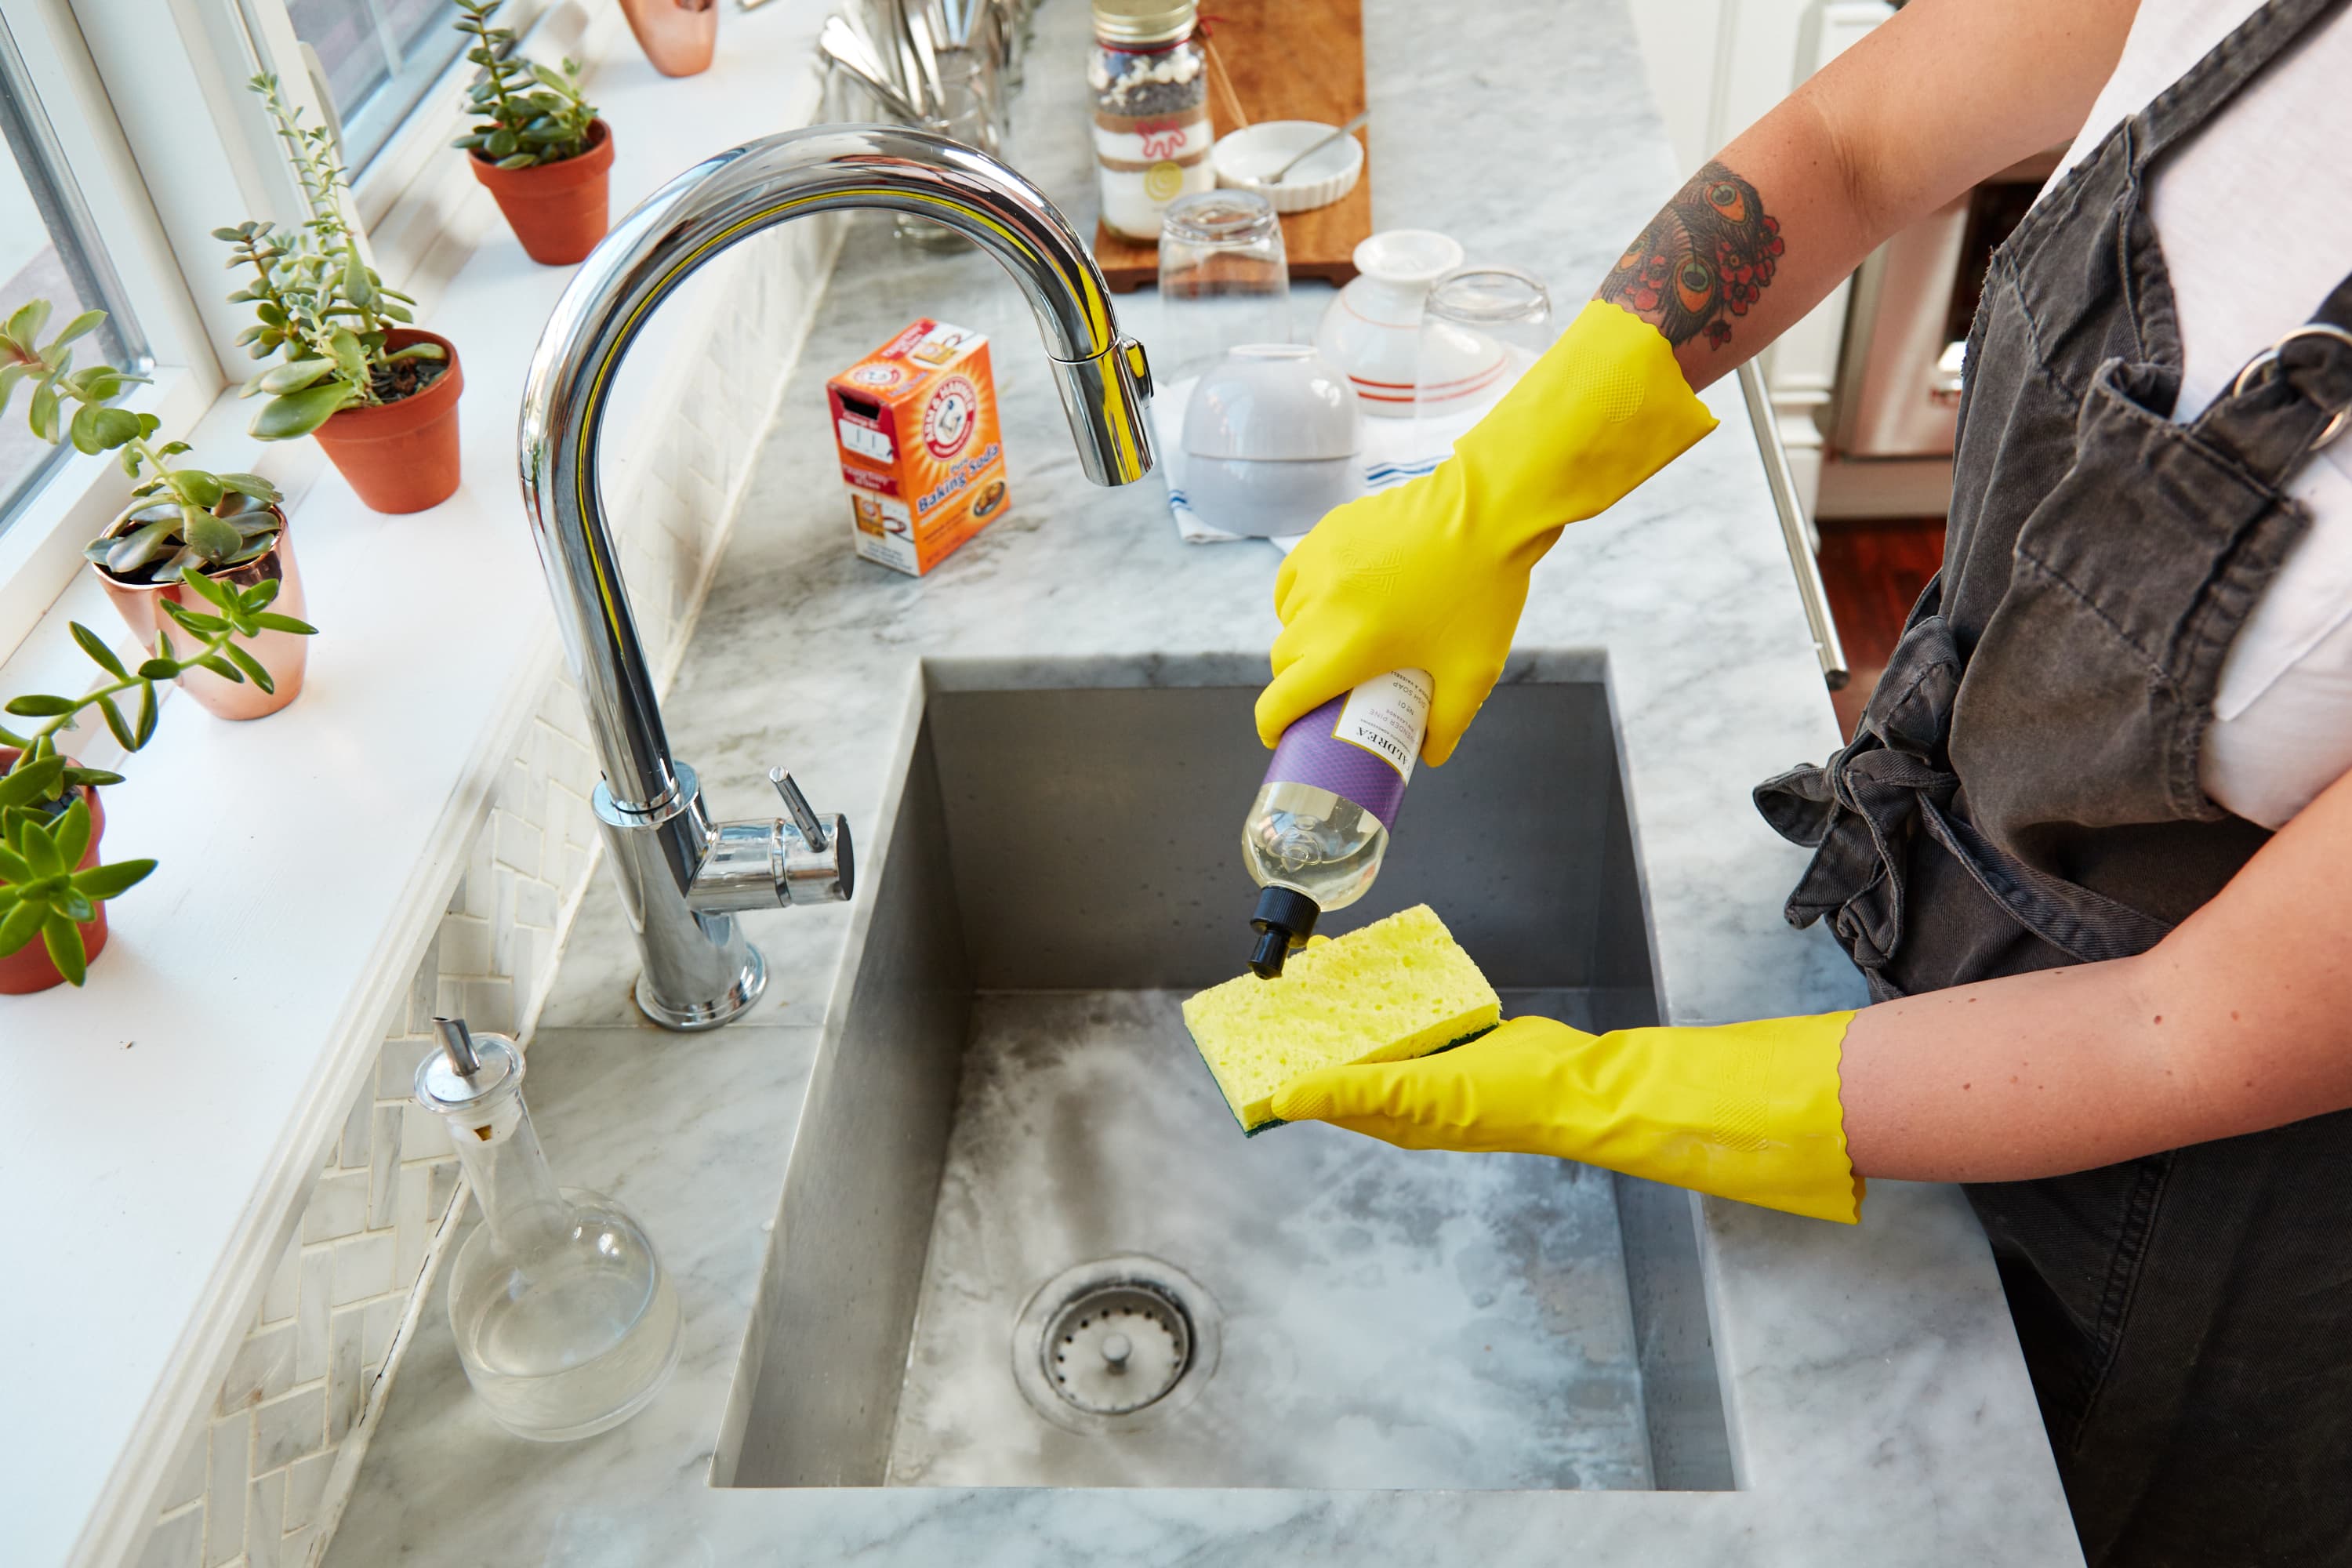
To keep your seam clean and in good condition, follow these tips: Regular Cleaning: Wipe down your sink and countertop with a gentle cleaner and dry them thoroughly after each use. Deep Cleaning: Every few months, give your sink a deep clean using a non-abrasive cleaner and a soft cloth. Regular Maintenance: Inspect the seam and caulking regularly for any signs of wear and tear. If you notice any issues, address them immediately.8. How to Clean and Maintain a Seam at the Kitchen Sink


8. How to Clean and Maintain a Seam at the Kitchen Sink


If you're experiencing issues with your kitchen sink seam, here are some common problems and their solutions: Discoloration: If the caulk around the seam is discolored, it may be due to mold or mildew growth. Remove and replace the caulk and make sure to keep the area clean and dry. Loose Sink: If the sink is not securely attached to the countertop, it may shift and create a seam. Tighten the sink clips or call a professional for proper installation. Cracked Sink: If the sink is cracked, you can use a patching kit or plumber's putty to repair it.9. Troubleshooting Common Issues with a Seam at the Kitchen Sink


9. Troubleshooting Common Issues with a Seam at the Kitchen Sink


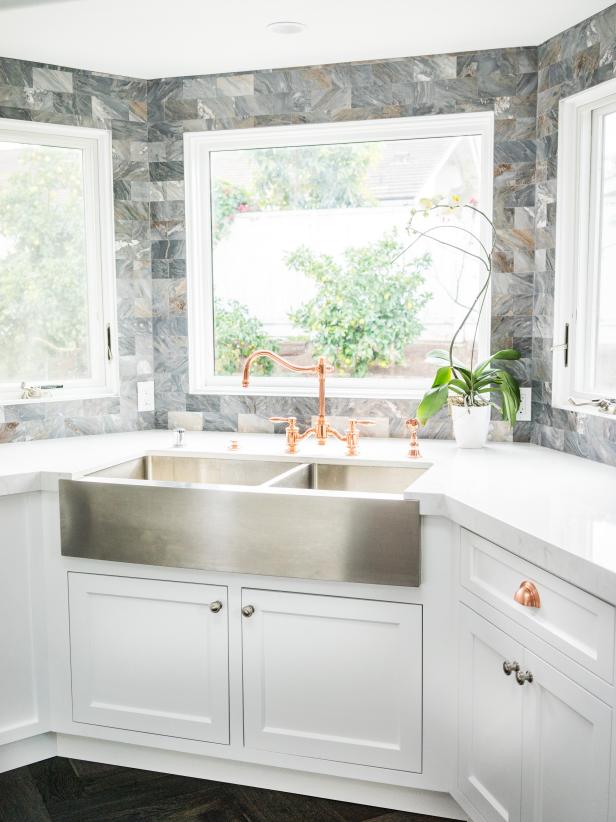
To better understand how to fix and prevent a seam at the kitchen sink, it's essential to know the different parts that make up the seam: Sink: The sink is the main component of the kitchen sink. It can be made of different materials such as stainless steel, porcelain, or granite. Countertop: The countertop is the surface that the sink is installed into. It can be made of various materials, including laminate, granite, or quartz. Caulk or Sealant: The caulk or sealant is used to seal the gap between the sink and the countertop to prevent water from seeping through. Sink Clips: Sink clips are used to secure the sink to the countertop. In conclusion, a seam at the kitchen sink may seem like a daunting issue, but with the right knowledge and tools, it can be easily fixed and prevented. Regular maintenance and proper installation are key to avoiding a seam and keeping your kitchen sink in top condition. If you're ever unsure or uncomfortable with fixing the seam yourself, don't hesitate to call in a professional for assistance.10. Understanding the Anatomy of a Seam at the Kitchen Sink


10. Understanding the Anatomy of a Seam at the Kitchen Sink


:max_bytes(150000):strip_icc()/CornerKitchenSink-5a79dc0d8e1b6e00373b9cf2.jpg)

Creating a Seamless Look at Your Kitchen Sink
Maximizing Space and Style with a Seam at the Kitchen Sink
 The kitchen sink is one of the most utilized areas in any household. It's where we wash and prep our food, clean our dishes, and often serves as a gathering spot during social events. With such a high level of usage, it's important to not only have a functional sink, but also one that adds to the overall design of your kitchen. One way to achieve this is by incorporating a seam at the kitchen sink. This small detail can make a big impact on the look and feel of your kitchen, creating a seamless and cohesive design. Let's dive into the benefits and considerations of adding a seam at your kitchen sink.
The Benefits of a Seam at the Kitchen Sink
 A seam at the kitchen sink can serve both functional and aesthetic purposes. From a design standpoint, it can provide a clean and polished look by hiding any visible gaps between the sink and countertop. This creates a seamless transition between the two elements and can give the illusion of a larger, more streamlined space. Additionally, a seam can add a touch of sophistication and modernity to your kitchen design.
From a functional standpoint, a seam at the kitchen sink can help prevent any water or food debris from getting trapped in the gap between the sink and countertop. This can make cleaning and maintenance easier, as well as help prevent any potential damage to your cabinets or flooring.
A seam at the kitchen sink can serve both functional and aesthetic purposes. From a design standpoint, it can provide a clean and polished look by hiding any visible gaps between the sink and countertop. This creates a seamless transition between the two elements and can give the illusion of a larger, more streamlined space. Additionally, a seam can add a touch of sophistication and modernity to your kitchen design.
From a functional standpoint, a seam at the kitchen sink can help prevent any water or food debris from getting trapped in the gap between the sink and countertop. This can make cleaning and maintenance easier, as well as help prevent any potential damage to your cabinets or flooring.
Considerations for Adding a Seam at the Kitchen Sink
 When considering adding a seam at your kitchen sink, there are a few important factors to keep in mind. First, it's important to ensure that the seam is done correctly and professionally. This will not only ensure a smooth and seamless look, but also prevent any potential water leakage or damage to your countertops.
Another consideration is the materials used for your sink and countertop. It's important to choose materials that can easily be joined together and create a cohesive look. For example, if you have a stainless steel sink, it may be best to pair it with a stainless steel or granite countertop for a seamless blend.
When considering adding a seam at your kitchen sink, there are a few important factors to keep in mind. First, it's important to ensure that the seam is done correctly and professionally. This will not only ensure a smooth and seamless look, but also prevent any potential water leakage or damage to your countertops.
Another consideration is the materials used for your sink and countertop. It's important to choose materials that can easily be joined together and create a cohesive look. For example, if you have a stainless steel sink, it may be best to pair it with a stainless steel or granite countertop for a seamless blend.
Get Creative with Your Seam at the Kitchen Sink
 Adding a seam at your kitchen sink doesn't have to be a simple and straightforward process. Get creative with your design and think outside the box! You can opt for a curved or angled seam for a unique touch, or choose a contrasting color for the sink and countertop materials to make a bold statement.
In conclusion, a seam at the kitchen sink is a small detail that can make a big impact on the overall design and functionality of your kitchen. By carefully considering the materials and design, you can achieve a seamless and stylish look that will elevate the space and make it a focal point in your home. So, don't underestimate the power of a seam at your kitchen sink and explore the endless possibilities it has to offer.
Adding a seam at your kitchen sink doesn't have to be a simple and straightforward process. Get creative with your design and think outside the box! You can opt for a curved or angled seam for a unique touch, or choose a contrasting color for the sink and countertop materials to make a bold statement.
In conclusion, a seam at the kitchen sink is a small detail that can make a big impact on the overall design and functionality of your kitchen. By carefully considering the materials and design, you can achieve a seamless and stylish look that will elevate the space and make it a focal point in your home. So, don't underestimate the power of a seam at your kitchen sink and explore the endless possibilities it has to offer.