Sealing a wood kitchen table is essential for protecting it from everyday wear and tear. Whether you have a new or old table, sealing it can help maintain its beauty and durability. But how do you go about sealing a wood table for everyday use? The first step is to choose the right sealer for your table. Water-based sealers are great for indoor use as they are easy to apply and have a low odor. If you are planning to use your table outdoors, oil-based sealers are a better option as they provide more protection against moisture. It's also important to consider the type of wood your table is made of, as some sealers work better on certain types of wood. Next, make sure to properly sand the table before applying the sealer. Use a fine-grit sandpaper to smooth out any rough spots and ensure the surface is clean and free of dust. This will help the sealer adhere better to the wood. Once your table is prepped, it's time to apply the sealer. Using a foam brush or a clean cloth, apply a thin and even layer of sealer to the entire surface of the table. Make sure to follow the wood grain and avoid any drips or puddles. Allow the first coat to dry completely before applying a second coat for maximum protection. After the second coat has dried, lightly sand the table with a fine-grit sandpaper and apply a final coat of sealer. This will give your table a smooth and polished finish. Once the final coat has dried, your wood kitchen table is ready for everyday use!1. How to Seal a Wood Table for Everyday Use
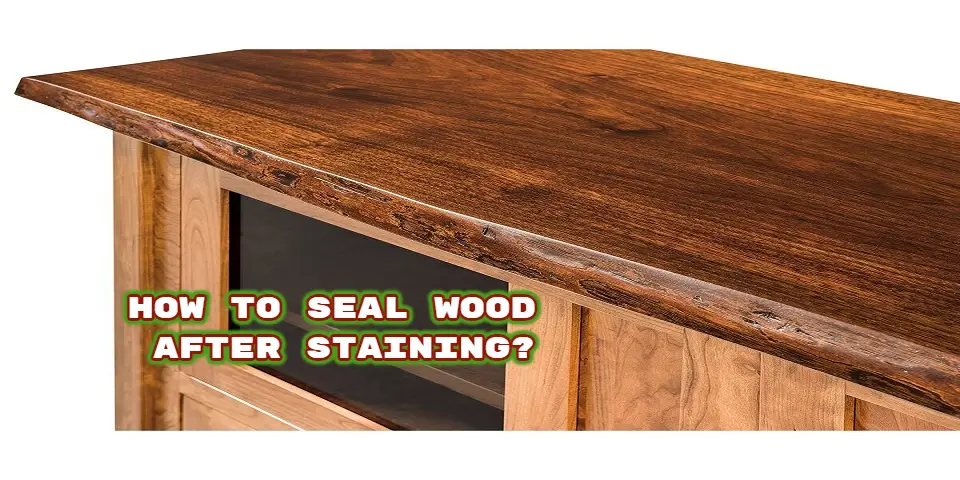
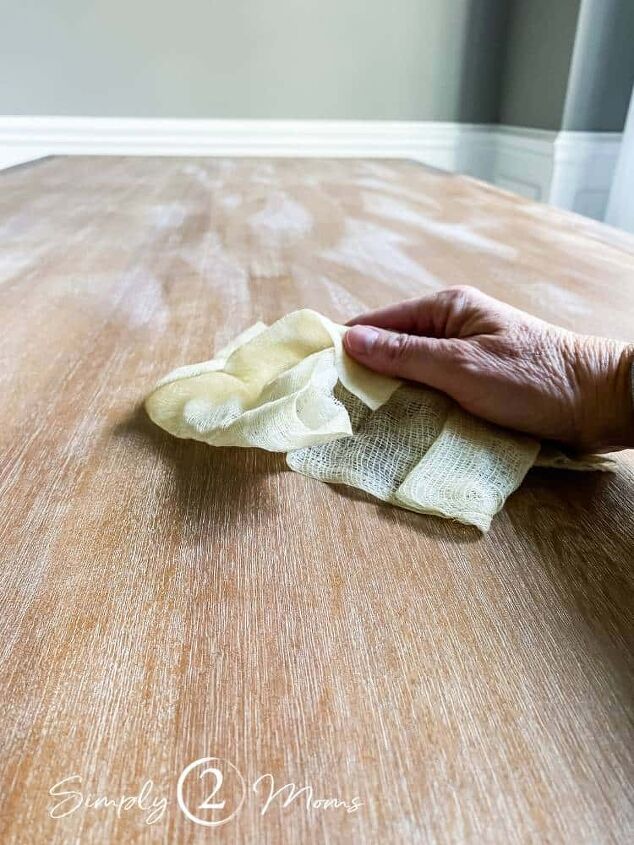
If you want to keep your wood table top looking beautiful and protected for years to come, it's important to use the best sealing method. The most effective way to seal a wood table top is by using a combination of stain and polyurethane. Staining the wood not only adds color and enhances the natural grain, but it also helps the wood absorb the polyurethane better, resulting in a stronger and longer-lasting seal. Begin by staining the table top with a gel stain using a foam brush or a clean cloth. Make sure to apply an even coat and let it dry completely before moving on to the next step. Once the stain has dried, it's time to apply the polyurethane. Use a clean brush or cloth to apply a thin and even layer of polyurethane to the entire surface of the table. Be sure to follow the wood grain and avoid any drips or puddles. Allow the first coat to dry completely before lightly sanding the table and applying a second coat. Repeat this process until you have achieved your desired level of protection and shine. Using a combination of stain and polyurethane is the best way to seal a wood table top as it provides both color and protection in one step. Plus, it's a cost-effective option as you won't need to buy separate products for staining and sealing.2. The Best Way to Seal a Wood Table Top
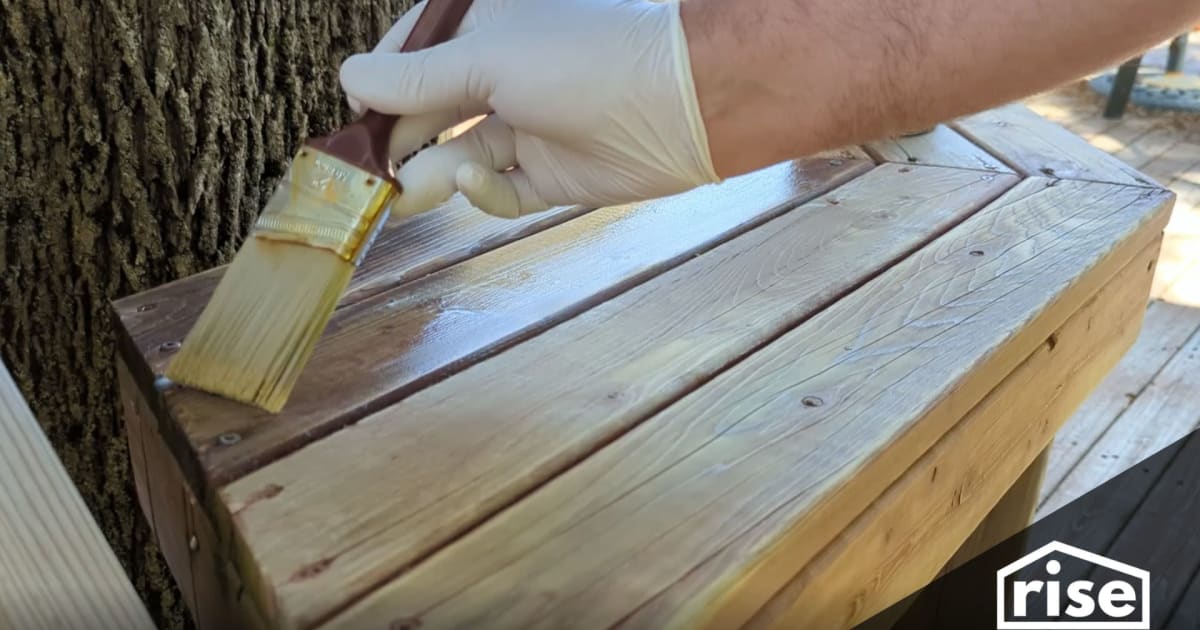
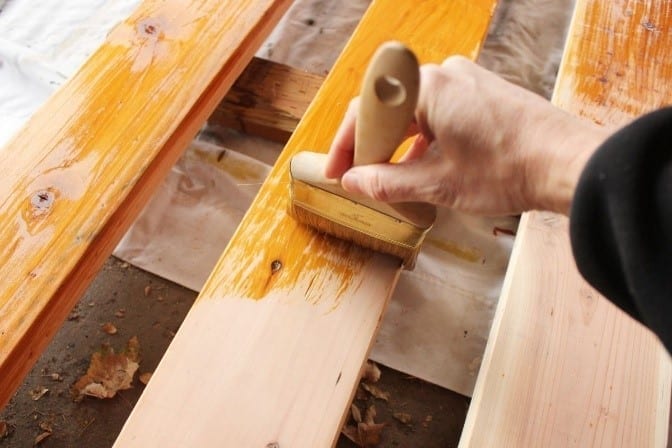
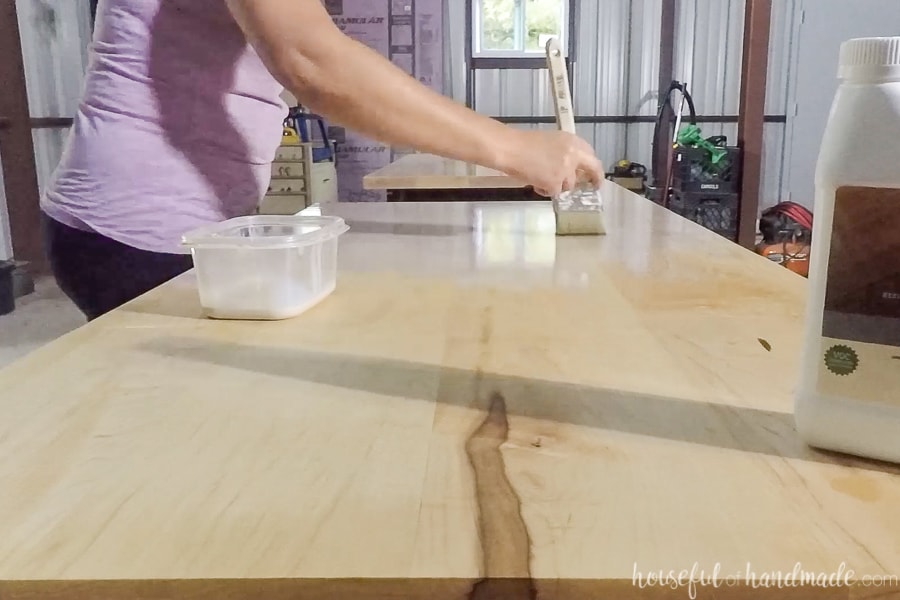
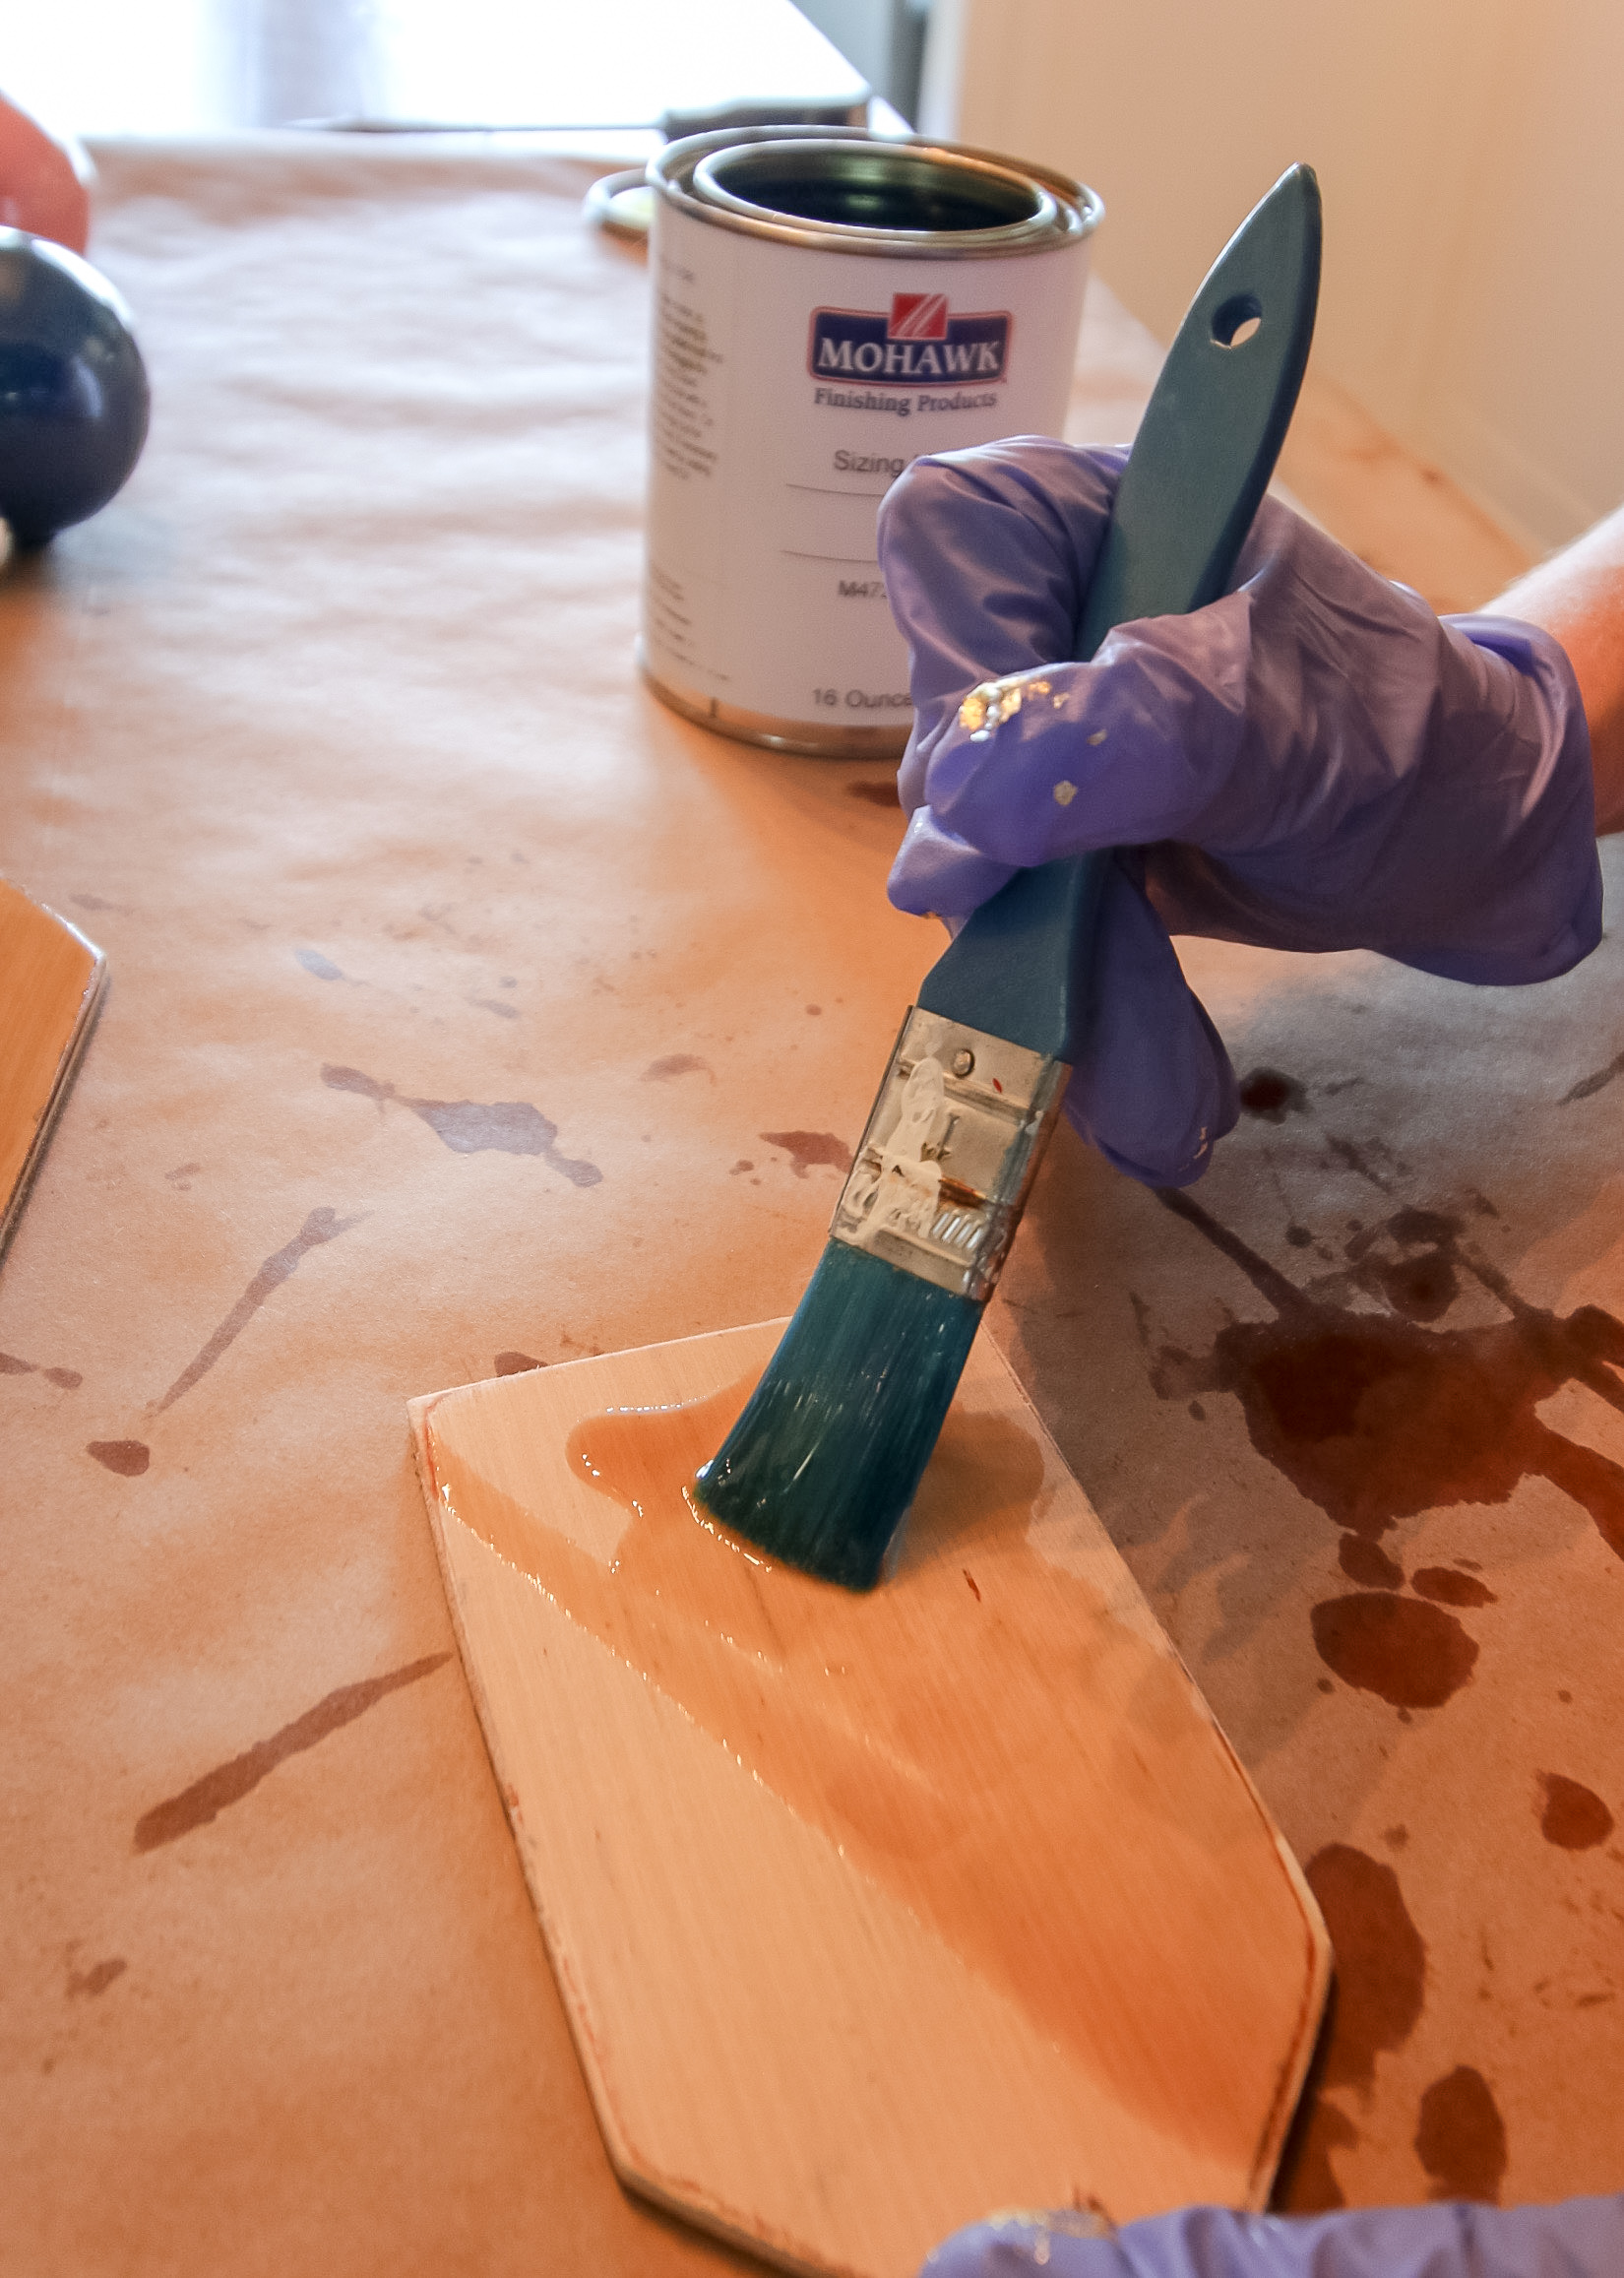
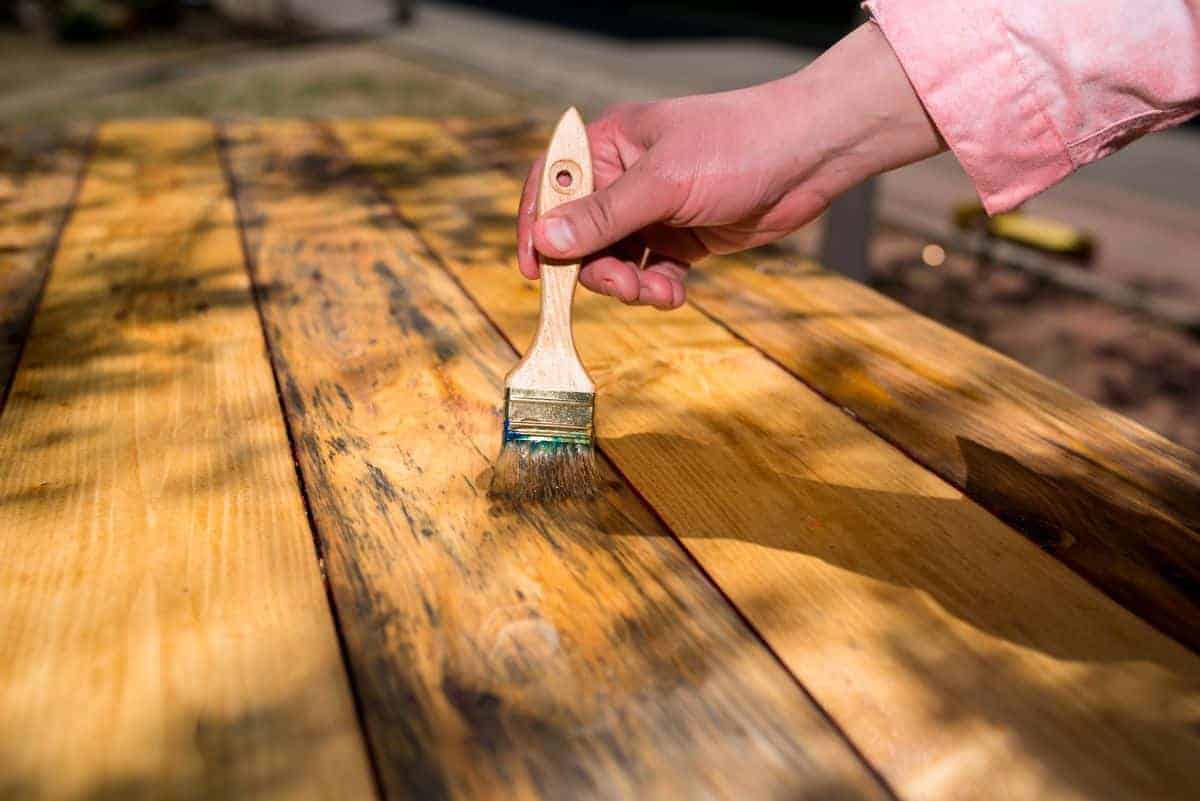
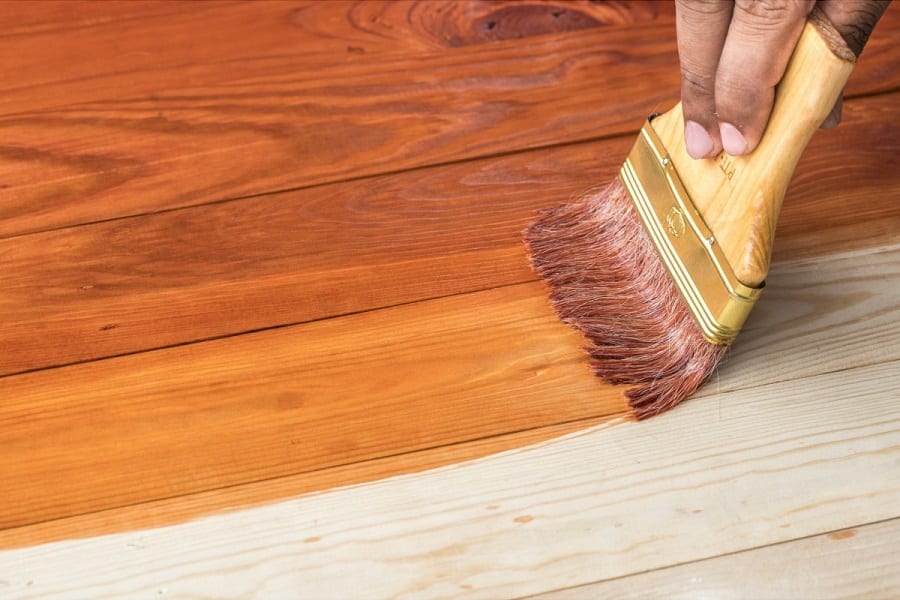
If you're a fan of DIY projects, you may be wondering if you can seal your wood kitchen table yourself. The answer is yes, you can! Sealing a kitchen table is a simple process that can be done at home with the right tools and materials. The first step is to gather all the necessary materials, including a sealer, sandpaper, a foam brush or clean cloth, and a drop cloth to protect your floor. Next, clean the table thoroughly and sand it down to smooth out any imperfections. Wipe away any dust with a damp cloth and let it dry completely. Once your table is prepped, it's time to apply the sealer. Using a foam brush or clean cloth, apply a thin and even layer of sealer to the entire surface of the table. Make sure to follow the wood grain and avoid any drips or puddles. Allow the first coat to dry completely before applying a second coat for maximum protection. After the second coat has dried, lightly sand the table with a fine-grit sandpaper and apply a final coat of sealer. This will give your table a smooth and polished finish. Once the final coat has dried, your DIY sealed kitchen table is ready to be used and admired!3. DIY Guide: Sealing a Kitchen Table
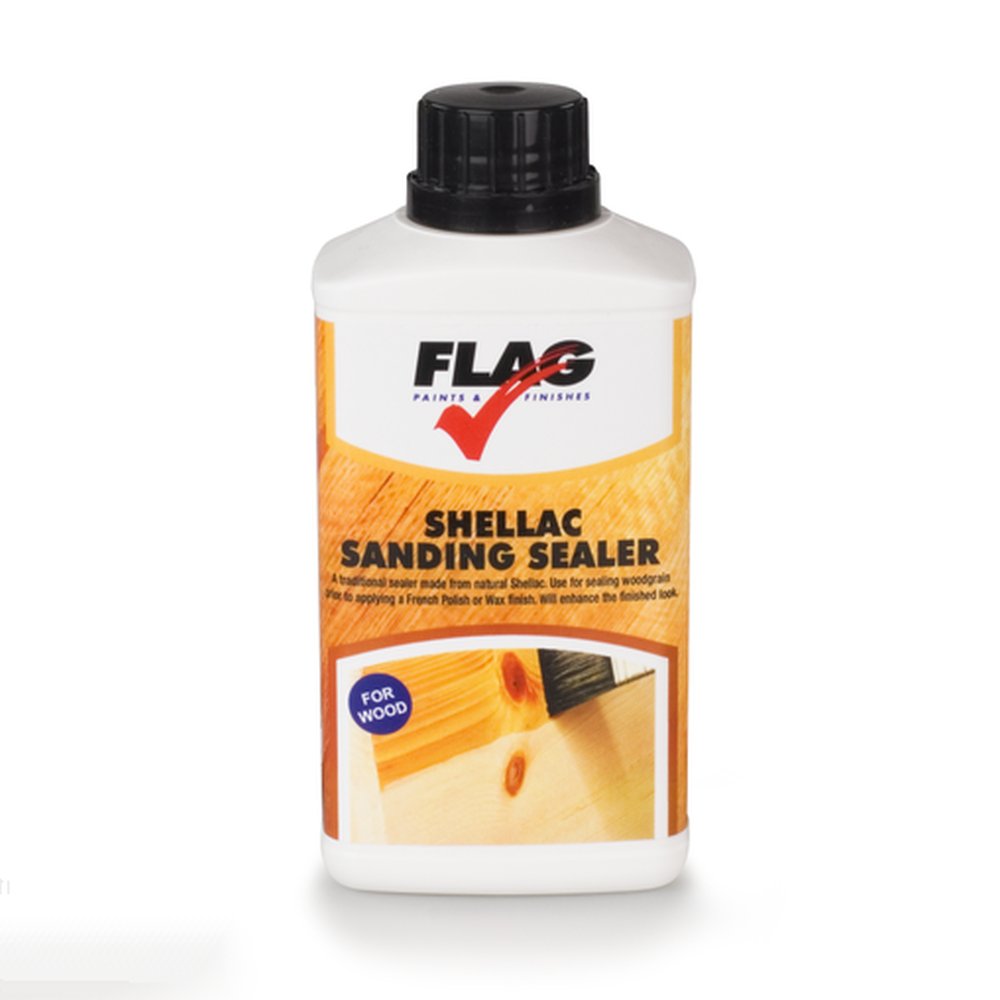
When it comes to sealing a wood kitchen table, there are countless options available on the market. To help you make the best decision for your table, here are some of the top sealers for wood kitchen tables: Polyurethane: This is a popular choice for sealing wood tables as it provides a durable and water-resistant finish. It comes in both water-based and oil-based options, with the latter being more suitable for outdoor use. Tung Oil: This natural oil is a great option for those looking for a more eco-friendly sealer. It provides a beautiful satin finish and is known for its ability to bring out the natural beauty of wood. Lacquer: This sealer provides a glossy and durable finish, making it a great choice for high-traffic areas. However, it can be more difficult to apply and requires proper ventilation. When choosing a sealer for your wood kitchen table, make sure to consider the type of wood, the level of protection you need, and the application process. With the right sealer, your table will not only be protected but also look stunning.4. Top Sealers for Wood Kitchen Tables
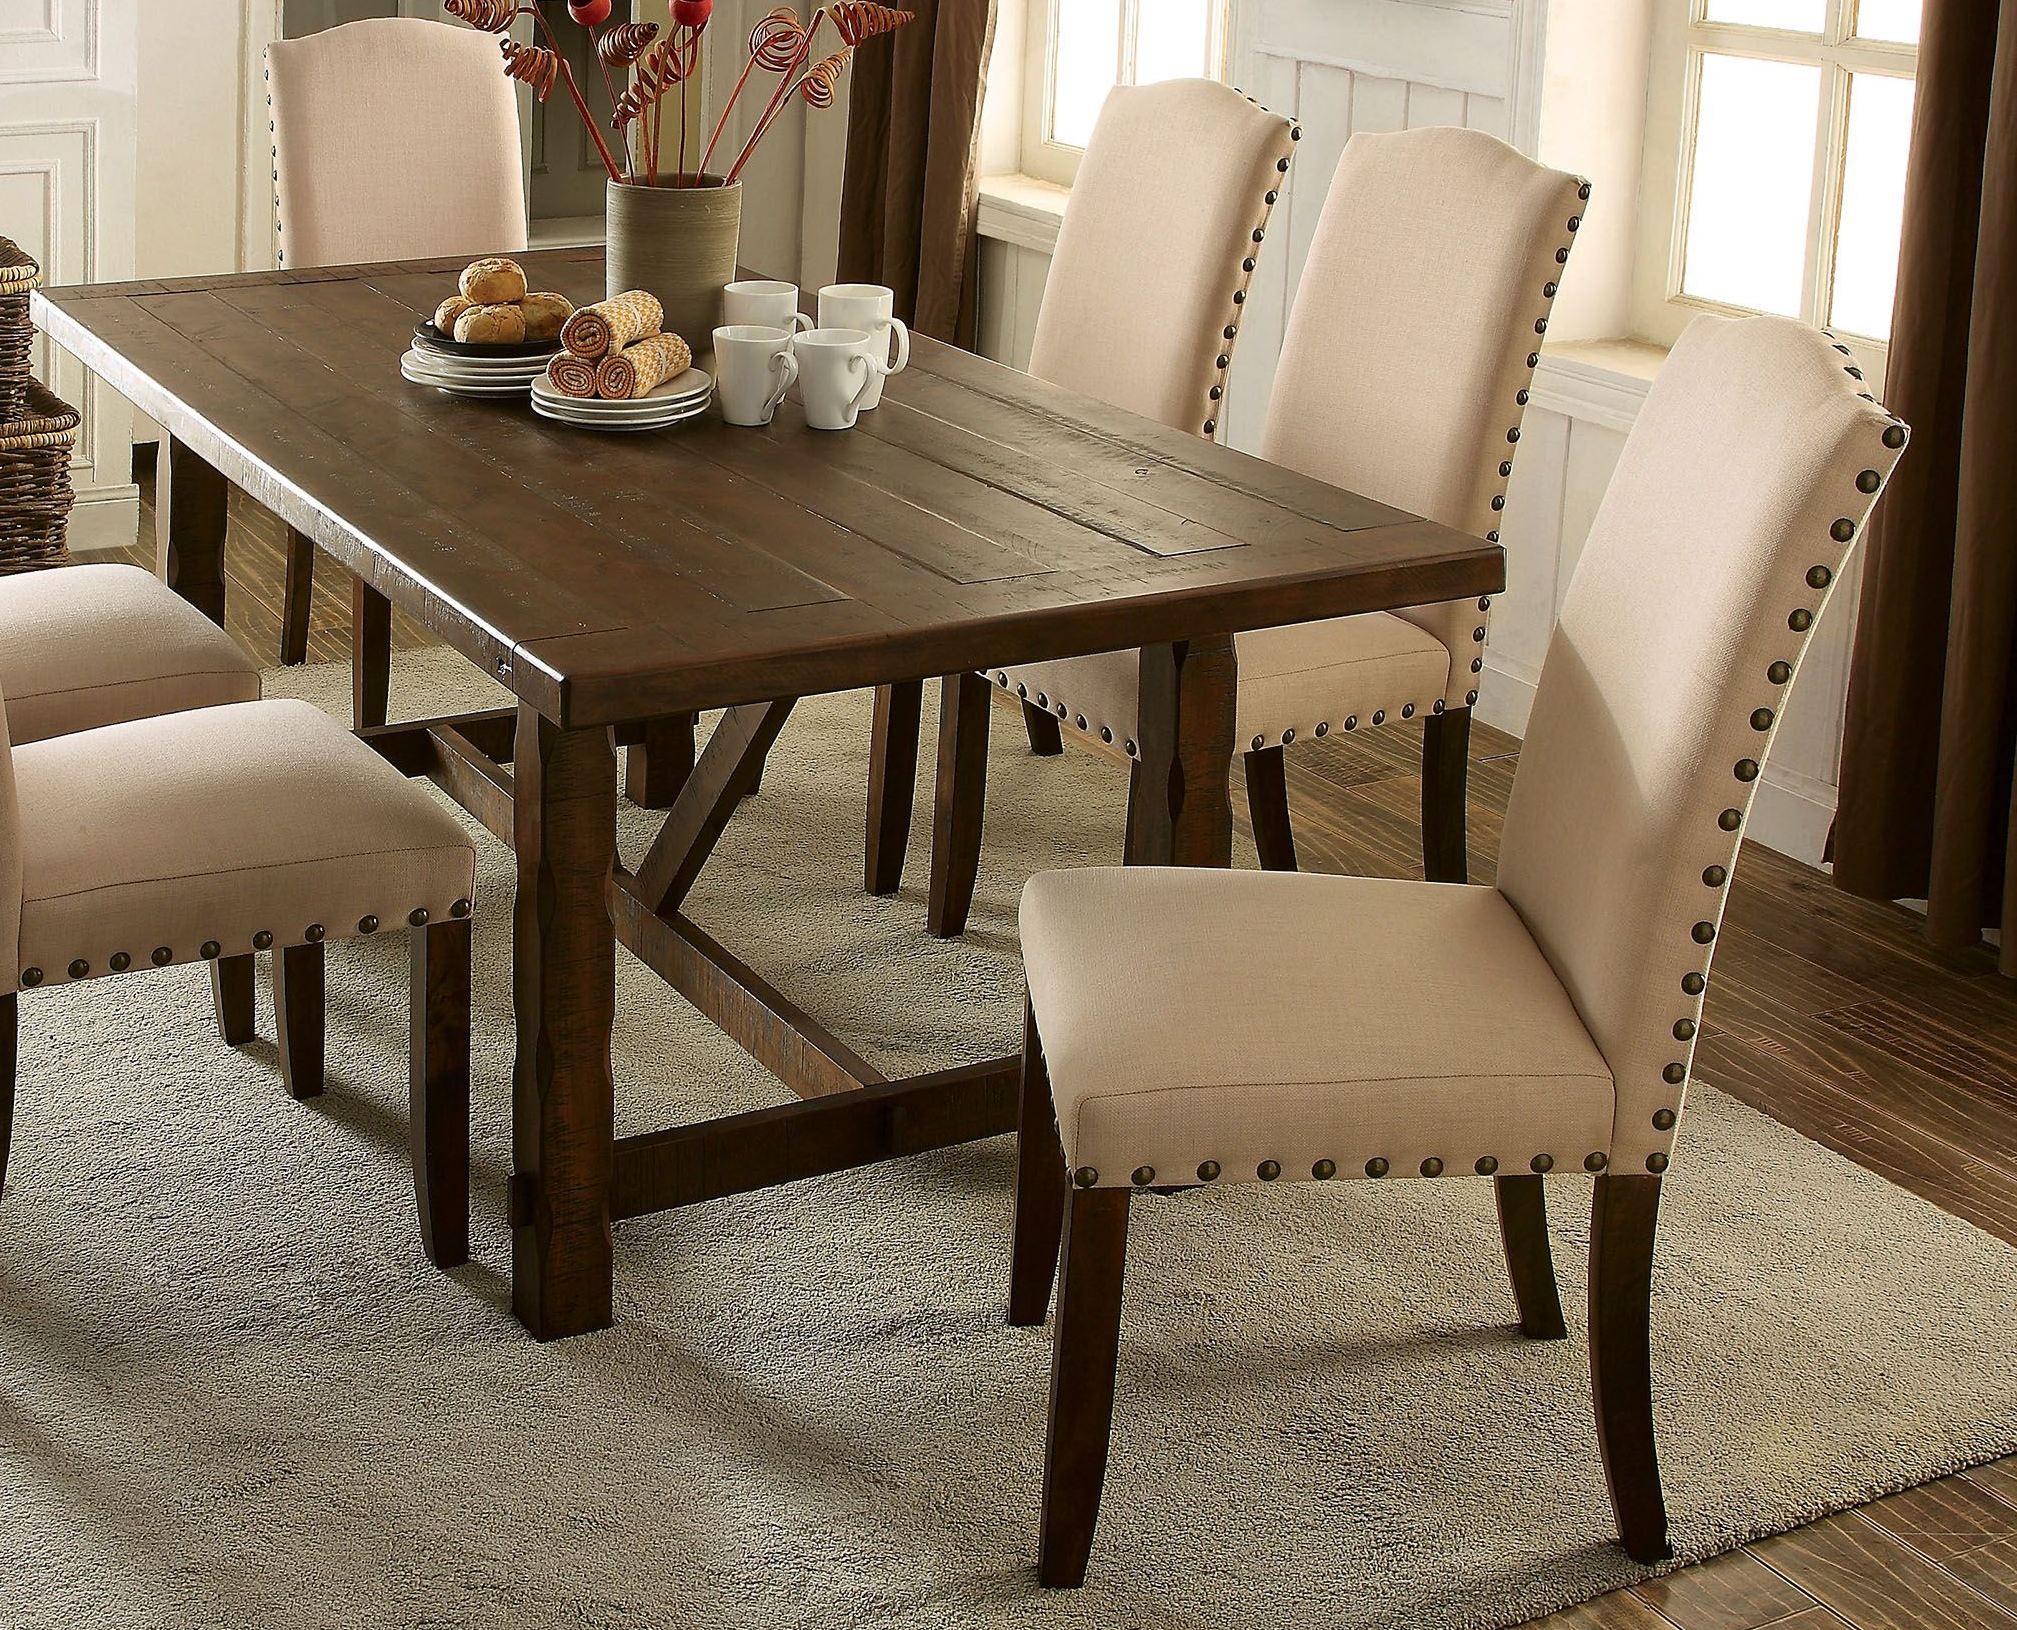
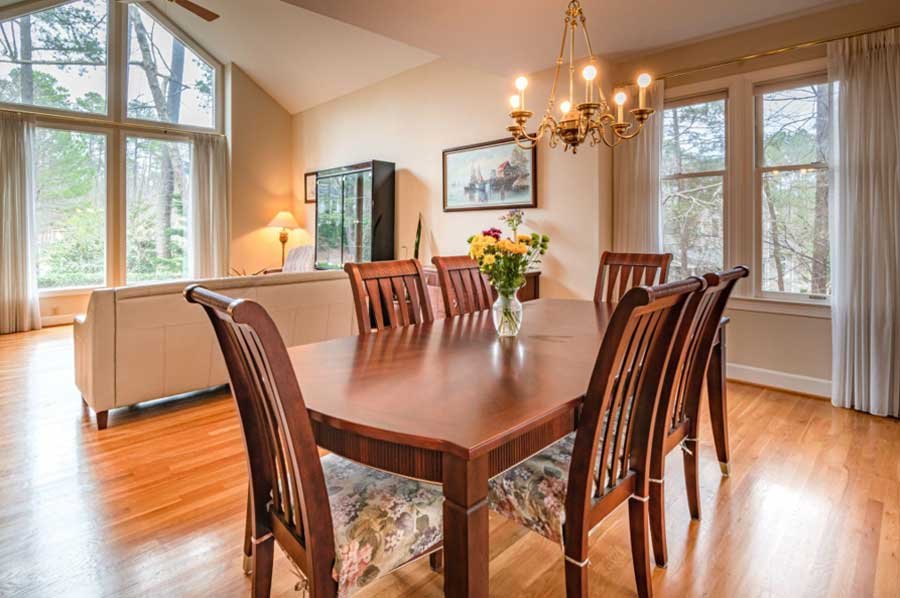
A wood dining table is often the centerpiece of a dining room and can see a lot of use, from family meals to entertaining guests. To keep your dining table looking its best, it's important to not only protect it but also seal it properly. Start by cleaning the table thoroughly and sanding it down to smooth out any imperfections. Wipe away any dust with a damp cloth and let it dry completely. Next, apply a wood conditioner to help the wood absorb the sealer better. Follow this with a coat of polyurethane, using a foam brush or clean cloth to apply an even layer. Let it dry completely before lightly sanding and applying a second coat. Repeat this process until you have achieved the desired level of protection and shine. It's also important to protect your wood dining table from heat, spills, and scratches. Always use coasters and trivets when placing hot dishes or pots on the table, and clean up spills immediately to avoid staining. Use placemats or tablecloths to protect the surface from scratches and dents.5. How to Protect and Seal a Wood Dining Table
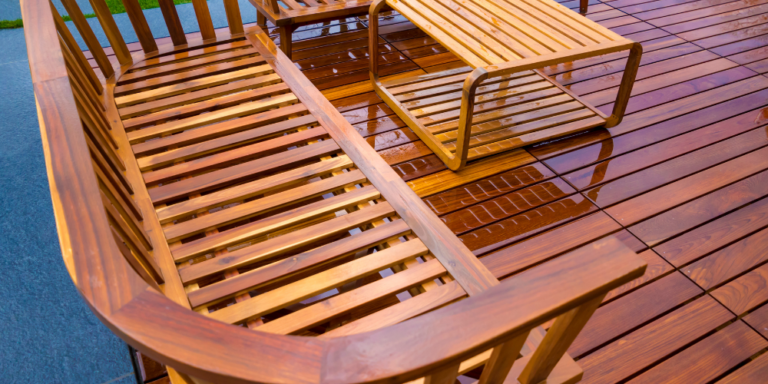
Sealing a wood table may seem like an extra step, but the benefits make it well worth the effort. Here are some of the top benefits of sealing a wood table: Protection: Sealing your table provides a barrier against moisture, spills, and scratches, helping to extend its lifespan and maintain its beauty. Enhanced color and grain: Depending on the type of sealer you choose, it can enhance the natural color and grain of the wood, giving your table a more polished and beautiful look. Ease of maintenance: A sealed wood table is easier to clean and maintain, as spills can be wiped away without worrying about damage to the wood. Cost-effective: Sealing your table can help prevent costly repairs or replacements in the future, making it a smart investment. Overall, sealing a wood table not only protects it but also enhances its appearance and makes it easier to maintain in the long run.6. The Benefits of Sealing a Wood Table
Sealing a kitchen table may seem like a daunting task, but with the right tools and techniques, it can be done easily and effectively. Here is a step-by-step guide to sealing a kitchen table: Step 1: Gather all necessary materials, including a sealer, sandpaper, a foam brush or clean cloth, and a drop cloth. Step 2: Clean the table thoroughly and sand it down to smooth out any imperfections. Step 3: Wipe away any dust with a damp cloth and let it dry completely. Step 4: Apply a wood conditioner to help the wood absorb the sealer better. Step 5: Using a foam brush or clean cloth, apply a thin and even layer of sealer to the entire surface of the table. Step 6: Allow the first coat to dry completely before applying a second coat. Step 7: Lightly sand the table with a fine-grit sandpaper and apply a final coat of sealer. Step 8: Let the final coat dry completely before using the table. Following these steps will ensure that your kitchen table is properly sealed and ready for everyday use.7. Step-by-Step Guide to Sealing a Kitchen Table
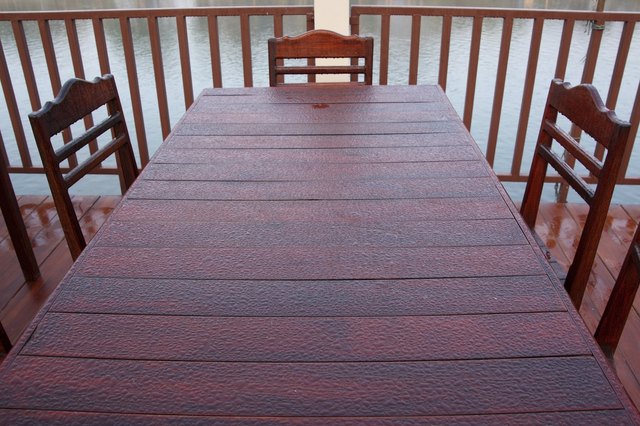
Choosing the right sealer for your wood table is crucial for achieving the desired level of protection and appearance. Here are some factors to consider when selecting a sealer: Type of wood: Different types of wood may require different types of sealers. For example, softwoods like pine may require a different sealer than hardwoods like oak. Indoor or outdoor use: If you are planning to use your table outdoors, it's important to choose a sealer that is specifically designed for outdoor use, as it will provide better protection against moisture and UV rays. Level of protection: If you have a high-traffic table or one that is prone to spills, you may want to choose a sealer that provides maximum protection, such as polyurethane or lacquer. Ease of application: Some sealers may require more time and effort to apply, so consider your level of experience and comfort with different application methods. By considering these factors, you can choose the right sealer for your wood table and ensure it is properly protected and sealed.8. Choosing the Right Sealer for Your Wood Table
Once your wood kitchen table is properly sealed, it's important to maintain it to ensure its longevity and beauty. Here are some tips for maintaining a sealed wood kitchen table: Use coasters and trivets to protect the surface from hot dishes and pots. Wipe up spills immediately to avoid staining. Clean the table regularly with a damp cloth and mild soap. Use placemats or a tablecloth to protect the surface from scratches and dents. Reapply a coat of sealer every few years to maintain the protection and appearance of the table.9. Tips for Maintaining a Sealed Wood Kitchen Table
While sealing a wood table may seem like a simple process, there are some common mistakes that can lead to less-than-desirable results. Here are some mistakes to avoid when sealing a wood table: Not properly prepping the table: Skipping the sanding step or not properly cleaning the table can result in a poor seal and uneven finish. Using the wrong sealer: Using a sealer that is not suitable for your type of wood or intended use can lead to a weaker seal and potential damage to the table. Applying too thick of a coat: Applying a thick coat of sealer can result in drips and an uneven finish. It's important to follow the manufacturer's instructions and apply thin and even coats. Not allowing enough drying time: Rushing the process and not allowing each coat to dry completely can result in a poor seal and a sticky or tacky surface. By avoiding these common mistakes, you can ensure your wood table is properly sealed and protected for years to come.10. Common Mistakes to Avoid When Sealing a Wood Table
Why Sealing Your Wood Kitchen Table is Essential for House Design
The Beauty and Durability of Wood
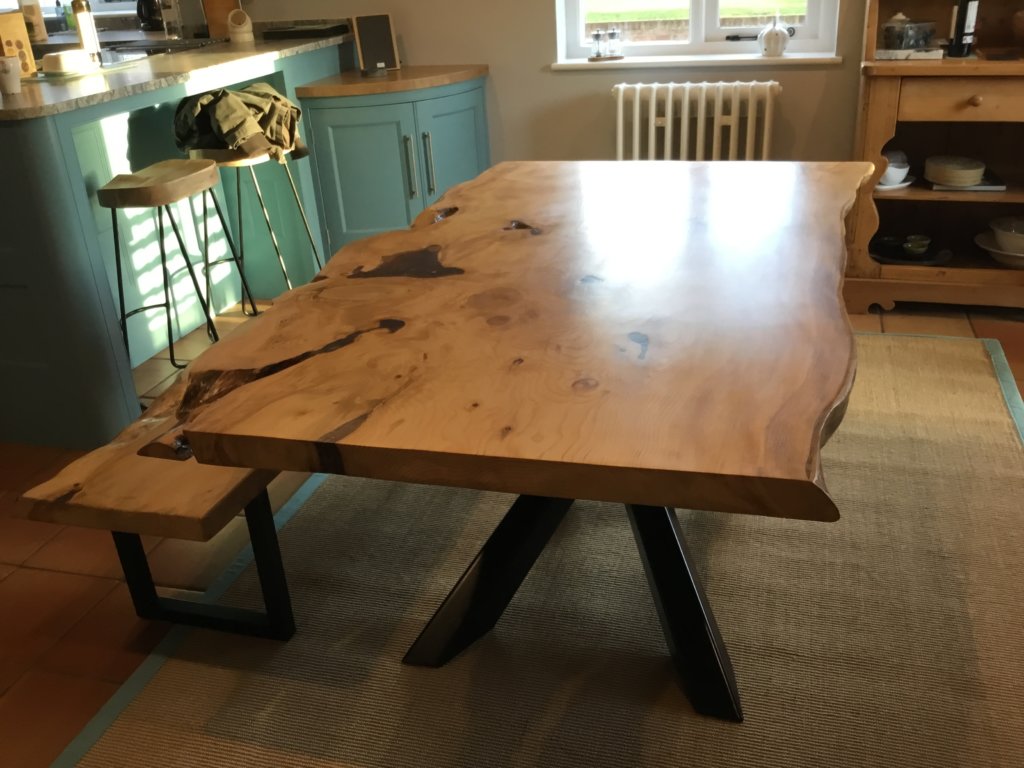
 Wood is a popular choice for furniture, especially for kitchen tables, due to its natural beauty and durability. Not only does it add warmth and character to a living space, but it can also last for generations with proper care. However, wood is also a delicate material that can easily be damaged by moisture, heat, and other external factors. That is why sealing your wood kitchen table is essential for both maintaining its appearance and extending its lifespan.
Protecting Against Stains and Scratches
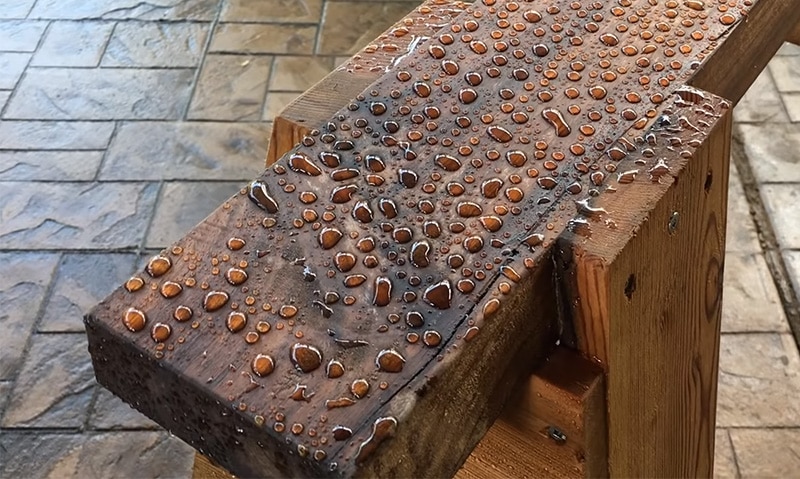
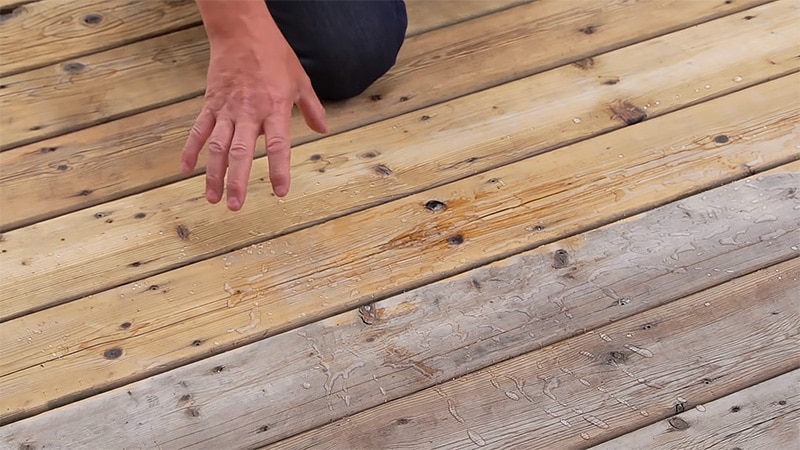
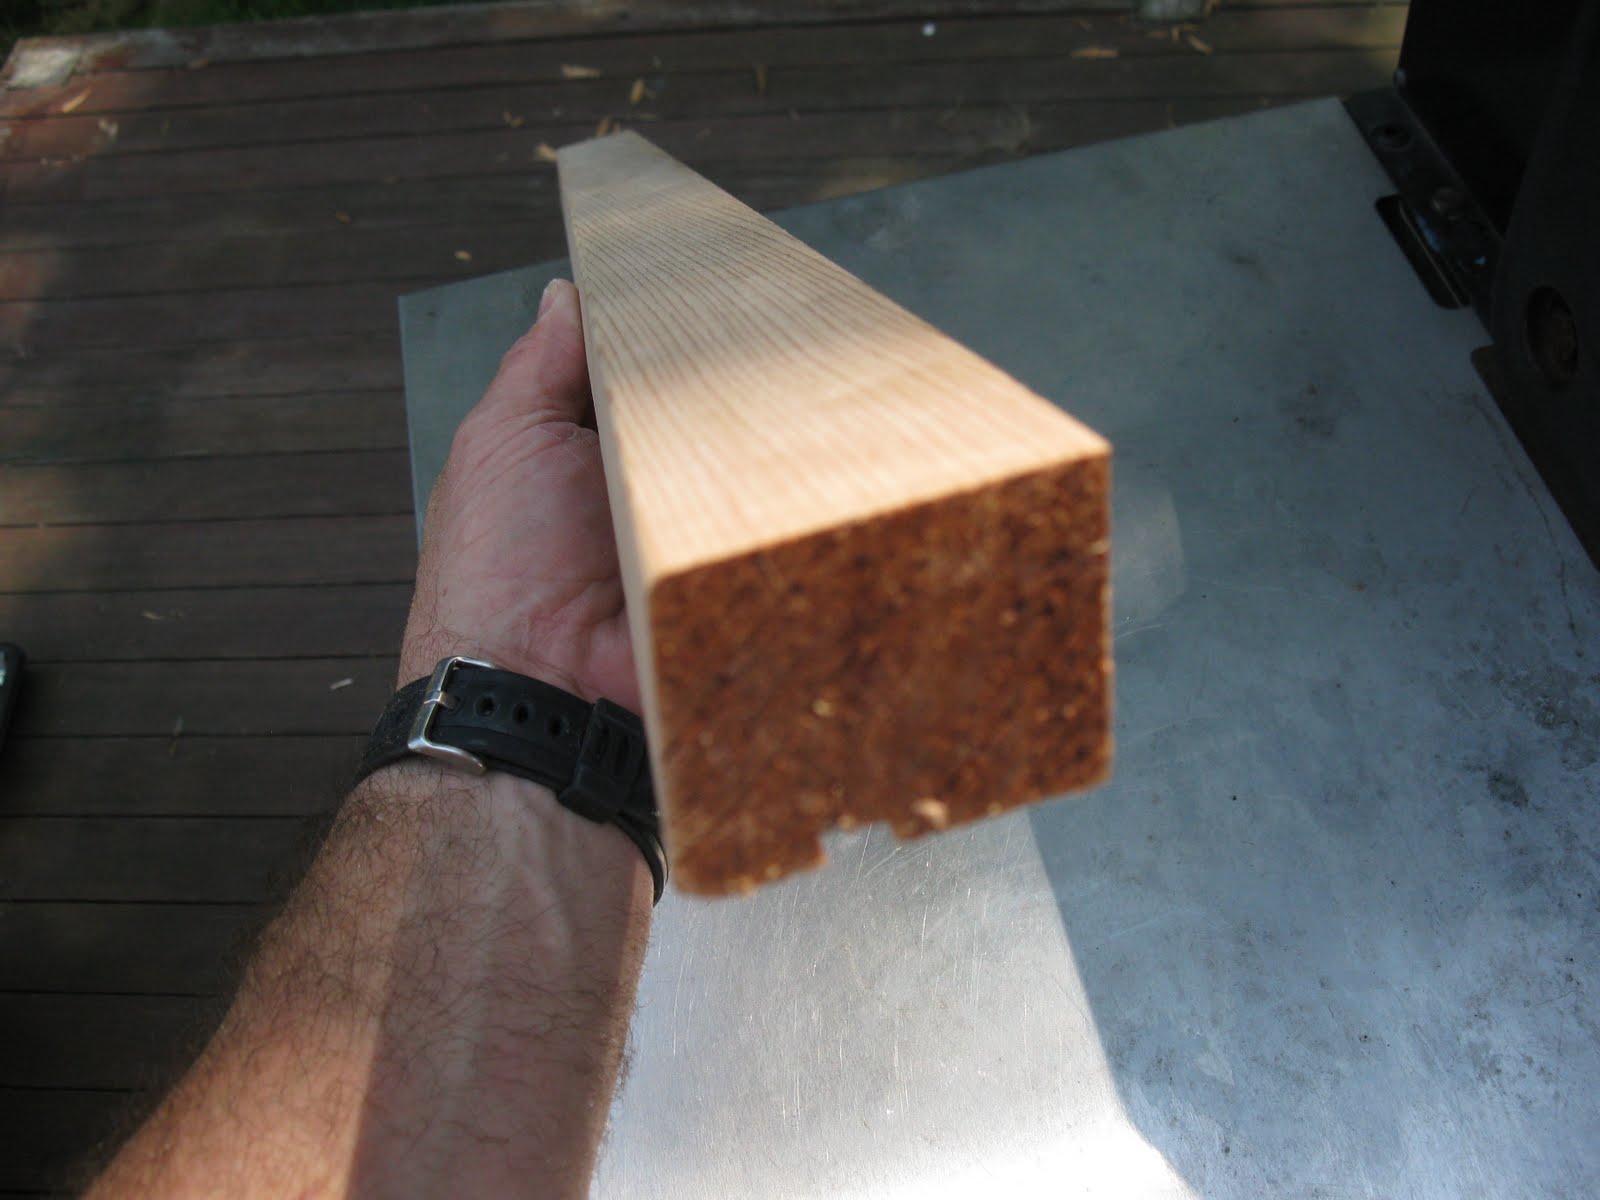 One of the main reasons for sealing a wood kitchen table is to protect it against stains and scratches. As this is the most used surface in the kitchen, it is susceptible to spills and scratches from daily use. Sealing the wood creates a barrier that prevents liquids and oils from seeping into the wood, making it easier to clean and maintain. It also protects the wood from scratches caused by utensils, plates, and other kitchen tools.
Tip:
When choosing a sealant, opt for one that is specifically designed for kitchen tables and is food-safe.
Preserving the Natural Beauty of Wood
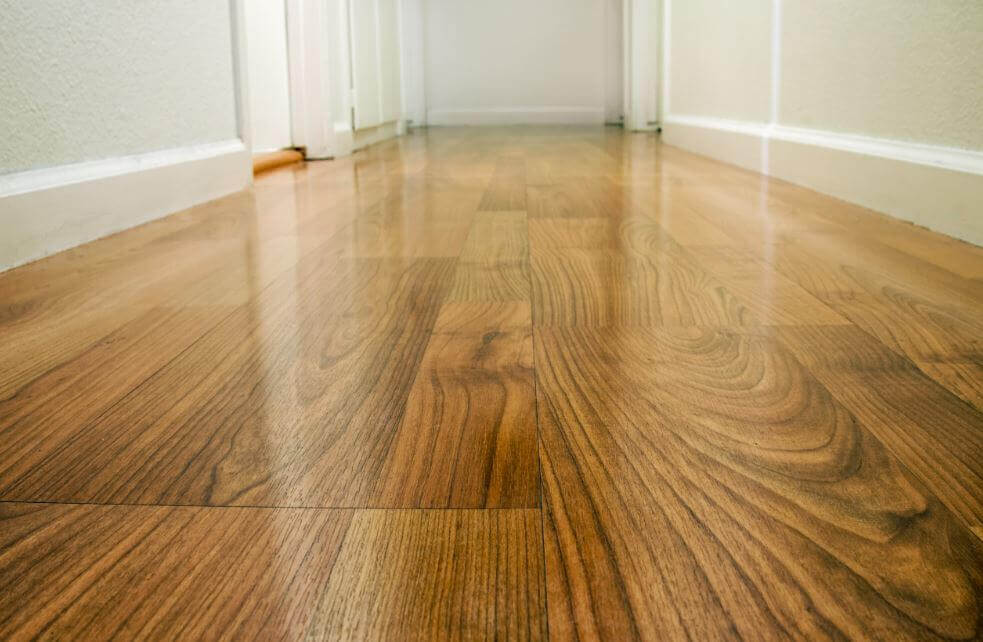
 Wood is a natural and organic material, and its beauty lies in its unique grains, knots, and color variations. Sealing the wood helps to preserve and enhance its natural beauty by preventing it from fading or discoloring over time. It also helps to protect the wood from UV rays, which can cause it to become dull and lose its natural luster.
Preventing Warping and Cracking
 Wood is also sensitive to changes in temperature and humidity, which can cause it to warp or crack. Sealing the wood helps to protect it from these external factors, keeping it in its original shape and preventing any damage. This is especially important for kitchen tables, as they are often exposed to heat and moisture from cooking, washing, and other activities in the kitchen.
Conclusion
 In conclusion, sealing your wood kitchen table is essential for maintaining its beauty and durability. Not only does it protect against stains and scratches, but it also preserves the natural beauty of the wood and prevents warping and cracking. So, if you want your kitchen table to last for years to come, make sure to seal it properly.
























-640w.jpg)
















:max_bytes(150000):strip_icc()/bluebedrooms7-596ba5f65f9b582c3575c8bd.jpg)

