Sanding a kitchen table may seem like a daunting task, but with the right tools and techniques, it can be a satisfying DIY project. Not only does sanding remove any scratches or blemishes on your table's surface, but it also prepares the wood for staining or painting. Here are some tips on how to sand your kitchen table for a flawless finish.How to Sand a Kitchen Table


How to Sand a Kitchen Table


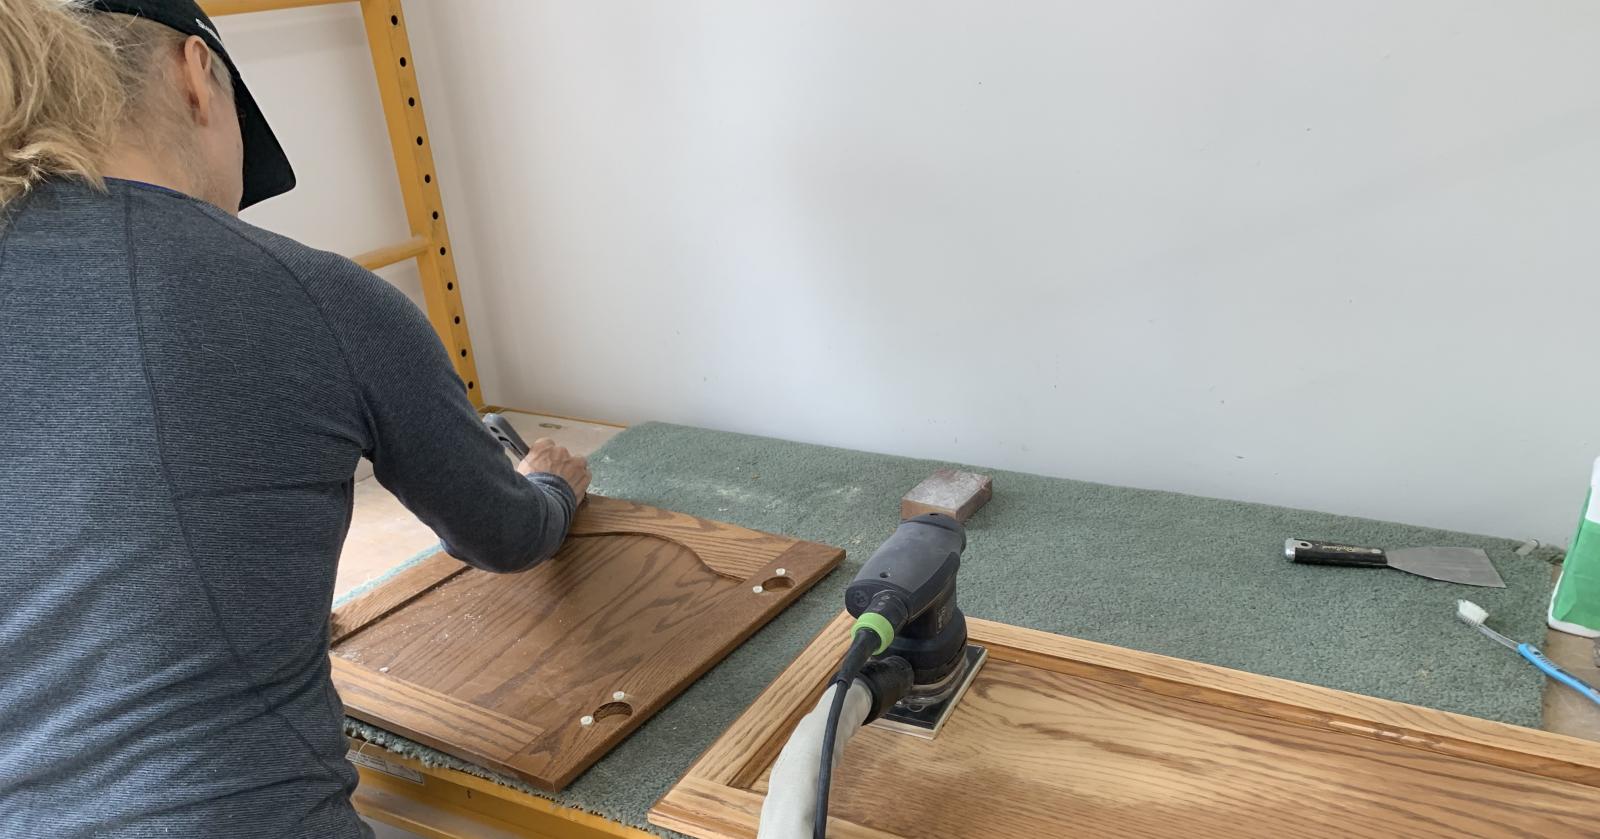
If you're a fan of DIY projects, then sanding your kitchen table is a great way to save money and add a personal touch to your furniture. Before you begin, make sure to cover the surrounding area with a drop cloth to protect it from dust and debris. You'll also need a few tools such as sandpaper, an electric sander, and a mask to protect yourself from the dust. Start by removing any hardware or drawers from the table and then follow these tips for a successful sanding job.DIY Kitchen Table Sanding Tips


DIY Kitchen Table Sanding Tips


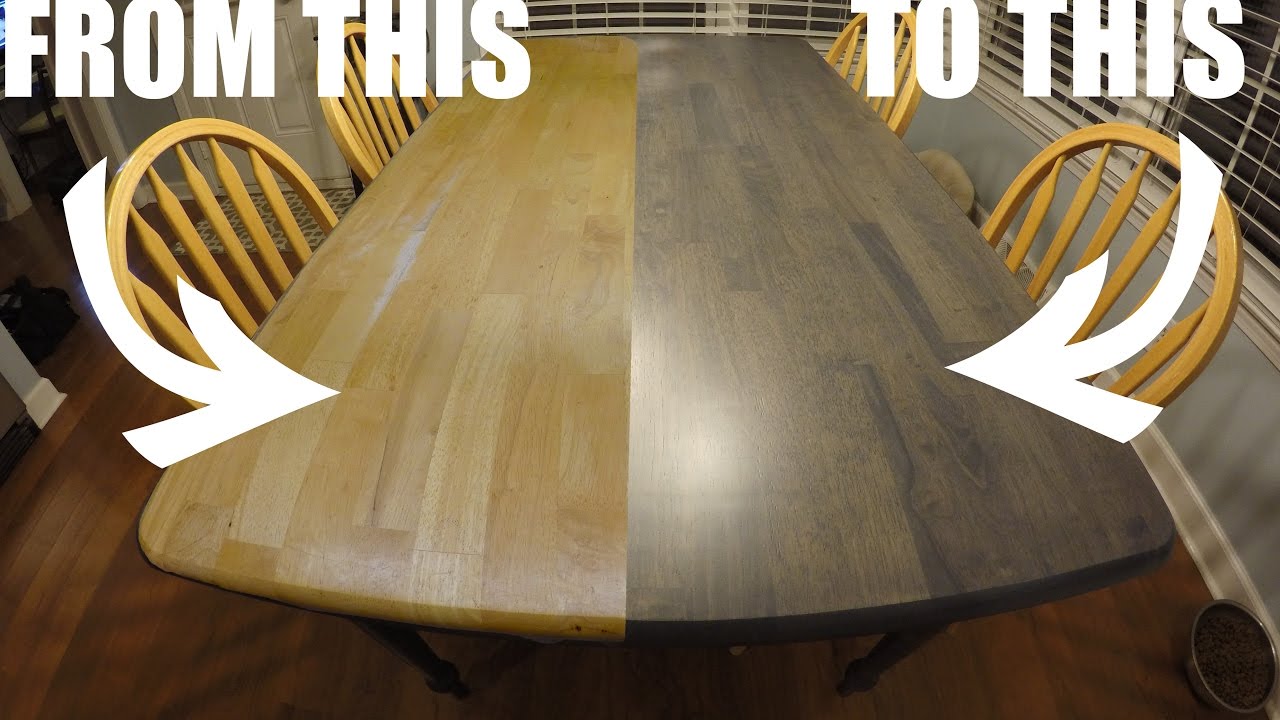
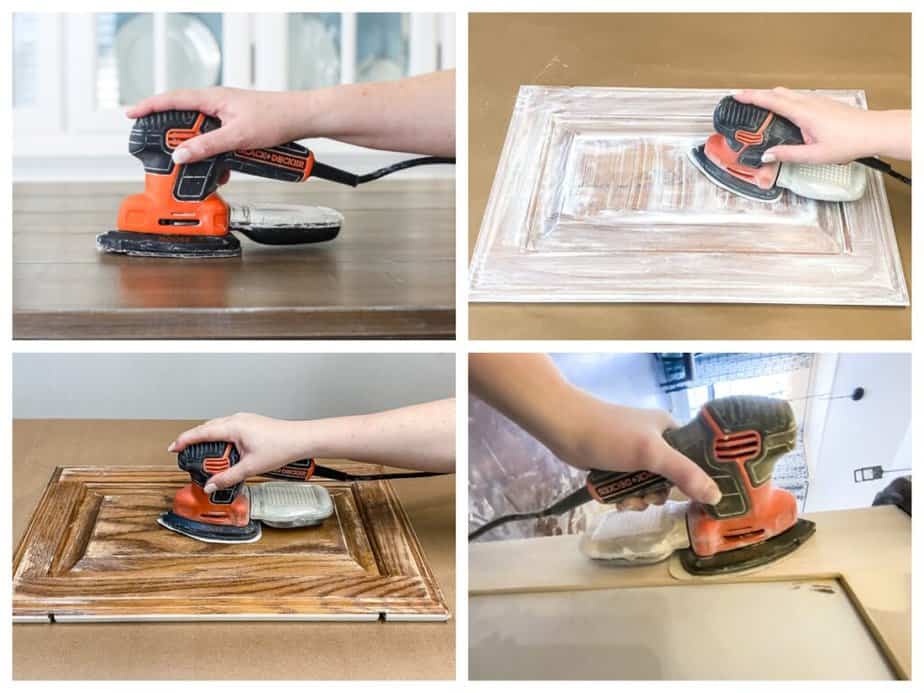
If your kitchen table has seen better days, refinishing it can give it a new lease on life. Sanding is an essential step in this process as it removes the old finish and prepares the wood for a new one. Start by sanding in the direction of the wood grain using a medium-grit sandpaper. Once you've removed the old finish, switch to a fine-grit sandpaper for a smoother finish. You can then apply a new stain or paint to give your kitchen table a fresh look.Sanding and Refinishing a Kitchen Table


Sanding and Refinishing a Kitchen Table


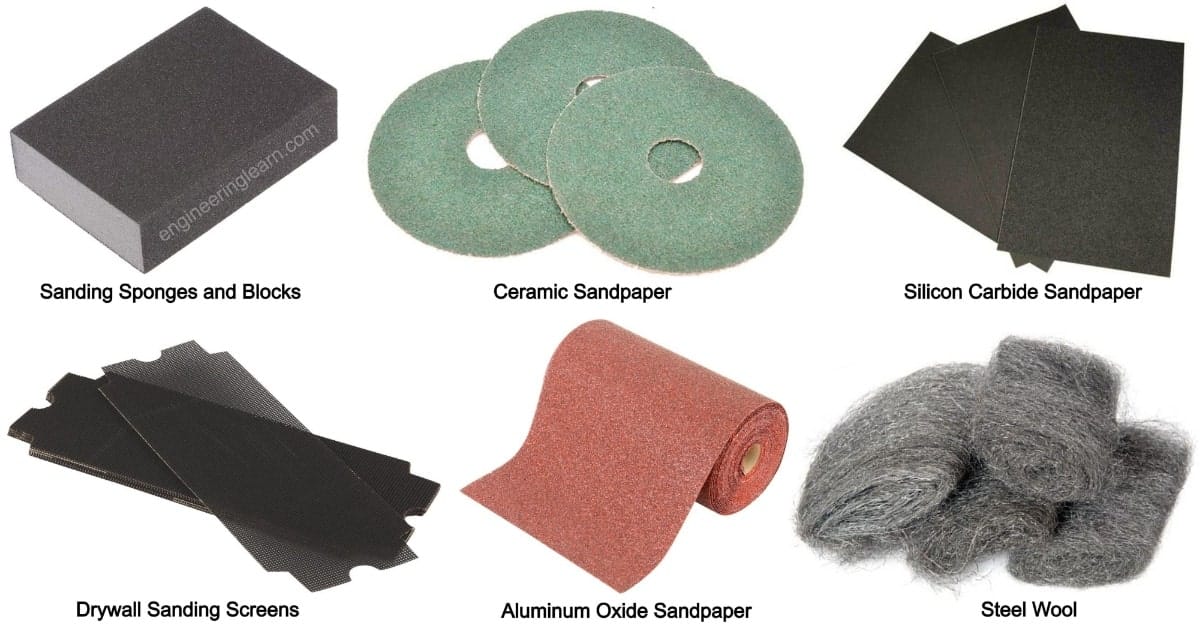
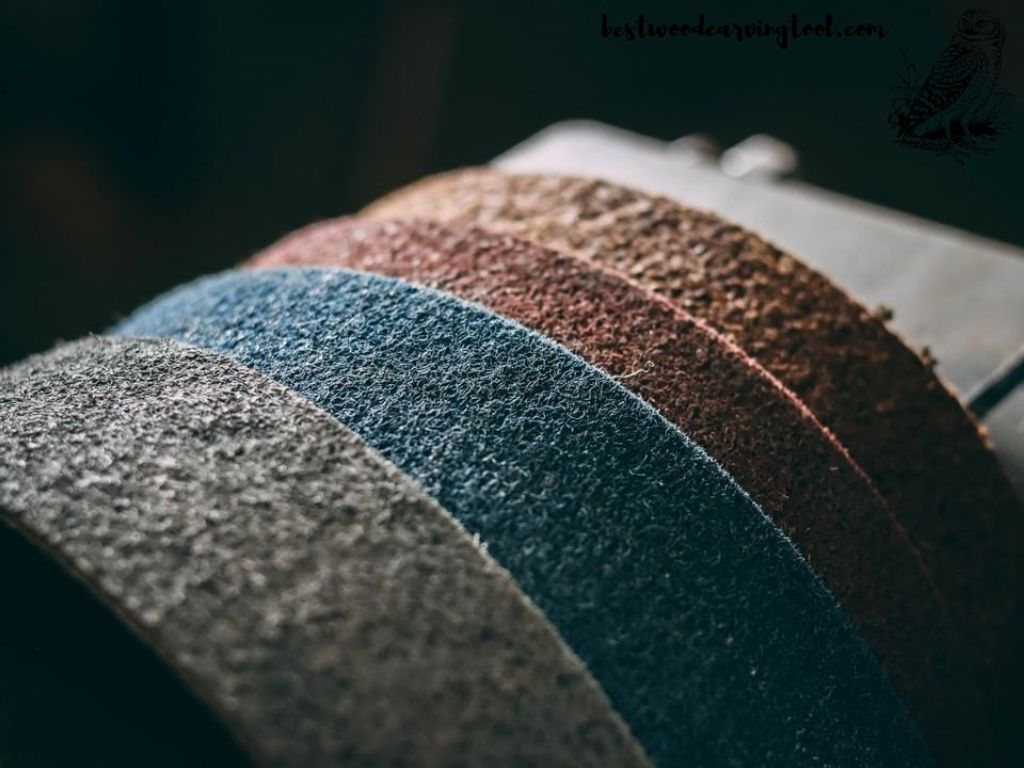
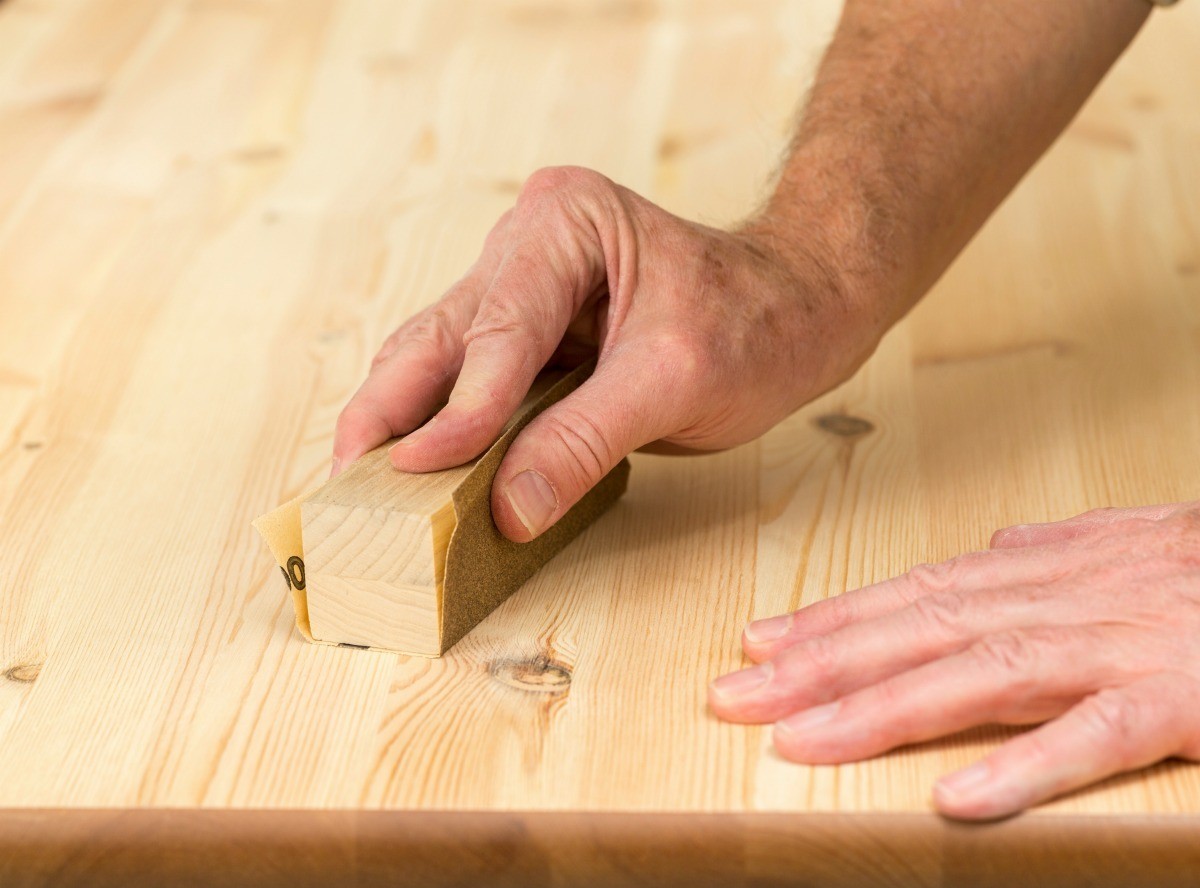
Choosing the right sandpaper is key to achieving a smooth and even finish on your kitchen table. For initial sanding, start with a medium-grit sandpaper, around 80-120 grit, to remove any roughness or imperfections on the surface. Once you've achieved a smooth surface, switch to a fine-grit sandpaper, around 220-320 grit, for a final sanding. The higher the number, the finer the grit, and the smoother your finish will be.Best Sandpaper for Kitchen Table
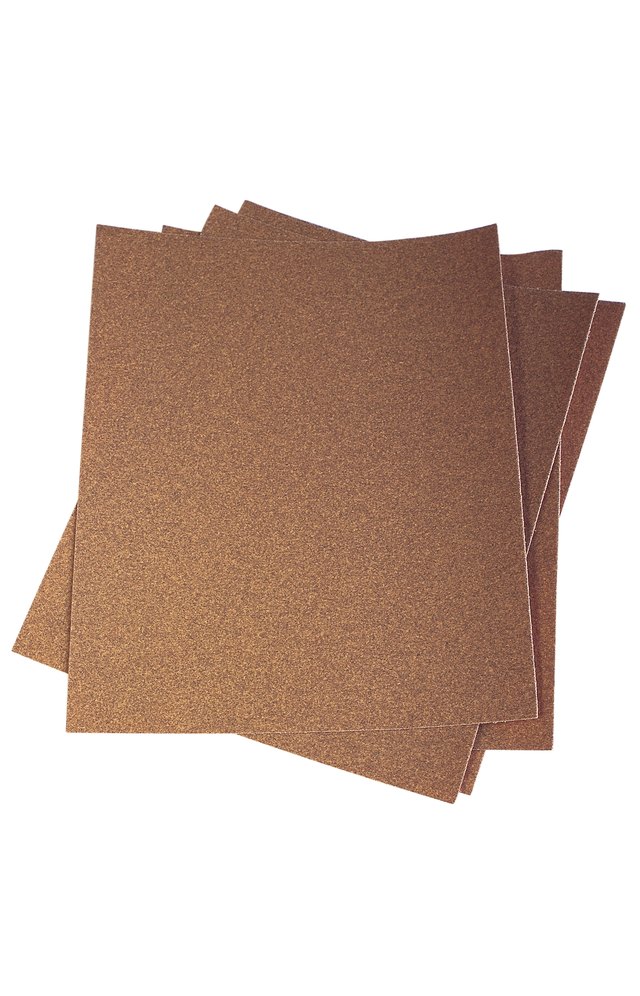


Best Sandpaper for Kitchen Table


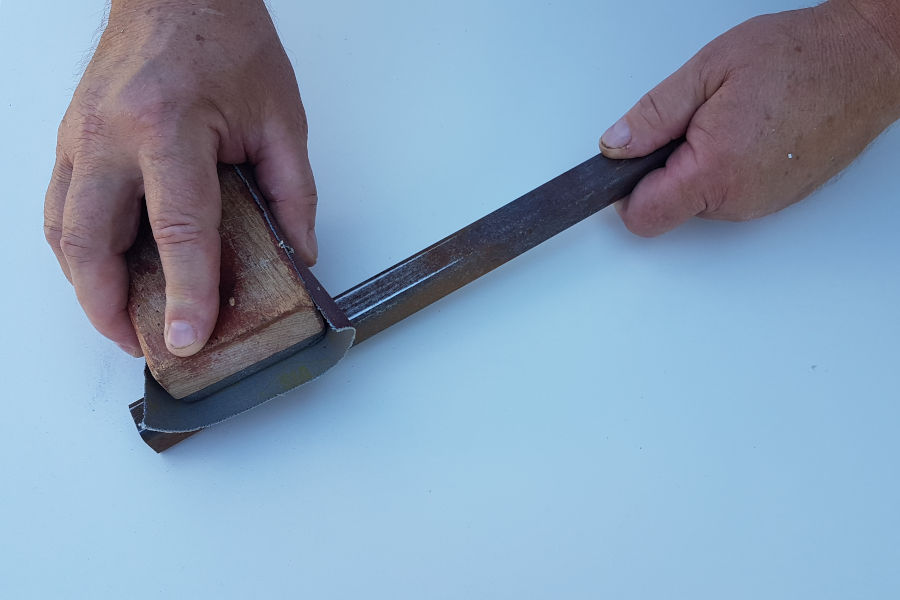

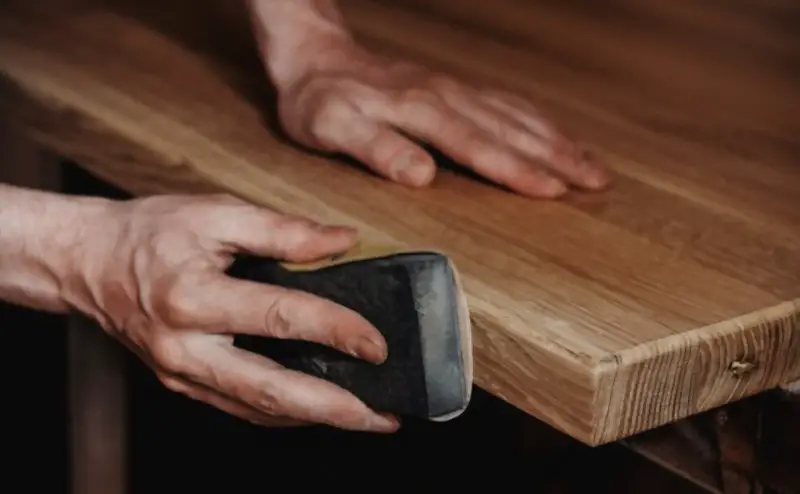

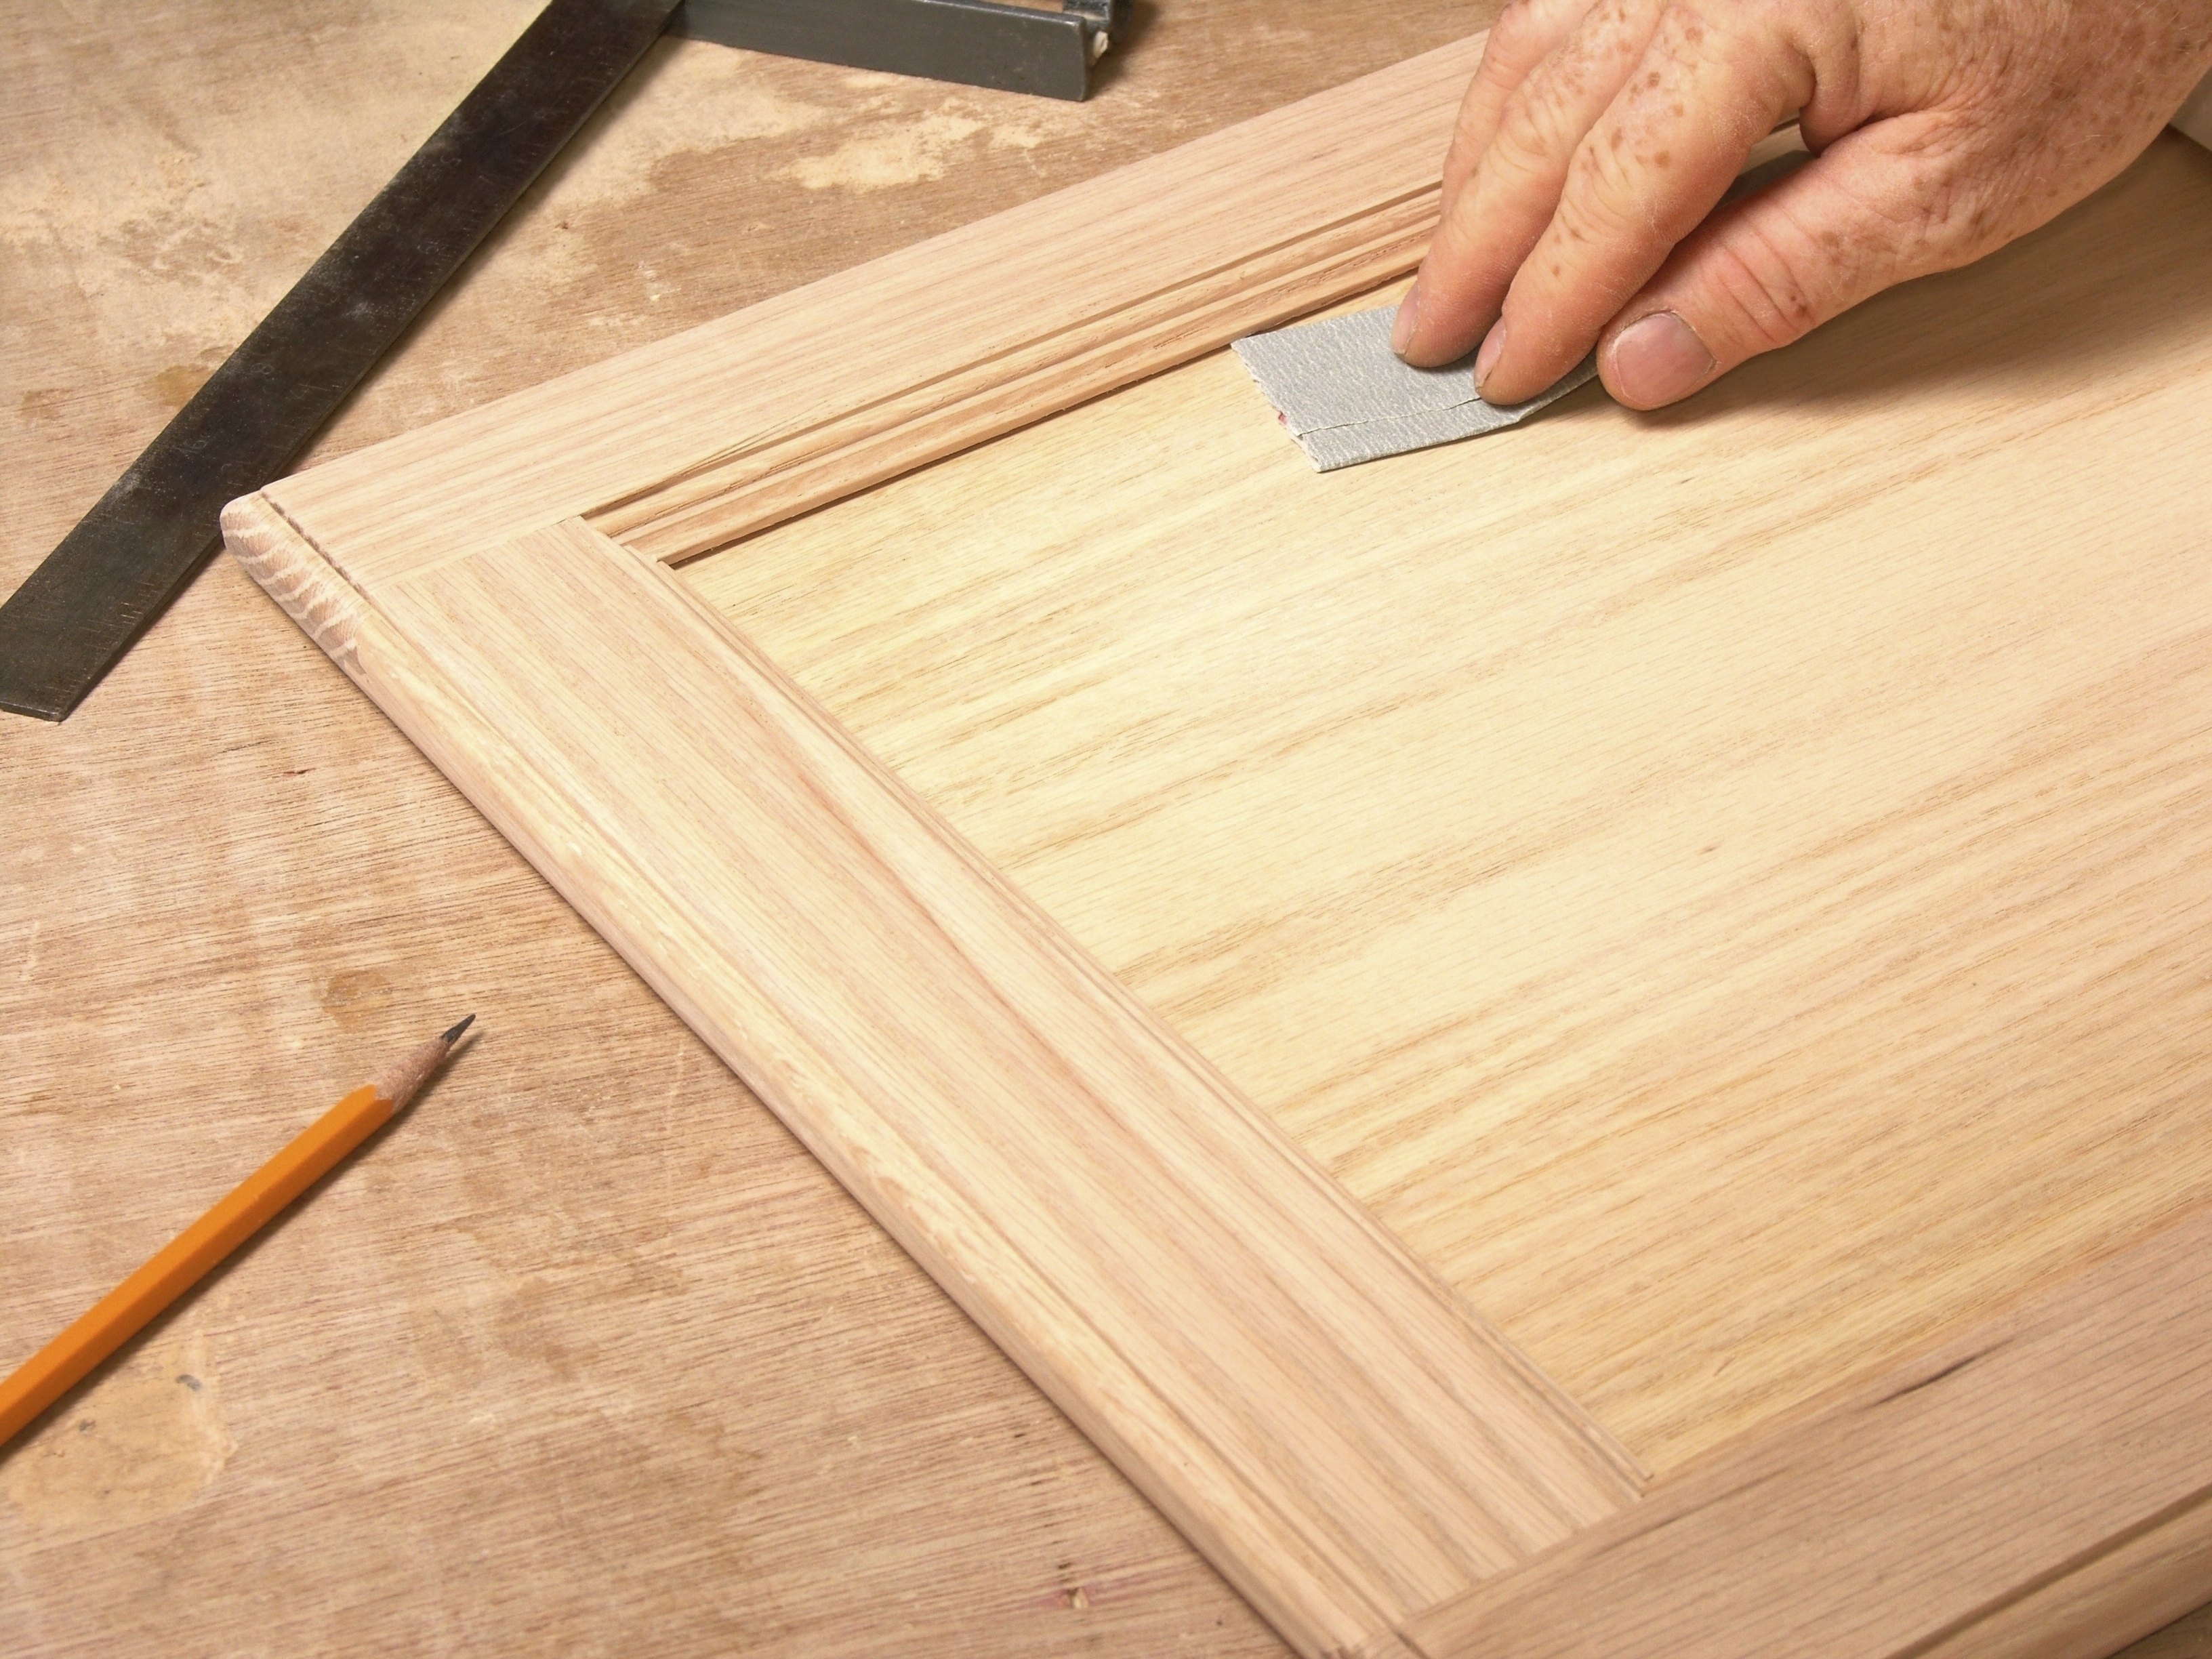
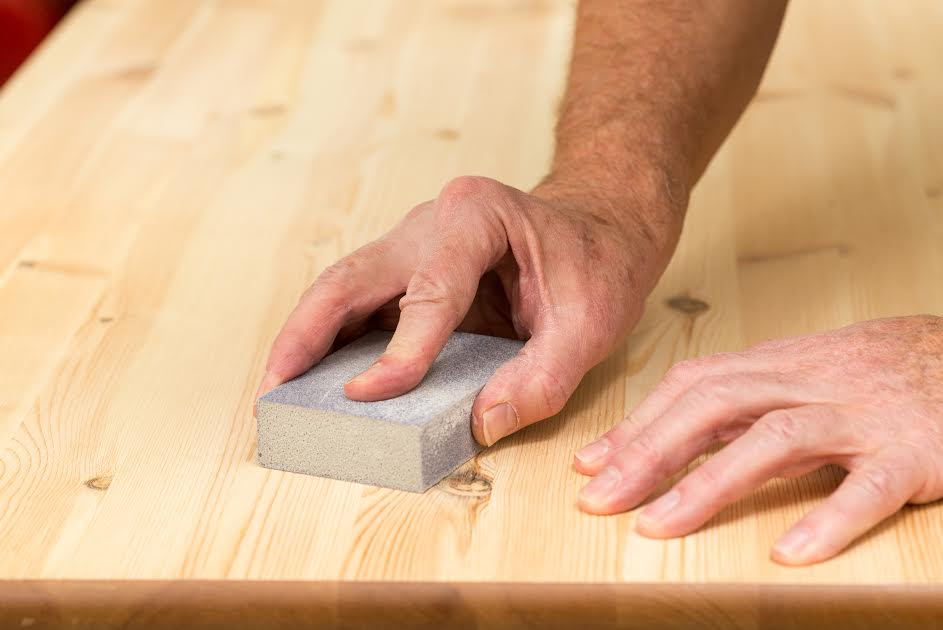
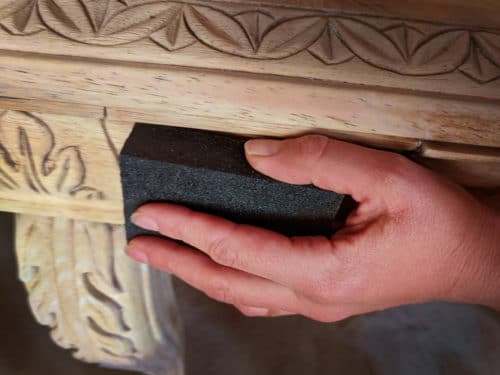
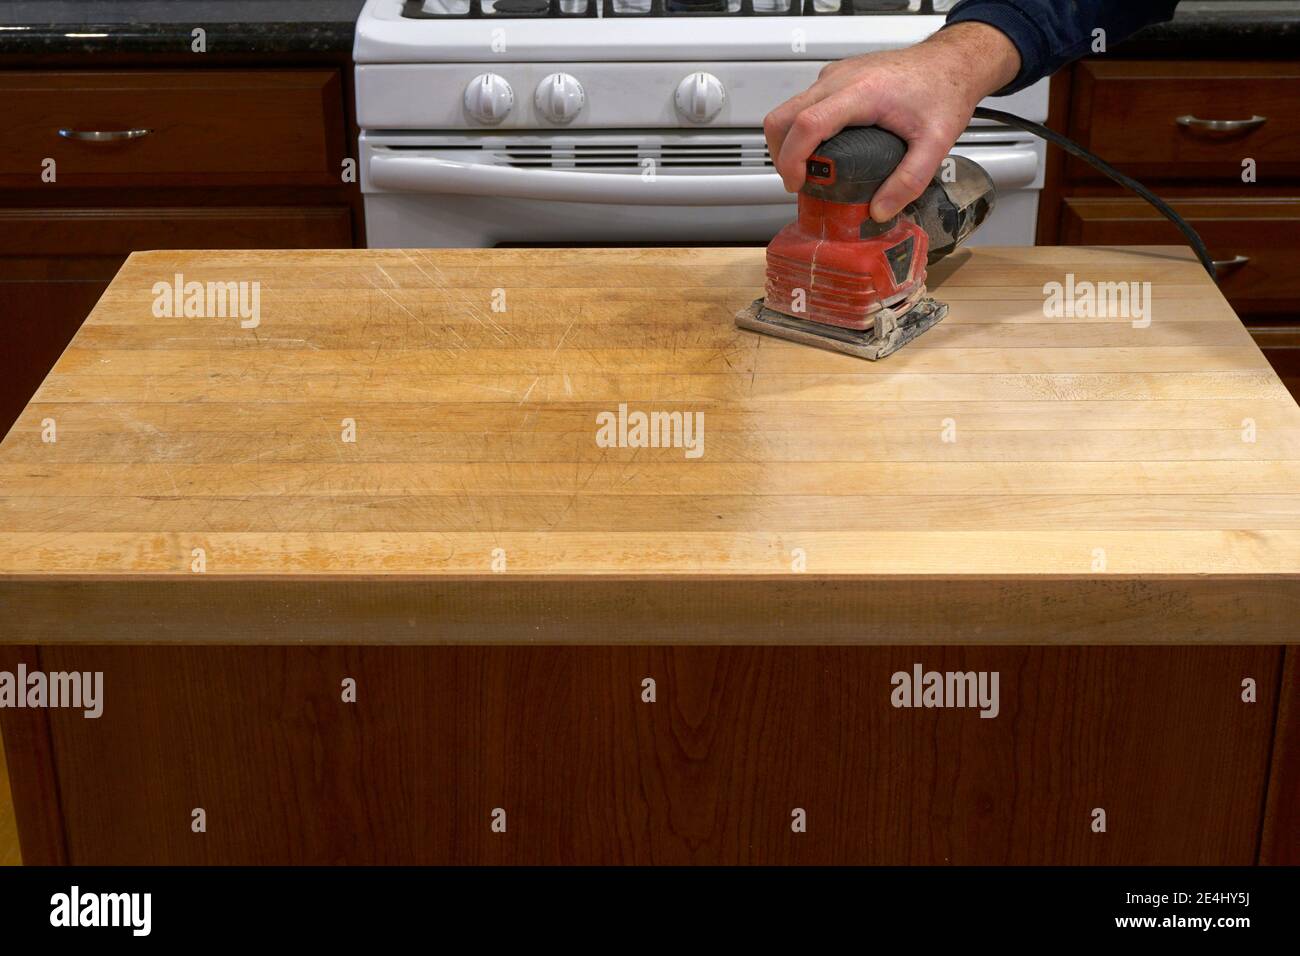
When sanding a wooden kitchen table, it's important to follow the direction of the wood grain to avoid creating scratches or uneven surfaces. You can sand by hand using a sanding block or use an electric sander for a quicker and more efficient job. Make sure to apply even pressure and avoid sanding in one spot for too long to prevent creating dips or grooves in the wood.Sanding Techniques for a Wooden Kitchen Table


Sanding Techniques for a Wooden Kitchen Table


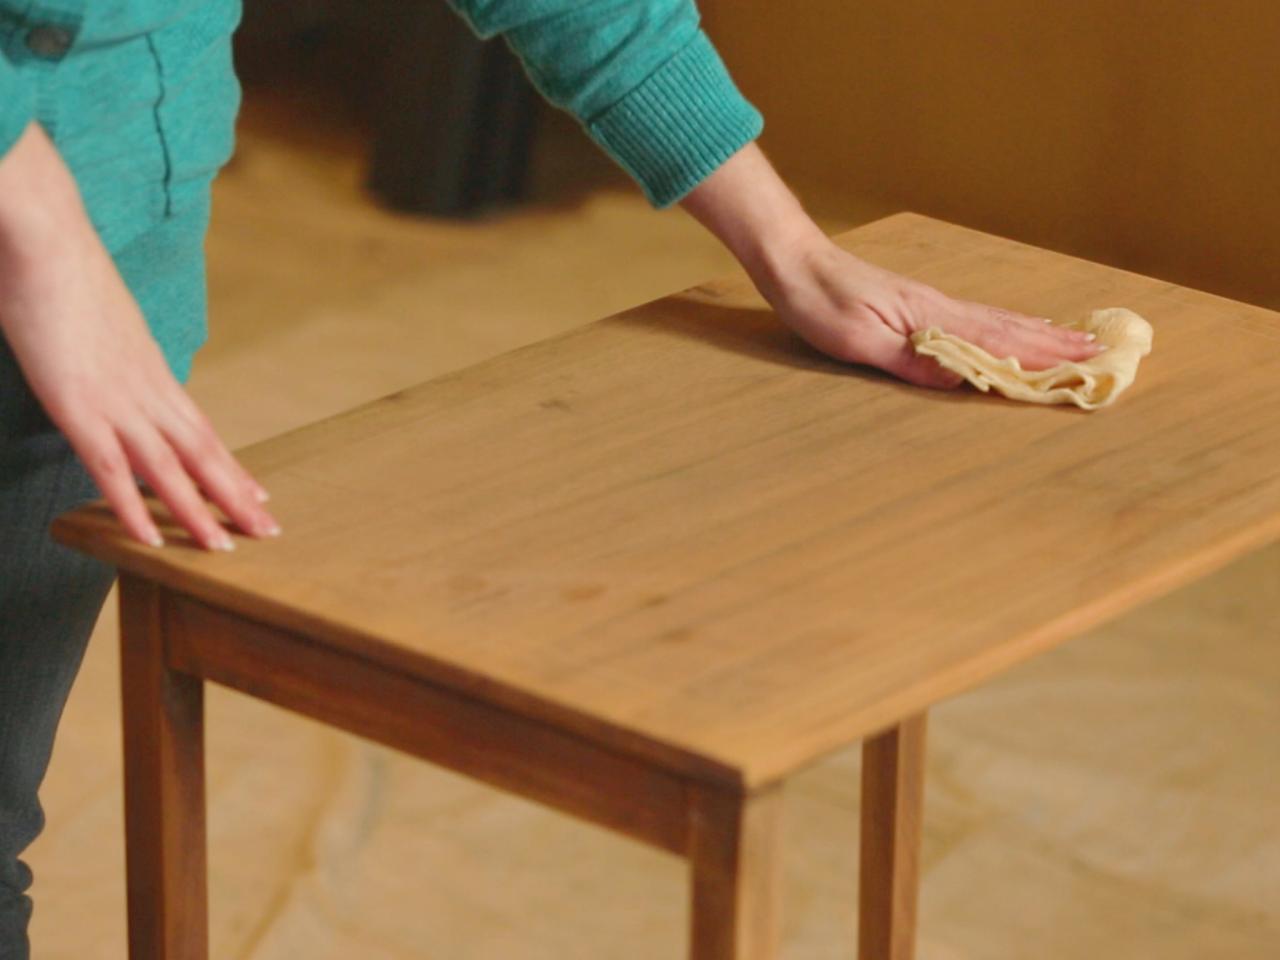
Staining your kitchen table after sanding can give it a beautiful and durable finish. To prepare the wood for staining, follow these steps: Step 1: Sand the table with a medium-grit sandpaper to remove any old finish or imperfections. Step 2: Switch to a fine-grit sandpaper for a smooth surface. Step 3: Wipe the table down with a damp cloth to remove any dust. Step 4: Apply a wood conditioner to the table to prevent the wood from absorbing too much stain. Step 5: Apply the stain using a brush or rag in the direction of the wood grain. Step 6: Wipe off any excess stain and let it dry completely before adding a second coat if desired.Steps for Sanding and Staining a Kitchen Table


Steps for Sanding and Staining a Kitchen Table


If you prefer a painted look for your kitchen table, sanding is still an important step to achieve a smooth and even finish. After sanding and wiping away any dust, you can prime the table before painting to ensure better adhesion. You can then use a brush or roller to apply the paint, making sure to follow the direction of the wood grain. Multiple coats may be necessary for a solid and durable finish.Sanding and Painting a Kitchen Table


Sanding and Painting a Kitchen Table


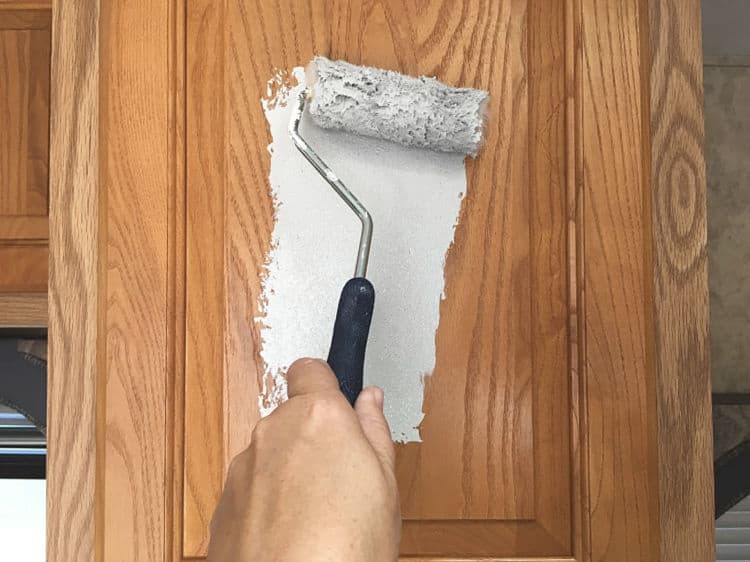

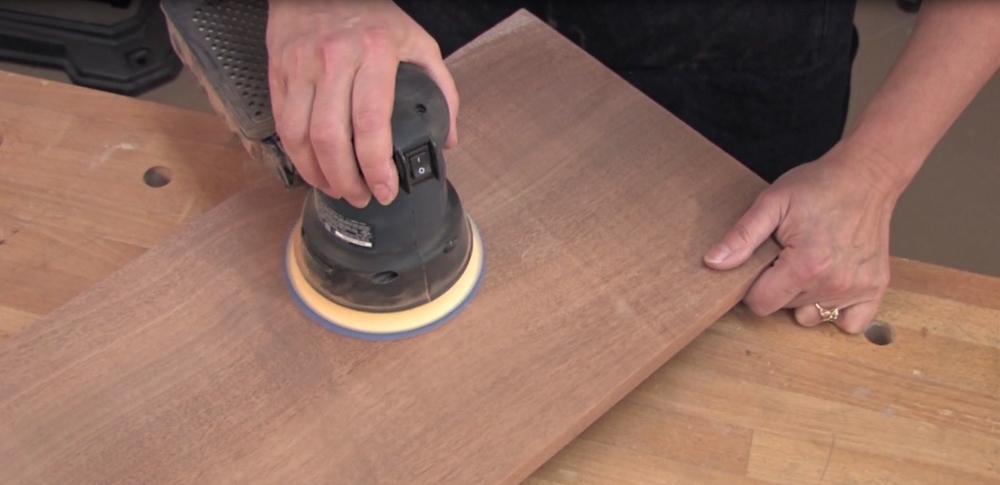
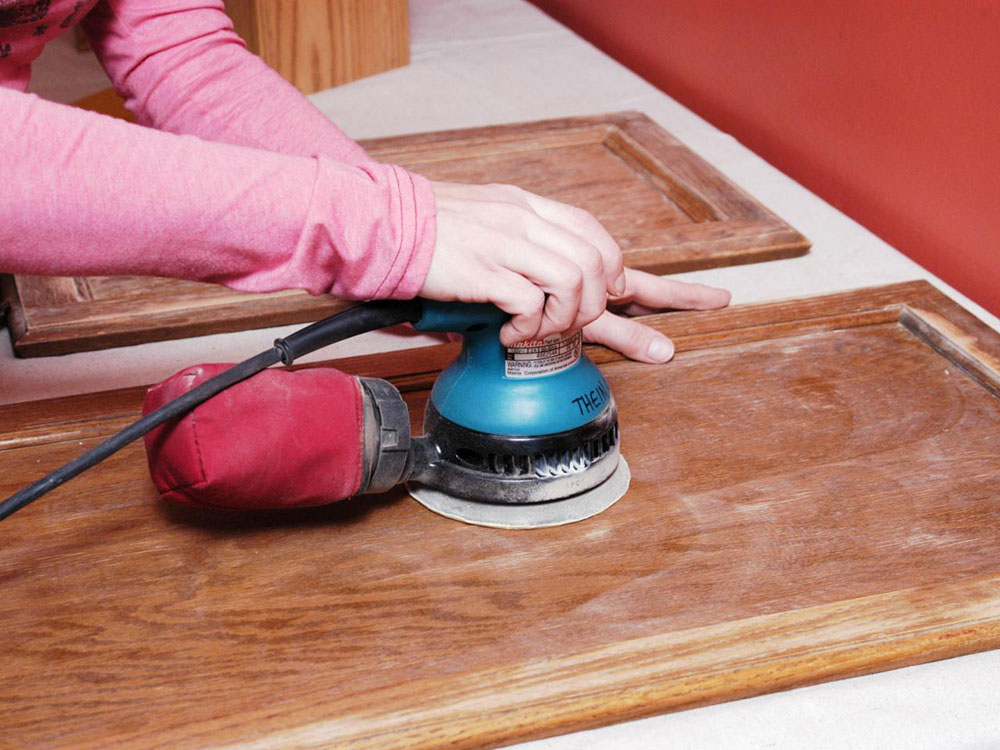
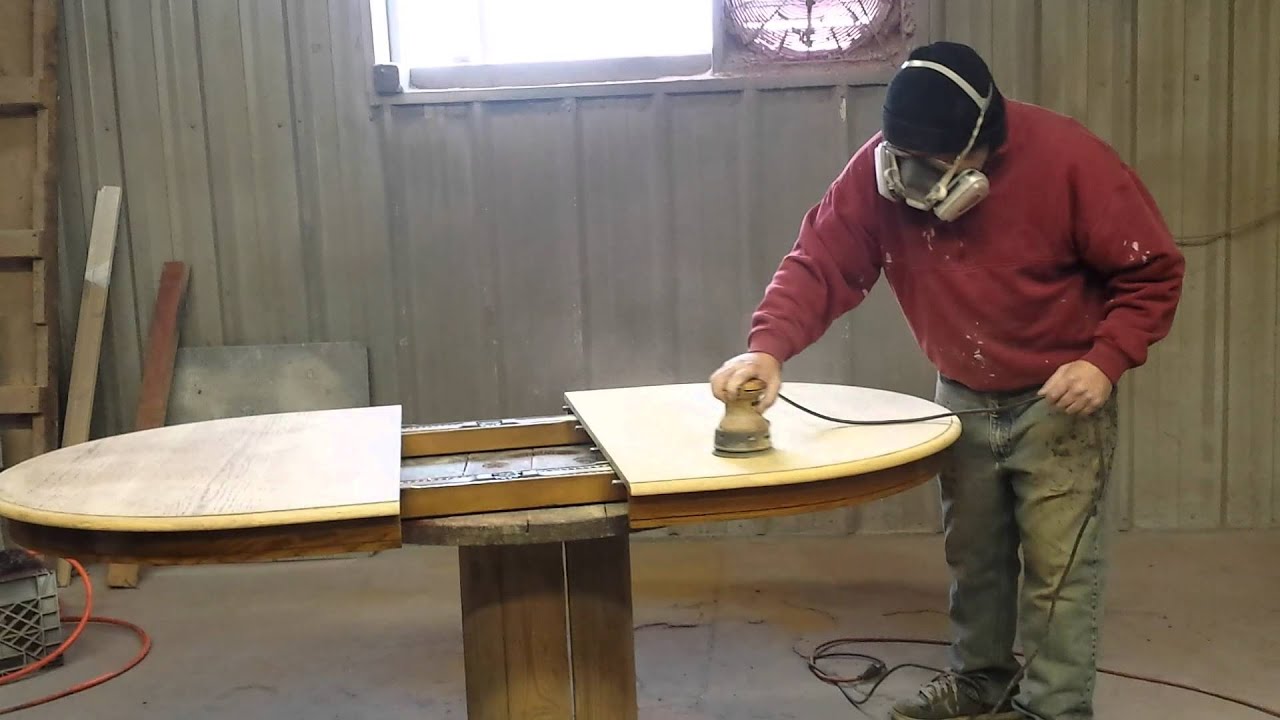
An electric sander can make sanding your kitchen table much quicker and easier. However, it's important to use it correctly to avoid damaging the wood. Make sure to keep the sander moving in a back and forth motion, going with the grain of the wood. Avoid pressing down too hard or staying in one spot for too long to prevent creating uneven surfaces. You can also use a hand sander for smaller or hard-to-reach areas.Using an Electric Sander on a Kitchen Table


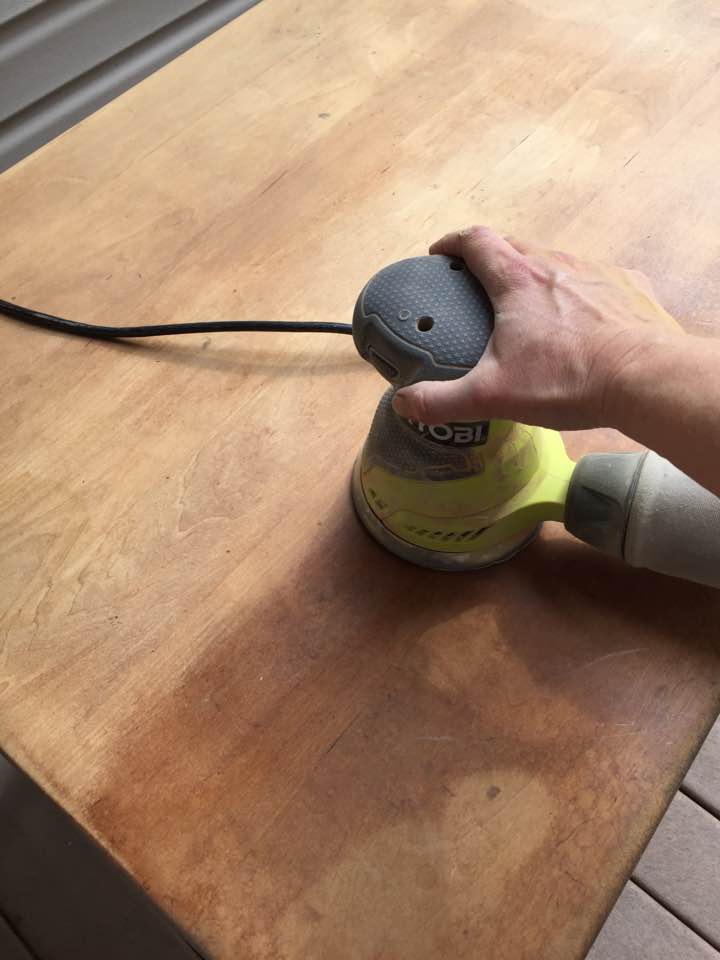
Using an Electric Sander on a Kitchen Table


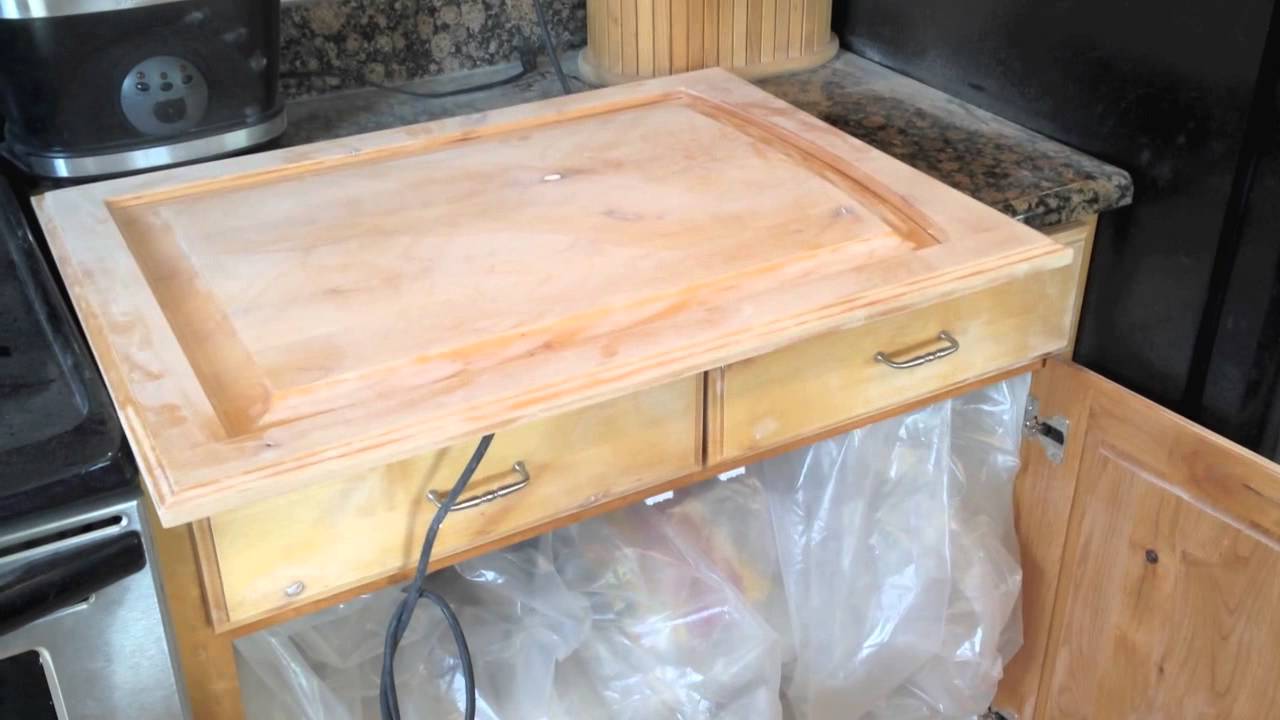
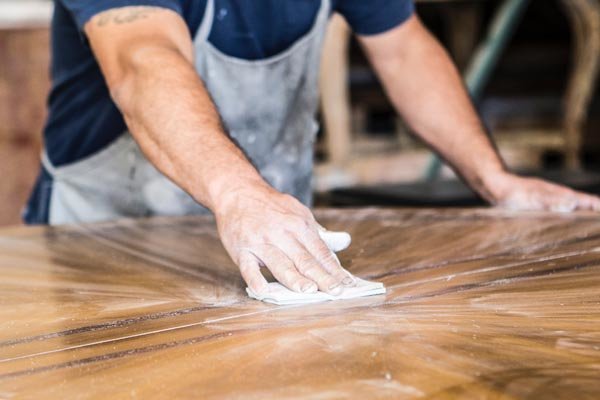
Before you start sanding your kitchen table, there are a few things you can do to prep the surface for a smoother and more efficient job. First, remove any hardware or drawers, and cover the surrounding area to protect it from dust. You can also use a putty knife to remove any old paint or finish from the surface before sanding. Finally, make sure to clean the table with a damp cloth to remove any dirt or debris before sanding.How to Prep a Kitchen Table for Sanding


How to Prep a Kitchen Table for Sanding


If you have an old kitchen table that's been hiding in your basement or attic, sanding and restoring it can bring it back to life. Start by sanding off any old finish and then repair any damage with wood filler. You can then follow the steps for sanding and staining or painting to give your old table a new look. Sanding can also help bring out the natural beauty of the wood, making it a stunning addition to your home. Sanding your kitchen table may require some time and effort, but the end result is a beautiful and durable piece of furniture that you can be proud of. By following these tips and techniques, you can achieve a flawless finish that will make your kitchen table the focal point of your home.Sanding and Restoring an Old Kitchen Table


Sanding and Restoring an Old Kitchen Table


The Importance of Sanding Your Kitchen Table for a Beautifully Designed Home

Why Sanding is Essential in Kitchen Table Design
 When it comes to designing your home, the kitchen is often the heart of the house. Not only is it where meals are prepared and shared, but it also serves as a gathering place for family and friends. With such an important role, it's crucial to have a well-designed kitchen that reflects your personal style. One element that can greatly enhance the overall look and feel of your kitchen is the
kitchen table
. And one important step in achieving a beautiful kitchen table is
sanding
.
When it comes to designing your home, the kitchen is often the heart of the house. Not only is it where meals are prepared and shared, but it also serves as a gathering place for family and friends. With such an important role, it's crucial to have a well-designed kitchen that reflects your personal style. One element that can greatly enhance the overall look and feel of your kitchen is the
kitchen table
. And one important step in achieving a beautiful kitchen table is
sanding
.
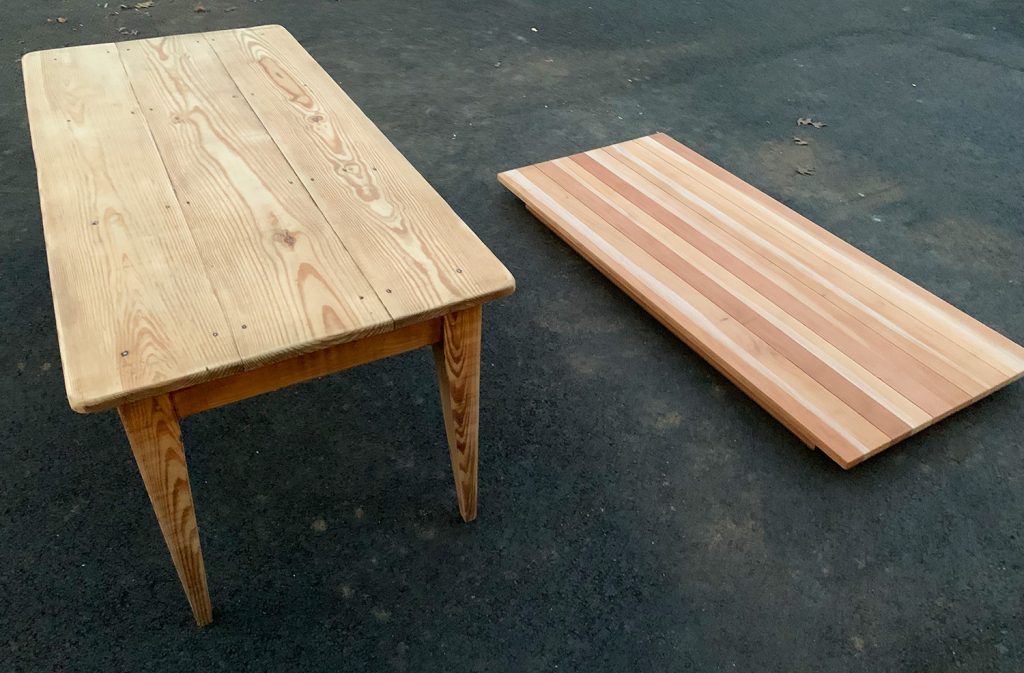
Benefits of Sanding Your Kitchen Table
 Sanding is the process of smoothing out the surface of wood by using sandpaper or a sanding machine. This may seem like an unnecessary step, but it has numerous benefits when it comes to kitchen table design. First and foremost, sanding helps to remove any imperfections or rough spots on the wood, creating a smooth and even surface. This is especially important if you are working with reclaimed or older wood, as it may have scratches, dents, or other marks that need to be smoothed out.
Enhancing the Aesthetics
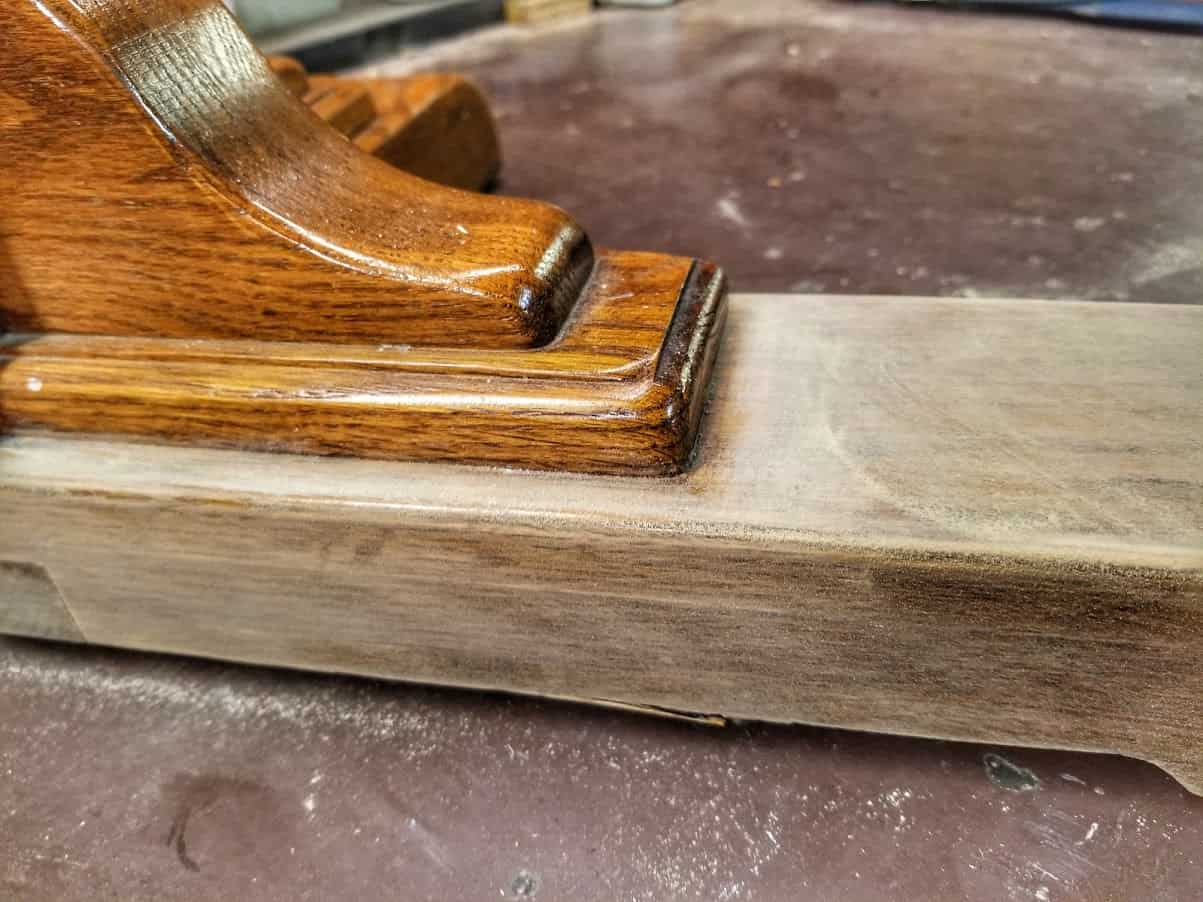
 In addition to creating a smooth surface, sanding also brings out the natural beauty of the wood. By removing the top layer of the wood, the grain and texture of the wood are exposed, giving it a more natural and organic look. This is particularly important if you plan on staining or painting your kitchen table, as sanding allows for a more even application and a better end result.
Creating a Stronger and More Durable Surface
 Another benefit of sanding your kitchen table is that it creates a stronger and more durable surface. By removing any imperfections and rough spots, the wood becomes more resistant to wear and tear. This is especially important for a kitchen table, as it is often subjected to spills, scratches, and other everyday use. With proper sanding, your kitchen table will not only look beautiful but also last longer.
Final Thoughts
 In conclusion, sanding is an essential step in creating a beautifully designed kitchen table. Not only does it create a smooth and even surface, but it also enhances the natural beauty of the wood and makes it more durable. So, before you start designing your dream kitchen, don't forget to include sanding as an important step in the process. Trust us, your kitchen table will thank you for it.