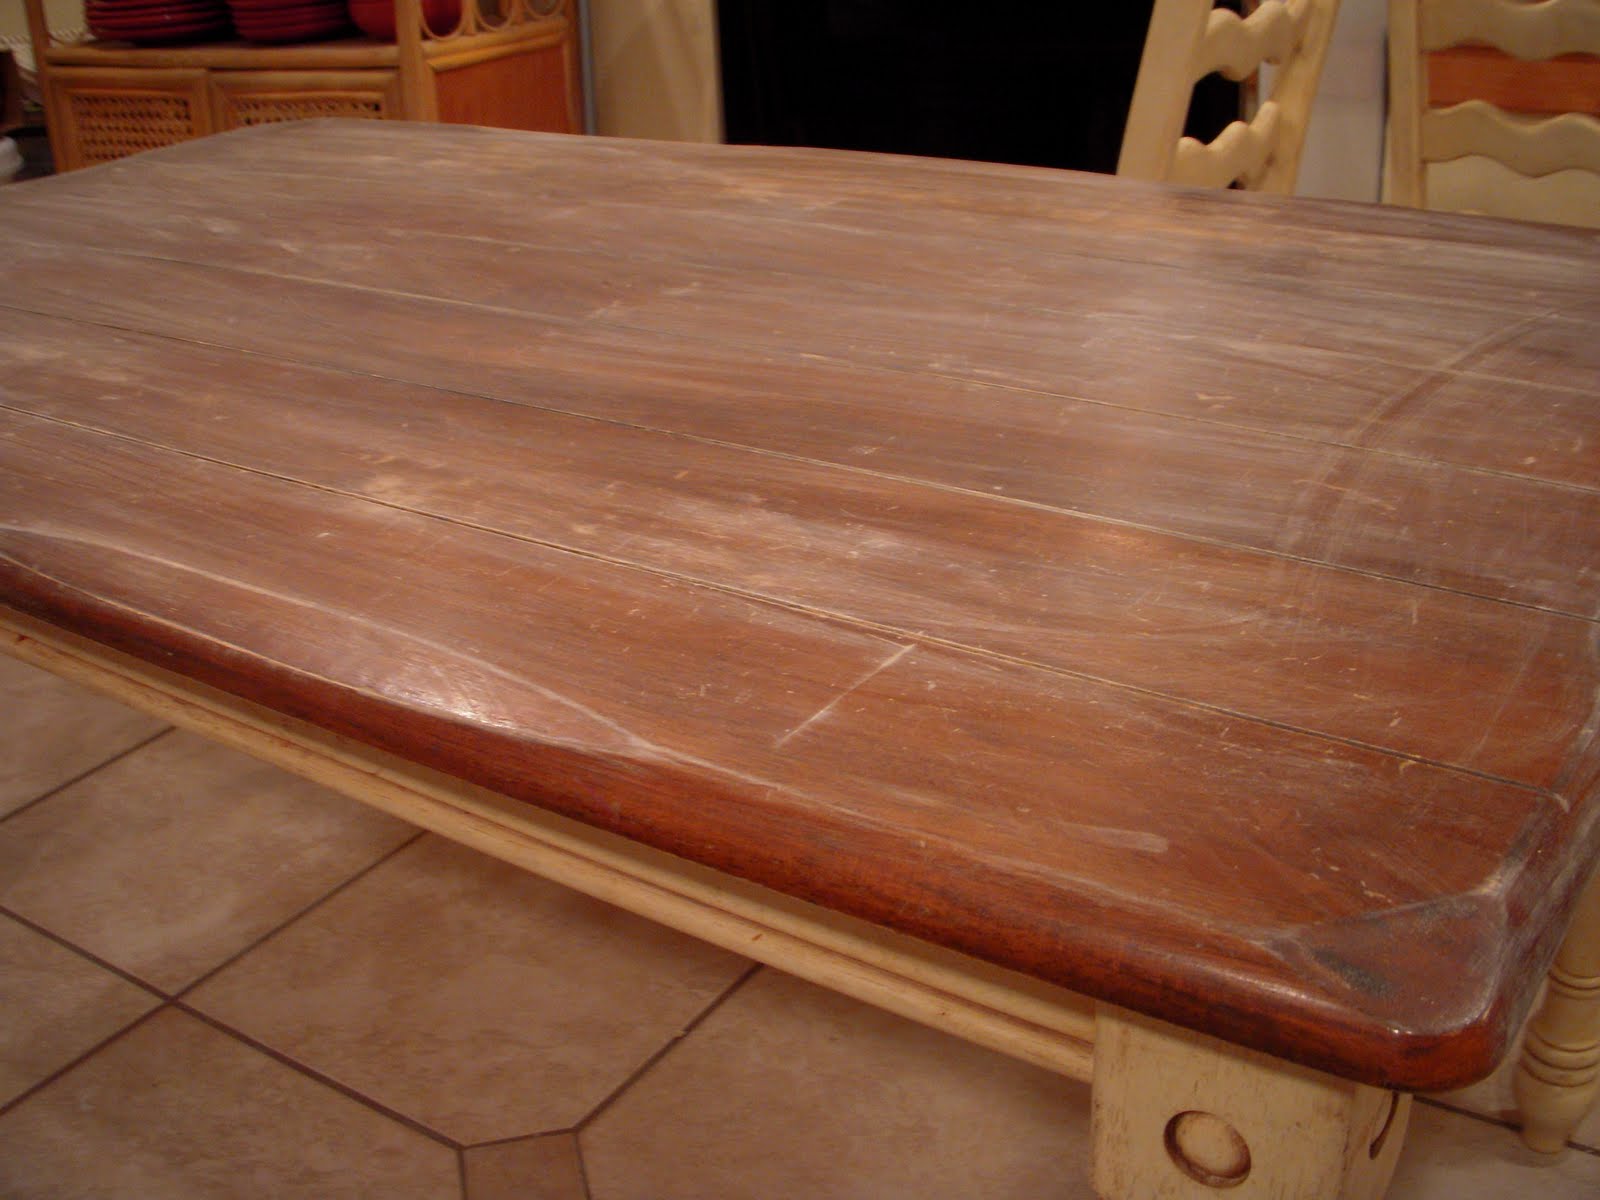
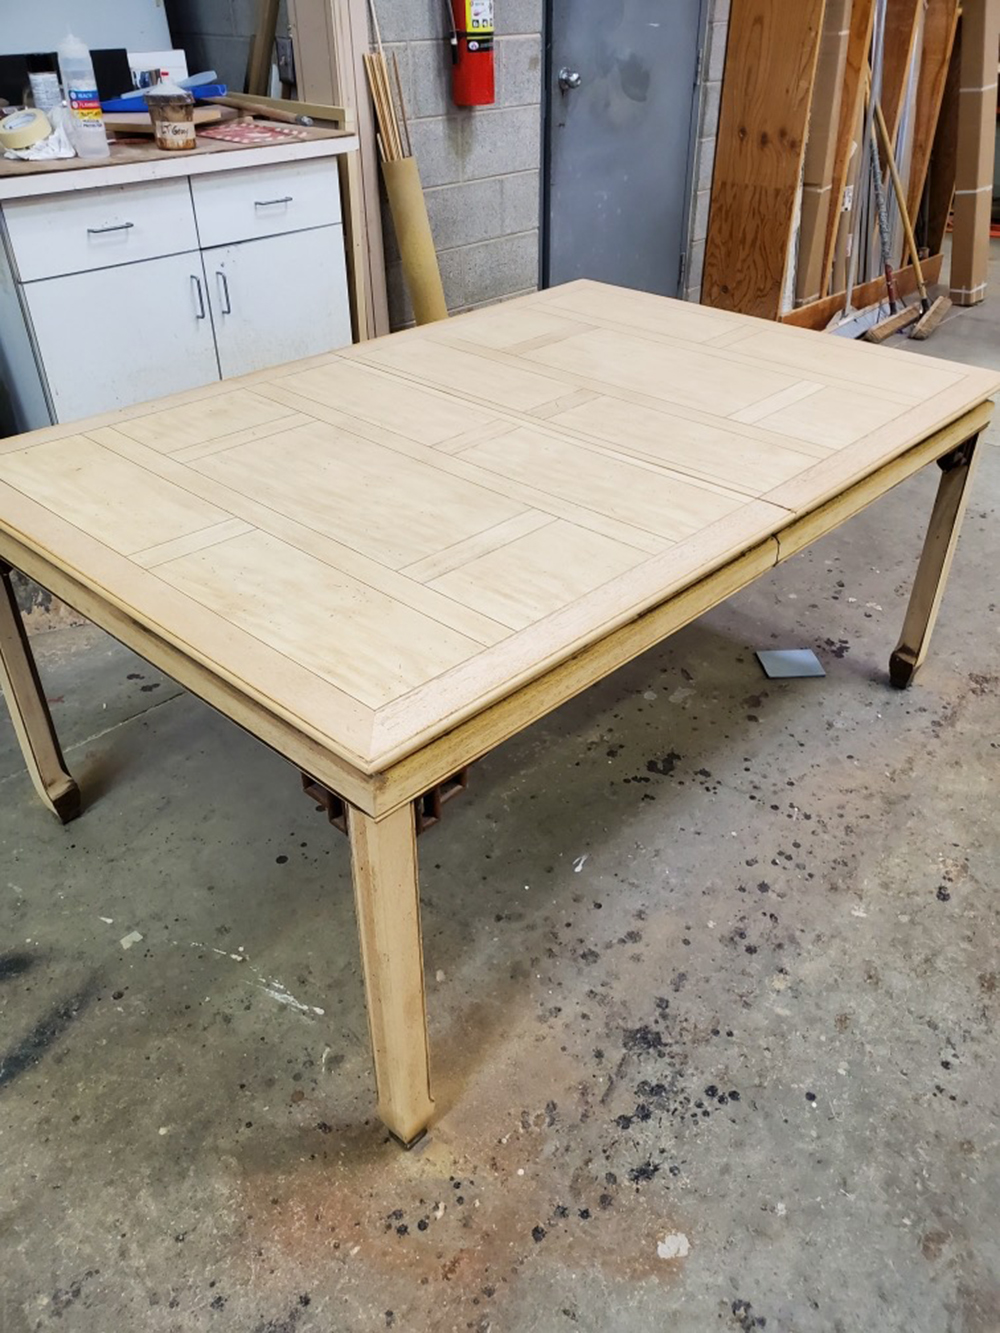
If you want to give your kitchen table a fresh new look, sanding and staining is a great DIY project that can make a big impact. With the right tools and techniques, you can transform your old and worn out table into a beautiful piece of furniture that will enhance the overall look of your kitchen. This complete guide will walk you through the process of sanding and staining your kitchen table, from start to finish.1. Sanding and Staining a Kitchen Table: A Complete Guide


1. Sanding and Staining a Kitchen Table: A Complete Guide


Refinishing a kitchen table may seem like a daunting task, but with some helpful tips, you can achieve professional-looking results. The first step is to choose the right sandpaper for the job. For a smooth and even finish, start with a coarser grit and gradually move to a finer grit. This will help remove any imperfections and leave your table surface smooth and ready for staining. When it comes to staining, make sure to use a stain that is specifically designed for wood furniture and follow the manufacturer’s instructions for the best results.2. How to Refinish a Kitchen Table: Sanding and Staining Tips


2. How to Refinish a Kitchen Table: Sanding and Staining Tips


Giving your kitchen table a makeover doesn’t have to break the bank. With some basic sanding and staining techniques, you can achieve a professional-looking finish without spending a lot of money. One technique to ensure an even stain is to use a pre-stain wood conditioner before applying the stain. This will help prevent blotches and create a more uniform finish. Additionally, when sanding, make sure to sand in the direction of the wood grain to avoid any scratches on the surface.3. DIY Kitchen Table Makeover: Sanding and Staining Techniques


3. DIY Kitchen Table Makeover: Sanding and Staining Techniques


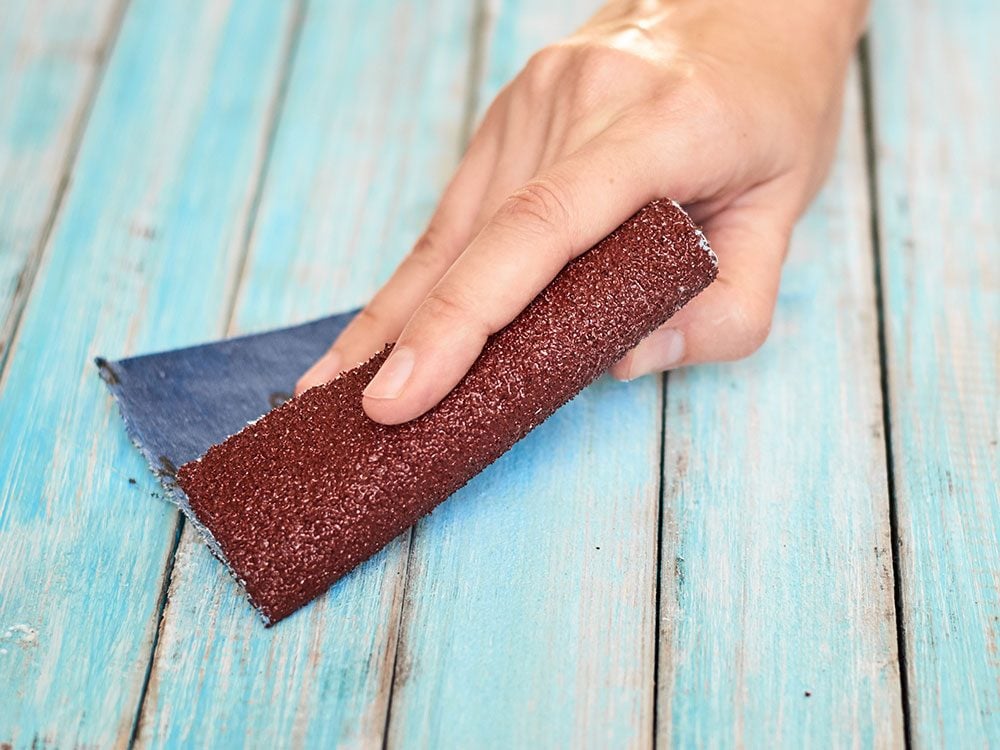
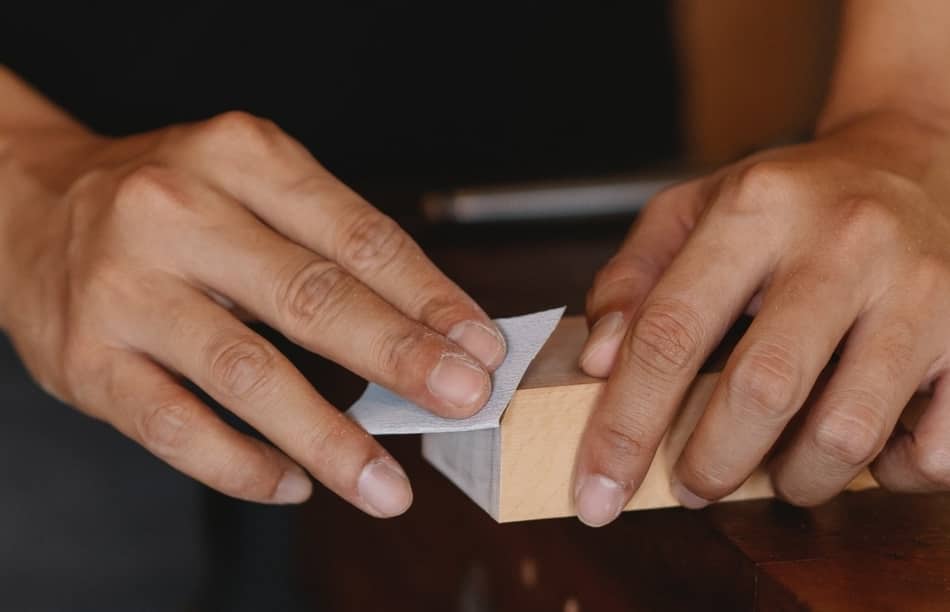
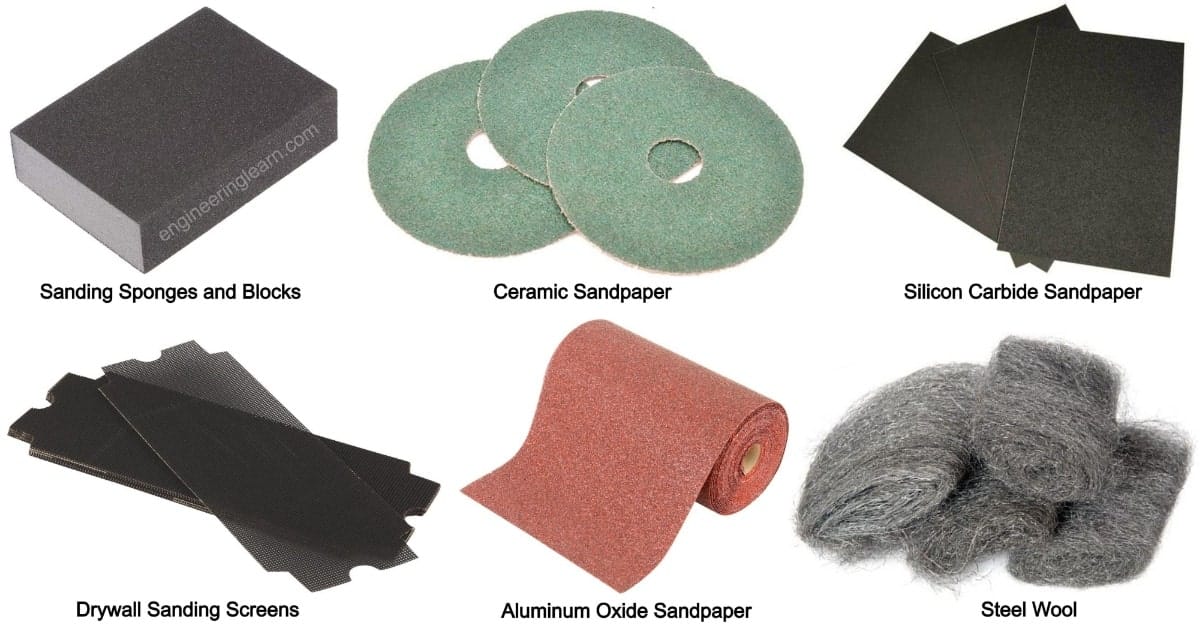
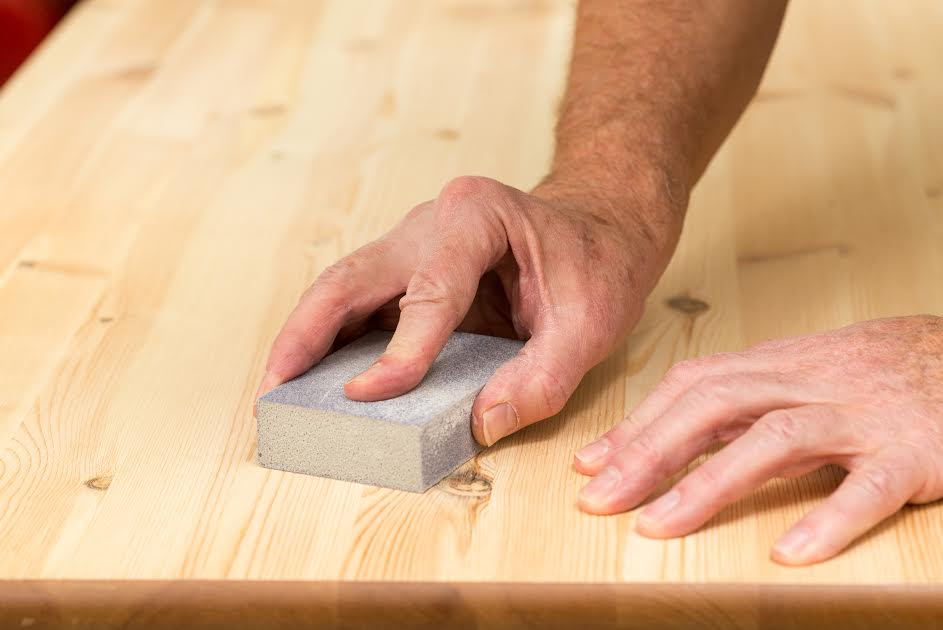
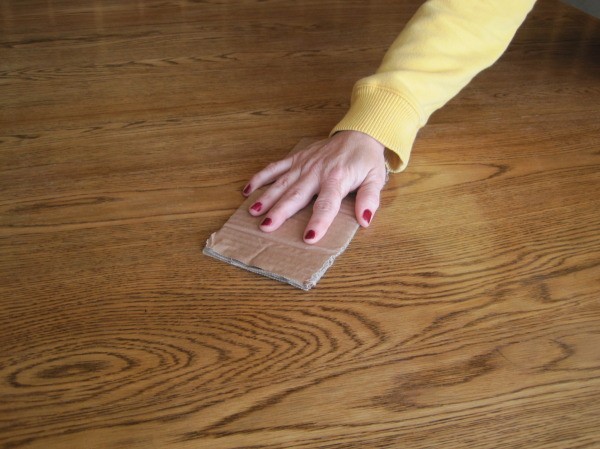
When it comes to sanding and staining a kitchen table, using the right sandpaper is crucial. The most commonly used sandpaper for this project is a 120-grit sandpaper, which is coarse enough to remove any old finish and smooth out any imperfections. However, for a finer finish, you can also use a 220-grit sandpaper. It’s important to remember to change your sandpaper frequently to avoid any clogging and to achieve the best results.4. The Best Sandpaper for Sanding and Staining a Kitchen Table


4. The Best Sandpaper for Sanding and Staining a Kitchen Table


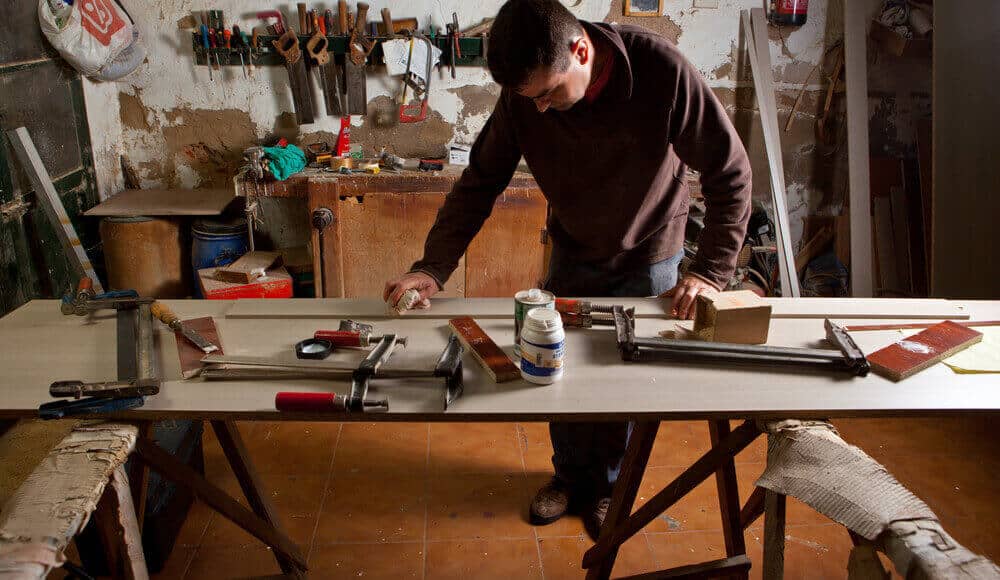
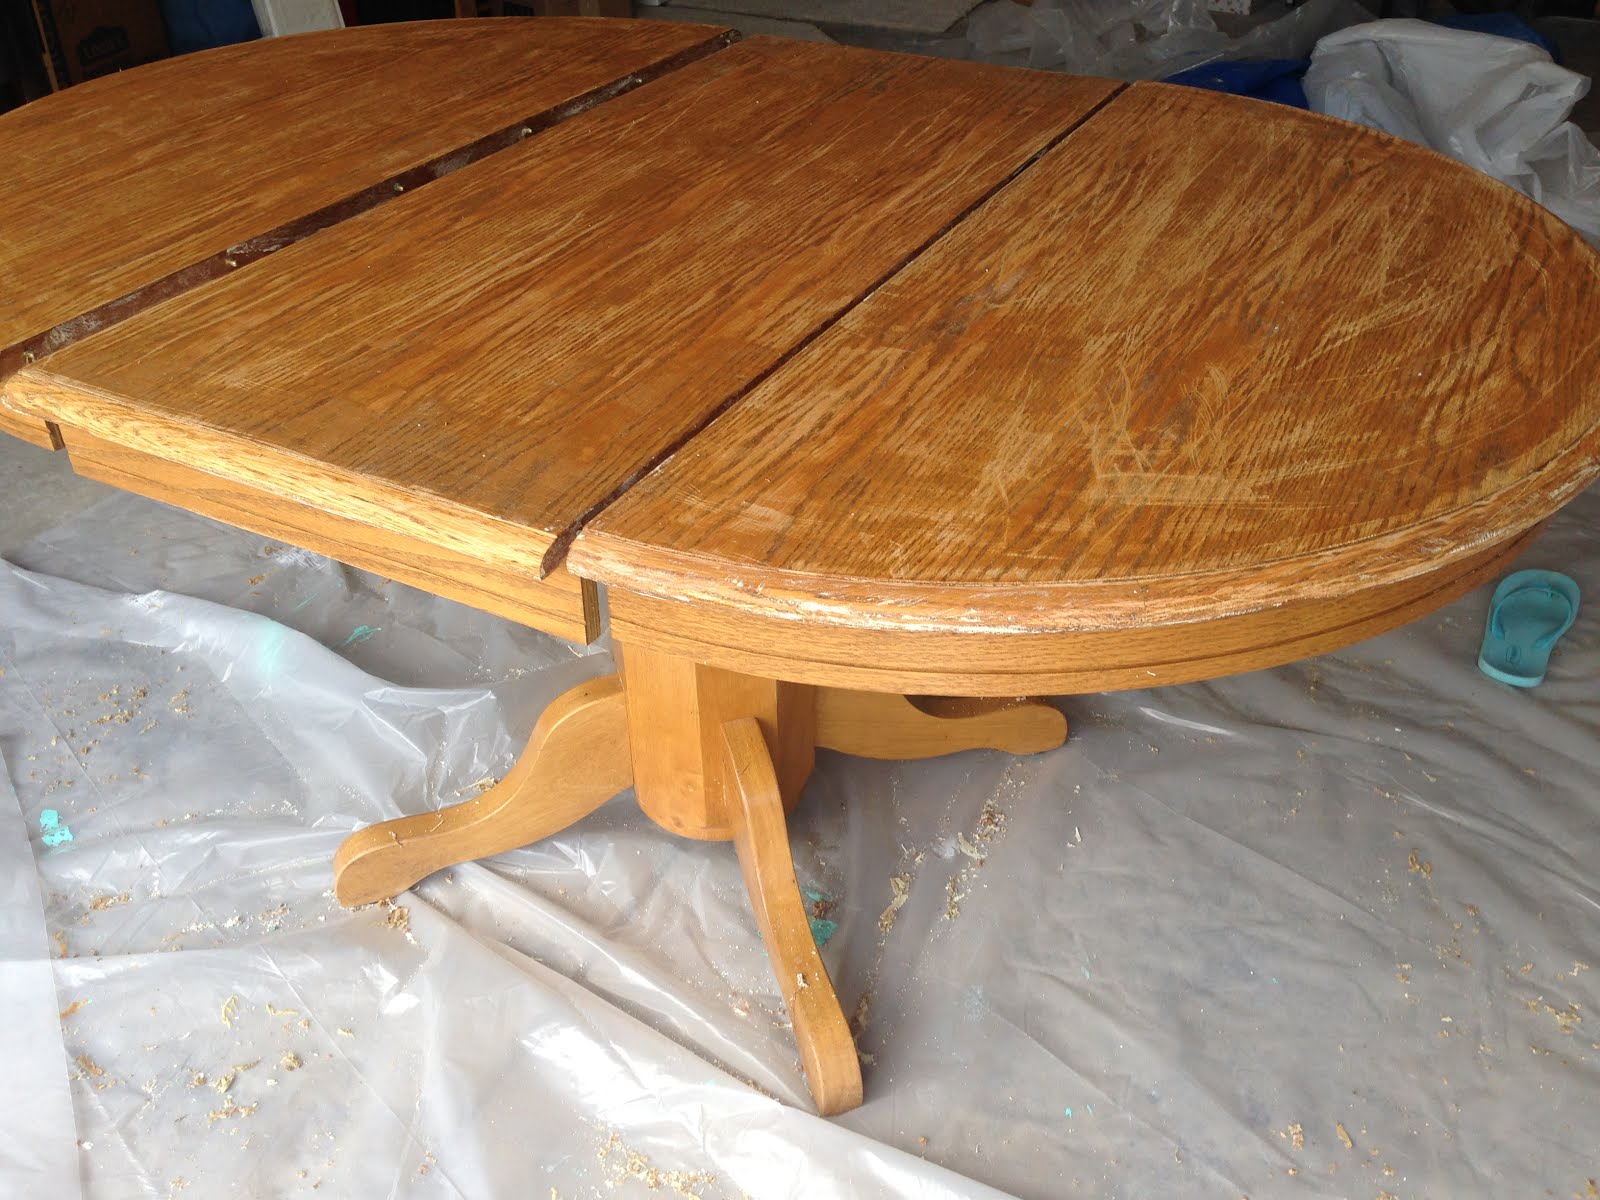
Before you start sanding and staining your kitchen table, it’s important to properly prep the surface. Start by cleaning the table with a mild soap and water to remove any dirt and grime. Once the table is dry, use a degreaser to get rid of any grease or oil residue. Then, use a fine-grit sandpaper to lightly sand the surface and remove any rough spots. Finally, wipe the table down with a tack cloth to remove any dust or debris before moving on to the staining process.5. How to Prep a Kitchen Table for Sanding and Staining

5. How to Prep a Kitchen Table for Sanding and Staining


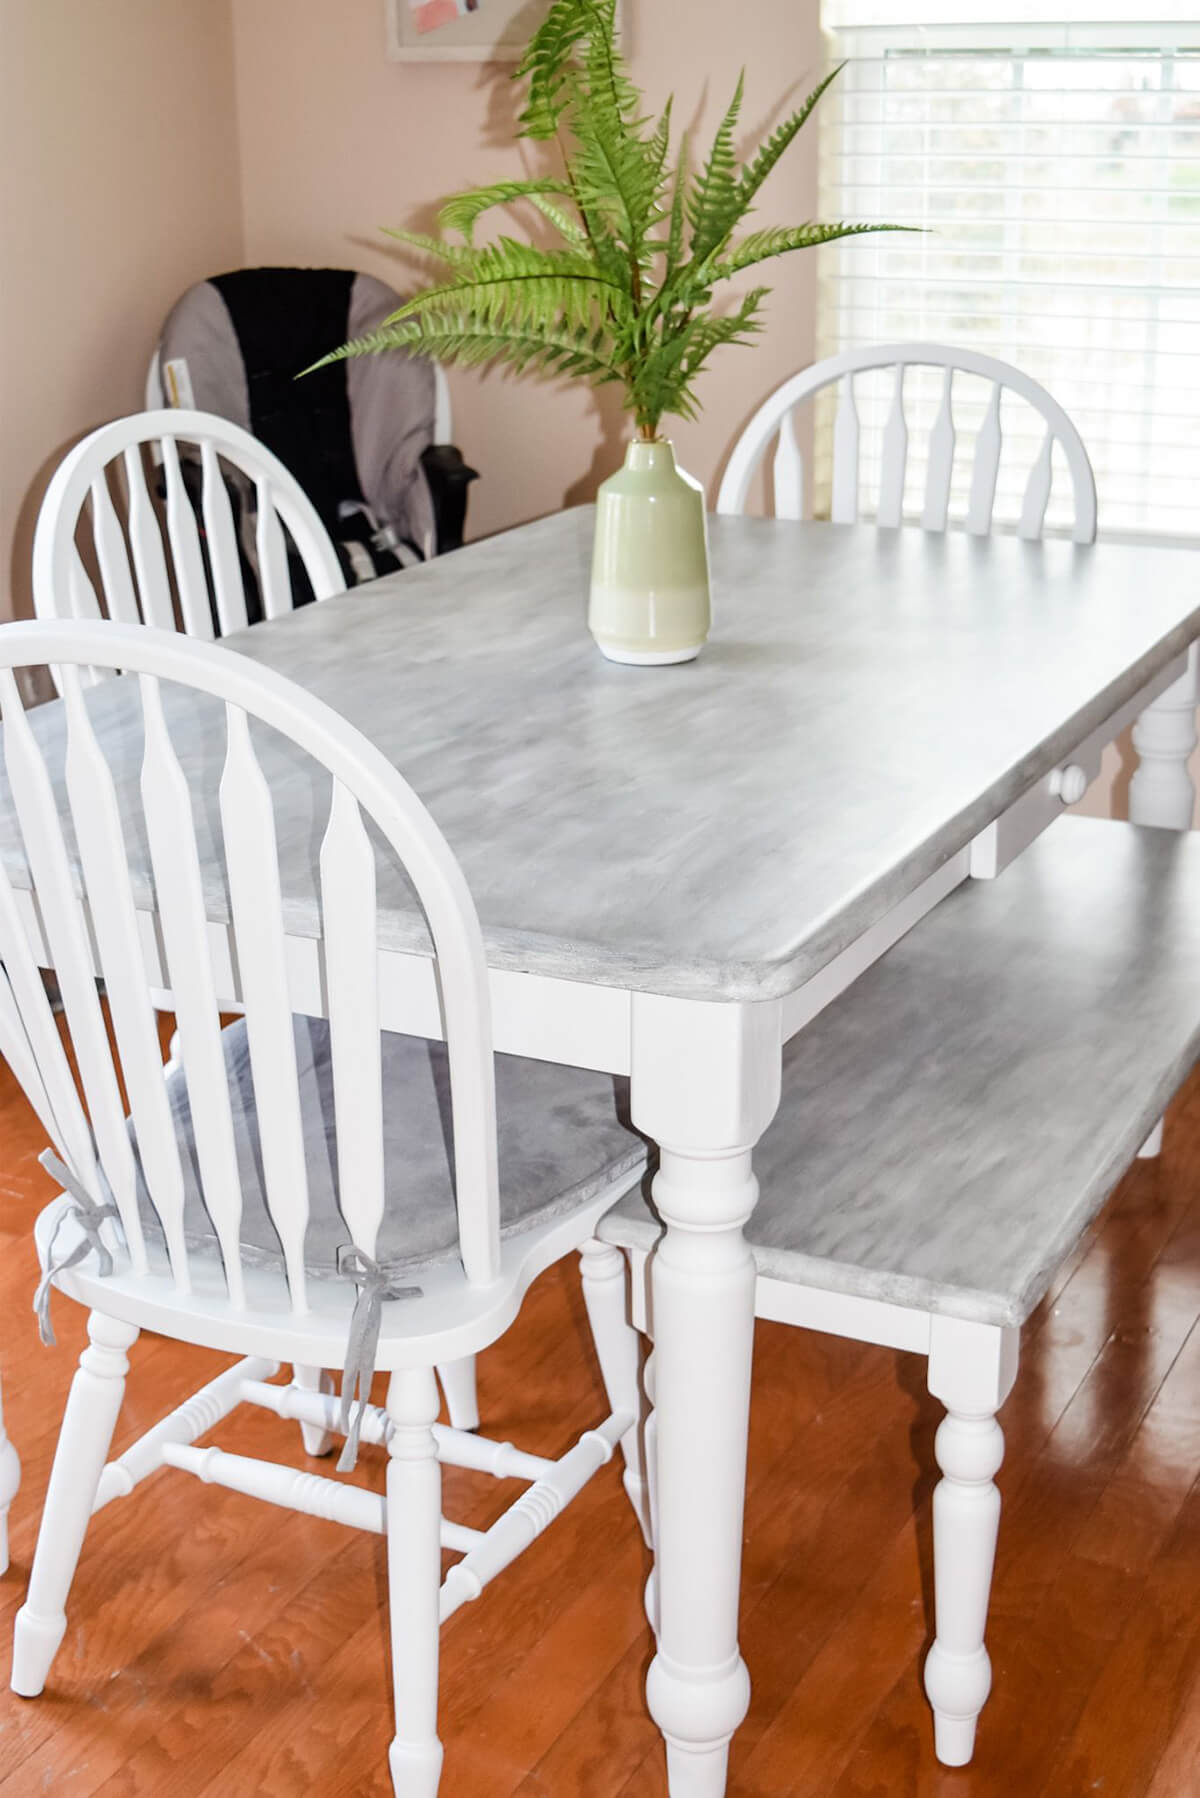
Choosing the right stain for your kitchen table is crucial to achieving the desired look. Stains come in a variety of colors and finishes, so it’s important to consider the overall look and feel of your kitchen before making a decision. If you want a more natural look, opt for a lighter stain that will bring out the natural beauty of the wood. For a bolder look, choose a darker stain or even a colored stain to add a pop of color to your kitchen.6. Choosing the Right Stain for Your Kitchen Table


6. Choosing the Right Stain for Your Kitchen Table


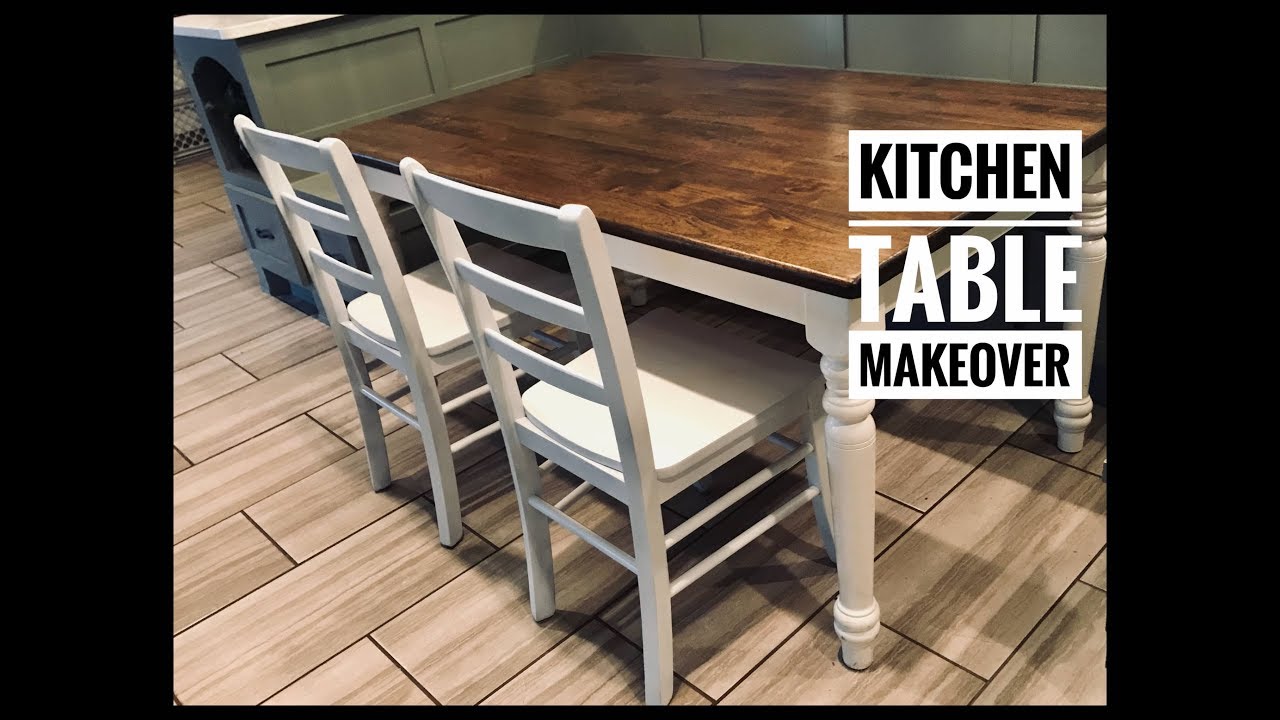
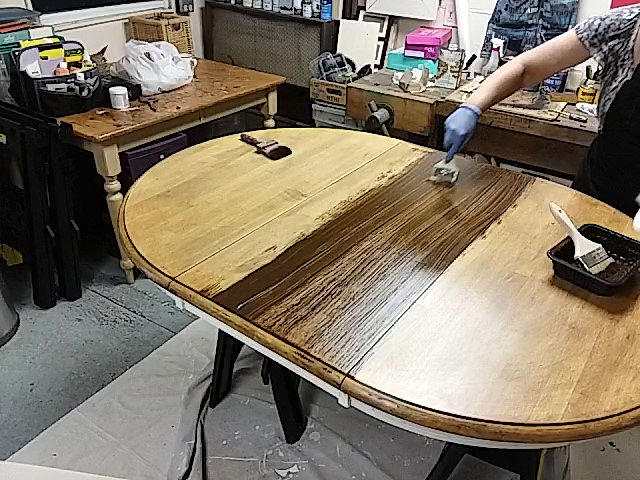
Now that you have prepped your kitchen table and chosen the right stain, it’s time to start the sanding and staining process. Start by sanding the table with a 120-grit sandpaper, followed by a 220-grit sandpaper for a finer finish. Once the surface is smooth and free of any imperfections, apply the stain evenly with a brush or cloth, following the wood grain. Let the stain sit for the recommended time and then wipe off any excess. For a darker finish, you may need to apply multiple coats, allowing each coat to dry completely before adding the next.7. Step-by-Step Guide to Sanding and Staining a Kitchen Table


7. Step-by-Step Guide to Sanding and Staining a Kitchen Table


While sanding and staining a kitchen table may seem like a simple task, there are some common mistakes that can easily be avoided. One mistake is using the wrong sandpaper grit, which can result in an uneven finish. Another mistake is not properly cleaning and prepping the surface before staining, which can lead to an uneven color and finish. It’s also important to follow the manufacturer’s instructions for the stain and to test it on a small area before applying it to the entire table to avoid any surprises.8. Common Mistakes to Avoid When Sanding and Staining a Kitchen Table


8. Common Mistakes to Avoid When Sanding and Staining a Kitchen Table


To achieve a smooth and even stain on your kitchen table, there are a few tips to keep in mind. Firstly, make sure to apply the stain in thin and even coats, avoiding any drips or puddles. Use a clean cloth to wipe off any excess stain, and always follow the wood grain for a more natural look. Another helpful tip is to work in a well-ventilated area to avoid any fumes, and to wear gloves to protect your hands from the stain.9. Tips for a Smooth and Even Stain on Your Kitchen Table


9. Tips for a Smooth and Even Stain on Your Kitchen Table

After all your hard work sanding and staining your kitchen table, it’s important to protect and maintain the finish for longevity. Start by applying a clear sealant or polyurethane to protect the stain and give it a glossy finish. This will also make the table easier to clean and maintain. When cleaning your table, use a mild soap and water and avoid harsh chemicals that can damage the stain. With proper care, your newly stained kitchen table will continue to look beautiful for years to come.10. How to Protect and Maintain Your Newly Stained Kitchen Table


10. How to Protect and Maintain Your Newly Stained Kitchen Table


Sanding and Staining Kitchen Table: A Simple Guide to Refreshing Your Kitchen Design

Introduction
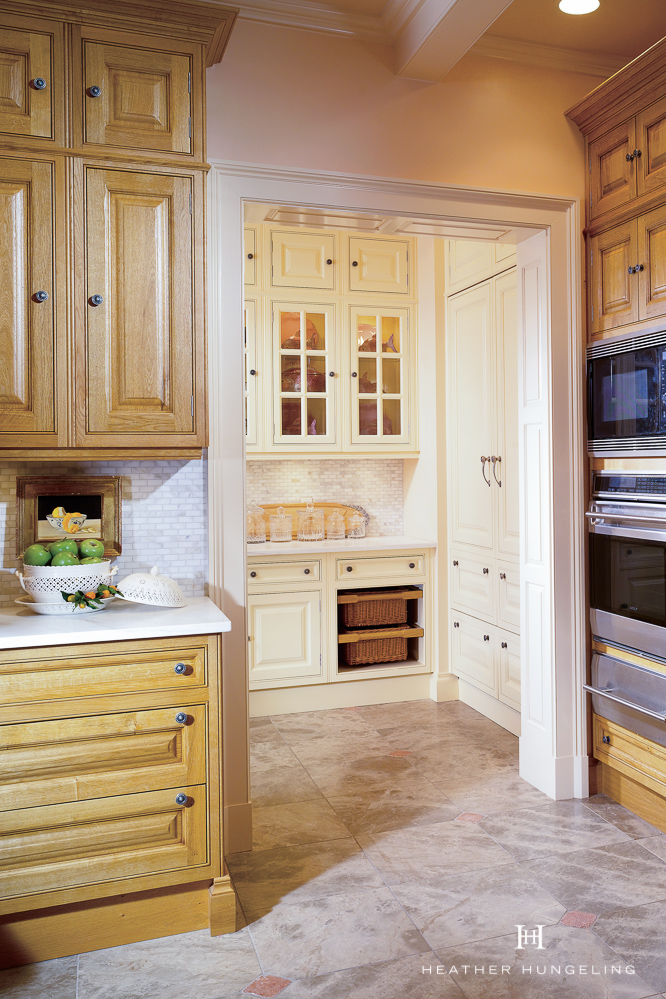
 When it comes to designing a house, the kitchen is often considered the heart of the home. It's where families gather to cook, eat, and spend quality time together. As such, it's important to have a kitchen that not only functions well, but also reflects your personal style and taste. One way to update the look of your kitchen is by sanding and staining your kitchen table. This simple process can give your kitchen a whole new look without breaking the bank. In this article, we'll take a closer look at the process of sanding and staining a kitchen table and how it can transform the overall design of your home.
The Benefits of Sanding and Staining Your Kitchen Table
 Many people overlook the importance of their kitchen table in the overall design of their kitchen. However, the table is often the focal point of the room and can greatly impact the overall aesthetic. Sanding and staining your kitchen table can have a variety of benefits, including:
1. Refreshed Look:
Over time, kitchen tables can become worn and dull. Sanding and staining can bring new life to an old table, giving it a refreshed and updated look.
2. Cost-Effective:
Redesigning a kitchen can be an expensive endeavor, but sanding and staining a table is a cost-effective way to update the look of your kitchen without breaking the bank.
3. Personalization:
By choosing the right stain and finish, you can customize your kitchen table to match your personal style and complement the rest of your kitchen design.
Many people overlook the importance of their kitchen table in the overall design of their kitchen. However, the table is often the focal point of the room and can greatly impact the overall aesthetic. Sanding and staining your kitchen table can have a variety of benefits, including:
1. Refreshed Look:
Over time, kitchen tables can become worn and dull. Sanding and staining can bring new life to an old table, giving it a refreshed and updated look.
2. Cost-Effective:
Redesigning a kitchen can be an expensive endeavor, but sanding and staining a table is a cost-effective way to update the look of your kitchen without breaking the bank.
3. Personalization:
By choosing the right stain and finish, you can customize your kitchen table to match your personal style and complement the rest of your kitchen design.
The Process of Sanding and Staining a Kitchen Table
 Sanding and staining a kitchen table may seem like a daunting task, but with the right tools and techniques, it can be a simple and enjoyable DIY project. Here's a step-by-step guide to help you get started:
1. Gather Supplies:
Before you begin, make sure you have all the necessary supplies, including sandpaper, wood stain, paintbrushes, and a clean cloth.
2. Prep the Surface:
Start by removing any existing finish or paint from the table using sandpaper. This will create a smooth and clean surface for the stain to adhere to.
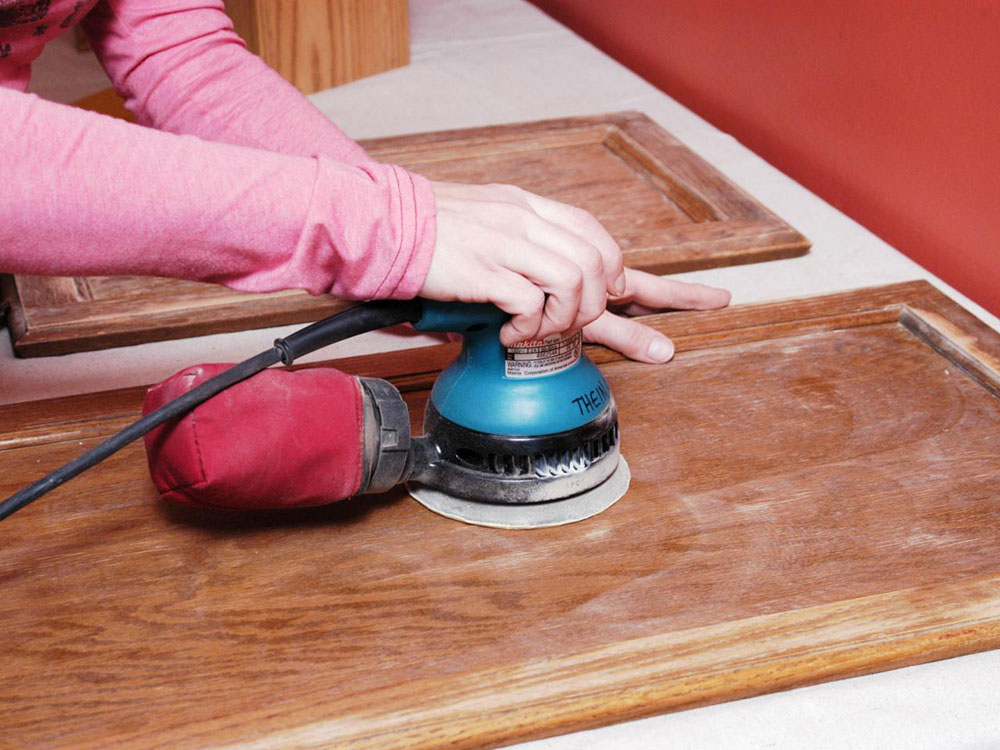
3. Sand the Table:
Use a fine-grit sandpaper to sand the entire surface of the table in the direction of the wood grain. This will help to remove any imperfections and create a smooth surface.
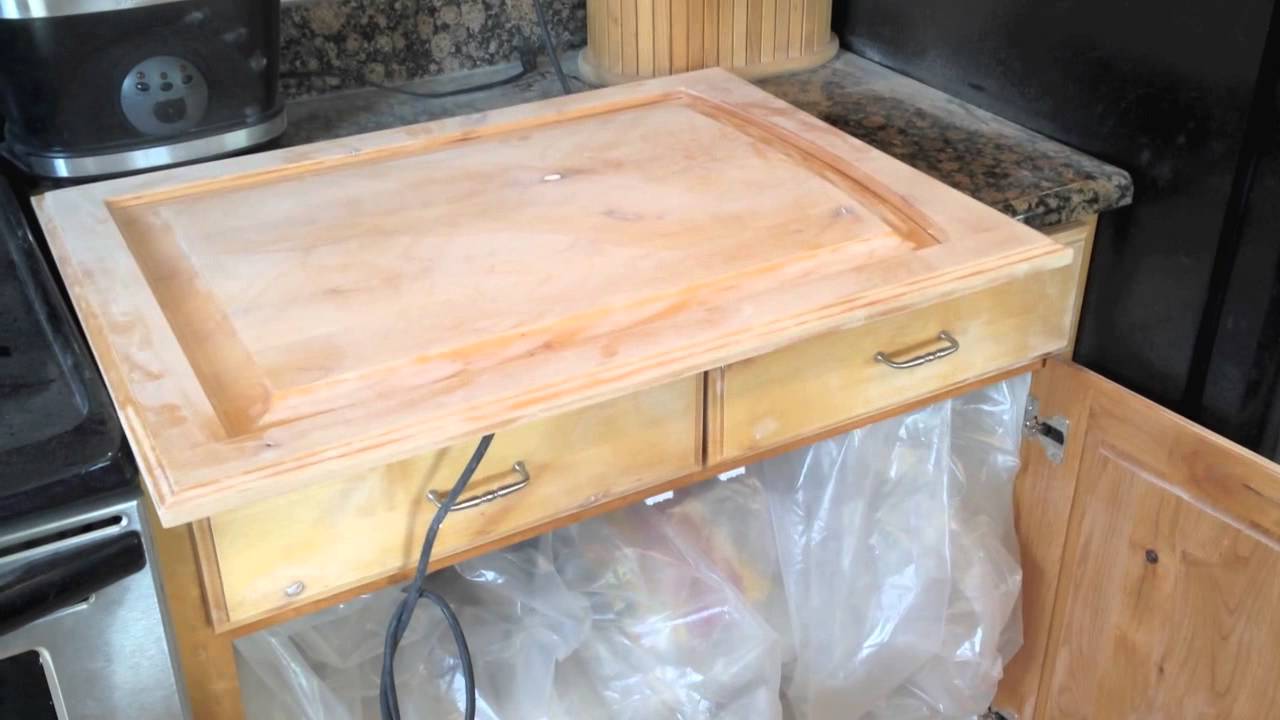
4. Apply Stain:
Using a paintbrush, apply a thin and even coat of wood stain to the table. Be sure to work in the direction of the wood grain for a more natural look.
5. Wipe Off Excess:
After a few minutes, use a clean cloth to wipe off any excess stain. This will prevent the stain from becoming too dark and give the table a more even finish.
6. Let Dry and Repeat:
Allow the stain to dry completely before applying a second coat if needed. Repeat this process until you achieve the desired color and coverage.
Sanding and staining a kitchen table may seem like a daunting task, but with the right tools and techniques, it can be a simple and enjoyable DIY project. Here's a step-by-step guide to help you get started:
1. Gather Supplies:
Before you begin, make sure you have all the necessary supplies, including sandpaper, wood stain, paintbrushes, and a clean cloth.
2. Prep the Surface:
Start by removing any existing finish or paint from the table using sandpaper. This will create a smooth and clean surface for the stain to adhere to.
3. Sand the Table:
Use a fine-grit sandpaper to sand the entire surface of the table in the direction of the wood grain. This will help to remove any imperfections and create a smooth surface.
4. Apply Stain:
Using a paintbrush, apply a thin and even coat of wood stain to the table. Be sure to work in the direction of the wood grain for a more natural look.
5. Wipe Off Excess:
After a few minutes, use a clean cloth to wipe off any excess stain. This will prevent the stain from becoming too dark and give the table a more even finish.
6. Let Dry and Repeat:
Allow the stain to dry completely before applying a second coat if needed. Repeat this process until you achieve the desired color and coverage.
In Conclusion
 Sanding and staining your kitchen table is a simple and effective way to update the look of your kitchen and bring new life to an old piece of furniture. With just a few supplies and some patience, you can transform your kitchen design and create a space that reflects your personal style. So, if you're looking for a budget-friendly way to refresh your kitchen, consider sanding and staining your kitchen table for a beautiful and personalized touch.