Are you tired of your old, dull kitchen table? Want to give it a new lease on life without breaking the bank? Sanding and restaining your kitchen table is a cost-effective and relatively easy way to revamp your dining space. Here's a step-by-step guide on how to do it yourself.How to Sand and Restain a Kitchen Table
Don't let the idea of sanding and restaining intimidate you. With the right tools and techniques, you can achieve professional-looking results without hiring a professional. Here's everything you need to know to tackle this DIY project.DIY Kitchen Table Sanding and Restaining Tutorial
Before you start sanding, make sure you have the right products on hand. A sanding block, sandpaper (in various grits), and wood stain are essential for this project. You may also want to have painter's tape, drop cloths, and cleaning supplies for prep work and cleanup.Best Products for Sanding and Restaining a Kitchen Table
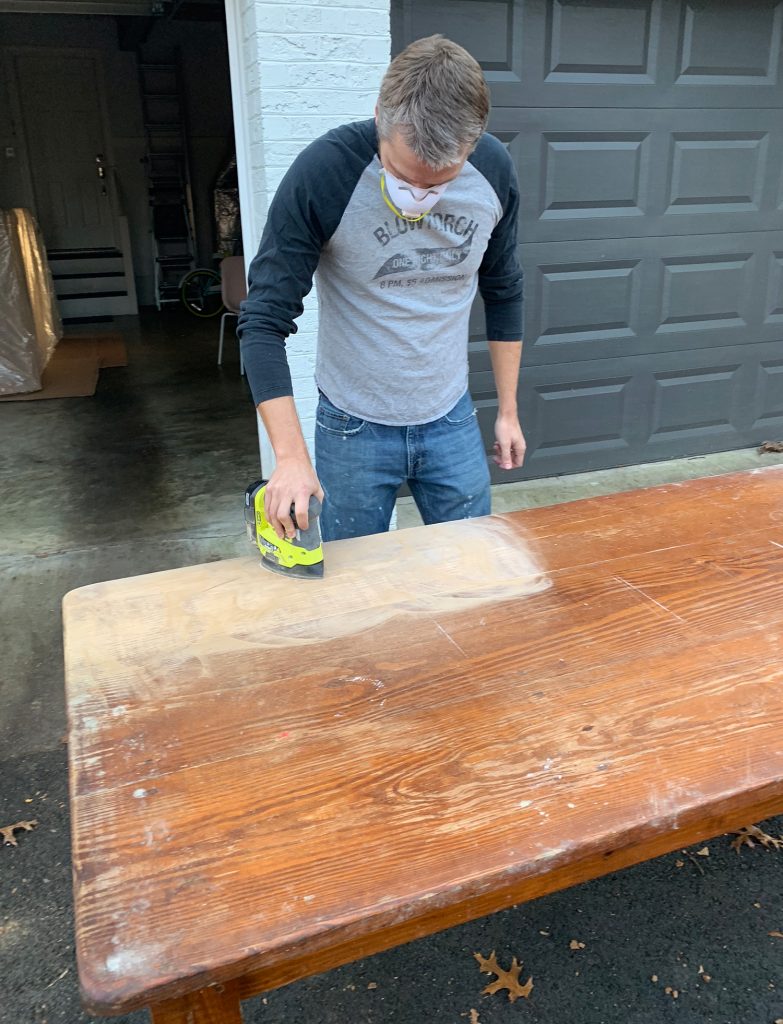
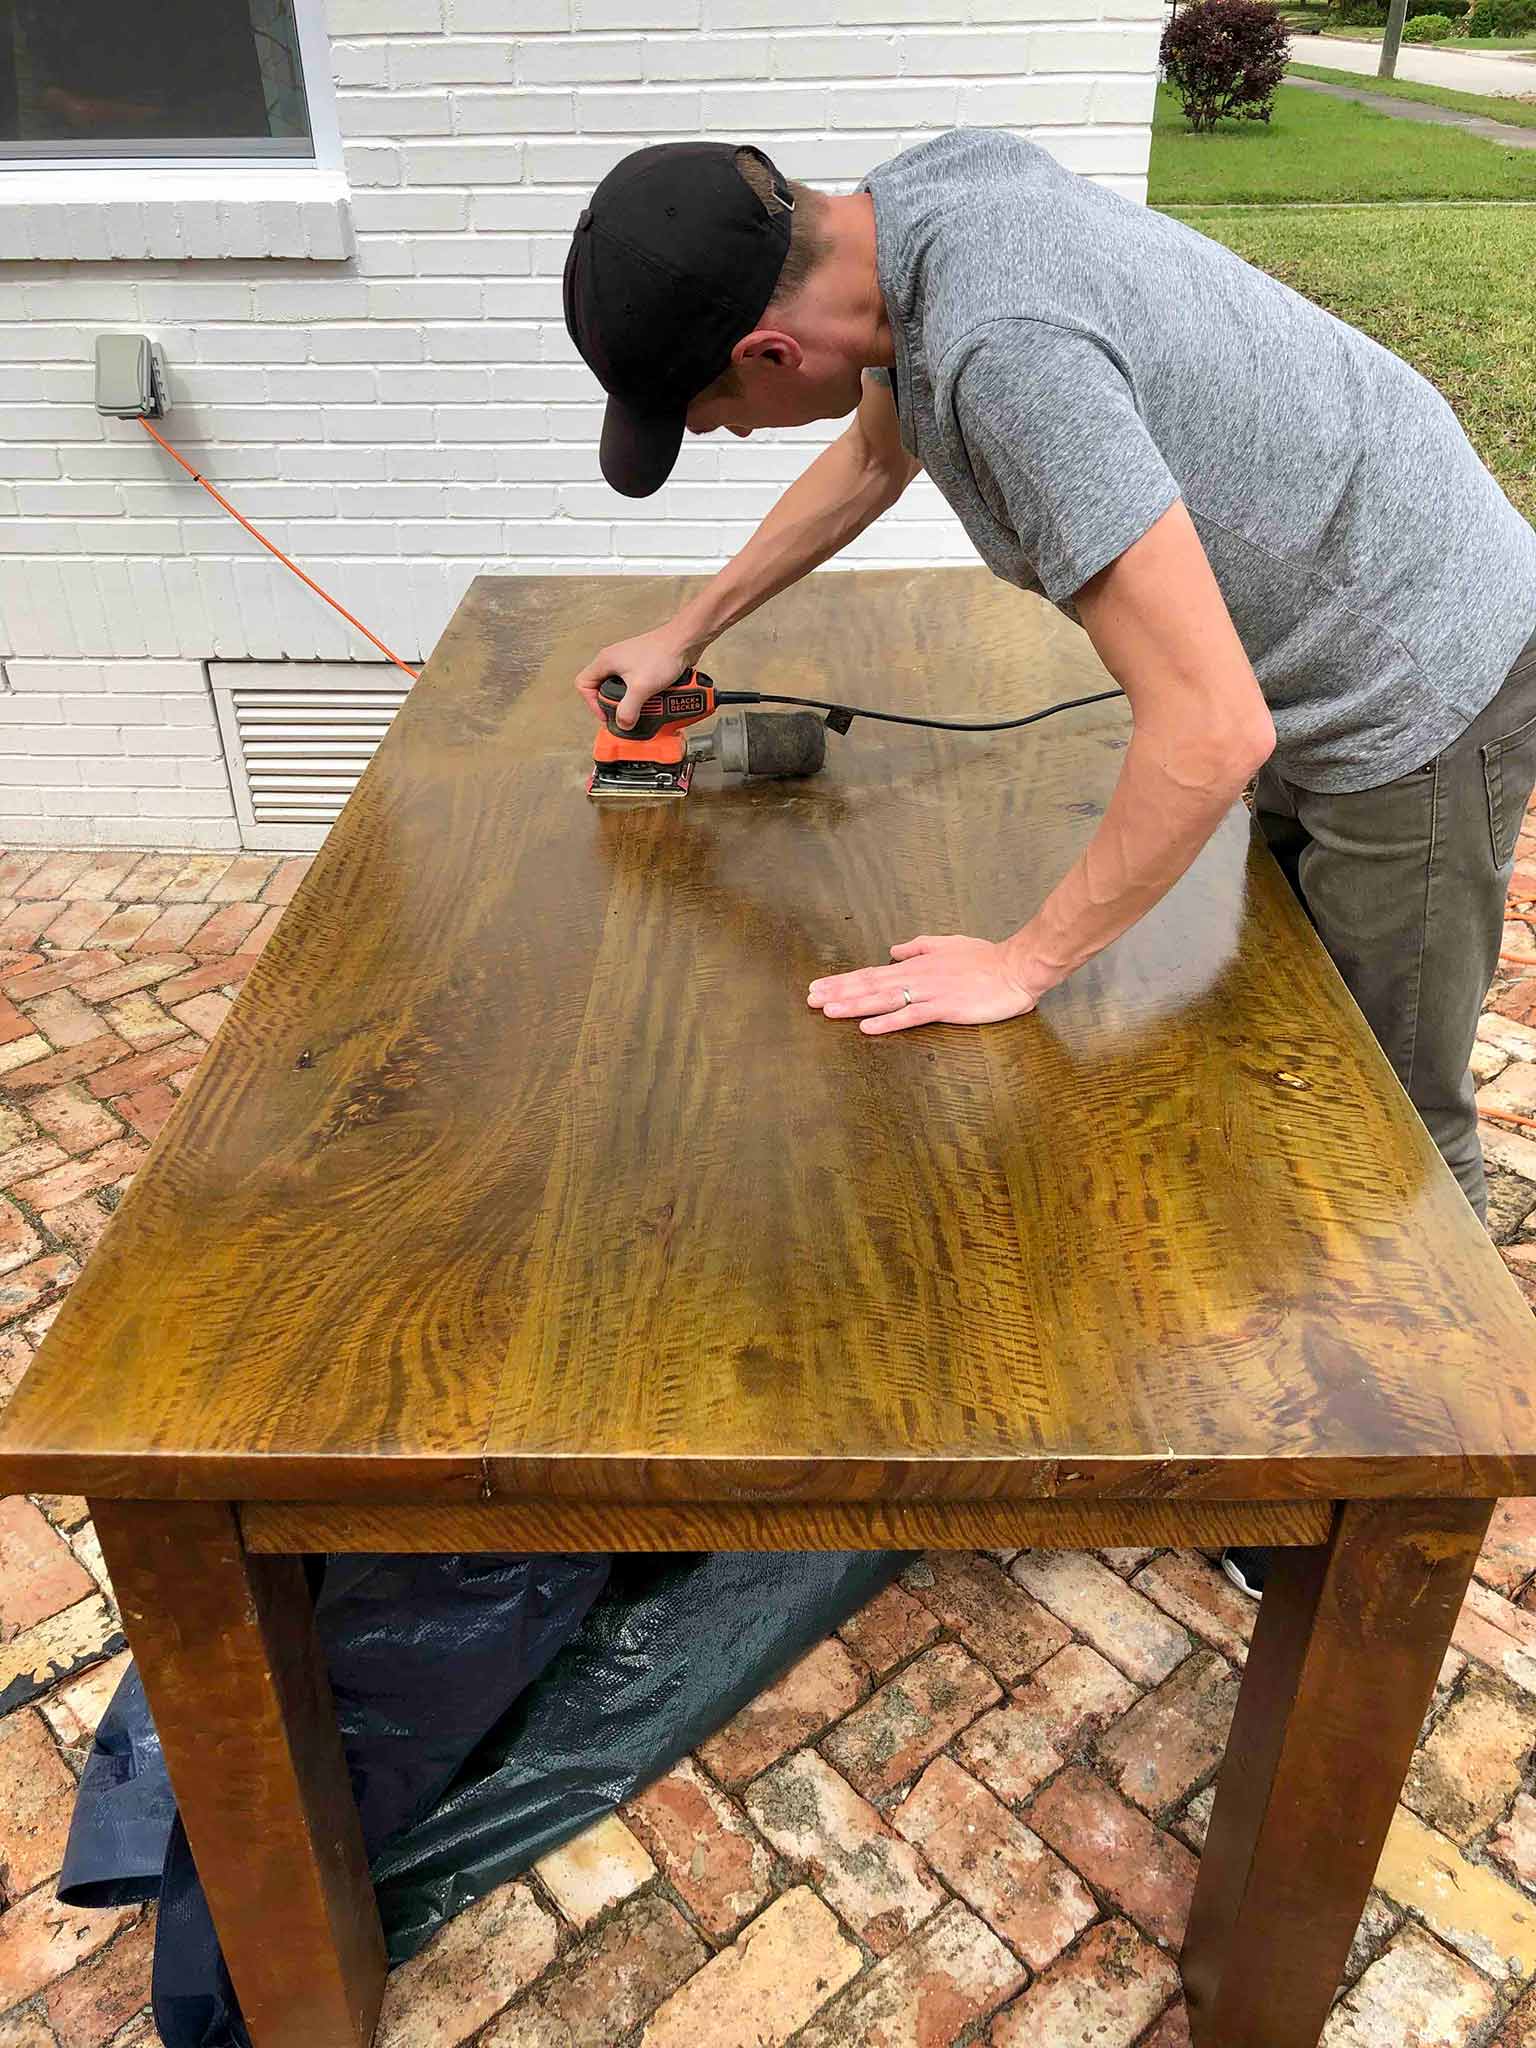
Now that you have your materials, it's time to get started. Follow these steps for a successful kitchen table sanding and restaining: 1. Prep the area: Lay down drop cloths to protect your floors and use painter's tape to cover any areas you don't want to get stain on. 2. Clean the table: Use a mild cleaner and a damp cloth to remove any dirt or grime from the table's surface. 3. Sand the table: Start with a coarse grit sandpaper, such as 80 or 100, and sand in the direction of the wood grain. Gradually move to a finer grit, such as 120 or 150, for a smoother finish. Be sure to sand all areas evenly. 4. Wipe off excess dust: Use a tack cloth or a clean, damp cloth to wipe away any dust left from sanding. 5. Apply wood stain: Using a clean cloth or brush, apply the wood stain in the direction of the grain. Apply multiple coats for a darker finish, waiting at least 4-6 hours between coats. Wipe off any excess stain with a clean cloth. 6. Allow to dry: Let the stain dry completely, following the manufacturer's instructions. 7. Seal the table: If desired, you can apply a clear polyurethane sealant to protect the table and give it a glossy finish. Apply multiple coats, waiting 24 hours between each coat. 8. Remove tape and clean up: Once the sealant is dry, remove the tape and clean up any remaining dust or debris.Step-by-Step Guide for Sanding and Restaining a Kitchen Table
Here are some tips to keep in mind while sanding and restaining your kitchen table: - Work in a well-ventilated area to avoid inhaling dust and fumes. - Always sand in the direction of the wood grain. - For a more distressed look, sand more in certain areas to expose the raw wood. - Use a stain that is slightly lighter than your desired finish, as it will dry darker.Tips for a Professional-Looking Kitchen Table Sanding and Restaining
Sanding and restaining a kitchen table may seem straightforward, but there are some common mistakes to avoid: - Not sanding enough or sanding too much, resulting in an uneven finish. - Using the wrong type of sandpaper or sanding block. - Not wiping off excess dust before applying stain. - Rushing the drying process and not allowing enough time between coats.Common Mistakes to Avoid When Sanding and Restaining a Kitchen Table
The time it takes to sand and restain a kitchen table can vary depending on the size and condition of the table, as well as the drying time of the stain and sealant. On average, this project can take anywhere from 2-4 days to complete.How Long Does it Take to Sand and Restain a Kitchen Table?
Sanding and restaining a kitchen table is a more budget-friendly option compared to refinishing, which involves completely stripping and reapplying a new finish. While refinishing may be necessary for severely damaged tables, sanding and restaining can achieve similar results at a fraction of the cost.Cost Comparison: Sanding and Restaining vs. Refinishing a Kitchen Table
The frequency of sanding and restaining your kitchen table will depend on how much use it gets and the type of finish you use. Generally, it is recommended to sand and restain every 2-3 years to maintain its appearance and protect the wood.How Often Should You Sand and Restain Your Kitchen Table?
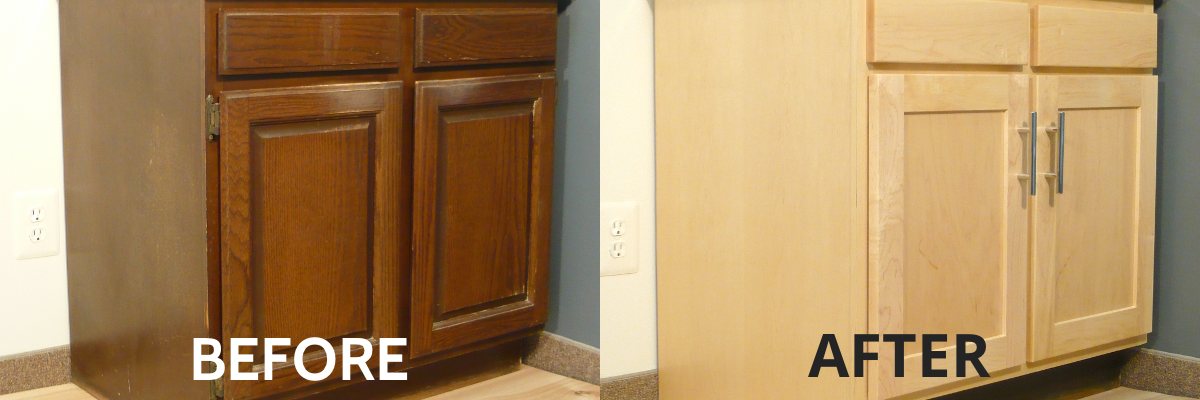
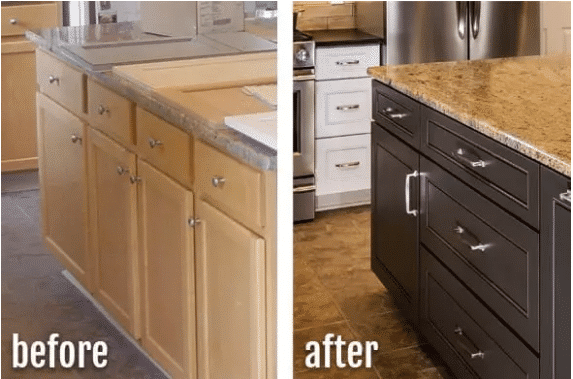
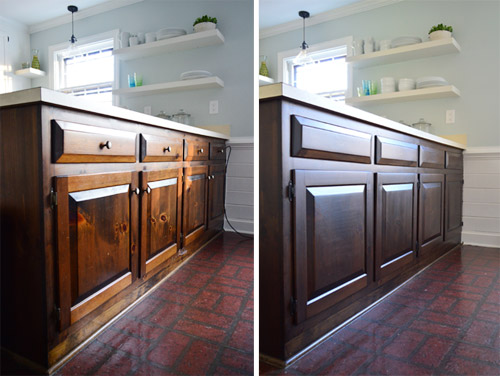
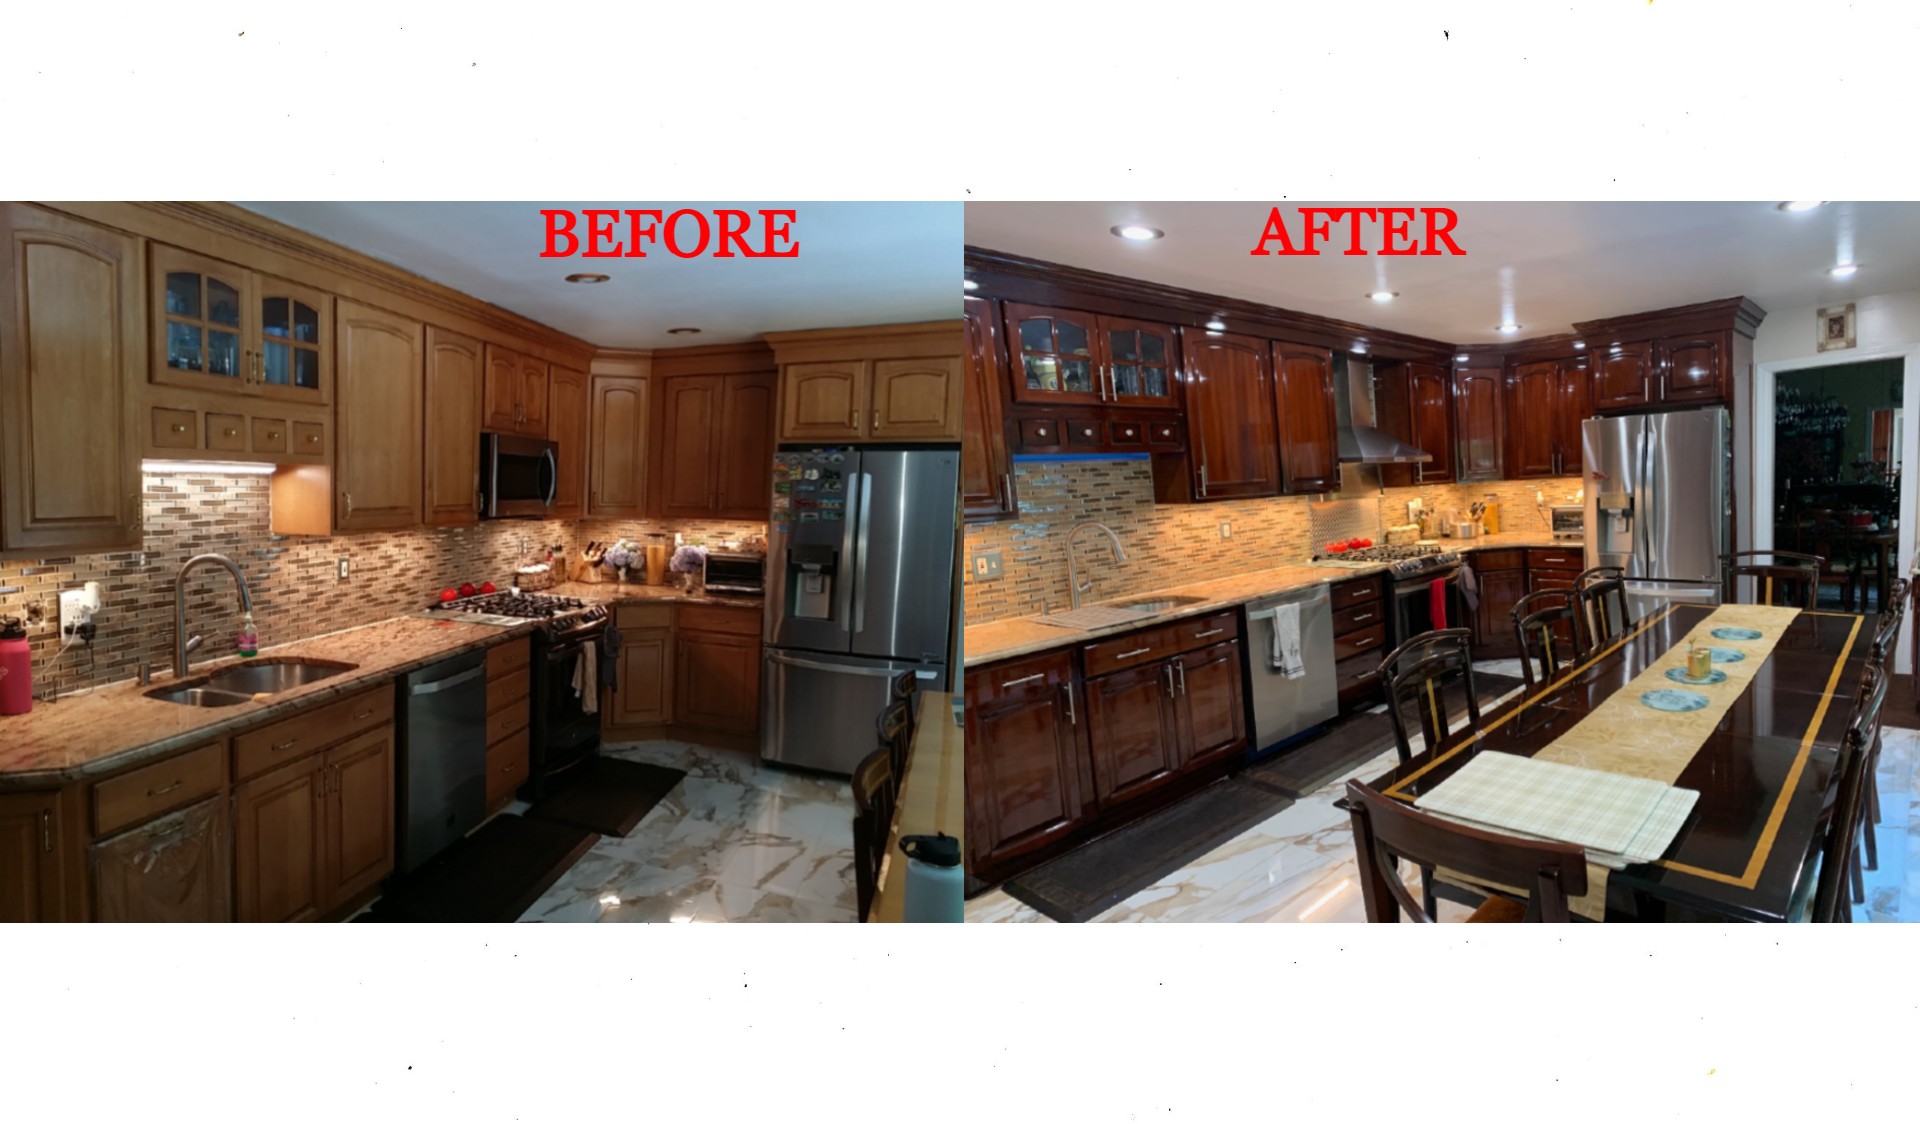
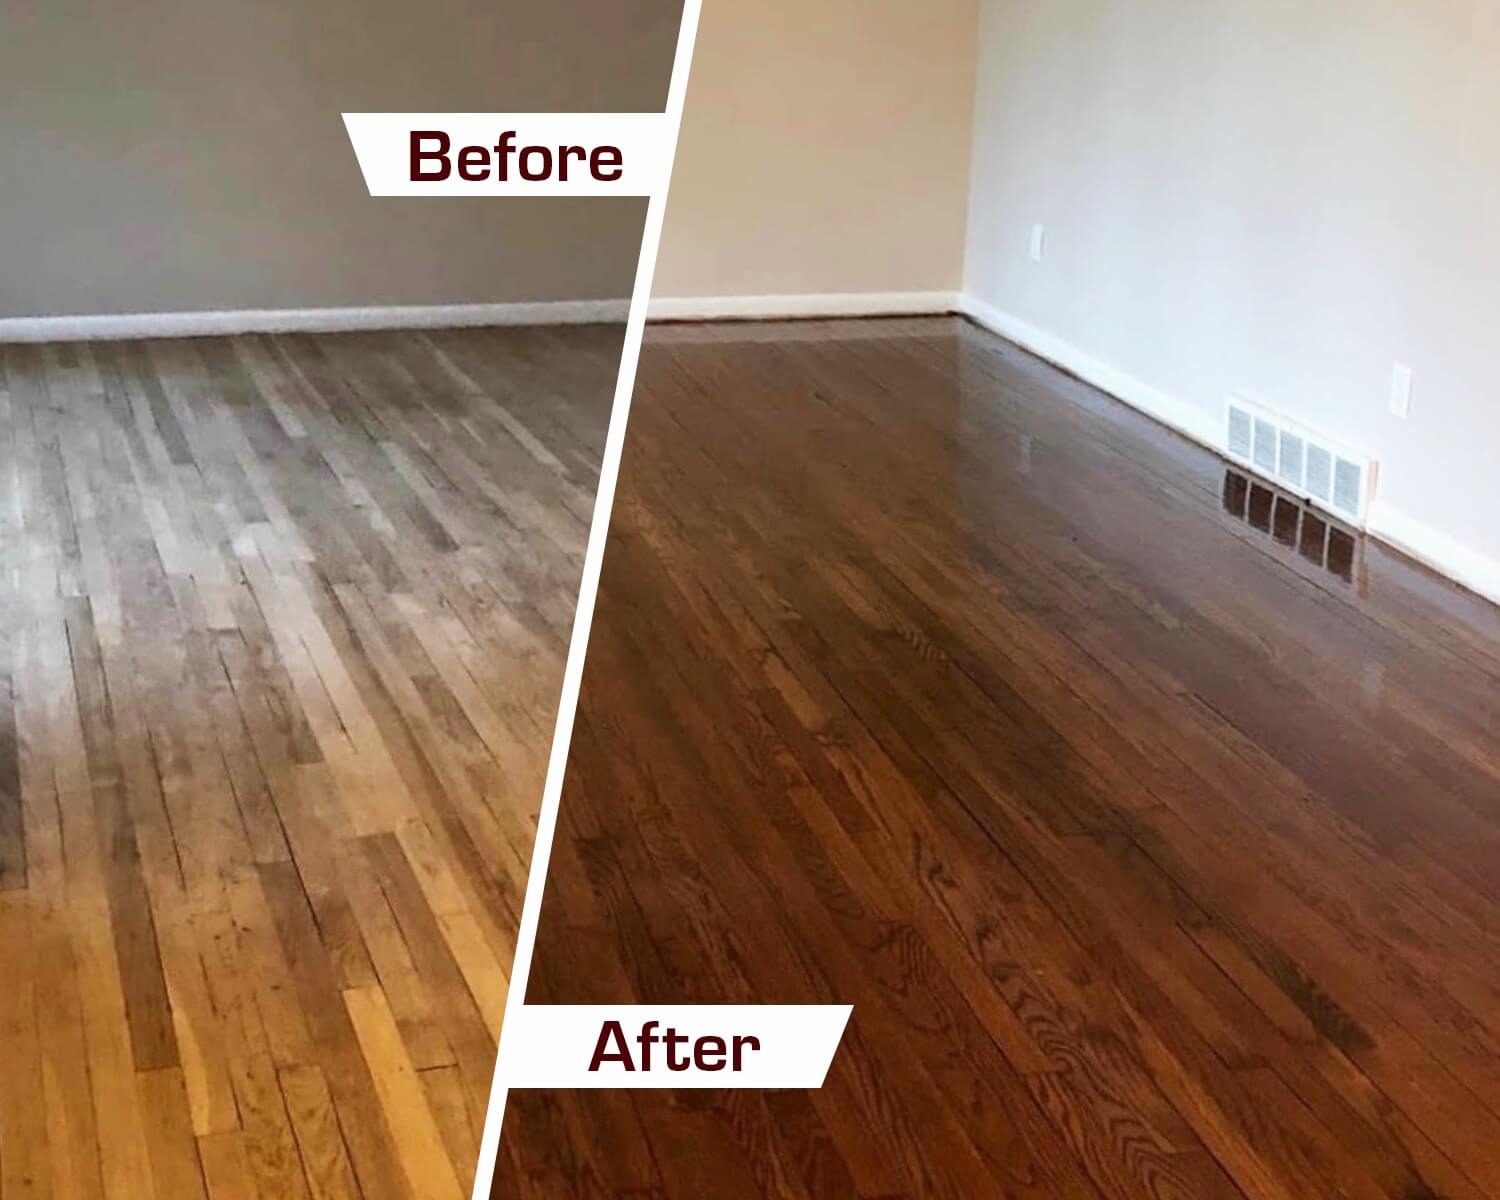
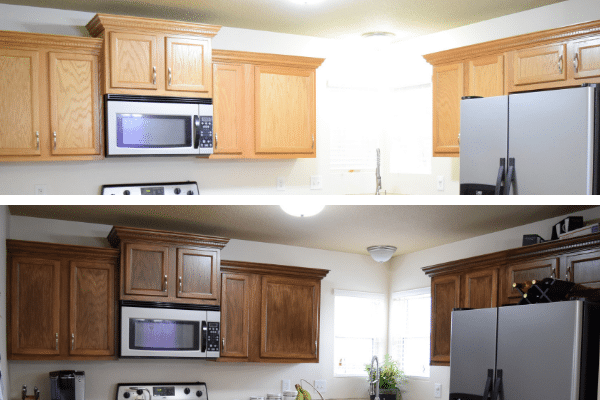
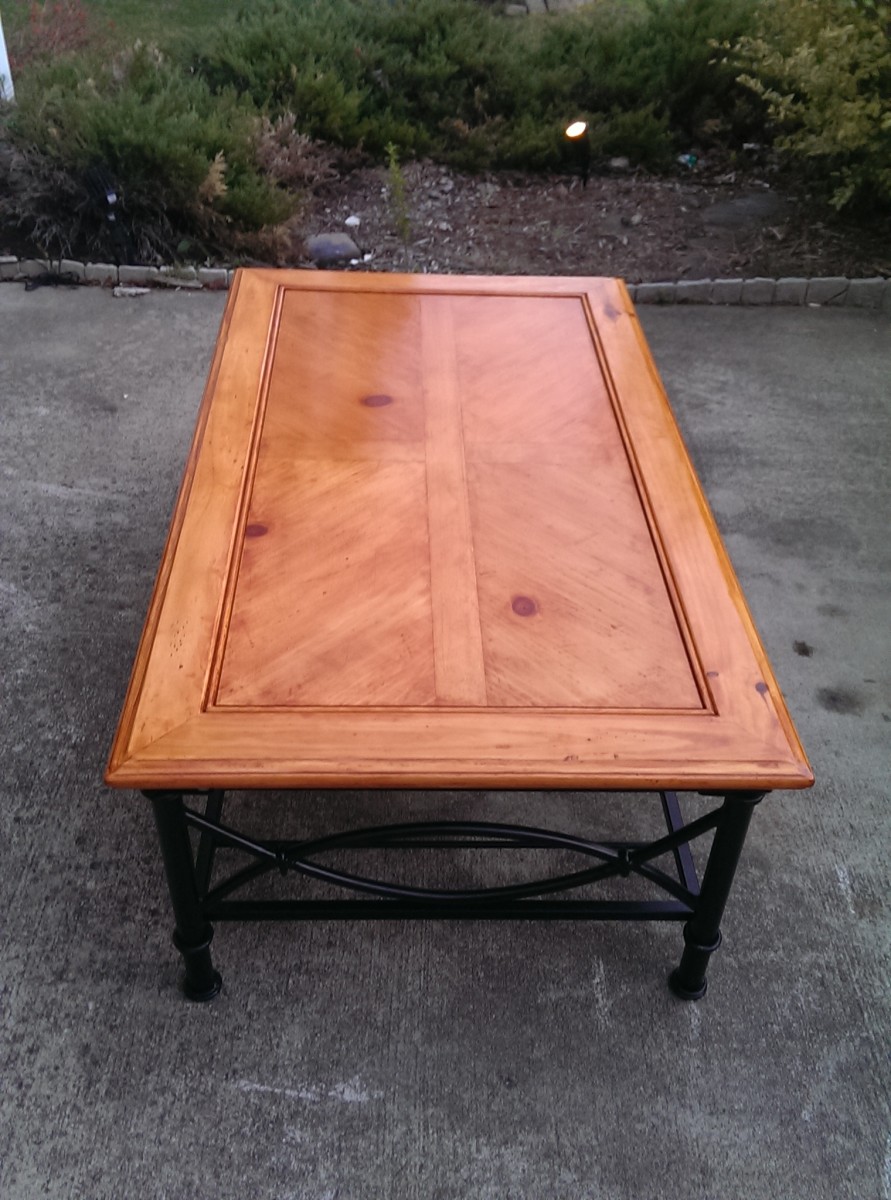
Still not convinced? Check out some before and after photos of kitchen tables that have undergone the sanding and restaining process. The difference is truly remarkable and can give your dining space a whole new look. In conclusion, sanding and restaining your kitchen table is a DIY project that can save you money and give your dining area a fresh new look. With the right tools and techniques, you can achieve professional-looking results and enjoy your revamped table for years to come.Before and After: Kitchen Table Sanding and Restaining Transformations
Sanding and Restaining: The Key to Reviving Your Kitchen Table

When it comes to house design, the kitchen is often considered the heart of the home. It's where meals are cooked, memories are made, and family and friends gather to share in the joys of everyday life. As such, it's important to have a kitchen that not only functions well but also reflects your personal style. One of the biggest focal points in any kitchen is the dining table, and over time, it may start to show signs of wear and tear. But before you rush out to buy a new one, consider giving your existing table a makeover with sanding and restaining.
The Power of Sanding

Sanding is the process of removing the top layer of the wood to reveal a fresh, clean surface underneath. This technique is essential for any restaining project, as it helps to remove any old finish, scratches, or imperfections on the table's surface. Sanding also helps to open up the wood's pores, allowing the new stain to penetrate deeper and create a more even finish.
Before you begin sanding, it's important to choose the right type of sandpaper for your project. Coarse sandpaper (around 60 grit) is best for removing old finish and deep scratches, while finer grit sandpaper (120-220 grit) can be used for smoothing out the wood's surface. It's also important to sand in the direction of the wood's grain to avoid creating any additional scratches.
The Art of Restaining

Restaining is the process of applying a new stain to the sanded wood, giving it a fresh and updated look. Choosing the right stain is crucial to achieving the desired result. There are various types of stains available, including oil-based, water-based, and gel stains, each with its own unique qualities. It's important to test the stain on a small area of the wood first to ensure it's the right color and consistency.
When it comes to applying the stain, make sure to follow the manufacturer's instructions and use a clean cloth or brush to evenly spread the stain over the wood's surface. For a darker finish, multiple coats may be necessary. Once the desired color is achieved, allow the stain to dry completely before moving on to the final step: sealing.
The Finishing Touch: Sealing

Sealing is the final step in the sanding and restaining process, and it's essential for protecting the wood and giving it a polished look. There are various types of sealers available, including polyurethane, lacquer, and varnish. It's important to choose a sealer that is compatible with the stain you used and to apply it in thin, even coats. Allow each coat to dry completely before applying the next one.
Once the final coat of sealer is dry, your kitchen table will have a brand new look and feel. Sanding and restaining not only revives the wood's natural beauty, but it also allows you to customize the color and finish to fit your personal style. So before you consider buying a new dining table, give sanding and restaining a try and see the transformative power it can have on your kitchen design.












:max_bytes(150000):strip_icc()/cost-to-refinish-hardwood-floors-1314853-FINAL-5bb6259346e0fb0026825ce2.png?strip=all&is-pending-load=1)
