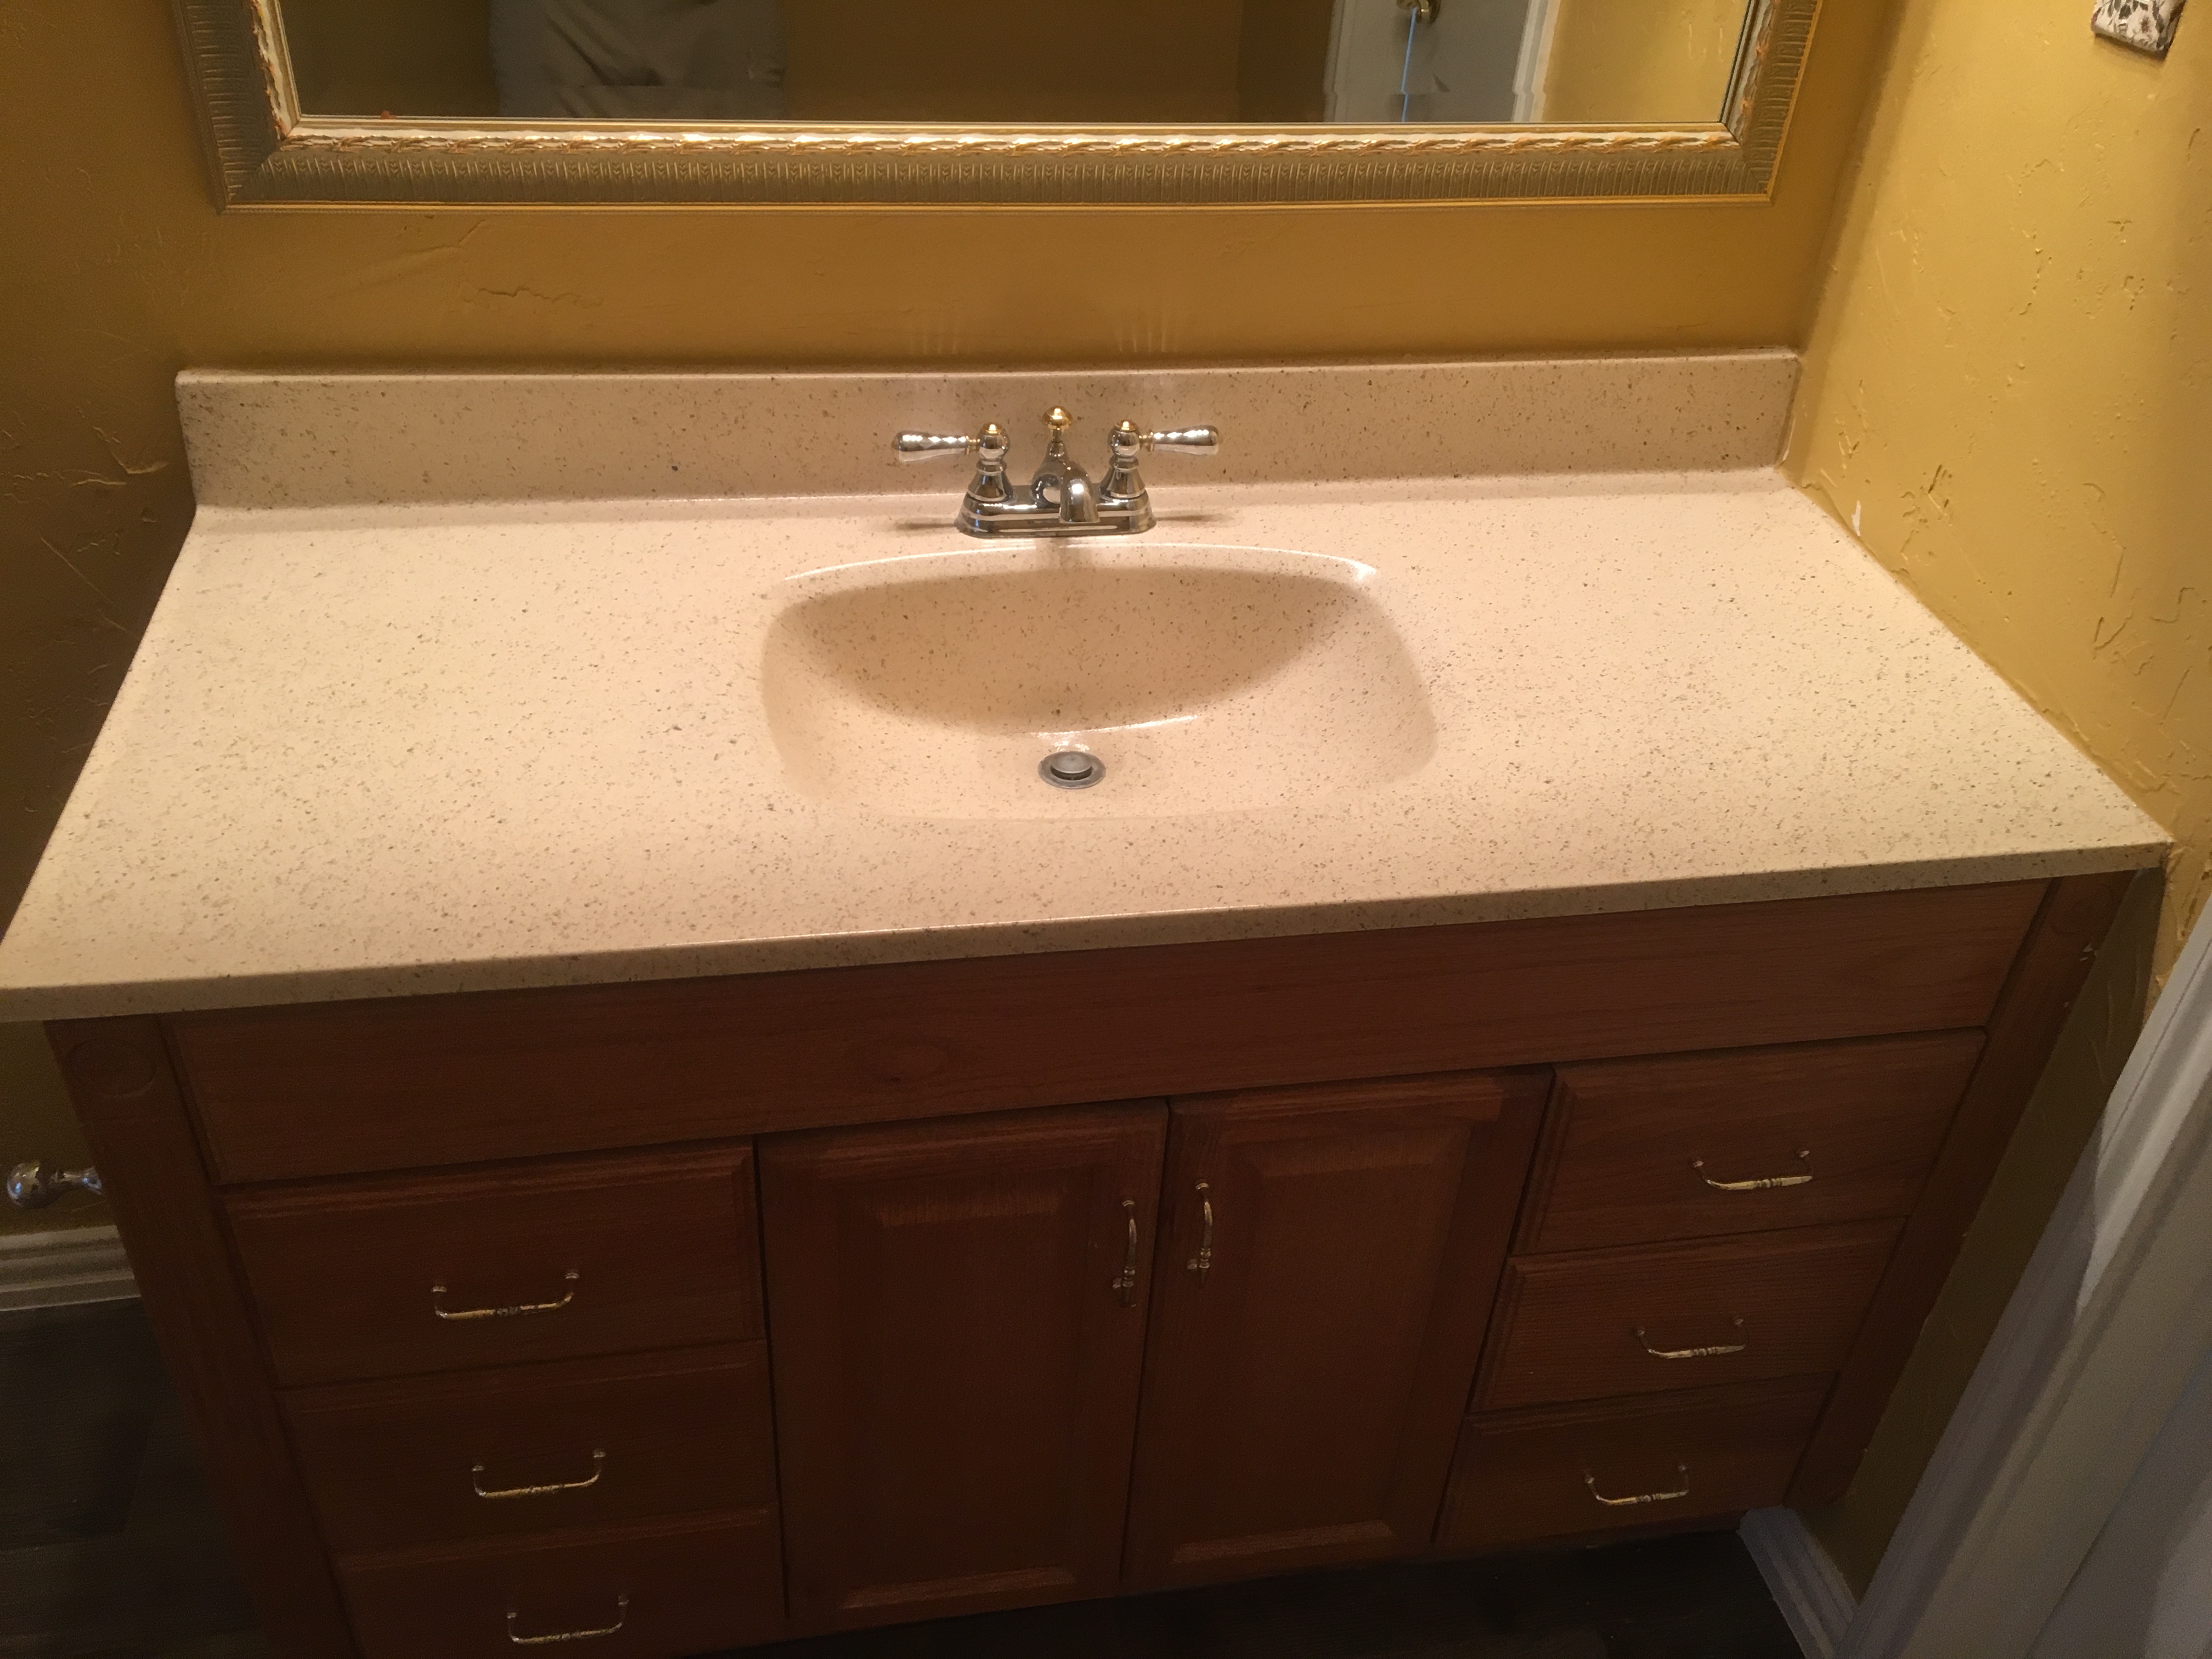
Sanding a bathroom vanity is one of the most important steps in refinishing it. It not only helps to remove old paint or stain, but it also creates a smooth and even surface for the new finish to adhere to. If you're looking to refresh your bathroom vanity and give it a new look, here's a step-by-step guide on how to sand it.How to Sand a Bathroom Vanity


How to Sand a Bathroom Vanity


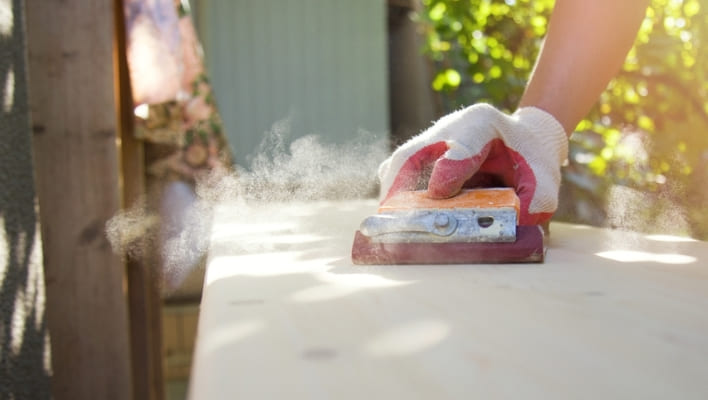
If you're planning on sanding your bathroom vanity yourself, there are a few tips to keep in mind to ensure a successful and smooth process. Start with a Clean Surface: Before you begin sanding, make sure the vanity is clean and free of any dust, dirt, or debris. Use a mild cleaner and a soft cloth to wipe down the vanity and let it dry completely before starting. Wear Protective Gear: Sanding can create a lot of dust, so it's important to protect yourself by wearing a dust mask, safety glasses, and gloves. Choose the Right Grit: The grit of sandpaper you use will depend on the condition of your vanity. If it has multiple layers of paint or a thick layer of stain, start with a coarser grit and gradually move to a finer grit as you get closer to the wood.DIY Bathroom Vanity Sanding Tips


DIY Bathroom Vanity Sanding Tips


:max_bytes(150000):strip_icc()/build-something-diy-vanity-594402125f9b58d58ae21158.jpg)


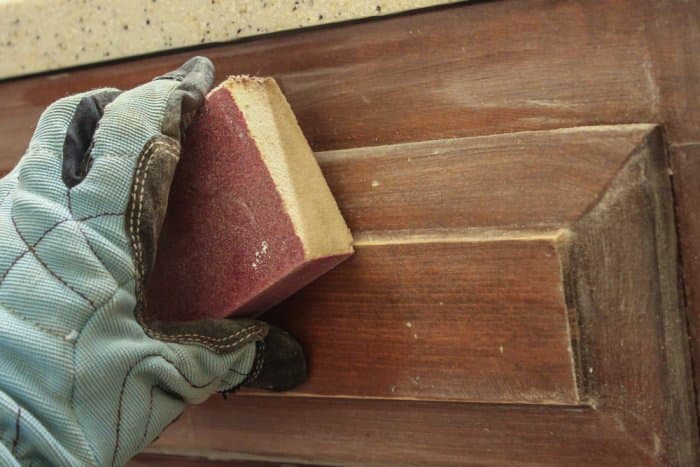
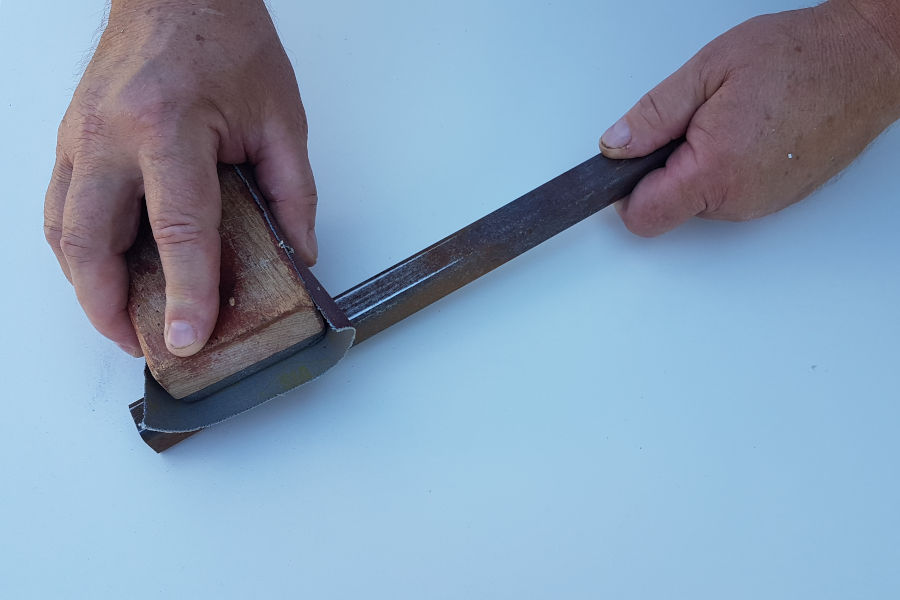
There are a few techniques you can use when sanding your bathroom vanity to ensure an even and smooth finish. Sand in the Direction of the Wood Grain: Always sand in the direction of the wood grain to avoid creating scratches or marks on the surface. This will also help to achieve a more polished and professional look. Use Even Pressure: Apply even pressure when sanding to avoid creating uneven spots or dips in the surface. This will also help to achieve a more consistent finish. Sand in Sections: Instead of trying to sand the entire vanity at once, break it up into smaller sections and focus on one area at a time. This will help to ensure that you don't miss any spots and that the surface is evenly sanded.Sanding Techniques for Bathroom Vanities


Sanding Techniques for Bathroom Vanities


Sanding is an essential step in refinishing a bathroom vanity. It helps to remove old finishes and create a smooth surface for the new finish to adhere to. Once you've completed sanding, you can move on to the next steps of your refinishing project, such as staining or painting. Pro Tip: If you're planning on painting your vanity, use a primer before painting to ensure better adhesion and a smoother finish.Refinishing a Bathroom Vanity with Sanding
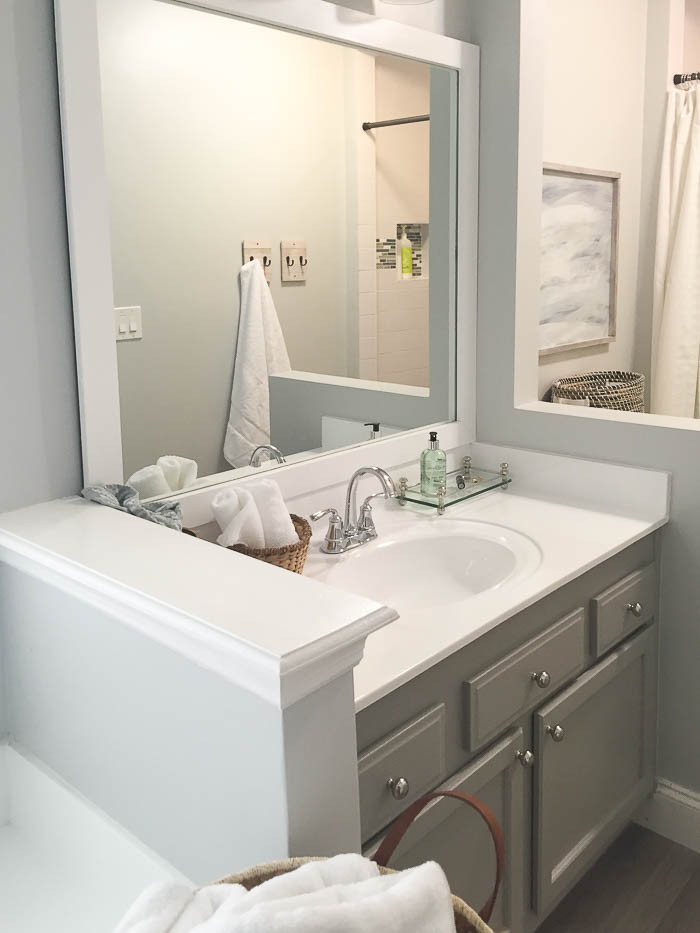
Refinishing a Bathroom Vanity with Sanding
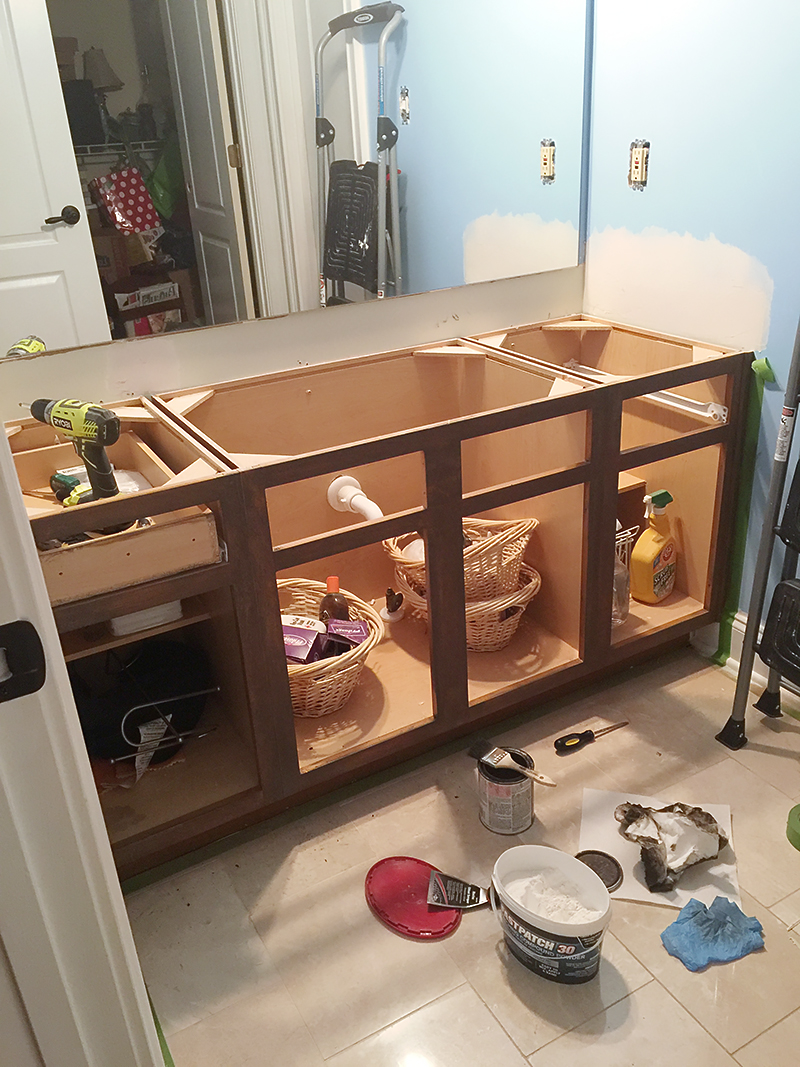
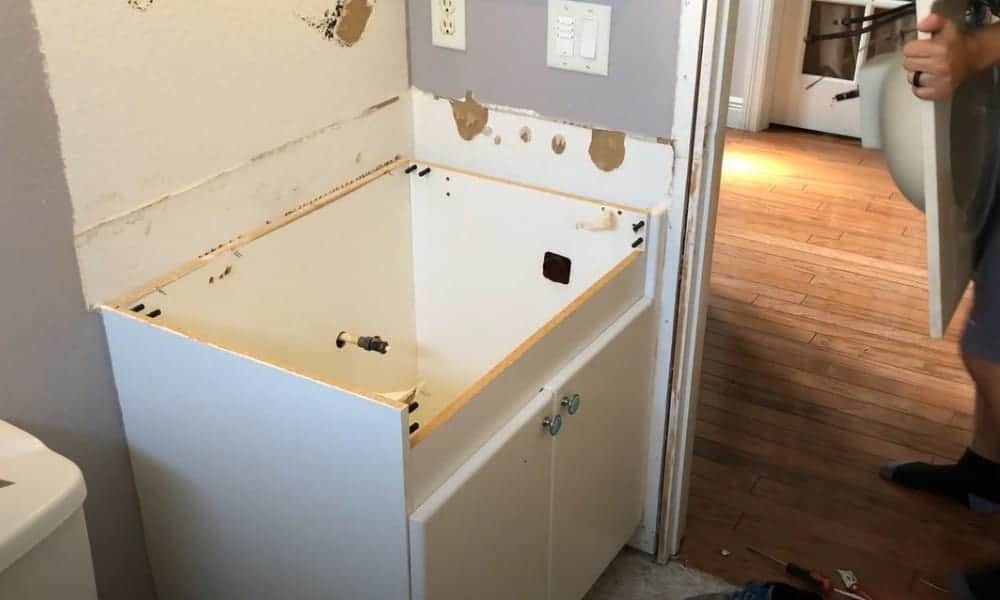
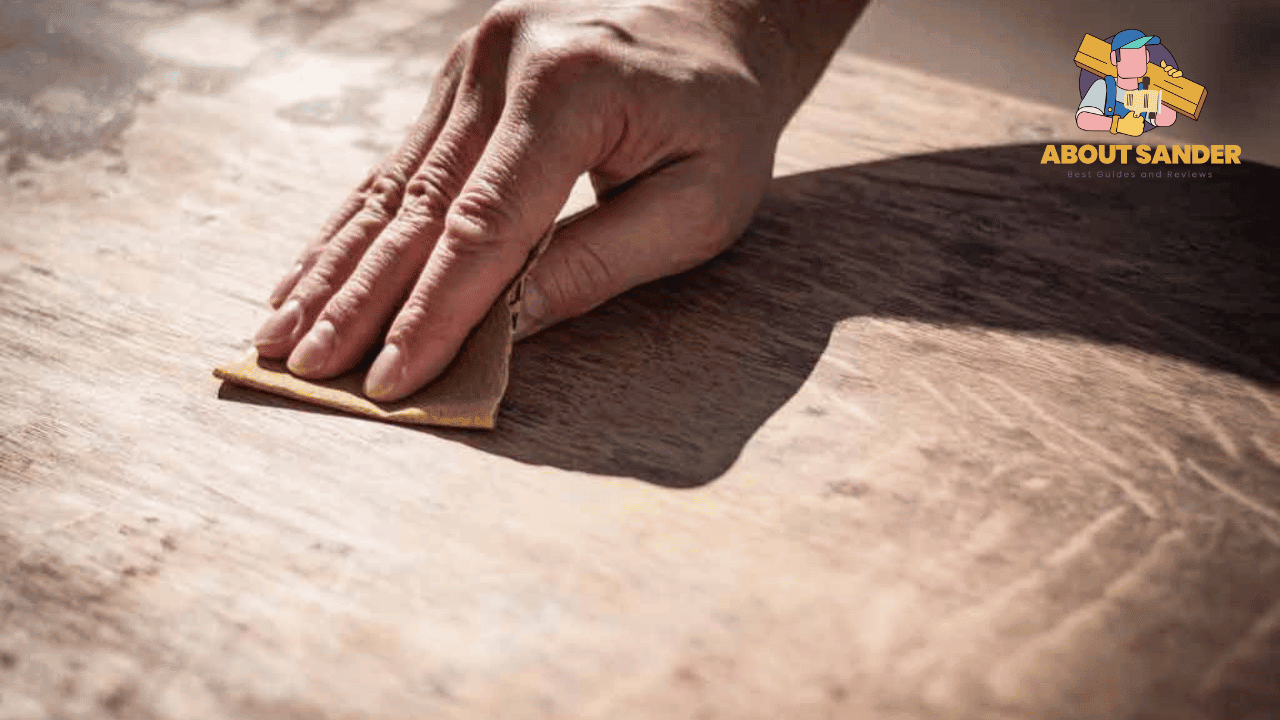
Sanding a bathroom vanity may seem like a daunting task, but with the right tools and techniques, it can be a simple and rewarding process. Here's a step-by-step guide on how to sand a bathroom vanity: Step 1: Remove Hardware and Doors: Start by removing any hardware, such as knobs or handles, from the vanity. If the vanity has doors, take them off and lay them flat on a work surface. Step 2: Sand the Surface: Using a coarse grit sandpaper (around 80-100 grit), sand the entire surface of the vanity, including the doors. Sand in the direction of the wood grain and use even pressure to avoid creating any uneven spots. Step 3: Switch to a Finer Grit: Once you've sanded the entire surface with the coarse grit, switch to a finer grit (around 150-220 grit) and sand again. This will help to smooth out any rough spots or scratches left by the coarser grit. Step 4: Sand the Hard-to-Reach Areas: Use a sanding sponge or folded sandpaper to sand any hard-to-reach areas, such as corners or edges. Step 5: Wipe Down the Surface: Use a damp cloth or tack cloth to wipe down the surface and remove any dust or debris left from sanding. Step 6: Sand the Doors: Lay the vanity doors flat on a work surface and sand them in the same way you did the main vanity. Make sure to sand in the direction of the wood grain and use even pressure. Step 7: Wipe Down the Doors: Use a damp cloth or tack cloth to wipe down the doors and remove any dust or debris left from sanding.Step-by-Step Guide to Sanding a Bathroom Vanity


Step-by-Step Guide to Sanding a Bathroom Vanity


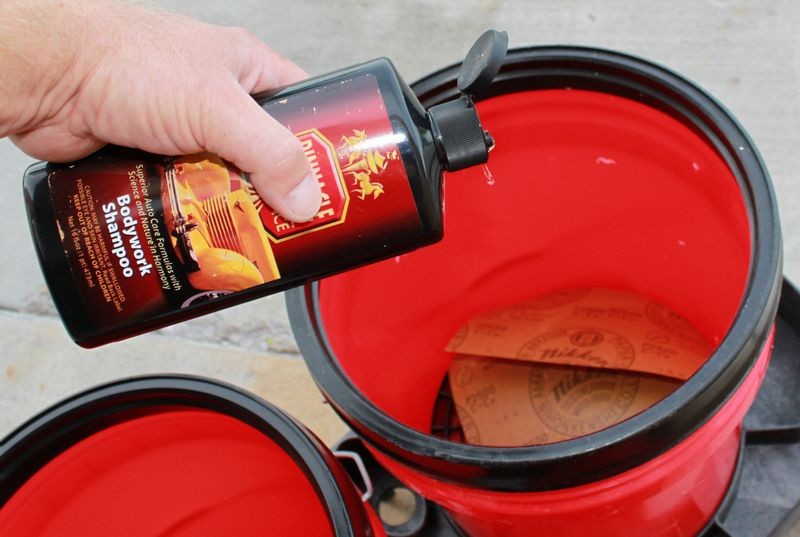
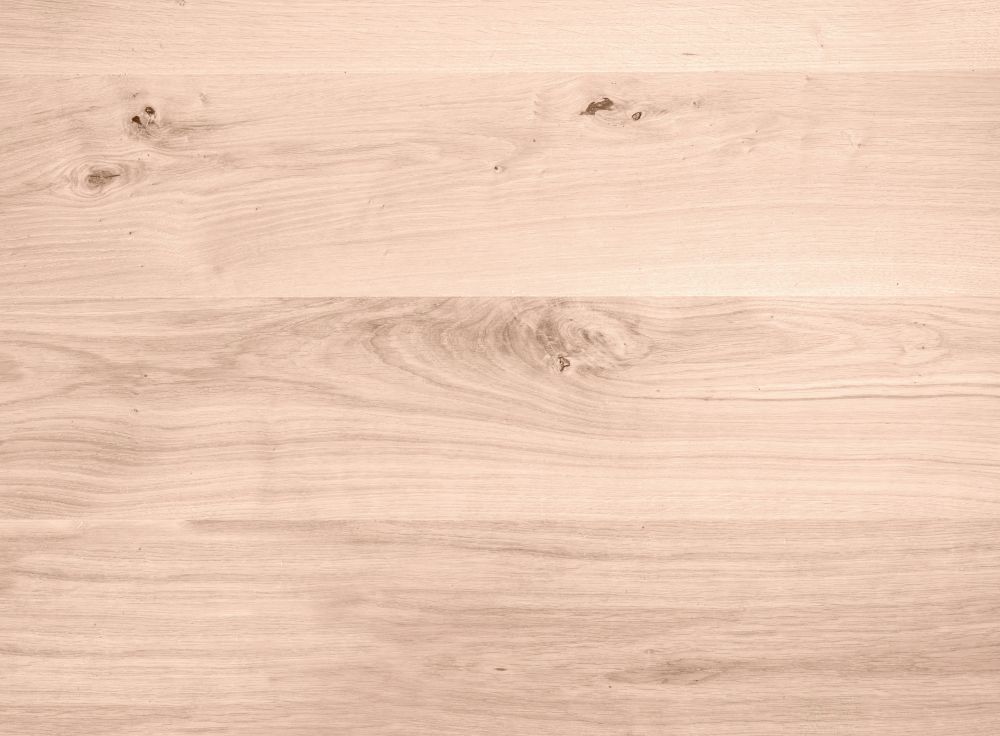
The grit of sandpaper you use will depend on the condition of your vanity. If it has multiple layers of paint or a thick layer of stain, start with a coarser grit (around 80-100 grit) and gradually move to a finer grit (around 150-220 grit) as you get closer to the wood. If your vanity only has a light layer of paint or stain, you can start with a finer grit.Best Sandpaper Grit for Bathroom Vanity Sanding


Best Sandpaper Grit for Bathroom Vanity Sanding


Sanding and stripping are two different methods of removing old finishes from a bathroom vanity. Sanding involves using sandpaper to remove the top layer of paint or stain, while stripping involves using chemicals to dissolve and remove the finish. Both methods have their pros and cons, but sanding is generally a more DIY-friendly and cost-effective option.Sanding vs Stripping a Bathroom Vanity


Sanding vs Stripping a Bathroom Vanity


Sanding a bathroom vanity may seem like a simple task, but there are a few common mistakes that can lead to a less-than-perfect finish. Here are some mistakes to avoid when sanding your bathroom vanity: Sanding against the Grain: Sanding against the direction of the wood grain can create scratches and marks on the surface. Always sand in the direction of the grain for a smoother finish. Using Too Much Pressure: Applying too much pressure when sanding can create uneven spots and dips in the surface. Use even pressure to achieve a more consistent finish. Skipping Grits: It's important to start with a coarser grit and gradually move to a finer grit when sanding a bathroom vanity. Skipping grits can result in an uneven finish and may require you to go back and sand again.Common Mistakes to Avoid When Sanding a Bathroom Vanity


Common Mistakes to Avoid When Sanding a Bathroom Vanity


The time it takes to sand a bathroom vanity will depend on its size and condition. On average, it can take anywhere from 2-4 hours to sand a standard-sized vanity. However, larger or more damaged vanities may take longer.How Long Does it Take to Sand a Bathroom Vanity?


How Long Does it Take to Sand a Bathroom Vanity?


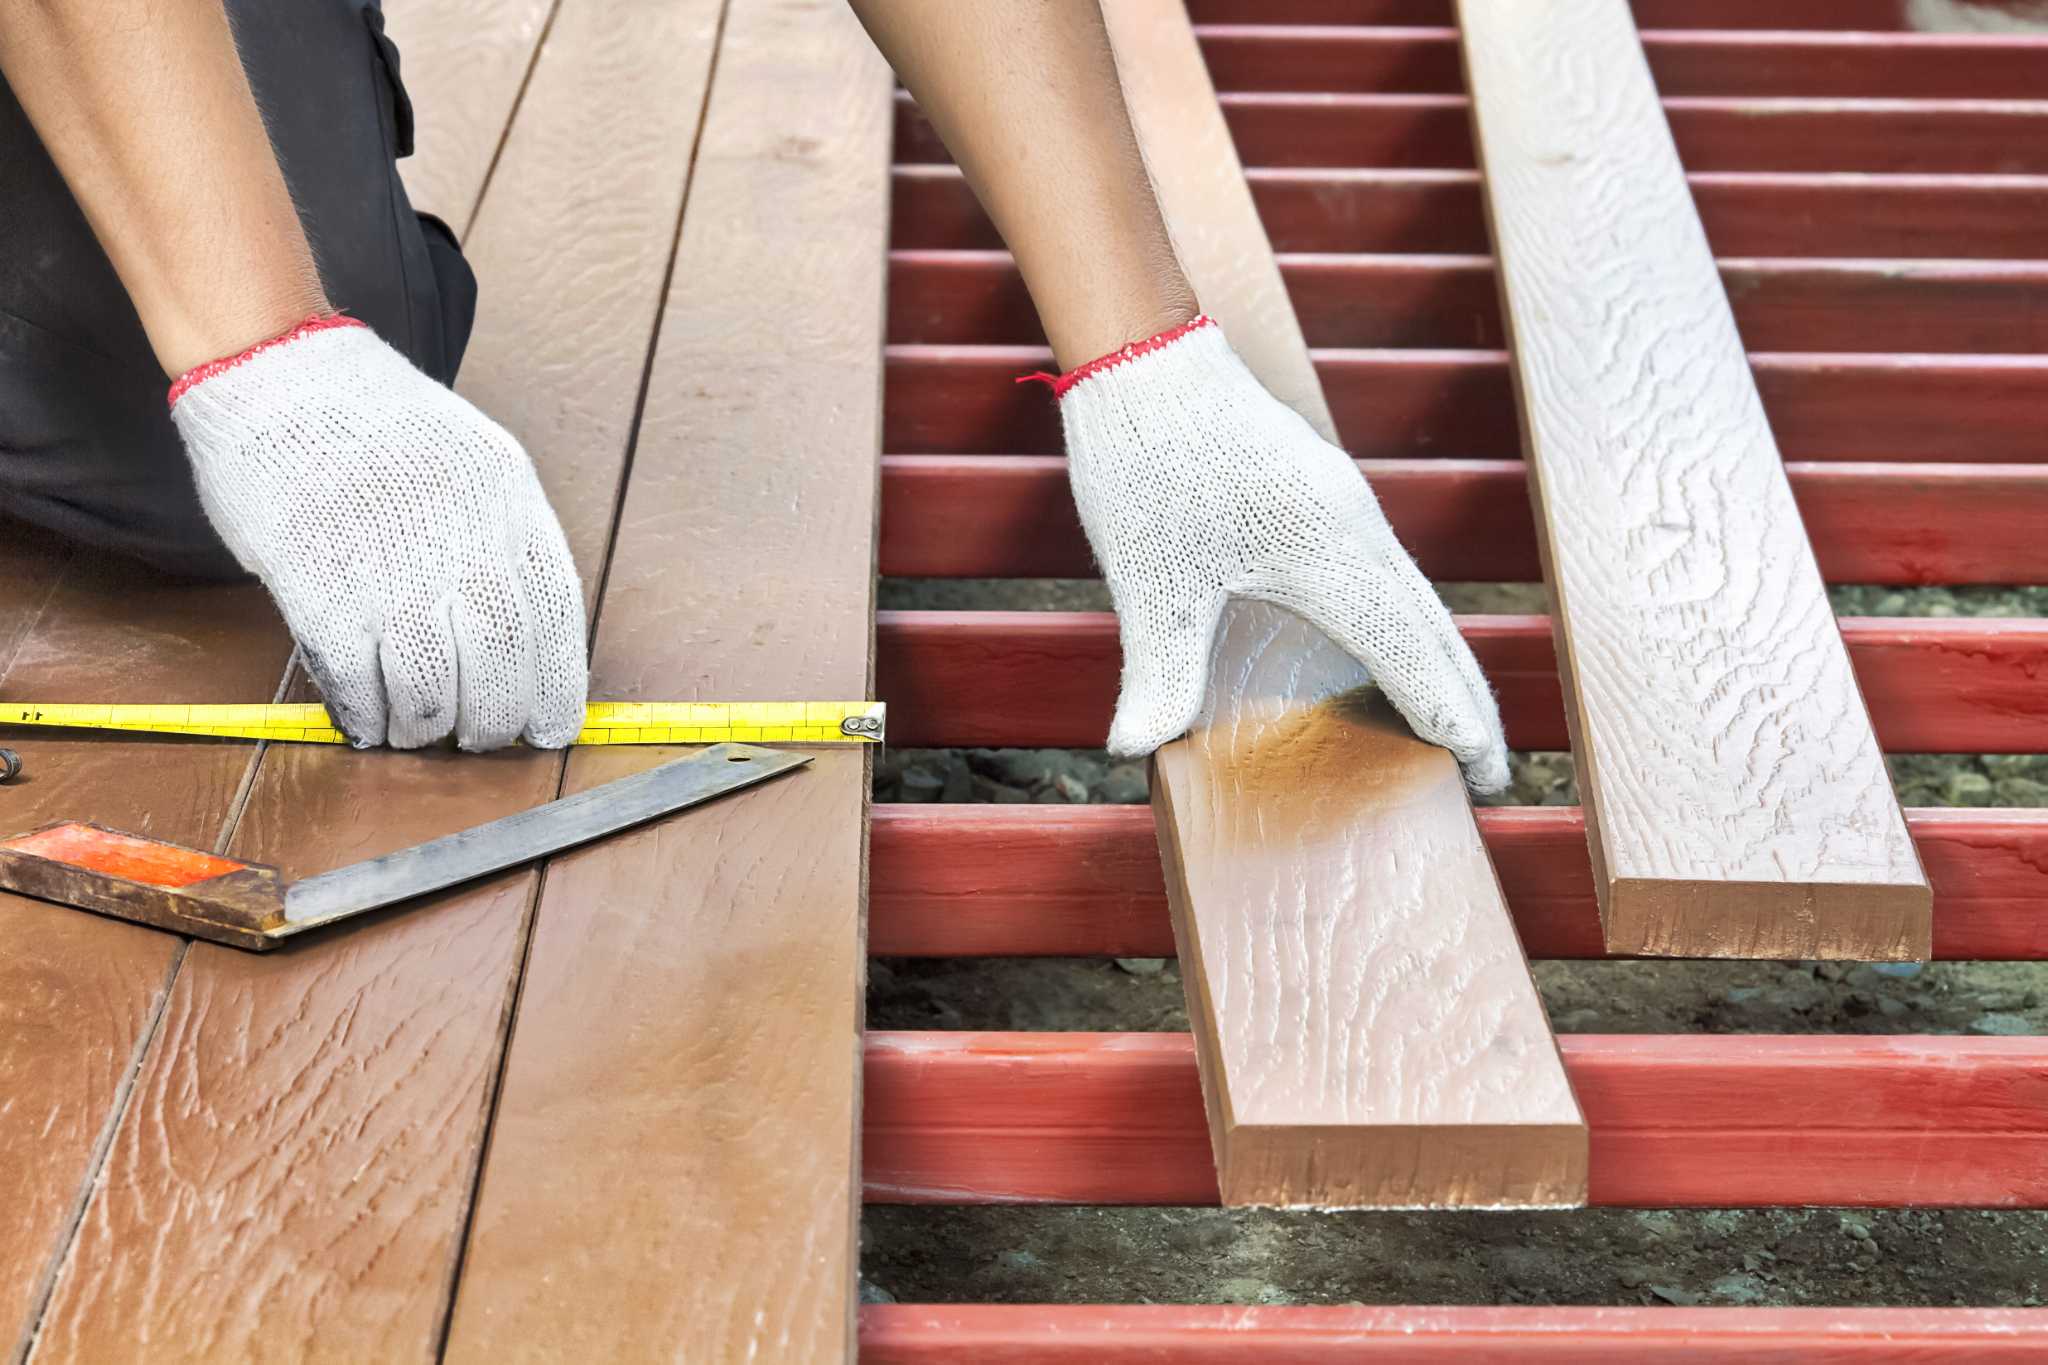
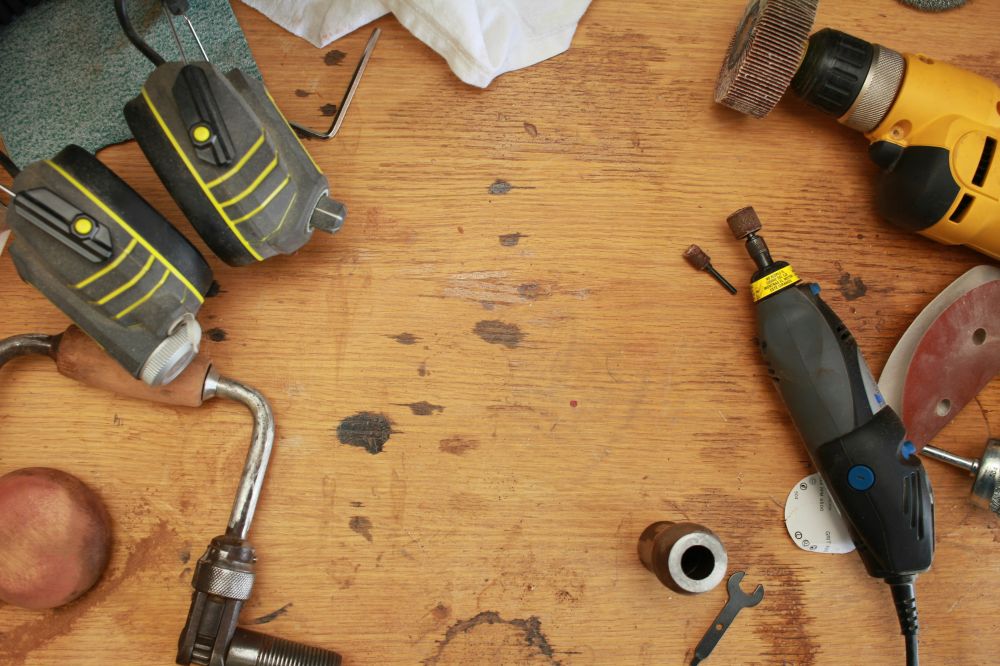
To successfully sand a bathroom vanity, you'll need the following tools and materials: Sandpaper: Use a variety of grits, including coarse (around 80-100 grit) and fine (around 150-220 grit). Sanding Blocks or Sponges: These can be used for hard-to-reach areas and corners. Dust Mask, Safety Glasses, and Gloves: To protect yourself from dust and debris. Mild Cleaner and Soft Cloth: To clean the vanity before sanding. Tack Cloth: To wipe down the vanity after sanding and remove any remaining dust or debris. By following these tips and techniques, you can successfully sand your bathroom vanity and achieve a smooth and even surface for the next steps in your refinishing process. Remember to take your time and be patient, and you'll have a beautifully refinished vanity in no time.Tools and Materials Needed for Sanding a Bathroom Vanity

Tools and Materials Needed for Sanding a Bathroom Vanity


Why Sanding A Bathroom Vanity Is Essential for Your House Design

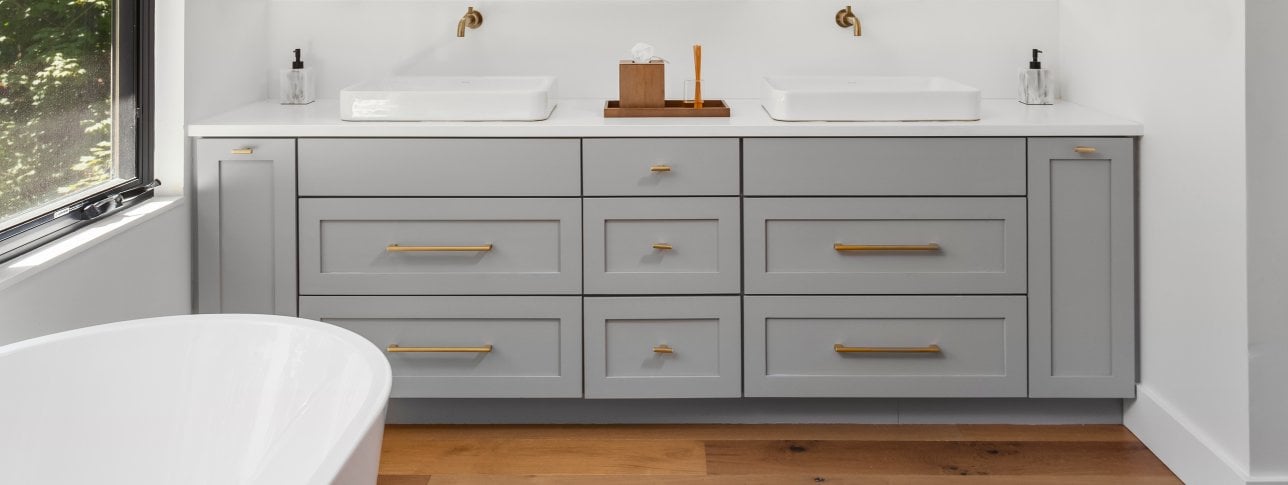
Bathroom vanities are an essential part of any bathroom design, providing both functionality and style. Over time, however, these vanities can become dull and worn out, making your entire bathroom look outdated. This is where sanding comes in – a simple yet effective way to revamp your bathroom vanity and give it a new lease on life.
The Benefits of Sanding Your Bathroom Vanity

Sanding is the process of using sandpaper or an electric sander to smooth and remove imperfections from a surface. When it comes to bathroom vanities, sanding can bring numerous benefits to your house design:
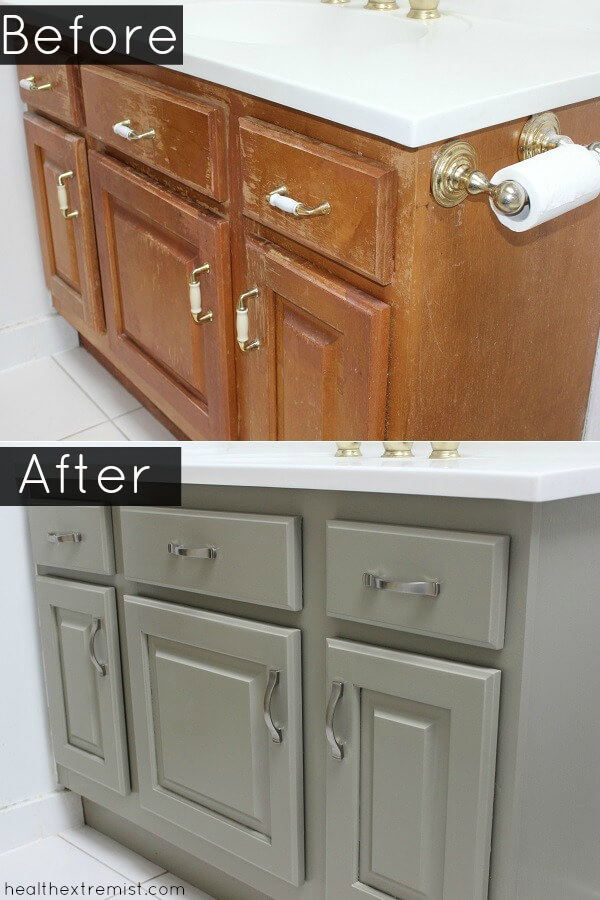
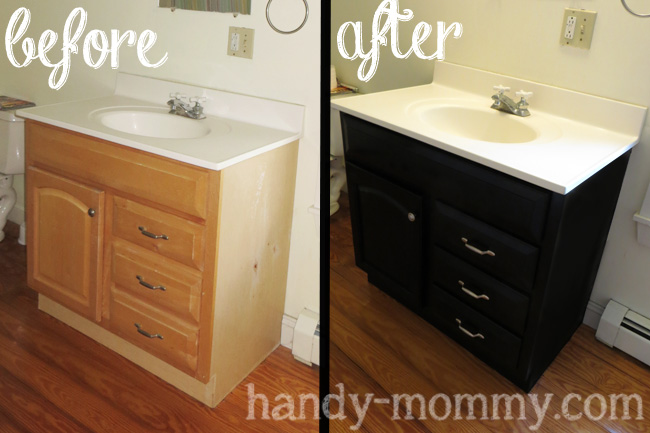
- Restores the Original Look: Over time, bathroom vanities can become scratched, stained, or discolored. Sanding can remove these imperfections, revealing the beautiful, original look of your vanity.
- Improves Durability: Sanding can also help to restore the durability of your bathroom vanity. By removing any rough or damaged areas, you can prevent further wear and tear, extending the lifespan of your vanity.
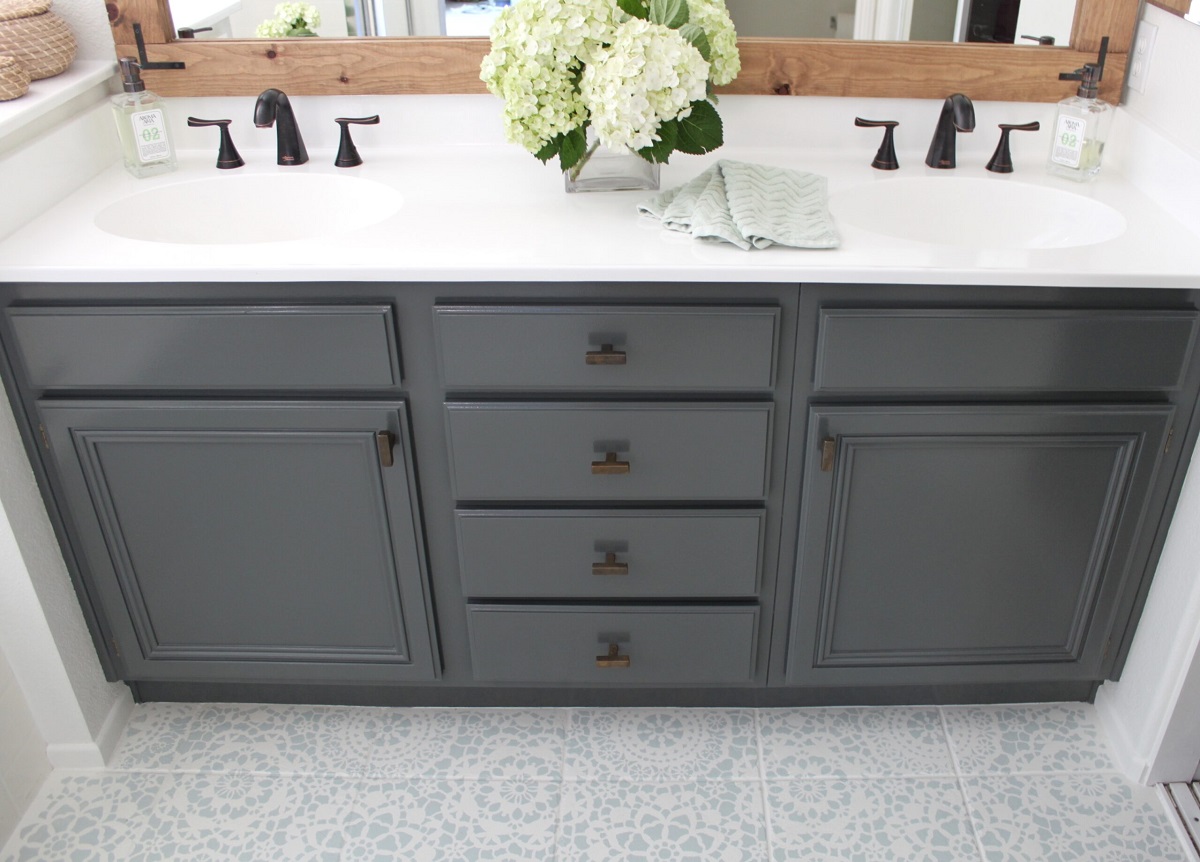
- Enhances Aesthetics: A bathroom vanity that looks old and worn can bring down the overall look of your bathroom. Sanding can help to refresh and update the appearance of your vanity, giving your bathroom a more modern and polished look.
How to Sand Your Bathroom Vanity

Before you start sanding, it's important to gather all the necessary tools and materials. This includes sandpaper or an electric sander, a clean cloth, and protective gear such as goggles and a face mask. Follow these steps to effectively sand your bathroom vanity:
- Remove Hardware: Start by removing all hardware, such as knobs and handles, from your vanity. This will make it easier to sand and prevent any damage to these pieces.
- Clean the Vanity: Use a mild cleaner and a clean cloth to wipe down the entire surface of the vanity. This will remove any dirt, grime, or residue that may interfere with the sanding process.
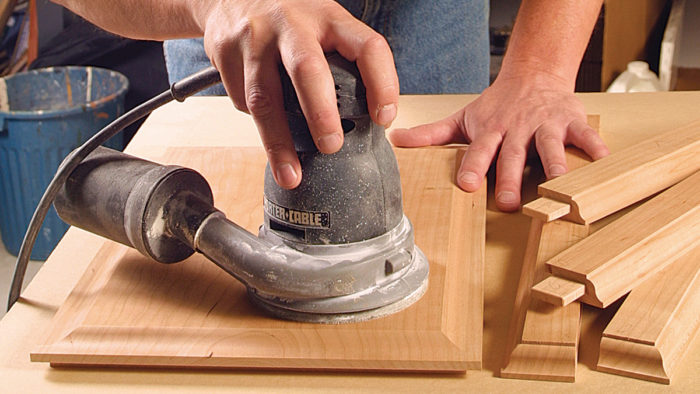
- Sand the Surface: Use sandpaper or an electric sander to gently sand the entire surface of the vanity. Be sure to sand in the direction of the grain for a smoother finish. Start with a coarse grit and gradually move to a finer grit for a more polished look.
- Wipe Down the Vanity: Once you have finished sanding, use a clean cloth to wipe down the entire surface of the vanity. This will remove any dust or debris left behind from the sanding process.
- Apply a Finish: Finally, you can choose to apply a finish to your vanity to protect it from moisture and give it a glossy look. Be sure to follow the instructions on the finish product carefully.
With these simple steps, you can easily sand your bathroom vanity and give it a fresh new look. Not only will this improve the overall appearance of your bathroom, but it will also add value to your house design. So don't hesitate to pick up that sandpaper and start sanding!