Sanding and Painting Old Bedroom Furniture: A Step-by-Step Guide
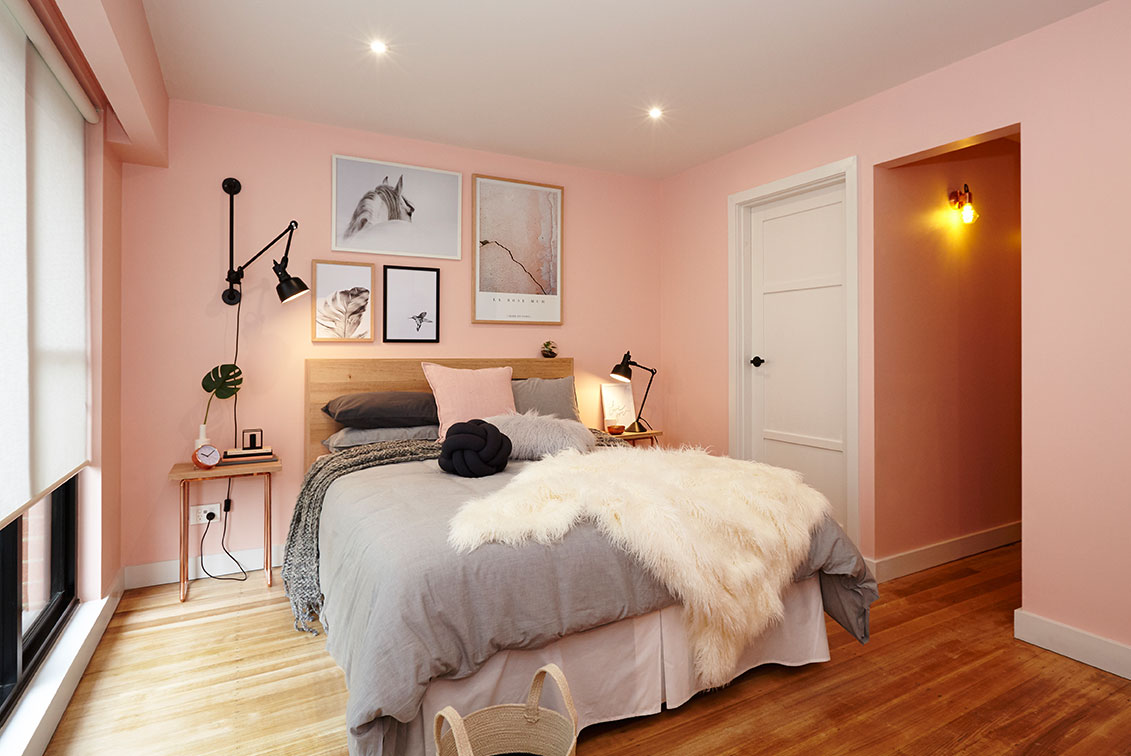
Are you tired of looking at your old, worn-out bedroom furniture? Do you want to give your room a fresh new look without breaking the bank? Sanding and painting your old bedroom furniture is the perfect solution! Not only is it a cost-effective way to revamp your space, but it also allows you to get creative and add your personal touch. In this step-by-step guide, we will show you how to transform your old bedroom furniture into stylish pieces that will breathe new life into your room.


Sanding and Painting Old Bedroom Furniture: A Step-by-Step Guide


How to Refinish Old Furniture: Sand and Paint Techniques
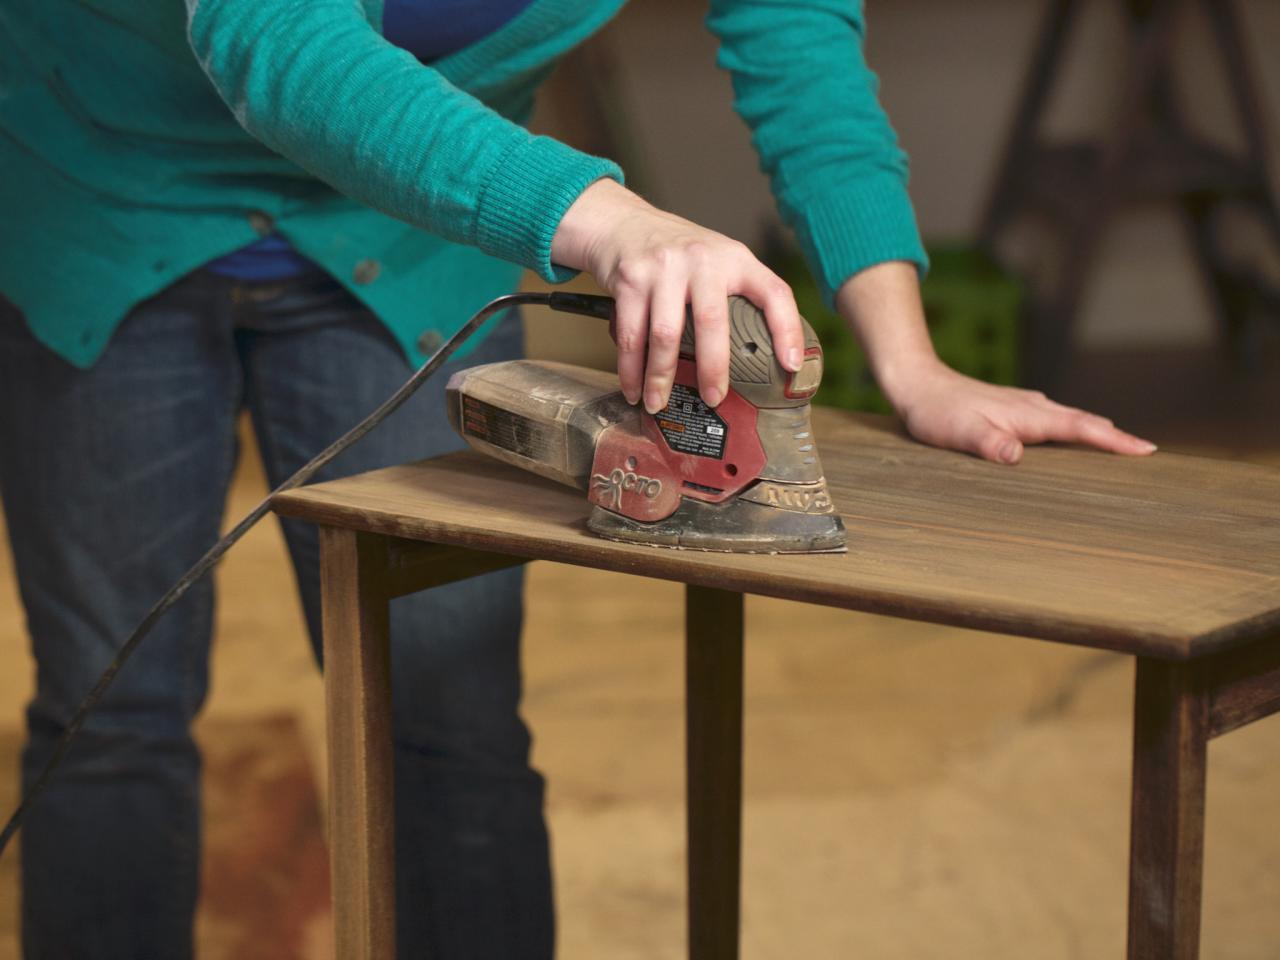
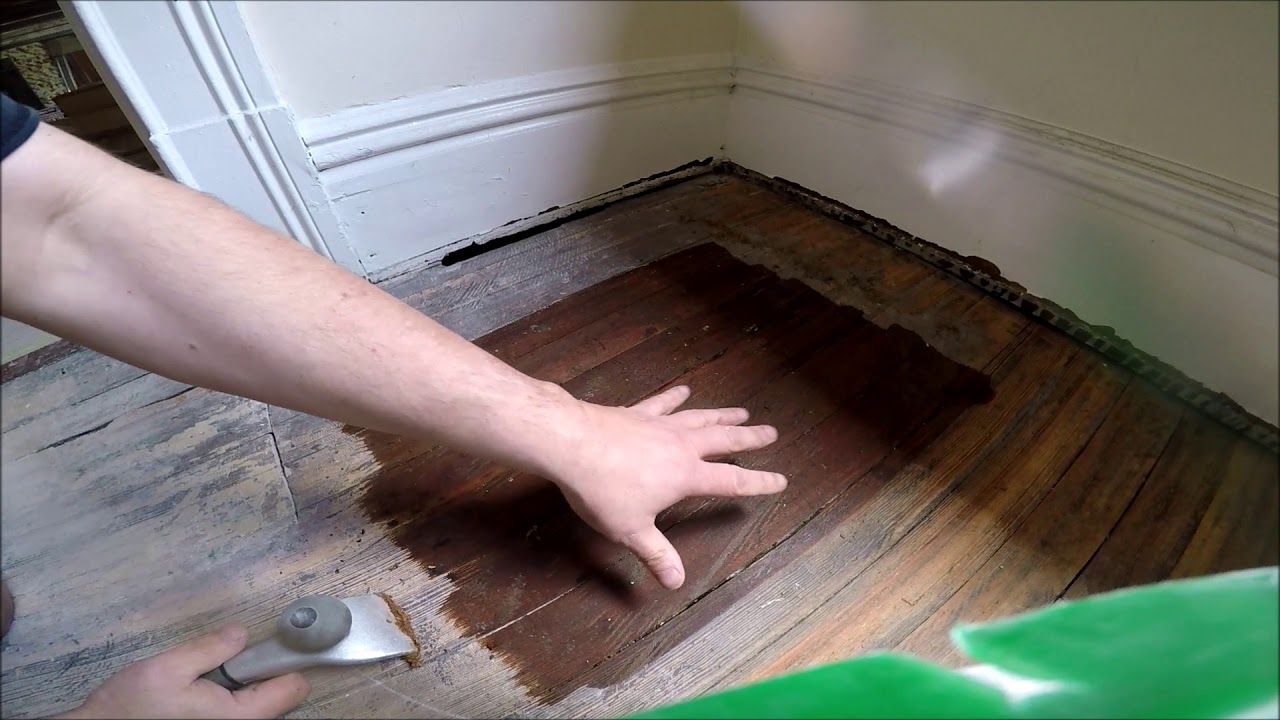
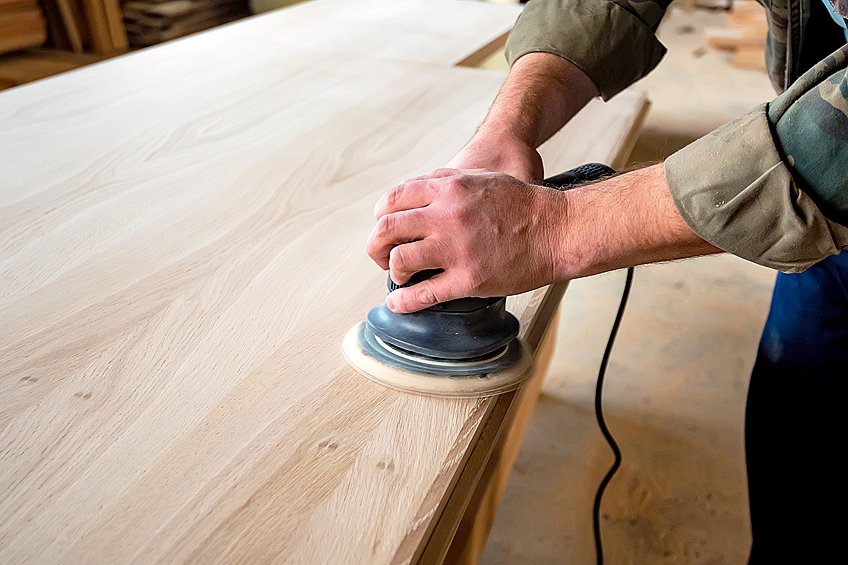
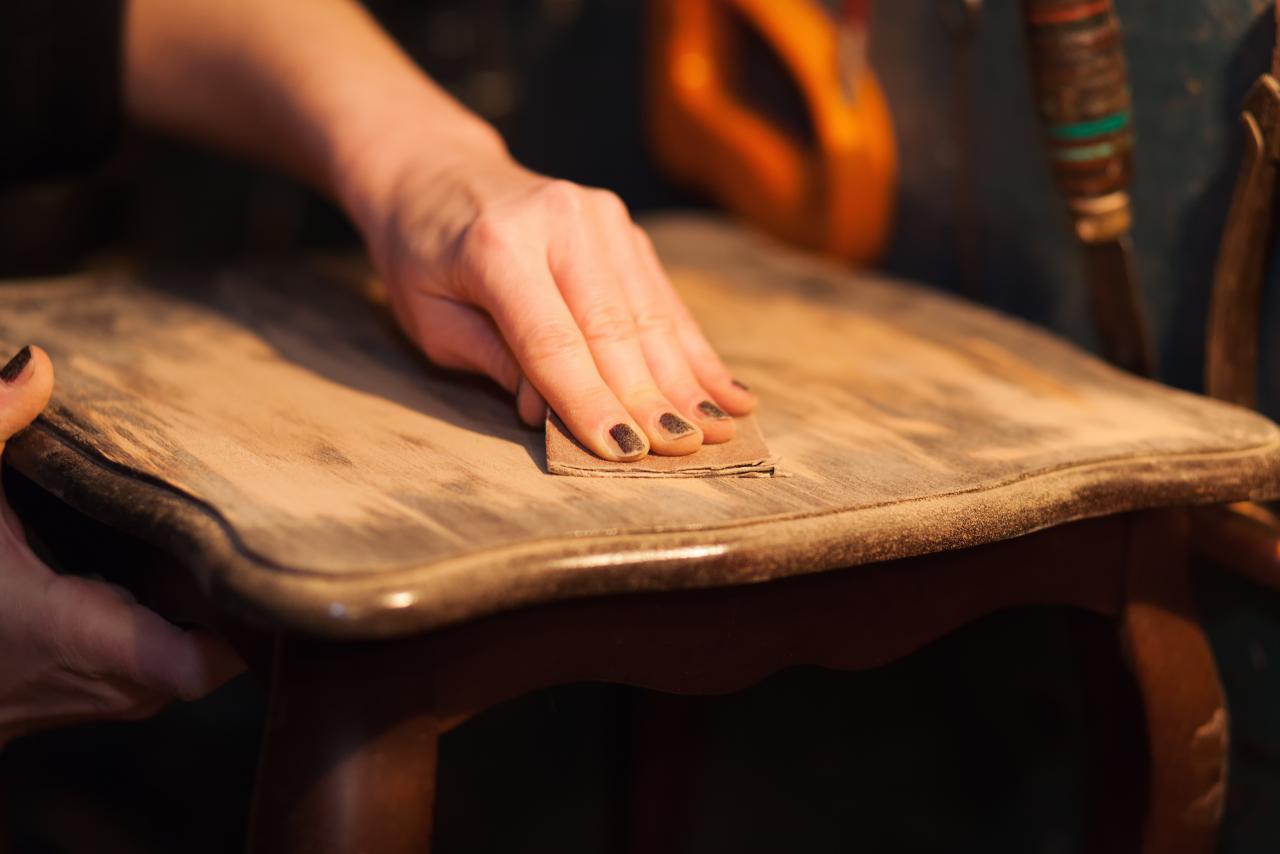
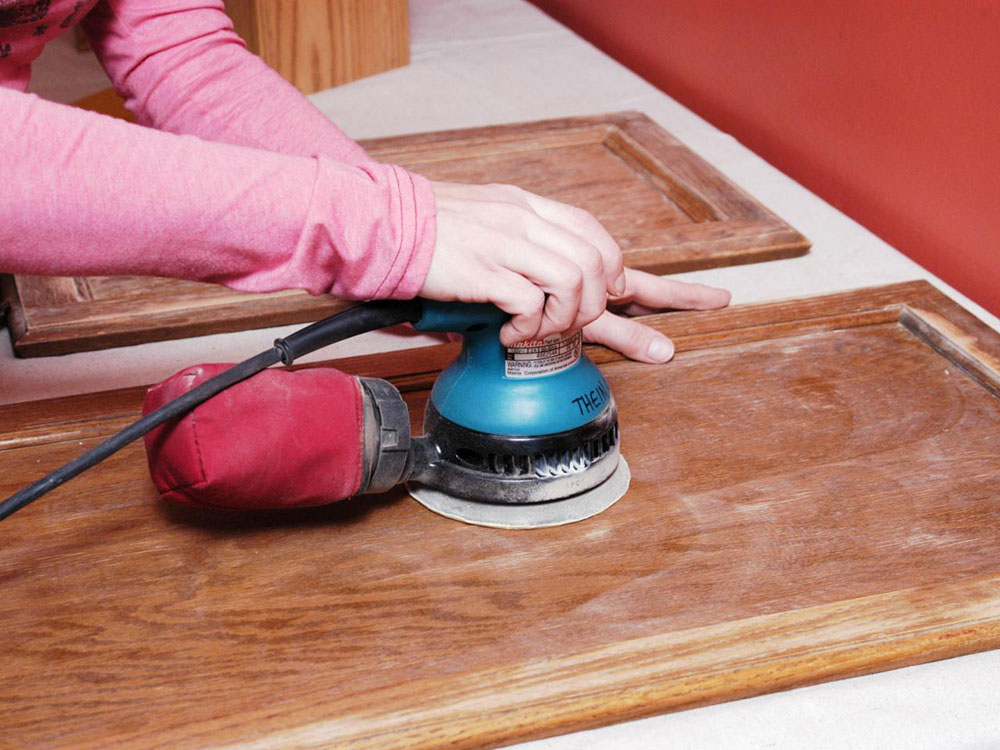
Before getting started, it's important to understand the sanding and painting techniques that will help you achieve the best results. When it comes to sanding, there are two main options: hand sanding and using a power sander. Hand sanding allows for more control and precision, while a power sander is faster and more efficient. Whichever method you choose, make sure to use a medium-grit sandpaper to remove the existing finish and smooth out any imperfections.
Once the furniture is sanded, it's time to choose the right paint for your project. For a smooth finish, opt for a high-quality latex or oil-based paint that is specifically designed for furniture. These types of paint will provide better coverage and durability, ensuring that your furniture looks great for years to come.


How to Refinish Old Furniture: Sand and Paint Techniques


DIY: How to Sand and Paint Old Bedroom Furniture
Now that you have the basic techniques down, it's time to get to work! Follow these simple steps to sand and paint your old bedroom furniture:
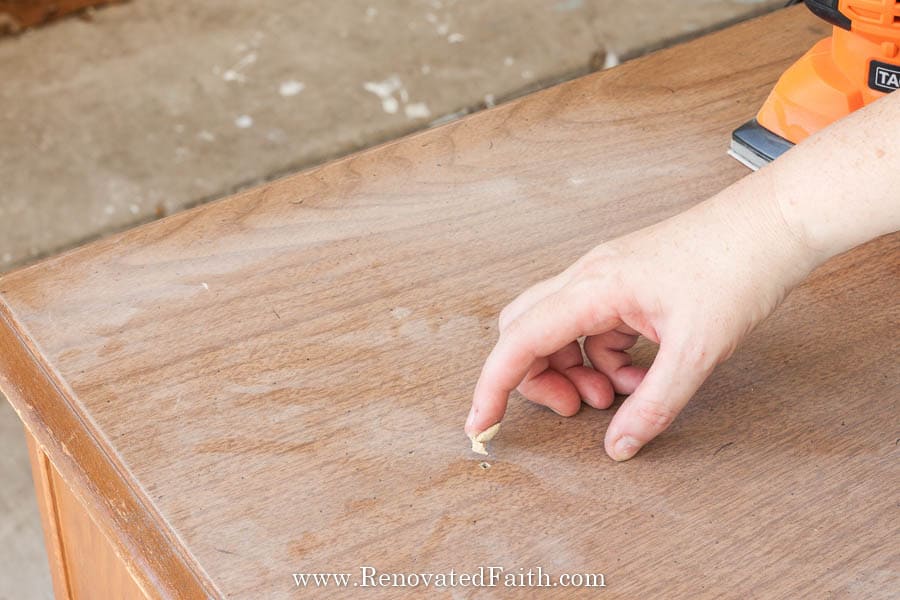
Step 1: Prepare the Surface – Before sanding, make sure to remove any hardware and clean the furniture thoroughly. If there are any deep scratches or gouges, use wood filler to fill them in and let it dry before sanding.
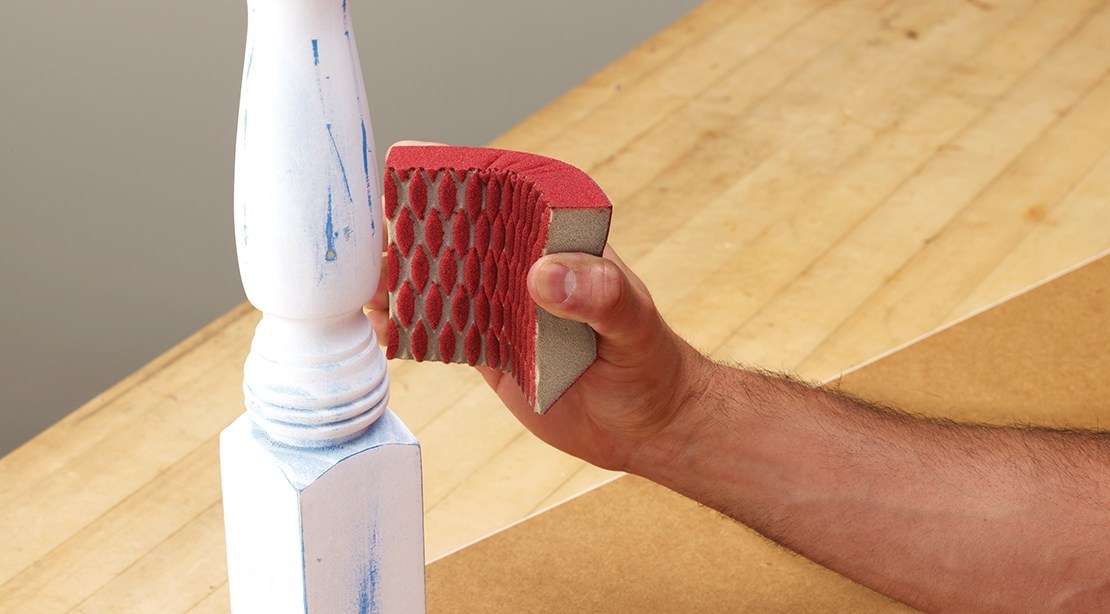
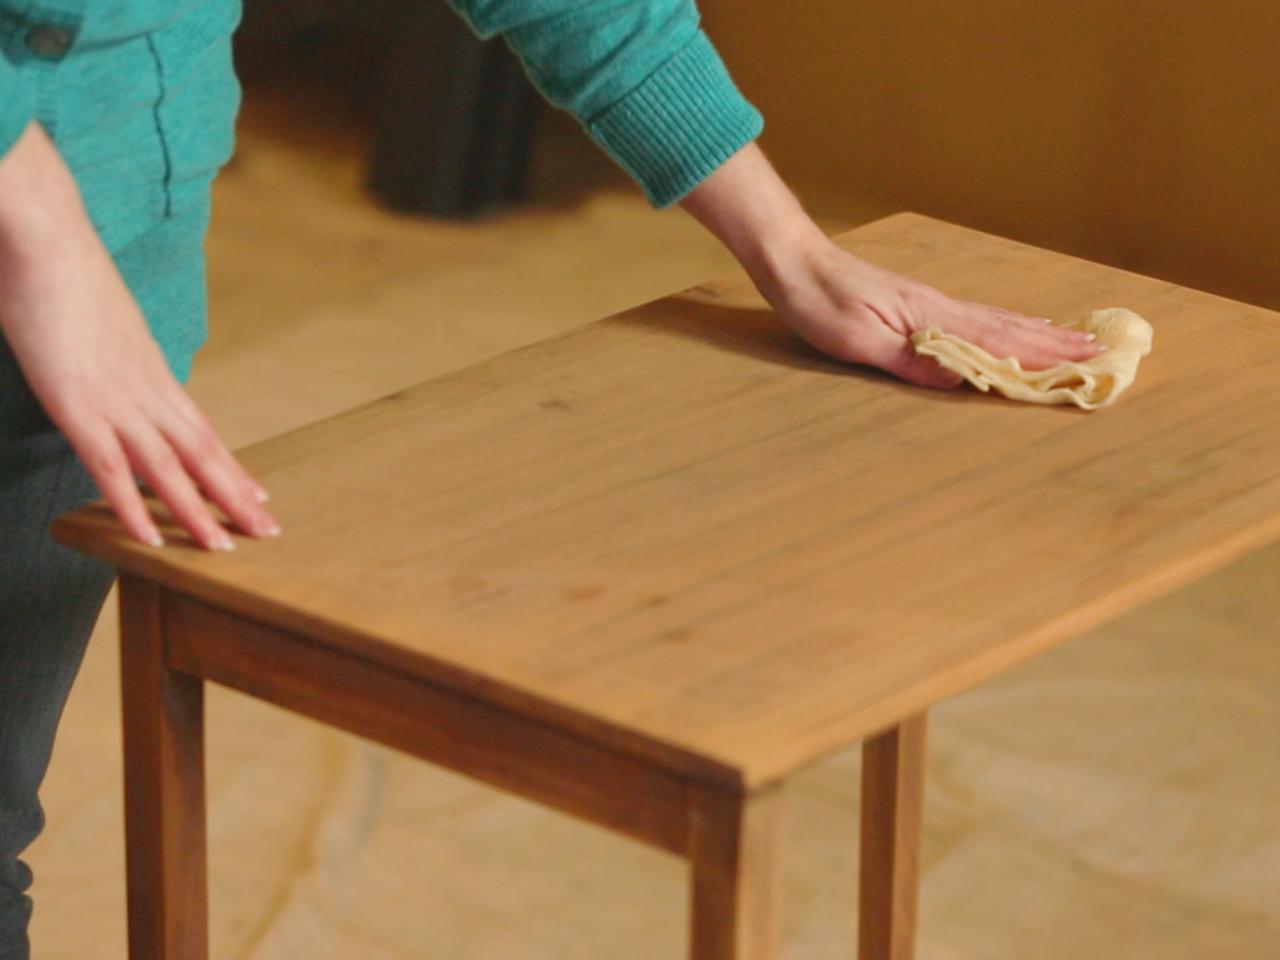
Step 2: Sanding – Start by sanding with a medium-grit sandpaper, then switch to a fine-grit sandpaper for a smoother finish. Make sure to sand in the direction of the wood grain and use a tack cloth to remove any dust before moving on to the next step.
Step 3: Prime – If you are painting over a dark or stained wood, it's recommended to use a primer first to ensure the paint adheres properly. Let the primer dry completely before moving on to the next step.
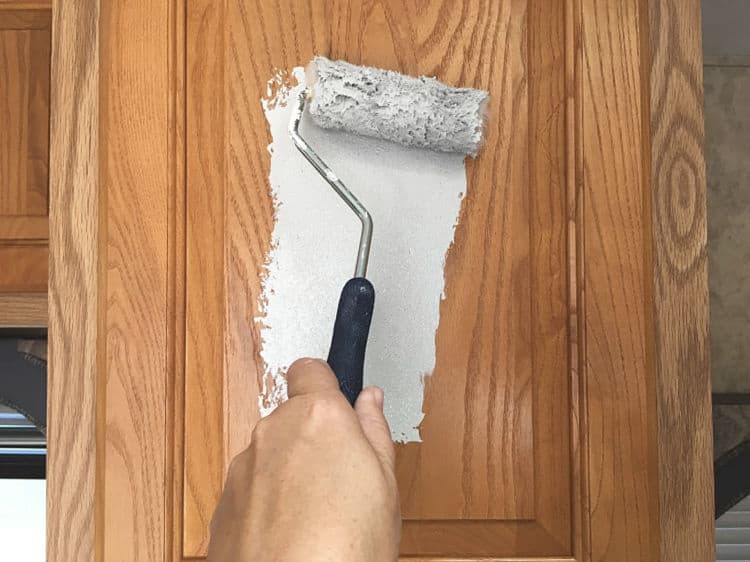
Step 4: Painting – Use a high-quality paintbrush or foam roller to apply thin coats of paint, making sure to paint in the direction of the wood grain. Let each coat dry completely before applying the next one. For a distressed look, lightly sand between coats.
Step 5: Finishing Touches – Once the final coat of paint is dry, you can add any desired finishing touches, such as distressing, stenciling, or adding new hardware.


DIY: How to Sand and Paint Old Bedroom Furniture


Transforming Old Furniture: Sanding and Painting Tips
To achieve the best results when sanding and painting old bedroom furniture, keep these tips in mind:
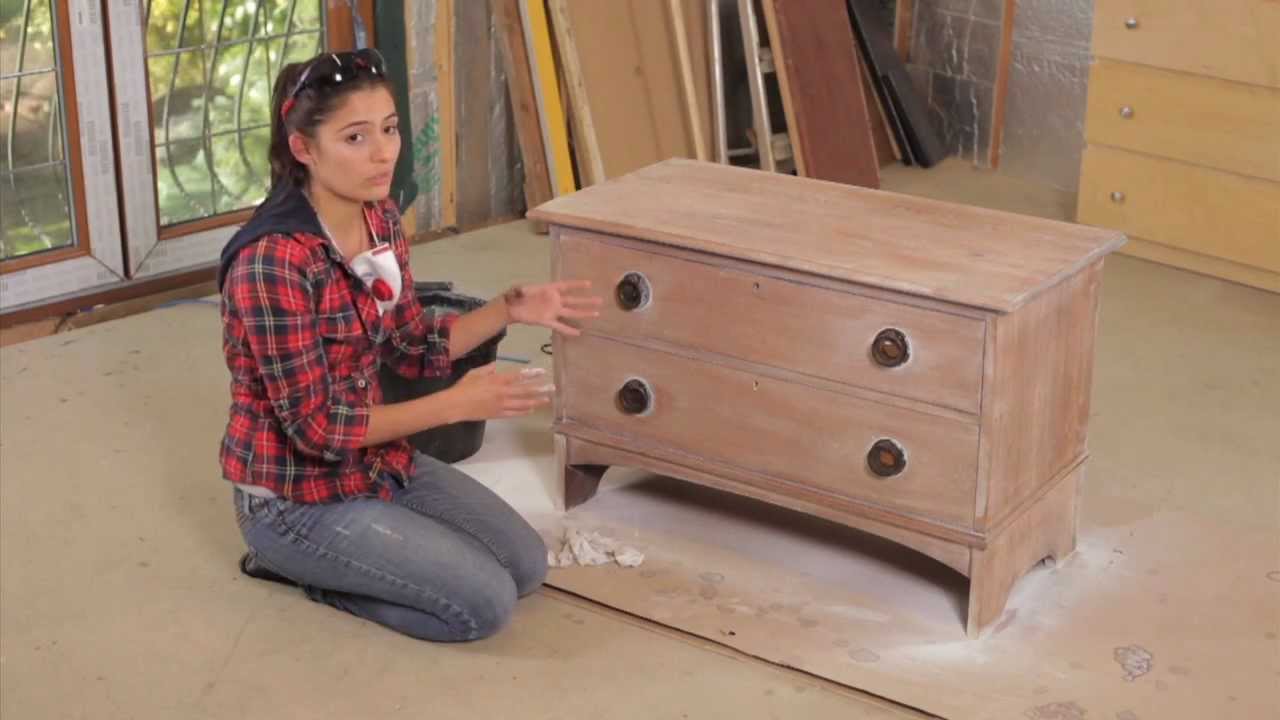
• Use proper safety gear, such as a dust mask and goggles, when sanding to protect yourself from dust and debris.
• Always sand in the direction of the wood grain to avoid scratches and create a smooth finish.
• Use a primer to ensure the paint adheres properly and to prevent any stains or tannins from bleeding through the paint.
• Apply thin coats of paint for a smoother finish and better coverage.
• Let each coat of paint dry completely before applying the next one.
• Add unique finishing touches, such as distressing or stenciling, to give your furniture a personal touch.


Transforming Old Furniture: Sanding and Painting Tips


The Best Paint for Refinishing Old Bedroom Furniture
As mentioned earlier, it's important to choose the right type of paint for your project. While there are many options available, latex and oil-based paints are the best choices for refinishing old bedroom furniture. They provide better coverage, durability, and a smoother finish compared to other types of paint. Additionally, these paints come in a variety of colors and finishes, allowing you to get creative and customize your furniture to your liking.

The Best Paint for Refinishing Old Bedroom Furniture


How to Prep and Sand Old Furniture for Painting
The key to achieving a professional-looking finish when refinishing old bedroom furniture is proper preparation and sanding. Here are some tips to help you get your furniture ready for painting:
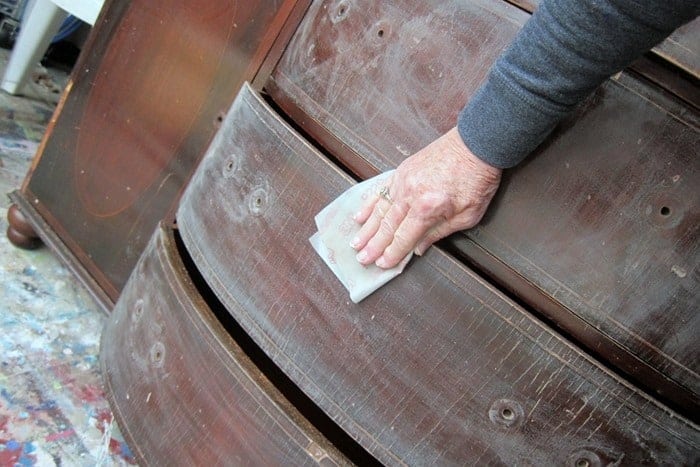
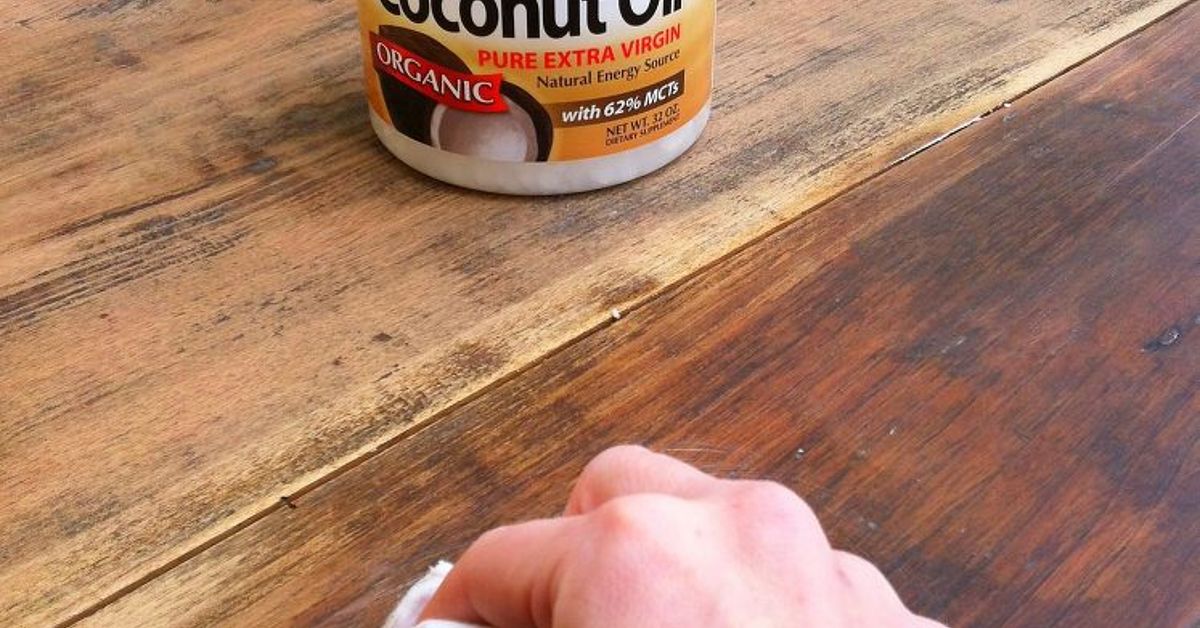
• Clean the furniture thoroughly to remove any dirt, dust, or grime.
• Remove any hardware, such as drawer pulls or knobs, before sanding.
• Use a medium-grit sandpaper to remove the existing finish and smooth out any imperfections.
• Switch to a fine-grit sandpaper for a smoother finish.
• Use a tack cloth to remove any dust before painting.


How to Prep and Sand Old Furniture for Painting


Revamp Your Bedroom with These Sanding and Painting Ideas
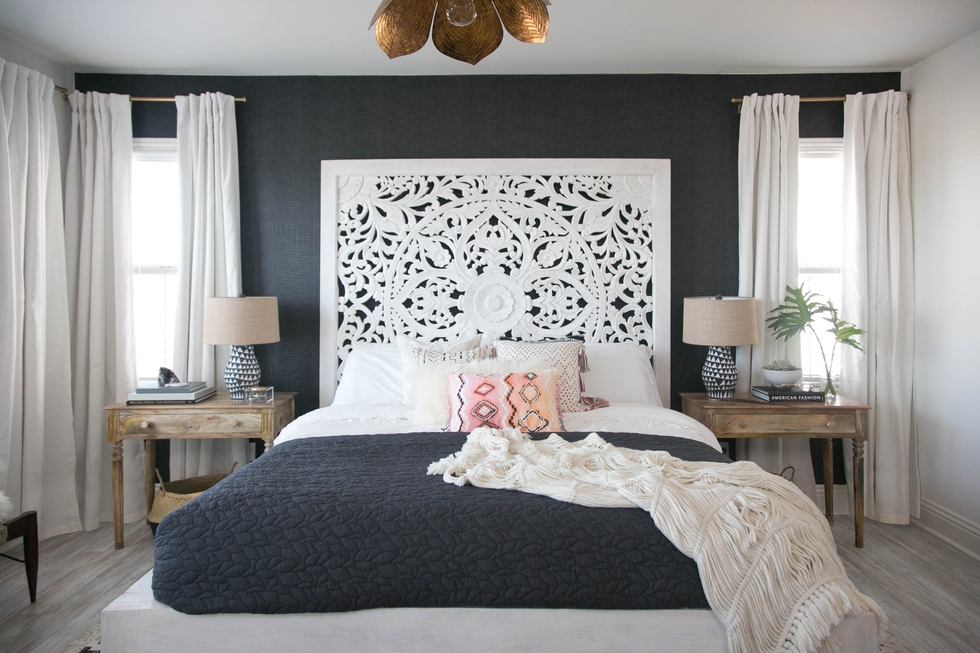
Sanding and painting old bedroom furniture not only allows you to give your room a fresh new look, but it also gives you the opportunity to get creative and add your personal touch. Here are some ideas to inspire you:
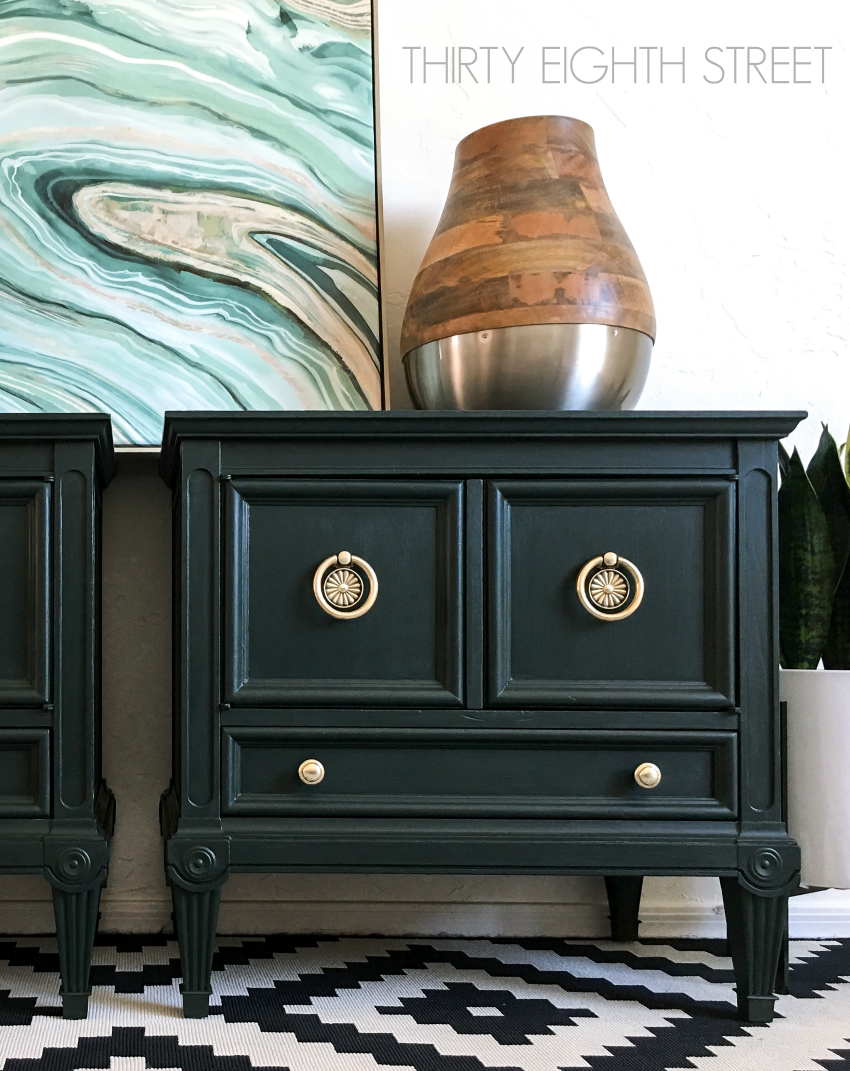
• Paint your furniture in a bold color to add a pop of color to your room.
• Use stencils to create unique designs on your furniture.
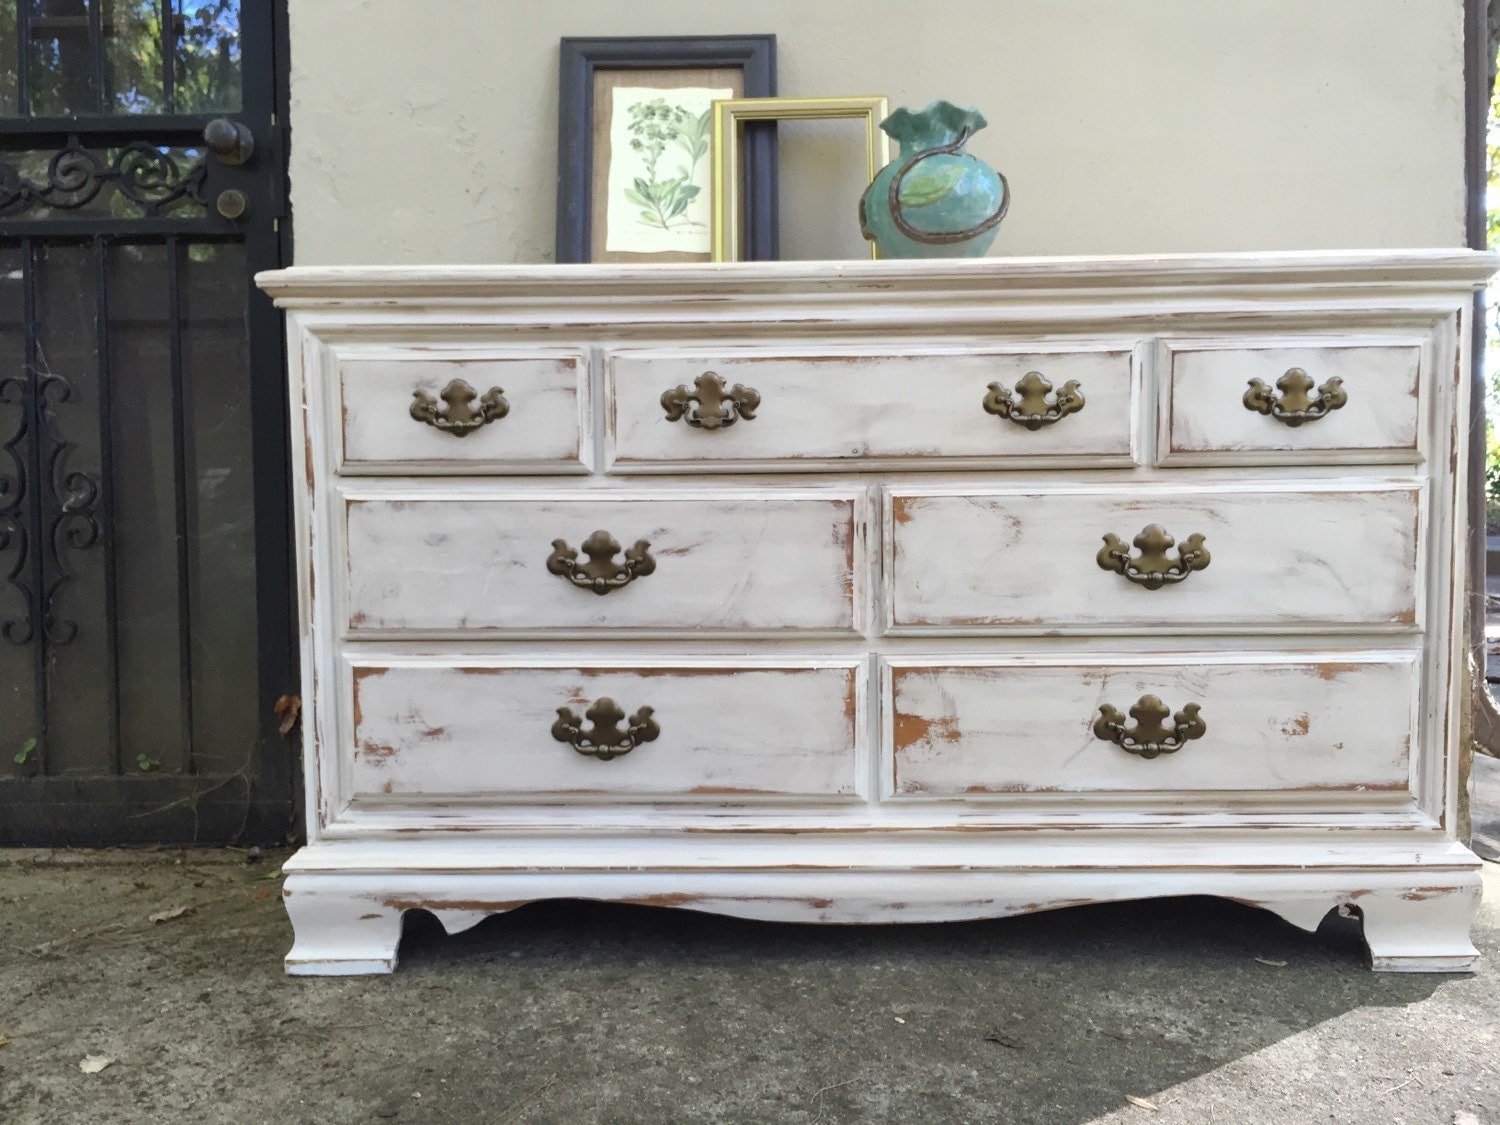
• Distress your furniture for a vintage, shabby-chic look.
• Add new hardware, such as decorative drawer pulls or knobs, to give your furniture a new look.


Revamp Your Bedroom with These Sanding and Painting Ideas


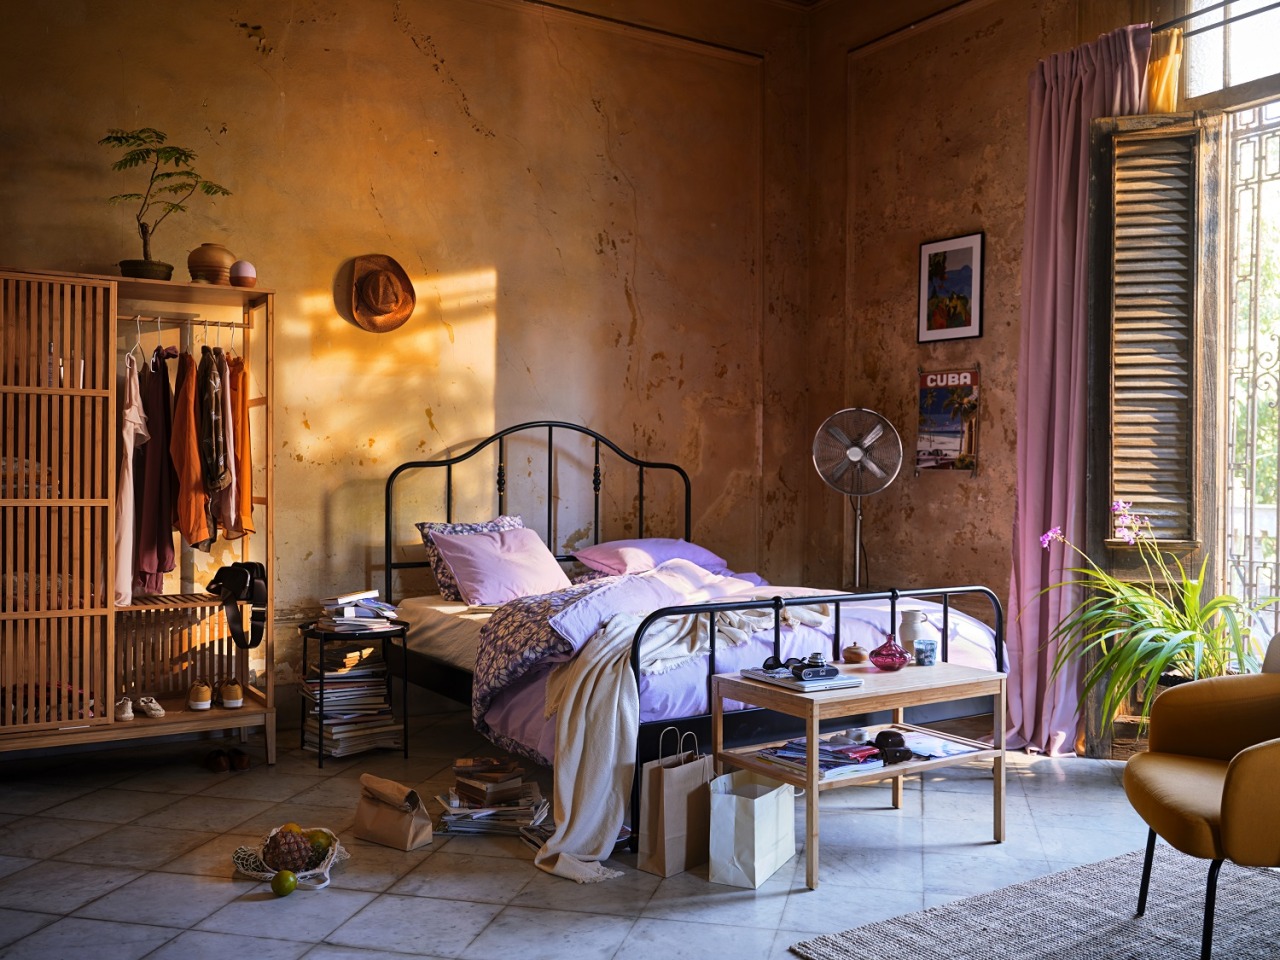


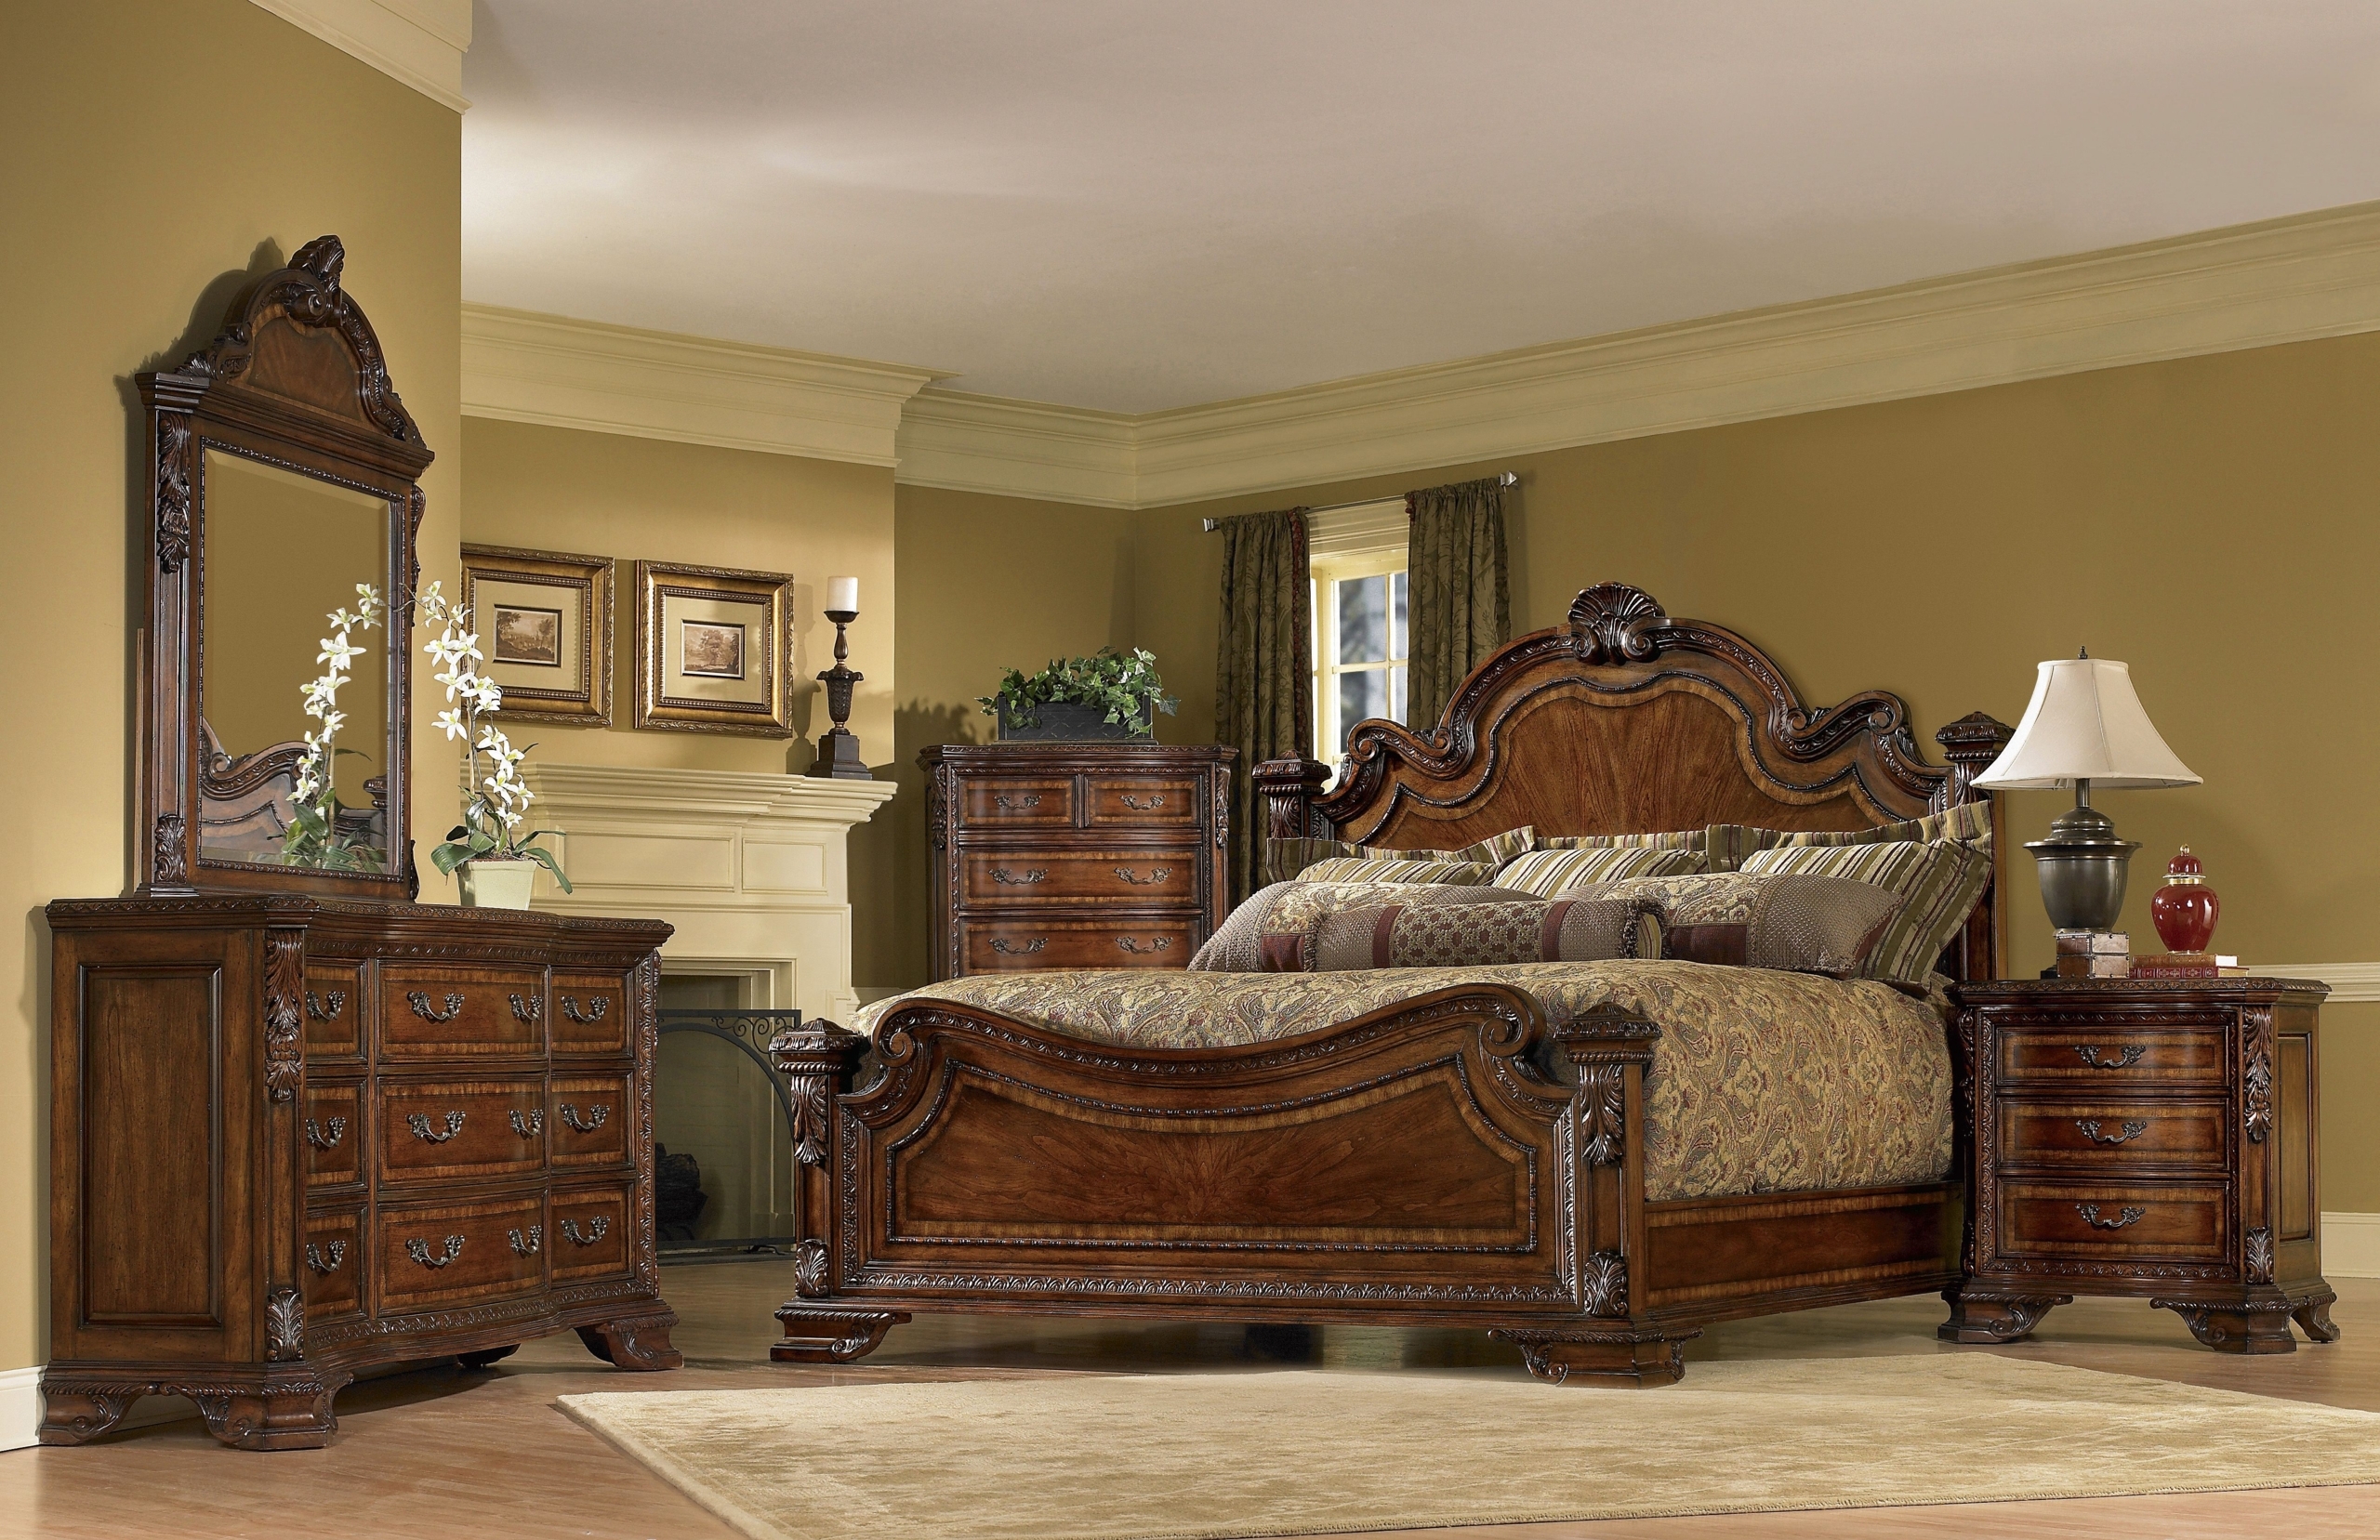
From Drab to Fab: Sanding and Painting Old Bedroom Furniture
With a little bit of elbow grease and some paint, you can transform your old, drab bedroom furniture into stylish pieces that will make your room look fabulous. Sanding and painting your furniture is a cost-effective and fun way to revamp your space and make it truly your own. So, don't be afraid to get creative and give your old furniture a new lease on life!


From Drab to Fab: Sanding and Painting Old Bedroom Furniture


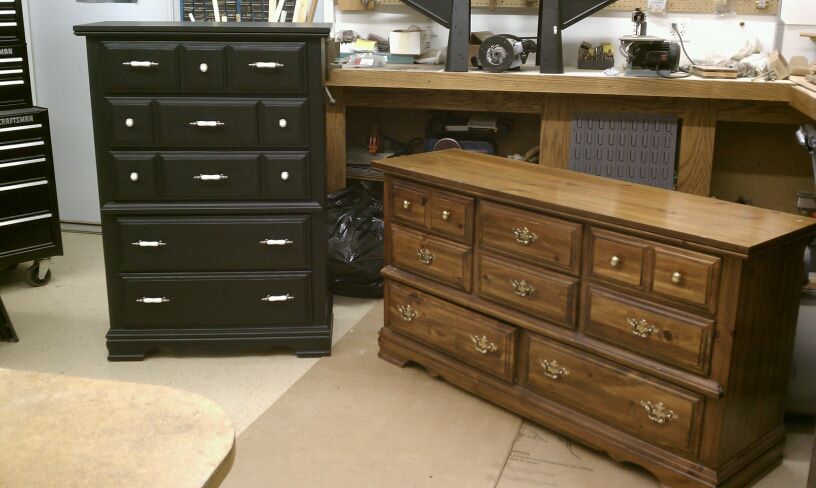

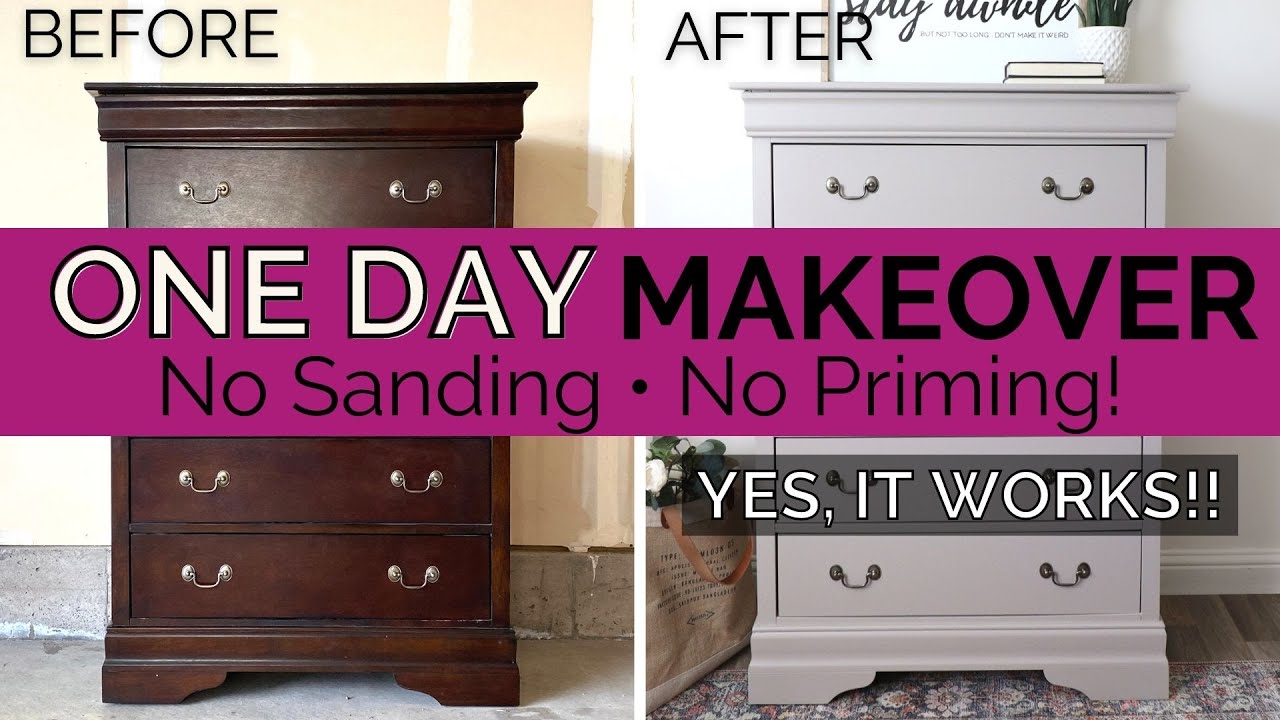
Before and After: Sanding and Painting Old Bedroom Furniture
Still not convinced? Check out some before and after pictures of old bedroom furniture that has been sanded and painted, and see the amazing transformations for yourself! You'll be amazed at how a simple DIY project can completely change the look and feel of a room.


Before and After: Sanding and Painting Old Bedroom Furniture


How to Achieve a Smooth Finish When Sanding and Painting Furniture
The key to achieving a smooth finish when sanding and painting furniture is patience and attention to detail. Take your time and make sure to follow the proper techniques outlined in this guide. With the right tools and paint, you'll have beautifully refinished furniture that will make your bedroom look like a designer's dream. So why wait? Get started on your sanding and painting project today and see the amazing results for yourself!


How to Achieve a Smooth Finish When Sanding and Painting Furniture


:max_bytes(150000):strip_icc()/sanding-2-5c196ff846e0fb0001040dfe.jpg)
:max_bytes(150000):strip_icc()/SandingSealeronWood-cb44a25b77814b6185bf3e291010b3f1.jpg)
Transform Your Old Bedroom Furniture with a Fresh Coat of Paint and Sanding
Revitalize Your Bedroom Design with Simple DIY Techniques
 Are you tired of looking at the same old bedroom furniture day after day? Does your room feel lackluster and in need of a design refresh? Look no further than a simple sanding and painting project to transform your old bedroom furniture and give your space a brand new look.
Sand and paint
are two of the most effective and budget-friendly ways to revitalize your bedroom design. Not only will this project save you money on buying new furniture, but it also allows you to get creative and add your own personal touch to your space.
Are you tired of looking at the same old bedroom furniture day after day? Does your room feel lackluster and in need of a design refresh? Look no further than a simple sanding and painting project to transform your old bedroom furniture and give your space a brand new look.
Sand and paint
are two of the most effective and budget-friendly ways to revitalize your bedroom design. Not only will this project save you money on buying new furniture, but it also allows you to get creative and add your own personal touch to your space.
Step 1: Gather Your Supplies
 Before diving into your sanding and painting project, make sure you have all the necessary supplies. This includes sandpaper, primer, paint, paintbrushes, and any other materials you may need depending on the specific furniture piece you are working on.
Tip:
When choosing paint, consider the overall color scheme of your room and choose a color that will complement the existing decor.
Before diving into your sanding and painting project, make sure you have all the necessary supplies. This includes sandpaper, primer, paint, paintbrushes, and any other materials you may need depending on the specific furniture piece you are working on.
Tip:
When choosing paint, consider the overall color scheme of your room and choose a color that will complement the existing decor.
Step 2: Prepare Your Furniture
 Start by removing any hardware, such as handles or knobs, from your furniture. Then, give your furniture a thorough wipe down with a damp cloth to remove any dust or debris. If there are any imperfections, fill them in with wood filler and let it dry before moving on to the next step.
Step 3: Sanding
 The key to achieving a smooth and professional-looking finish is sanding. Use a medium-grit sandpaper to sand the entire surface of your furniture, making sure to sand in the direction of the wood grain. This will help remove any rough spots or imperfections and provide a clean surface for the paint to adhere to.
Tip:
For harder to reach areas, use a sanding block or wrap the sandpaper around a small piece of wood.
The key to achieving a smooth and professional-looking finish is sanding. Use a medium-grit sandpaper to sand the entire surface of your furniture, making sure to sand in the direction of the wood grain. This will help remove any rough spots or imperfections and provide a clean surface for the paint to adhere to.
Tip:
For harder to reach areas, use a sanding block or wrap the sandpaper around a small piece of wood.
Step 4: Prime Your Furniture
 Priming is an important step in the process as it helps the paint adhere better and ensures a more durable finish. Apply a coat of primer using a paintbrush, making sure to cover the entire surface evenly. Let it dry completely before moving on to the next step.
Step 5: Paint Your Furniture
 Finally, it's time to add a pop of color to your old furniture. Use a paintbrush or roller to apply an even coat of paint, again making sure to follow the direction of the wood grain. Let the first coat dry completely before adding a second coat for a more vibrant and long-lasting finish.
Tip:
Don't be afraid to get creative with different paint colors or techniques such as distressing or ombre effects.
With these simple steps, you can
transform
your old bedroom furniture into a beautiful and unique piece that will add character and charm to your space. So why wait? Grab your supplies and get started on giving your bedroom a fresh new look today.
Finally, it's time to add a pop of color to your old furniture. Use a paintbrush or roller to apply an even coat of paint, again making sure to follow the direction of the wood grain. Let the first coat dry completely before adding a second coat for a more vibrant and long-lasting finish.
Tip:
Don't be afraid to get creative with different paint colors or techniques such as distressing or ombre effects.
With these simple steps, you can
transform
your old bedroom furniture into a beautiful and unique piece that will add character and charm to your space. So why wait? Grab your supplies and get started on giving your bedroom a fresh new look today.


.jpg?v=5155fbe6)