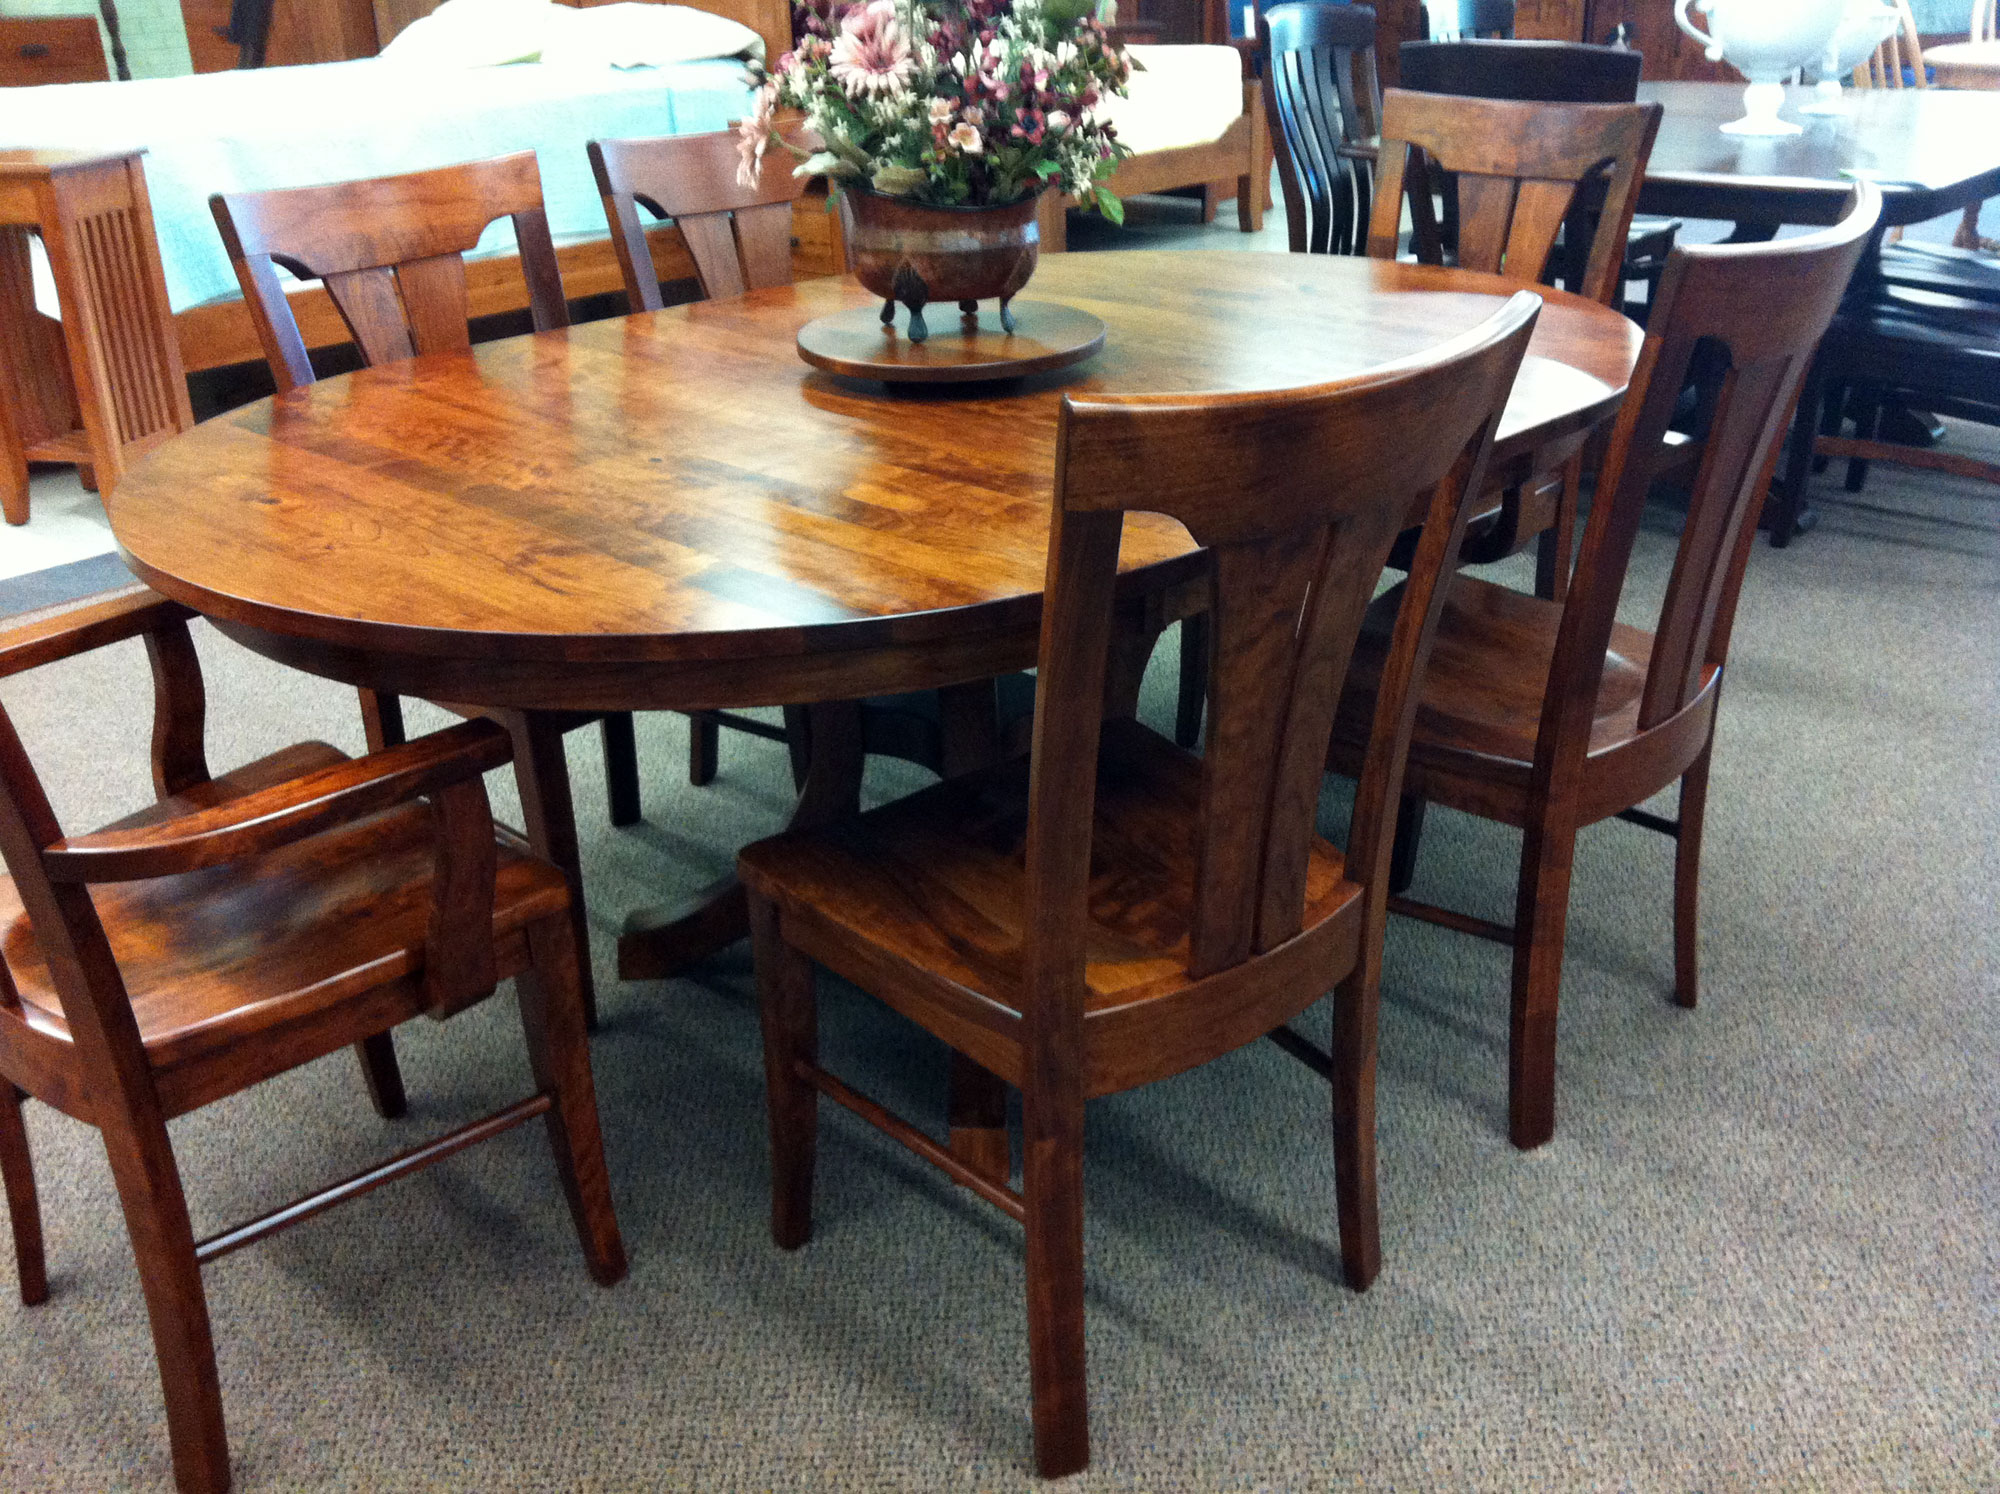
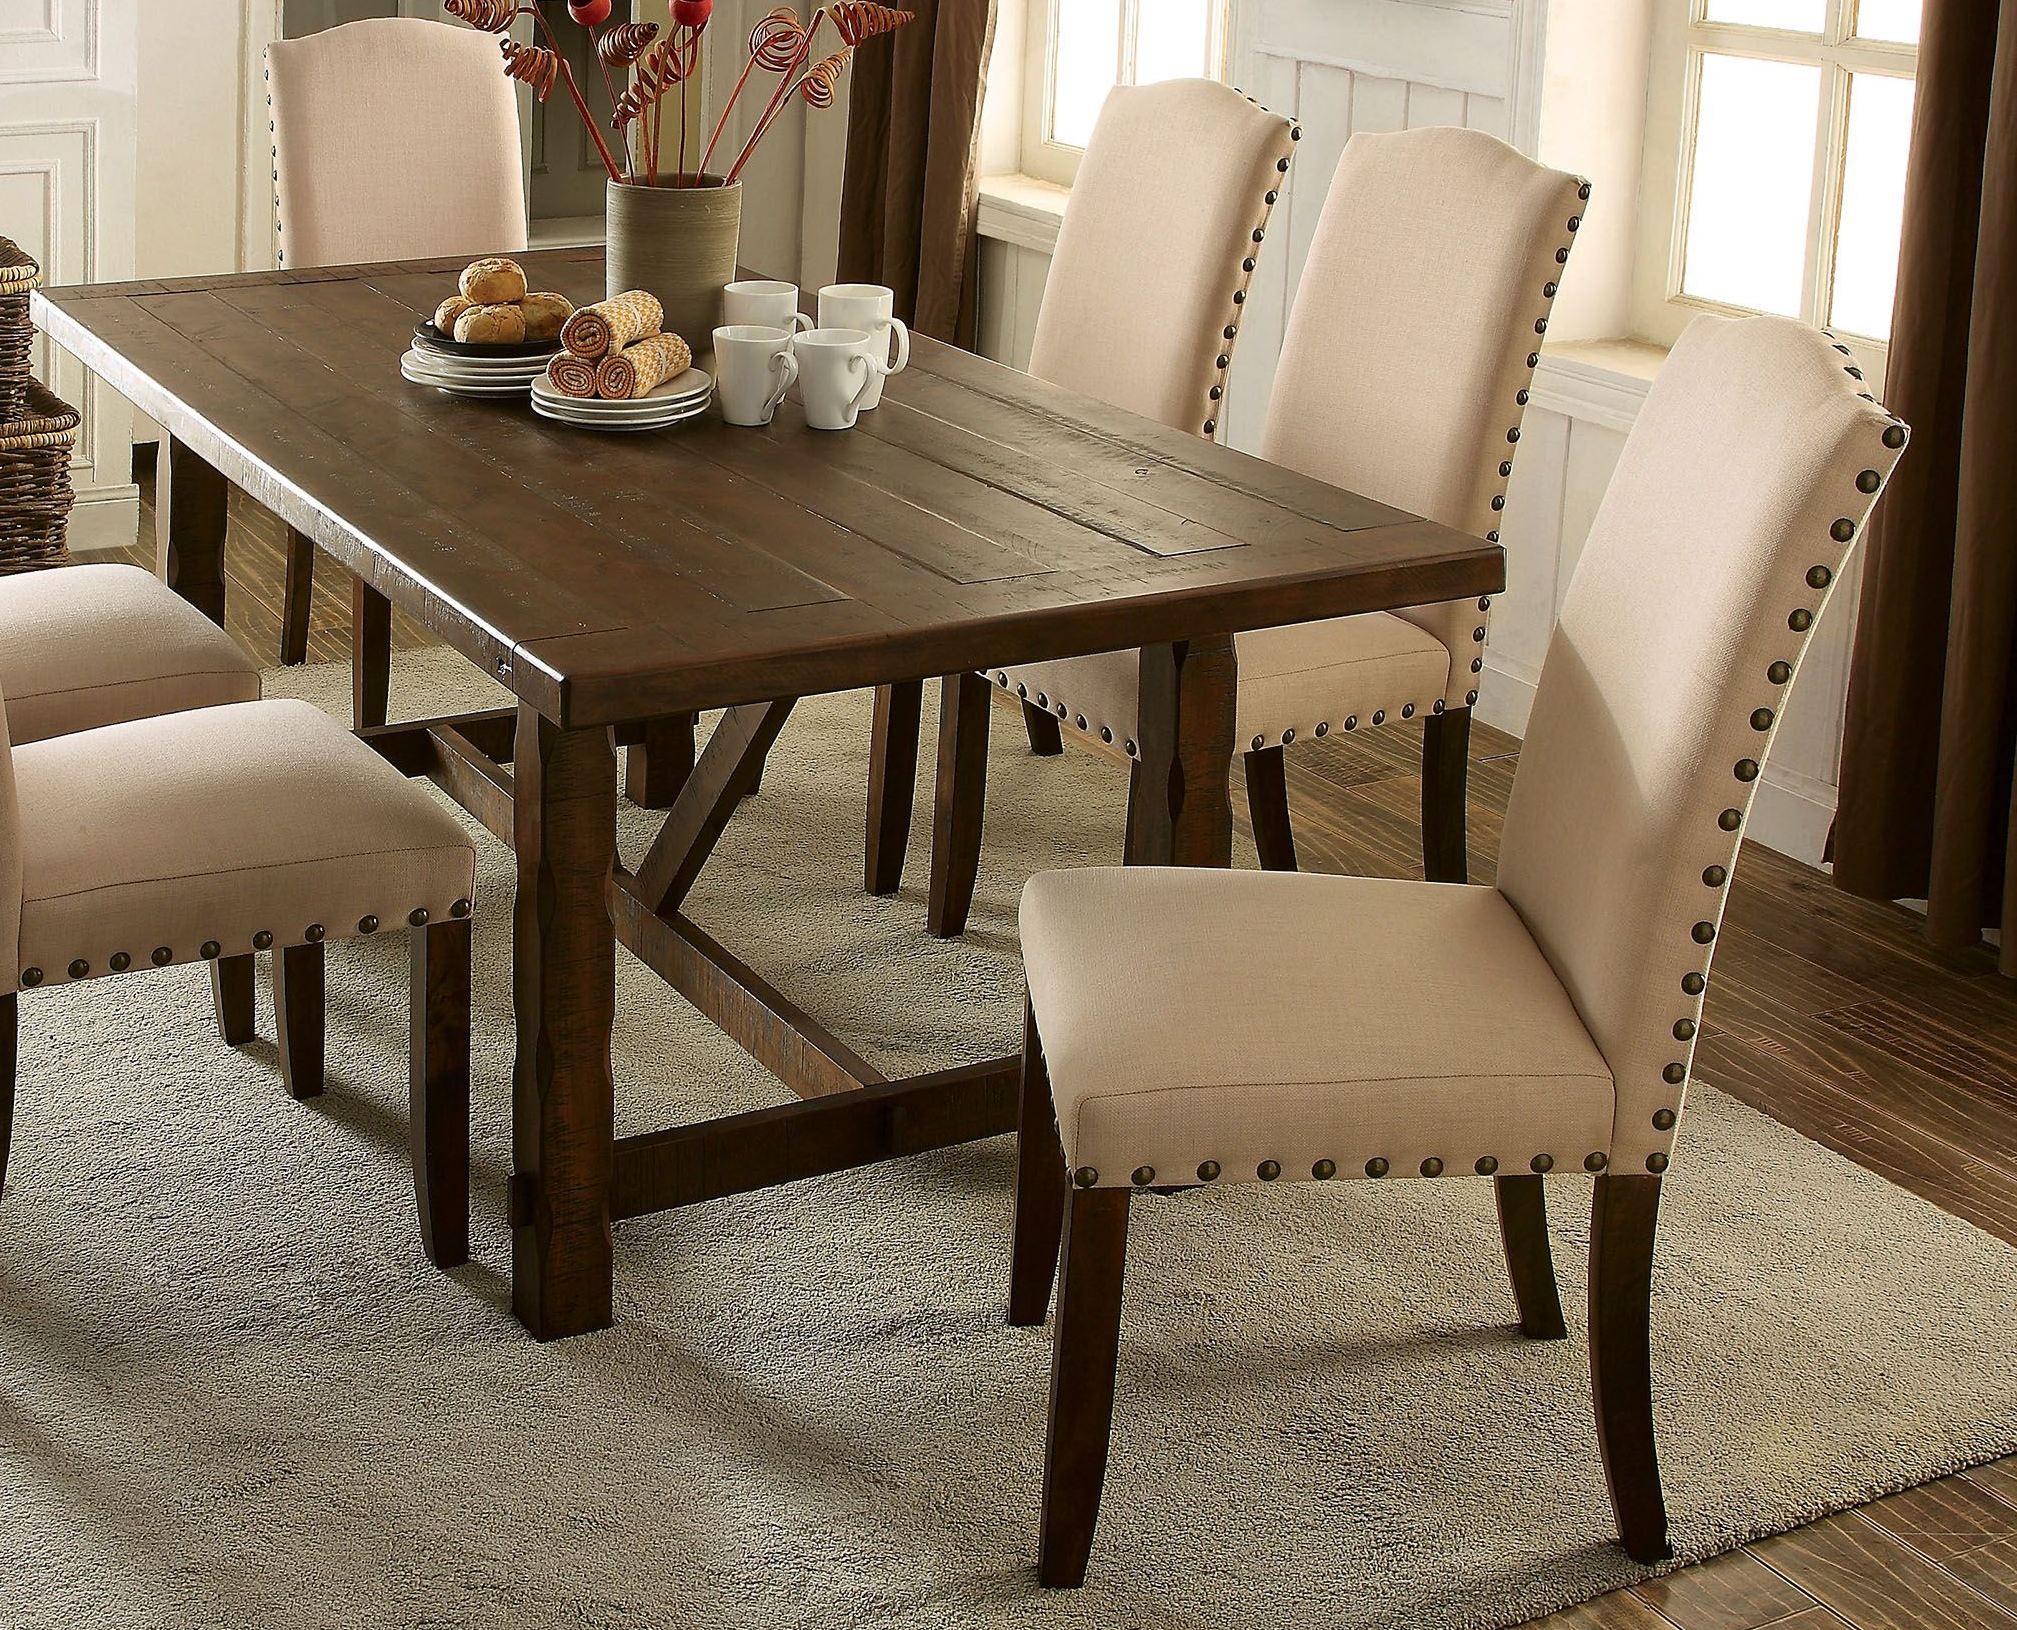
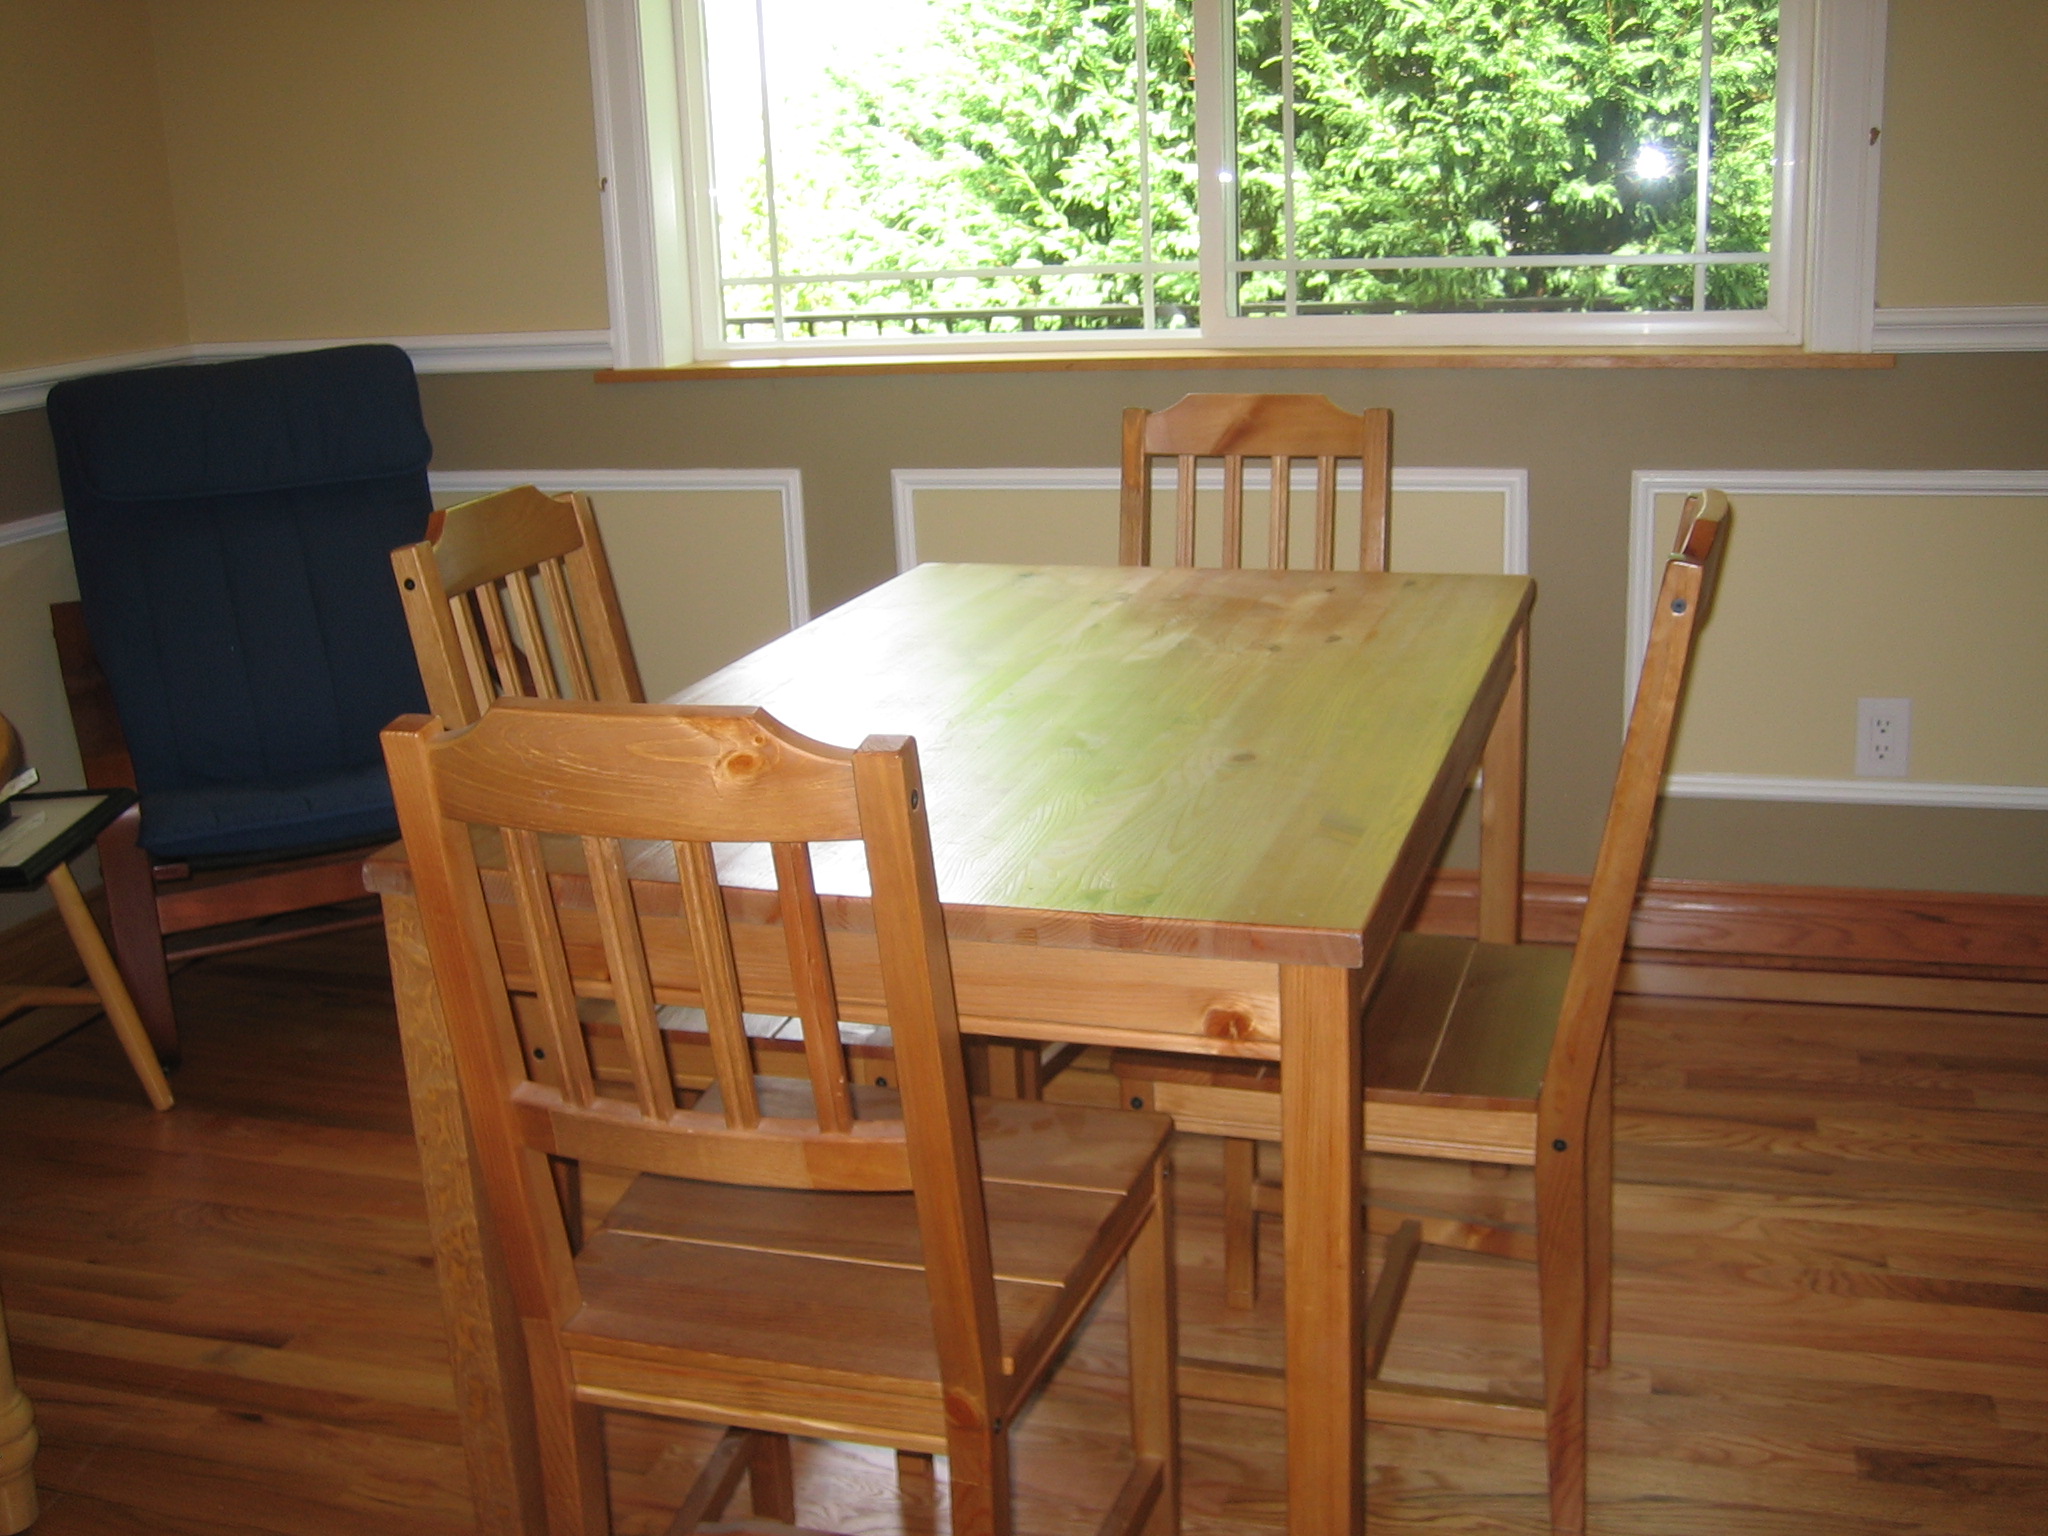
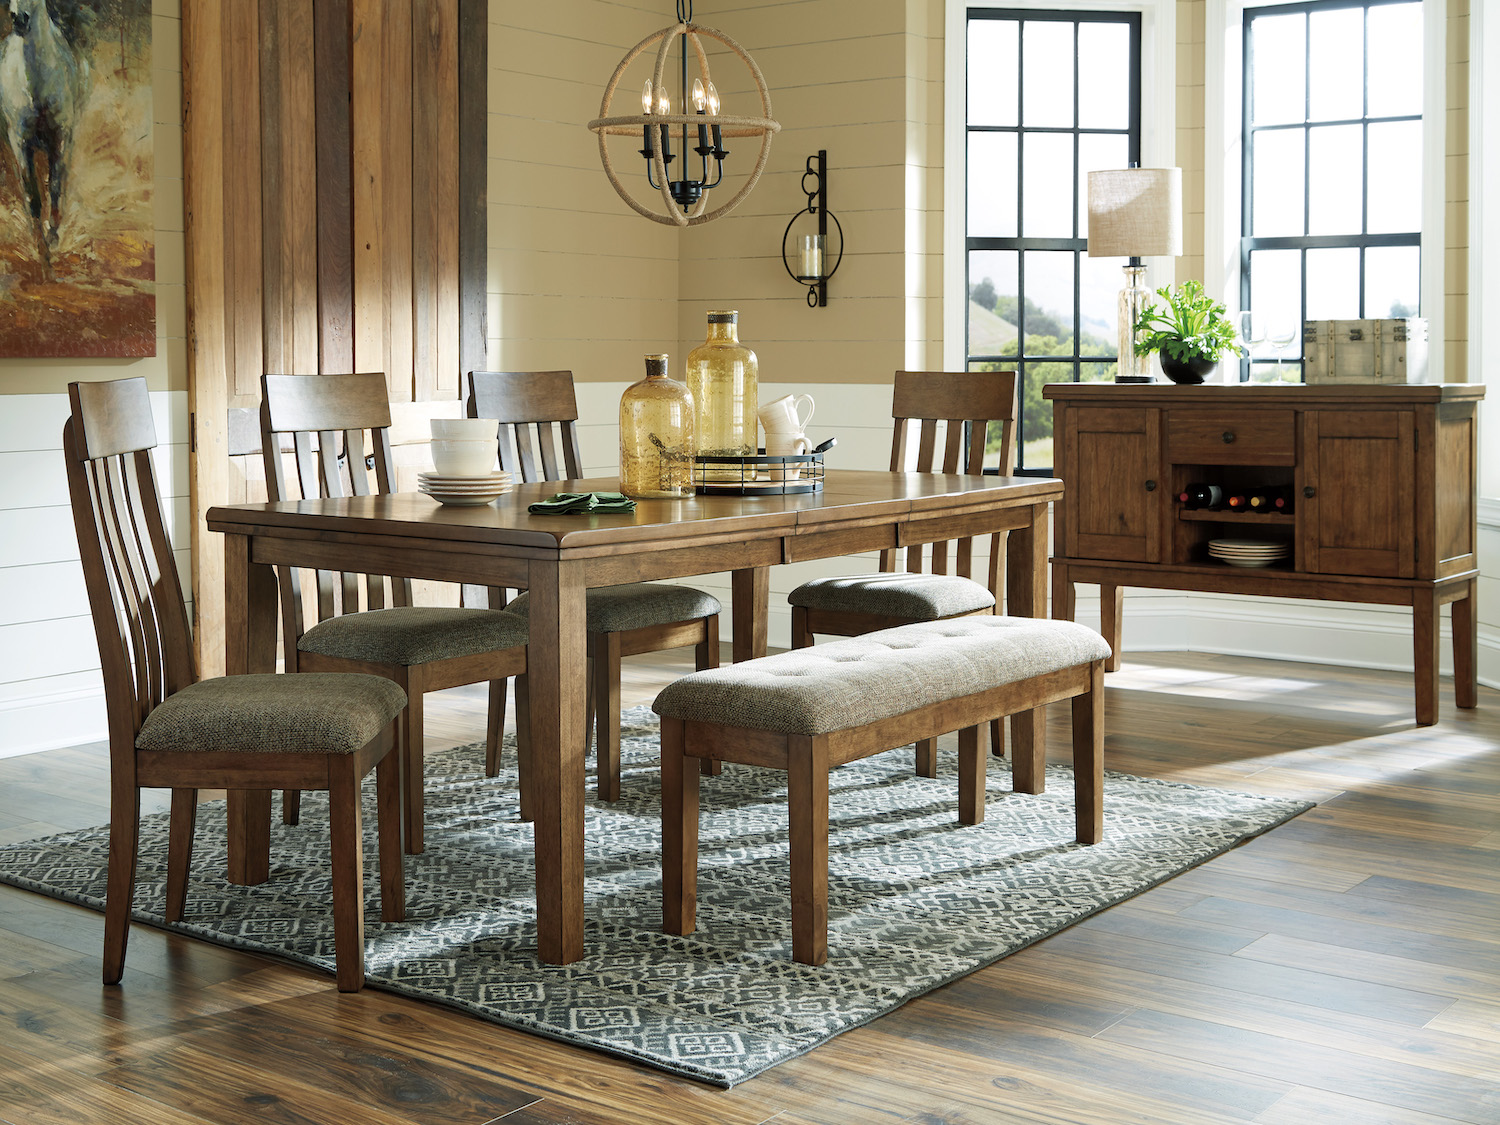
When it comes to decorating your dining room, the dining table is often the centerpiece of the space. It's where you gather with family and friends to share meals, celebrations, and memories. As such, it's important to have a dining table that not only looks beautiful but also stands the test of time. One way to achieve this is by sanding your dining room table. In this guide, we'll explore the top 10 tips for sanding a dining room table to help you achieve the perfect finish.Sand Dining Room Table: A Guide to Achieving the Perfect Finish


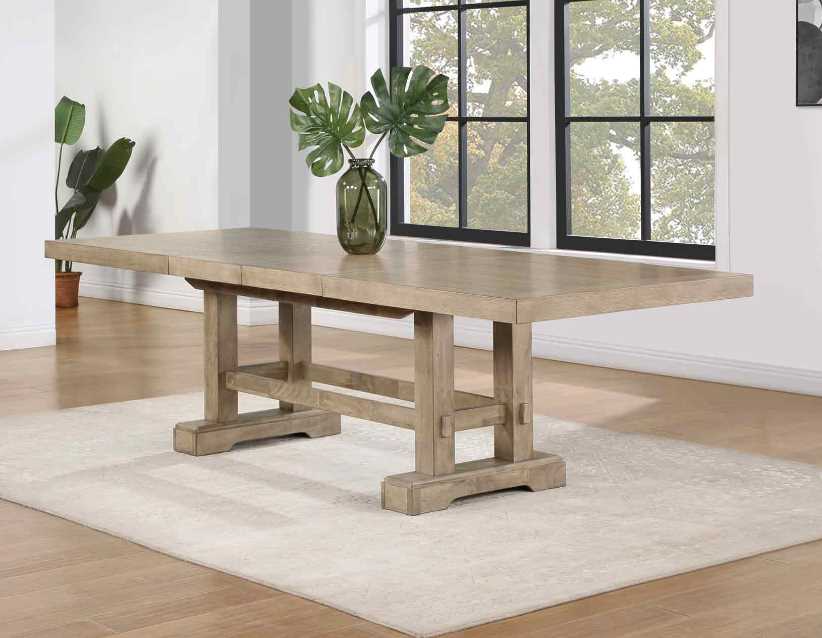
Sand Dining Room Table


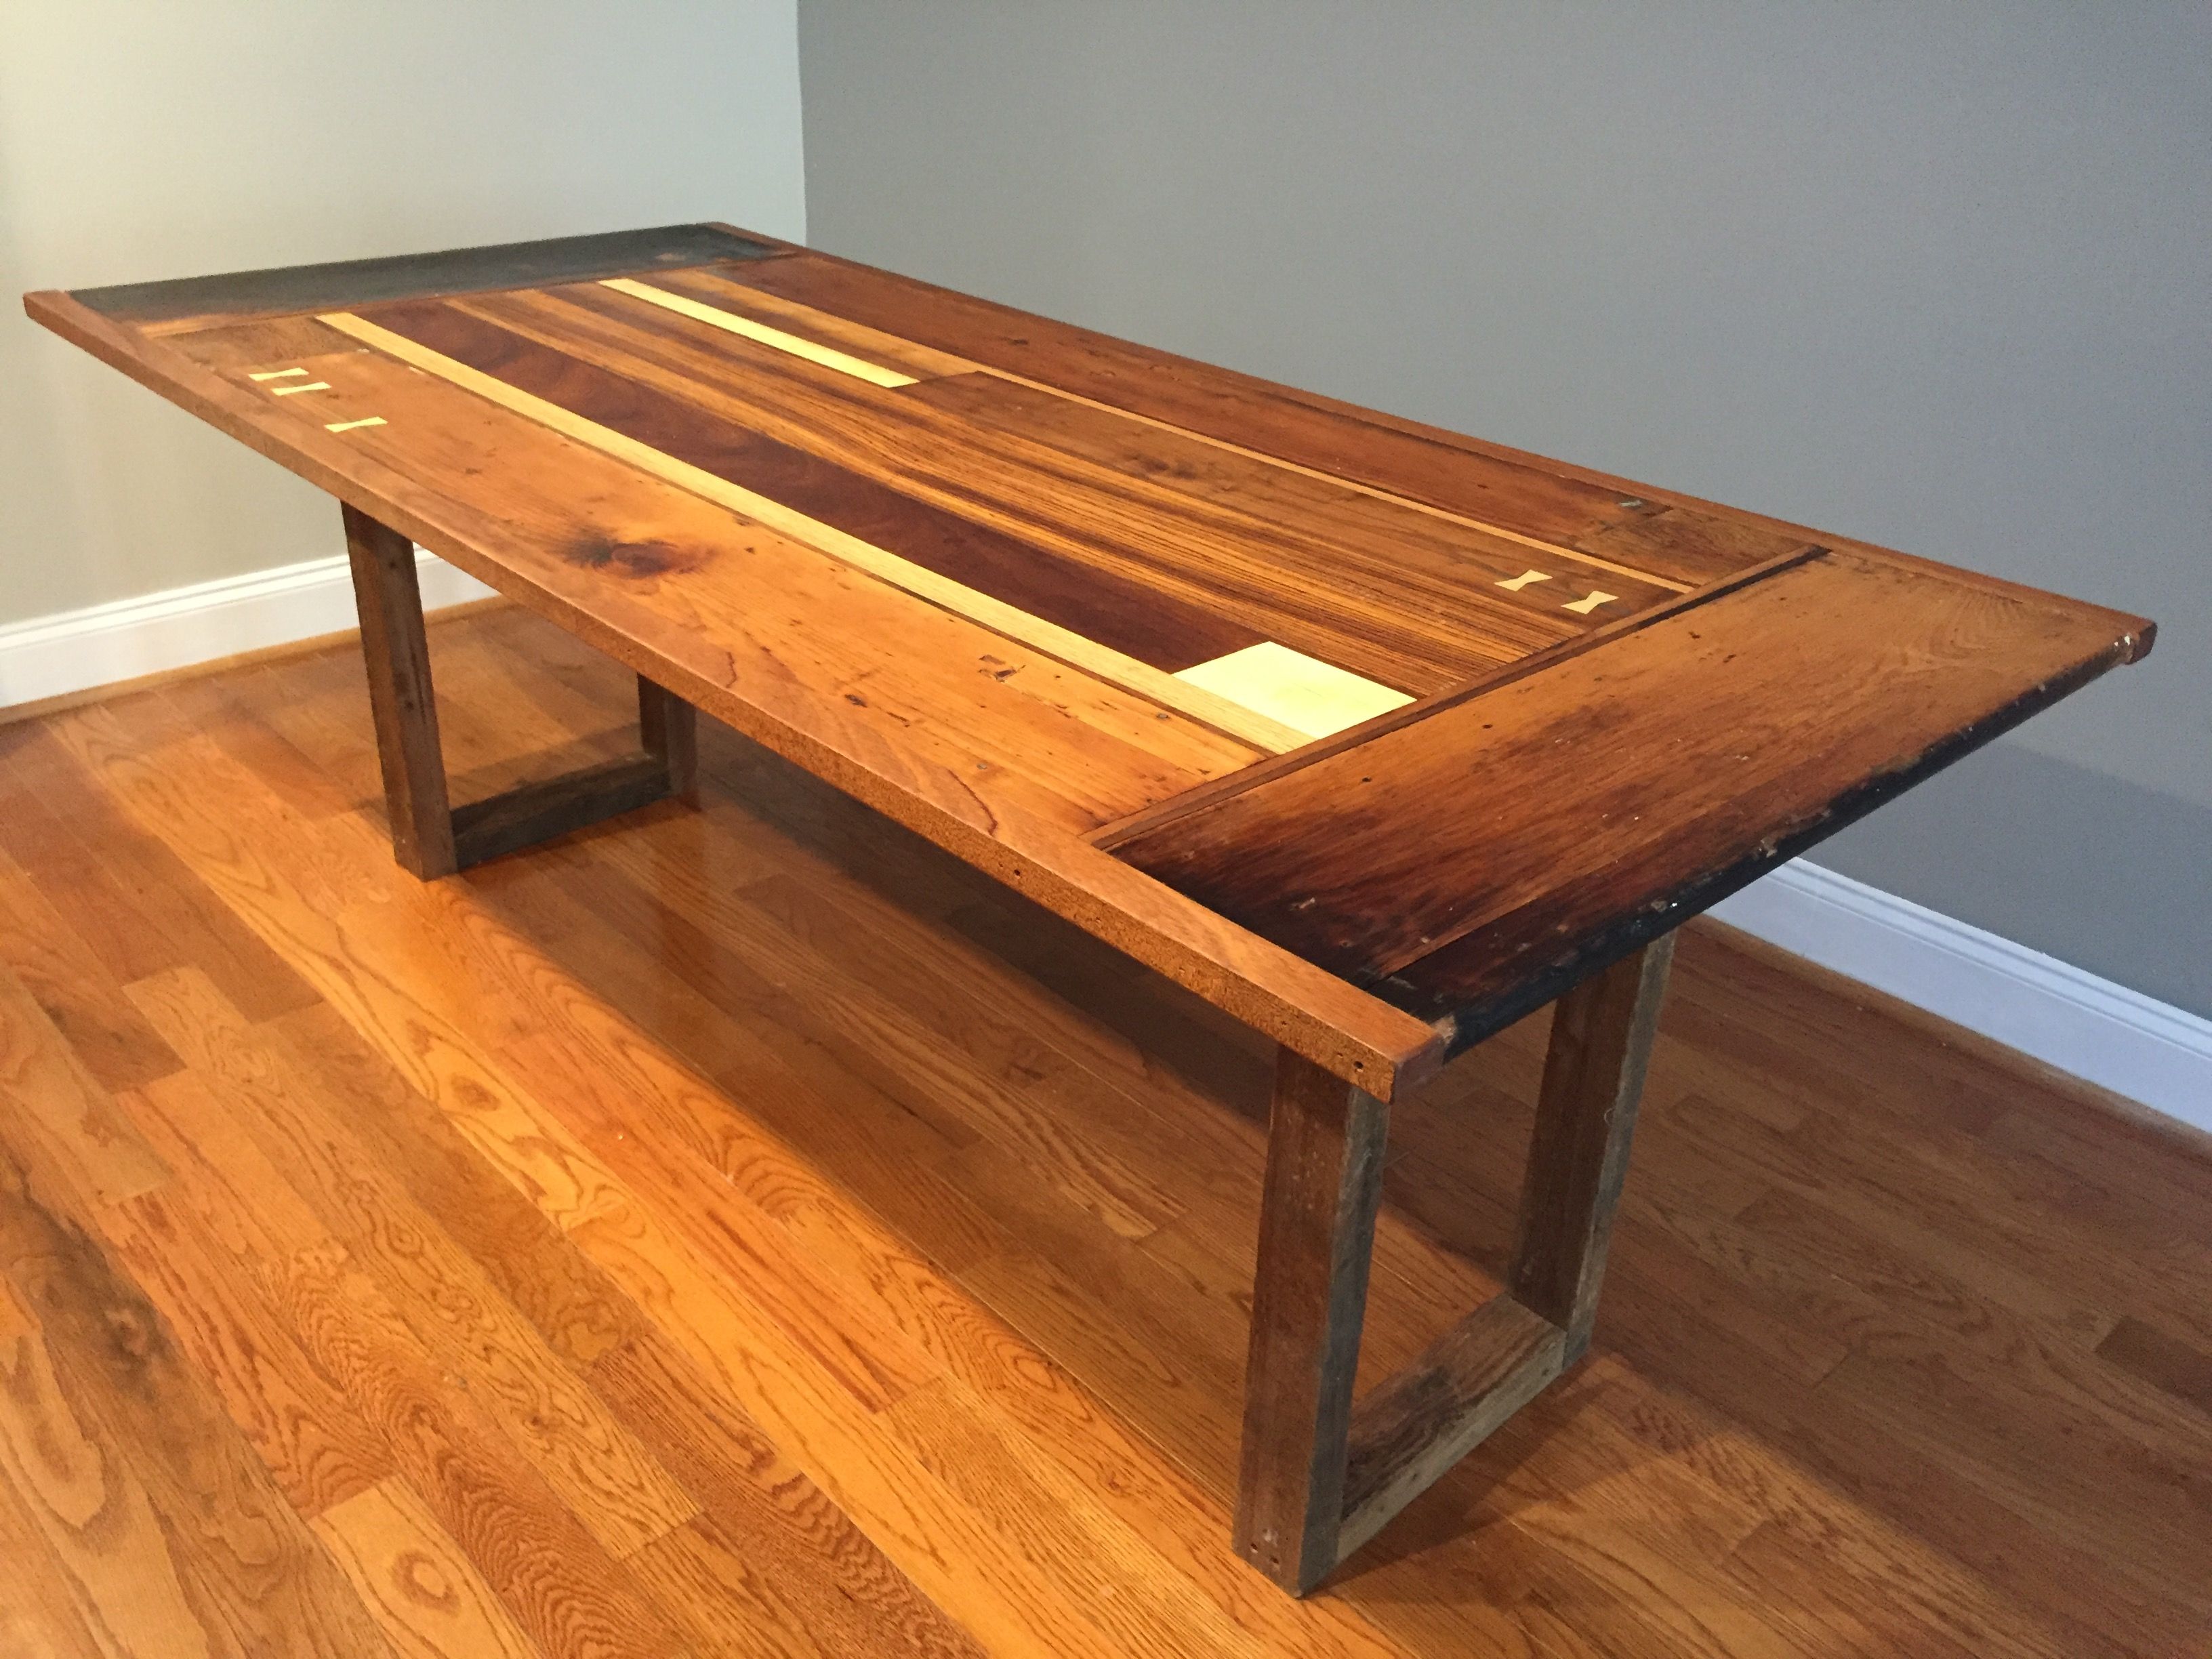
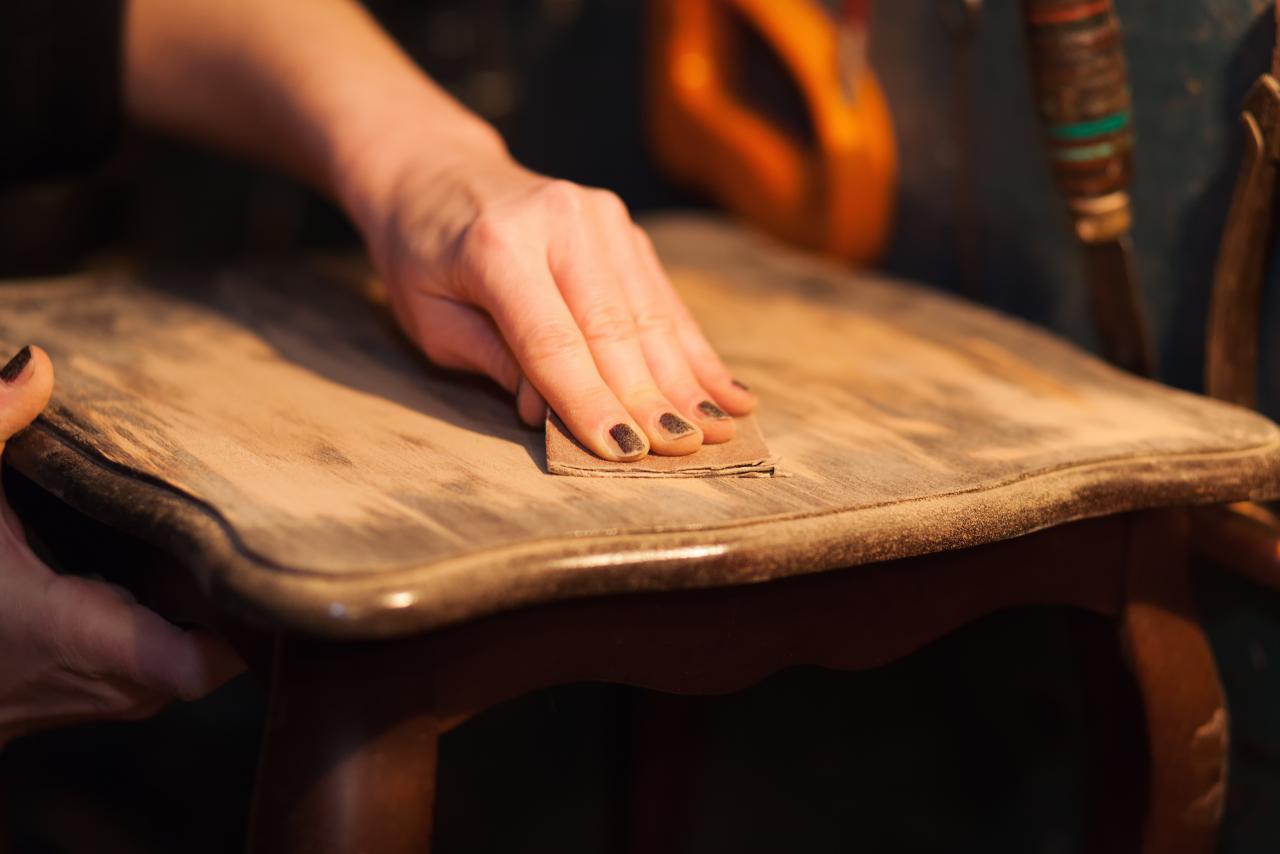
Before we dive into the specifics of how to sand a dining room table, let's first understand why sanding is beneficial. Sanding is the process of using an abrasive material to smooth out the surface of the wood. In the case of a dining table, sanding can help remove scratches, dings, and other imperfections, giving your table a fresh, new look. It also helps to prepare the surface for staining, painting, or refinishing, ensuring better adhesion and a more professional finish.Sand Dining Table: Understanding the Benefits of Sanding


Sand Dining Table


The first step in sanding a dining room table is to choose the right sandpaper. The grit, or coarseness, of the sandpaper will determine how much material is removed from the surface. For rough surfaces, start with a lower grit, such as 80 or 100. For finer surfaces, a higher grit, such as 220 or 320, will be more appropriate. It's also important to use sandpaper specifically designed for wood, as other types may damage the surface.Sand Room Table: Choosing the Right Sandpaper


Sand Room Table


Before you start sanding, it's important to prepare the surface of your dining table. This includes removing any hardware, such as handles or knobs, and covering any areas you don't want to sand, such as table legs or decorative elements. It's also a good idea to clean the surface with a mild soap and water to remove any dirt or grime that may affect the sanding process.Sand Table: Preparing the Surface

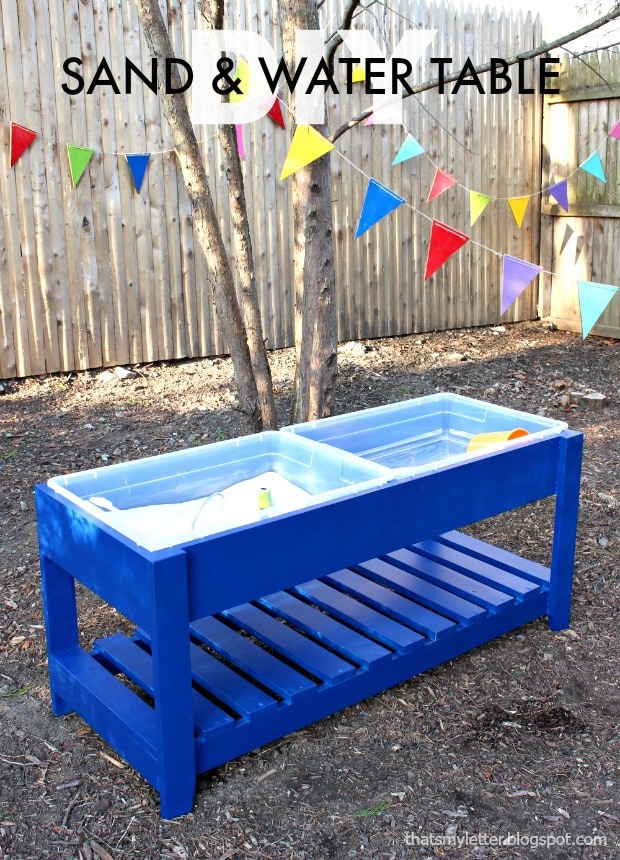
Sand Table


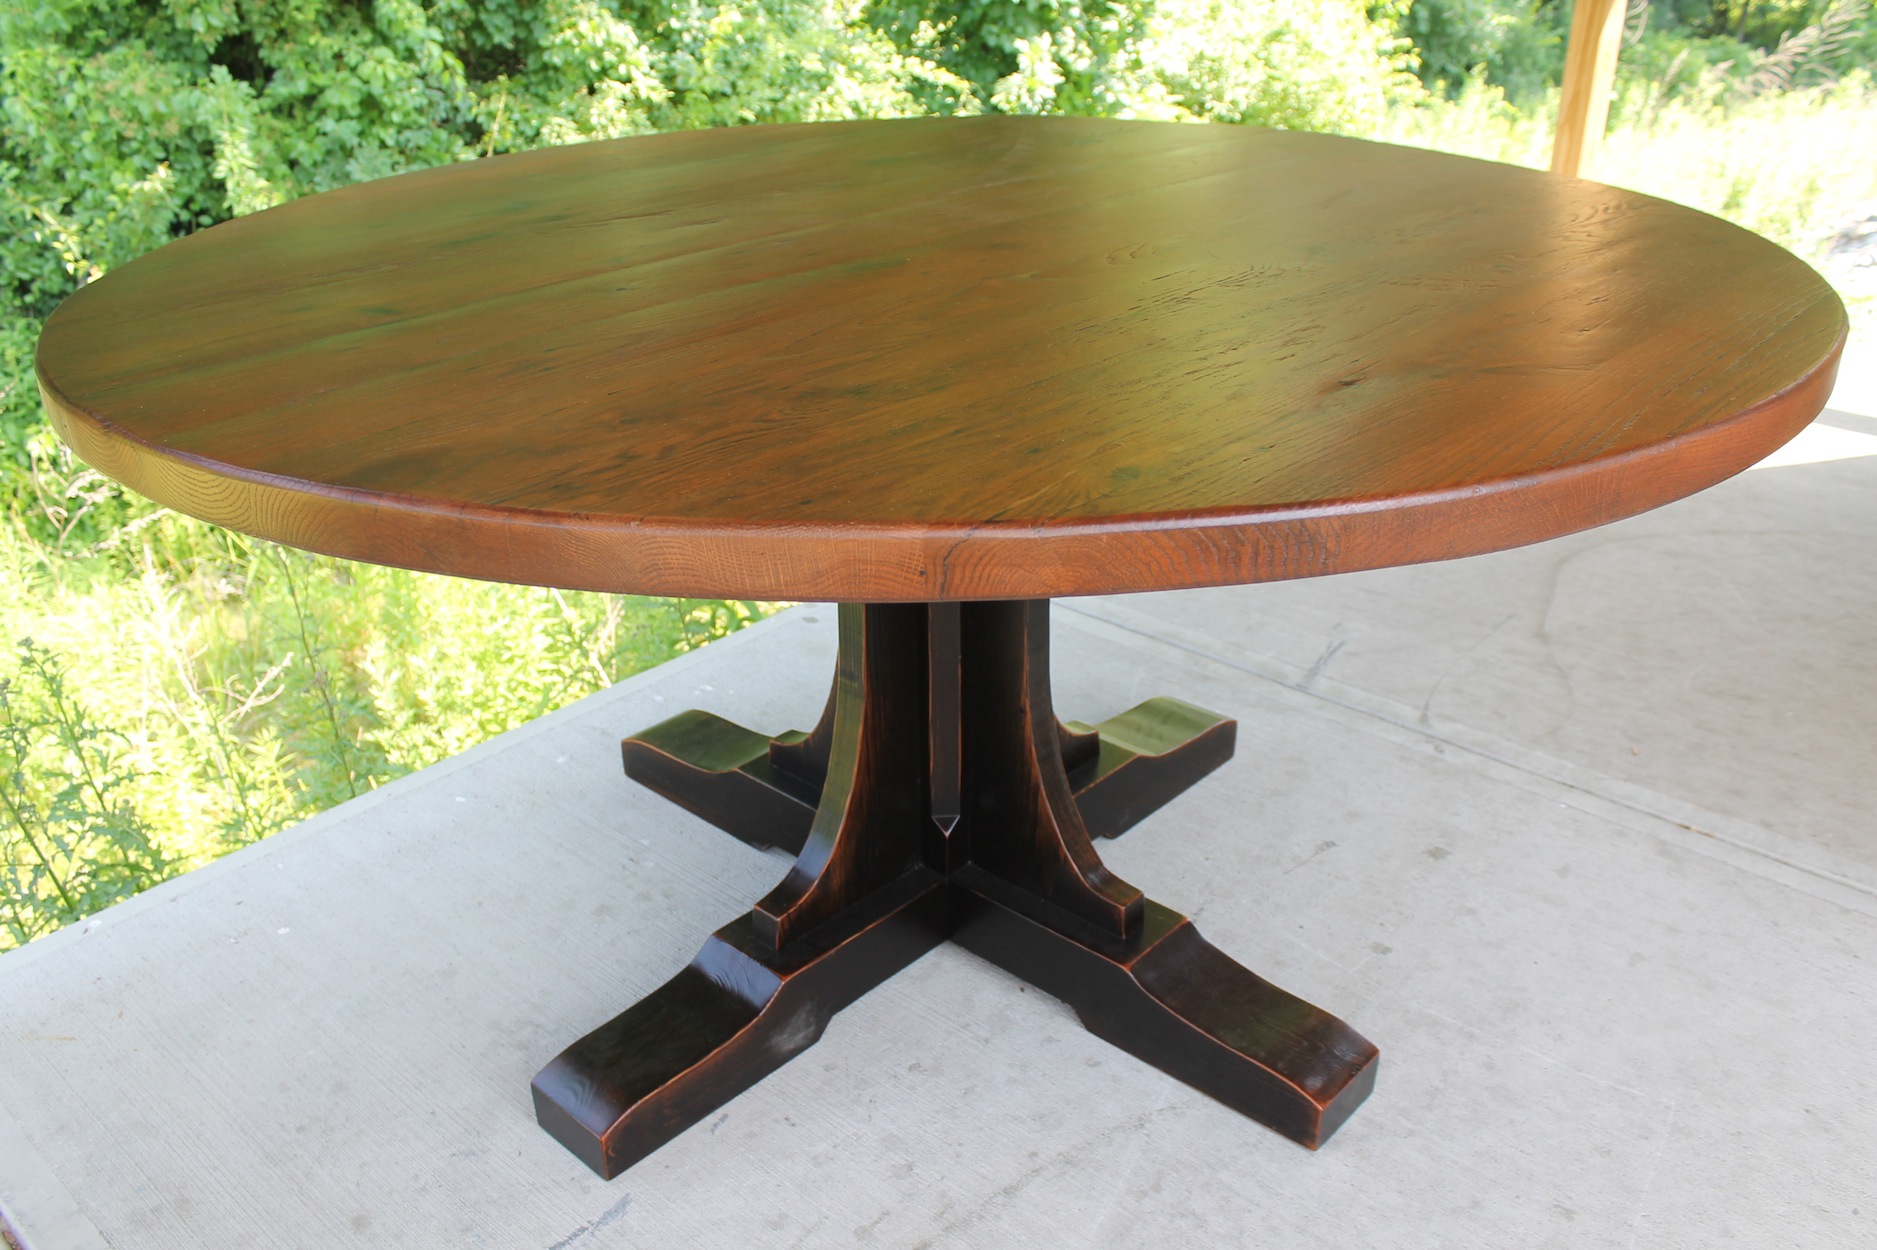
Once the surface is prepared, it's time to start sanding. Begin with the coarsest grit of sandpaper and use long, even strokes in the direction of the wood grain. This will help to remove any surface imperfections and prepare the wood for further sanding. Be sure to sand the entire surface evenly to avoid creating any uneven spots.Dining Room Table: Starting with the Coarse Grit


Dining Room Table


As you work your way through the grits, gradually move to finer sandpapers. This will help to create a smoother surface and remove any scratch marks left by the previous grit. Be sure to clean the surface between grits to avoid any build-up that may affect the sanding process.Dining Table: Gradually Moving to Finer Grits


Dining Table


When sanding a dining room table, it's important to pay attention to the details. This includes ensuring that all corners, edges, and intricate designs are properly sanded. You may need to use sandpaper with a smaller grit or even sand by hand to reach these areas. Taking the time to properly sand every nook and cranny will result in a more professional and polished finish.Room Table: Paying Attention to the Details


Room Table


While the top of the dining table may be the most visible, don't forget to sand the underside and legs as well. These areas may not require as much sanding as the top, but it's important to give them a quick once-over to ensure a consistent finish. You may also want to use a lower grit sandpaper for these areas if they are in rougher condition.Table: Sanding the Underside and Legs


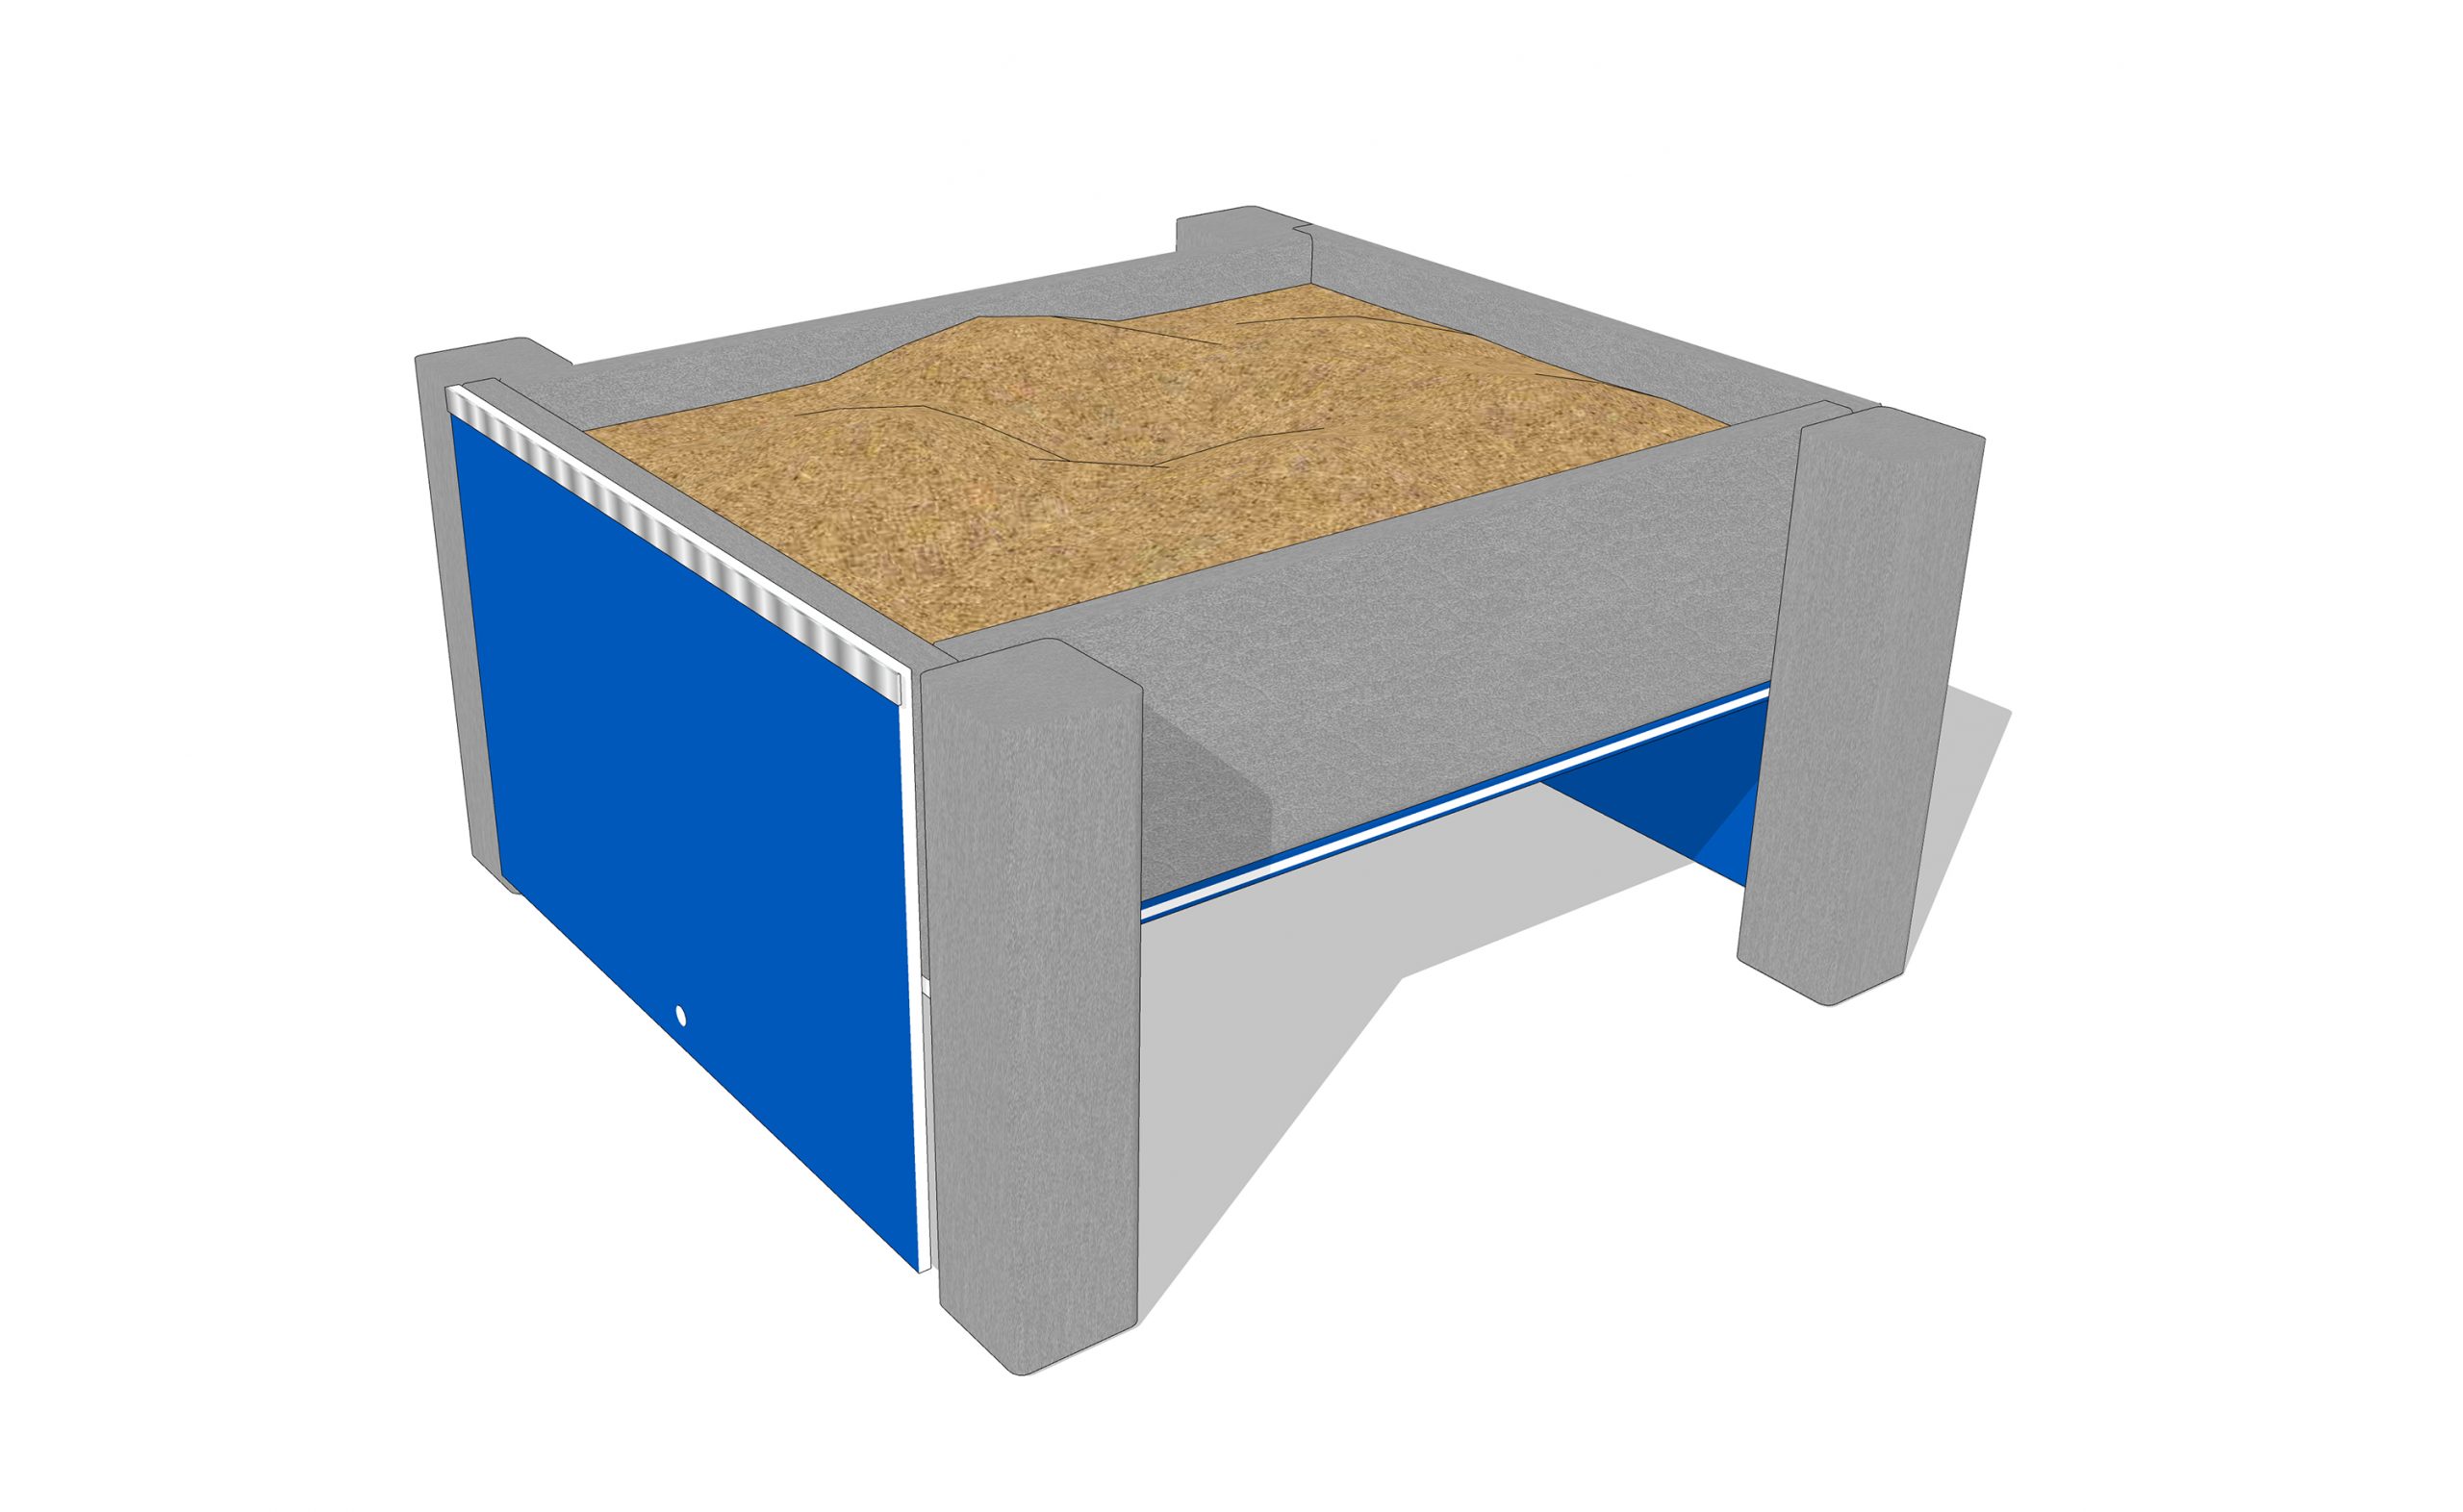
Table

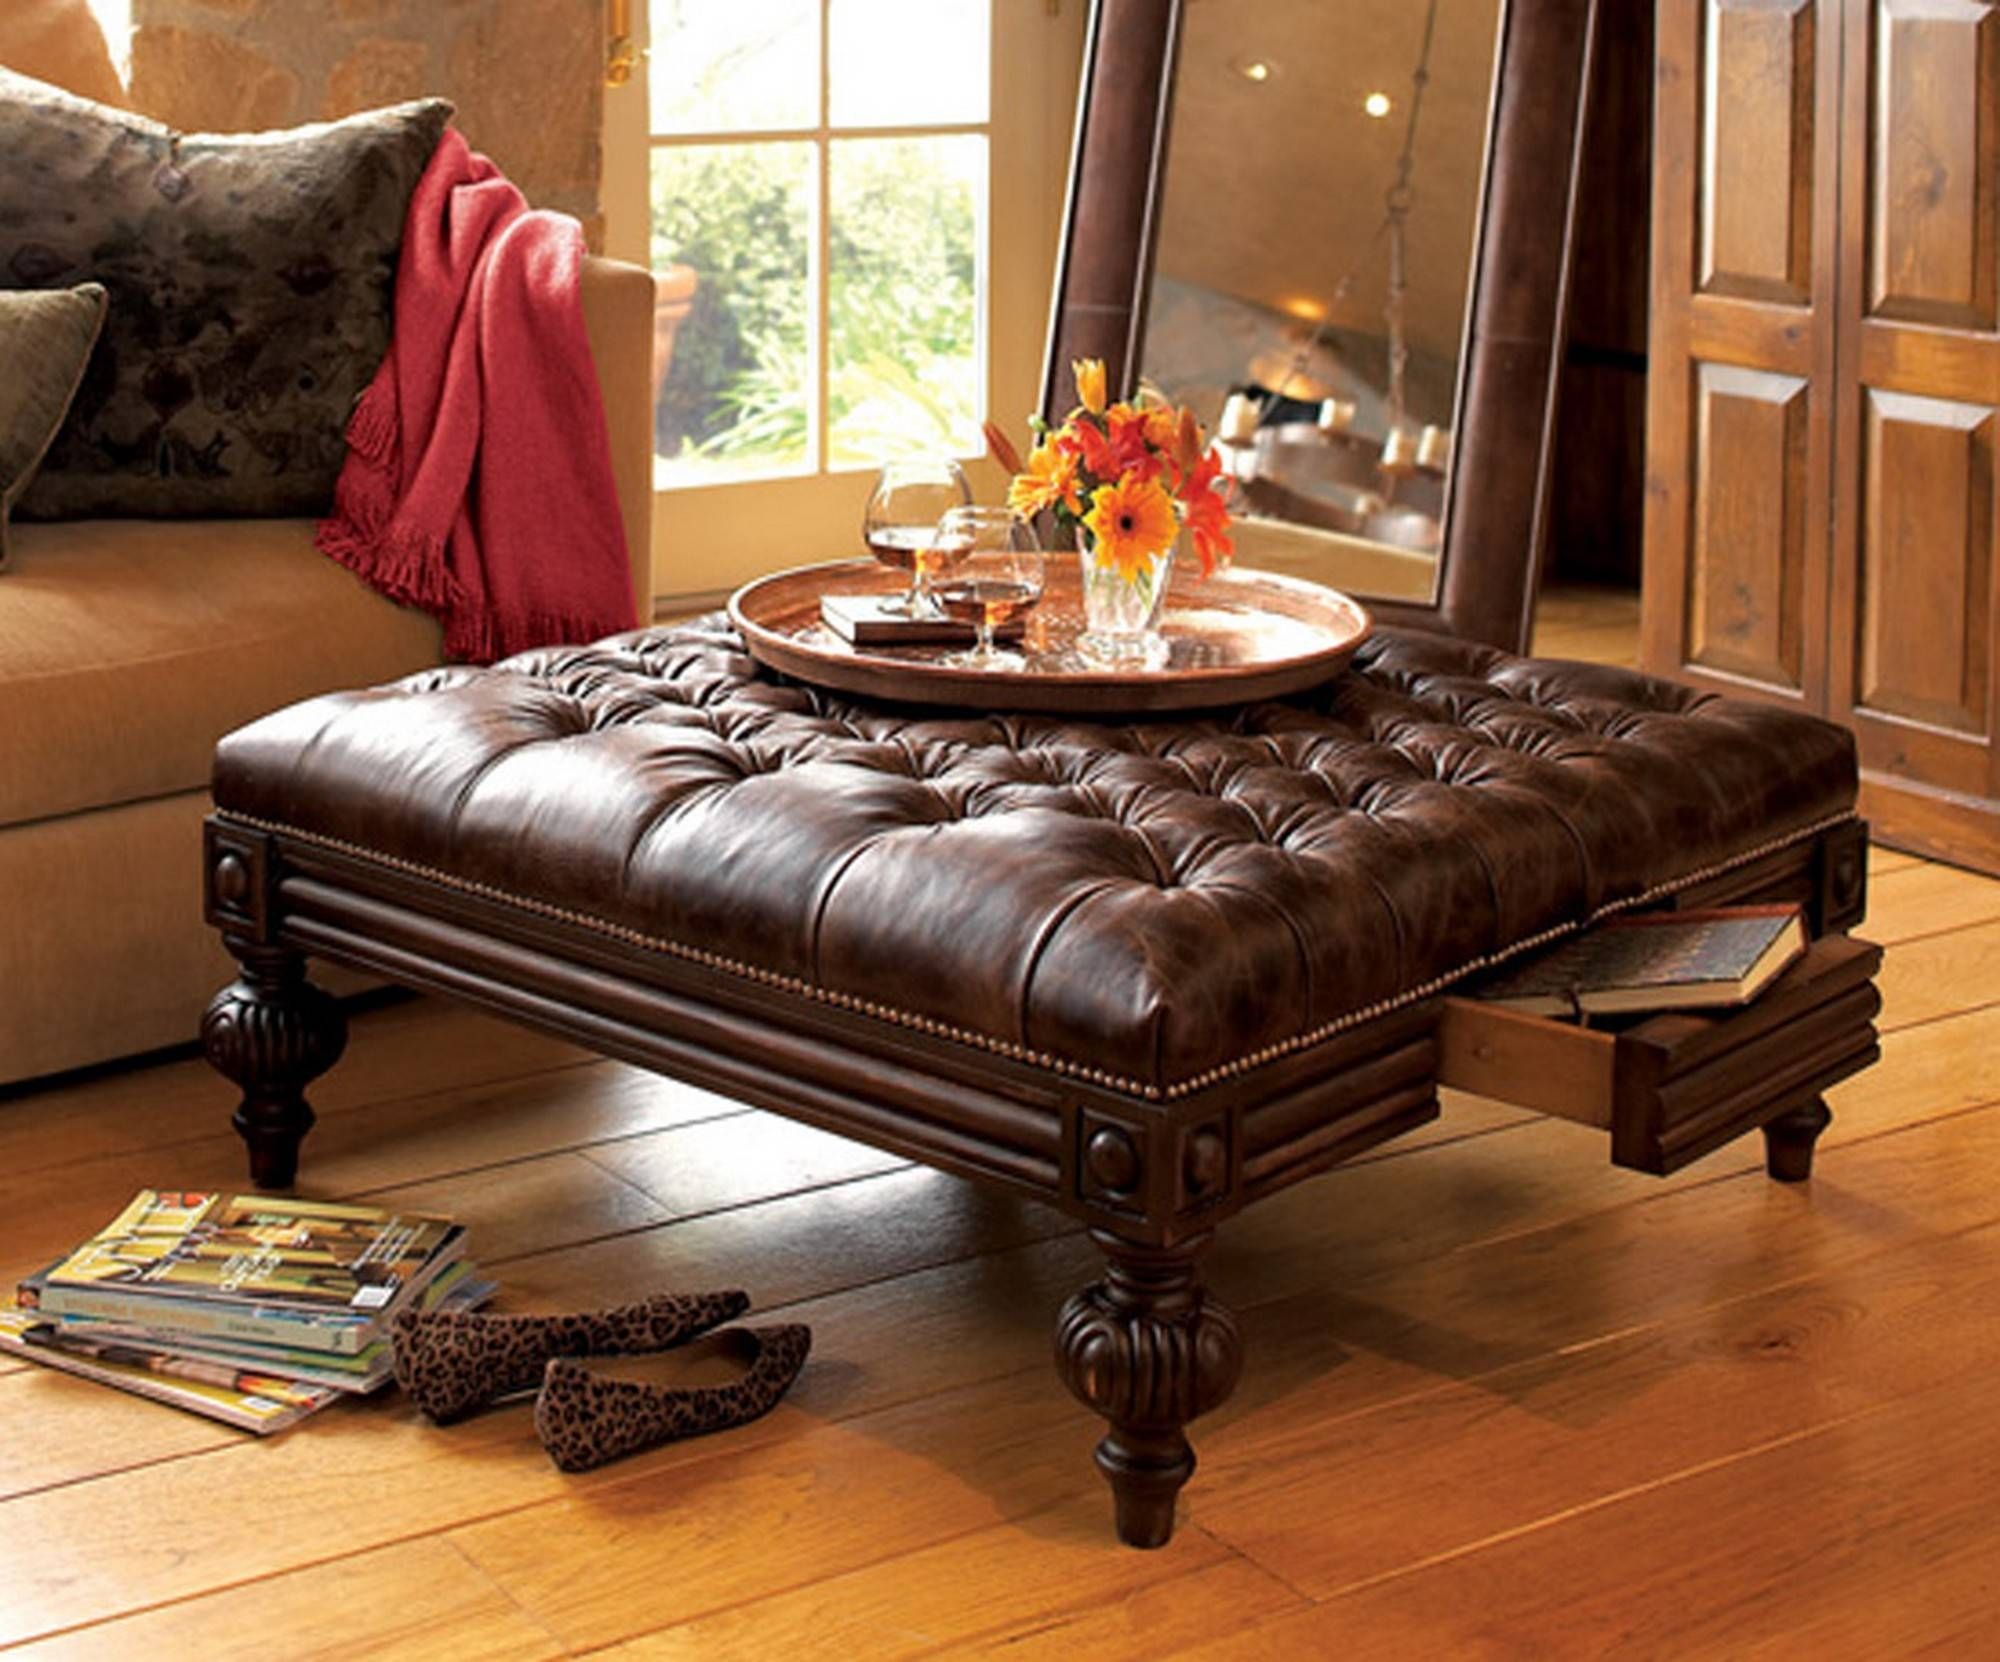


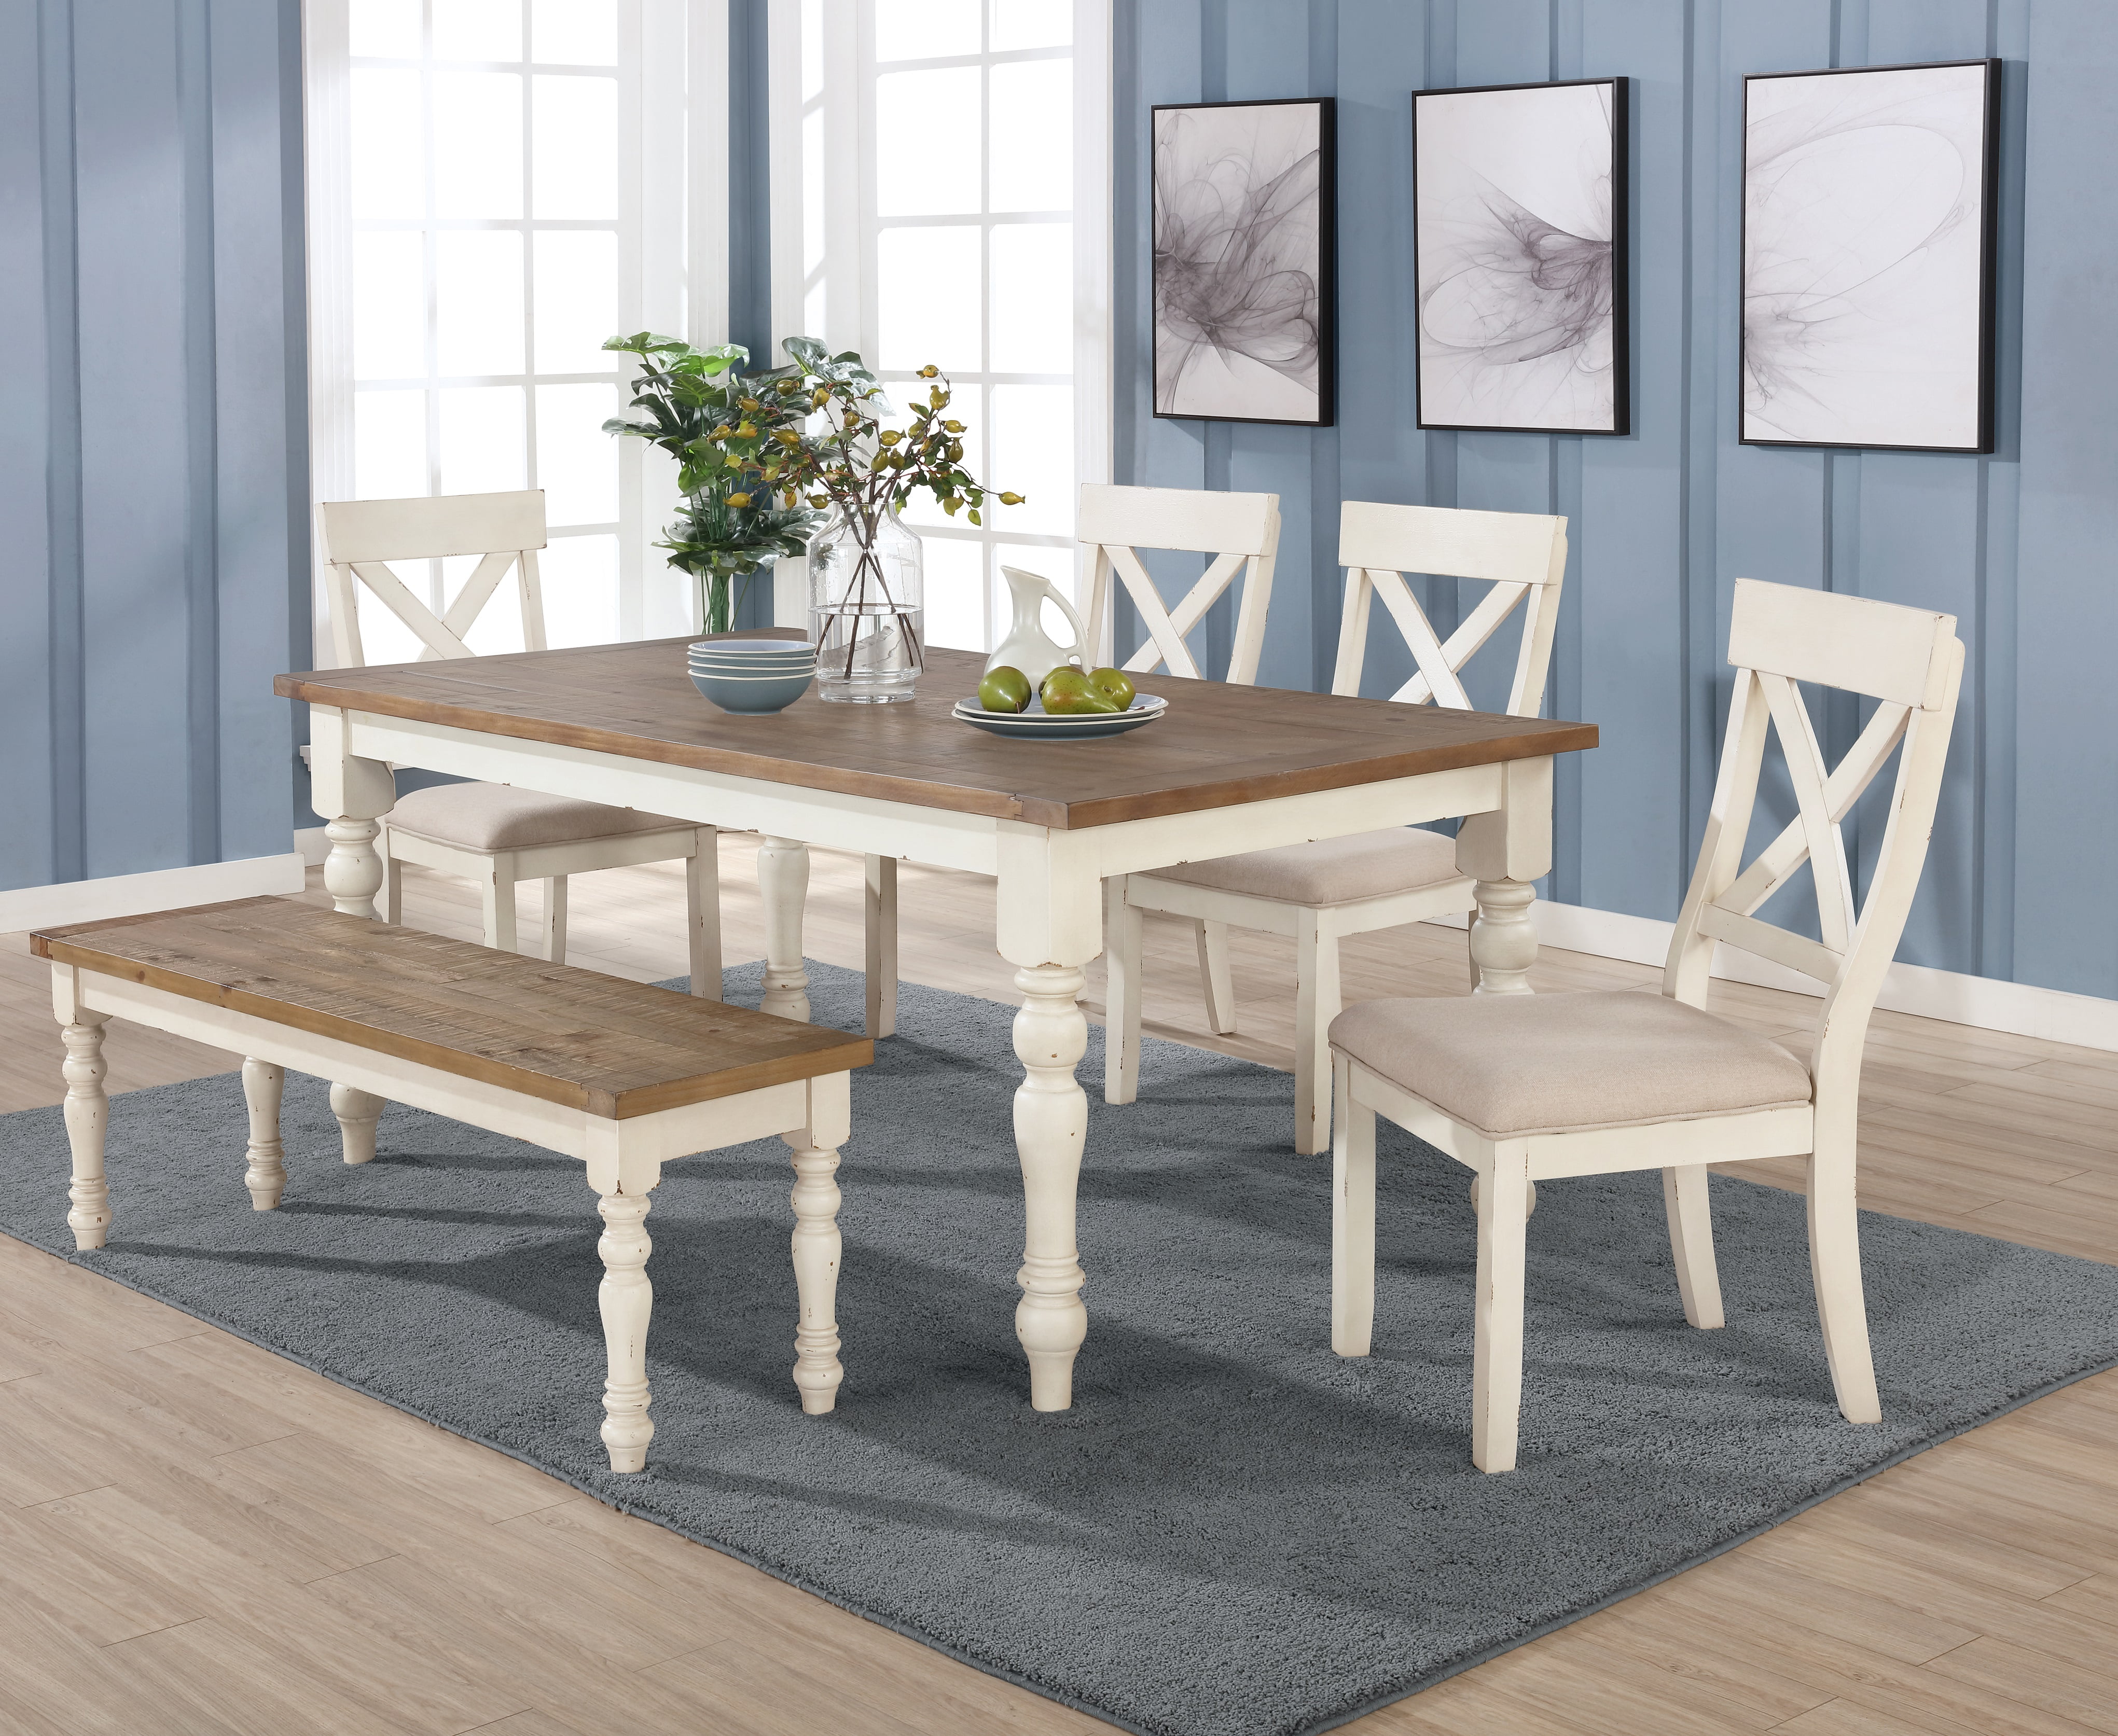
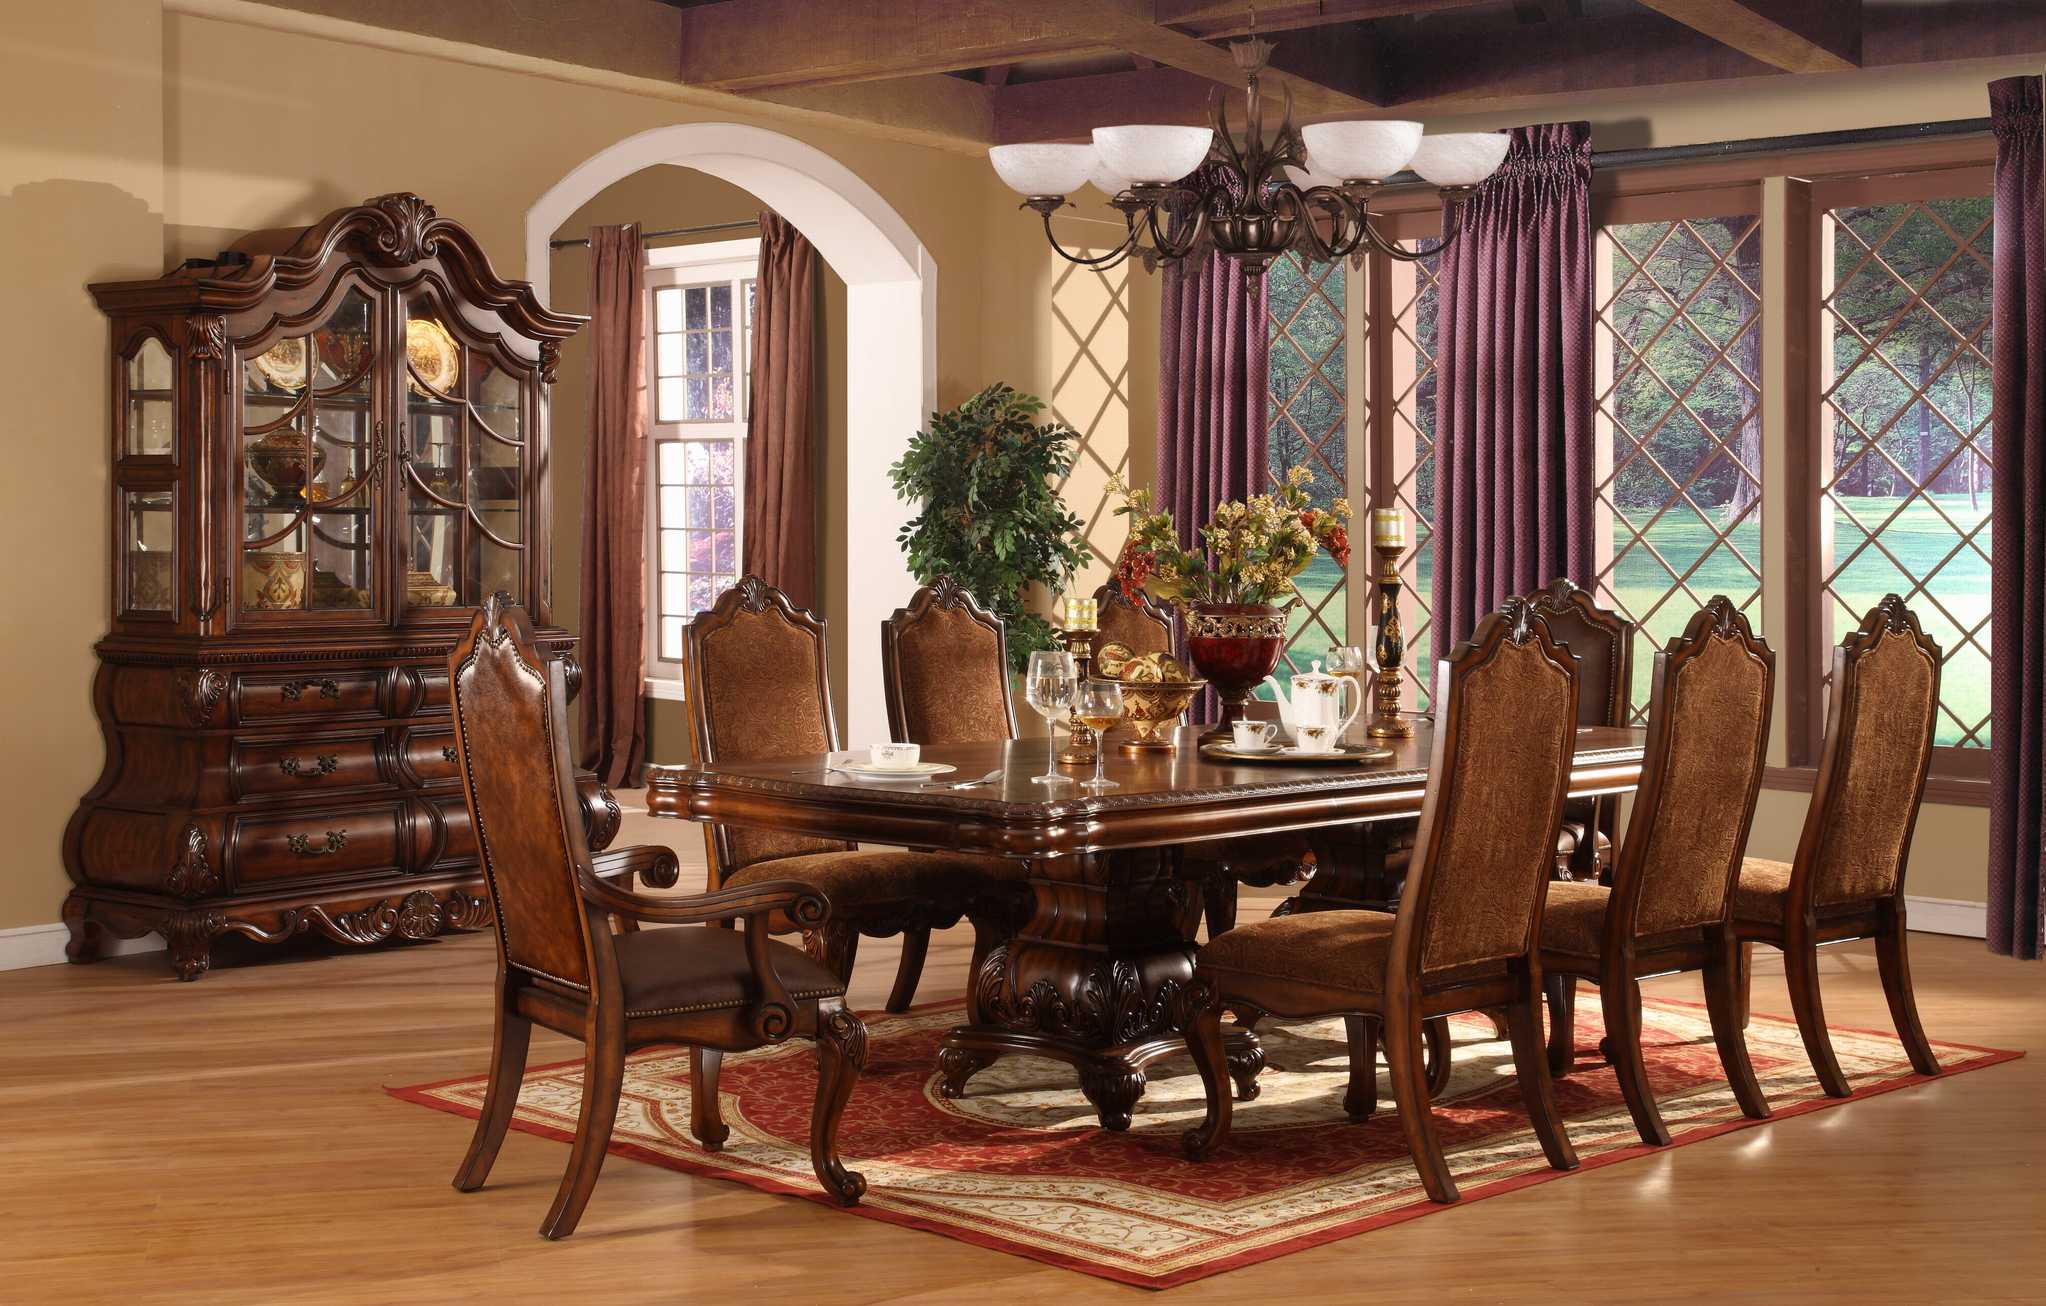
After sanding your dining room table, it's time to add the finishing touches. This may include staining, painting, or refinishing the surface. Be sure to follow the instructions for your chosen finish to ensure the best results. You may also want to add a protective coat, such as polyurethane, to help preserve the surface and make it easier to clean in the future.Sand Furniture: Finishing Touches

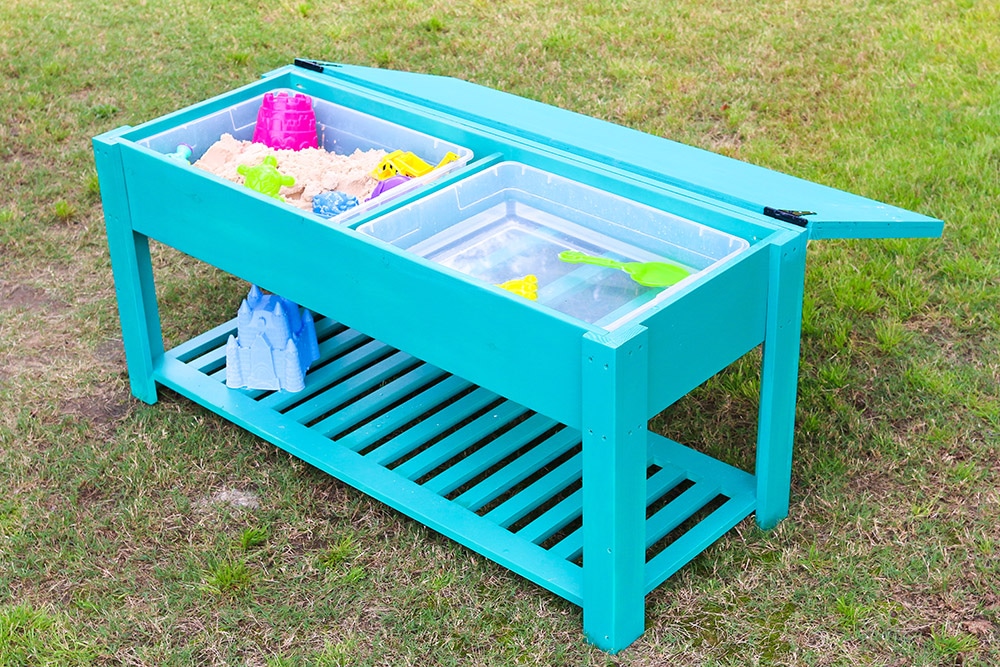
Sand Furniture


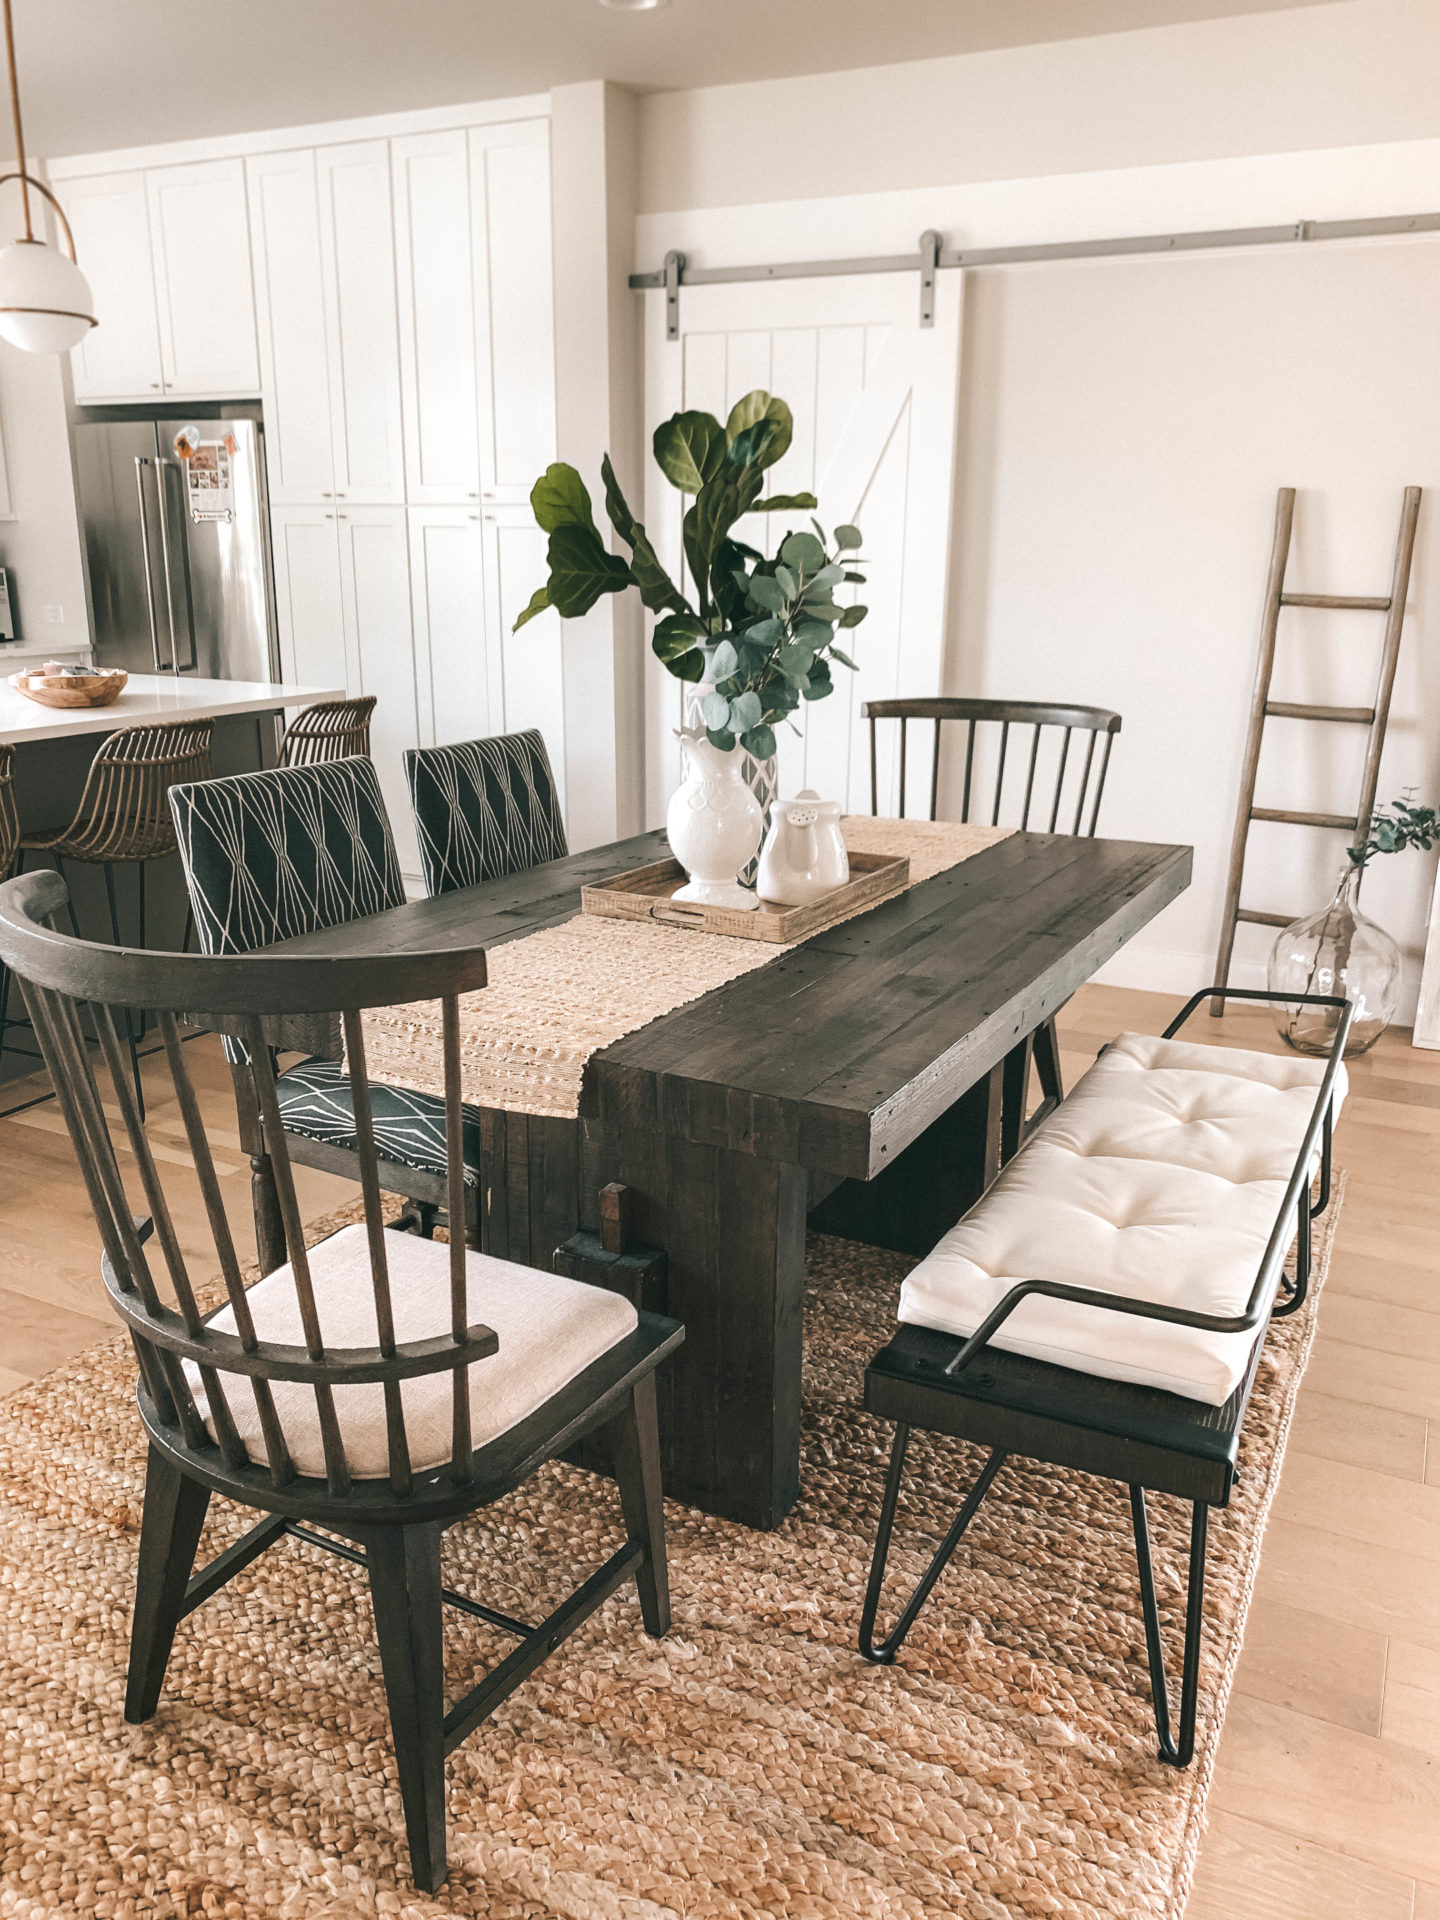
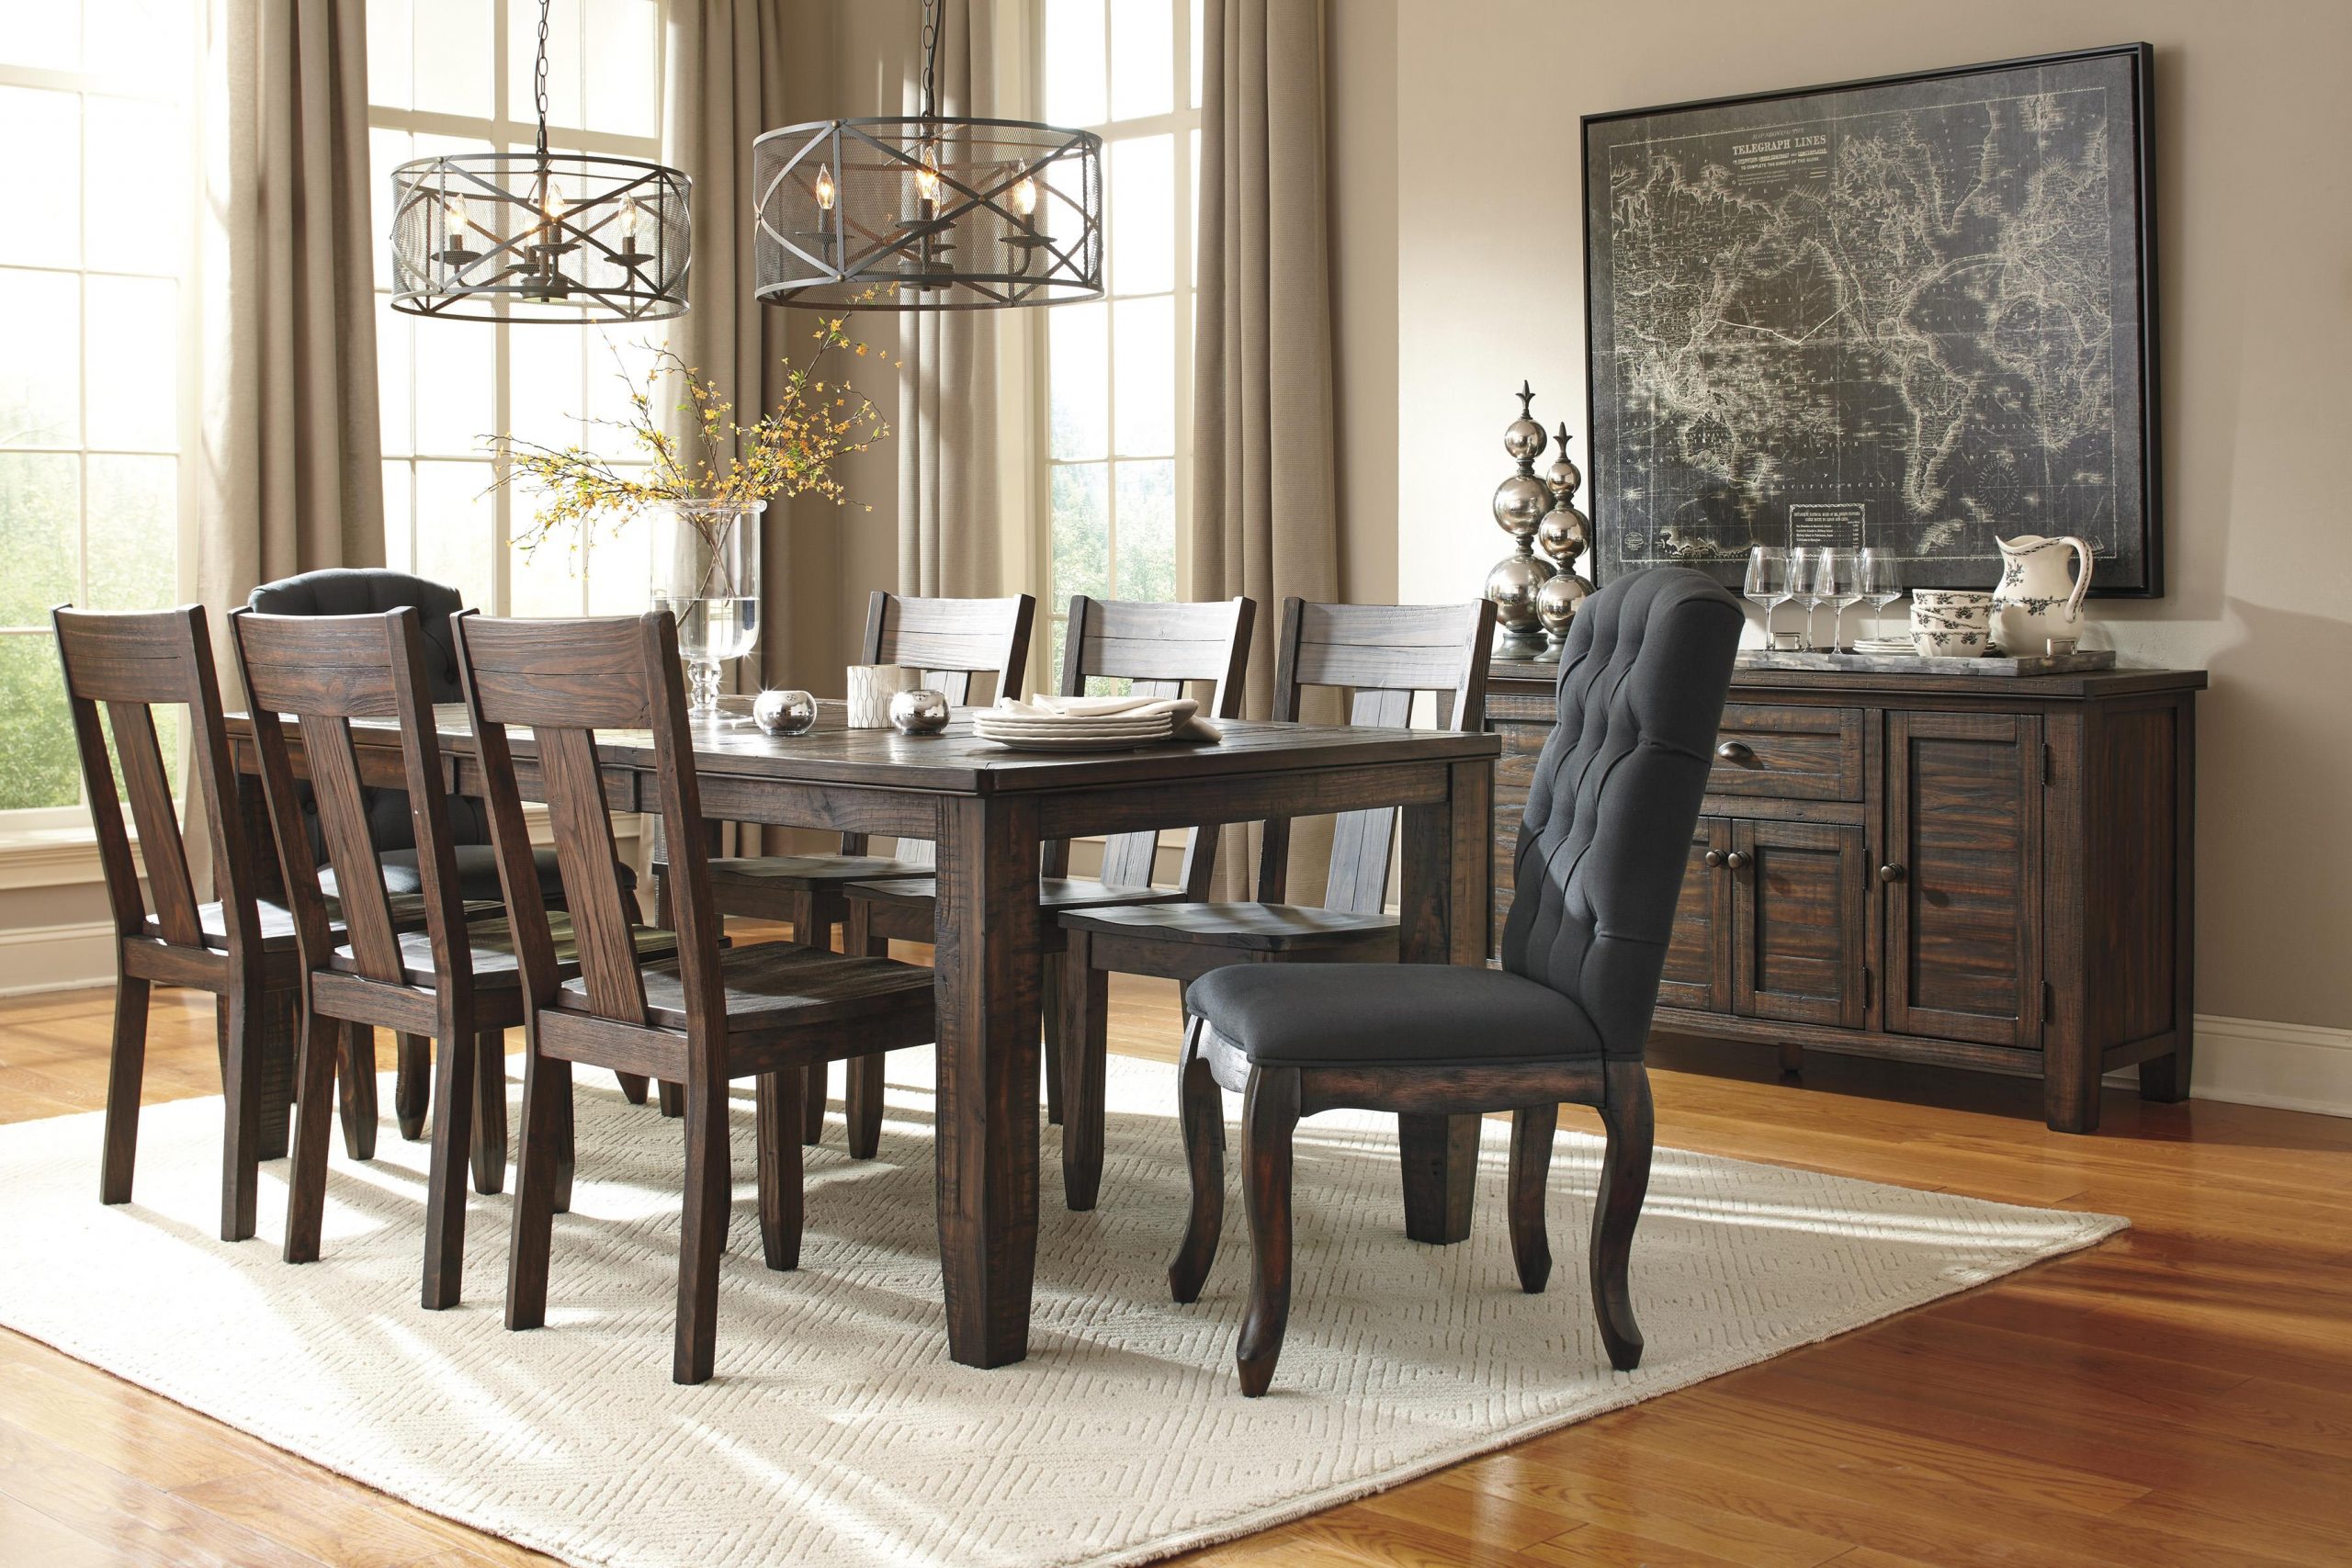
Now that you've successfully sanded and finished your dining room table, it's important to maintain its beauty for years to come. Regularly dusting and cleaning the surface will help prevent dirt and debris from scratching the surface. You may also want to consider using coasters or placemats under hot or wet items to avoid damaging the finish. With proper maintenance, your dining room furniture will continue to look stunning for years to come.Dining Room Furniture: Maintenance Tips


Dining Room Furniture


Sand a Dining Room Table for a Fresh and Revitalized Look
Why Sanding is Important
 Sanding a dining room table is a crucial step in the process of refinishing furniture. This simple yet effective technique involves using sandpaper to smooth out the surface of the table by removing old finish, scratches, and imperfections. Sanding not only helps to achieve a smooth and polished look, but it also prepares the table for a new coat of paint or stain. With the right tools and techniques, sanding can transform a dull and worn-out dining room table into a stunning centerpiece for your home.
Materials Needed
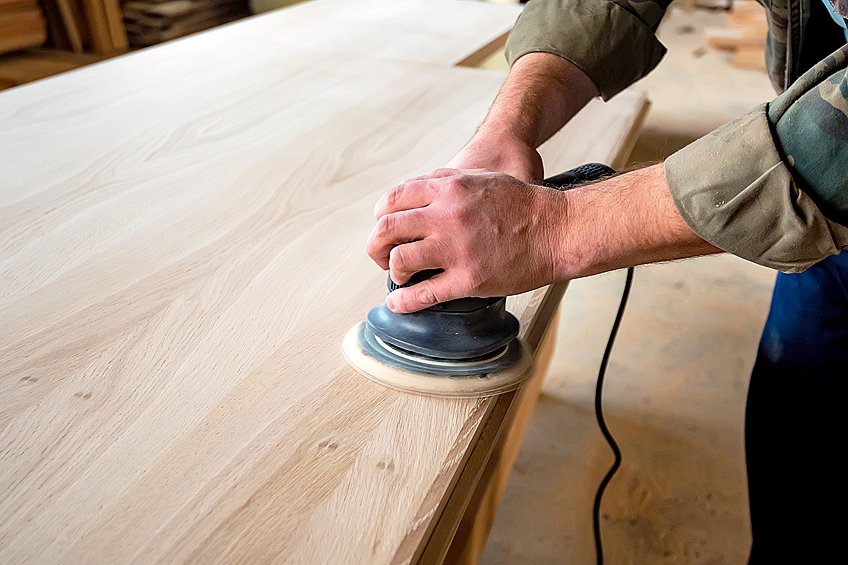
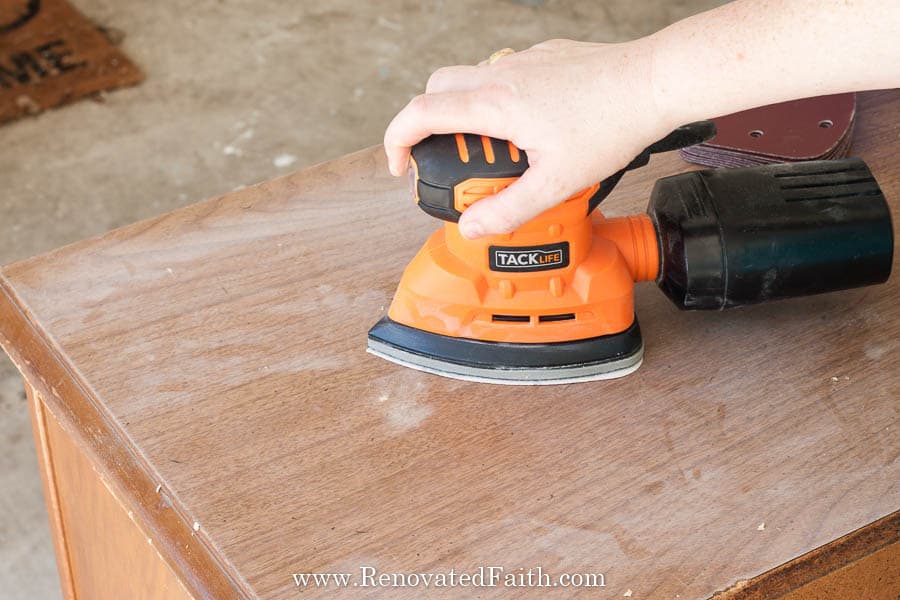
 Before you begin sanding, gather all the necessary materials. You will need a variety of sandpaper grits, ranging from coarse to fine, to achieve the desired level of smoothness. A sanding block or an electric sander can help make the process more efficient. Additionally, make sure to have a clean cloth, tack cloth, and a vacuum on hand to remove any dust and debris.
The Sanding Process
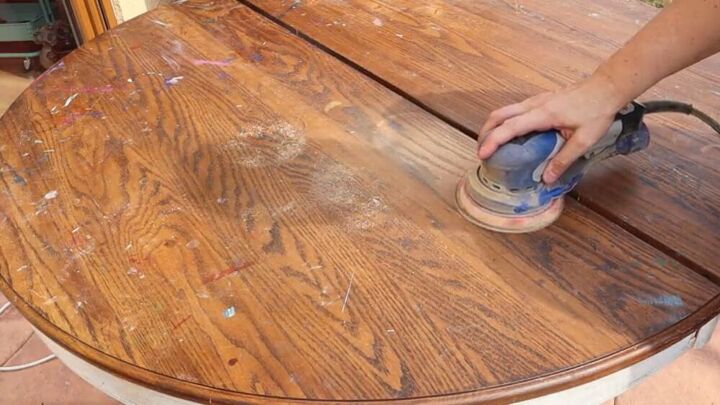
 Start by removing any hardware, such as knobs or handles, from the table. Then, begin sanding with the coarsest grit of sandpaper, moving in the direction of the wood grain. This will help to avoid creating scratches or marks on the surface. As you progress, switch to finer grits of sandpaper until the surface is smooth and even.
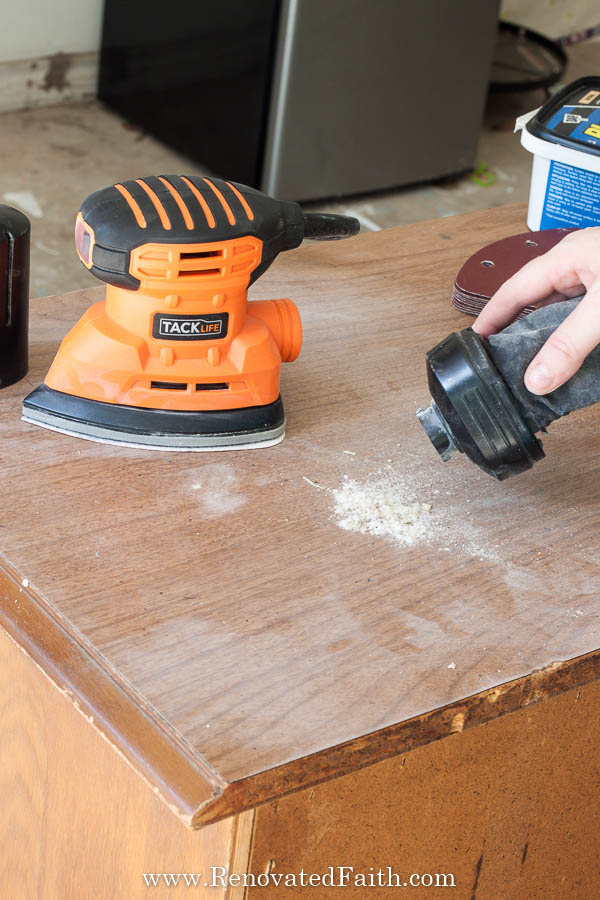
Sanding Tip:
For a more efficient sanding process, use an electric sander with a dust collector to minimize the amount of dust and debris.
Start by removing any hardware, such as knobs or handles, from the table. Then, begin sanding with the coarsest grit of sandpaper, moving in the direction of the wood grain. This will help to avoid creating scratches or marks on the surface. As you progress, switch to finer grits of sandpaper until the surface is smooth and even.
Sanding Tip:
For a more efficient sanding process, use an electric sander with a dust collector to minimize the amount of dust and debris.
Fixing Imperfections
 Sanding also gives you the opportunity to fix any imperfections on your dining room table. Deep scratches or gouges can be filled with wood putty and sanded down to create a smooth surface. For smaller scratches, try using a wood stain marker that matches the color of your table for a quick touch-up.
Prepping for a New Finish
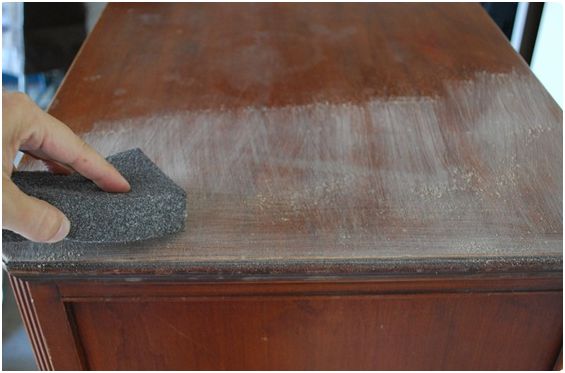
 Once the sanding is complete, use a tack cloth or a clean cloth to wipe down the surface and remove any remaining dust. Then, vacuum the area to ensure a completely clean surface. Your dining room table is now ready for a fresh coat of paint or stain. With a smooth and primed surface, the new finish will adhere better and create a more professional-looking result.
In conclusion, sanding a dining room table is an essential step in the process of refinishing furniture. It not only helps to achieve a smooth and polished look, but it also prepares the table for a new finish. With the right tools and techniques, sanding can transform a worn-out and outdated dining room table into a beautiful and revitalized piece of furniture for your home.
Once the sanding is complete, use a tack cloth or a clean cloth to wipe down the surface and remove any remaining dust. Then, vacuum the area to ensure a completely clean surface. Your dining room table is now ready for a fresh coat of paint or stain. With a smooth and primed surface, the new finish will adhere better and create a more professional-looking result.
In conclusion, sanding a dining room table is an essential step in the process of refinishing furniture. It not only helps to achieve a smooth and polished look, but it also prepares the table for a new finish. With the right tools and techniques, sanding can transform a worn-out and outdated dining room table into a beautiful and revitalized piece of furniture for your home.


