1. Refinishing a Retro Kitchen Table
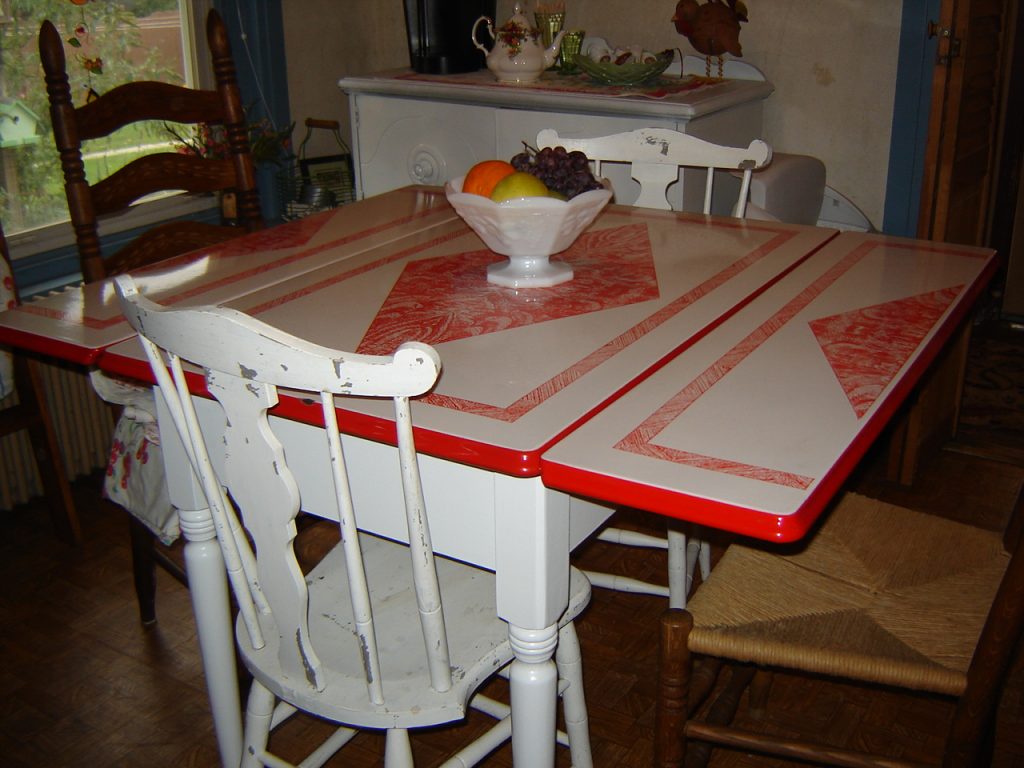
Are you looking to give new life to your old retro kitchen table? Refinishing it is a great way to add a touch of nostalgia to your home while also updating its appearance. With a few simple steps, you can have your retro kitchen table looking like new in no time!
The first step in refinishing a retro kitchen table is to clean it thoroughly. Use a gentle cleanser and a soft cloth to remove any dirt, grime, or residue that may have built up over the years. Be sure to dry the table completely before moving on to the next step.
Next, you will need to sand the surface of the table to remove any scratches or imperfections. Use a fine-grit sandpaper and sand in the direction of the wood grain. This will create a smooth surface for the new finish to adhere to.
Once the table is sanded, wipe it down with a damp cloth to remove any dust. Now it's time to choose your new finish. You can opt for a stain to enhance the natural beauty of the wood, or you can choose a paint color to give your table a pop of personality.
Apply your chosen finish using a brush or a cloth, following the manufacturer's instructions. Allow the finish to dry completely before adding a second coat if desired. Once the table is fully dry, you can add a clear sealant for added protection.
Finally, add some finishing touches such as new hardware or a tablecloth to complete the look. Your retro kitchen table will now be restored to its former glory and ready to be enjoyed for years to come.


1. Refinishing a Retro Kitchen Table


2. Restoring a Vintage Kitchen Table
Vintage kitchen tables are a charming addition to any home, but they can also require some TLC to bring them back to their original beauty. If you have a vintage kitchen table that needs some restoration, don't worry – it's a simple process that you can do yourself!
To start, you will need to assess the condition of your table. If there are any major structural issues, such as loose legs or broken pieces, these will need to be addressed first. Once the table is stable, you can move on to the restoration process.
One of the most common issues with vintage kitchen tables is a worn or damaged finish. To fix this, you will need to sand the surface of the table with a fine-grit sandpaper. This will remove any imperfections and create a smooth surface for the new finish to adhere to.
Next, you can choose to apply a new finish to the table. This can be a stain to enhance the natural beauty of the wood, or a paint color to give it a fresh new look. Apply the finish using a brush or a cloth, following the manufacturer's instructions. Allow the finish to dry completely before adding a second coat if desired.
Once the finish is dry, you can add a clear sealant for added protection. If your table has any hardware, such as drawer pulls or knobs, you can also replace these to give it a more polished look.
Your vintage kitchen table will now be restored and ready to be the centerpiece of your kitchen once again. Don't be afraid to add some personal touches, such as a table runner or place settings, to make it truly unique.


2. Restoring a Vintage Kitchen Table


3. How to Restore a Retro Kitchen Table
Restoring a retro kitchen table is a fun and rewarding project that can bring new life to an old piece of furniture. Depending on the condition of your table, the restoration process can vary, but here are some general steps to follow.
First, you will need to clean the table thoroughly with a gentle cleanser and a soft cloth. This will remove any dirt, grime, or residue that may have built up over the years. Be sure to dry the table completely before moving on to the next step.
Next, you will need to assess the condition of the table. If there are any major structural issues, such as loose legs or broken pieces, these will need to be addressed first. Once the table is stable, you can move on to refinishing it.
To refinish a retro kitchen table, you will need to sand the surface using a fine-grit sandpaper. This will remove any imperfections and create a smooth surface for the new finish to adhere to. Once the table is sanded, wipe it down with a damp cloth to remove any dust.
Now you can apply your chosen finish using a brush or a cloth, following the manufacturer's instructions. Allow the finish to dry completely before adding a second coat if desired. Once the finish is dry, you can add a clear sealant for added protection.
To complete the restoration process, add any finishing touches such as new hardware or a tablecloth. Your retro kitchen table will now be restored and ready to add a touch of nostalgia to your home.


3. How to Restore a Retro Kitchen Table


4. DIY Retro Kitchen Table Restoration
Restoring a retro kitchen table doesn't have to be a daunting task – with a little DIY know-how, you can easily bring new life to your old table. Here are the steps to follow for a DIY retro kitchen table restoration.
Start by cleaning the table thoroughly with a gentle cleanser and a soft cloth. This will remove any dirt, grime, or residue that may have built up over the years. Be sure to dry the table completely before moving on to the next step.
Next, you will need to assess the condition of the table. If there are any major structural issues, these will need to be fixed before moving on to refinishing. Once the table is stable, you can start to sand the surface using a fine-grit sandpaper.
After sanding, wipe the table down with a damp cloth to remove any dust. Now you can choose your new finish – whether it's a stain to enhance the natural beauty of the wood or a paint color to give it a new look. Apply the finish using a brush or a cloth, following the manufacturer's instructions.
Once the finish is dry, you can add a clear sealant for added protection. If your table has any hardware, you can replace these to give it a fresh look. Adding some decorative touches, such as a table runner or place settings, can also add to the retro vibe of your kitchen table.
With a little DIY effort, your retro kitchen table will be restored and ready to be the centerpiece of your kitchen once again.


4. DIY Retro Kitchen Table Restoration


5. Tips for Restoring a Retro Kitchen Table
Restoring a retro kitchen table can be a fun and satisfying project, but it's important to take the right steps to ensure a successful outcome. Here are some tips to keep in mind when restoring your retro kitchen table.
First and foremost, make sure you have all the necessary materials before starting the restoration process. This includes cleaning supplies, sandpaper, finish, and any tools or hardware you may need.
It's also important to properly prepare the surface of the table before refinishing. This means cleaning it thoroughly and sanding it to create a smooth surface for the new finish to adhere to.
When choosing a new finish for your retro kitchen table, consider the overall aesthetic of your kitchen. You may want to opt for a stain to enhance the natural beauty of the wood, or a paint color to give it a fresh new look.
Be patient and allow each coat of finish to dry completely before adding a second coat or a clear sealant. Rushing this step can result in a less-than-perfect finish.
Lastly, have fun with it! Don't be afraid to add some personal touches to your restored retro kitchen table – this is your chance to make it truly unique and add a touch of nostalgia to your home.


5. Tips for Restoring a Retro Kitchen Table


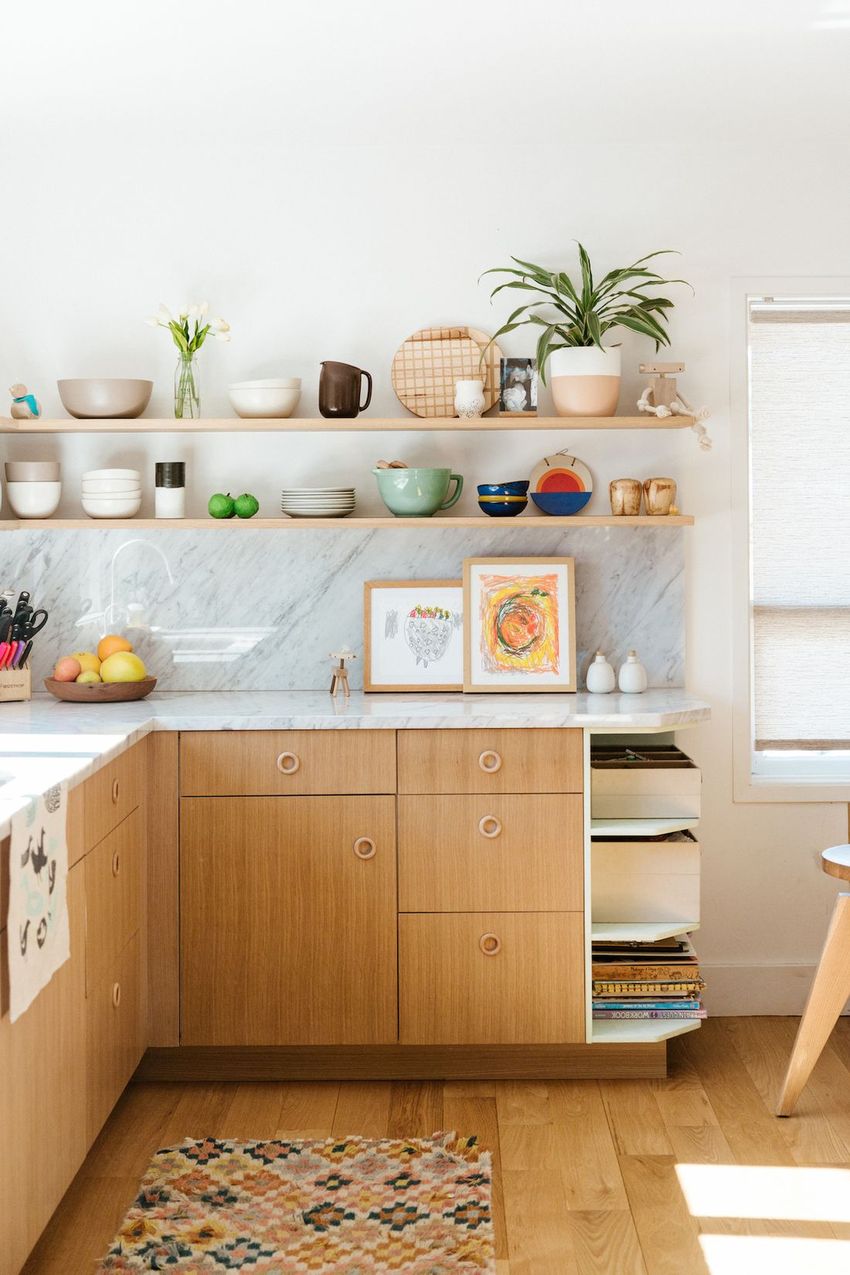
6. Restoring a Mid-Century Kitchen Table
Mid-century kitchen tables are a popular choice for those looking to add a retro touch to their home. These tables often feature sleek lines and unique designs, making them a standout piece in any kitchen. If you have a mid-century kitchen table in need of restoration, here are the steps to follow.
Start by cleaning the table thoroughly with a gentle cleanser and a soft cloth. This will remove any dirt, grime, or residue that may have built up over the years. Be sure to dry the table completely before moving on to the next step.
Next, assess the condition of the table. If there are any major structural issues, these will need to be addressed first. Once the table is stable, you can start to sand the surface using a fine-grit sandpaper.
After sanding, wipe the table down with a damp cloth to remove any dust. Now you can choose your new finish – whether it's a stain to enhance the natural beauty of the wood or a paint color to give it a fresh look. Apply the finish using a brush or a cloth, following the manufacturer's instructions.
Allow the finish to dry completely before adding a clear sealant for added protection. You can also add some finishing touches, such as new hardware or a table runner, to complete the look of your mid-century kitchen table.
With these steps, your mid-century kitchen table will be restored and ready to add a touch of retro charm to your home.


6. Restoring a Mid-Century Kitchen Table


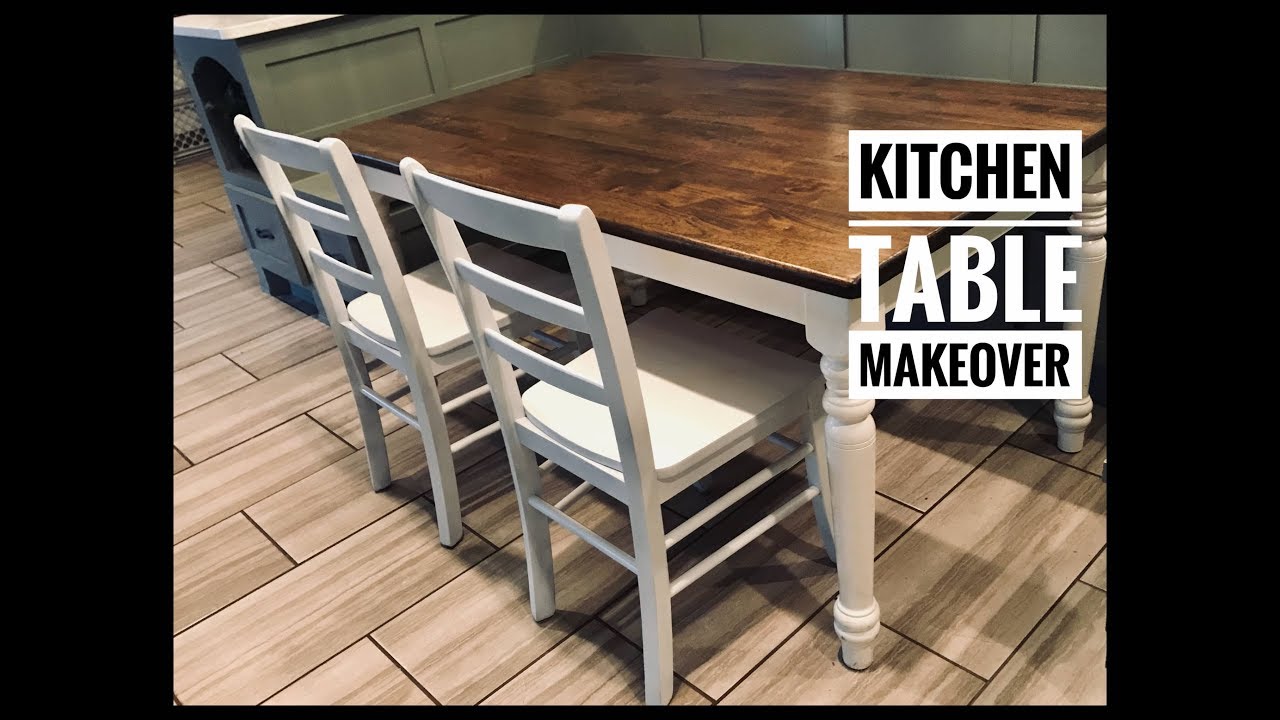
7. Retro Kitchen Table Makeover
A retro kitchen table can be a statement piece in any home, but sometimes it needs a little makeover to bring it back to its former glory. If you're looking to give your retro kitchen table a fresh new look, here are the steps to follow.
Start by thoroughly cleaning the table with a gentle cleanser and a soft cloth. This will remove any dirt, grime, or residue that may have built up over the years. Be sure to dry the table completely before moving on to the next step.
Next, assess the condition of the table. If there are any major structural issues, these will need to be addressed before refinishing. Once the table is stable, you can start to sand the surface using a fine-grit sandpaper.
After sanding, wipe the table down with a damp cloth to remove any dust. Now you can choose your new finish – whether it's a stain to enhance the natural beauty of the wood or a bold paint color to give it a pop of personality.
Apply the finish using a brush or a cloth, following the manufacturer's instructions. Allow the finish to dry completely before adding a clear sealant for added protection. You can also add some finishing touches, such as new hardware or a tablecloth, to complete the makeover of your retro kitchen table.
With these steps, your retro kitchen table will be transformed into a stunning piece that will add character to your home.


7. Retro Kitchen Table Makeover


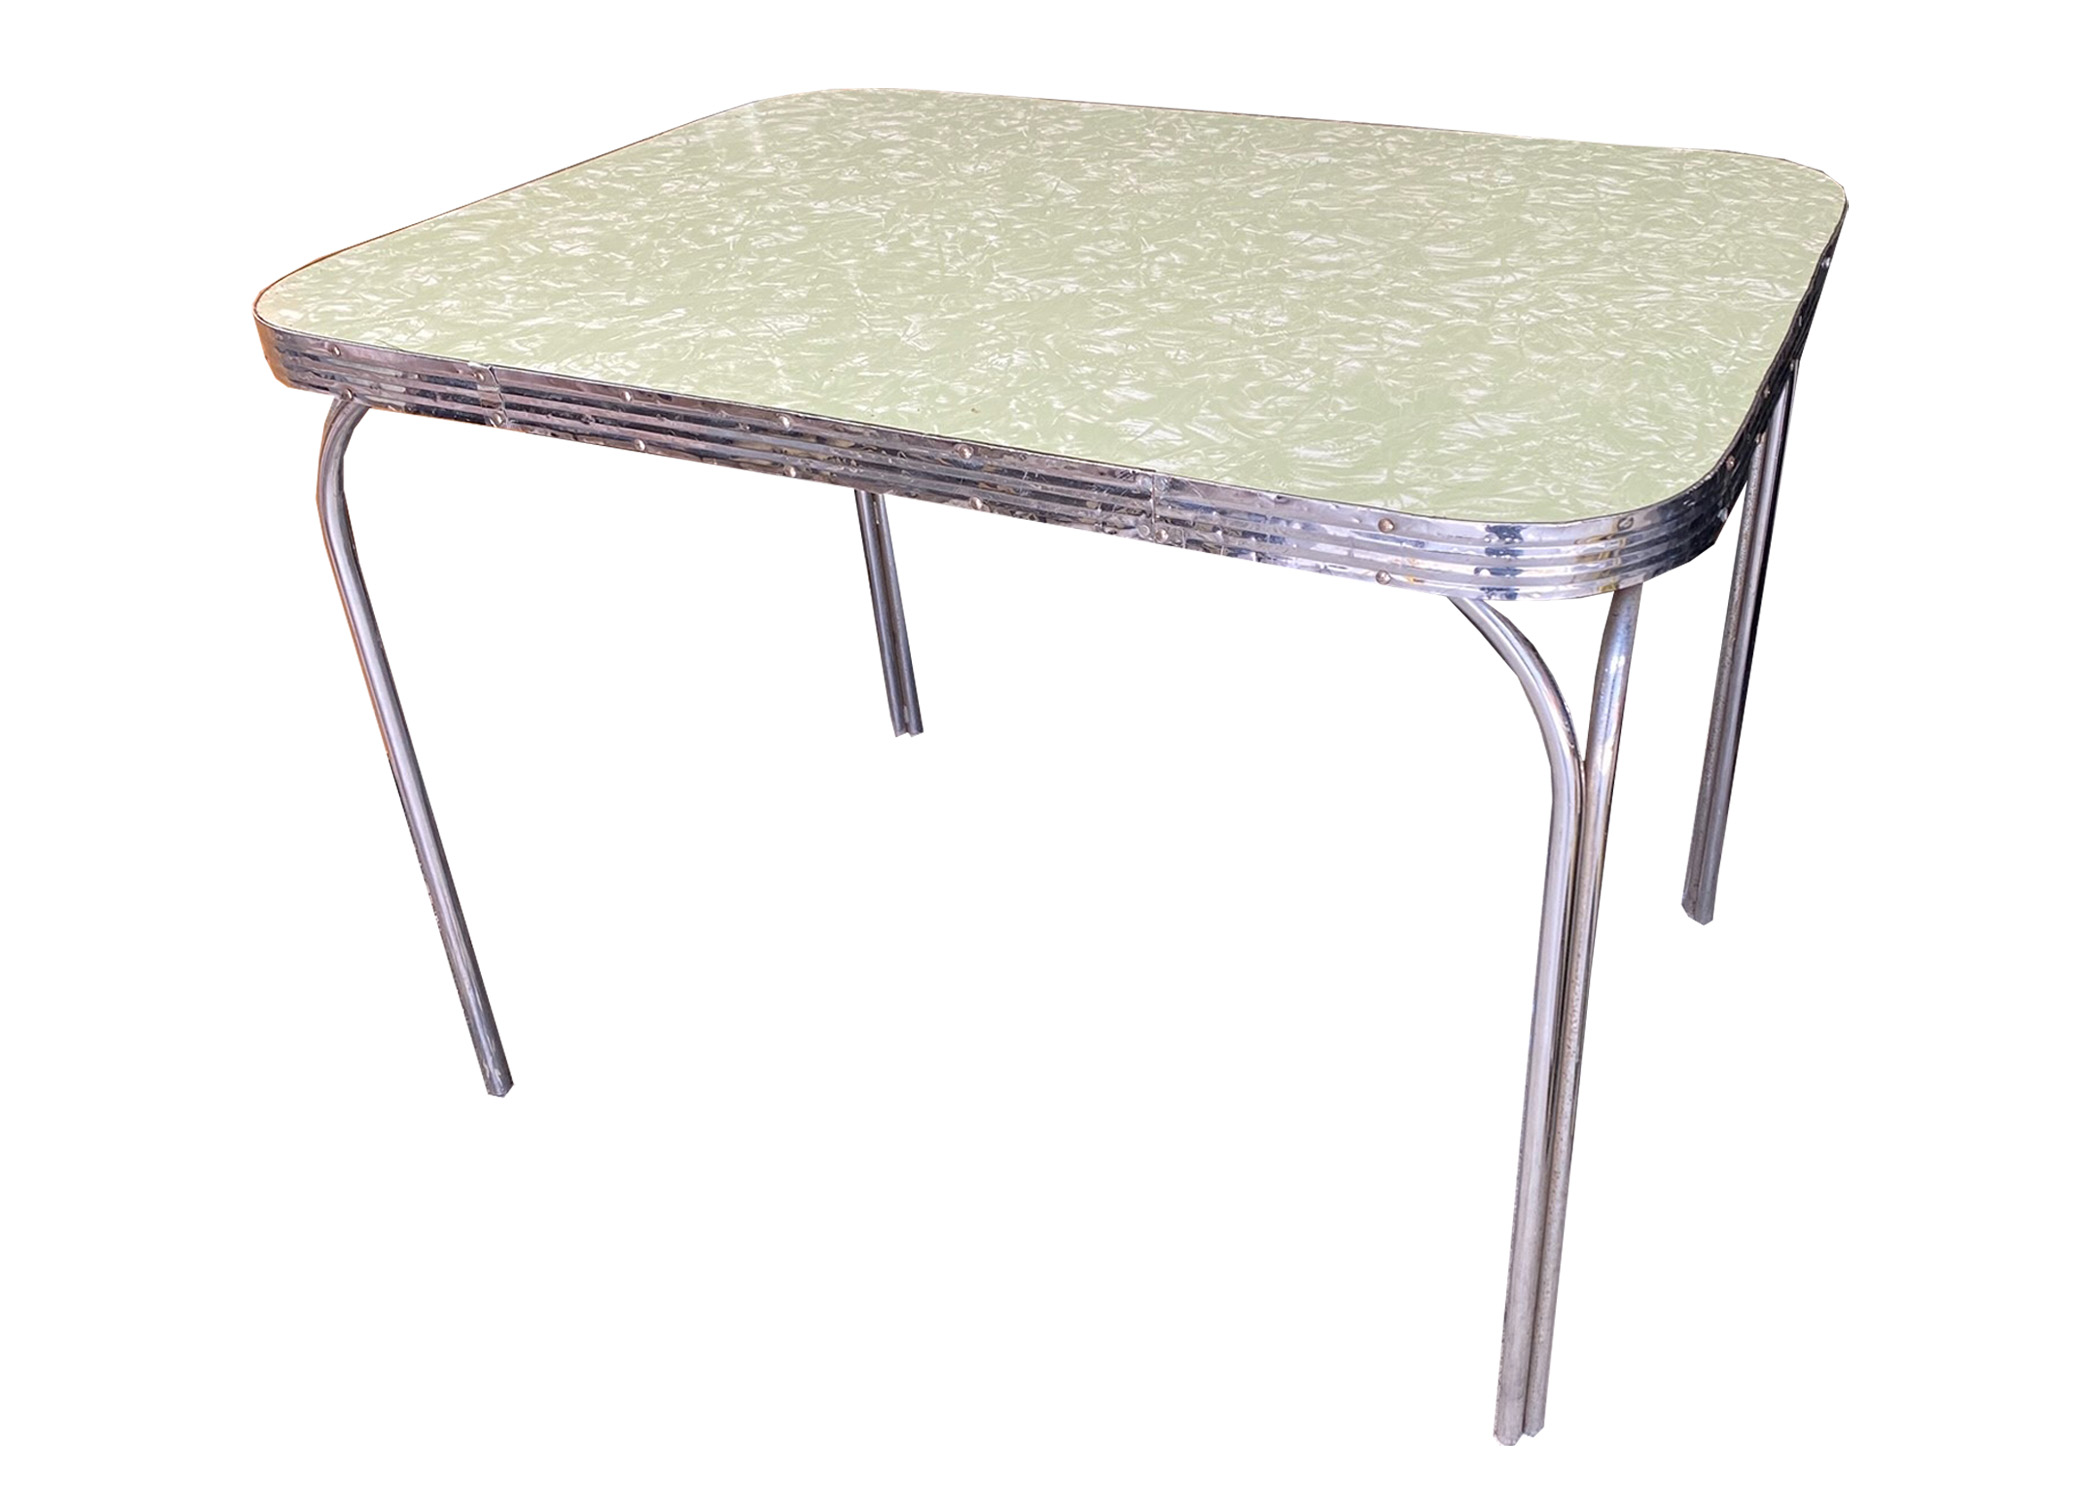
8. Restoring a Formica Kitchen Table
Formica kitchen tables were all the rage in the 1950s and 1960s, and they are still a popular choice for those looking to add a retro touch to their home. If you have a Formica kitchen table in need of restoration, here are the steps to follow.
Start by cleaning the table thoroughly with a gentle cleanser and a soft cloth. This will remove any dirt, grime, or residue that may have built up over the years. Be sure to dry the table completely before moving on to the next step.
Next, assess the condition of the table. If there are any major structural issues, these will need to be addressed before refinishing. Once the table is stable, you can start to sand the surface using a fine-grit sandpaper.
After sanding, wipe the table down with a damp cloth to remove any dust. Now you can choose your new finish – whether it's a stain to enhance the natural beauty of the wood or a paint color to give it a fresh look. Apply the finish using a brush or a cloth, following the manufacturer's instructions.
Once the finish is dry, add a clear sealant for added protection. You can also add some finishing touches, such as new hardware or a table runner, to complete the look of your Formica kitchen table.
With these steps, your Formica kitchen table will be restored and ready to add a touch of retro charm to your home.


8. Restoring a Formica Kitchen Table

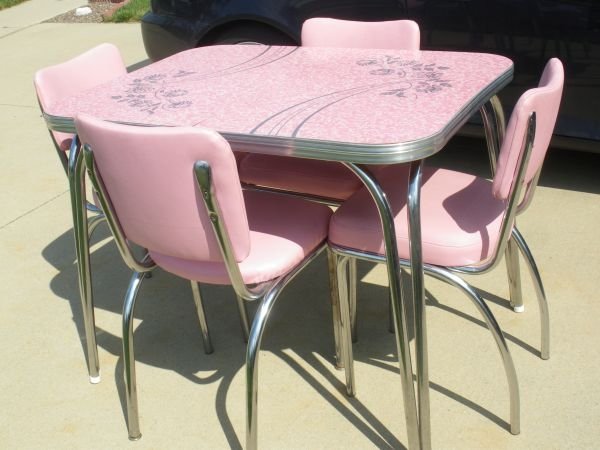


9. Refurbishing a 1950s Kitchen Table
The 1950s were a time of bold colors and fun designs, and this style is often reflected in the furniture of the era. If you have a 1950s kitchen table that needs some love, here are the steps to follow to refurbish it.
Start by cleaning the table thoroughly with a gentle cleanser and a soft cloth. This will remove any dirt, grime, or residue that may have built up over the years. Be sure to dry the table completely before moving on to the next step.
Next, assess the condition of the table. If there are any major structural issues, these will need to be addressed before refinishing. Once the table is stable, you can start to sand the surface using a fine-grit sandpaper.
After sanding, wipe the table down with a damp cloth to remove any dust. Now you can choose your new finish – whether it's a bold paint color or a stain to enhance the natural beauty of the wood. Apply the finish using a brush or a cloth, following the manufacturer's instructions.


9. Refurbishing a 1950s Kitchen Table


Why Reviving Your Retro Kitchen Table is the Perfect Way to Add Charm to Your Home

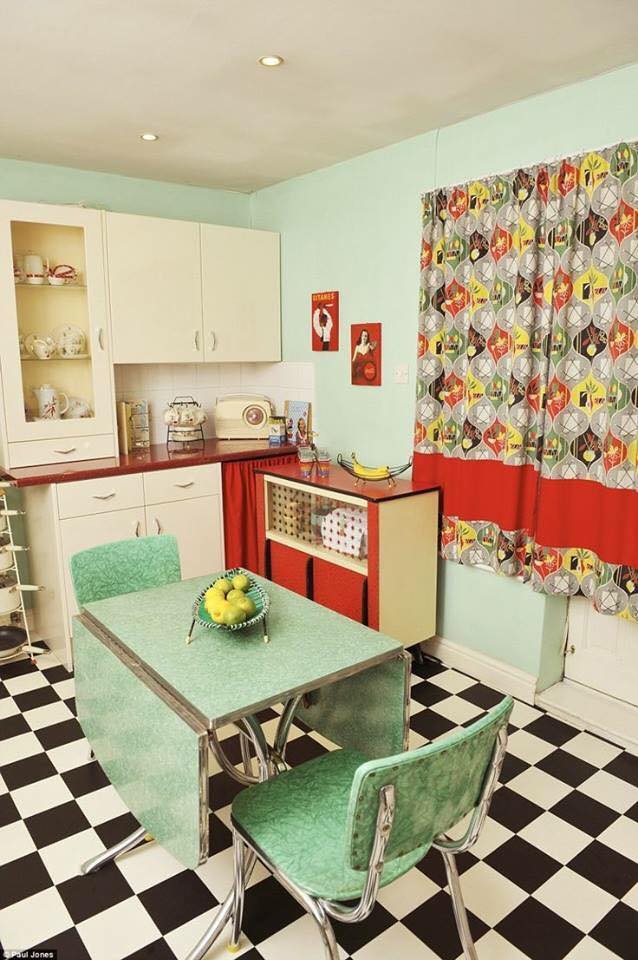
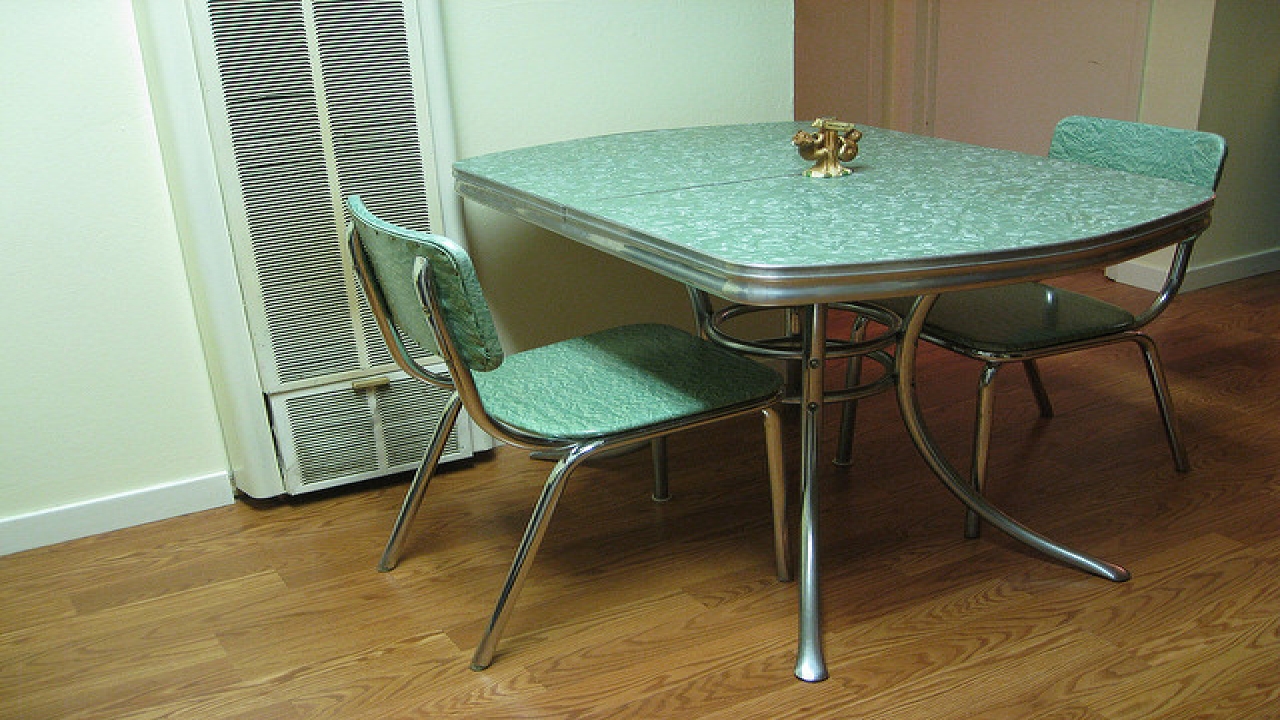
The Nostalgic Appeal of Retro Kitchen Tables
 There's something special about retro kitchen tables that can instantly transport you back in time. These tables were a staple in many homes in the 1950s and 1960s, and their vibrant colors and playful designs were a reflection of the post-war optimism and prosperity. The nostalgia attached to these tables makes them a perfect addition to any home, adding a touch of charm and personality to your space.
Bringing Back the Good Old Days
 In today's fast-paced world, it's easy to feel disconnected from simpler times. That's where restoring a retro kitchen table comes in. It's a way to reconnect with the past and infuse your home with a sense of warmth and nostalgia. Whether you grew up with a retro kitchen table or just appreciate its vintage charm, reviving one in your home can bring back fond memories and create new ones.
Retro
kitchen tables come in a variety of styles and colors, making it easy to find one that suits your personal taste and complements your home's design. From bold and bright to subtle and understated, there's a retro kitchen table for every home. And with the rise of "retro-modern" style, these tables are making a comeback in contemporary homes, blending the best of both worlds.
In today's fast-paced world, it's easy to feel disconnected from simpler times. That's where restoring a retro kitchen table comes in. It's a way to reconnect with the past and infuse your home with a sense of warmth and nostalgia. Whether you grew up with a retro kitchen table or just appreciate its vintage charm, reviving one in your home can bring back fond memories and create new ones.
Retro
kitchen tables come in a variety of styles and colors, making it easy to find one that suits your personal taste and complements your home's design. From bold and bright to subtle and understated, there's a retro kitchen table for every home. And with the rise of "retro-modern" style, these tables are making a comeback in contemporary homes, blending the best of both worlds.
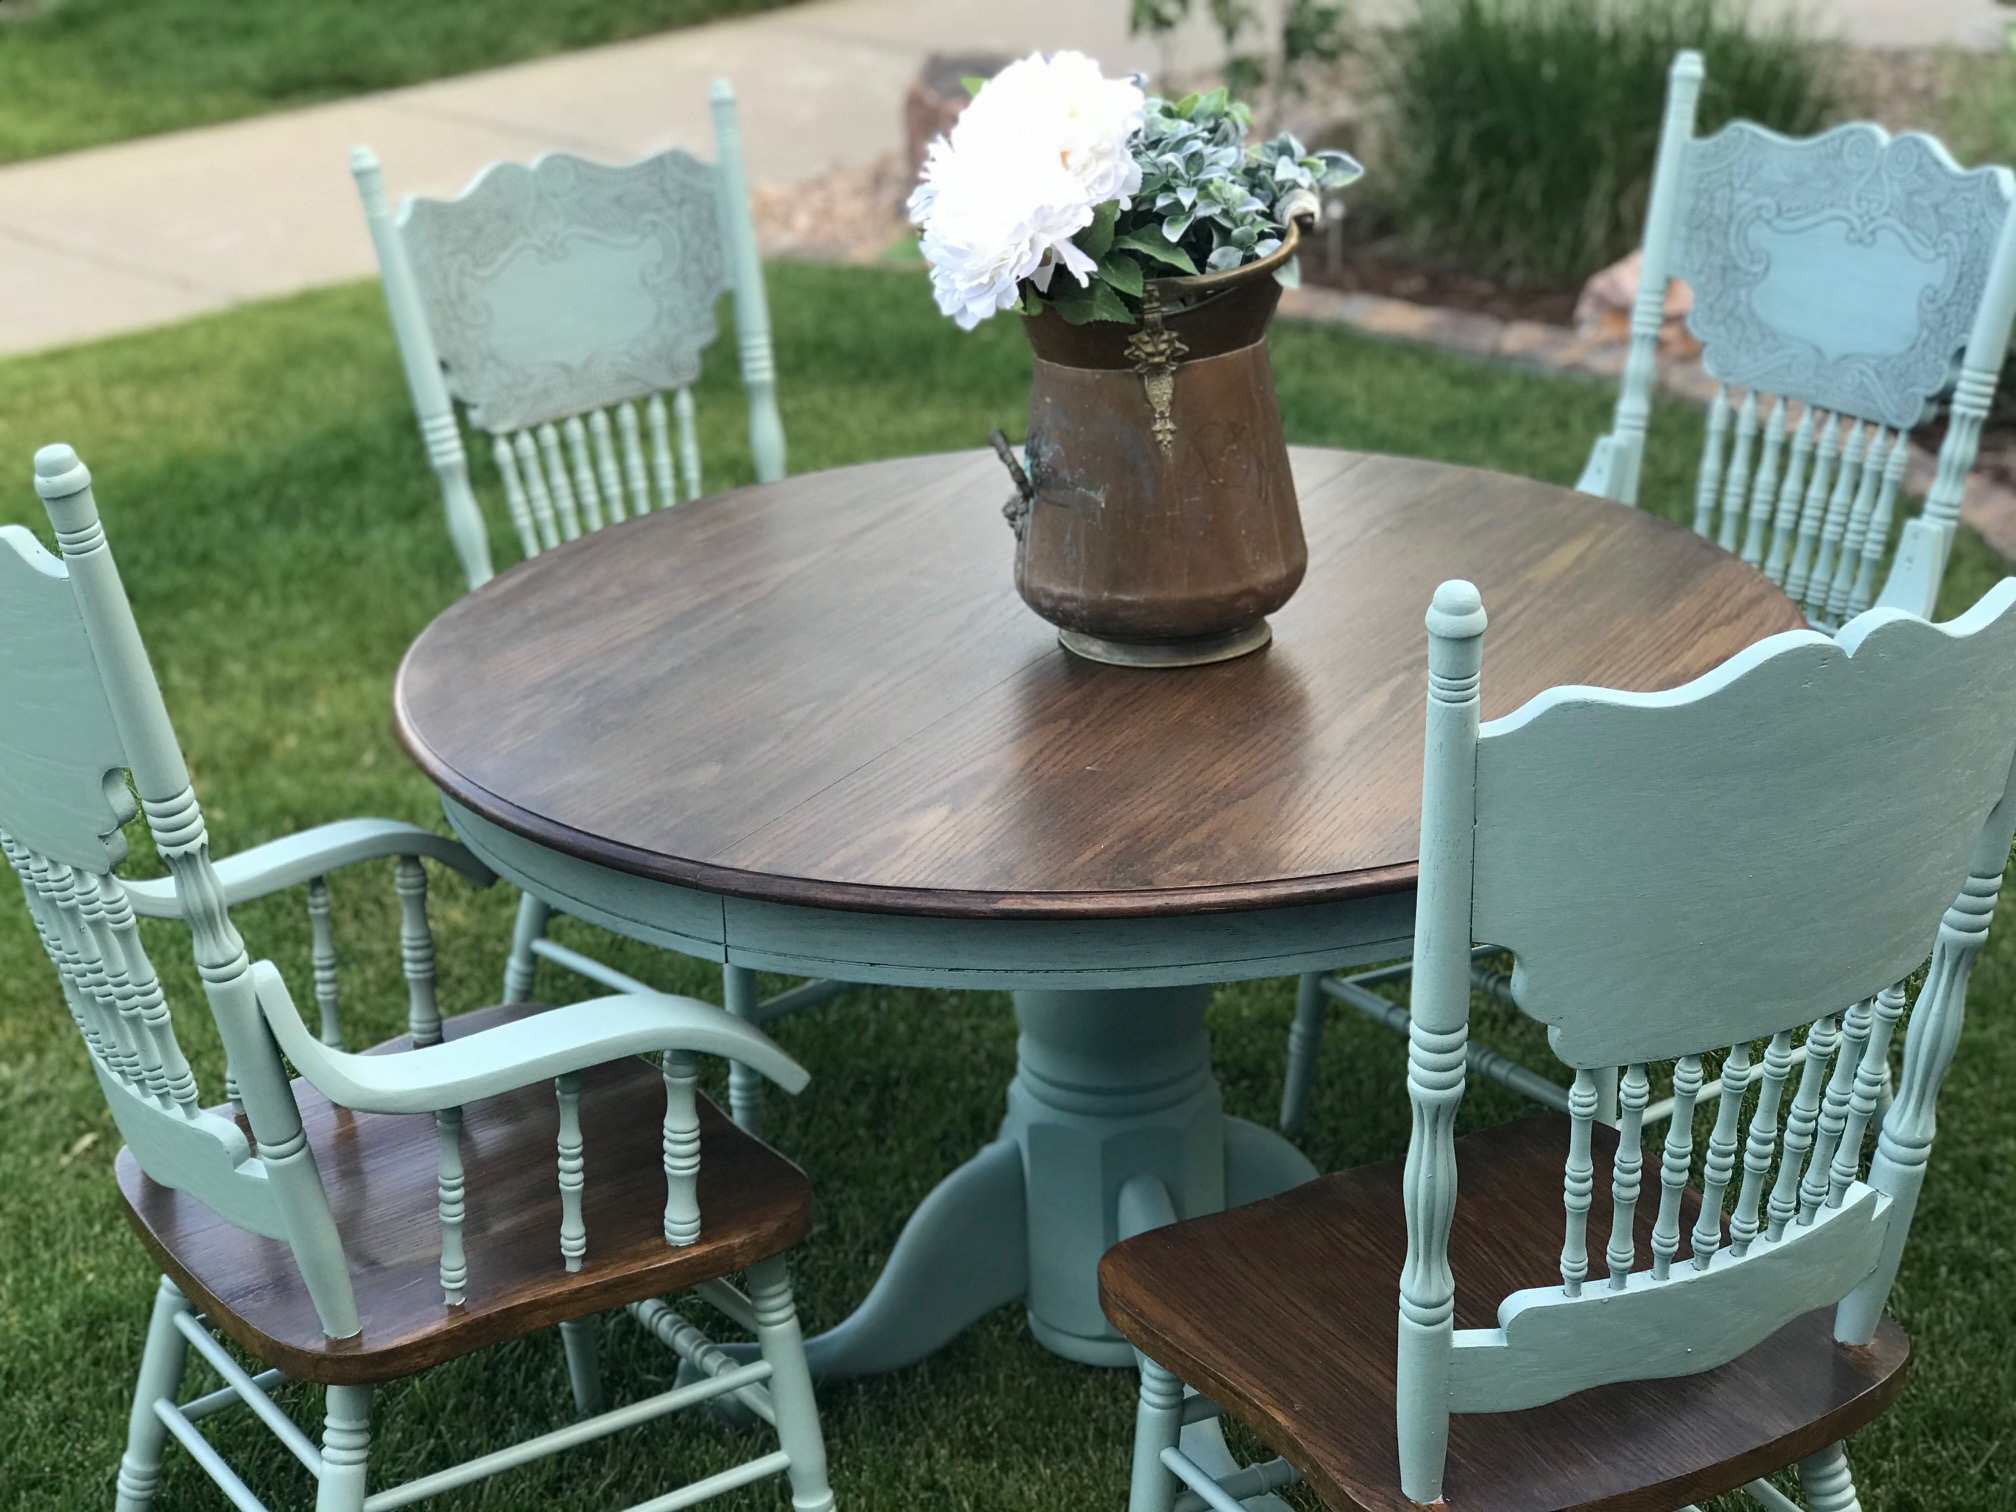
Adding Character to Your Home
 A
restored
retro kitchen table can be a focal point in your home, adding character and personality to your space. It's not just a piece of furniture, but a statement piece that tells a story. Imagine gathering around the table with your family and friends, enjoying a meal or playing a board game, and creating new memories while surrounded by the charm of the past.
Moreover, retro kitchen tables are not just for the kitchen. They can also be used in other areas of the home, such as a dining room, breakfast nook, or even as a desk in a home office. With its versatility, a restored retro kitchen table can add a unique touch to any room.
A
restored
retro kitchen table can be a focal point in your home, adding character and personality to your space. It's not just a piece of furniture, but a statement piece that tells a story. Imagine gathering around the table with your family and friends, enjoying a meal or playing a board game, and creating new memories while surrounded by the charm of the past.
Moreover, retro kitchen tables are not just for the kitchen. They can also be used in other areas of the home, such as a dining room, breakfast nook, or even as a desk in a home office. With its versatility, a restored retro kitchen table can add a unique touch to any room.
The Joy of DIY Restoration
 Restoring a retro kitchen table can also be a fun and fulfilling DIY project. With some sanding, painting, and a little creativity, you can transform a worn-out table into a beautiful and functional piece of furniture. You can also involve your family in the restoration process, making it a fun bonding activity.
In conclusion, reviving a retro kitchen table is a great way to add charm and character to your home. It's a simple yet impactful way to infuse your space with nostalgia and create a warm and welcoming atmosphere. So why not give your old retro kitchen table a new lease on life and bring back the good old days to your home?
Restoring a retro kitchen table can also be a fun and fulfilling DIY project. With some sanding, painting, and a little creativity, you can transform a worn-out table into a beautiful and functional piece of furniture. You can also involve your family in the restoration process, making it a fun bonding activity.
In conclusion, reviving a retro kitchen table is a great way to add charm and character to your home. It's a simple yet impactful way to infuse your space with nostalgia and create a warm and welcoming atmosphere. So why not give your old retro kitchen table a new lease on life and bring back the good old days to your home?