How to Restain a Kitchen Table
Restaining a kitchen table can be a cost-effective and rewarding way to give your old table a fresh new look. Whether you want to change the color or just revamp the existing stain, restaining can transform the appearance of your kitchen table. However, this process can be intimidating, especially for those who have never attempted it before. But fear not, with the right materials and techniques, you can easily restain your kitchen table and give it a whole new life.


How to Restain a Kitchen Table


DIY Kitchen Table Restaining Guide
Restaining your kitchen table is a great DIY project that can save you money and give you a sense of accomplishment. Before you begin, gather all the necessary materials such as sandpaper, stain, and polyurethane. Make sure to choose a stain color that complements your kitchen's decor and matches your personal preference. Once you have everything you need, follow these simple steps to achieve a professional-looking restained kitchen table.


DIY Kitchen Table Restaining Guide


Steps for Restaining a Kitchen Table
The first step to restaining a kitchen table is to sand the surface of the table. This will help remove any existing stain, varnish, or paint and allow the new stain to penetrate the wood. Use medium-grit sandpaper to sand in the direction of the wood grain. After sanding, clean the table with a damp cloth to remove any dust or debris. Next, apply the new stain using a brush or cloth, following the instructions on the product. Let the stain dry completely before applying a second coat or a layer of polyurethane for added protection.


Steps for Restaining a Kitchen Table


Best Stain for Kitchen Table
Choosing the right stain for your kitchen table is crucial to achieving the desired look. Gel stains are a popular choice for kitchen tables as they are easy to apply and provide a rich, even color. They also have a longer drying time, which allows for more control over the application. Oil-based stains are also a good option as they penetrate the wood deeply and provide a durable finish. They are available in a variety of colors and are easy to work with. Ultimately, the best stain for your kitchen table will depend on your personal preference and the type of wood your table is made of.


Best Stain for Kitchen Table


Restaining vs Refinishing a Kitchen Table
Restaining and refinishing are two different processes that can both give your kitchen table a new look. Restaining involves changing the color of the existing stain, while refinishing involves stripping off the old stain and applying a new one. Restaining is a quicker and easier process, whereas refinishing requires more time and effort. However, refinishing allows you to completely change the look of your kitchen table, whereas restaining only changes the color.


Restaining vs Refinishing a Kitchen Table


Tips for Restaining a Kitchen Table
Restaining a kitchen table can be a messy and time-consuming process, but with these tips, you can make it a smoother and more efficient experience. First, always sand in the direction of the wood grain to avoid creating scratches. Second, wear gloves to protect your hands from the stain and use a drop cloth to protect your floors. Third, apply the stain in thin, even coats to avoid drips and blotches. Lastly, make sure to let the stain dry completely before applying a second coat or polyurethane.


Tips for Restaining a Kitchen Table


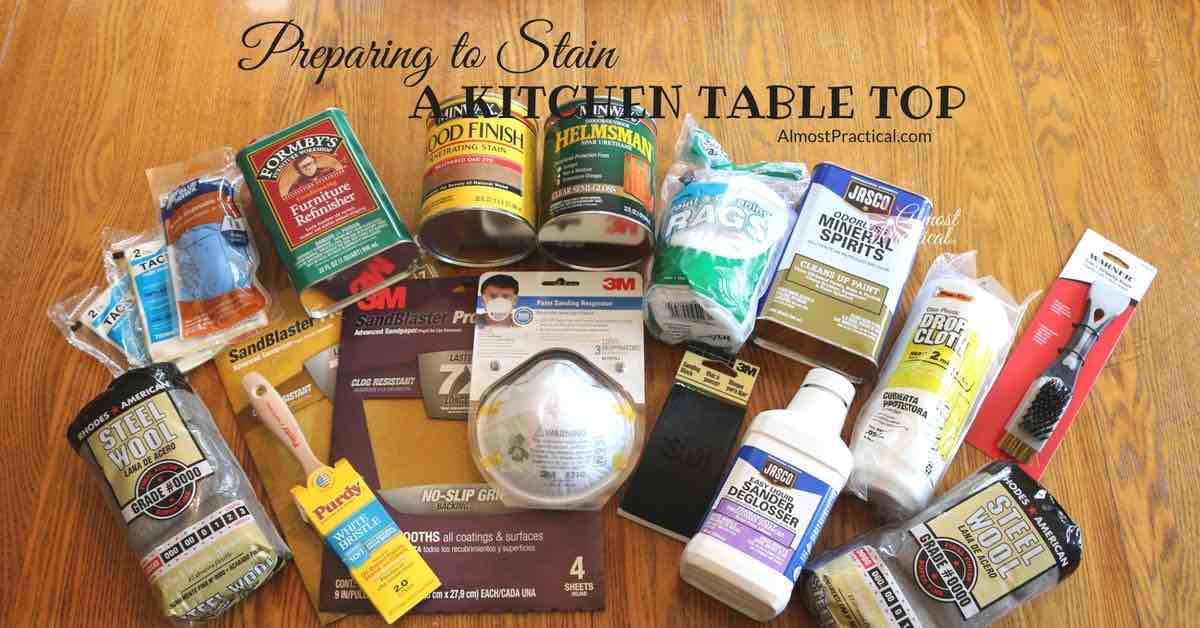
Materials Needed for Restaining a Kitchen Table
To restain your kitchen table, you will need the following materials:


Materials Needed for Restaining a Kitchen Table


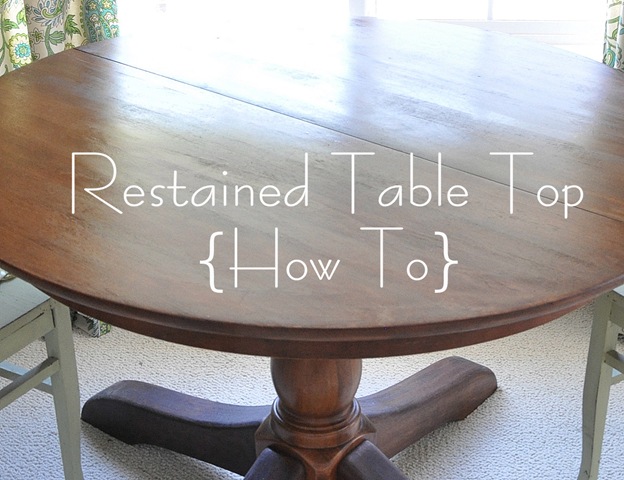
Restaining a Kitchen Table: Before and After
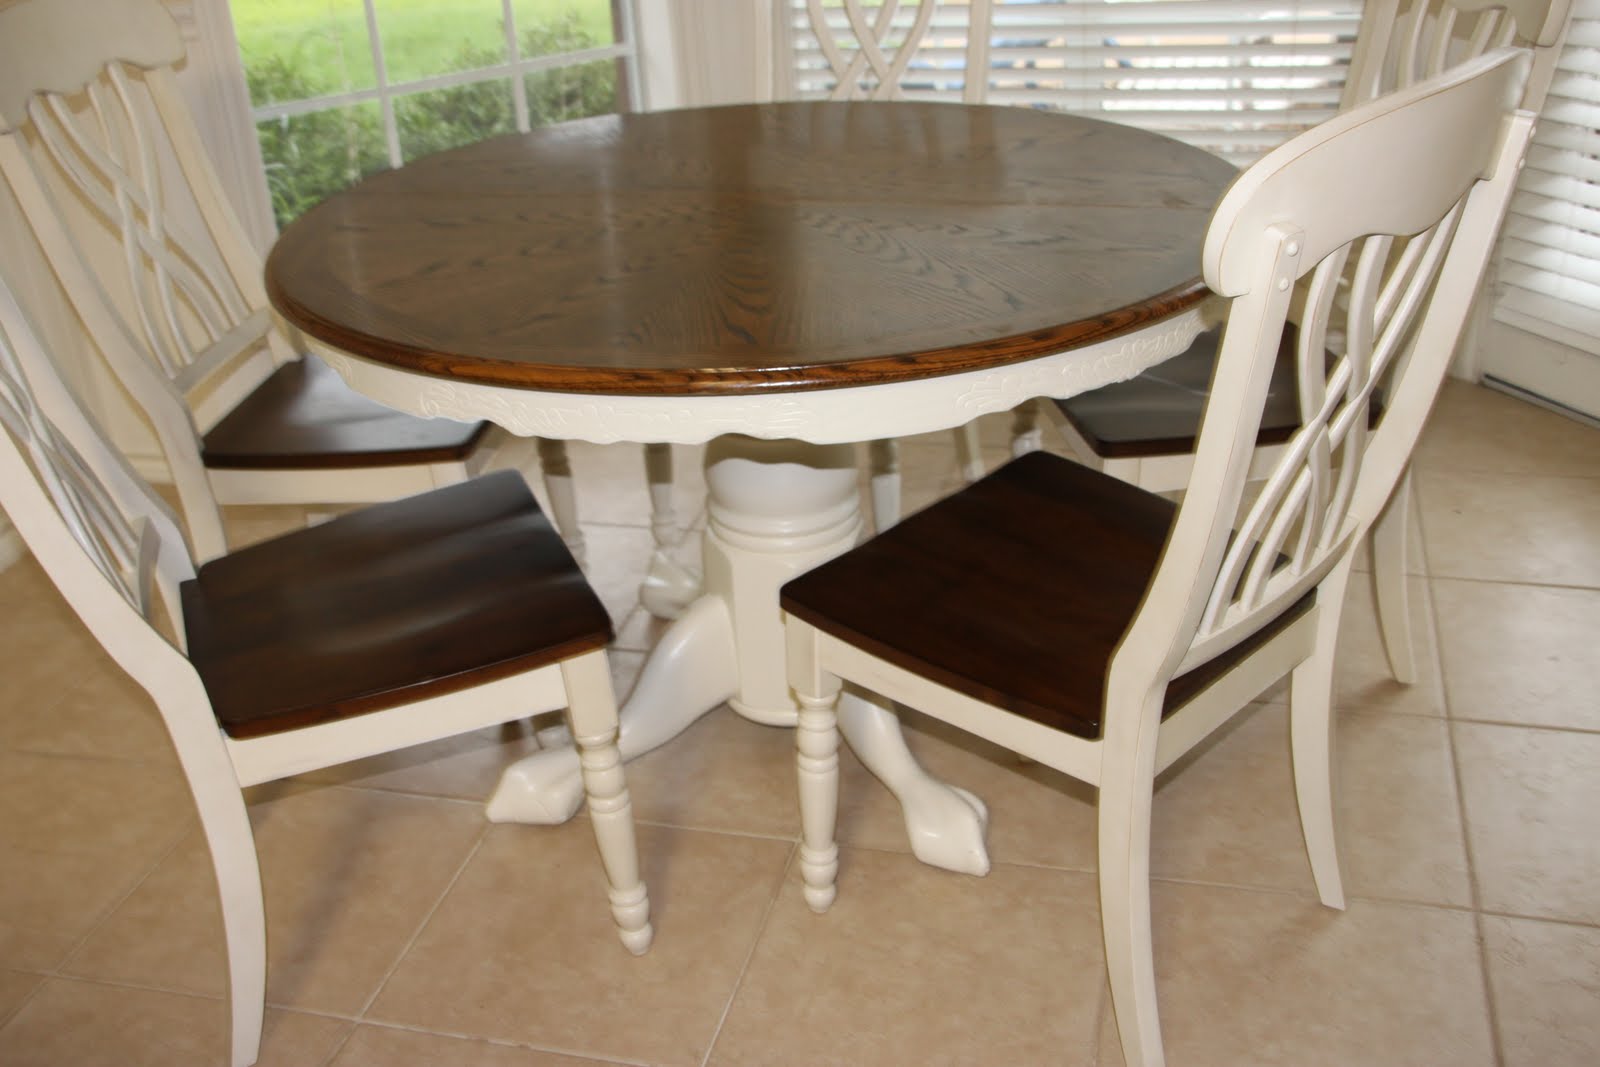
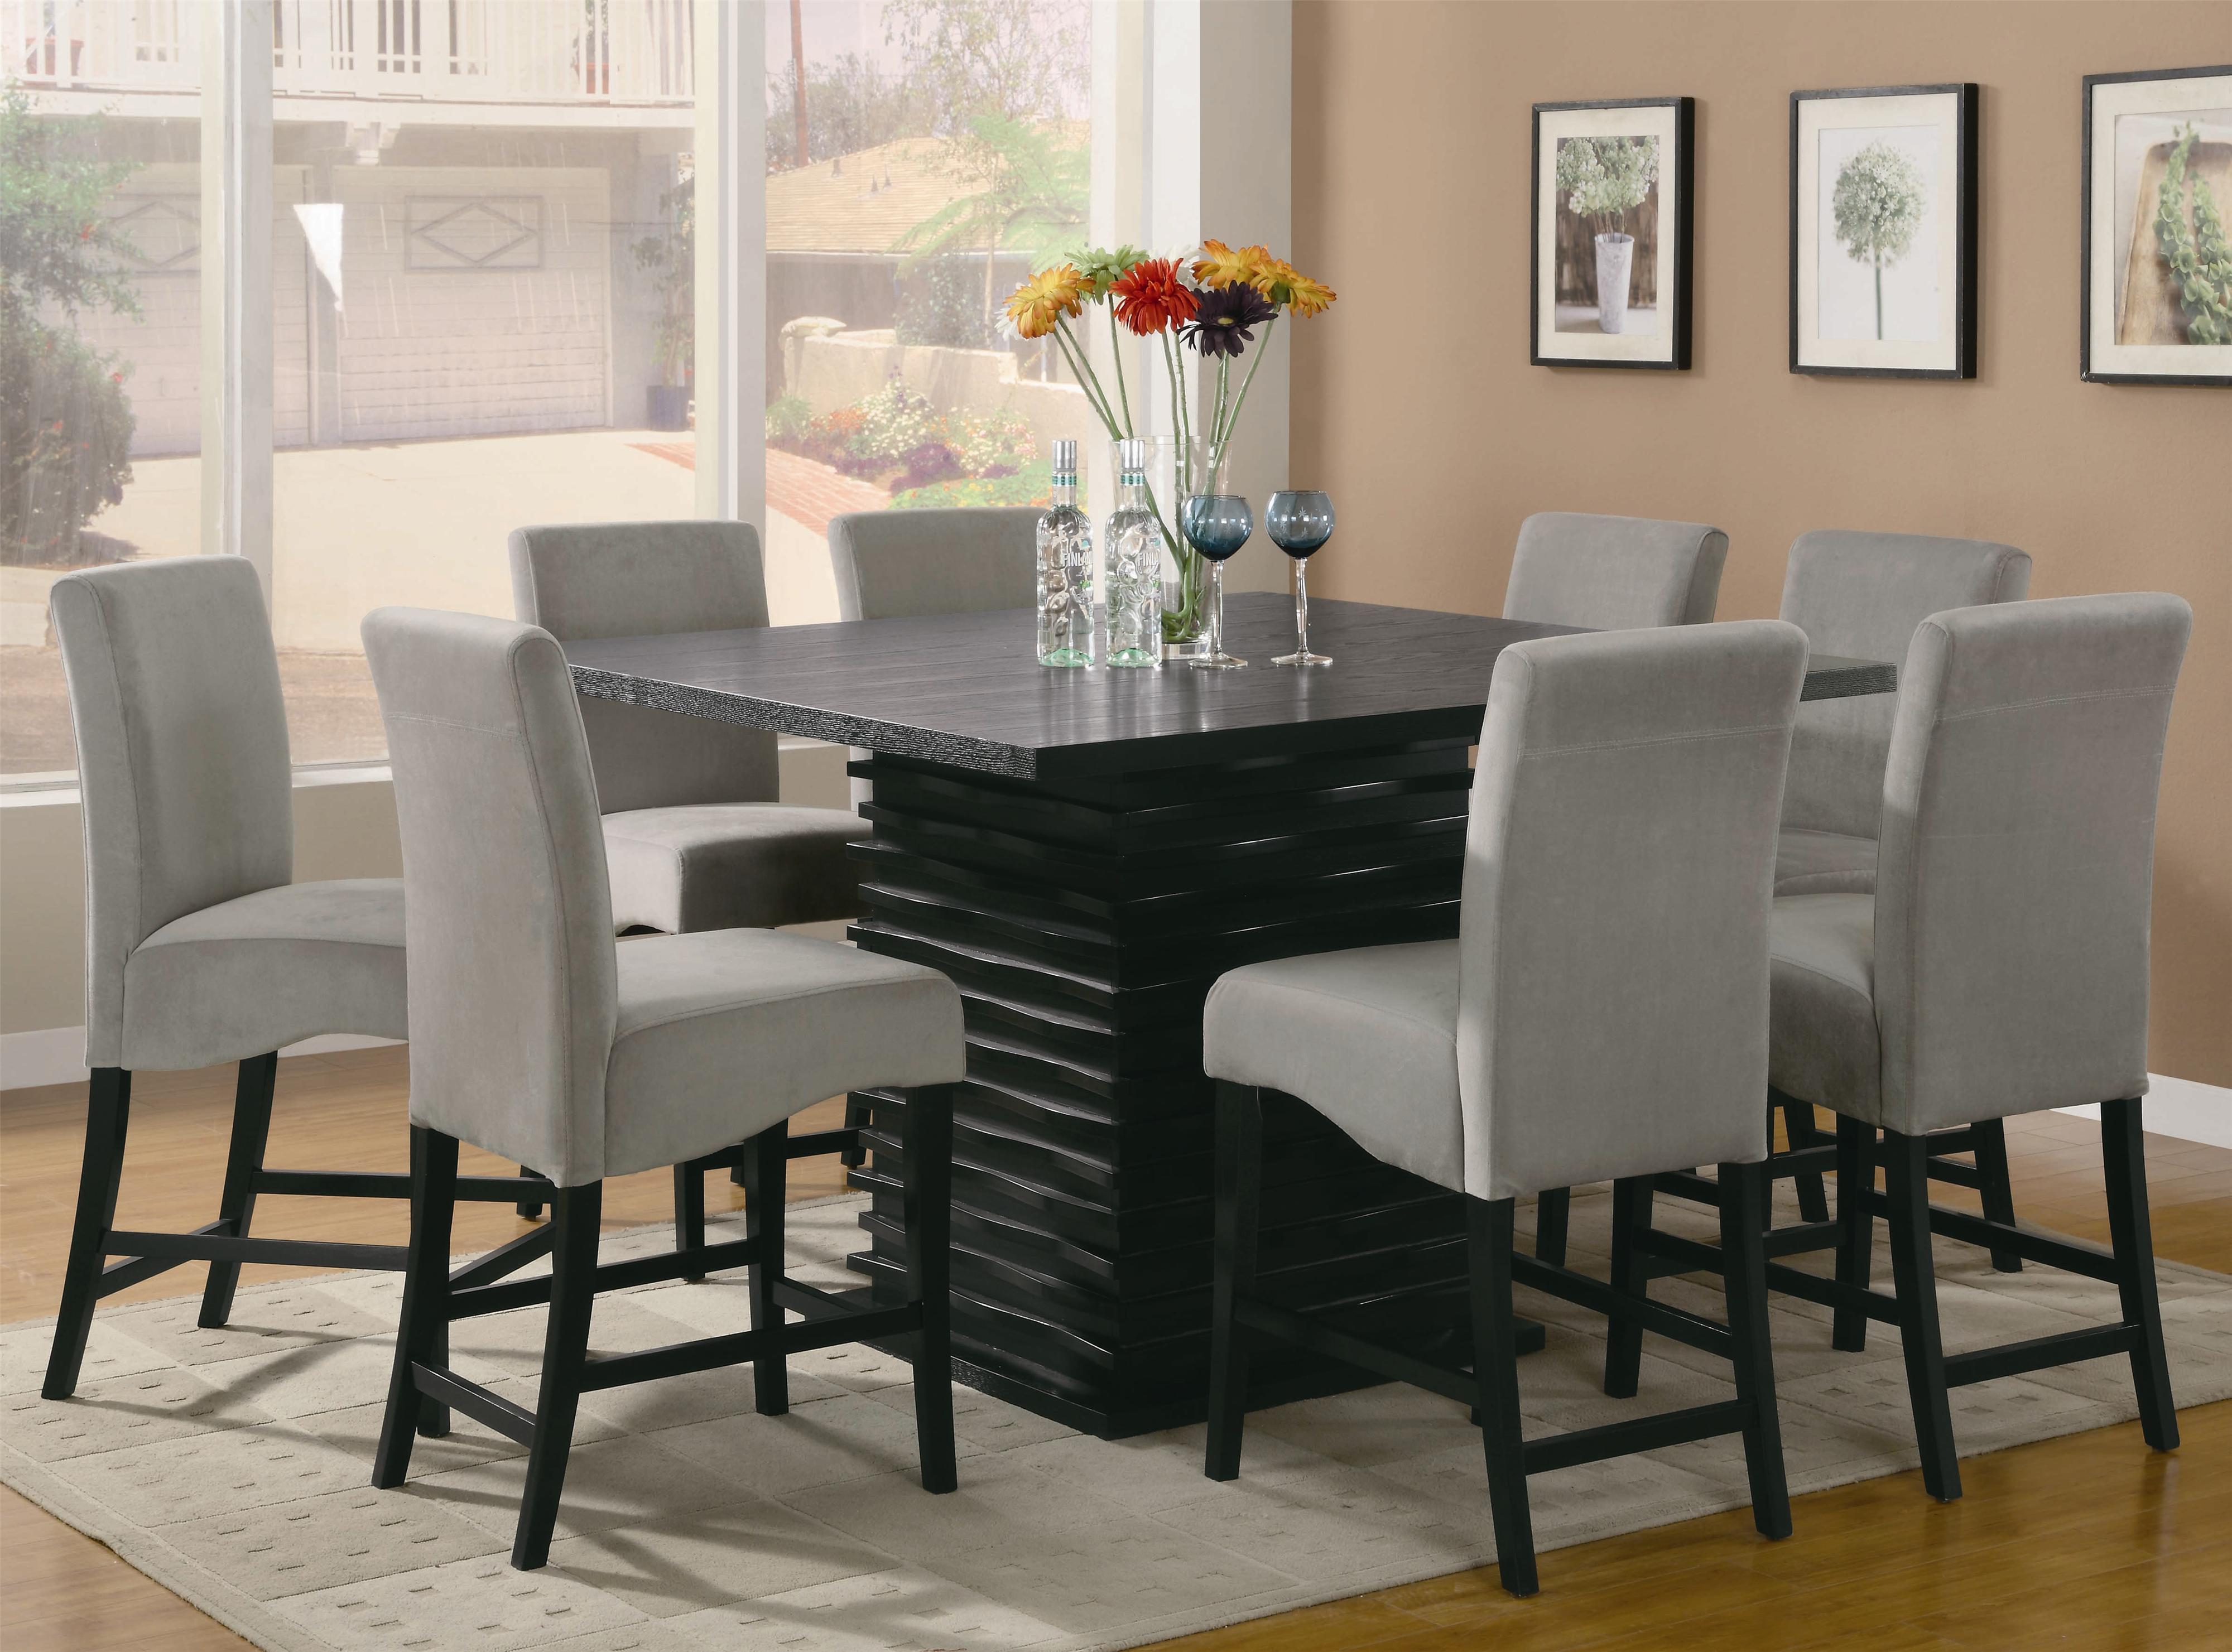
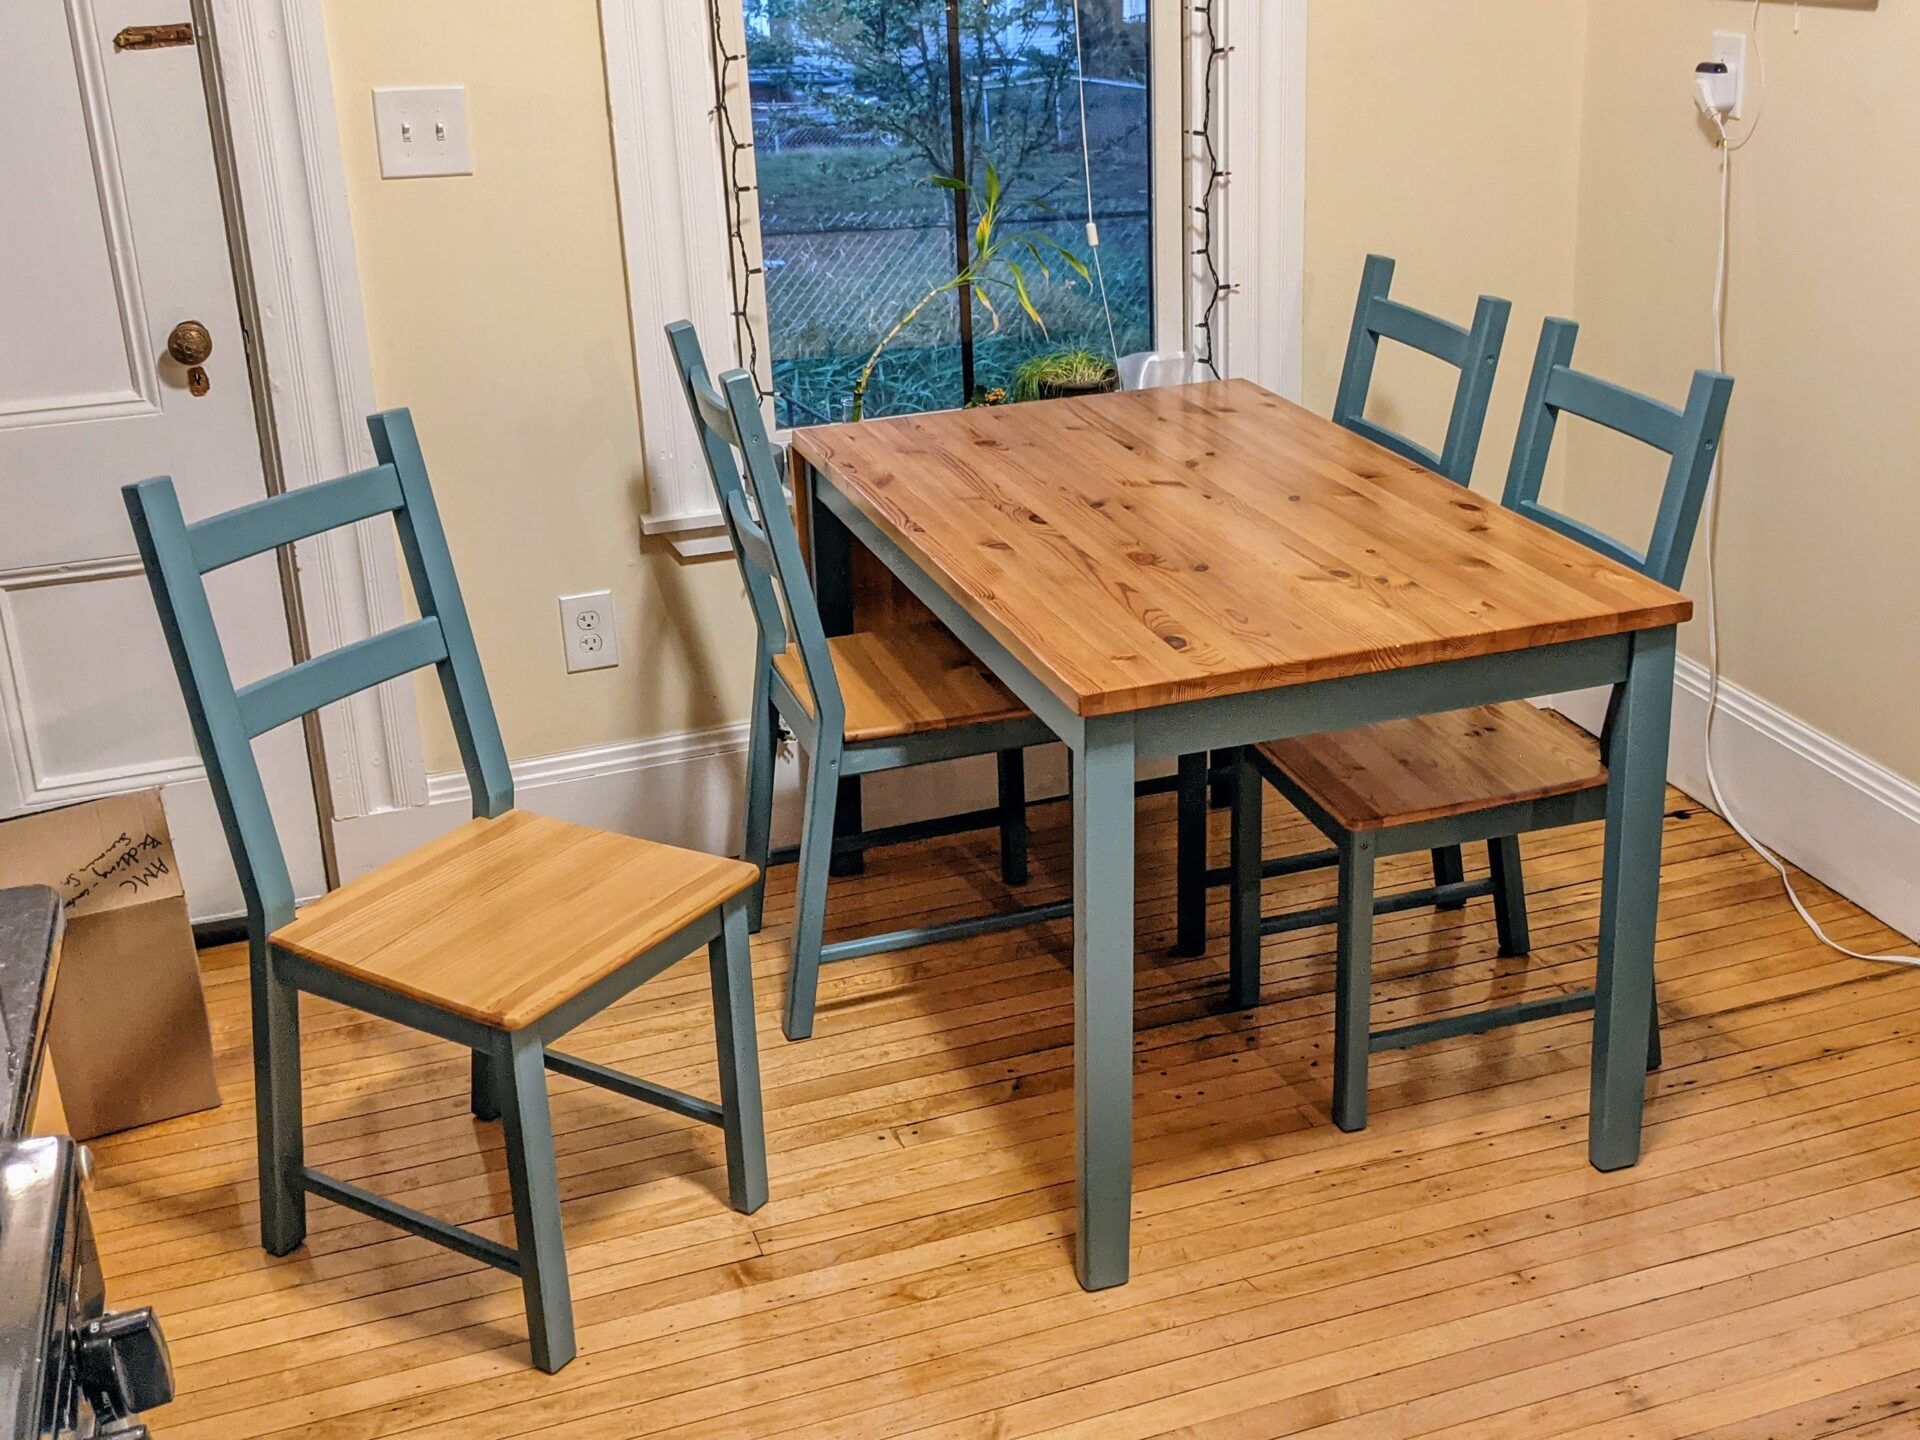
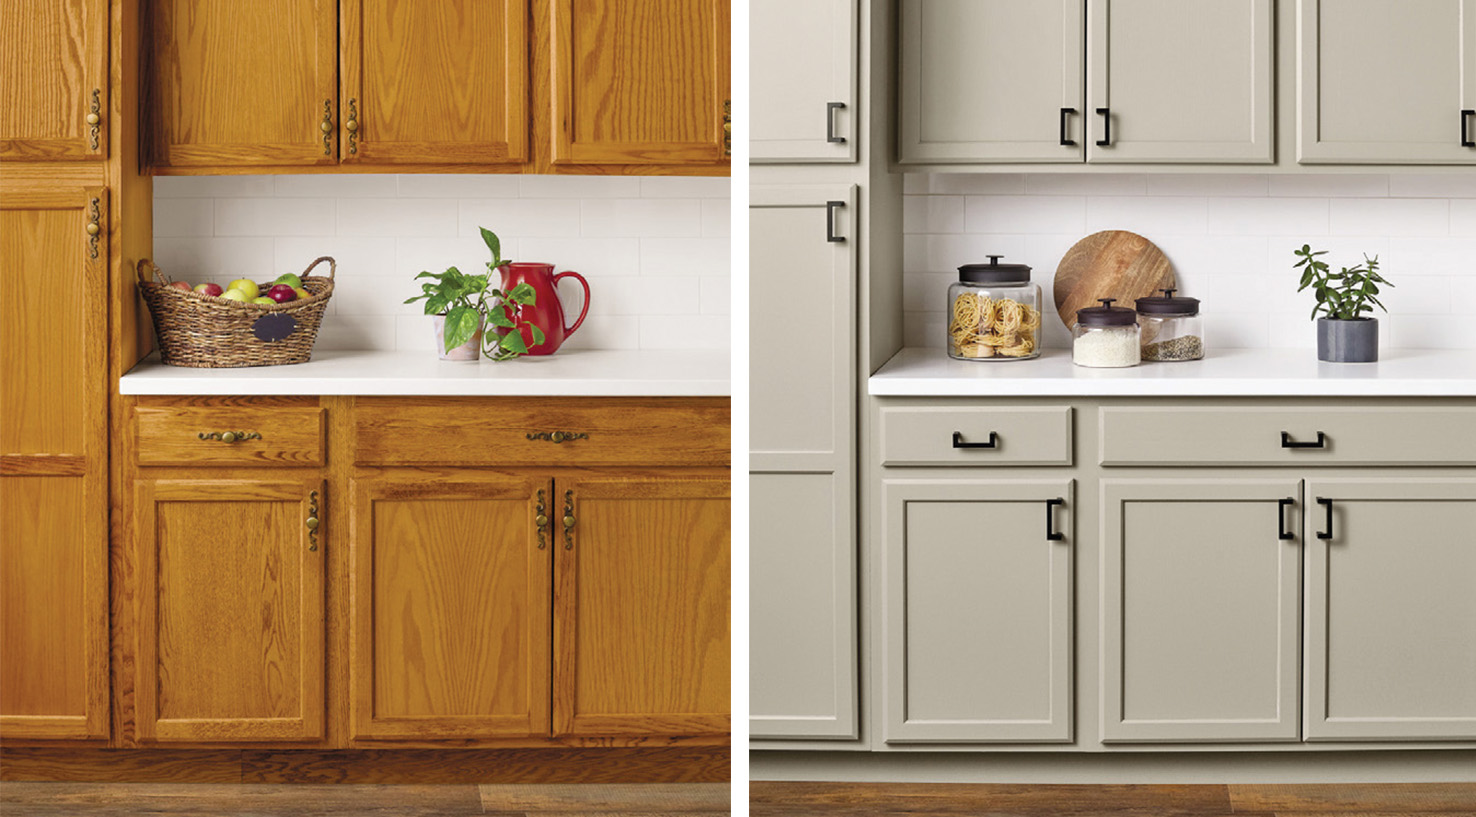
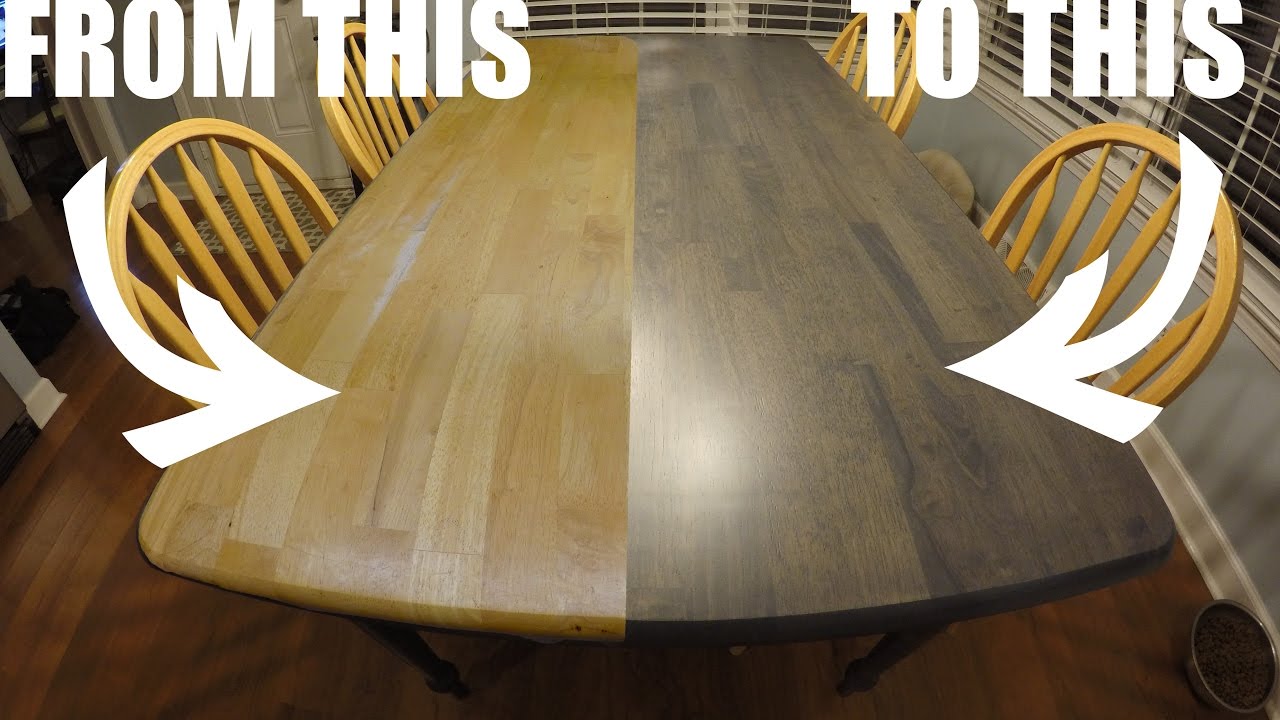
The transformation of a restained kitchen table can be truly remarkable. Before, your table may have looked dull and worn out, but with a new stain, it can look brand new and add a fresh touch to your kitchen. The color of the stain can dramatically change the overall look and feel of your kitchen, so choose wisely and enjoy the before and after of your restained kitchen table.

Restaining a Kitchen Table: Before and After


How Long Does it Take to Restain a Kitchen Table?
The time it takes to restain a kitchen table can vary depending on the size of the table and the type of stain used. On average, it can take anywhere from 2-6 hours to complete the restaining process. This includes sanding, staining, and letting the stain dry. However, if you are refinishing your kitchen table, it may take longer as you will need to strip off the old stain first.


How Long Does it Take to Restain a Kitchen Table?


Common Mistakes When Restaining a Kitchen Table
Restaining a kitchen table may seem like a simple process, but there are some common mistakes that can easily be avoided. One of the most common mistakes is not sanding the table properly, which can result in a blotchy finish. Another mistake is not letting the stain dry completely before applying a second coat or polyurethane. This can lead to a sticky and uneven finish. It is also essential to choose the right stain color and type for your table to avoid disappointment with the end result.


Common Mistakes When Restaining a Kitchen Table


Restaining a Kitchen Table: A Simple Guide for a Fresh and Updated Look

Why Restain Your Kitchen Table?
 If you're looking to give your kitchen a fresh and updated look, one of the easiest and most cost-effective ways is by restaining your kitchen table. Over time, tables can become worn and faded, losing their once vibrant color and shine. However, restaining can breathe new life into your table, making it look brand new again. It's also a great way to add a personal touch to your kitchen design and match it with your overall house décor.
Choosing the Right Stain
 When it comes to restaining a kitchen table, choosing the right stain is crucial. There are a variety of stains available on the market, from oil-based to water-based, and each one has its own unique finish and color options. It's important to consider the type of wood your table is made of and the look you want to achieve before deciding on a stain. For example, if you have a dark wood table and want to lighten it up, a water-based stain would be a better choice as it gives a more subtle and natural finish.
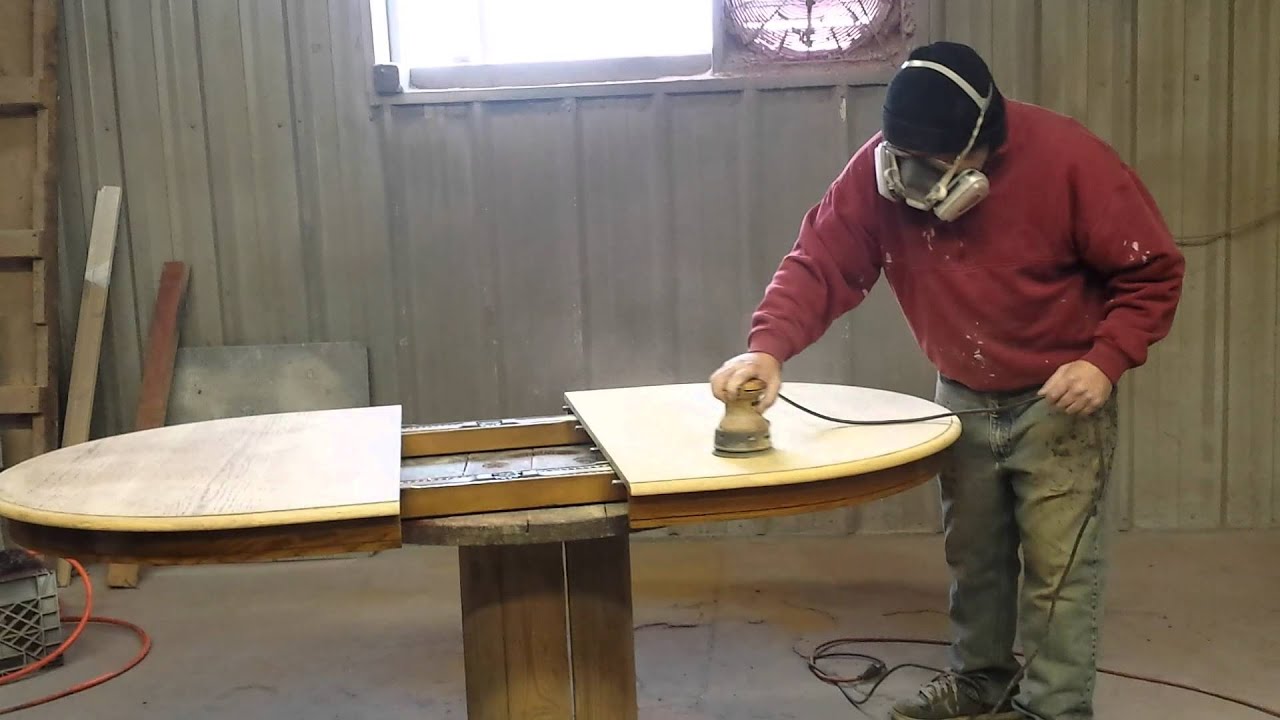
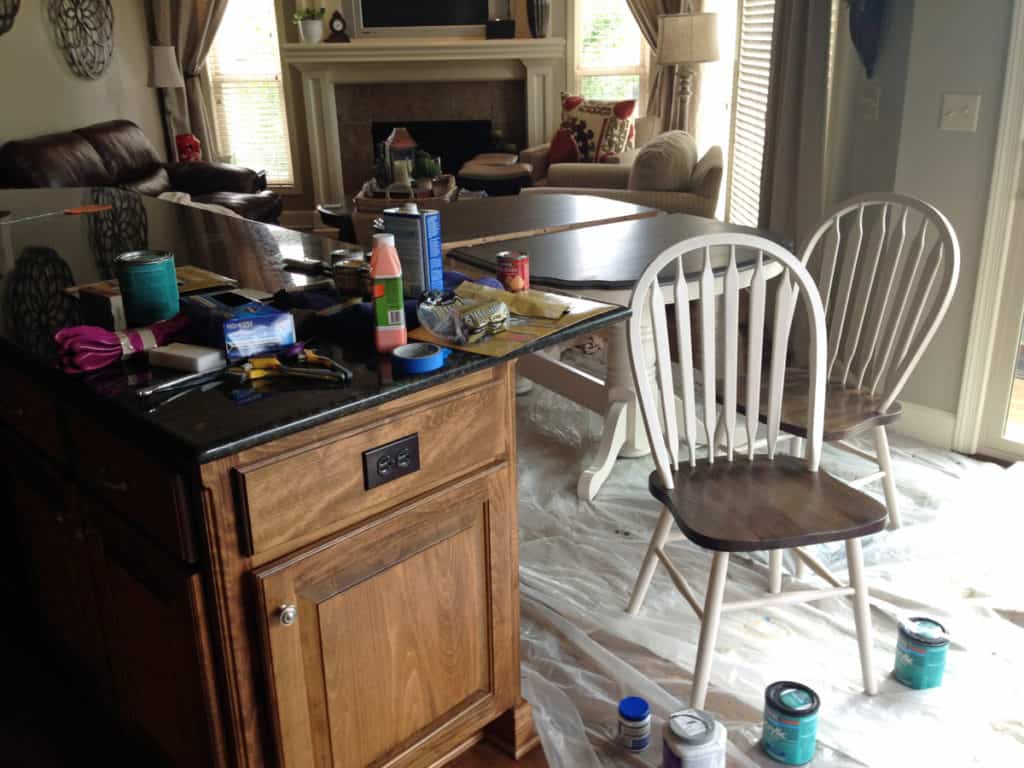
Preparing Your Table for Restaining
 Before starting the restaining process, it's essential to prepare your table properly. Begin by removing any hardware, such as handles or knobs, and giving the table a thorough cleaning. This will help ensure that the stain adheres evenly to the surface. Sanding the table is also essential, as it helps remove any previous stain or finish and allows for a smooth and even application of the new stain.
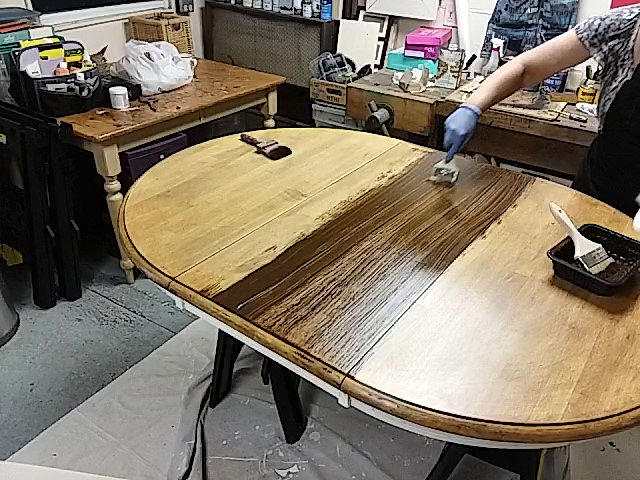
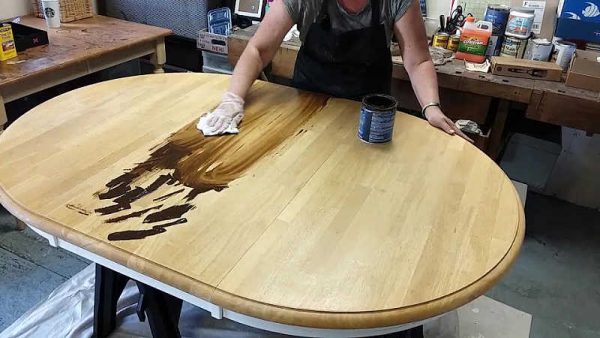
Applying the Stain
 Now comes the fun part – applying the stain! It's important to follow the manufacturer's instructions and use a quality brush or cloth to apply the stain in the direction of the wood grain.
Be sure to use gloves and work in a well-ventilated area, as some stains can be harsh and have strong fumes.
Apply multiple thin coats rather than one thick coat to achieve a more even and natural finish. Once the final coat is applied, let it dry completely before moving on to the next step.
Now comes the fun part – applying the stain! It's important to follow the manufacturer's instructions and use a quality brush or cloth to apply the stain in the direction of the wood grain.
Be sure to use gloves and work in a well-ventilated area, as some stains can be harsh and have strong fumes.
Apply multiple thin coats rather than one thick coat to achieve a more even and natural finish. Once the final coat is applied, let it dry completely before moving on to the next step.
Sealing the Stained Table
 To protect your newly restained table from daily wear and tear, it's essential to seal it with a polyurethane finish. This will also give your table a beautiful glossy shine.
Choose between a satin, semi-gloss, or high-gloss finish, depending on your personal preference.
Apply the finish with a brush or cloth and let it dry completely before using your table.
To protect your newly restained table from daily wear and tear, it's essential to seal it with a polyurethane finish. This will also give your table a beautiful glossy shine.
Choose between a satin, semi-gloss, or high-gloss finish, depending on your personal preference.
Apply the finish with a brush or cloth and let it dry completely before using your table.
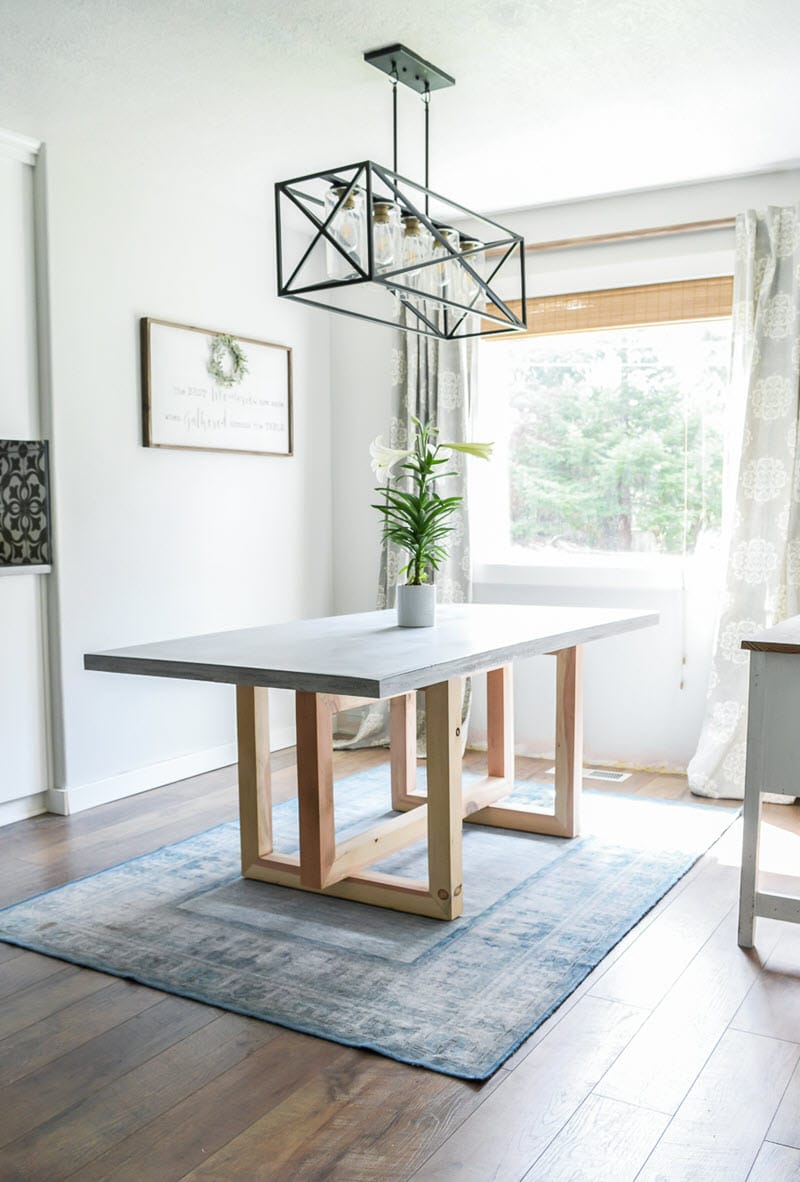
Enjoy Your Fresh and Updated Kitchen Table
 And that's it – you now have a beautifully restained kitchen table that looks brand new! This simple and budget-friendly project can make a big impact on the overall look and feel of your kitchen. So why wait? Gather your supplies and give your kitchen table a fresh and updated look today!