If you've noticed water leaking from your kitchen sink or the caulk around the edges is starting to peel, it may be time to reseal your sink. Resealing your kitchen sink is an important maintenance task that can prevent water damage and increase the lifespan of your sink. Here's a step-by-step guide on how to reseal a kitchen sink.How to Reseal a Kitchen Sink
Resealing a kitchen sink is a task that can easily be done by homeowners without the need for professional help. Not only will you save money, but you'll also have the satisfaction of completing a DIY project. Here's everything you need to know about resealing your kitchen sink.DIY Kitchen Sink Resealing Guide
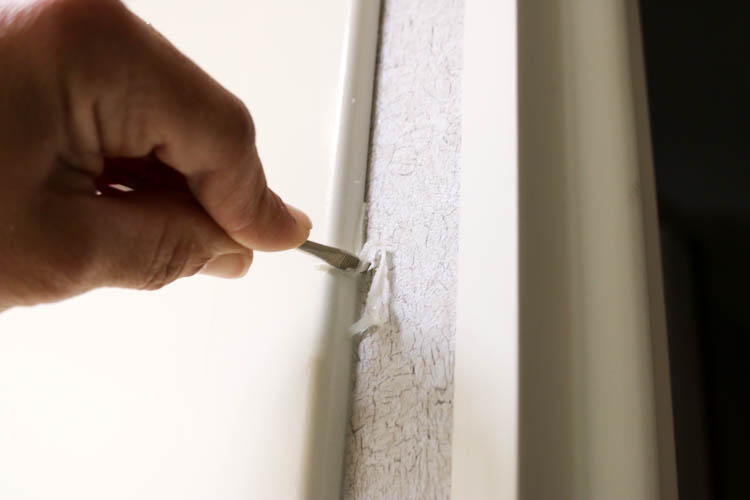
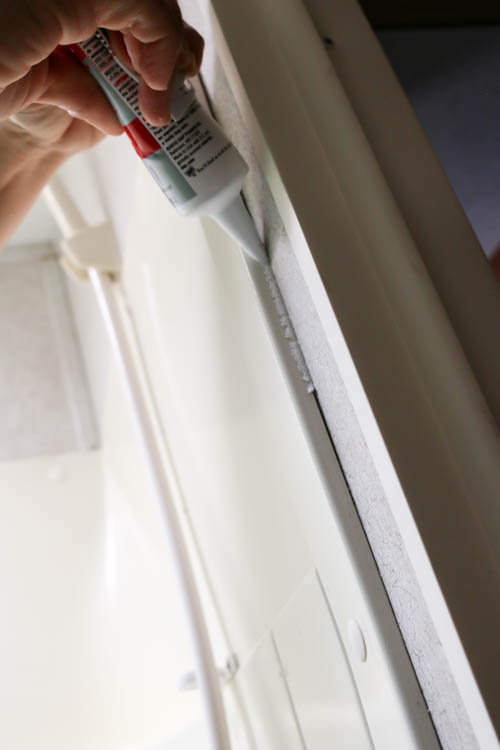
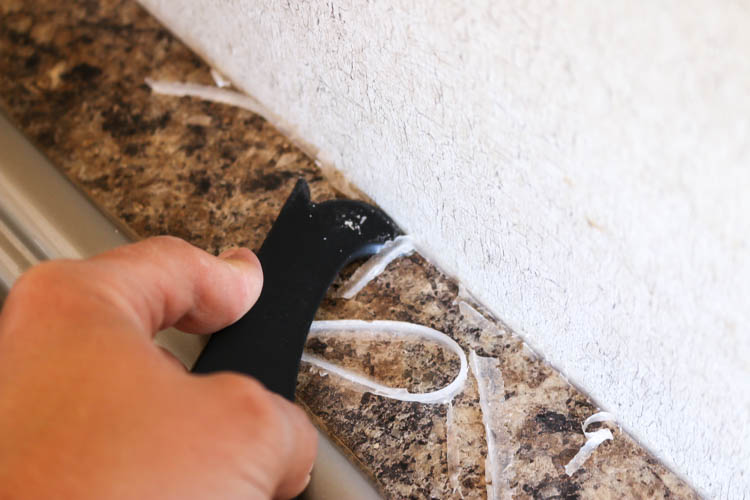
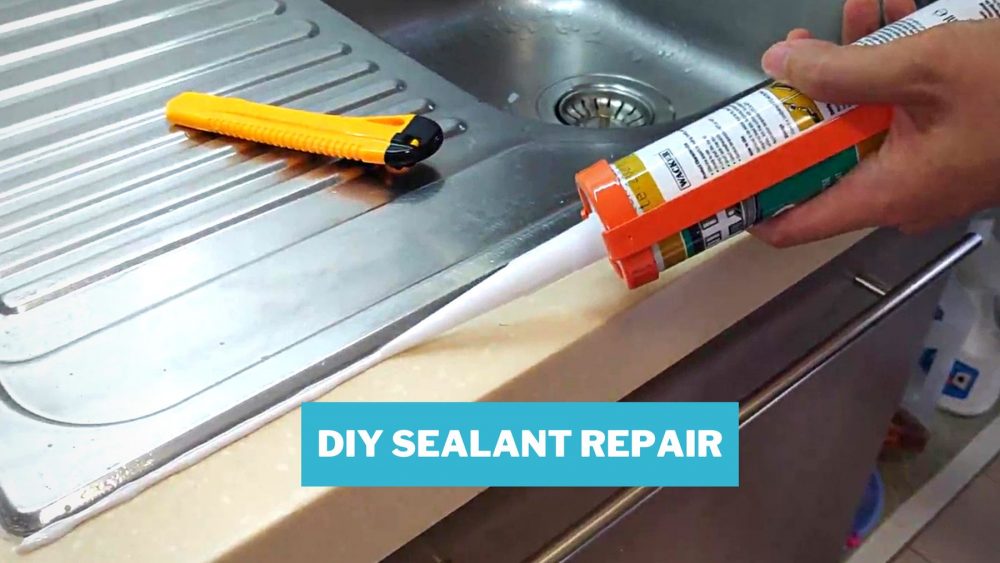
Before you begin, make sure you have all the necessary tools and materials. You'll need a caulk gun, caulk remover, caulk, a putty knife, and a damp cloth. Start by removing the old caulk using the caulk remover and a putty knife. Clean the area with a damp cloth and let it dry completely. Then, apply a new line of caulk around the edges of the sink and smooth it out with your finger or a putty knife. Let it dry for 24 hours before using the sink.Step-by-Step Kitchen Sink Resealing Process
When it comes to selecting the best caulk for resealing your kitchen sink, look for a waterproof and mold-resistant option. Silicone and polyurethane caulk are the most popular choices for kitchen sink resealing. Make sure to choose a caulk that is specifically designed for kitchen and bathroom use.Best Products for Resealing a Kitchen Sink
Resealing a kitchen sink may seem like a daunting task, but with these tips, you'll have a successful resealing experience. First, make sure to thoroughly clean the area before applying the new caulk. Use a damp cloth to remove any dirt and grime. Secondly, use a caulk gun for a more precise and even application. Finally, be patient and allow the caulk to dry completely before using the sink.Tips for a Successful Kitchen Sink Resealing
While resealing a kitchen sink may seem like a simple task, there are some common mistakes that homeowners make. One of the most common mistakes is not removing the old caulk completely. This can lead to uneven and ineffective sealing. Another mistake is using the wrong type of caulk, which can result in mold and mildew growth. Make sure to avoid these mistakes for a successful resealing process.Common Mistakes to Avoid When Resealing a Kitchen Sink
Some homeowners may choose to hire a professional to reseal their kitchen sink. While this can save time and effort, it can also be more expensive. DIY resealing can save you money, but it requires time and effort. It ultimately comes down to personal preference and budget. However, with the right tools and materials, resealing your kitchen sink can be a rewarding DIY project.Professional vs. DIY Kitchen Sink Resealing
The frequency of resealing your kitchen sink depends on the type of caulk used. Generally, it is recommended to reseal your sink every 1-2 years to prevent water damage and maintain the integrity of the caulk. However, if you notice any signs of wear or damage, it's best to reseal the sink immediately.How Often Should You Reseal Your Kitchen Sink?
Resealing your kitchen sink not only prevents water damage, but it also improves the overall appearance of your sink. It creates a clean and polished look, making your kitchen look more inviting. Additionally, resealing your sink can save you money in the long run by preventing costly repairs from water damage.Benefits of Resealing Your Kitchen Sink
It's important to keep an eye out for signs that your kitchen sink may need resealing. These signs include water leaks, peeling caulk, and mold growth. If you notice any of these signs, it's best to reseal your sink as soon as possible to prevent further damage. In conclusion, resealing your kitchen sink is an important maintenance task that should not be overlooked. With the right tools and materials, it can be a simple and rewarding DIY project. Make sure to follow these steps and tips for a successful resealing experience. Remember to check and reseal your sink regularly to prevent water damage and maintain the integrity of your sink. Signs That Your Kitchen Sink Needs Resealing
Why Resealing a Kitchen Sink is Important for Your Home Design

Protecting Your Kitchen Sink and Countertops
 When it comes to designing your kitchen, the sink is often overlooked. However, it is one of the most used and important features in your kitchen. A properly sealed sink not only adds to the aesthetic appeal of your kitchen, but it also helps to protect your countertops from water damage. Regularly resealing your kitchen sink can prevent water from seeping into the cracks and crevices, which can lead to costly repairs and replacements in the future.
Preventing Mold and Mildew Growth
 One of the main reasons for resealing a kitchen sink is to prevent mold and mildew growth. The constant exposure to water and moisture can create the perfect environment for these pesky and potentially harmful microorganisms to thrive. Resealing the sink and surrounding areas can create a barrier and prevent water from seeping into the porous materials, reducing the risk of mold and mildew growth.
Extending the Lifespan of Your Sink
 By regularly resealing your kitchen sink, you are also extending its lifespan. Over time, the sealant around your sink can wear down and become less effective. This can lead to water damage and even cause your sink to become loose or detached from the countertop. Resealing your sink can help to keep it in good condition and prevent any costly repairs or replacements in the future.
Enhancing Your Kitchen's Aesthetic Appeal
 Resealing a kitchen sink is not only important for its functionality and protection, but it can also enhance the overall aesthetic appeal of your kitchen. A cracked or worn out seal can make your sink look old and dull, taking away from the overall design of your kitchen. By resealing your sink, you can give it a fresh and polished look, adding to the overall beauty of your kitchen.
Conclusion
 In conclusion, resealing a kitchen sink is an important aspect of house design that should not be overlooked. It not only protects your sink and countertops, but it also prevents mold and mildew growth and extends the lifespan of your sink. Additionally, it can enhance the aesthetic appeal of your kitchen. Make sure to regularly reseal your kitchen sink to keep it in good condition and maintain the overall design of your home.





:max_bytes(150000):strip_icc()/kitchen-sink-159627080-57b602395f9b58ae7f5e9b9c.jpg)
