Replacing an Undermount Kitchen Sink with a Drop-In Sink
When it comes to kitchen design, the sink is an important element that often gets overlooked. A sink not only serves a functional purpose, but it can also enhance the overall look and feel of your kitchen. If you currently have an undermount sink and are looking to switch to a drop-in sink, you may be wondering how to go about it. In this article, we will discuss the steps and considerations for replacing an undermount kitchen sink with a drop-in sink.
How to Replace an Undermount Sink with a Drop-In Sink
The process of replacing an undermount kitchen sink with a drop-in sink may seem daunting, but with the right tools and knowledge, it can be a straightforward DIY project. Here is a step-by-step guide on how to replace your undermount sink with a drop-in sink.
Step-by-Step Guide for Replacing an Undermount Kitchen Sink with a Drop-In Sink
Step 1: Gather your materials and tools
Before starting the process, make sure you have all the necessary materials and tools. This includes the new drop-in sink, a drill, a jigsaw, a silicone caulk gun, a screwdriver, and a putty knife.
Step 2: Remove the old undermount sink
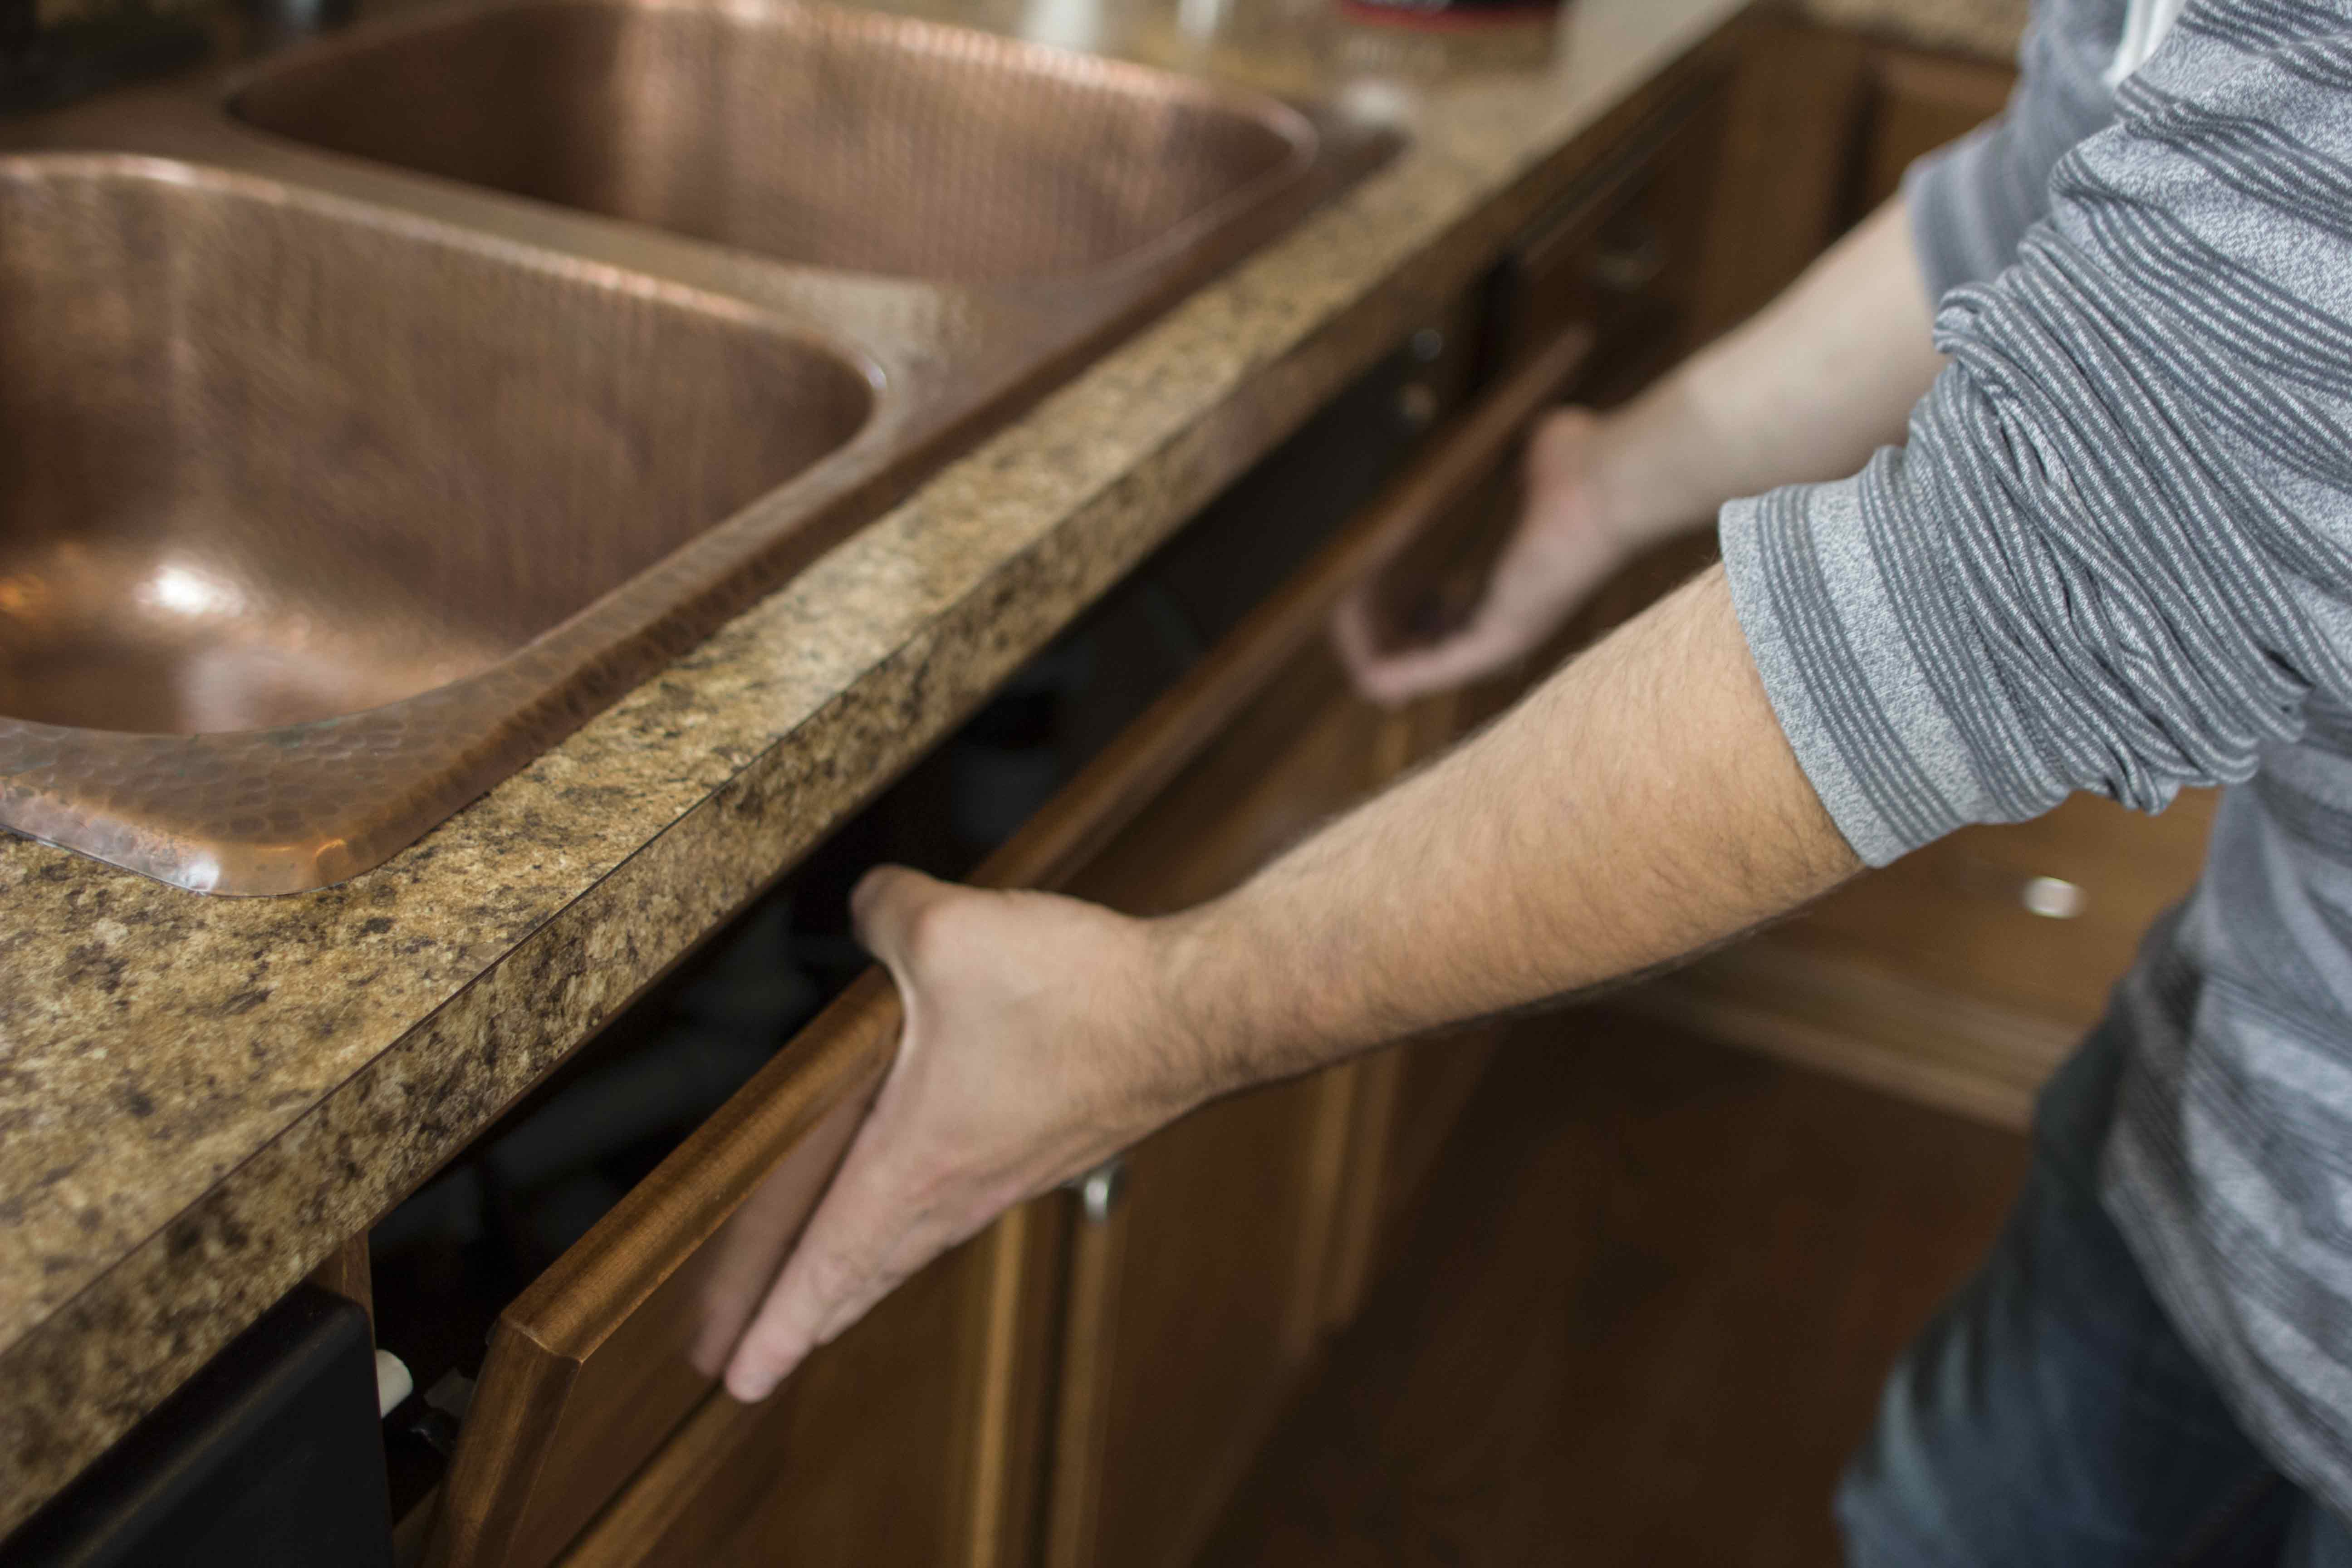
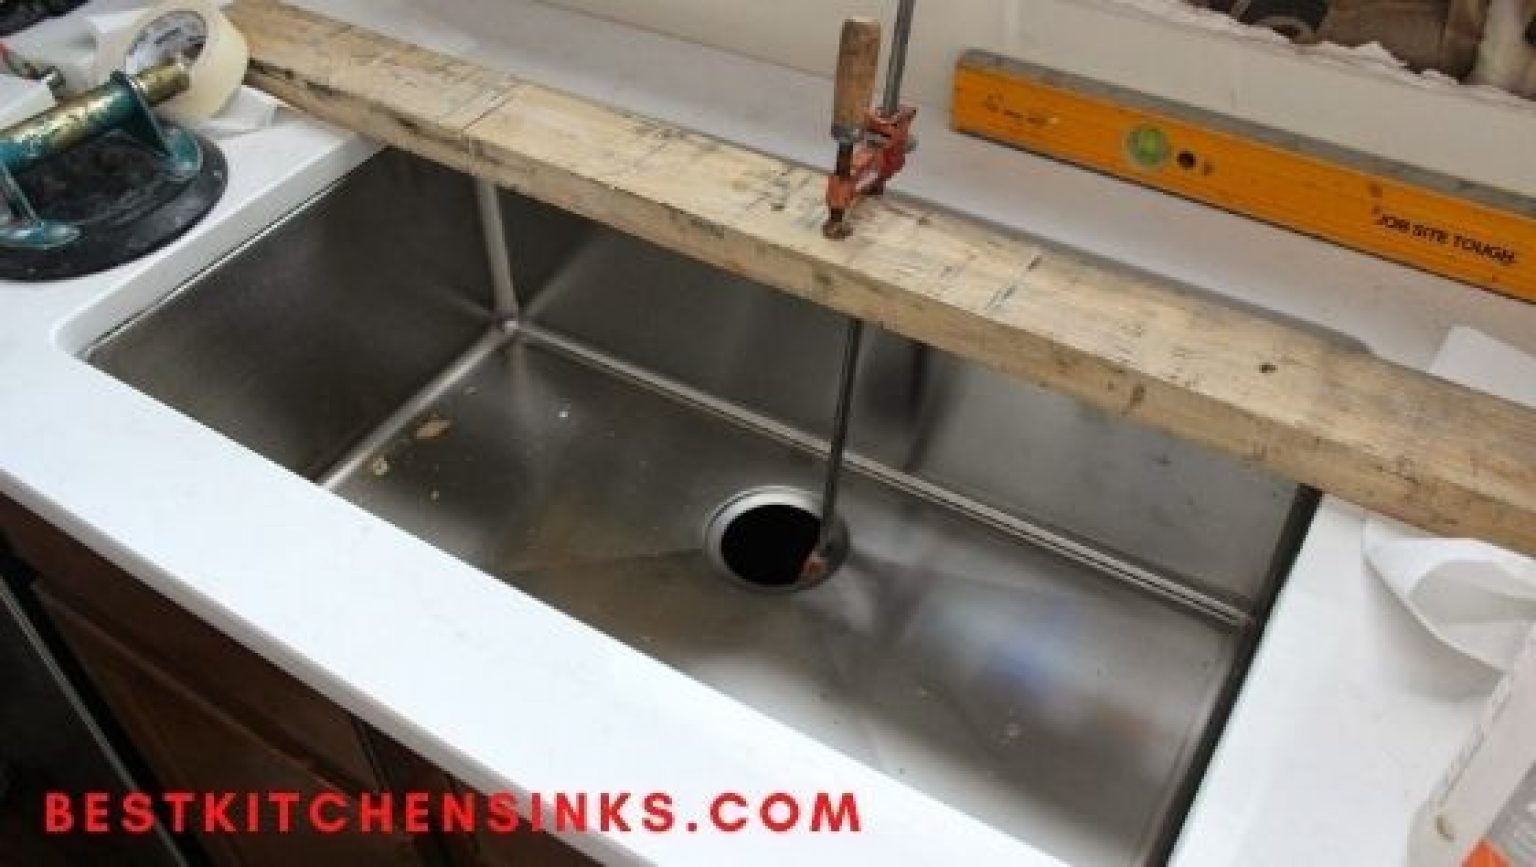
Start by disconnecting the plumbing and removing any clips or brackets that are holding the undermount sink in place. Use a putty knife to gently pry the sink away from the countertop. Once the sink is free, carefully lift it out of the countertop and set it aside.
Step 3: Measure and cut the countertop
Measure the size of your new drop-in sink and mark the dimensions on your countertop. Use a jigsaw to carefully cut along the marked lines. Be sure to wear protective eyewear and gloves while cutting.
Step 4: Install the new sink
Place the new drop-in sink into the cutout in the countertop. Make sure it is centered and level. If necessary, use shims to adjust the placement. Once the sink is in position, secure it by tightening the clips or brackets provided by the manufacturer.
Step 5: Connect the plumbing
Reconnect the plumbing using the appropriate fittings and connectors. Make sure everything is securely tightened to avoid any leaks.
Step 6: Apply caulk
Using a silicone caulk gun, apply a bead of caulk around the edges of the sink where it meets the countertop. This will help to seal the sink and prevent any water from leaking into the cabinets below.
Step 7: Clean up
Wipe away any excess caulk and clean up the area around the sink. Let the caulk dry completely before using the sink.
DIY: Replacing an Undermount Kitchen Sink with a Drop-In Sink
While hiring a professional to replace your undermount sink with a drop-in sink is always an option, it can also be a DIY project for those who are handy and have the necessary tools. By doing it yourself, you can save on labor costs and have the satisfaction of completing the project on your own.
Tools and Materials Needed for Replacing an Undermount Kitchen Sink with a Drop-In Sink
Tools:
- Drill
- Jigsaw
- Screwdriver
- Silicone caulk gun
- Putty knife
Materials:
- New drop-in sink
- Shims (if needed)
- Plumbers putty or caulk
Pros and Cons of Replacing an Undermount Kitchen Sink with a Drop-In Sink
Pros:
- Drop-in sinks are easier to install than undermount sinks
- Drop-in sinks are more affordable
- Drop-in sinks come in a wider variety of styles and materials
Cons:
- Drop-in sinks can be more difficult to clean around the edges
- Drop-in sinks may not provide as sleek of a look as undermount sinks
Cost of Replacing an Undermount Kitchen Sink with a Drop-In Sink
The cost of replacing an undermount kitchen sink with a drop-in sink can vary depending on the type of sink you choose and whether you hire a professional or do it yourself. On average, the cost can range from $200 to $500.
Common Mistakes to Avoid When Replacing an Undermount Kitchen Sink with a Drop-In Sink
Mistake 1: Not measuring correctly
Before cutting your countertop, make sure to double-check the measurements to ensure your new sink will fit properly.
Mistake 2: Not securing the sink properly
Failing to properly secure the sink with clips or brackets can lead to leaks and damage to your countertop.
Mistake 3: Not using the right tools
Using the wrong tools can not only make the job more difficult but also potentially damage your sink or countertop.
Tips for a Successful Undermount to Drop-In Sink Replacement
- Take your time and follow the steps carefully
- Have all the necessary tools and materials on hand before starting
- If you're unsure about any step, consult a professional for advice
Professional vs. DIY: Replacing an Undermount Kitchen Sink with a Drop-In Sink
As mentioned, replacing an undermount kitchen sink with a drop-in sink can be a DIY project. However, if you're not comfortable with tools or have a more complex sink installation, it may be best to hire a professional plumber to ensure the job is done correctly.
In conclusion, replacing an undermount kitchen sink with a drop-in sink is a relatively simple task that can enhance the look and functionality of your kitchen. By following these steps and tips, you can successfully complete the project and enjoy your new sink.
Why Consider Replacing Your Undermount Kitchen Sink with a Drop-In Sink?

Efficiency and Functionality
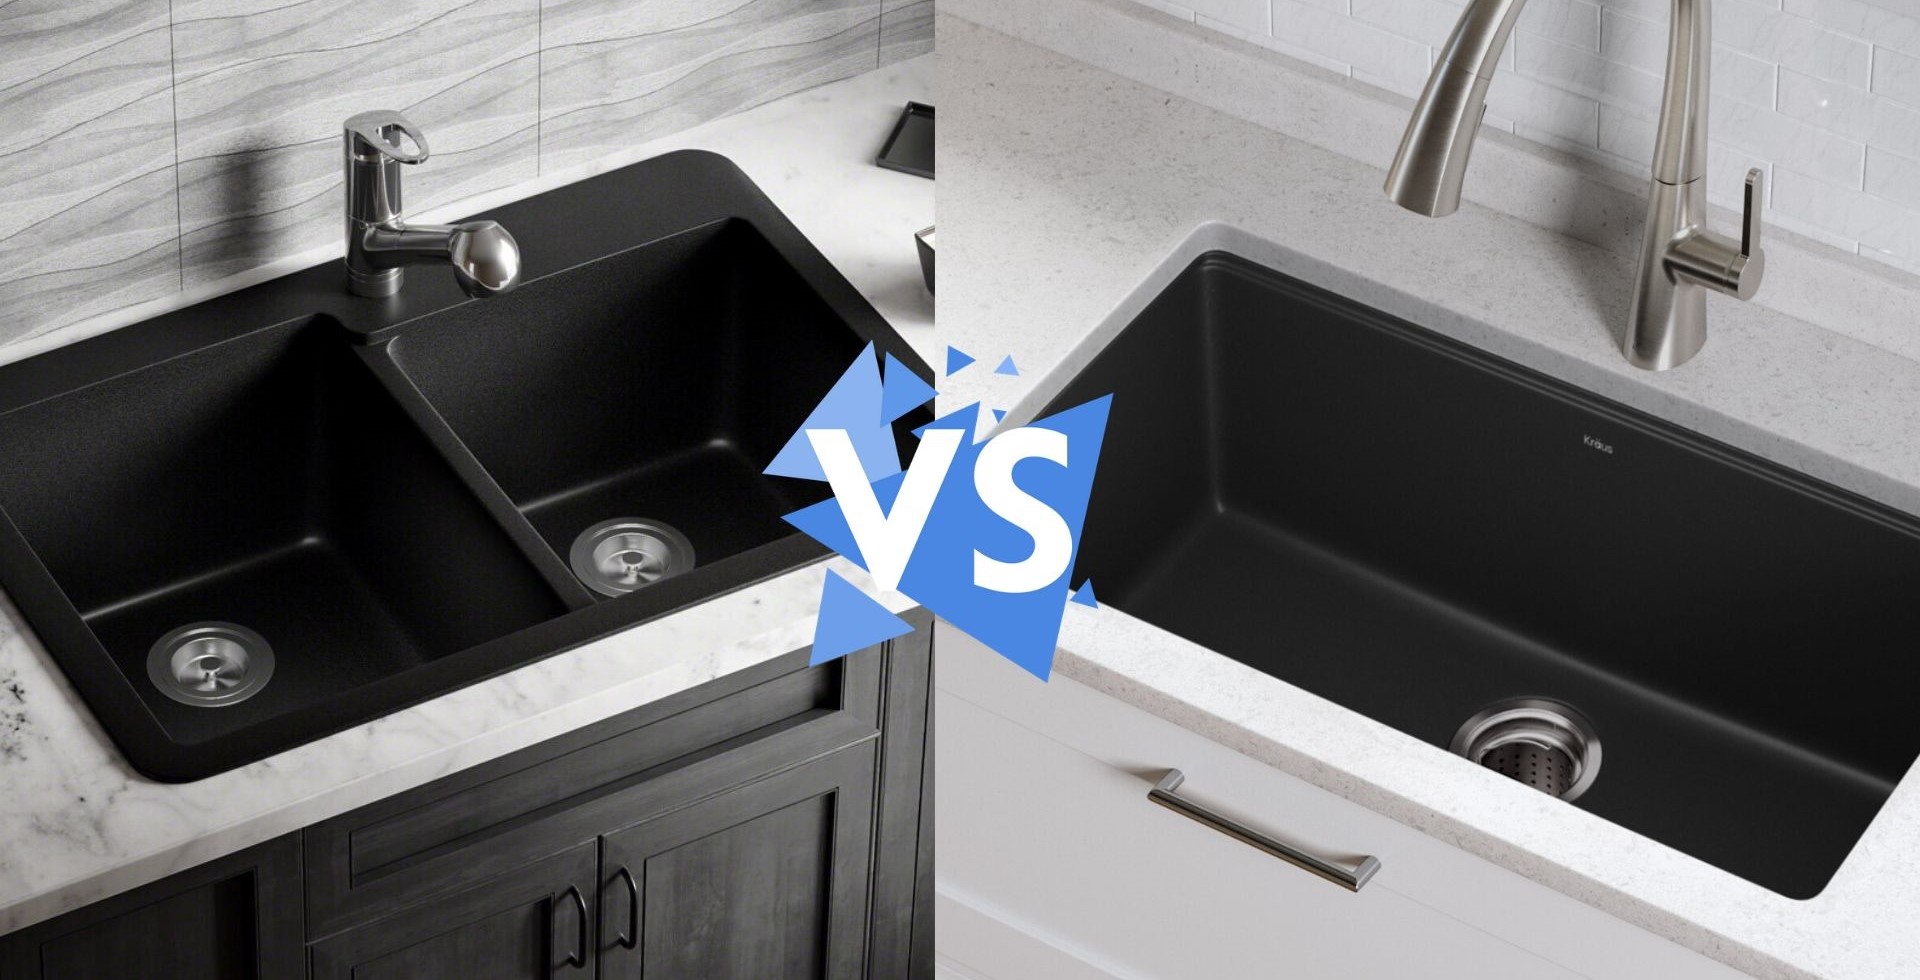
 One of the main reasons to consider replacing your undermount kitchen sink with a drop-in sink is efficiency and functionality. While undermount sinks provide a sleek and seamless look, they can be difficult to install and have a limited range of sizes and shapes. This can make it difficult to find the perfect fit for your kitchen. On the other hand, drop-in sinks offer a wider range of sizes and shapes, making it easier to find one that suits your specific needs and kitchen design. Additionally, drop-in sinks are easier to install and can be replaced or upgraded more easily in the future.
Cost-Effective Solution
 Another consideration when it comes to replacing your undermount kitchen sink with a drop-in sink is cost-effectiveness. Undermount sinks are typically more expensive to install due to the extra labor and materials required for installation. On the other hand, drop-in sinks are relatively easy to install and can be done by most homeowners, saving you money on installation costs. Additionally, if your undermount sink gets damaged, it can be costly to repair or replace. Drop-in sinks, on the other hand, are more affordable to repair or replace, making them a more cost-effective solution in the long run.
Enhanced Aesthetics
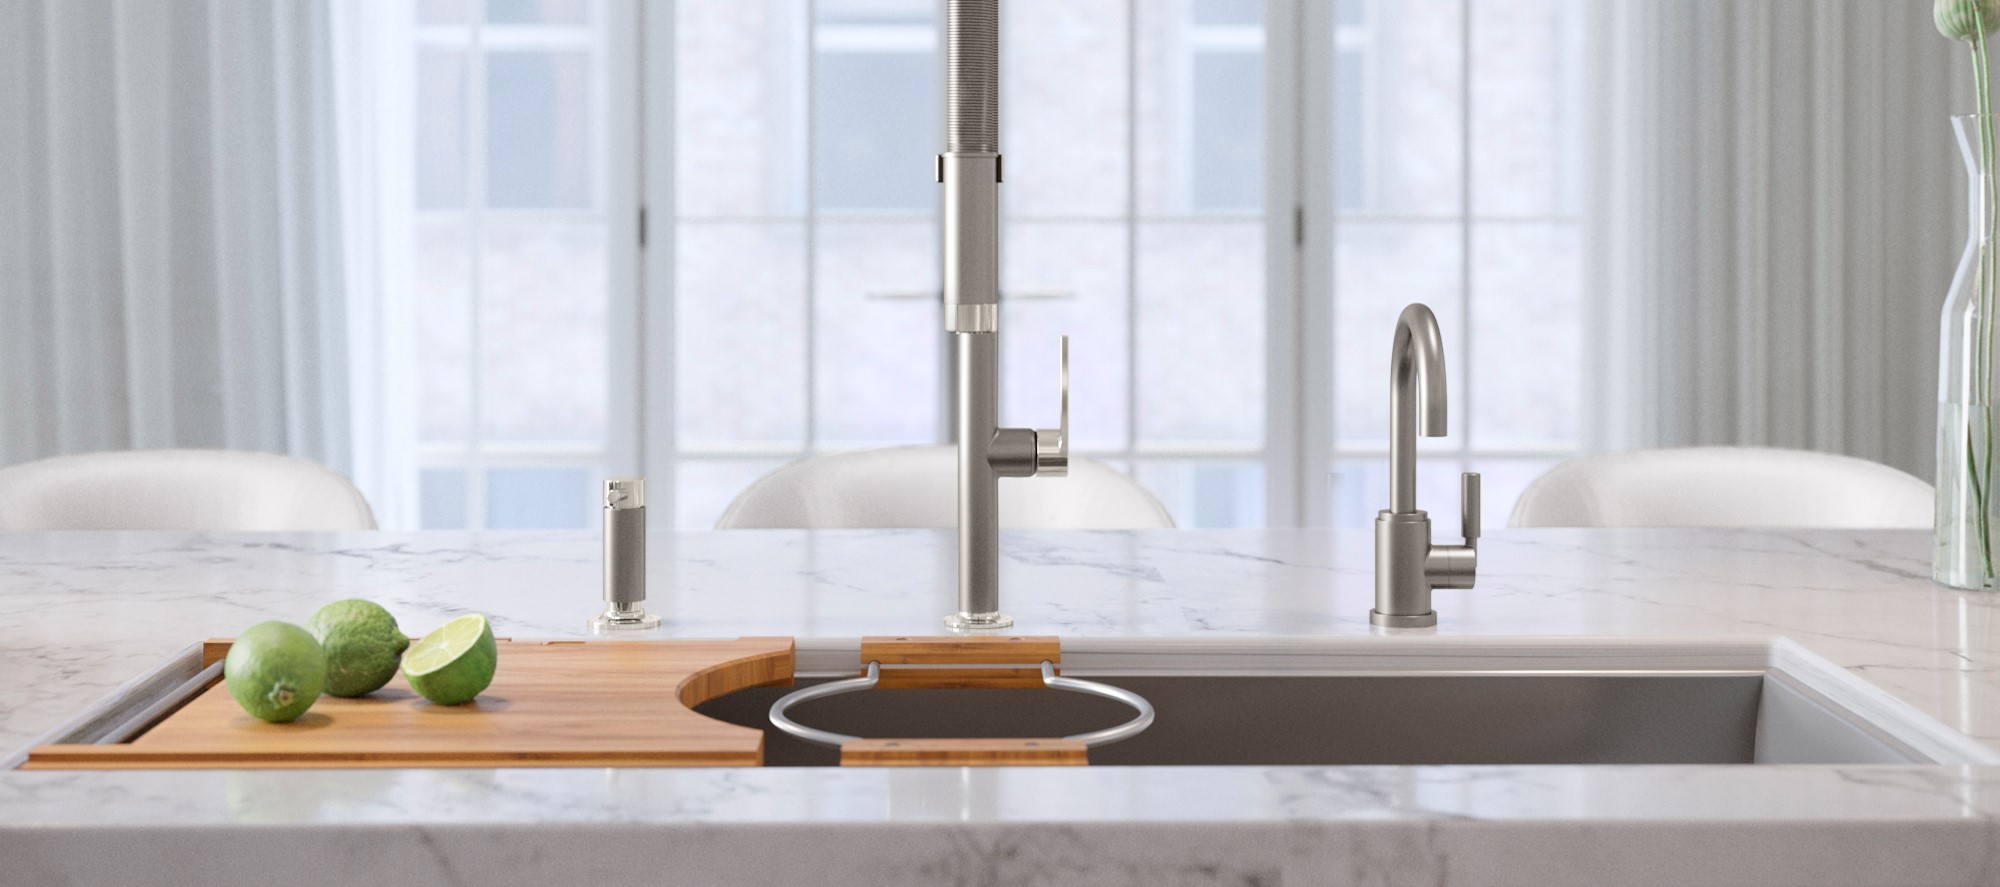
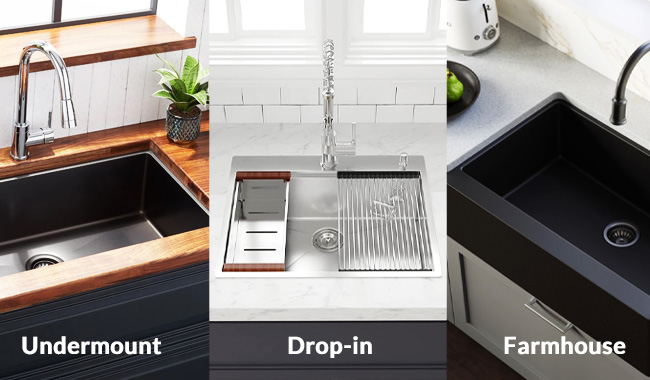
 Replacing your undermount kitchen sink with a drop-in sink can also greatly enhance the overall aesthetics of your kitchen. Drop-in sinks come in a variety of materials, colors, and styles, allowing you to choose one that complements your kitchen design and adds a touch of personality to the space. Additionally, drop-in sinks can also come with additional features such as built-in cutting boards or drying racks, adding both functionality and style to your kitchen.
Improved Maintenance
 Drop-in sinks also offer improved maintenance compared to undermount sinks. Undermount sinks tend to accumulate dirt and grime around the edges, making it difficult to thoroughly clean. On the other hand, drop-in sinks have a lip that rests on top of the countertop, making it easier to clean and maintain. This can also help prevent water from seeping into the seams and causing damage to the countertop and cabinets below.
In conclusion,
while undermount sinks may have their benefits, replacing them with a drop-in sink can offer a more efficient, cost-effective, and aesthetically pleasing solution for your kitchen. With its ease of installation, wide range of options, and improved maintenance, a drop-in sink can be a valuable upgrade for any kitchen. Consider making the switch and see the difference it can make in your kitchen design and functionality.


