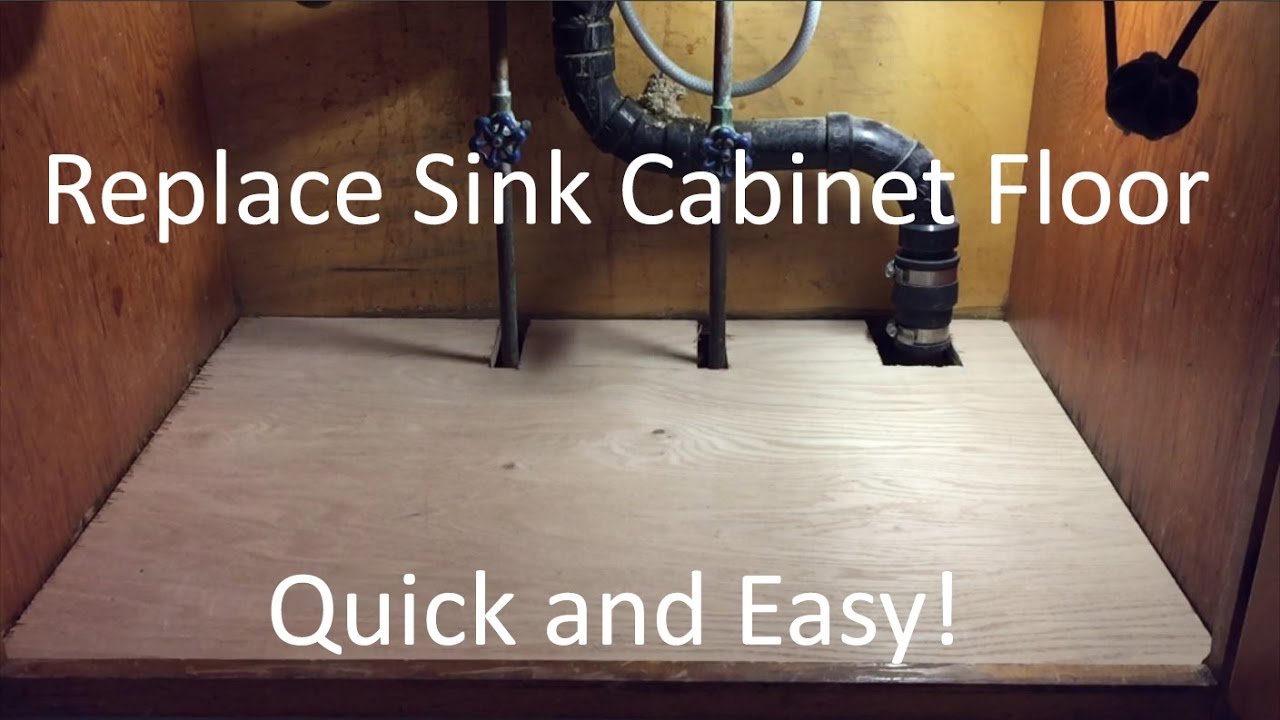
Replacing the under kitchen sink cabinet floor may seem like a daunting task, but with the right tools and know-how, it can be a relatively simple project. The flooring beneath your kitchen sink can easily become damaged due to leaks, spills, and constant exposure to water. Not only can this cause structural issues, but it can also create a breeding ground for mold and mildew. In this article, we will discuss the top 10 steps to successfully replacing the under kitchen sink cabinet floor. Replacing Under Kitchen Sink Cabinet Floor


Replacing Under Kitchen Sink Cabinet Floor


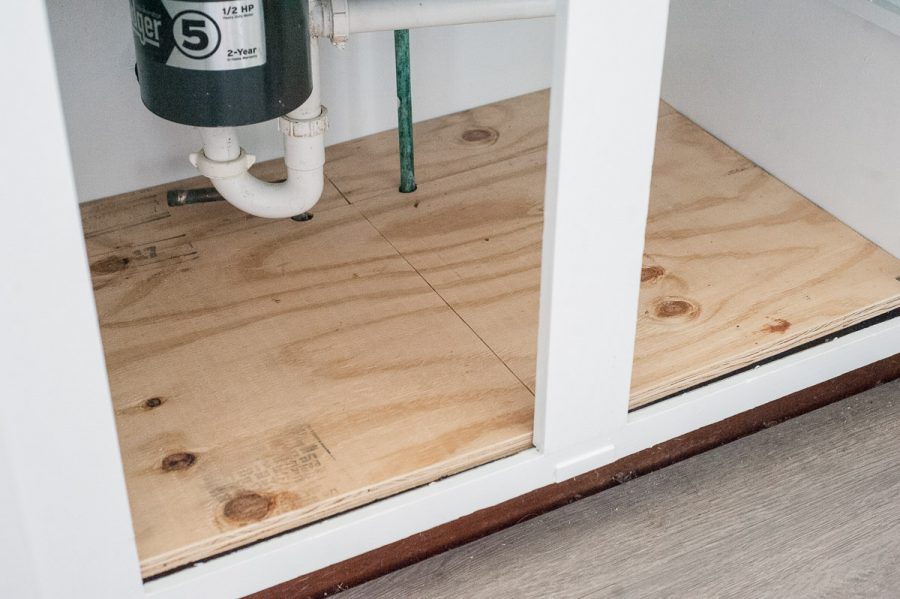
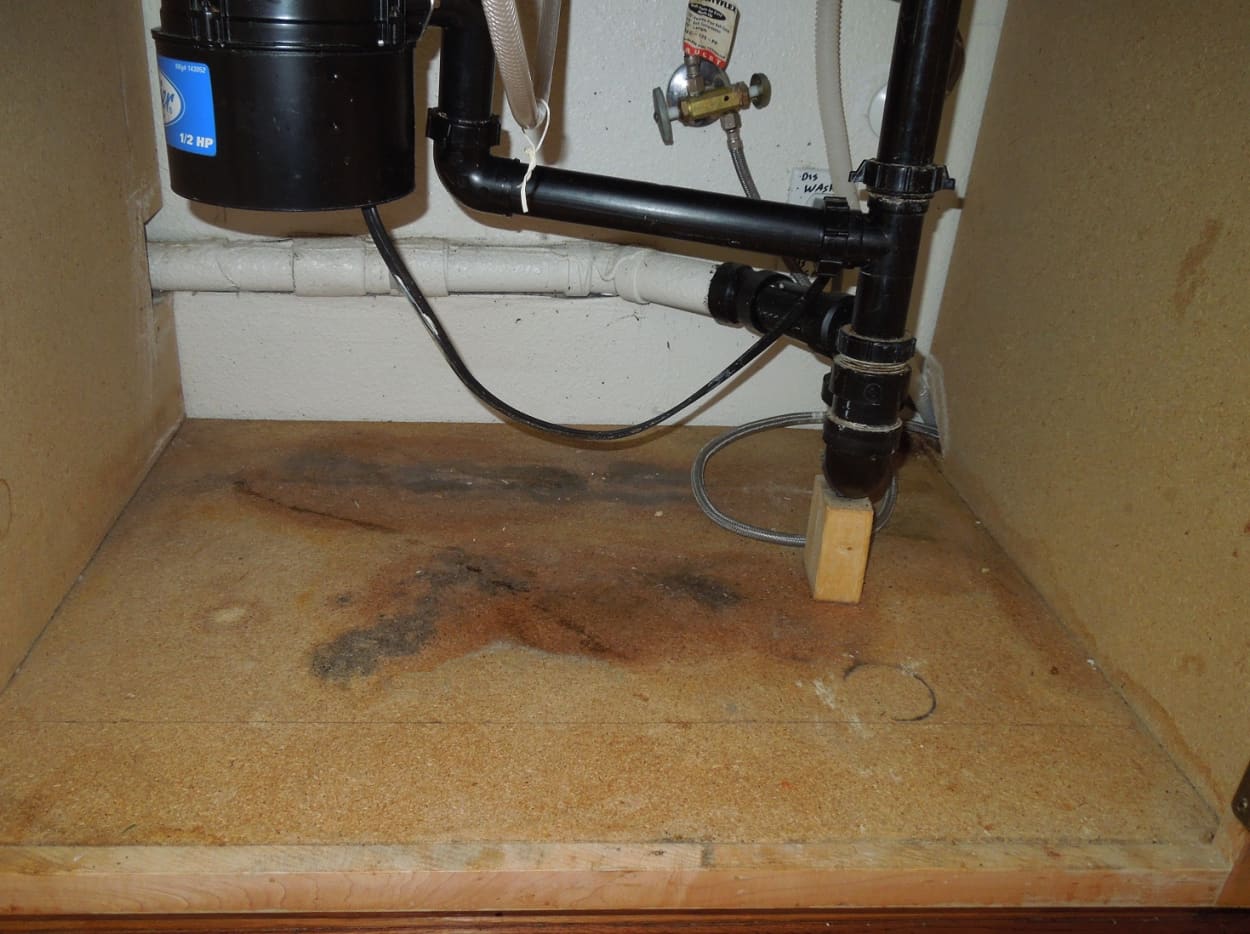
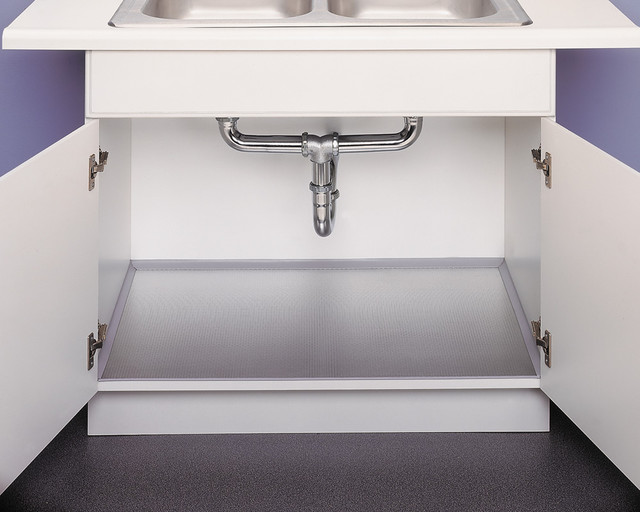
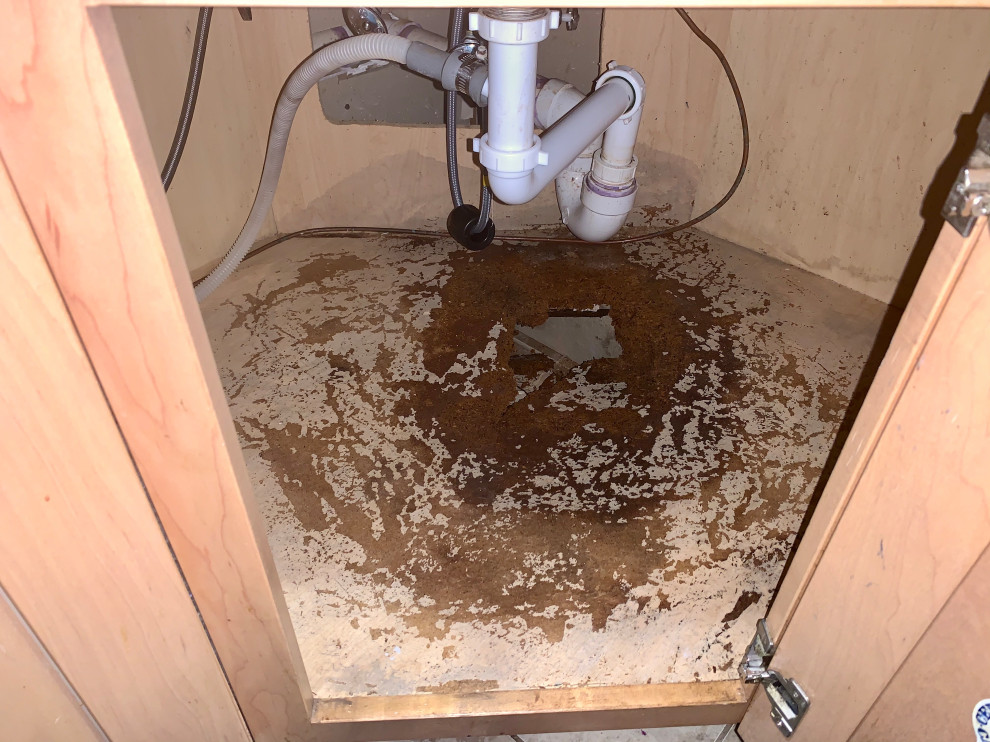
The first step in replacing the under kitchen sink cabinet floor is to carefully remove the existing flooring. This may include removing any linoleum, tile, or wood flooring. Be sure to use proper safety measures, such as gloves and protective eyewear, when handling any tools or materials. Once the flooring is removed, thoroughly inspect the subfloor for any signs of damage or rot. How to Replace Under Kitchen Sink Cabinet Floor


How to Replace Under Kitchen Sink Cabinet Floor

While hiring a professional may seem like the easiest option, replacing the under kitchen sink cabinet floor can be a DIY project with the right tools and guidance. Not only will you save money on labor costs, but you will also have the satisfaction of completing the project yourself. Just make sure to carefully follow all safety precautions and instructions for best results. DIY Under Kitchen Sink Cabinet Floor Replacement


DIY Under Kitchen Sink Cabinet Floor Replacement


Step 1: Remove existing flooringStep-by-Step Guide for Replacing Under Kitchen Sink Cabinet Floor
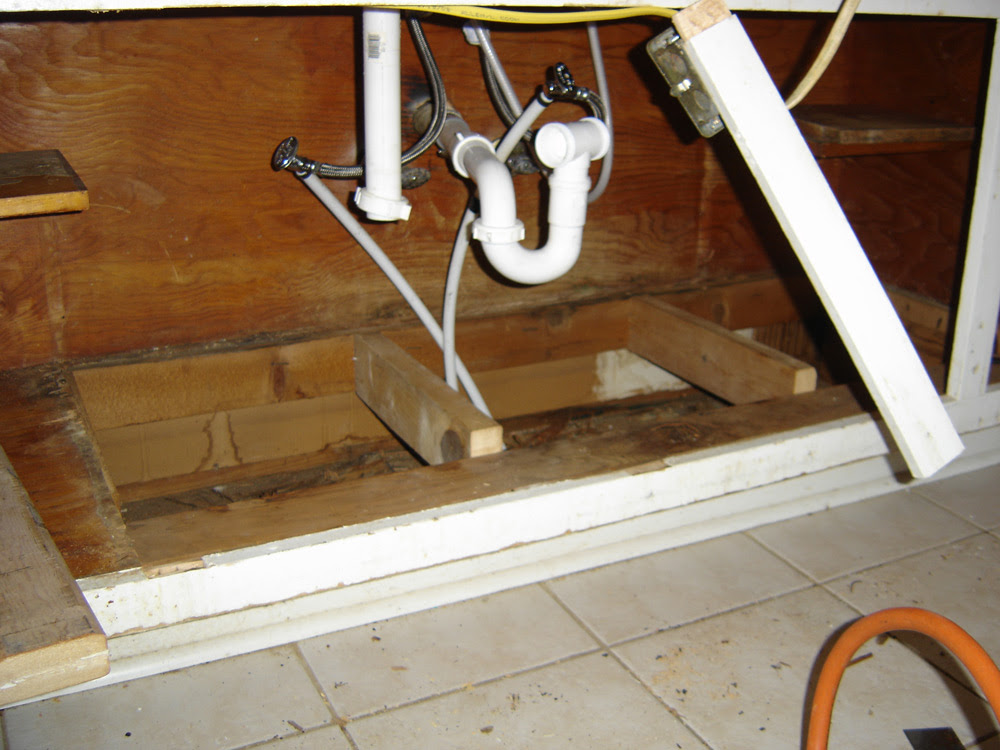
Step 2: Inspect subfloor for damage
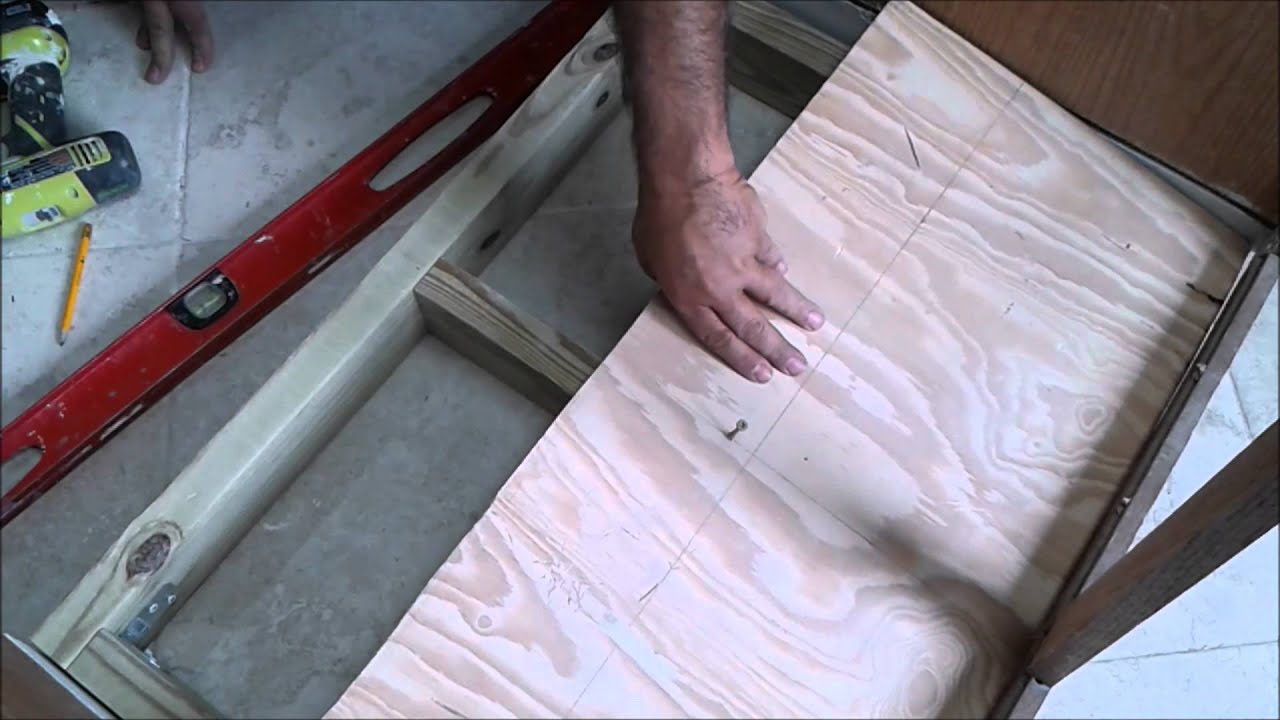
Step 3: Cut subfloor to fit around pipes
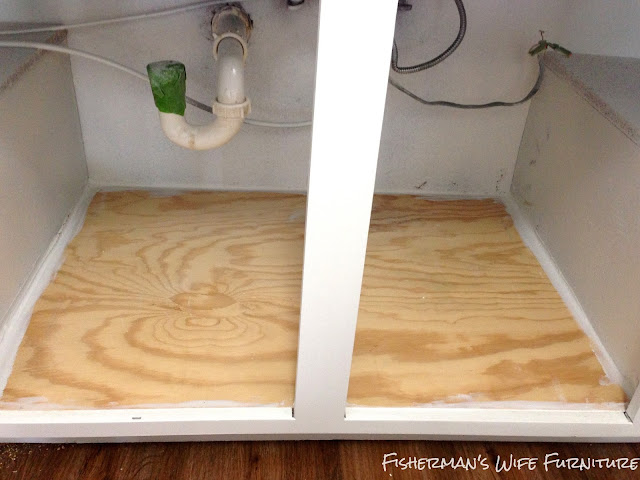
Step 4: Install new subfloor
Step 5: Seal subfloor seams
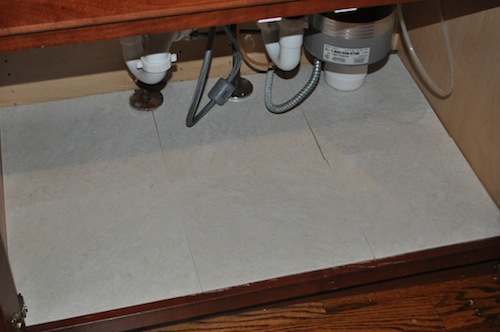
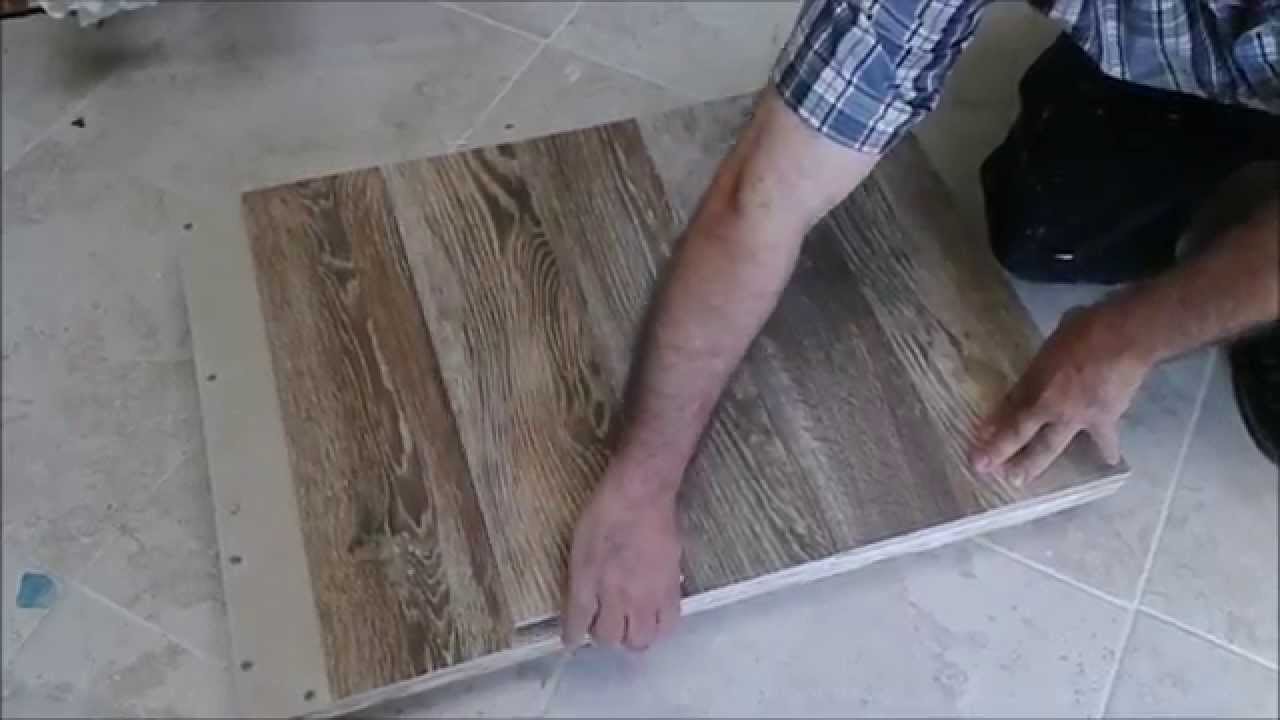
Step 6: Install chosen flooring option
Step 7: Reattach plumbing fixtures
Step 8: Trim and finish flooring edges
Step 9: Clean up and dispose of old materials
Step 10: Enjoy your new under kitchen sink cabinet floor!


Step-by-Step Guide for Replacing Under Kitchen Sink Cabinet Floor

Some essential tools and materials you may need for this project include a circular saw, jigsaw, drill, hammer, measuring tape, safety gear, subfloor adhesive, flooring of choice, and any necessary plumbing supplies. Depending on the condition of your subfloor, you may also need to purchase a patching compound or plywood sheets. Materials Needed for Replacing Under Kitchen Sink Cabinet Floor


Materials Needed for Replacing Under Kitchen Sink Cabinet Floor
Here are a few tips to keep in mind for a successful under kitchen sink cabinet floor replacement: 1. Take accurate measurements: Make sure to measure the area accurately before cutting any materials to avoid any unnecessary mistakes. 2. Use proper safety gear: Safety should always be a top priority when using power tools and handling materials. Wear gloves, protective eyewear, and a face mask to protect yourself from potential hazards. 3. Choose the right flooring: Consider the area's moisture levels and choose a flooring option that is suitable for this environment, such as waterproof vinyl or tile. 4. Plan for future maintenance: When installing the new flooring, make sure to leave access to the pipes for any necessary repairs or maintenance in the future.Tips for a Successful Under Kitchen Sink Cabinet Floor Replacement


Tips for a Successful Under Kitchen Sink Cabinet Floor Replacement
Replacing the under kitchen sink cabinet floor can be a tricky task, and there are a few common mistakes to avoid for a successful project: 1. Not addressing underlying issues: If there are any signs of water damage or mold, be sure to address these issues before proceeding with the flooring replacement. 2. Not taking measurements accurately: Inaccurate measurements can lead to costly mistakes, so be sure to double-check all measurements before making any cuts. 3. Not using the proper tools and materials: Using the wrong tools or materials can lead to poor results and even safety hazards. Make sure to use the recommended tools and materials for the best outcome.Common Mistakes to Avoid When Replacing Under Kitchen Sink Cabinet Floor

Common Mistakes to Avoid When Replacing Under Kitchen Sink Cabinet Floor

The cost of replacing the under kitchen sink cabinet floor will vary depending on the materials chosen, the size of the area, and whether you hire a professional or do it yourself. However, on average, the cost can range from $200 to $1000.Cost of Replacing Under Kitchen Sink Cabinet Floor

Cost of Replacing Under Kitchen Sink Cabinet Floor
Deciding whether to hire a professional or do the under kitchen sink cabinet floor replacement yourself is a personal choice. While hiring a professional may save you time and ensure a perfect result, doing it yourself can save you money and give you a sense of accomplishment. Whichever option you choose, make sure to weigh the pros and cons and choose what works best for you.Professional vs. DIY Under Kitchen Sink Cabinet Floor Replacement
Professional vs. DIY Under Kitchen Sink Cabinet Floor Replacement

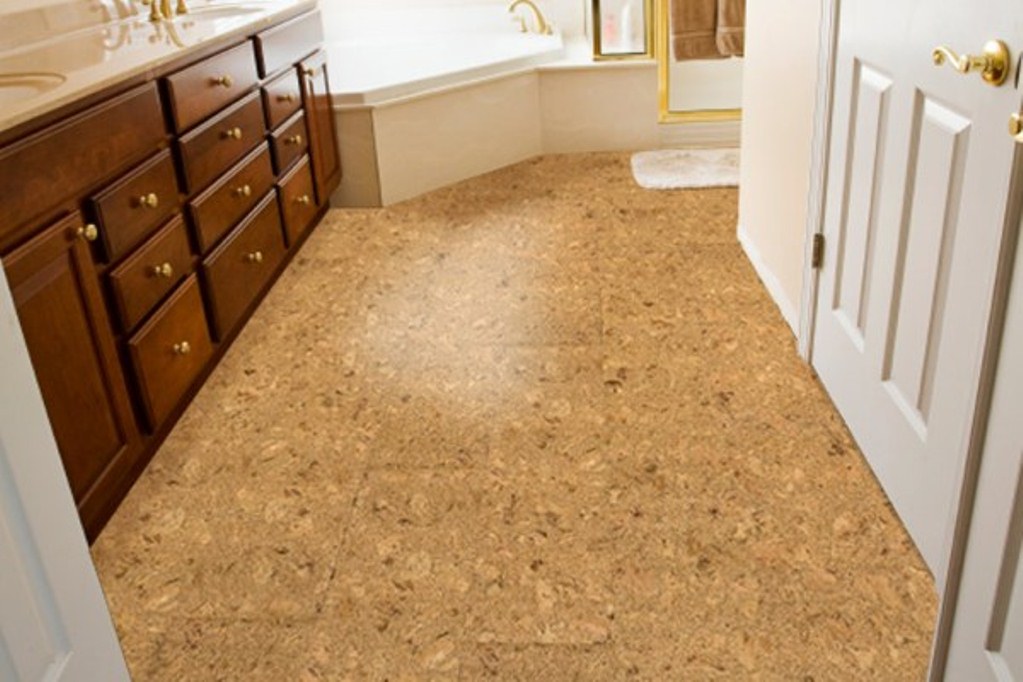
When it comes to choosing the best flooring for under the kitchen sink cabinet, there are a few options to consider. These include: 1. Vinyl: Vinyl is an affordable and durable option that is also waterproof, making it ideal for under-sink areas. 2. Tile: Tile is another popular choice for its durability and water-resistance. It also offers a wide range of styles to choose from. 3. Laminate: Laminate flooring is a budget-friendly option that can mimic the look of hardwood or tile without the cost. However, it is not as water-resistant as other options and may not be the best choice for under-sink areas. With these top 10 steps and tips, you can successfully replace the under kitchen sink cabinet floor and have a functional and attractive space in no time. Whether you choose to hire a professional or tackle the project yourself, be sure to follow all safety precautions and choose the best flooring option for your needs. Say goodbye to damaged and unsightly flooring and hello to a beautiful and functional under kitchen sink cabinet floor!Best Flooring Options for Under Kitchen Sink Cabinet


Best Flooring Options for Under Kitchen Sink Cabinet


/interiors-of-the-kitchen-126173645-5835288f5f9b58d5b1b96af2.jpg)
Importance of Replacing Under Kitchen Sink Cabinet Floor
Enhance Safety and Hygiene
 One of the main reasons to consider replacing the under kitchen sink cabinet floor is to ensure the safety and hygiene of your kitchen. Over time, the floor can become damaged due to leaks or spills from cleaning products, leading to the growth of mold and mildew. This not only poses a health risk to you and your family but also creates an unpleasant odor in your kitchen. By replacing the floor, you can eliminate any potential health hazards and maintain a clean and hygienic kitchen environment.
Prevent Structural Damage
 The under kitchen sink cabinet floor is responsible for supporting the weight of your sink and any items stored in the cabinet. If the floor is damaged or weakened, it can lead to structural damage to your entire kitchen. This can result in costly repairs and renovations in the future. By replacing the floor in a timely manner, you can prevent any further damage and maintain the structural integrity of your kitchen.
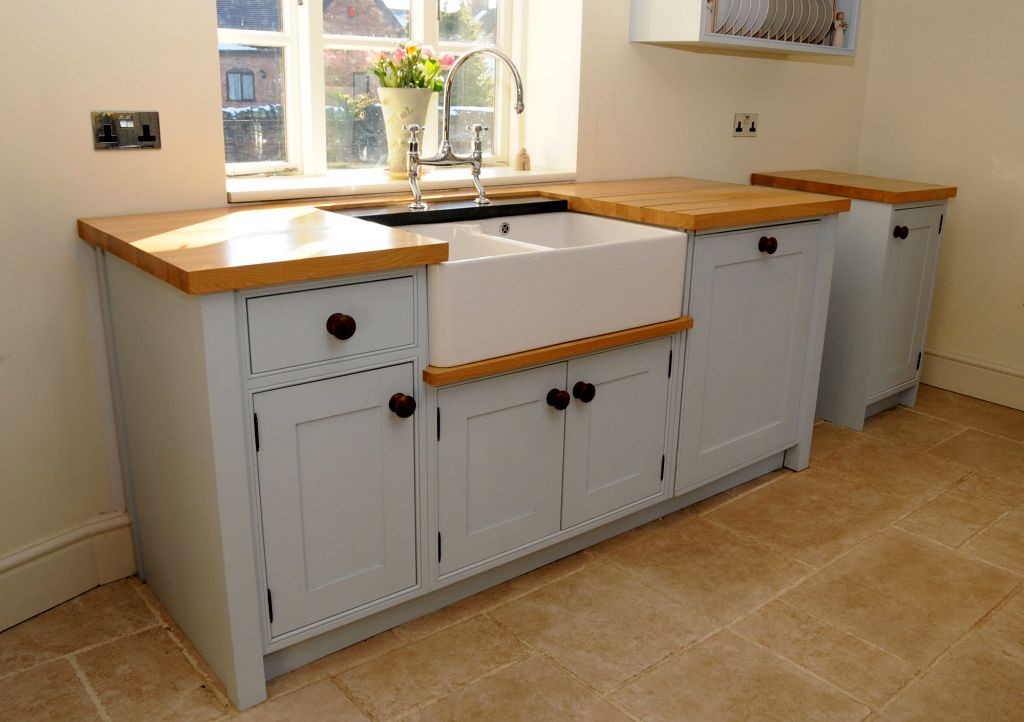
Improve Aesthetics
 Aside from its functional purposes, the under kitchen sink cabinet floor also contributes to the overall aesthetics of your kitchen. A damaged or worn-out floor can be an eyesore and take away from the beauty of your kitchen. By replacing it, you can give your kitchen a fresh and updated look. You can also choose from a variety of materials and designs to match your personal style and create a cohesive look.
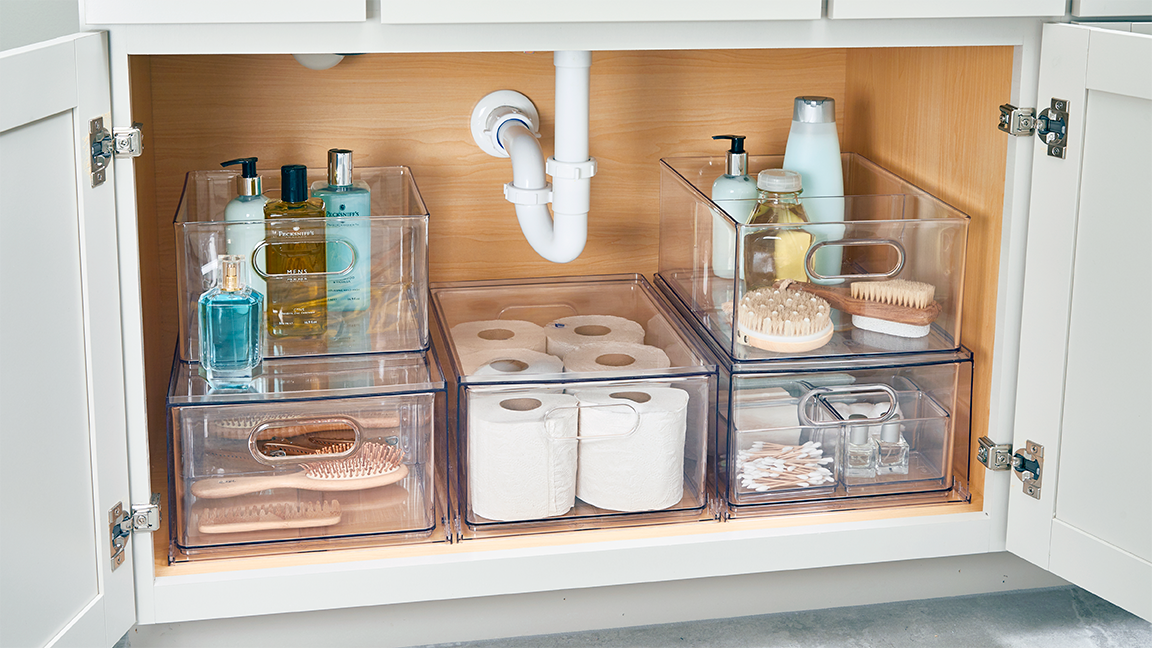
Increase Storage Space
 Replacing the under kitchen sink cabinet floor also presents an opportunity to increase your storage space. You can opt for a deeper or wider floor to accommodate larger items or install additional shelves for better organization. This can help maximize the use of space in your kitchen and make it more functional.
In conclusion, replacing the under kitchen sink cabinet floor is a crucial aspect of house design that should not be overlooked. It not only improves the safety and hygiene of your kitchen but also prevents potential structural damage and enhances the overall aesthetics of your space. Don't hesitate to invest in this important home improvement project for a better and more functional kitchen.
Replacing the under kitchen sink cabinet floor also presents an opportunity to increase your storage space. You can opt for a deeper or wider floor to accommodate larger items or install additional shelves for better organization. This can help maximize the use of space in your kitchen and make it more functional.
In conclusion, replacing the under kitchen sink cabinet floor is a crucial aspect of house design that should not be overlooked. It not only improves the safety and hygiene of your kitchen but also prevents potential structural damage and enhances the overall aesthetics of your space. Don't hesitate to invest in this important home improvement project for a better and more functional kitchen.