Replacing the Sprayer on the Kitchen Sink
The kitchen sink sprayer is an essential component of any kitchen, allowing for easy cleaning and rinsing of dishes and surfaces. Over time, the sprayer may become worn out or damaged, requiring replacement. If you're facing this issue, don't worry – replacing a kitchen sink sprayer is a relatively simple task that you can do yourself. In this article, we'll guide you through the process of replacing the sprayer on your kitchen sink. So let's get started!
How to Replace a Kitchen Sink Sprayer
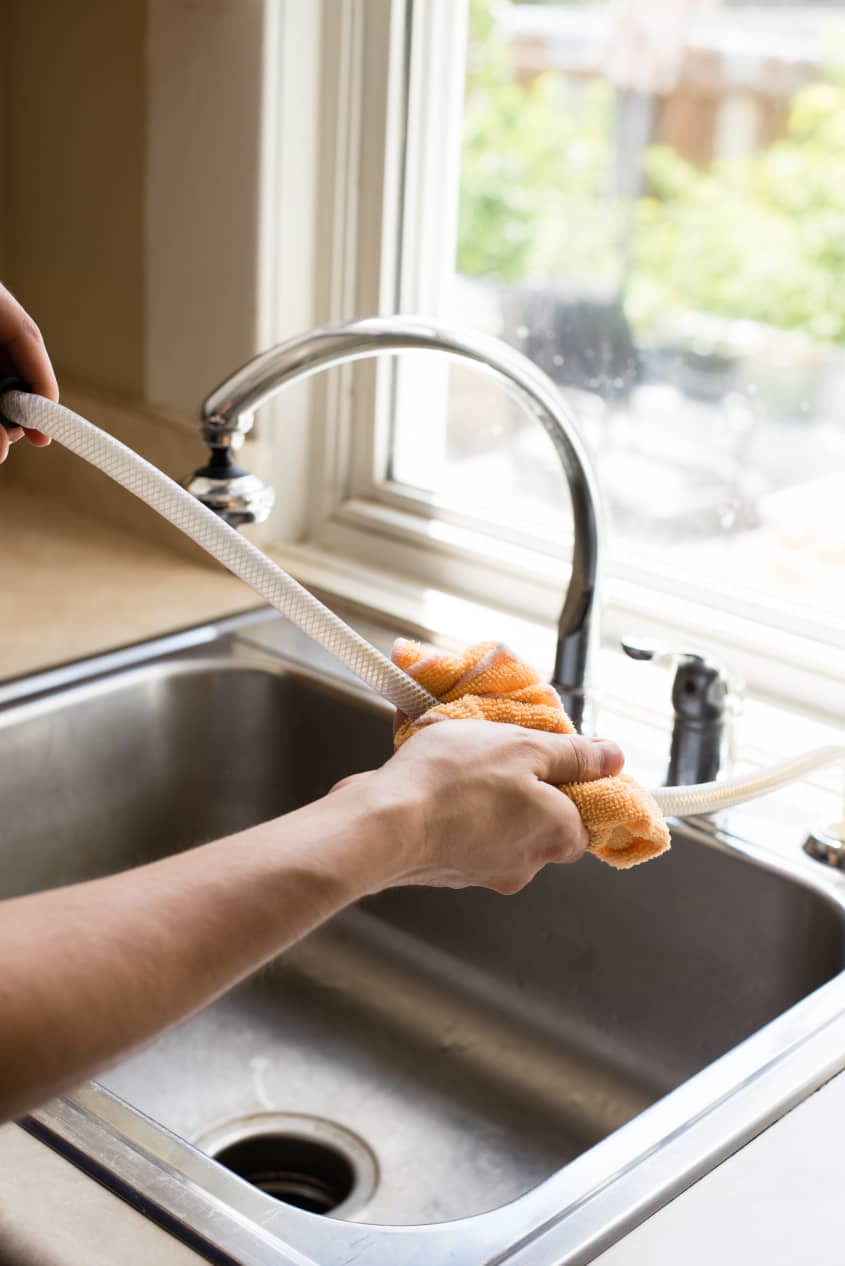
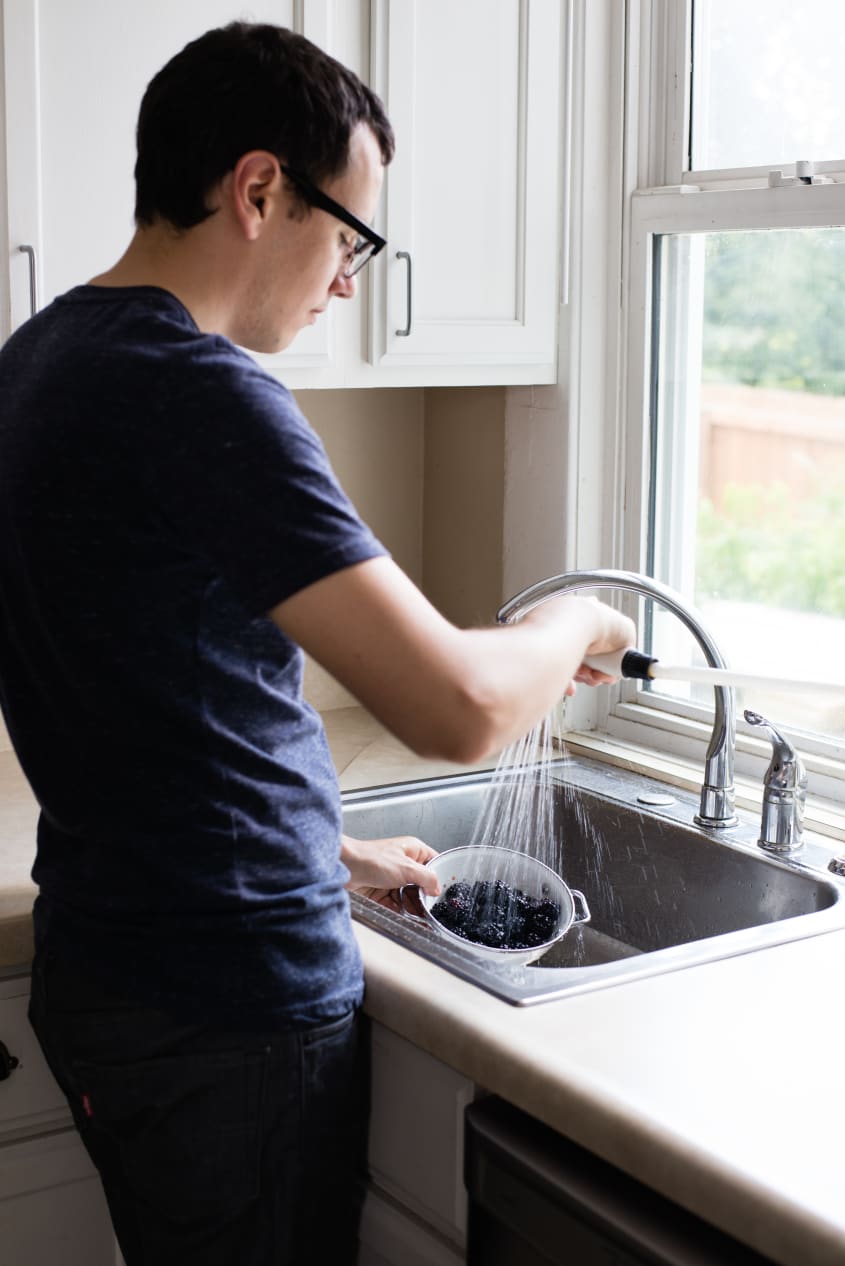
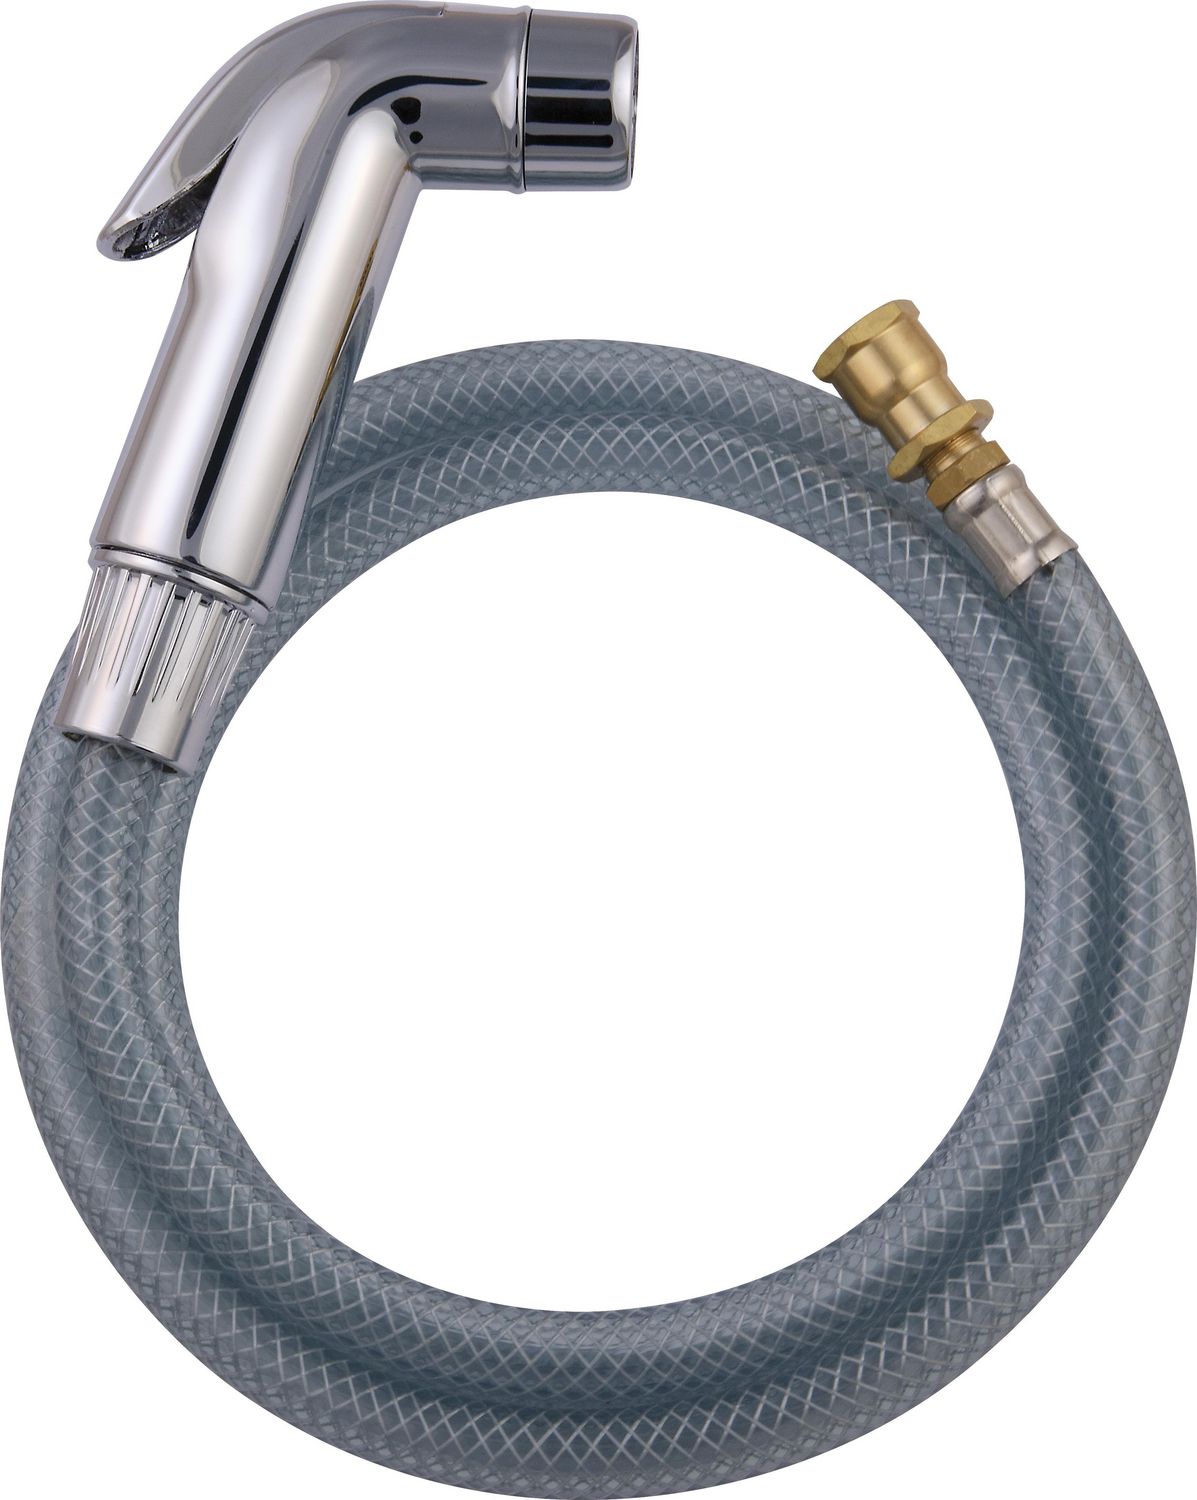
Before we dive into the step-by-step guide, let's take a look at some things you'll need to keep in mind before replacing the sprayer on your kitchen sink. Firstly, you'll need to determine the type of sprayer you have. There are two types of sprayers – side sprayers and pullout sprayers. The replacement process may differ slightly for each type, so make sure you know which one you have before getting started.
Additionally, it's essential to have the right tools for the job. Some of the tools you'll need include an adjustable wrench, pliers, Teflon tape, and a new sprayer head. Now, let's move on to the step-by-step guide.
Step-by-Step Guide for Replacing a Kitchen Sink Sprayer
Step 1: Start by turning off the water supply to your kitchen sink. You can do this by turning off the shut-off valve under the sink.
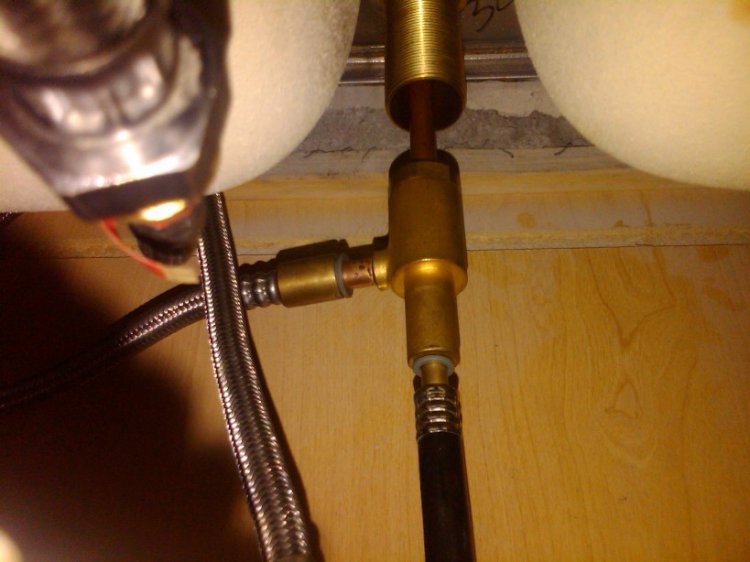
Step 2: Next, disconnect the sprayer hose from the faucet by unscrewing the coupling nut with your pliers.
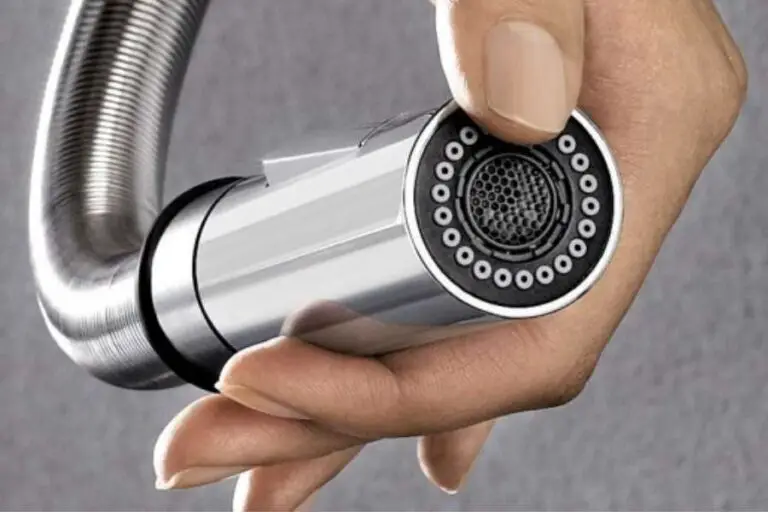
Step 3: If you have a pullout sprayer, you'll need to remove the sprayer head by twisting it counterclockwise and pulling it off.
Step 4: For side sprayers, simply unscrew the sprayer head from the sprayer hose.
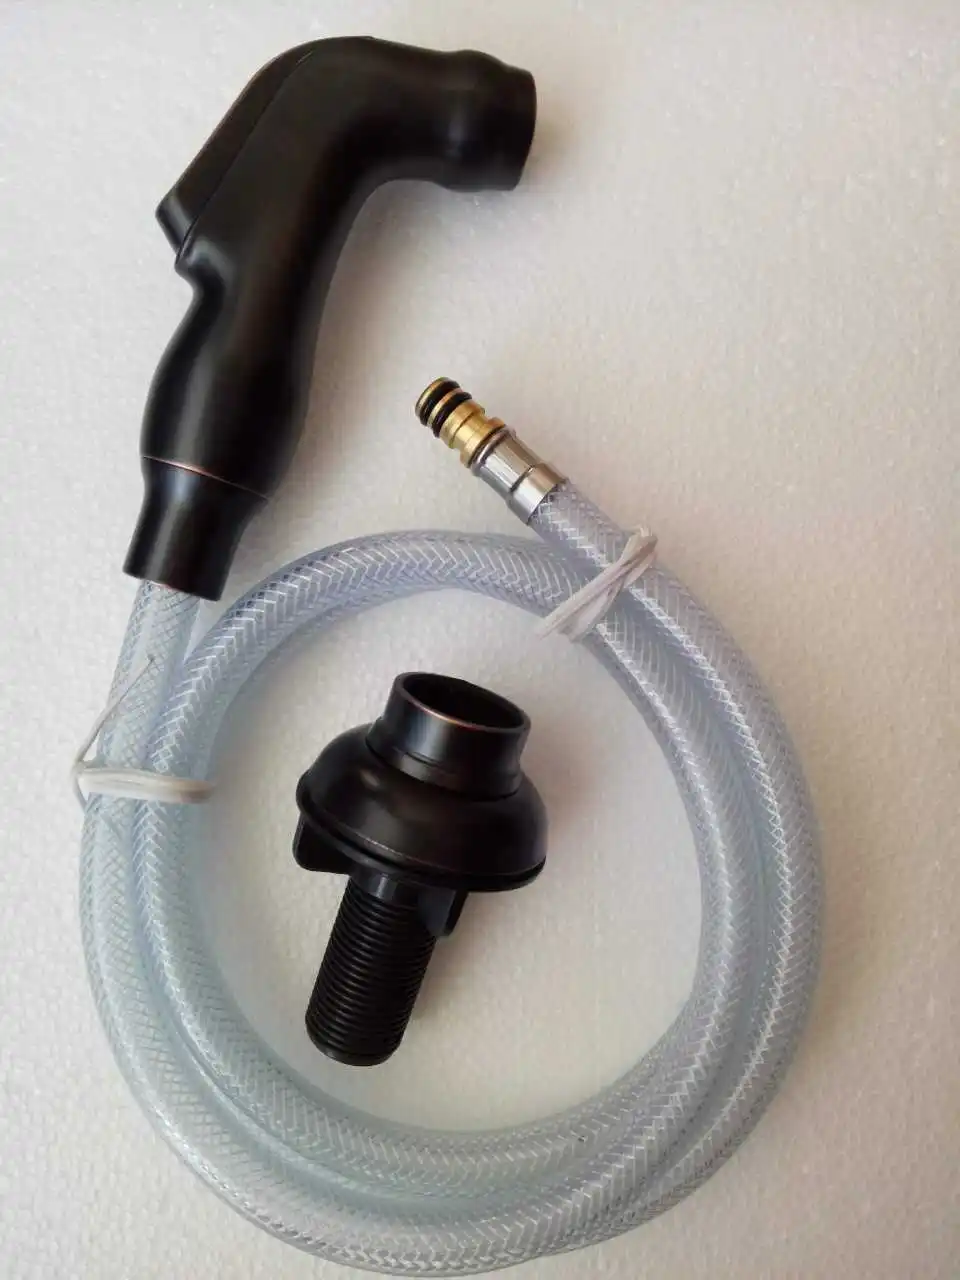
Step 5: Now, remove the old sprayer base by unscrewing it from the sink. If there is a gasket, make sure to remove it as well.
Step 6: Clean the area where the old sprayer base was attached to the sink, ensuring that there is no debris or residue left behind.
Step 7: Wrap Teflon tape around the threads of the new sprayer base to create a tight seal.
Step 8: Install the new sprayer base by screwing it onto the sink in the same position as the old one.
Step 9: For side sprayers, screw the new sprayer head onto the sprayer hose and attach it to the new sprayer base. For pullout sprayers, simply twist the new sprayer head onto the sprayer hose.
Step 10: Finally, turn the water supply back on and test out your new kitchen sink sprayer to make sure it's working correctly.
DIY: Replacing a Kitchen Sink Sprayer
Now that you know the steps involved in replacing a kitchen sink sprayer, you may be wondering if it's a job you can do yourself. The answer is yes! This task does not require any specialized skills or tools, making it a perfect DIY project for anyone looking to save some money.
However, if you're not comfortable doing it yourself, you can always hire a professional to do the job for you. Just make sure to choose a reputable and experienced plumber to ensure the job is done correctly.
Replacing a Kitchen Sink Sprayer: Tips and Tricks
Tip 1: When shopping for a new kitchen sink sprayer, make sure to bring your old one with you to ensure you get the right fit.
Tip 2: Always turn off the water supply before attempting to replace the sprayer to avoid any accidents.
Tip 3: Use Teflon tape to create a tight seal and prevent any leaks.
Tip 4: If you have a pullout sprayer, make sure to keep the hose straight when installing the new sprayer head to avoid any kinks or tangles.
Tip 5: If you notice any leaks after replacing the sprayer, make sure to tighten all connections and check for any damaged parts.
Common Mistakes to Avoid When Replacing a Kitchen Sink Sprayer
Mistake 1: Not turning off the water supply before replacing the sprayer.
Mistake 2: Using the wrong type of sprayer for your sink.
Mistake 3: Forgetting to remove the old gasket before installing the new sprayer base.
Mistake 4: Over-tightening connections, which can cause damage and leaks.
Mistake 5: Not testing the sprayer for leaks after installation.
Tools You'll Need for Replacing a Kitchen Sink Sprayer
Tool 1: Adjustable wrench
Tool 2: Pliers
Tool 3: Teflon tape
Tool 4: New sprayer head
Replacing a Kitchen Sink Sprayer: A Beginner's Guide
If you're a beginner when it comes to DIY home improvement projects, don't worry – replacing a kitchen sink sprayer is a relatively easy task that you can do yourself. Just follow our step-by-step guide, and you'll have a new sprayer installed in no time.
Remember to take your time and double-check all connections to avoid any mistakes or accidents. And if you're unsure about anything, don't hesitate to call a professional for help.
How to Choose the Right Replacement Sprayer for Your Kitchen Sink
When it comes to choosing a replacement sprayer for your kitchen sink, there are a few things you should keep in mind. Firstly, make sure to get the right type of sprayer – side sprayers and pullout sprayers are not interchangeable. Secondly, consider the design and style of your kitchen sink and choose a sprayer that complements it. Lastly, make sure to get a high-quality, durable sprayer that will last you for years to come.
Expert Advice on Replacing a Kitchen Sink Sprayer
If you're still unsure about replacing the sprayer on your kitchen sink, we asked some experts for their advice. According to them, the most important thing is to shut off the water supply and make sure to have all the necessary tools before starting the project. They also recommend checking for any leaks after installation and tightening connections if needed.
Now that you have all the information you need, it's time to get started on replacing the sprayer on your kitchen sink. With the right tools and our step-by-step guide, you'll have a new sprayer installed in no time. Happy DIY-ing!
The Importance of a Functional Kitchen Sink Sprayer in Your Home

Efficiency in the Kitchen
 A well-functioning
kitchen sink sprayer
is a vital component in any household. It allows for efficient and convenient clean-up, making everyday tasks in the kitchen much easier. Whether you are washing dishes, rinsing fruits and vegetables, or simply cleaning the sink, a functional sprayer can save you time and effort.
Enhanced Kitchen Design
 Aside from its practical use, a
sink sprayer
can also add to the overall design of your kitchen. With a variety of styles and finishes available, you can choose a sprayer that complements your kitchen's aesthetic. From modern to traditional, there is a
sprayer
that will fit seamlessly into your kitchen design.
Replacing a Malfunctioning Sprayer
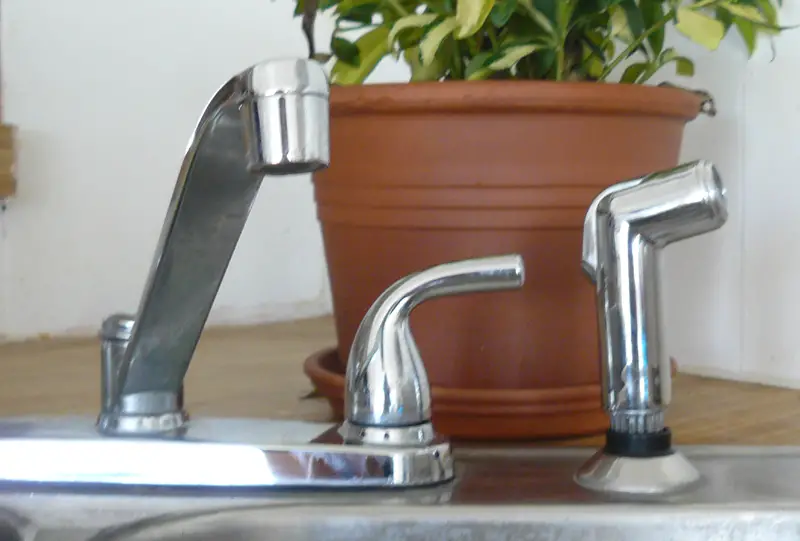 Over time, a
kitchen sink sprayer
may start to malfunction due to wear and tear. This can be caused by clogs, leaks, or a broken handle. If you notice any of these issues, it may be time to replace your sprayer. Not only will this improve the functionality of your sink, but it will also prevent any potential damage to your kitchen.
Easy Replacement Process
 Replacing a
sprayer on your kitchen sink
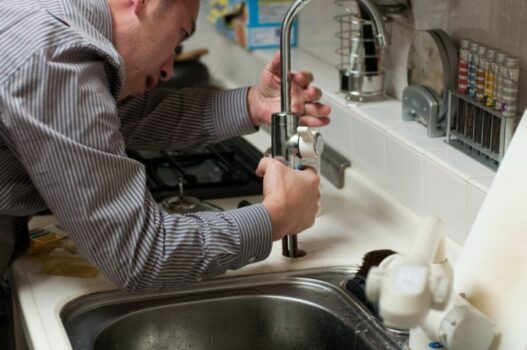
may seem like a daunting task, but it is actually a simple and straightforward process. With the right tools and a little bit of know-how, you can easily switch out your old sprayer for a new one. This can save you money in the long run, as you won't have to hire a professional plumber for a simple fix.
Final Thoughts
 In conclusion, having a functional
kitchen sink sprayer
is crucial for both efficiency and design in your kitchen. If you are experiencing any issues with your current sprayer, consider replacing it with a new one. Not only will it make your daily tasks easier, but it will also enhance the overall look of your kitchen. With a simple replacement process, you can have a fully functional and stylish
sink sprayer
in no time.




/25089301983_c5145fe85d_o-58418ef15f9b5851e5f392b5.jpg)




















:max_bytes(150000):strip_icc()/Basic-kitchen-sink-types-1821207_color_rev-0b539306b9ef4236a136624ad2a89a4c.jpg)



:max_bytes(150000):strip_icc()/helfordln-35-58e07f2960b8494cbbe1d63b9e513f59.jpeg)

